I am definitely excited for another month of the craft room destash, where we ladies get together and make a craft using JUST the supplies we have in our craft rooms.
We started this last month and I made a mini album out of a cardboard roll and some scrapbooking supplies. This month I decided to make a family picture book for baby – aka my little guy, Cal.
I was trying to figure out what to whip up this month for the craft room destash challenge and I looked through a few of my I-think-I-can-make-something-fun-with-this boxes…ya, I know you have those boxes in your craft room too!
It’s ok, you’re in good company! That’s what this little monthly challenge is ALL ABOUT.
This post contains affiliate links, but nothing that I wouldn’t wholeheartedly recommend anyway! Read my full disclosure here.
How to Make a Laminated Baby Picture Book: Fun Flipbook for Baby!
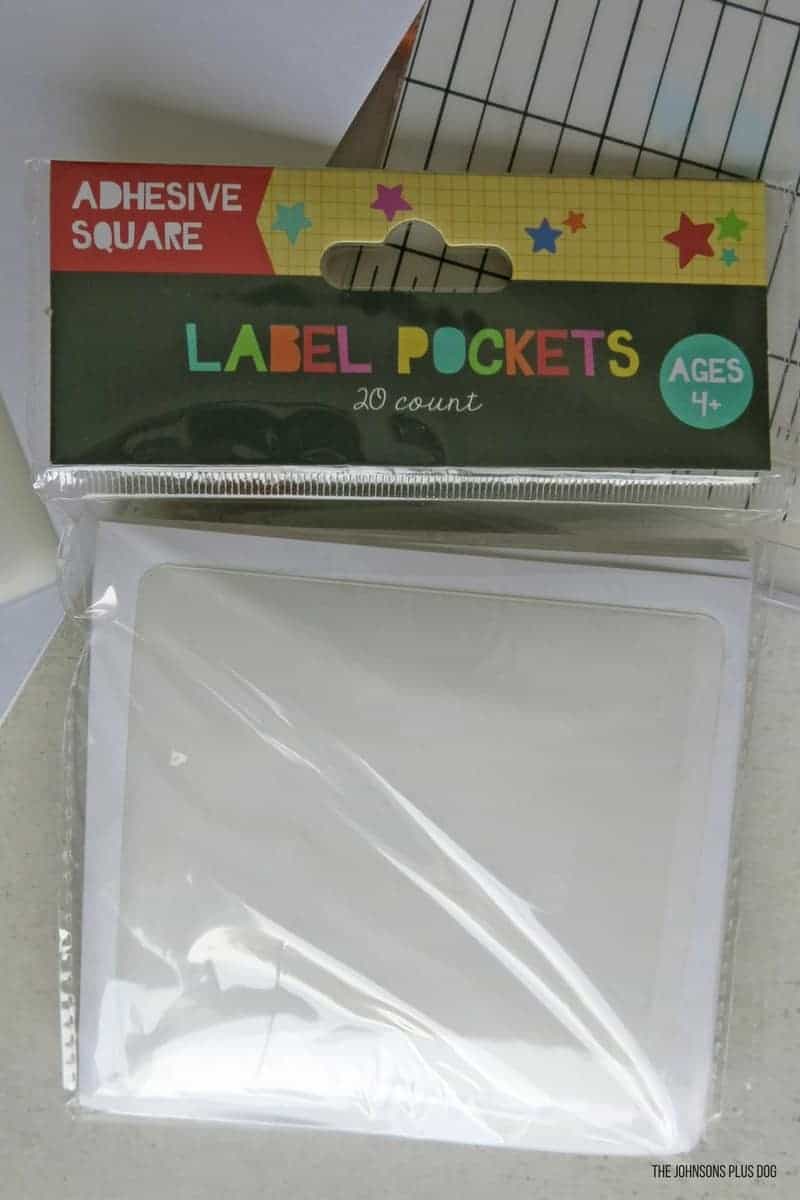
I grabbed these little square adhesive label pockets that I snatched up a few months ago from the Dollar Spot at Target.
I purchased them because they looked like they could come in handy for something…. I mean, that’s why I buy ALL THINGS in the Dollar Spot.
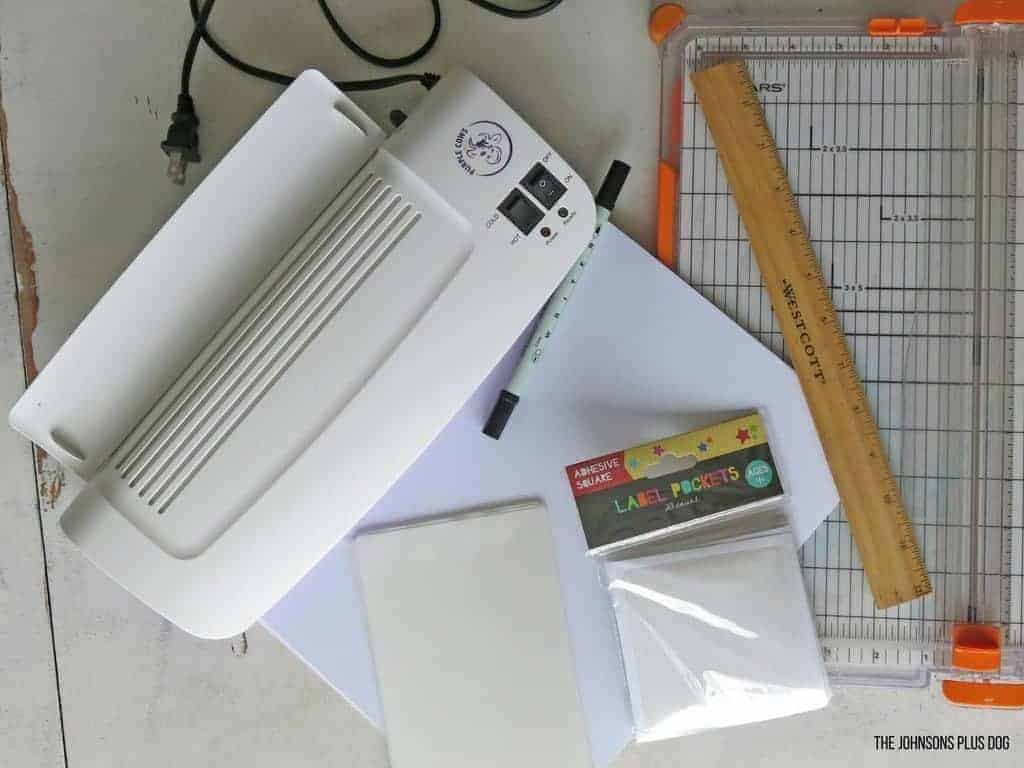
Supplies for DIY Family Picture Book for Baby:
- White Cardstock
- Colored Sharpies or Markers
- 2 Loose Leaf Rings
- Square Adhesive Labels (I got mine in the Dollar Spot at Target, similar here)
- Family Photos
- Laminator (I love this one!)
- Ruler
- Hole Punch (not shown in picture)
Step 1: Cut cardstock paper down to size.
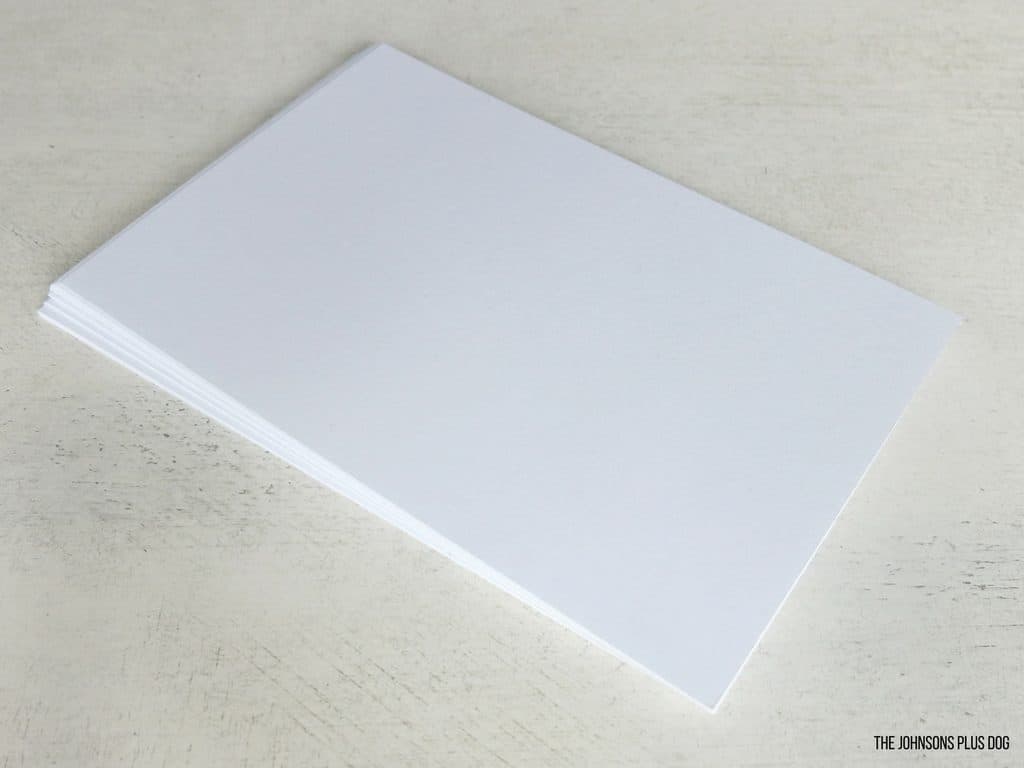
I started by cutting my paper down to size. I made mine about 4×6.
Step 2: Decorate your baby picture flipbook pages.
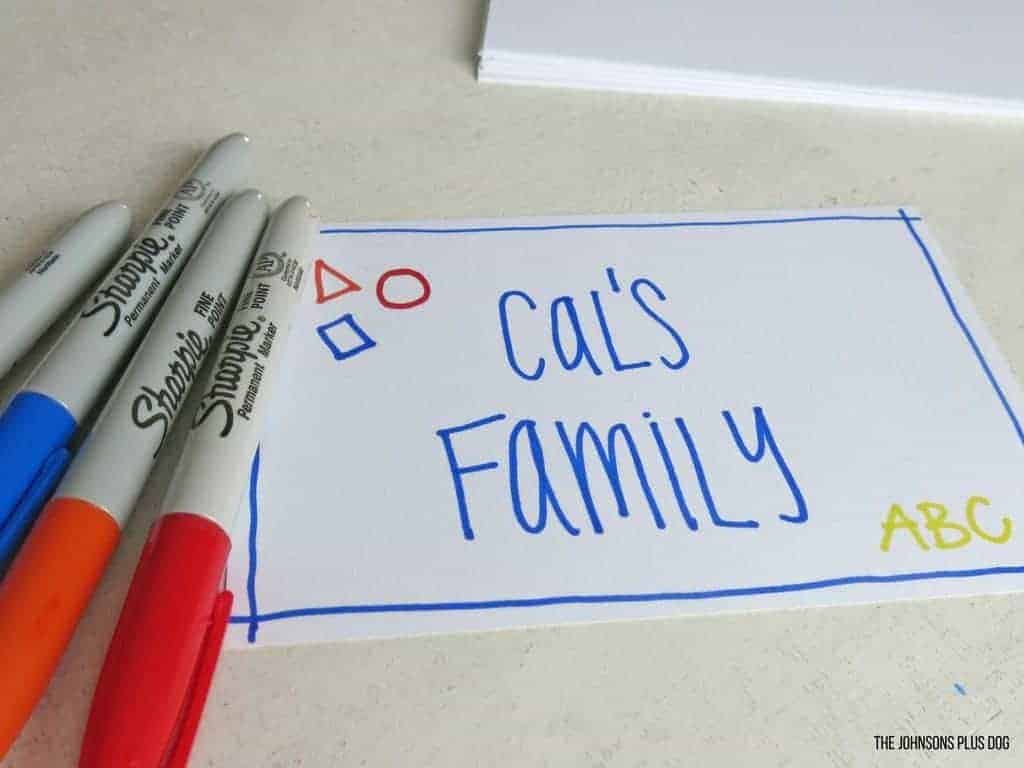
Next, I started on the pages. I just used colored sharpies and other markers.
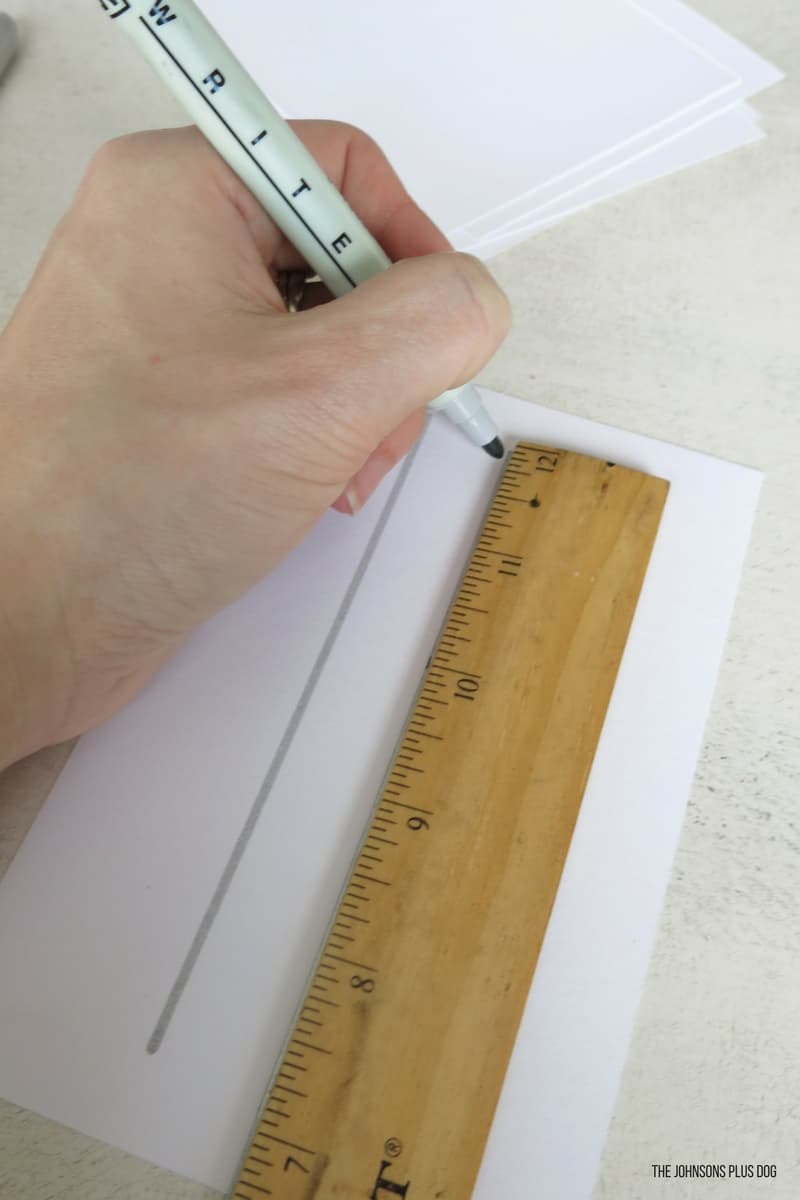
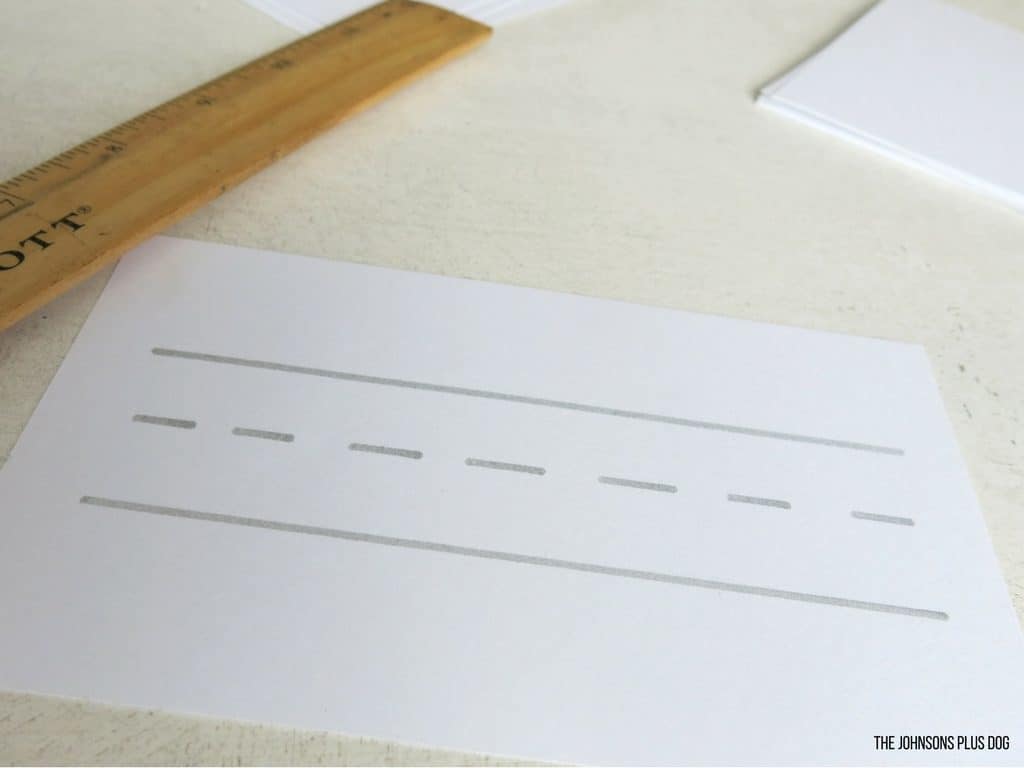
Then I added lines that look like children’s handwriting paper.
Step 3: Write the names of all family members you’ll include in the baby’s family photo book.
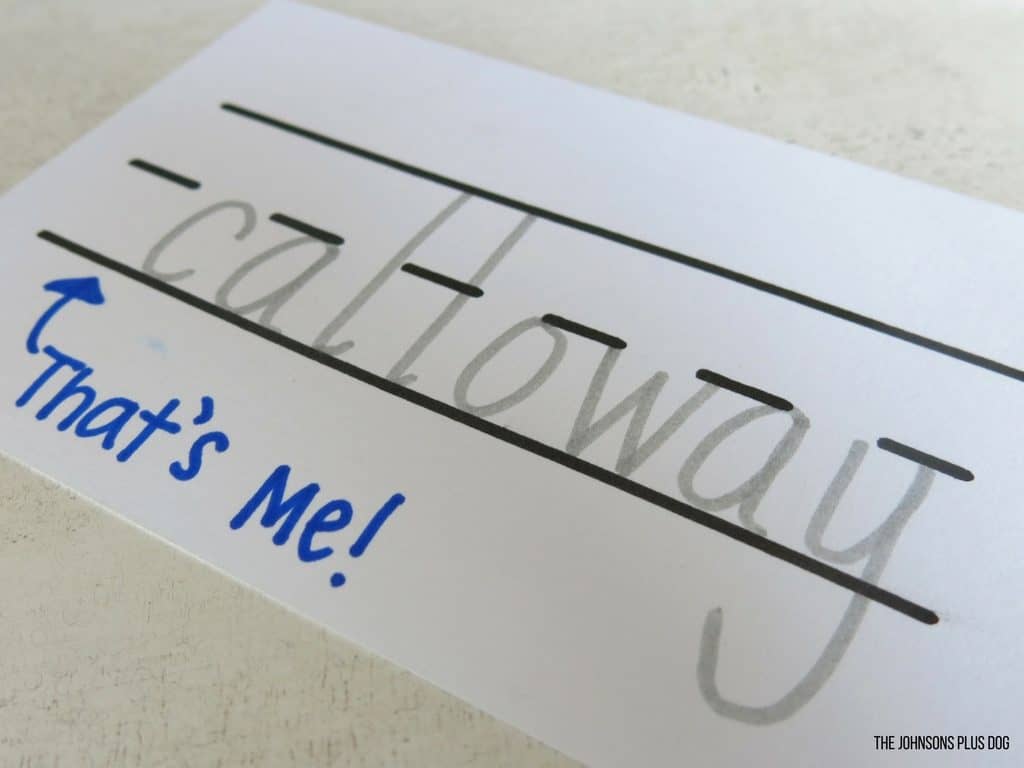

Next, I wrote the names of all of our family members on each page.
Step 4: Laminate all the flipbook pages.
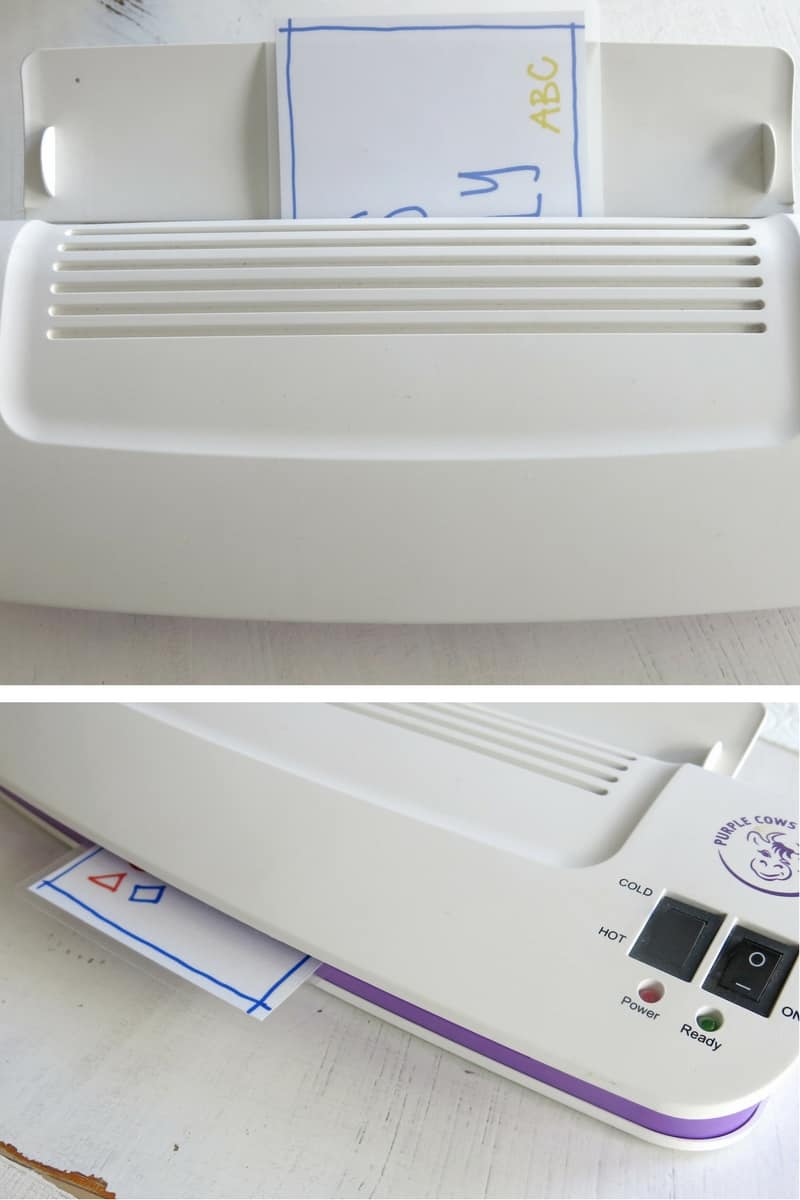
Next comes my handy laminator. This makes the pages of the baby family picture book really baby-proof!
Step 5: Attach photo pockets and add your family photos.
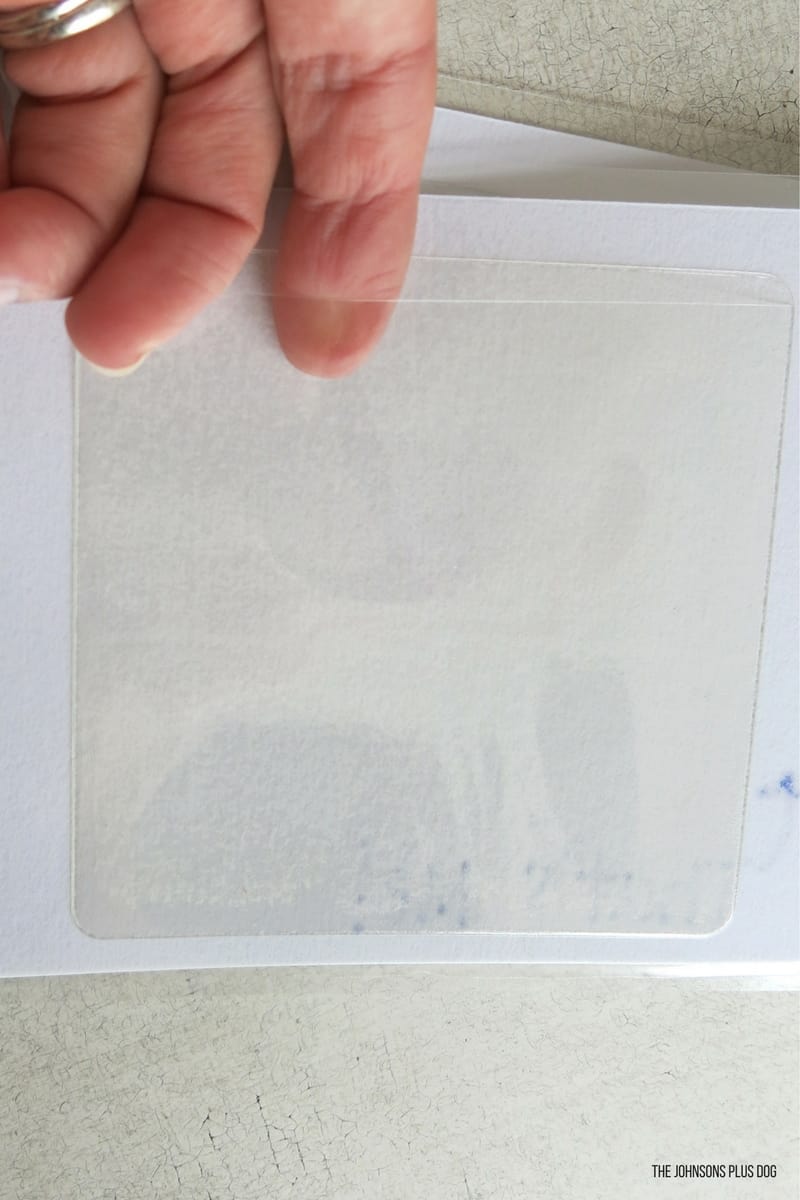
Next, I attached my label pockets for the photos. I got mine in the Dollar Spot at Target, you can grab something similar here.
I attached the label pockets on the backs of each page so that the left side of the spread was the photo and on the right side is the name.
If you can’t find label pockets, you could glue or tape your photos to the paper and then laminate them. I just thought it was cool that we can swap out the photos whenever we want.
Step 6: Hole punch the cards and add binding rings.
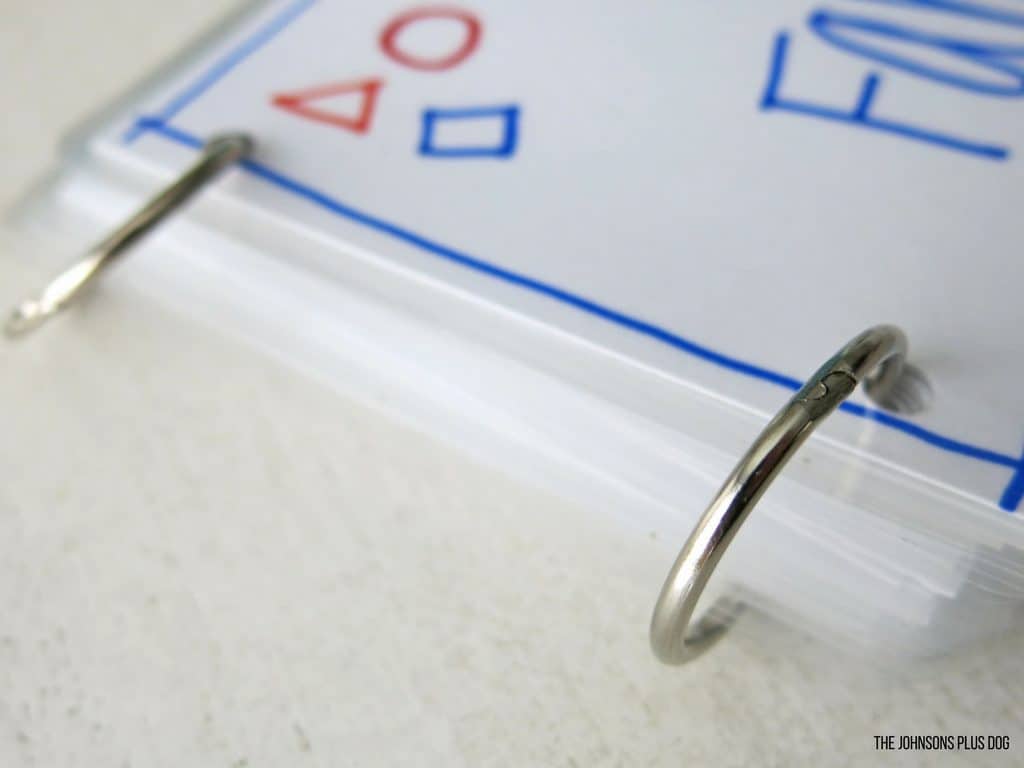
I bound the book with simple rings in some holes I made with a normal hole punch.

If you didn’t want to hand write everything, you could print out the pages….truth be told, I was planning on that…but my printer was out of ink! Haha.
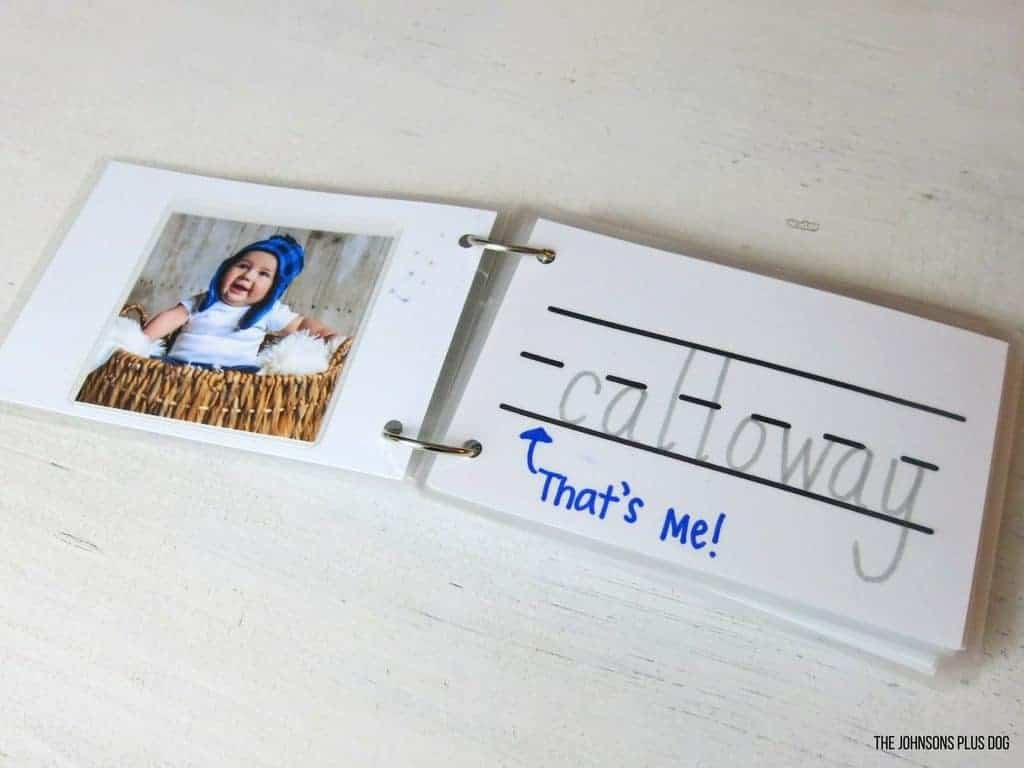
Another super great thing about the laminated pages is that you can write on them with a dry erase maker…which means this DIY Family Picture Book for baby can really be used all the way from baby…through toddlerhood.
It will even be helpful when Cal is learning how to write! He can trace over the letters.
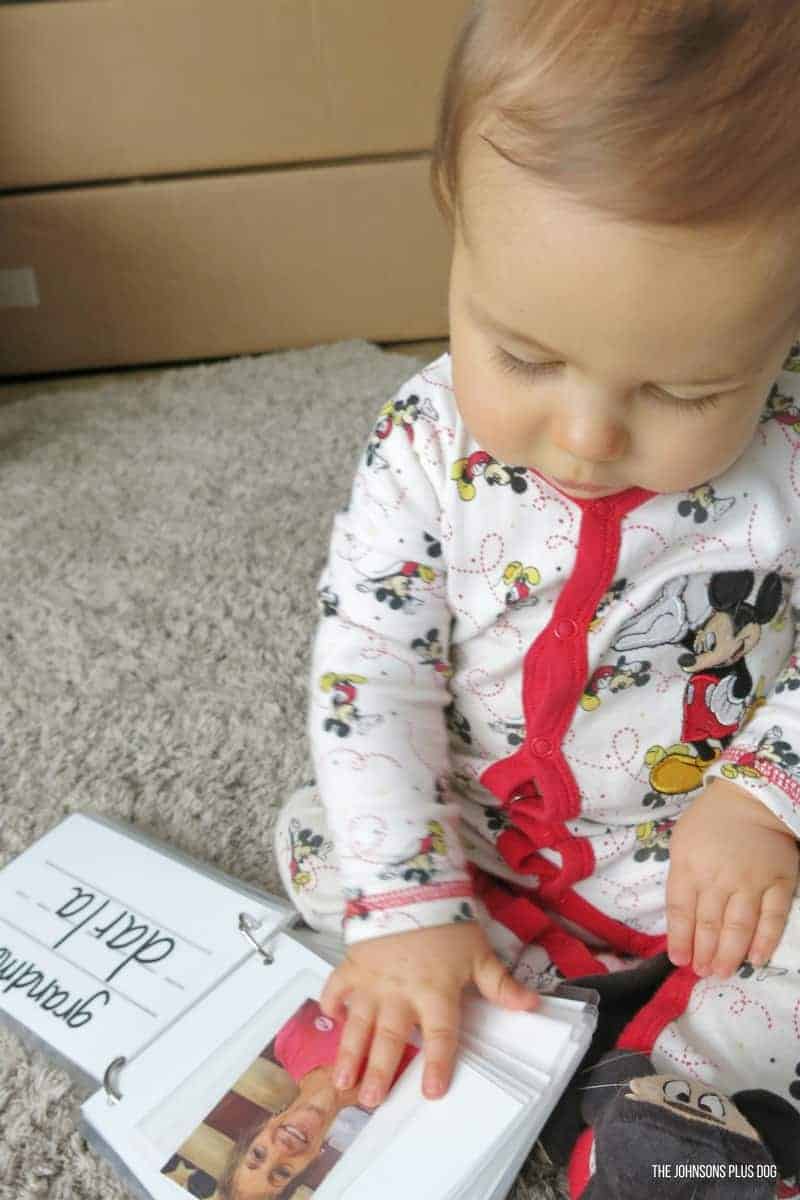
The moment I handed Cal the picture book, he was all smiles. He had a blast turning all the pages all by himself and pointing at the pictures of familiar faces.
…don’t mind the cardboard barricade (or the mess) in the backgrounds. He just started crawling and we’re doing all we can to keep him contained, haha!..
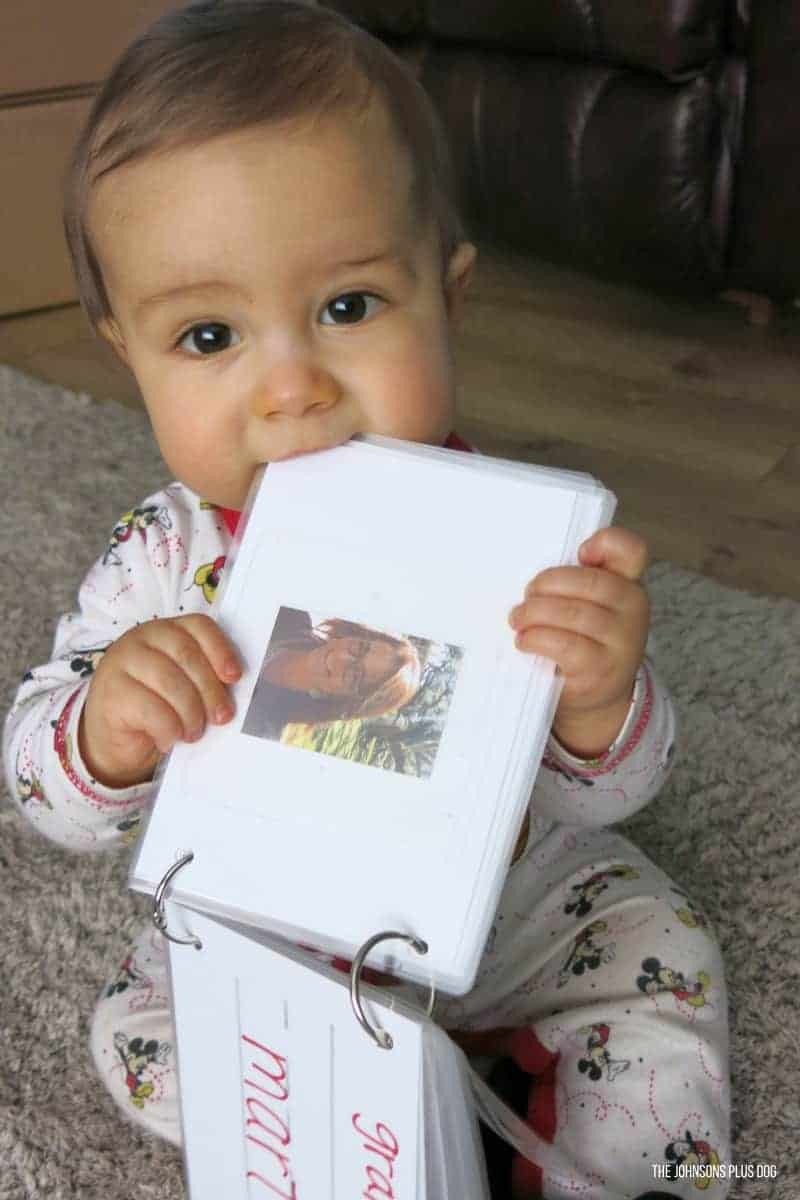
The laminator is a great way to really make any books for your baby! It makes them sturdy and pretty much slobber proof…Cal tested.
I had so much fun raiding my craft room again this month for a little DIY Family Picture Book for Baby! I can tell that Cal is going to love this one for a while.

DIY Baby Family Picture Book
Learn how to make this easy DIY baby family picture book, featuring all of your baby's loved ones! This simple DIY takes minutes to create a lasting memory.
Materials
- White Cardstock
- Colored Sharpies or Markers
- 2 Loose Leaf Rings
- Square Adhesive Labels
- Family Photos
- Laminator
- Ruler
- Hole Punch
Instructions
- Cut cardstock paper down to size.
- Decorate your baby picture flipbook pages.
- Write the names of all family members you'll include in the baby's family photo book.
- Laminate all the flipbook pages.
- Attach photo pockets and add your family photos.
- Hole punch the cards and add binding rings.


This is really great. I did something similar when my girls were little. I hope you will link this up to our next #HomeMattersParty
Thanks Emily!
What a cute idea! I love how it is personalized with the pictures of family members!
Thanks Mary! He definitely loves looking at the familiar faces! 🙂
Omgosh, I love this idea. What a fun way to make a baby proof book! My sister is having her first baby and I may have to make one of these for her.
Thanks Erlene! 🙂 There are so many different variations you could make with the laminator too! Learning colors, shapes, numbers…:)
Such a cute idea!! I love this especially since most of Calloway’s family lives faraway, because now he can see our pictures and learn or names!!!! Grandma Darla loves this…
Thanks Mama! He loves his new book! 🙂
How adorable is Cal? What a great use of your extra craft supplies you had on hand. Love it.
Thanks Sue! I love this challenge of getting to use all my extra supplies! 🙂
Such a cute idea! And great use of your laminator. I also find such great items in Target’s Bullseye section. It’s so hard to resist buying more, lol.
Thanks Marie! I don’t think I can remember the last time I was at Target and didn’t grab at least one things from the Dollar Spot section! It’s amazing.
That’s the most adorable thing I’ve seen today!! Love the delight on his face at all those familiar pictures and such cute wording!
Thank you Megan, he just about melted my heart when I saw how excited he was about the book I made him!
Your baby is so adorable! What a cute little book & I would so love a laminator!
Thanks Michelle. After testing it out on this book, I know I will be using the laminator on a lot more crafts for Cal!
What a brilliant idea!! You have just given me an idea for something to make for my little niece!! Thank you for the tutorial.
Thanks Sam! Glad you were inspired! They are so fun to make…but it’s even better when you see the little one’s smile !
What a special keepsake. It will be a treasured item.
Thanks Debra. I love watching him light up when he looks at it everyday!
Darling idea! I’m new to your blog.. just found you through Hometalk! Liked the bathroom floating shelves idea, and then saw that you live in Bend, Oregon.. so just HAD to come for a visit. My hubby and I just bought a “70’s fixer upper” in Fall of 2015 here in Madras, Oregon, so we are almost neighbors! Have subscribed to your blog so I can look at all of your home improvements and gardening ideas. Our yard was a total dead mess when we moved in… in fact.. was just dirt and dead weeds! Not one flower or shrub or bush in the entire yard either. Has been a slow process challenge.
I have a 3 year old great nephew and this little book would be so great! I see that the first thing Cal did was chew on it! Don’t they all? so funny…. will take care.. I’ll be back to visit and make a comment here and there. Marilyn @ Pink Paper Cottage
Marilyn! Thank you so much for your comment, neighbor! I’ve got lots of blog updates about our huge backyard planned for the summer months so stay tuned! It’s been so much work, but it’s finally starting to pay off. I’m so looking forward to this warmer weather we’ve been getting. Best of luck to you on your renovation of the fixer upper, it’s a long hard road but so fruitful when you can look at it and say “We did that!” 🙂 Let me know if you ever have any questions 🙂
My little guy still loves this book I made him. It so great for him to be able to learn all of the family’s faces because they don’t live near. 🙂
Take care Marilyn!
Your little boy is BEYOND adorable!! LOVE the idea book too—gonna de-stash my stuff for the new grandbaby ABOUT to be born!!!
Congrats Susanne, have fun creating this book ! 🙂
Thanks for the instructions for the adorable book for babies. My grandson is 7 months old & everything goes in his mouth. This will be perfect for him! I love the fact that you can change out the photos too:) Cal is a cute little guy❤️.
Thanks-can’t wait to make it!
So glad you will be able to use the instructions to make a book for your grandson! Enjoy.