How To Hang Peel and Stick Wallpaper: Cheap and Easy Accent Wall Idea
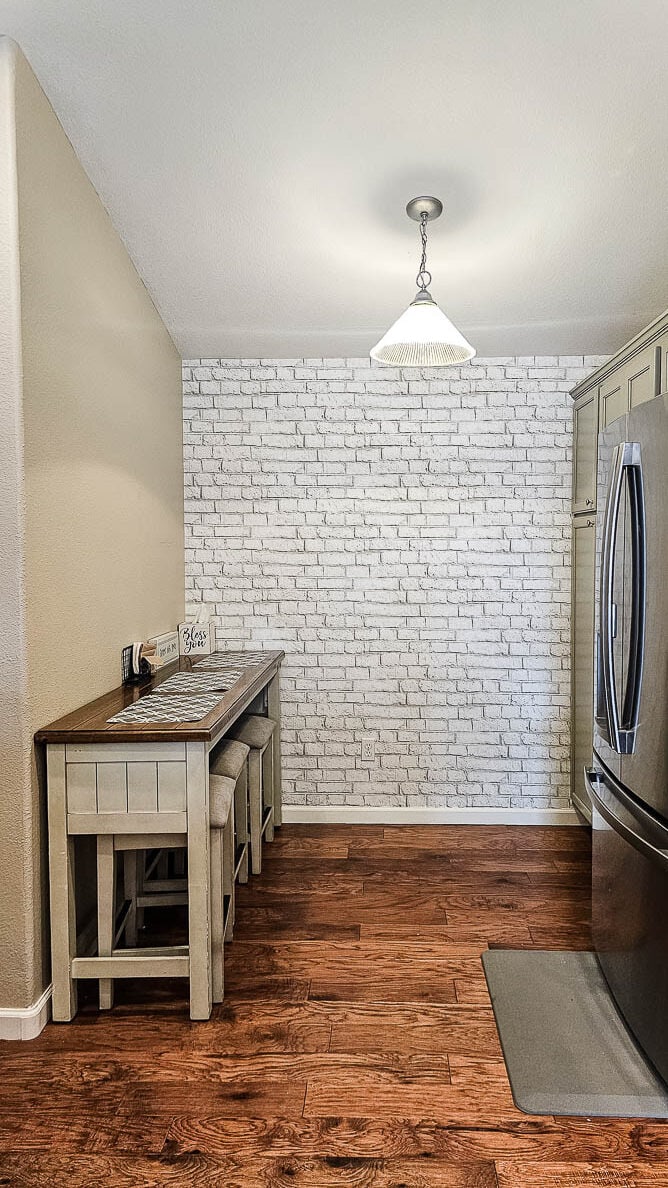
Want to add a cheap and easy accent wall to transform your entire room? Give removable wallpaper a try! Read on to learn how to hang peel and stick wallpaper like a pro!
Last year my mom moved nearly a thousand miles to be closer to us and her other grandkids and now she only lives a mile away! We are so thankful to have her closer.
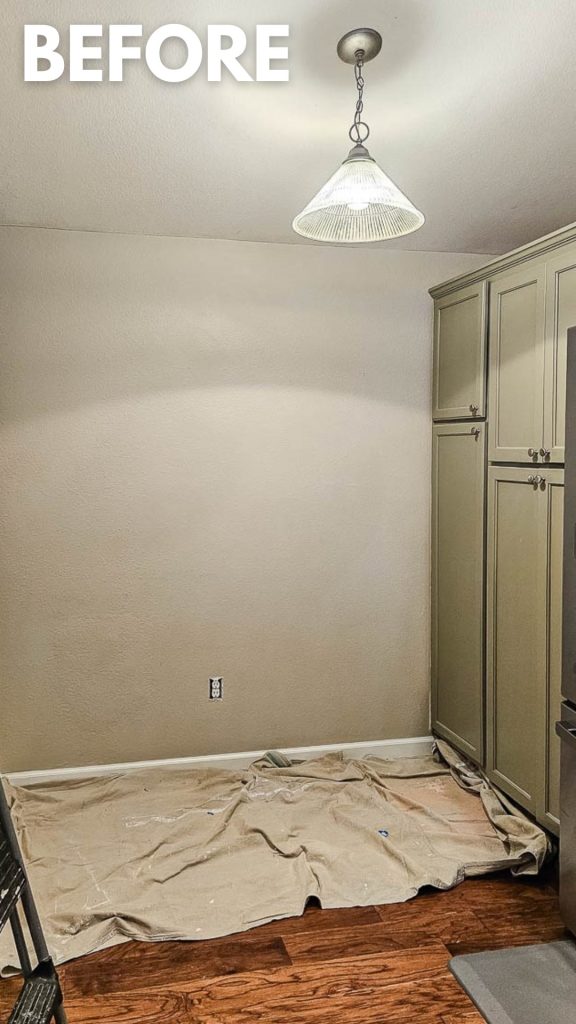
She’s been in her new house for a few months now and has had the vision of a faux brick accent wall in the kitchen since then. We talked about doing a faux brick wall using the brick panels that we used in our laundry room with the German schmear finish, but ultimately she decided on something that was a little easier to install.
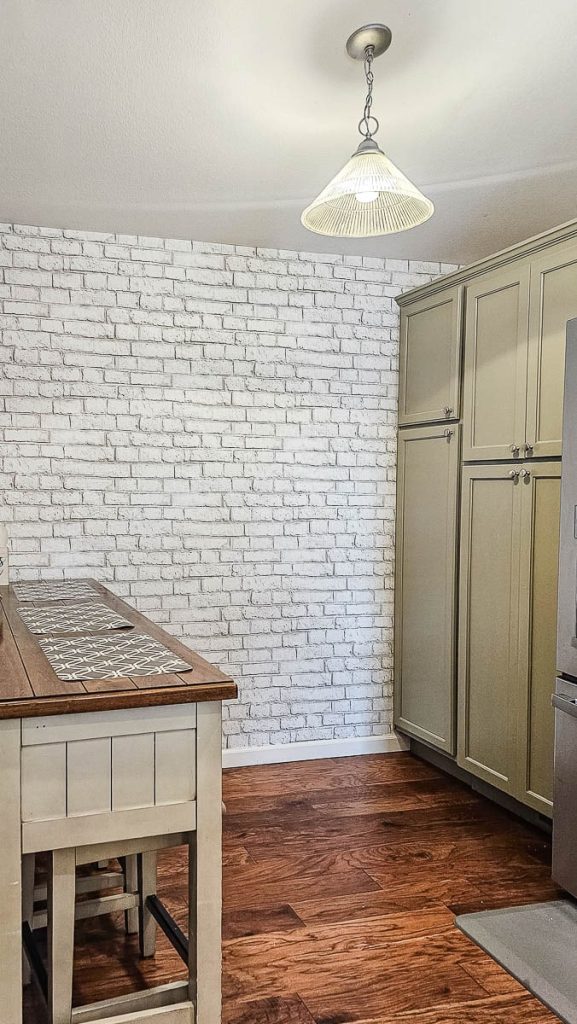
This easy accent wall cost less than $100 and made such a huge difference in her kitchen. Don’t you think? It brightened up the entire room and made it feel larger and added a ton of character.
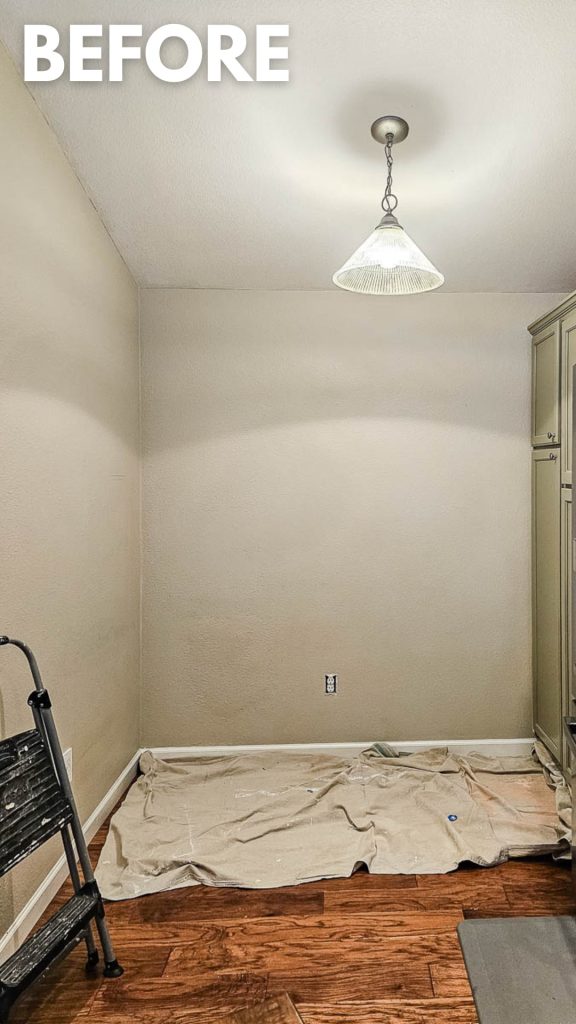
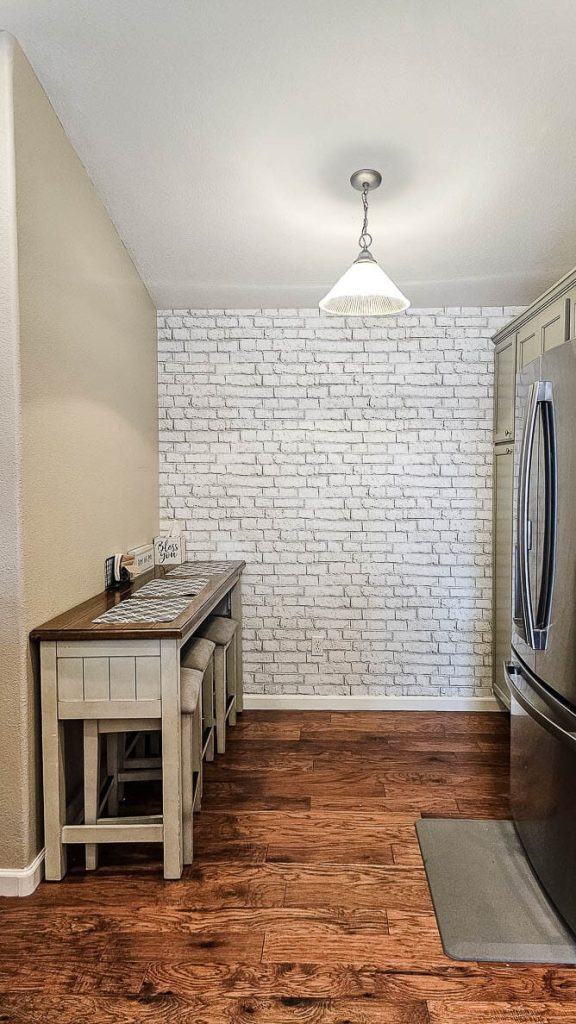
We decided to document the whole process so we can teach you how to hang peel and stick wallpaper so you can install a cheap and easy accent wall in your home!
This guide for how to hang peel-and-stick wallpaper contains affiliate links, but nothing that I wouldn’t wholeheartedly recommend anyway! Read my full disclosure here.
How To Hang Peel and Stick Wallpaper: Step-by-Step Instructions
Supplies needed:
- Wallpaper
- TSP
- Cleaning rags
- Mixing bowl
- Tape measure
- Pencil
- Level
- Utility knife or craft knife (X-acto knife would also work…basically anything with a sharp razor knife)
- Cutting mat
- Acrylic ruler
- Rotary cutter
- Straight edge
- Squeegee (or smoothing tool)
- Straight pin (or thumb tack) – if needed
Step 1. Choose your wallpaper
The first step here is to choose your wallpaper. You’ll want to choose between traditional wallpaper that is installed with a paste and self-adhesive wallpaper that is sticky.
This tutorial covers peel and stick wallpaper. The process is a little bit different for the regular wallpaper, so keep that in mind.
Next, you’ll want to choose the pattern for your wallpaper. If you’re installing the wallpaper on a wall with texture, like we were, it is a good idea to find a wallpaper pattern that is busy or looks like it has a texture, like this faux brick wallpaper.
This specific pattern is a GREAT option for hiding the texture of the wall, any pesky bubbles and more imperfections. The lines on the brick are not necessarily straight so it is perfectly imperfect, which is a great thing when it comes to wallpaper.
I’ve tried my hand at installing a wallpaper with a geometric pattern and it was WAY harder. The seams were more noticeable and we had to work hard to get things lined up. Long story short, think long and hard about your wallpaper pattern and find one that is forgiving.
Also, take some time read the reviews on the product to make sure it is a high-quality brand. The one we used had great reviews on Amazon.
Step 2. Figure out how much wallpaper you’ll need
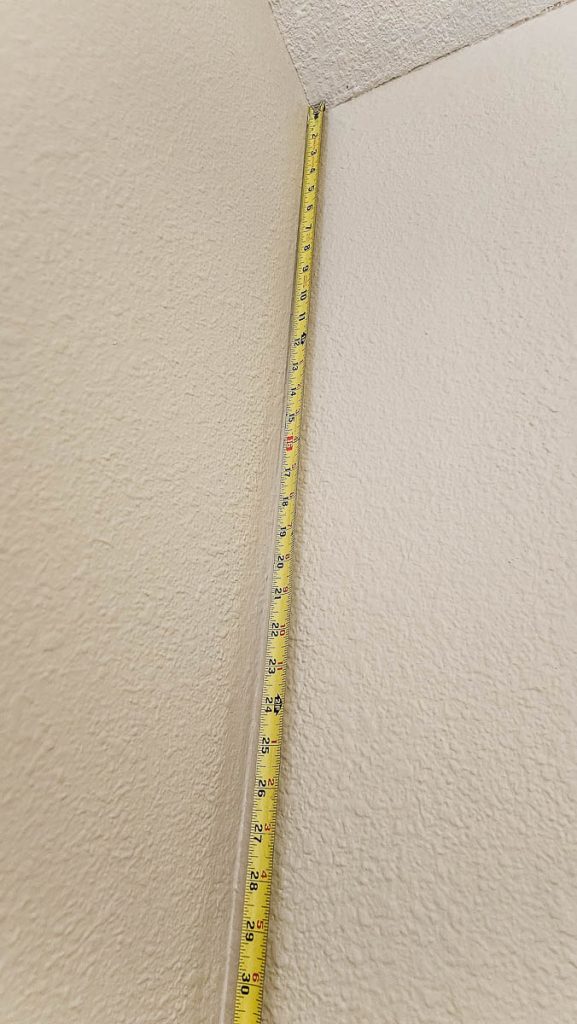
Once you figure out what wallpaper you’ll be using on your wall, it’s time to measure your space to figure out exactly how many rolls of wallpaper you need to order.
Start by measuring the entire length of the wall and divide it by how wide the wallpaper roll is to determine how many vertical strips of wallpaper you’ll need to reach across the entire wall.
Next, measure the height of your wall to figure out how approximately how many vertical strips you’ll be able to get from each roll of wallpaper. For example, if your wall is 8′ tall, you’ll know you can get two strips from each roll if it has over 16′ in the roll.
Lastly, add 10-15% more to all your numbers to accommodate waste and mistakes. It’s always better to have more than not enough.
It is also important to order all the wallpaper you need at once, rather than starting your project and ordering more later because the coloring can be different if the dye lots are different.
The wallpaper we used from Amazon can also be returned within 30 days. So if you don’t open a roll, you can return it with no problem.
Step 3. Clean your wall
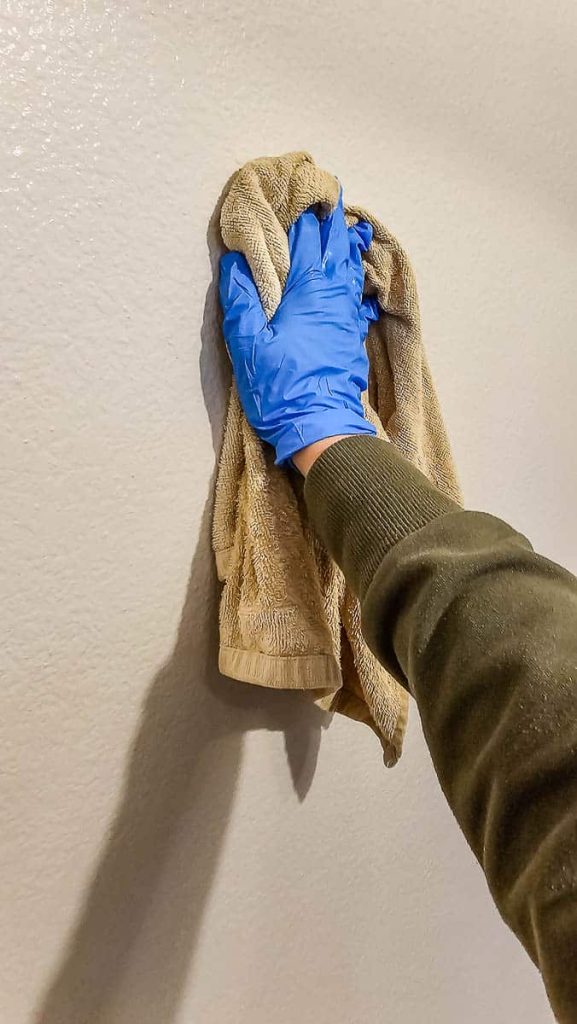
Before you start throwing wallpaper on the wall, you need to make sure you have a nice and clean surface on the wall.
We used TSP and warm water to wipe down the wall. TSP removes any grime and oils from the wall, so it’s a great way to clean before installing wallpaper. We also use it to clean walls before painting.
But if your walls aren’t too dirty, you could also probably just use warm water with a cleaning rag to clean the walls before installing the wallpaper.
Step 4. Cut all wallpaper panels for the wall
While your wall is drying from being cleaned, you can get all the wallpaper panels cut to the correct size. Measure the height of the wall and add 2 inches or so at both the top and bottom edges.
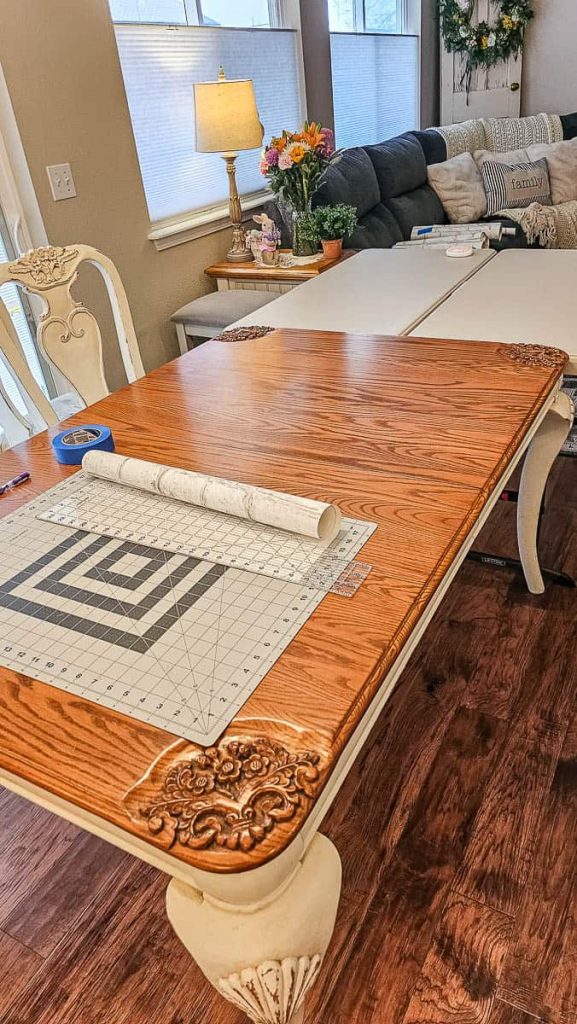
Before you start cutting, set up your cutting area for success. You’ll want to be able to unroll the entire length of the wallpaper on a flat surface. We added a couple of folding tables to the end of the dining table to make sure we had enough space.
Make a small mark on the back of the wallpaper at the correct place for your cut. Then, flip the wallpaper over and position it over your cutting mat. Use an acrylic ruler and cutting mat to line everything up so it is nice and straight.
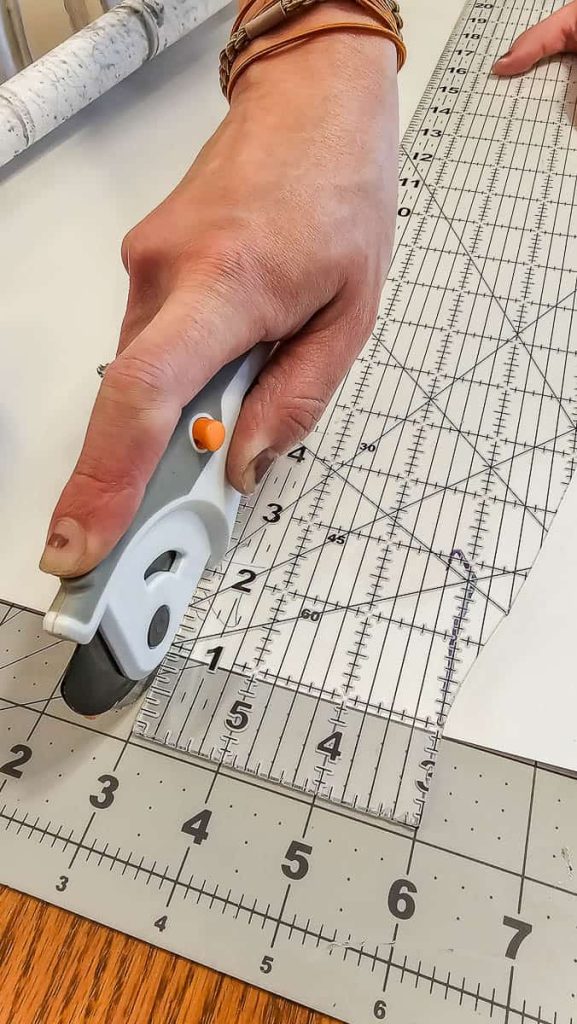
Hold the acrylic ruler in place with one hand and use the rotary cutter with your other hand.
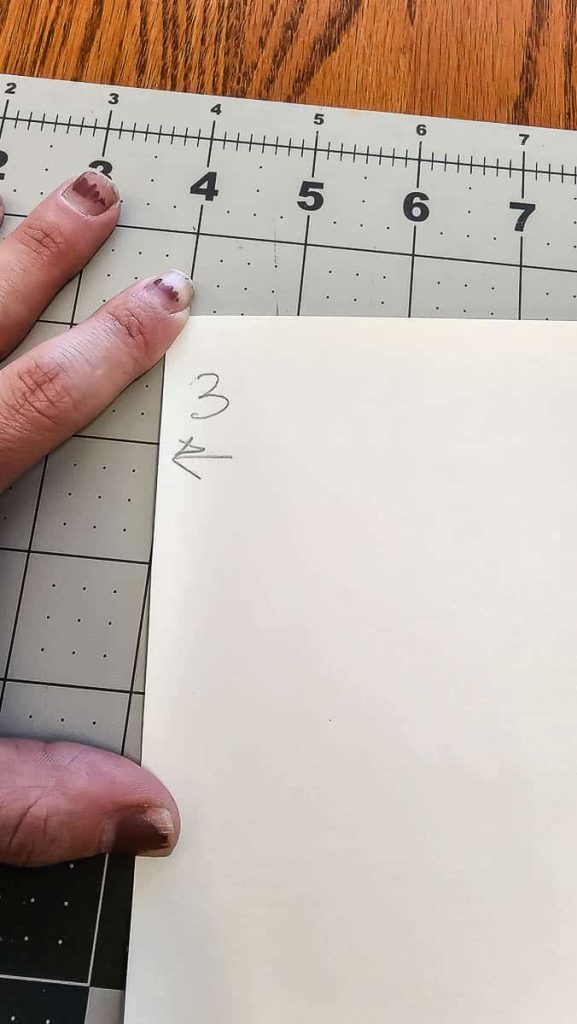
Label the back of the roll with the number (1st, 2nd, 3rd, etc) and draw an arrow to the top so you know which end goes to the top of the wall.
To cut the 2nd panel, flip the cut piece back over so you can see the pattern on the front. Unroll the wallpaper so it goes the entire length of the first piece. Then move it around until you see where the pattern matches up. Make a small mark at the top where the top of the first panel is so know where to cut the 2nd one.
For this busy brick pattern, we had to look for distinctive features to find in the pattern when we had trouble matching up the pieces.
Then you’re completely done with the 1st panel for now so you can roll it up. We added a little piece of painter’s tape to the roll to keep it rolled up. Then I labeled the painter’s tape so I knew which roll was which.
But don’t roll up the 2nd panel quite yet, you need to use it to match the pattern for the next cut.
Continue the process described above for the remaining wallpaper panels until you have everything cut to the correct size.
Step 5. Draw straight line for the first panel
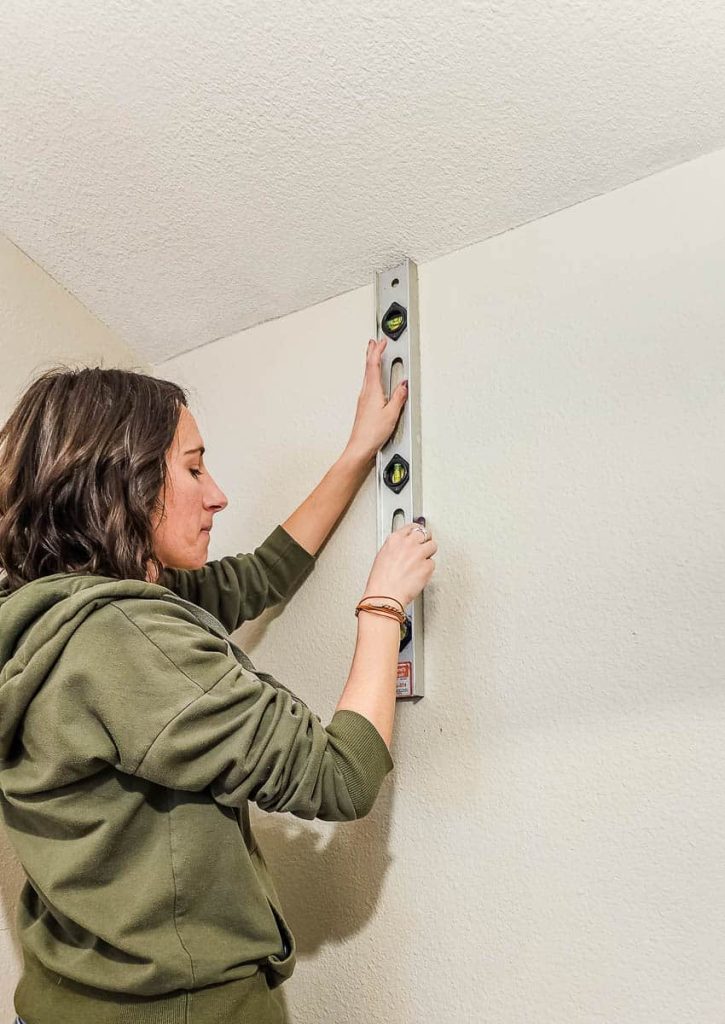
From the left side of your wall, measure out from the corner and make several marks where the width of your wallpaper will be. Then use a large level to make a straight line.
This is an easy way to make sure that the first panel of wallpaper is installed straight. This first panel of wallpaper is the most important to get level, so having a line on the wall is a great reference point.
Step 6. Install first strip of wallpaper
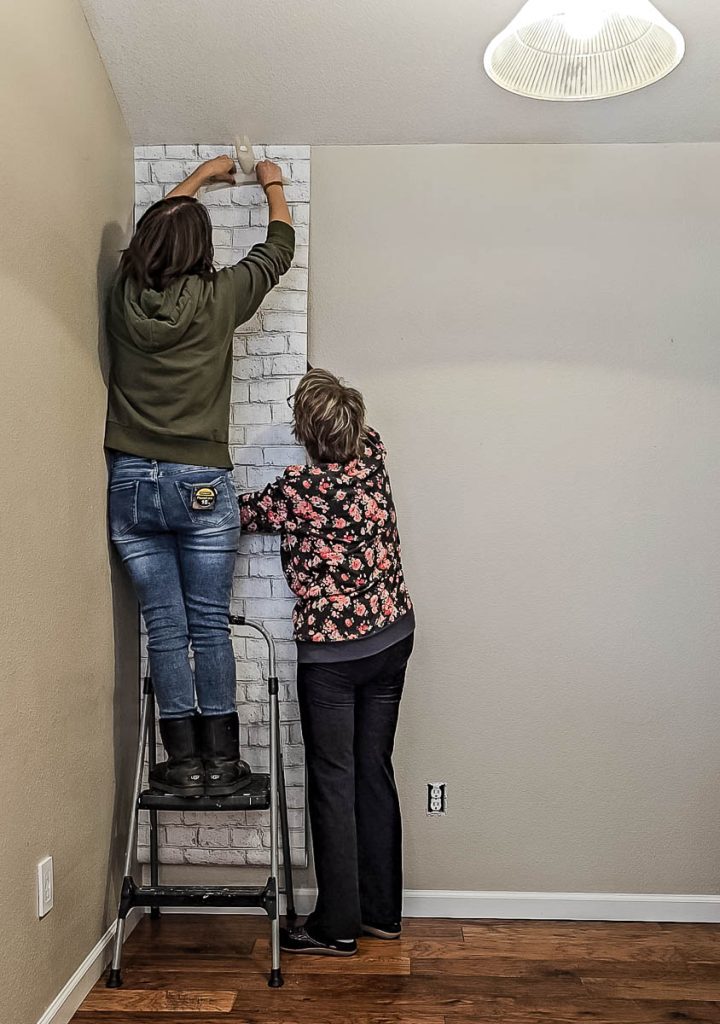
Remove a few inches of the backing paper and hold the first panel up against the top corner. Line up the panel so it matches your straight vertical line and the ceiling and press it into place by hand.
Continue removing the self-adhesive backing about 6 inches at a time and slowly pressing the peel and stick wallpaper into place making sure the right edge of the wallpaper is lined up with your vertical guideline.
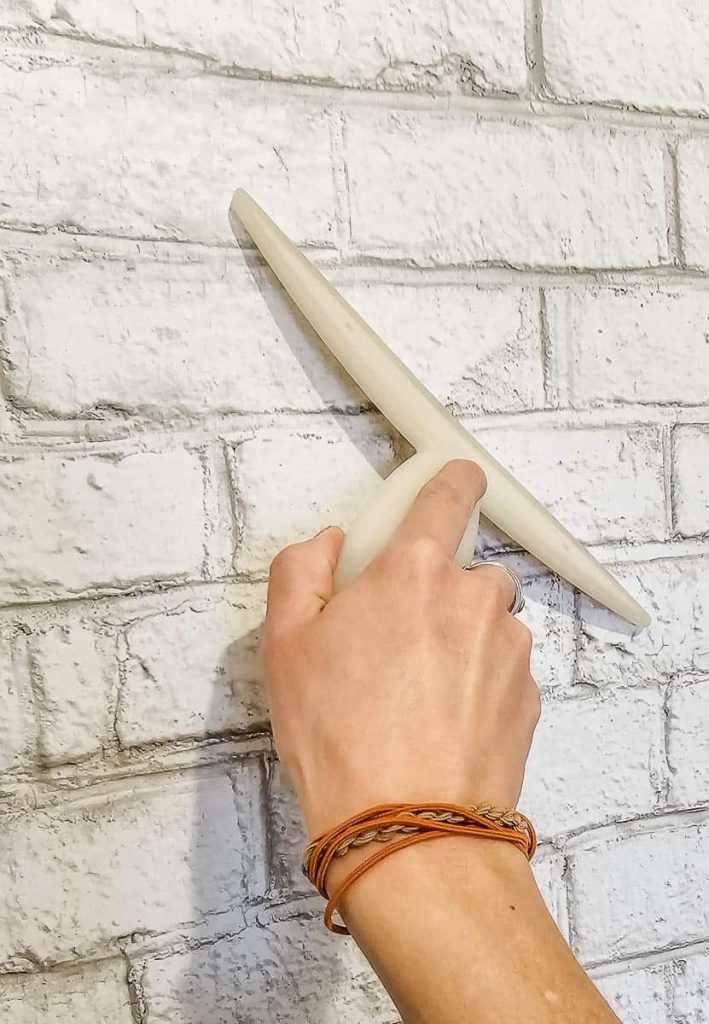
Use a squeegee to press the wallpaper onto the wall working out any bubbles as you go. They also make special wallpaper smoothing tools, but honestly, the squeegee has a bit of “give” to it that is really helpful when putting up temporary wallpaper – especially on walls with orange peel texture.
It can be helpful to have one person up on the ladder looking at the top corners and have a second person double-checking all the lines for level during the installation process. Peel and stick wallpaper is not something that I’d want to do by myself.
Continue working your way down the panel make sure it gets lined and all air bubbles get worked out with the squeegee. Leave whatever excess wallpaper you have at the bottom near the baseboards. You’ll cut that off later.
Step 7. Continue installing wallpaper
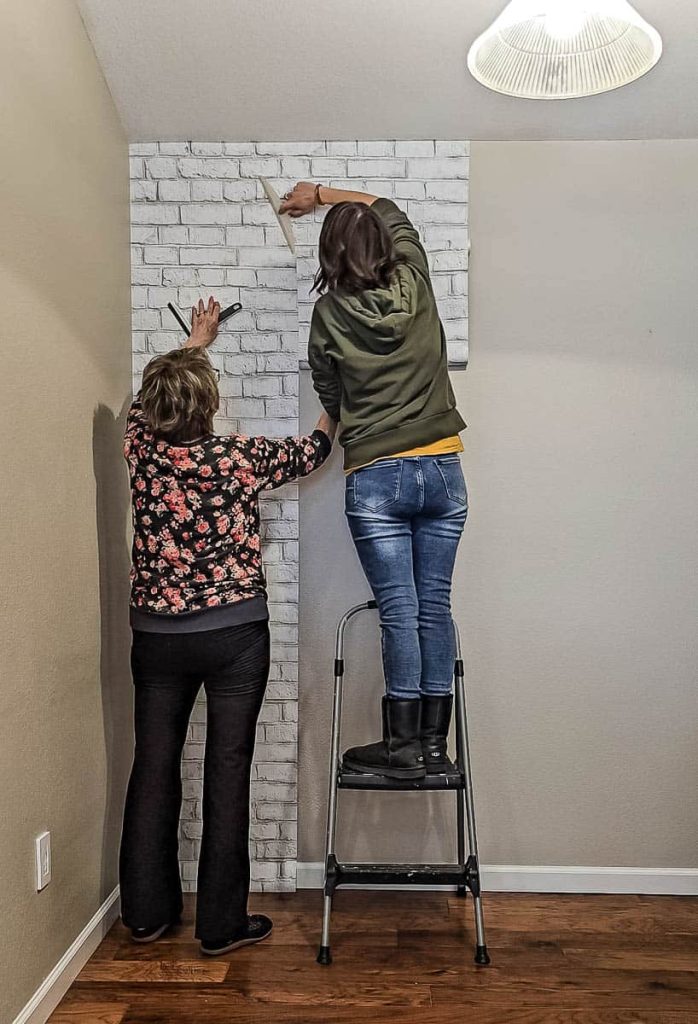
Continue this process with the next strip and the other wallpaper strips after that until you work your way all the way across the wall.
When lining up your 2nd wallpaper panel, you want to overlap the panels slightly for best results. I’m talking like a 1/16 or a 1/8 of an inch. Keep the overlap consistent as you go down and install the panel.
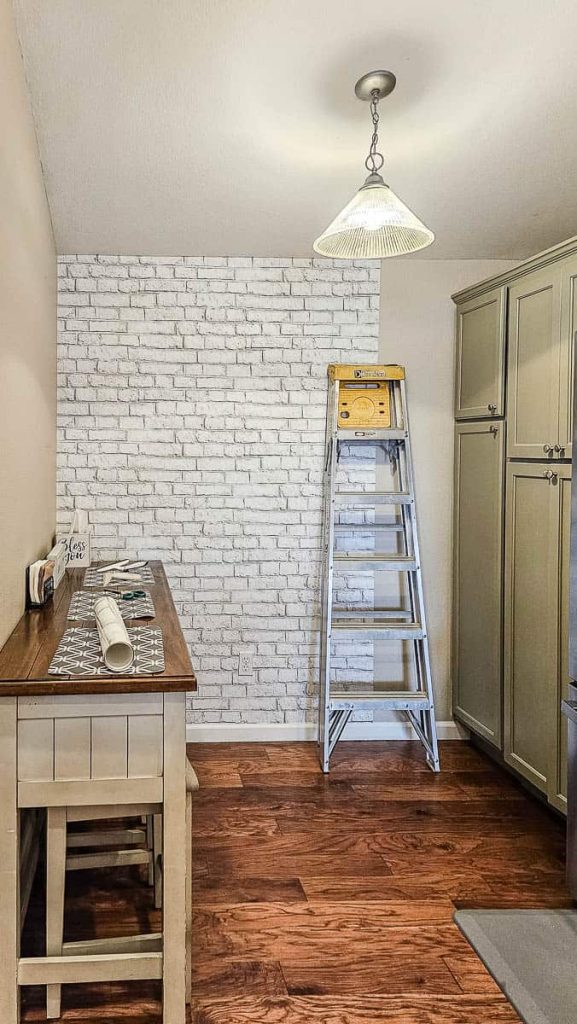
The most important thing to pay attention to when installing the next pieces is that line of overlap to make sure your pattern matches and your overlap is consistent.
Step 8. Trim edges
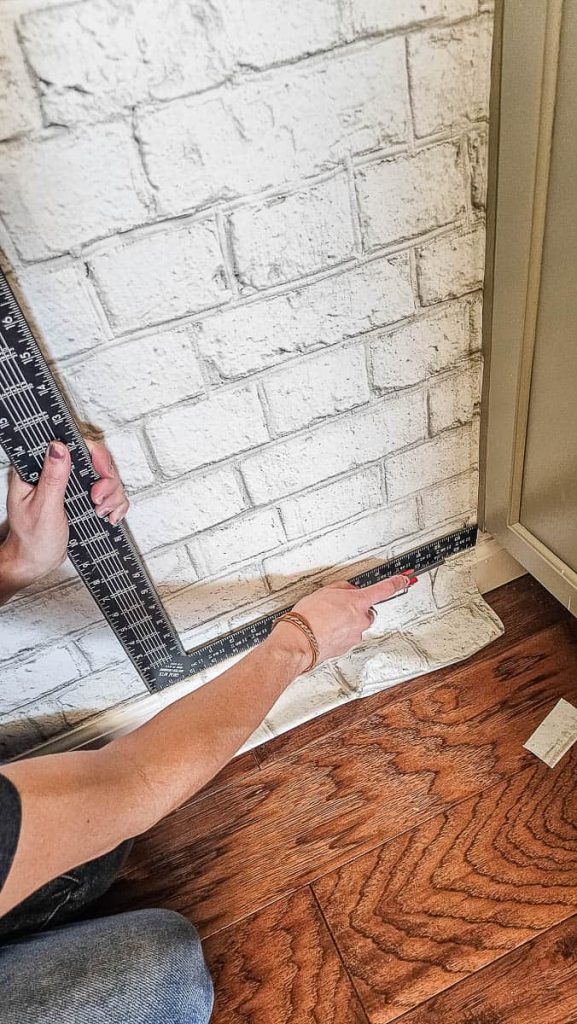
When you’re completely done installing all of the wallpaper panels on your wall, you can trim off any excess at the edges. Just hold something flat against the edge (like a straight edge) and hold your utility knife at a steady angle while you trim the extra wallpaper off.
When you reach tricky situations, like wallpapering around something, read on for some helpful tips!
Tricky situations when installing peel and stick wallpaper
Inevitably, you’ll probably run into a tricky situation (or two) when creating a peel and stick wallpaper accent wall. Here are the things we ran into and how we solved them.
How to hang wallpaper around electrical outlets
- Turn off the power to the outlet at the breaker. If you’re not sure which switch it is, it can be helpful to have a voltage detector, like this
- Use a screwdriver to remove the outlet cover and set aside
- Gently press the peel and stick wallpaper over the outlet
- Carefully cut the wallpaper with your utility knife along the edges of your outlet
- Reinstall your outlet cover with a screwdriver
- Turn the power back on to the outlet
How to hang wallpaper around cabinets with molding
I was completely stumped on how to handle the wallpaper around the kitchen cabinets with the molding. So much so that we stopped working and slept on it before moving on and attempting to hang the wallpaper around the cabinets.
We tried to just cut off the excess and leave a few inches to work around the cabinet but we didn’t couldn’t get it to lay flat with all the molding up at the top. I think it would have been a different story if the cabinets were square up there.
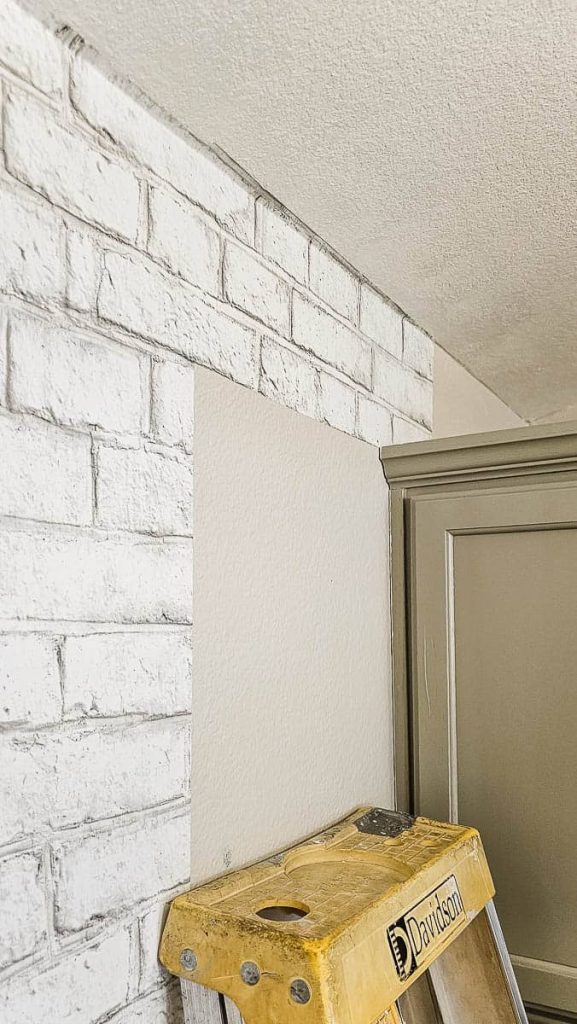
- How we handled it was to cut the wallpaper panel horizontally where the cabinets started. For a seamless look, we cut the wallpaper in a good spot where the bricks met together to hide the line. Again because this was such a great pattern that is busy and imperfect, you can’t see the line at all.
- The only thing to keep in mind is that you don’t want to overlap the horizontal line (like you’re doing with the vertical line). I made that mistake the first time and our pattern didn’t match up anymore.
- So I peeled it up and tried again. That’s the good thing about peel and stick wallpaper!
How to handle pesky air bubbles
No matter how hard you try to work slowly and get the air bubbles out with the squeegee as you go, you’ll probably have a few that stick around.
Luckily our wallpaper pattern was very forgiving and you could barely see them, but we didn’t have a few that we needed to get out. We tried two things that worked for us.
Make a small cut in a not-obvious spot that can be hidden within the wallpaper pattern and press the air bubble towards that cut.
We made this small cut and you can’t really see it on the wallpaper pattern.
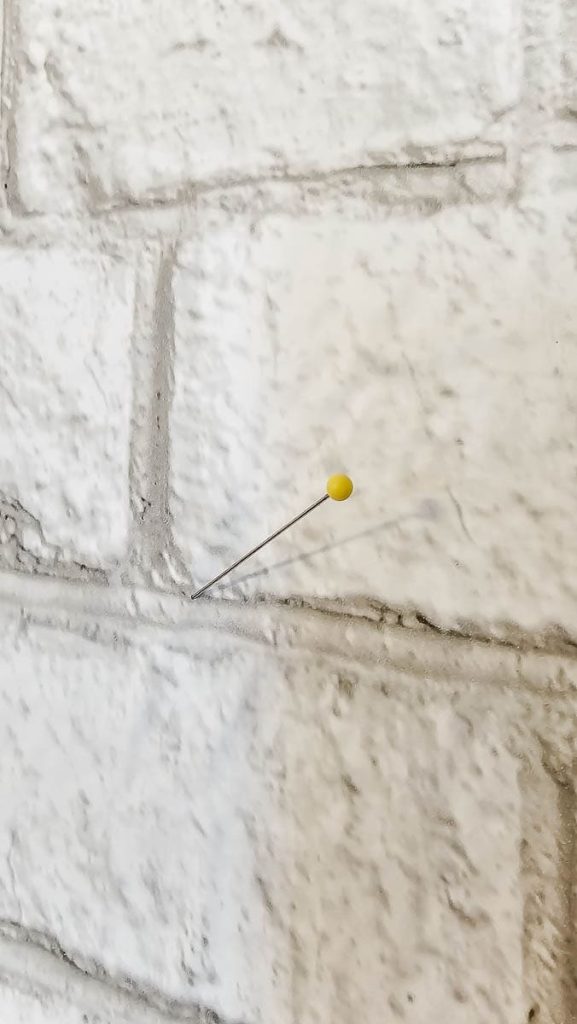
The second thing we tried that worked even better was a straight pin (or thumb tack) to make a super small hole on the wallpaper that isn’t noticeable.
Ideally, you’ll make the hole right over the air bubble and it will go away immediately. But be sure that the hole is in a good location to blend in with the wallpaper pattern. If needed, press the air bubble towards the hole to remove it using your squeegee.
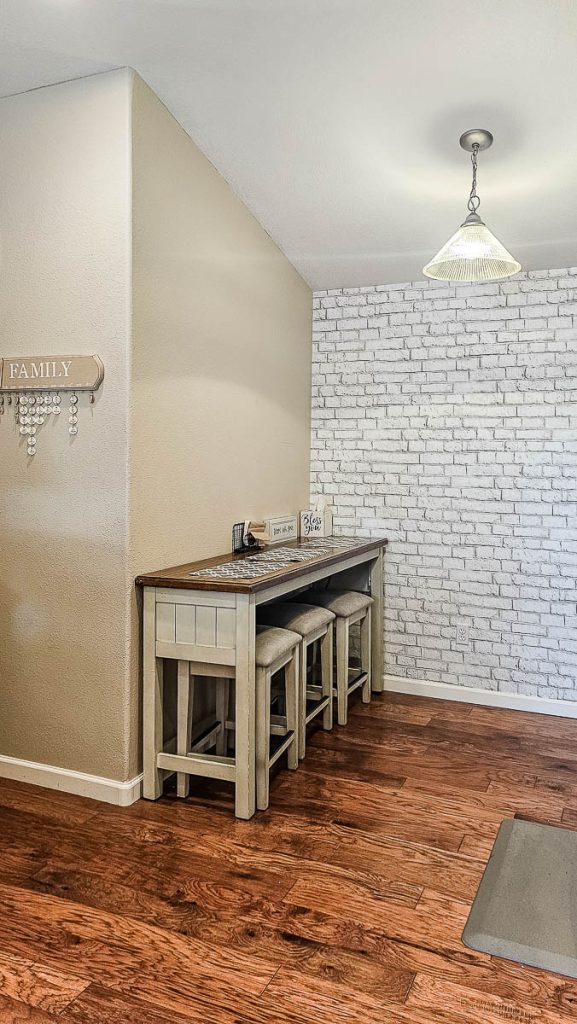
It turned out SO GOOD! Don’t you agree?
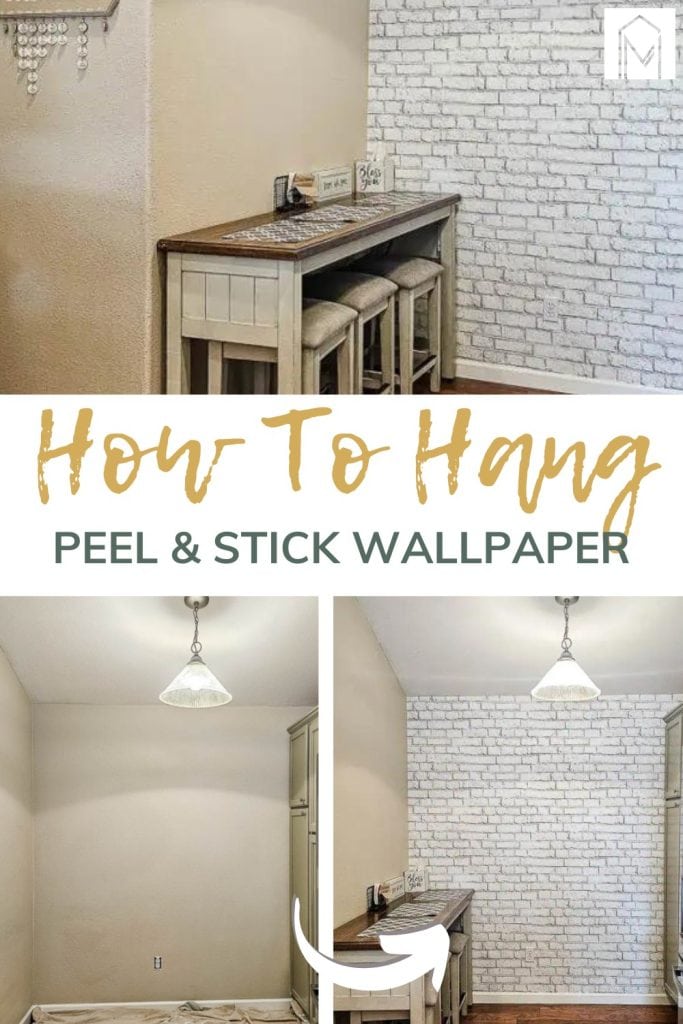
Here’s another look at the before and after transformation.
