How to Build a DIY Giant Pegboard Wall

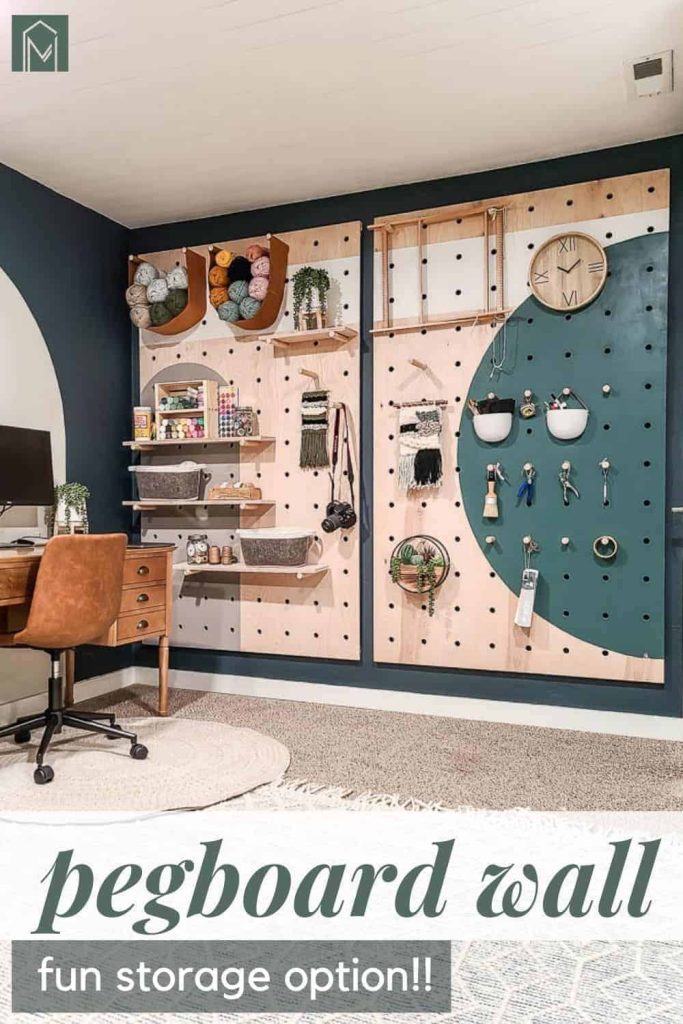
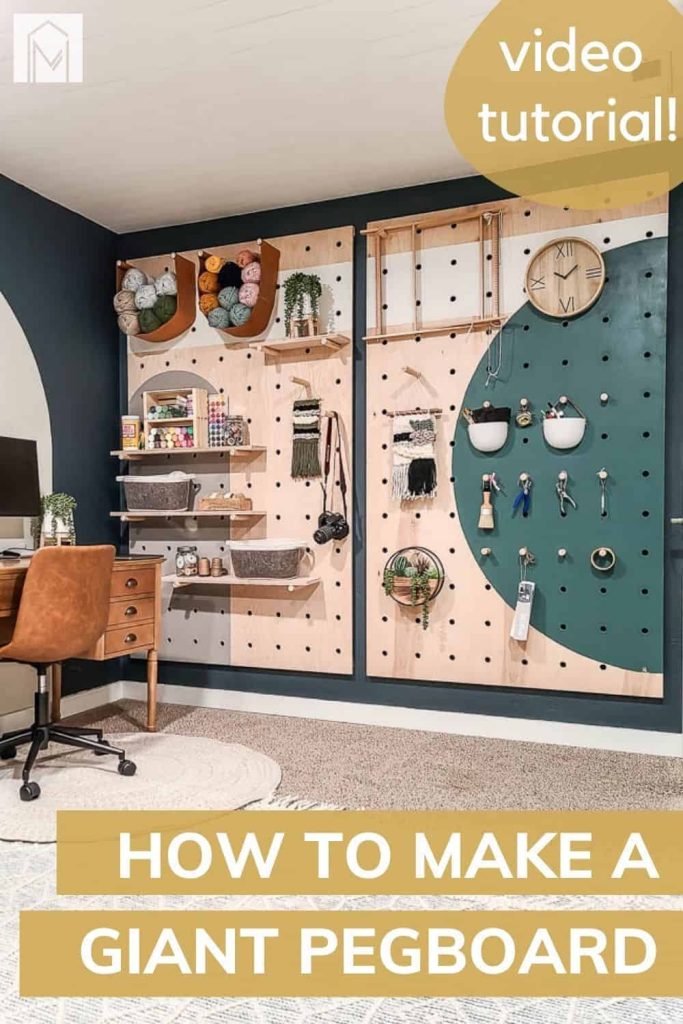
Do you need more storage for your office & craft supplies? This giant plywood pegboard DIY turned out so well. The unique abstract color blocks give a practical solution a little personality!
Pegboards are a really practical solution to providing more storage without taking up any more space. Because this is mounted on the wall, it gives the room a little more interest, safely stores those essential craft items out of reach from little hands, and keeps the clutter at bay!
This giant pegboard has totally changed my craft storage game! It was the perfect solution for adding some visual interest and storage to the walls during our home office makeover.
Want to see more of our home office makeover?
- How To Create Your Own Interior Design Mood Board (for FREE!)
- Shiplap Ceiling Tutorial To Cover Textured or Popcorn Ceilings
- How to Build a DIY Giant Pegboard Wall
- How To Paint An Arch Like A Pro
- Sliding Closet Door Makeover (and what I would do differently)
- DIY Kraft Paper Roll Holder Tutorial (Cheap & Easy!)
- Modern Boho Office Reveal (Before & Afters)
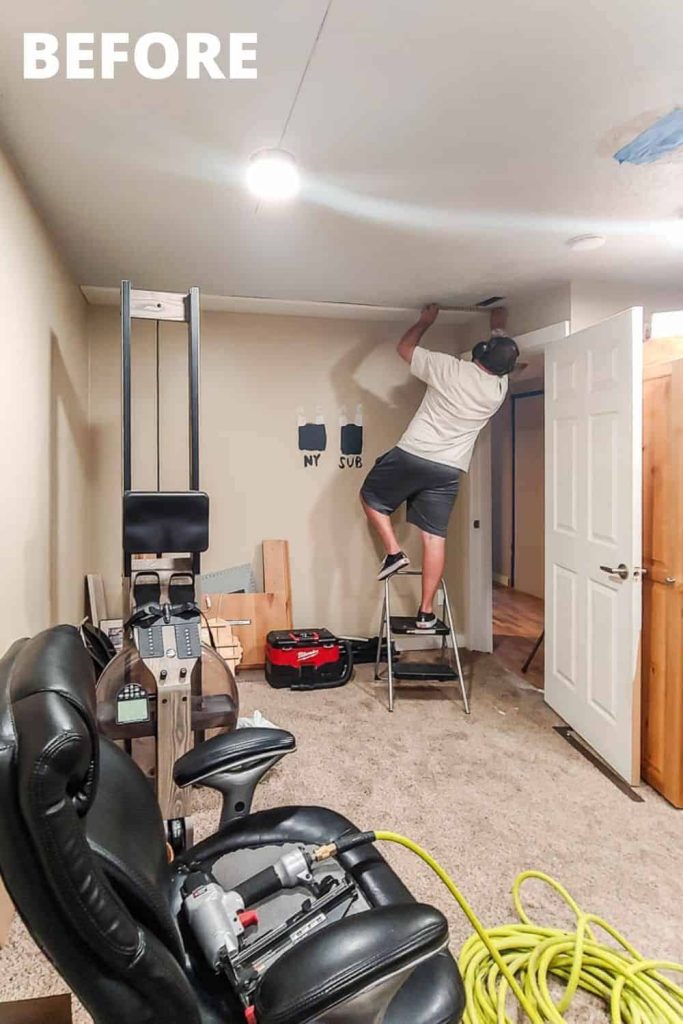
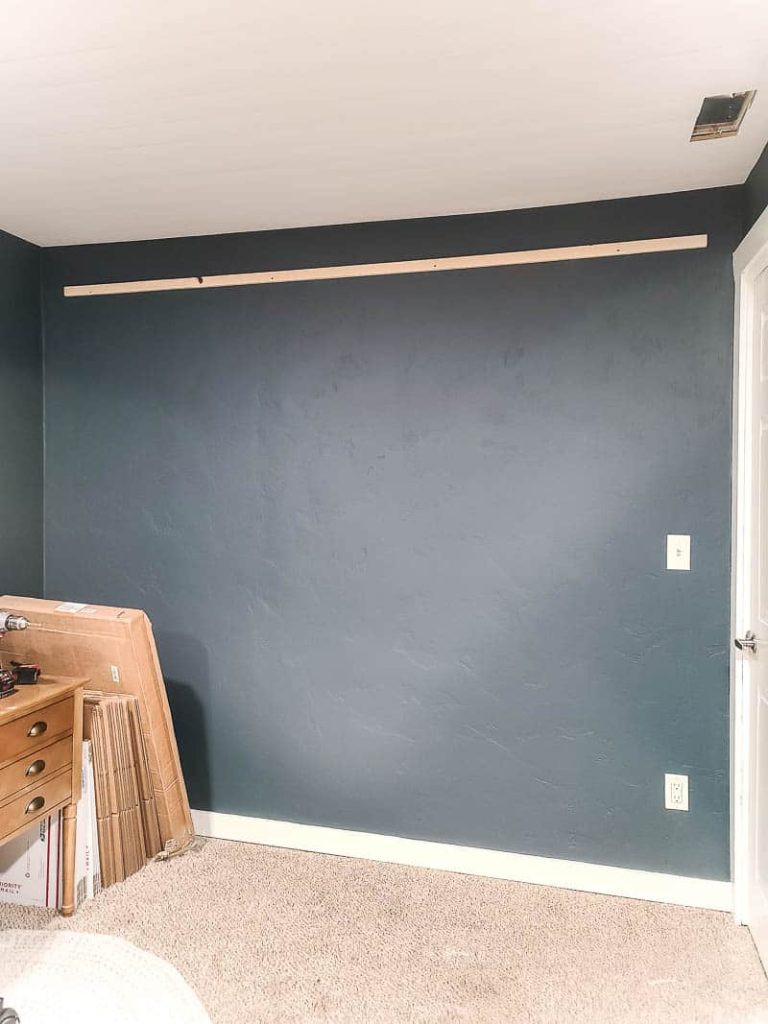
BEFORE PICTURE
You’ll see I decided to paint our pegboard, but if you are going to minimal distraction, feel free to leave it as your blank space for organizing. Of course, the designs and paint options are limitless should you choose that route.
A project like this one would be ideal for kids rooms, home offices, workshops, craft rooms, etcetera!
Giant Pegboard Wall Video Tutorial
We summed the whole process up in a video tutorial as well as a written out step by step tutorial!
If you love DIY videos, be sure to subscribe to our YouTube channel so you don’t miss the next one!
This shiplap ceiling tutorial also contains affiliate links, but nothing that I wouldn’t recommend wholeheartedly. Read my full disclosure here.
Supplies & tools needed for giant pegboard wall project:
- Regular sheet of MDF pegboard (as a guide)
- Level
- Sharpie
- 1/2″ x 4′ x 8′ sheet of plywood (we used two)
- Clamps
- 1″ long shank forstner drill bit
- Drill guide
- Orbital sander and fine grit sandpaper
- Wood glue
- 1×2 furring strips (to create french cleat & spacers)
- Table saw
- 1 inch brad nails (to attach the french cleat to the back of plywood)
- Brad nailer (learn the difference between a brad nailer and finish nailer here)
- Stud finder
- 2 inch finish nails (to attach french cleat and spacers to wall & to attach pegboard to spacers)
- Finish nailer
- FrogTape
- String
- Pencil
- Angled paint brush
- Blue green paint color in semi-circle
- Gray paint color in arch
- Tan paint color in line
- 3/4″ plywood pieces for shelves, cut at 6″ deep
- 1″ dowels
How to Build & Install a Giant Pegboard Wall: Step-by-Step
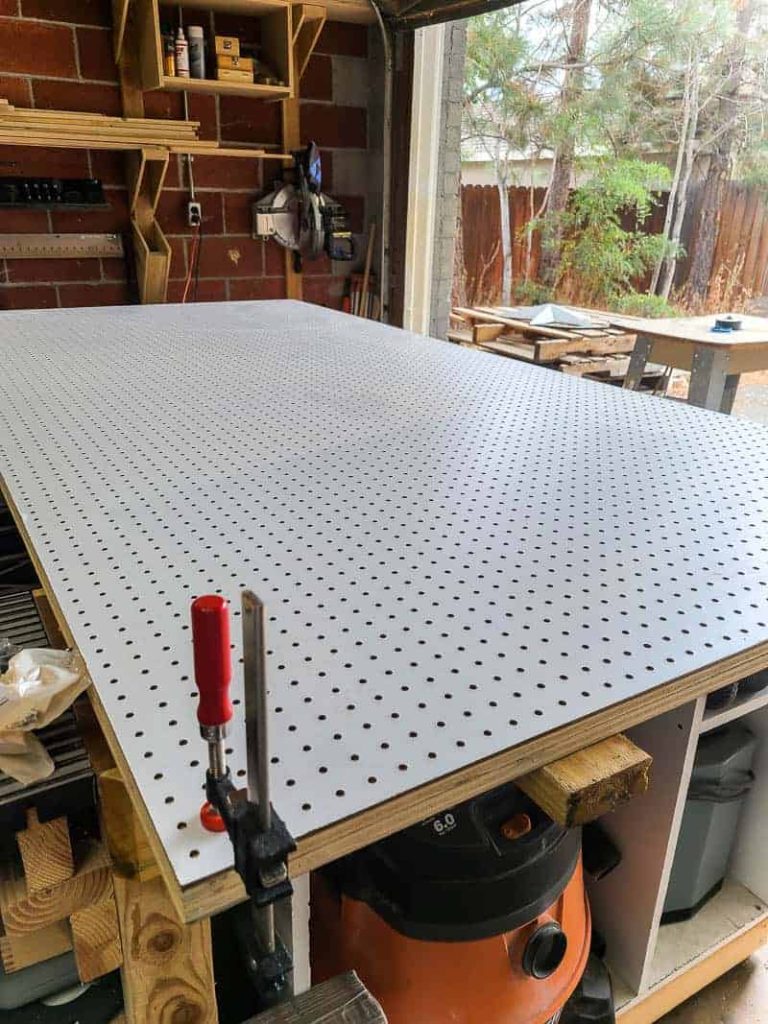
Step 1. Mark the plywood board.
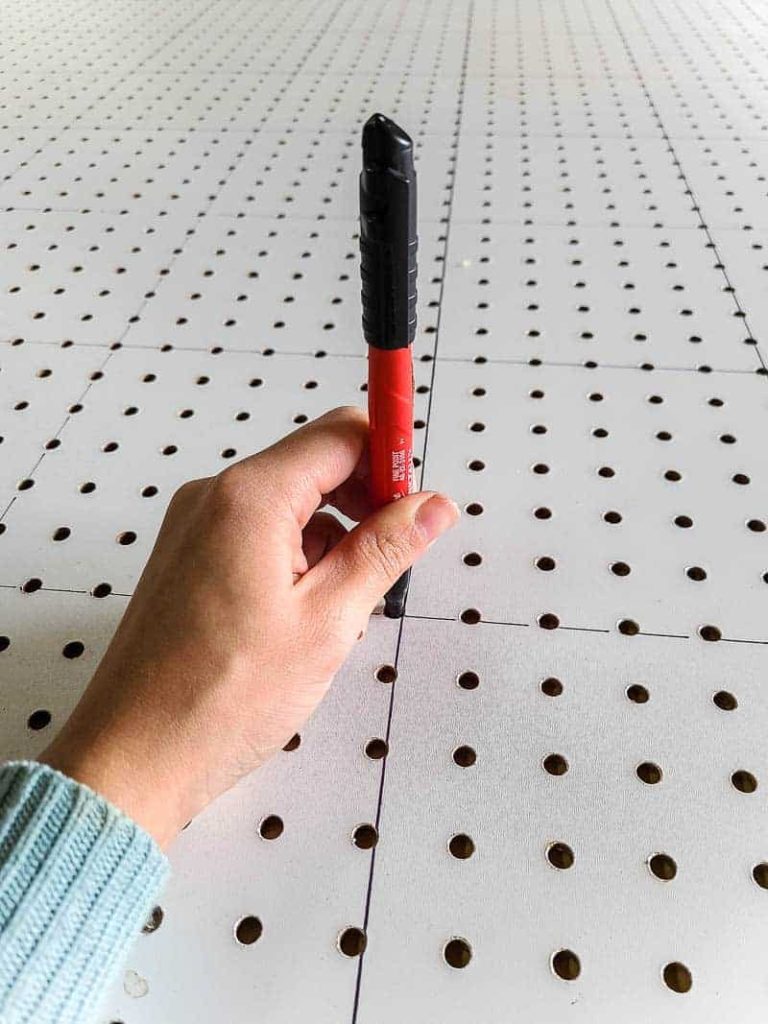
We grabbed an MDF pegboard panel to use as a template on our large sheet of plywood.
This made the process of marking the plywood quick and easy, so felt like it was worth the $17 on the pegboard. If you didn’t want to spend the money, you could just measure out the marks on your plywood instead.
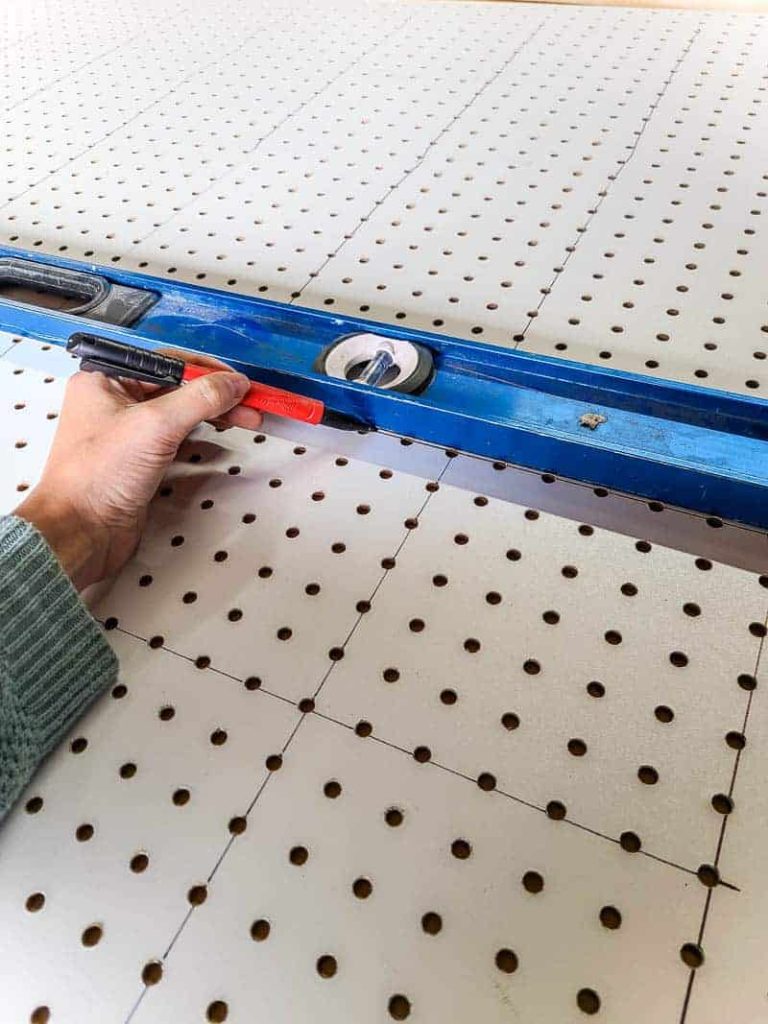
Clamp the pegboard panel and plywood board together. Then, using the PDF pegboard panel as a guide, measure the spacing for the holes on your pegboard and mark with a Sharpie.
We wanted our dowels to be 6 inches apart, we so counted out every 6th hole on the pegboard, where the holes are 1 inch apart.
Step 2. Drill the holes for the dowels.
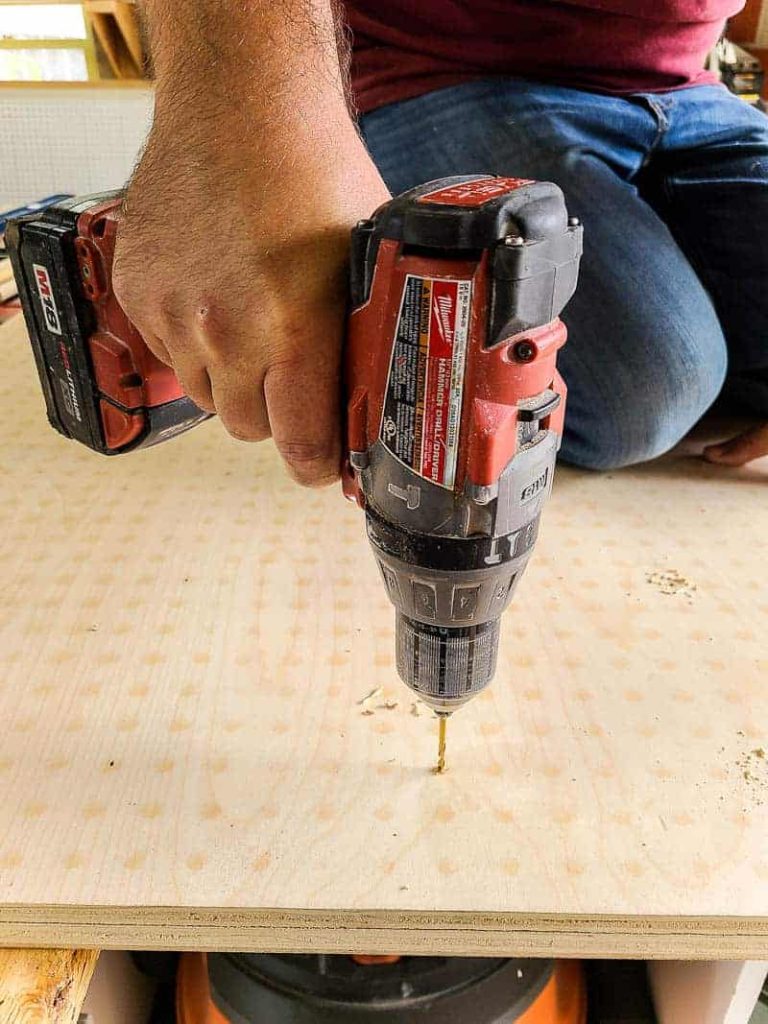
Remove the pegboard panel and then start by drilling pilot holes on each of the marks.
What is drilling a pilot hole?
This is basically “predrilling” the screw holes. A pilot hole is a small hole drilled into the material, which reduces the likelihood of the plywood splitting or splintering during the real thing.
The pilot hole should be the same depth as the length of your screw or nail. It’s not 100% necessary, but it can save a lot of heartache in the long run.
Learn more about pilot holes here!
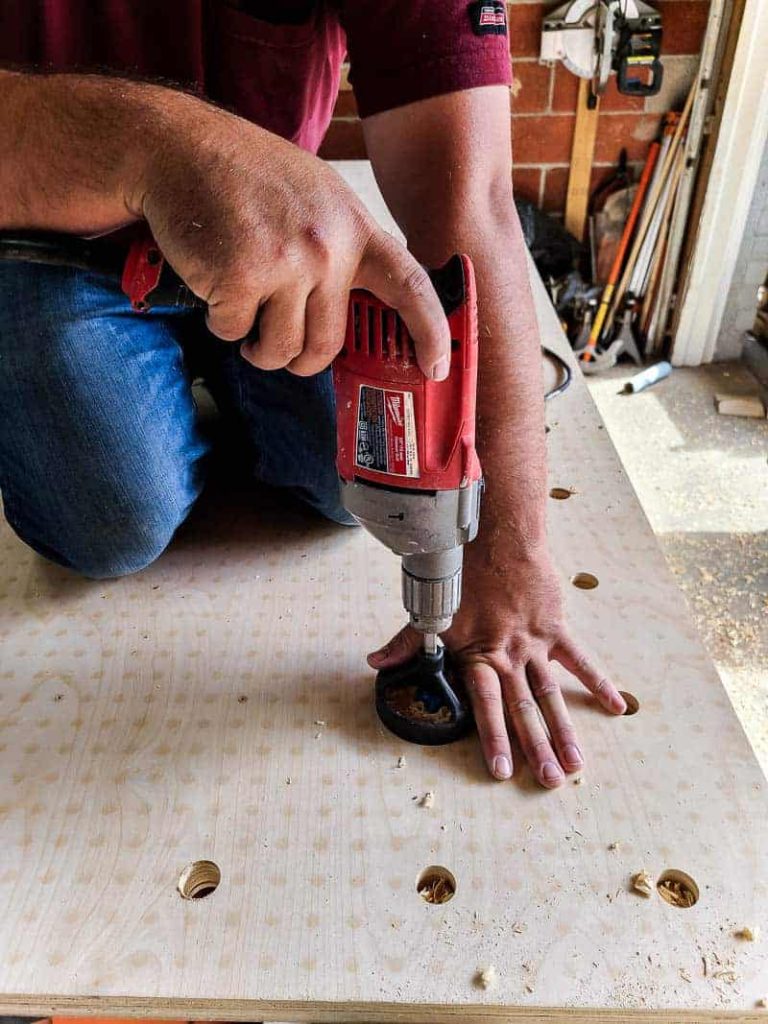
When the pilot holes are complete, it’s time to drill the peg holes.
This is where a drill guide comes in handy. Using a drill guide will ensure each hole is straight. Otherwise, if your drill isn’t held perfectly straight – it would be very noticeable when the dowels were added. It simply attaches to your drill and gives you perfectly straight holes every time.
As you see in the video, we began drilling very slowly to prevent chipping the plywood. Our pilot holes helped, too.
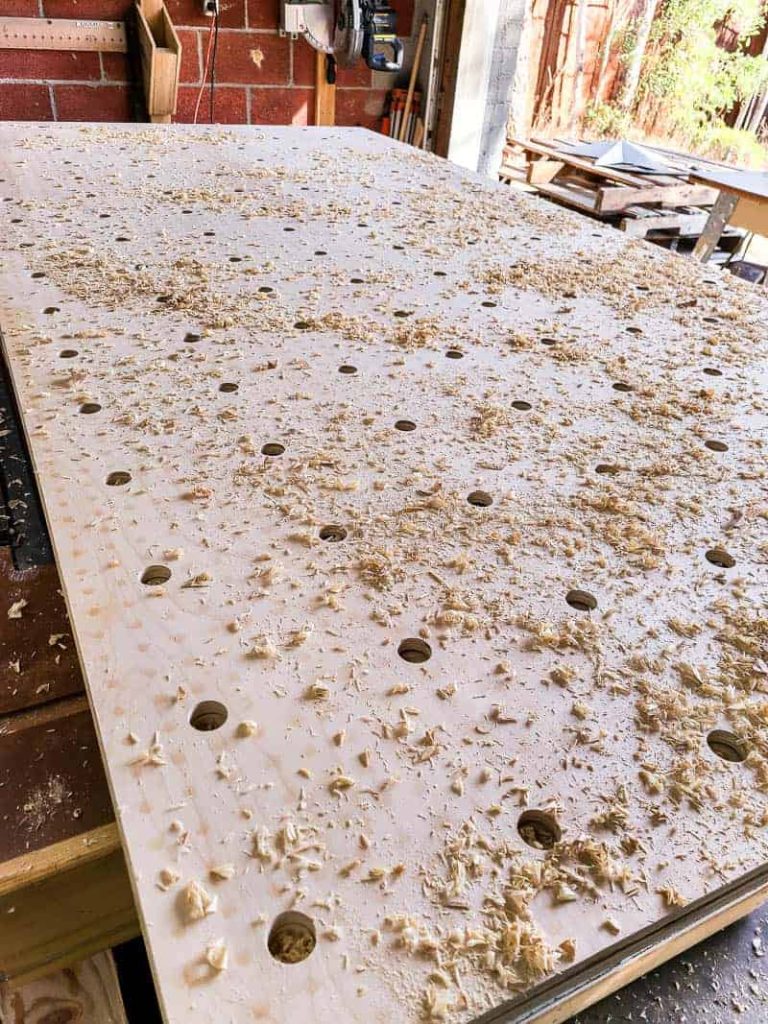
Then after the first few layers of plywood veneer, you can increase the speed of the drill.
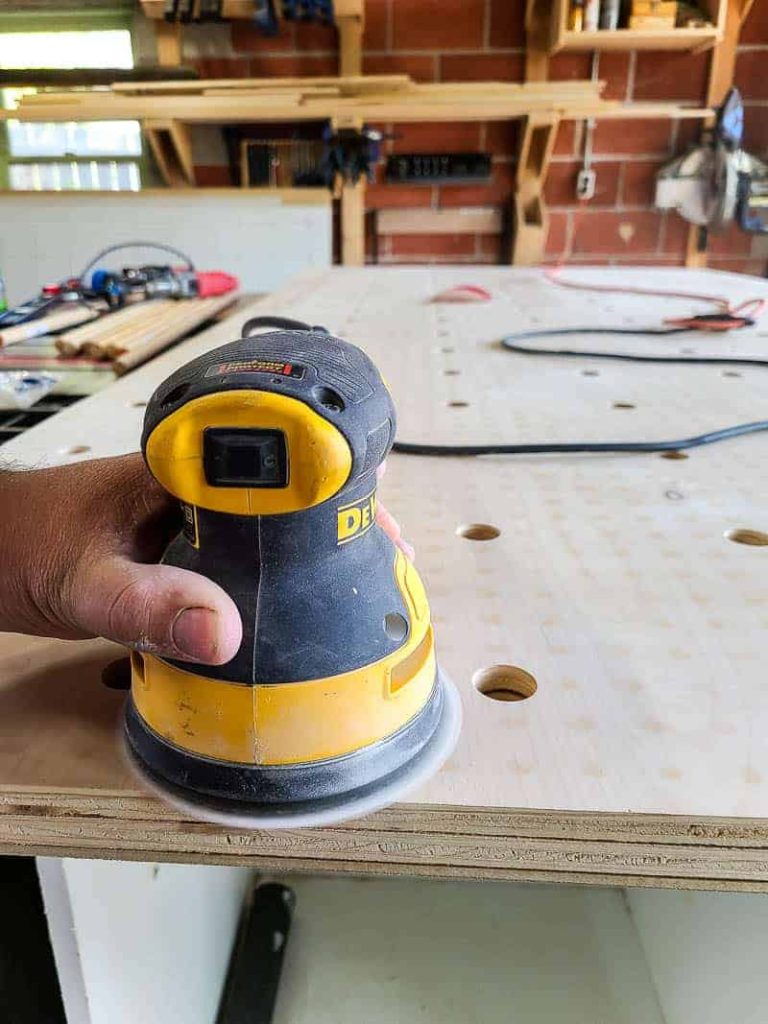
After drilling, lightly sand the plywood down to smooth out any rough edges with an orbital sander and fine grit sandpaper.
Step 3. Cut the dowels.
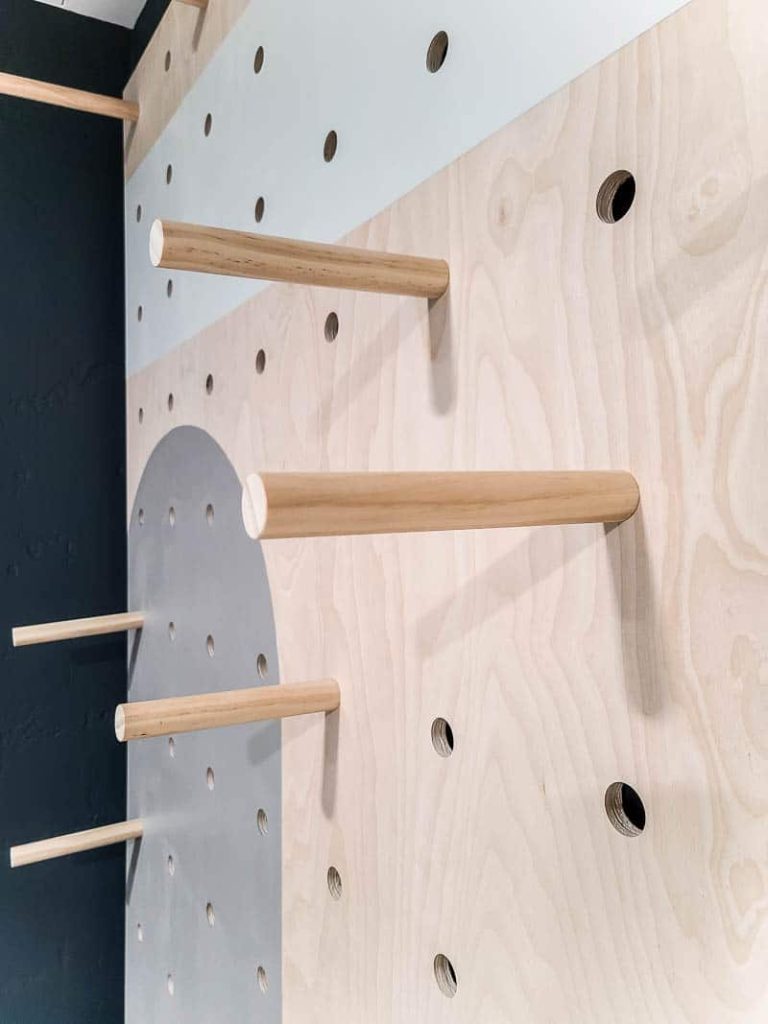
Because we used a 1-inch drill bit to drill the peg holes, so we are also using 1 inch dowel rods.
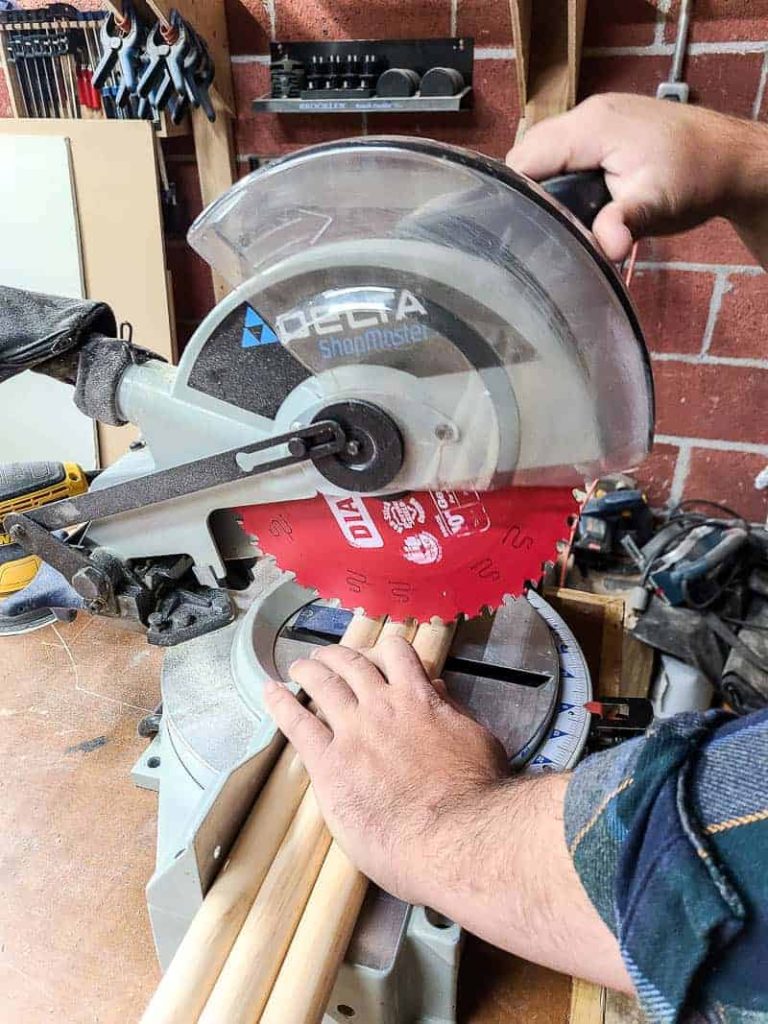
We cut these with the miter saw to be about 8 inches long, so they can be sturdy enough to support the items we hang and hold on the shelves, which we cut to 6 inches deep. Then, we sanded to smooth the edges on the ends of the dowel slightly.
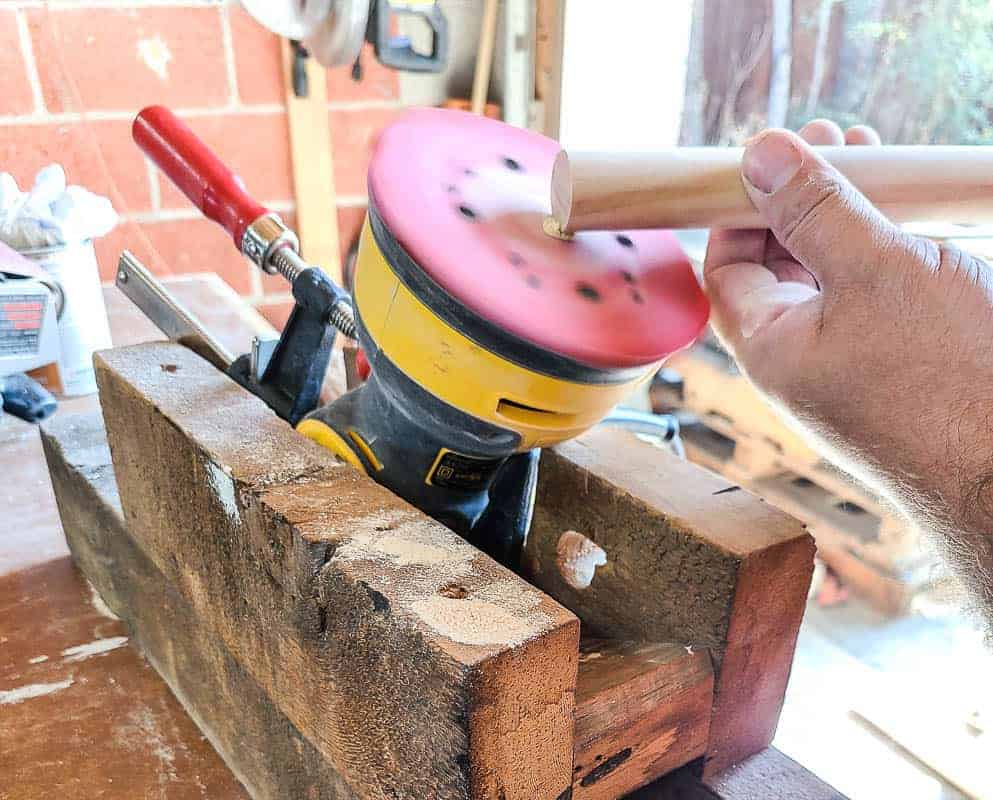
Be careful to not sand the sides of your dowel, however, because you’ll make them too small for the holes drilled, which will make them sag when inserted into the peg holes. (We learned the hard way on this one!… Watch the video tutorial above for more details).
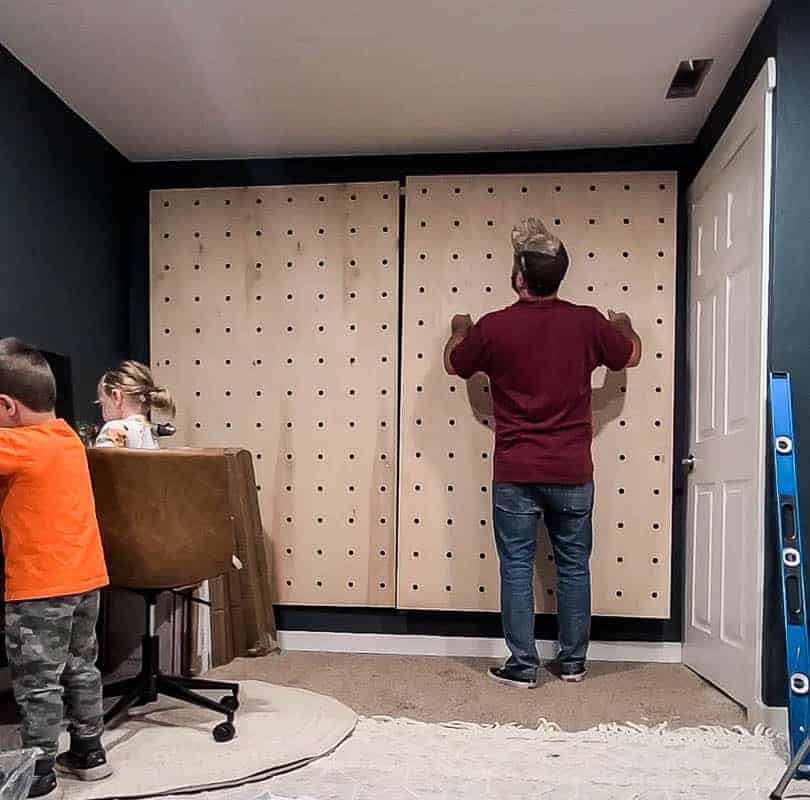
Step 4. Hang the giant pegboard.
We used a French cleat to hang the giant pegboard on the wall.
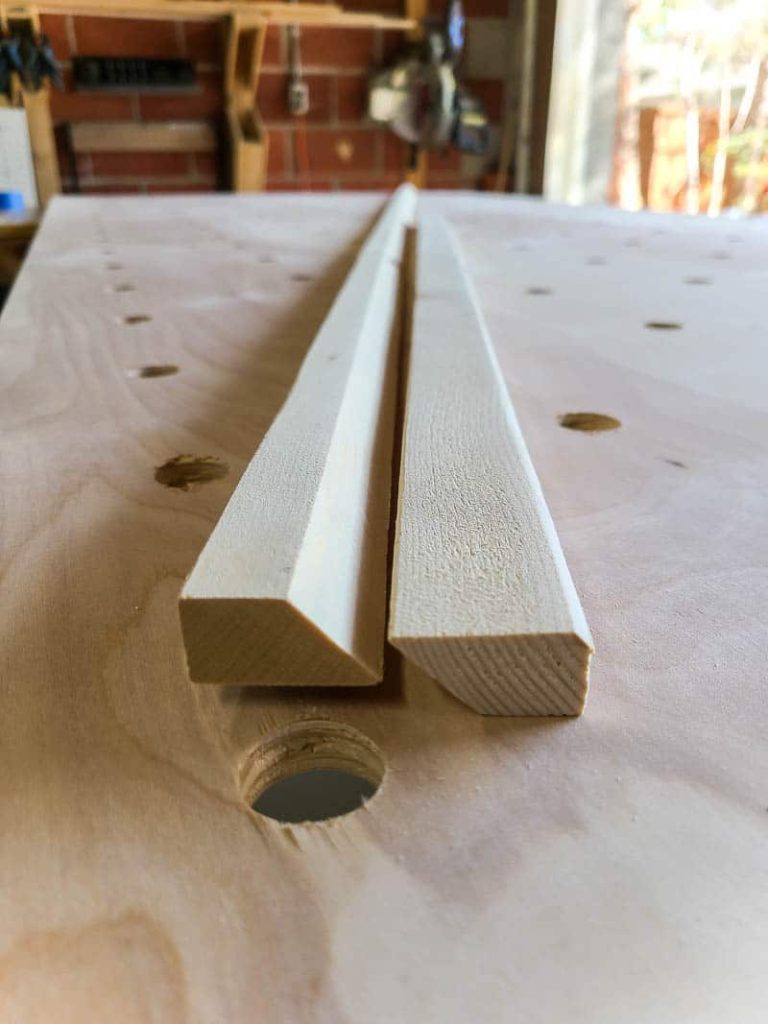
We made this French cleat ourselves, which you can do by angling your table saw to make an angeled cut into a furring strip.
You can also purchase a large metal french cleat like this if you prefer.
What is a French cleat?
A French cleat is a fancy name for a piece of plywood or metal that secures a bulky or heavy object to a wall.
Typically, these are used in pairs: one attached to the wall and a matching edge cut into, or, in this case, attached to the object you are hanging. Both pieces have a 30-45 degree slope, so they “hold onto” each other and secure the object in place.
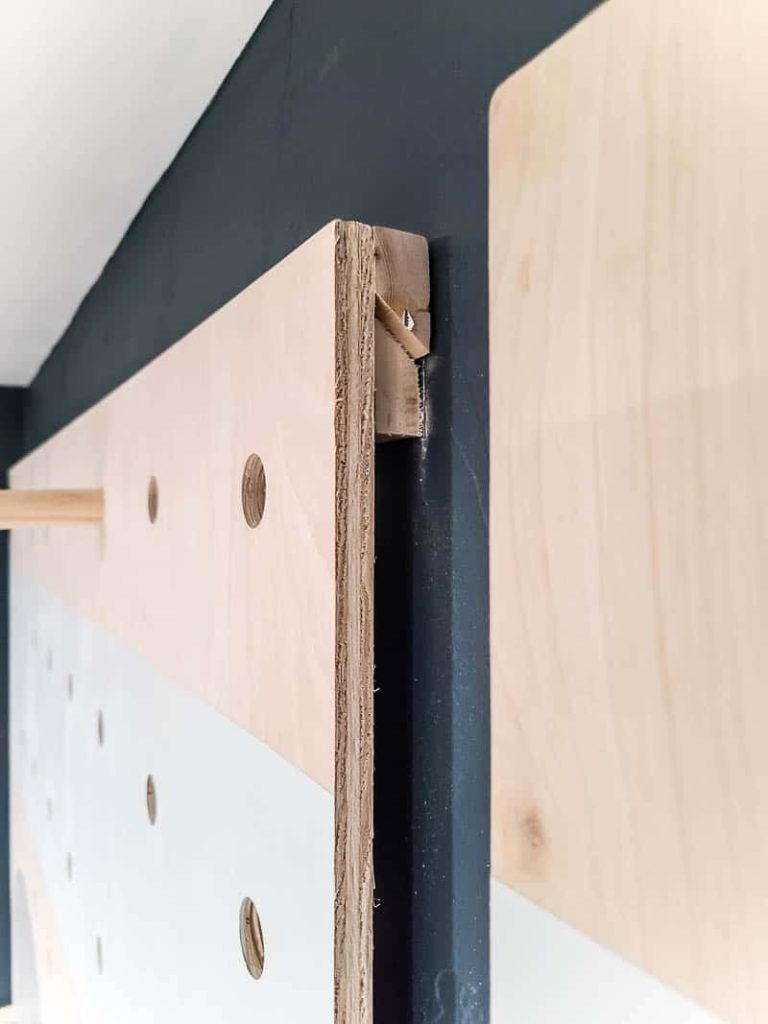
When you are attaching the cleat to the pegboard, glue it to the pegboard with wood glue, and then secure it with 1-inch brad nails & a brad nailer.
When you attach the other cleat to the wall, make sure you are nailing directly into the studs for extra security. Use a finish nailer and 2-inch finish nails. Then, slide the pegboard onto the cleat on the wall.
Now you have a great place to store and hang all kinds of items! From here, you could leave the pegboard as is or paint it. Totally up to you.
If you are skipping the painting process, go ahead and add your dowel rods according to what you are hanging where.
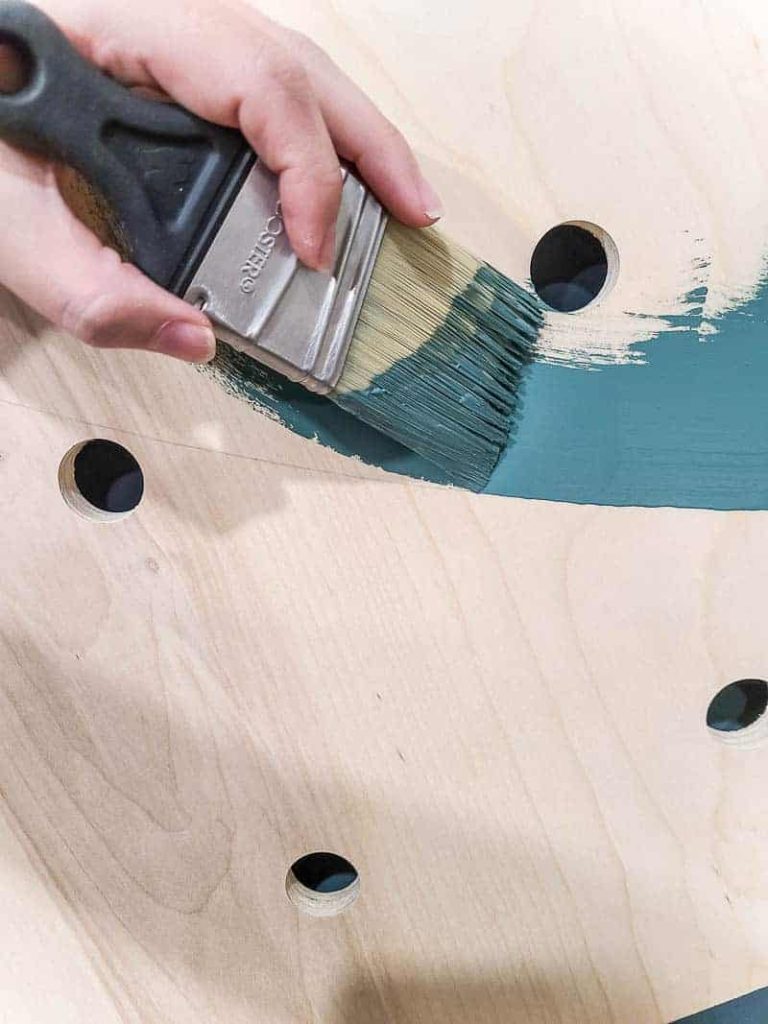
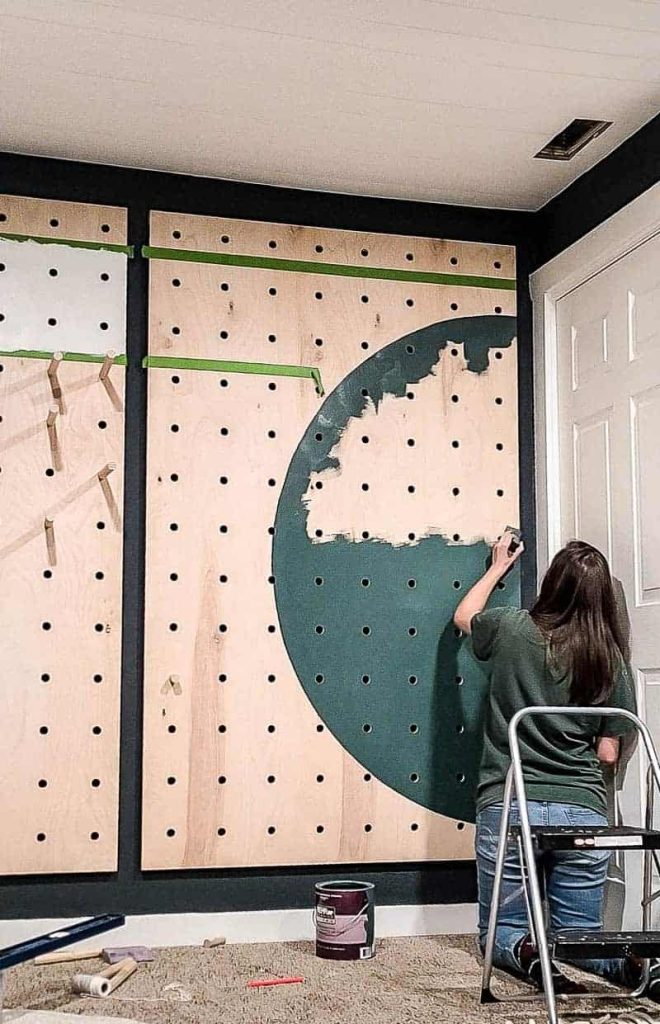
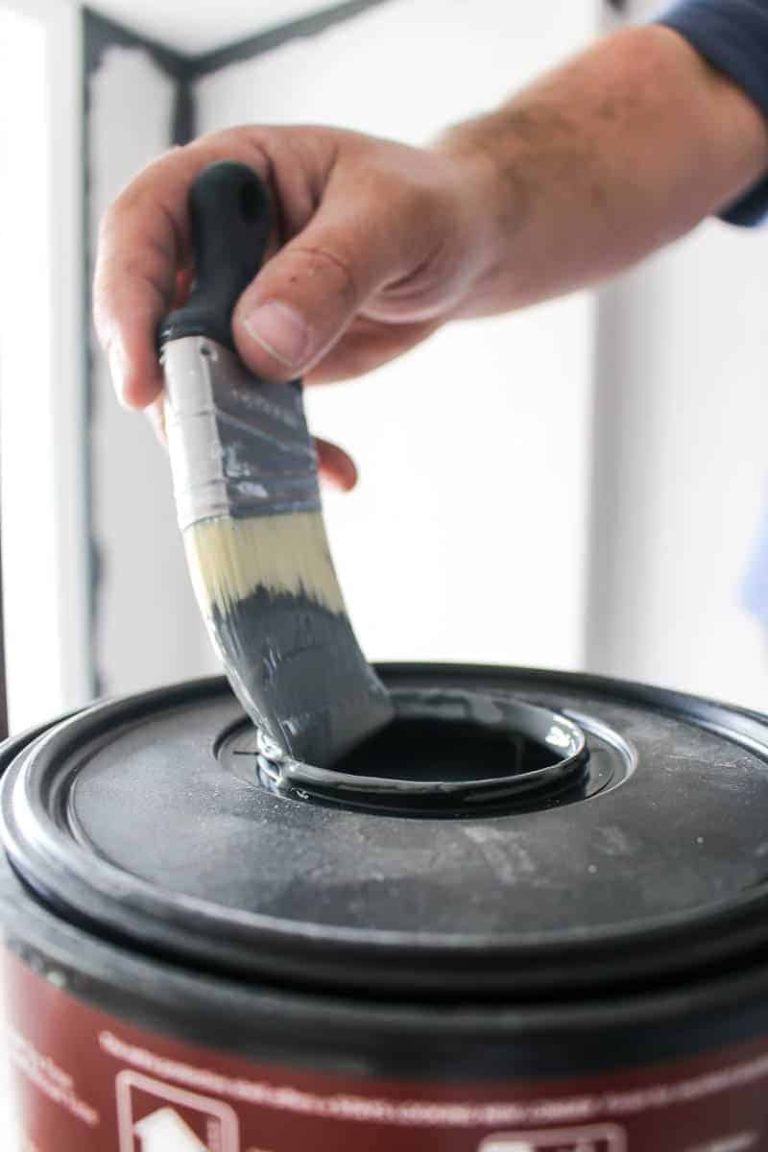
Step 5. Paint the giant pegboard (optional).
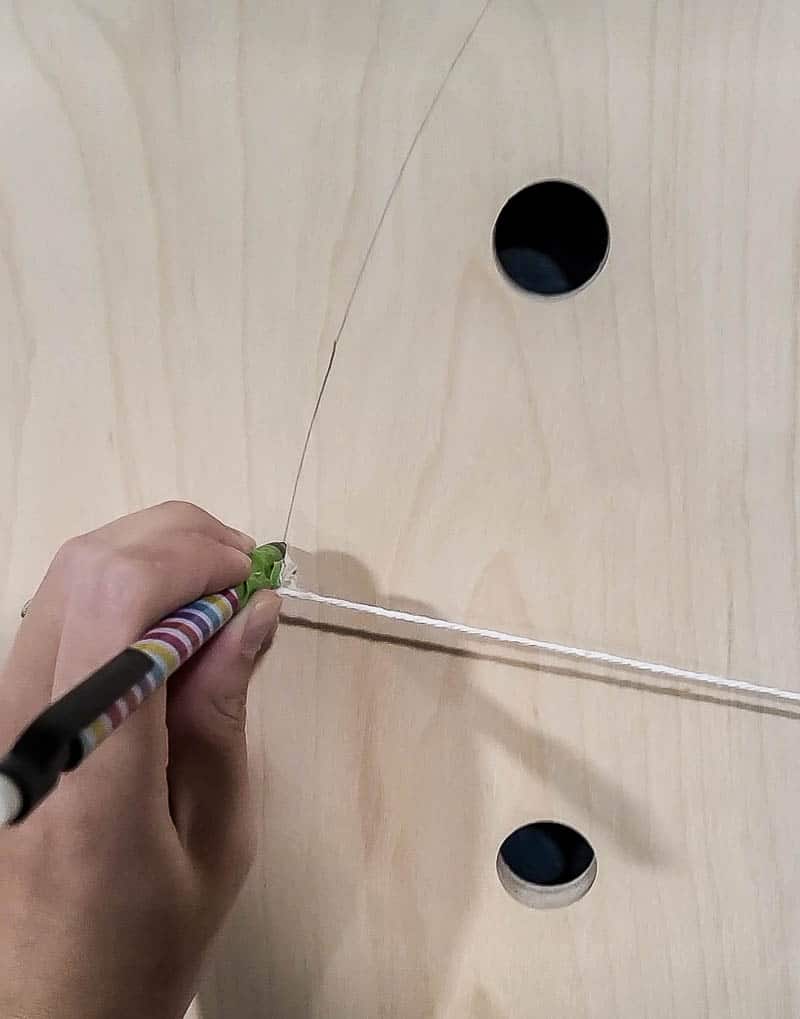
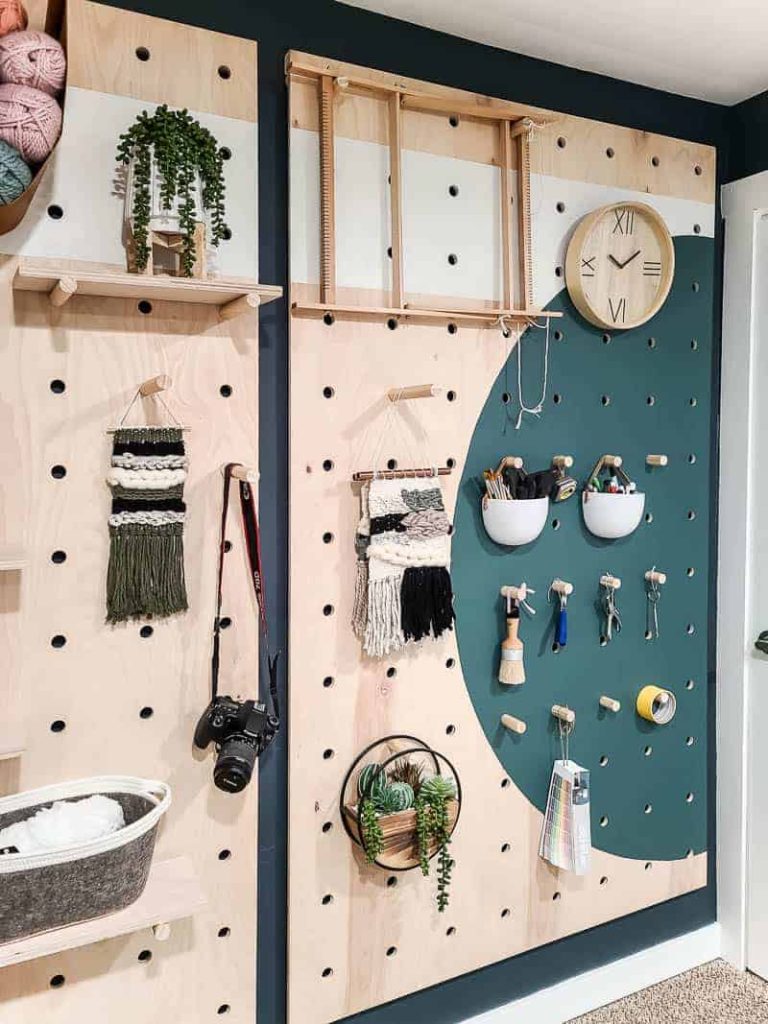
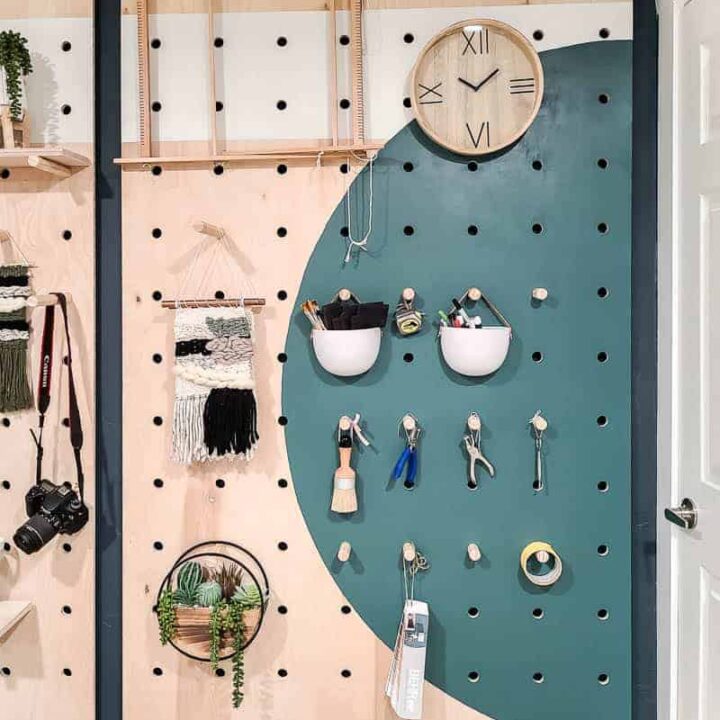
I wanted to jazz up our pegboard a little with some fun colors and shapes. I created a semi-circle on the right side of the board, a big panel stripe across the top, then an arch on the left side of the board.
To do this, tape a piece of string to the edge of the board and tie the other end of the string to a pencil. Hold the string taut and draw a semi-circle line across the board.
For more on this method, you can check out this post about how to paint an arch. I used the same approach.
I used the same method for the arch on the left side.
For the big stripe, I used a level for the straight line.
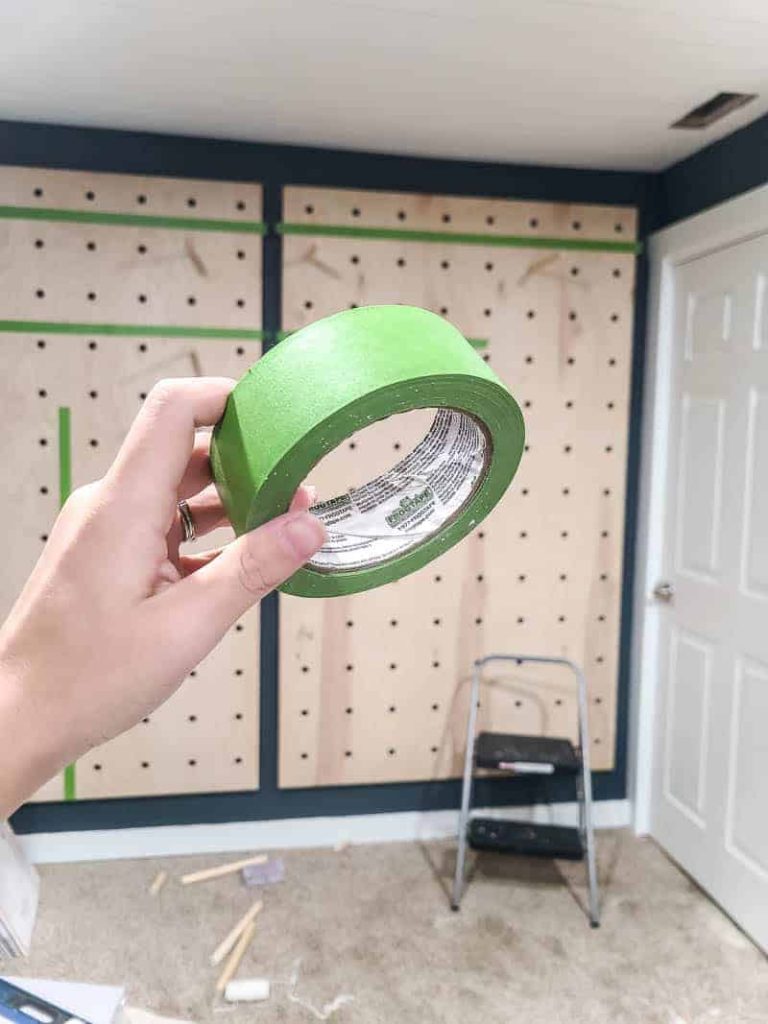
Before you begin painting, make sure you tape your different shapes off with FrogTape. Really press the tape down with a credit card so the paint doesn’t bleed under the tape.
Another way to prevent the paint from bleeding is to paint towards the FrogTape line – instead of painting along the tape line. Check out my other painter’s tape tips and tricks here!
For my circular shapes, I used an angled brush to carefully paint along the curves.
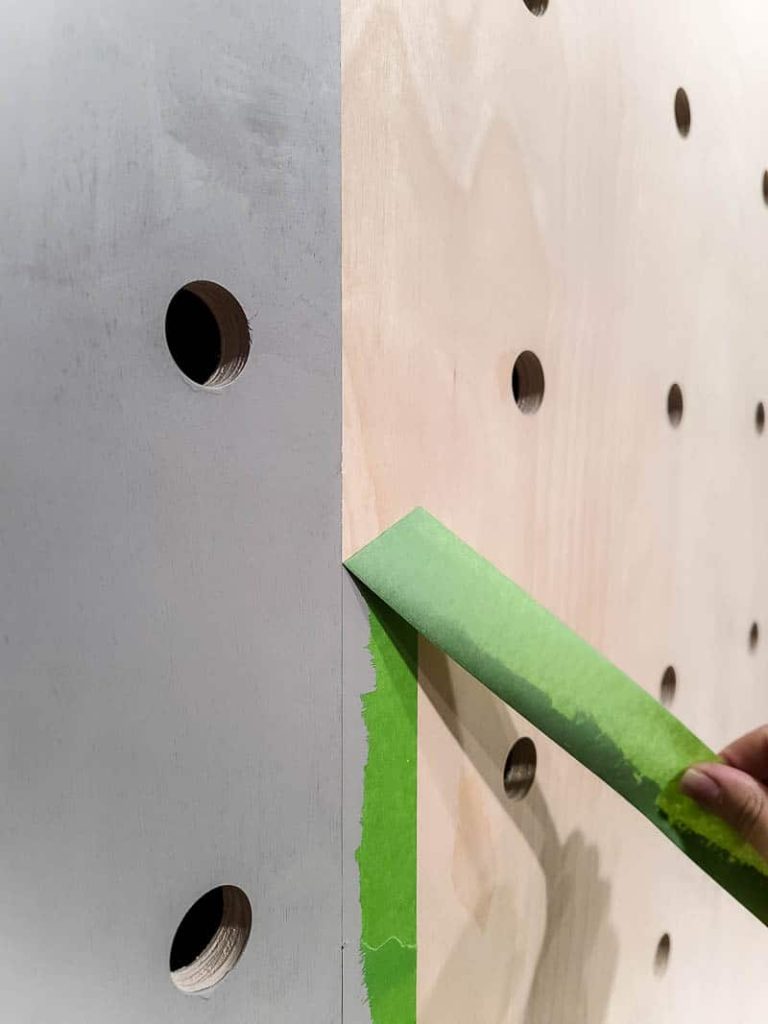
When you are done painting, remove the painter’s tape immediately, pulling at a 45-degree angle. Do not wait for the paint to dry!
Step 6. Arrange your pegboard wall & shelves.
After the paint has dried, you can begin adding your dowels and arrange them in a design that works for you.
For the shelves, we used plywood and cut it with the table saw so they were 6″ deep. For the width, we cut them so they had 2-3″ of overhang on each side of the dowels.
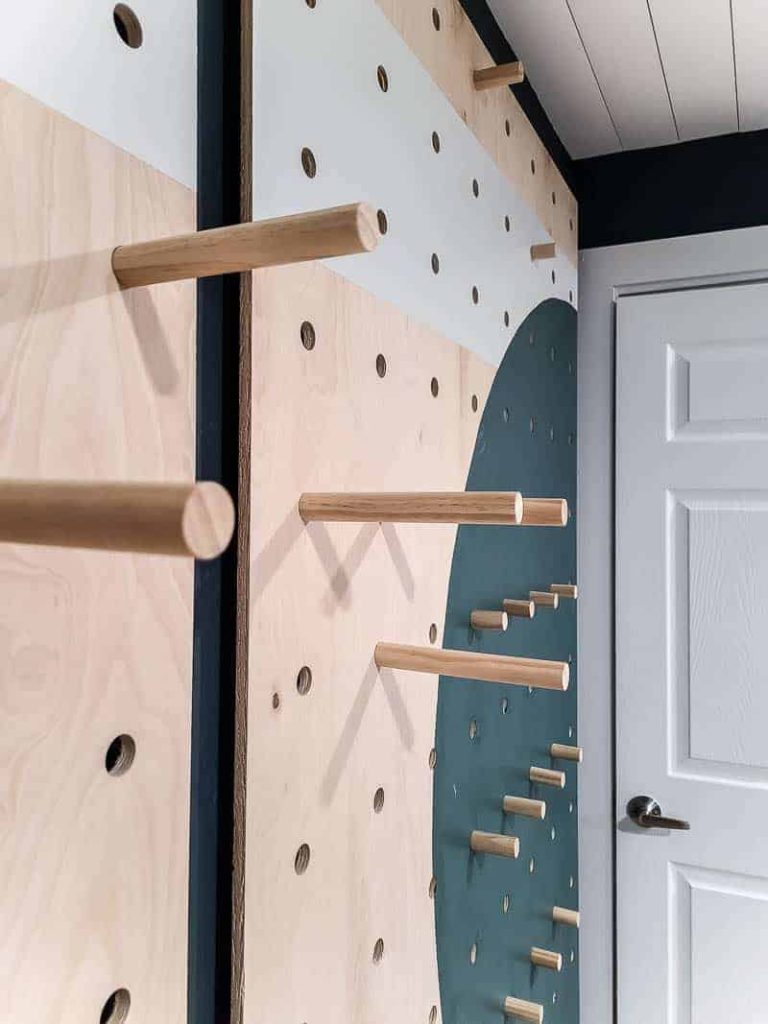
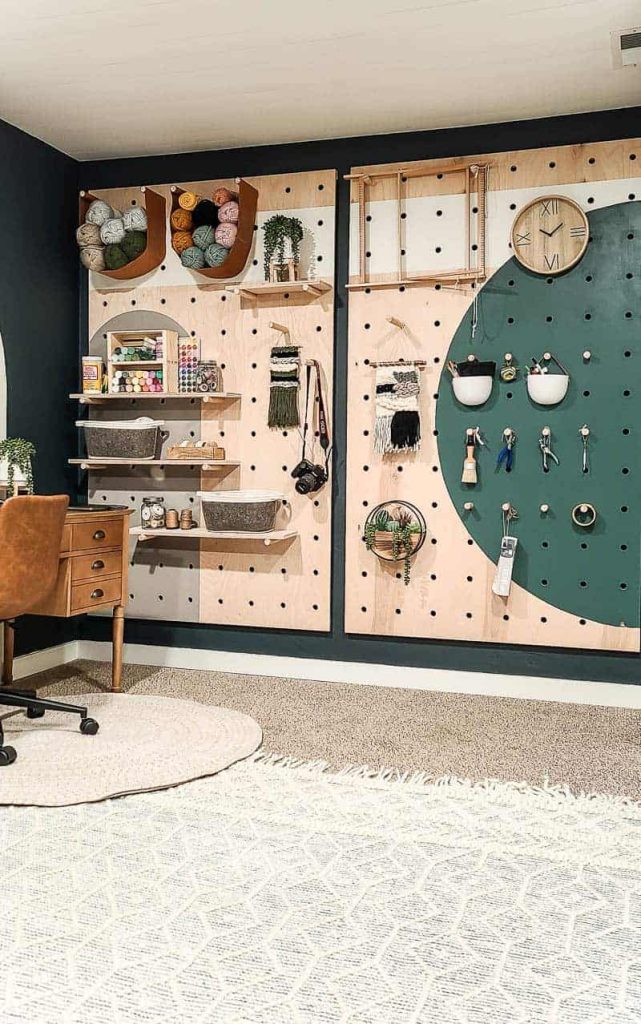
I used a combination of shorter for hanging small items and longer pegs for supporting small shelves.
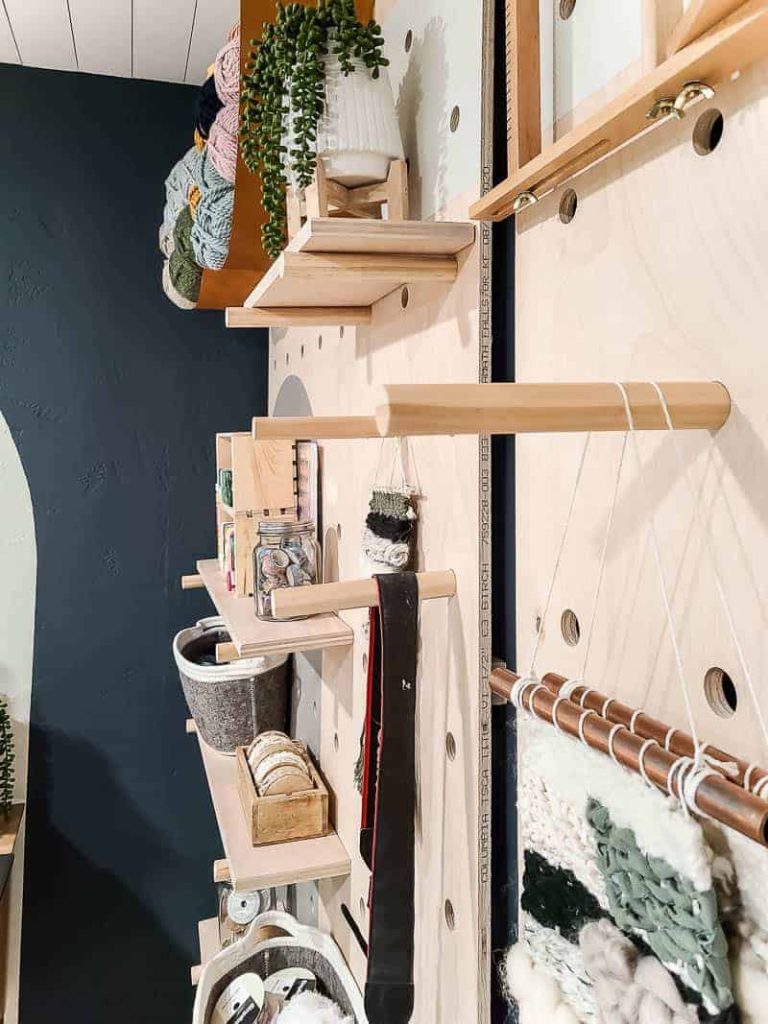
The shelves are perfect for storage for craft ribbons, paints, and yarn.
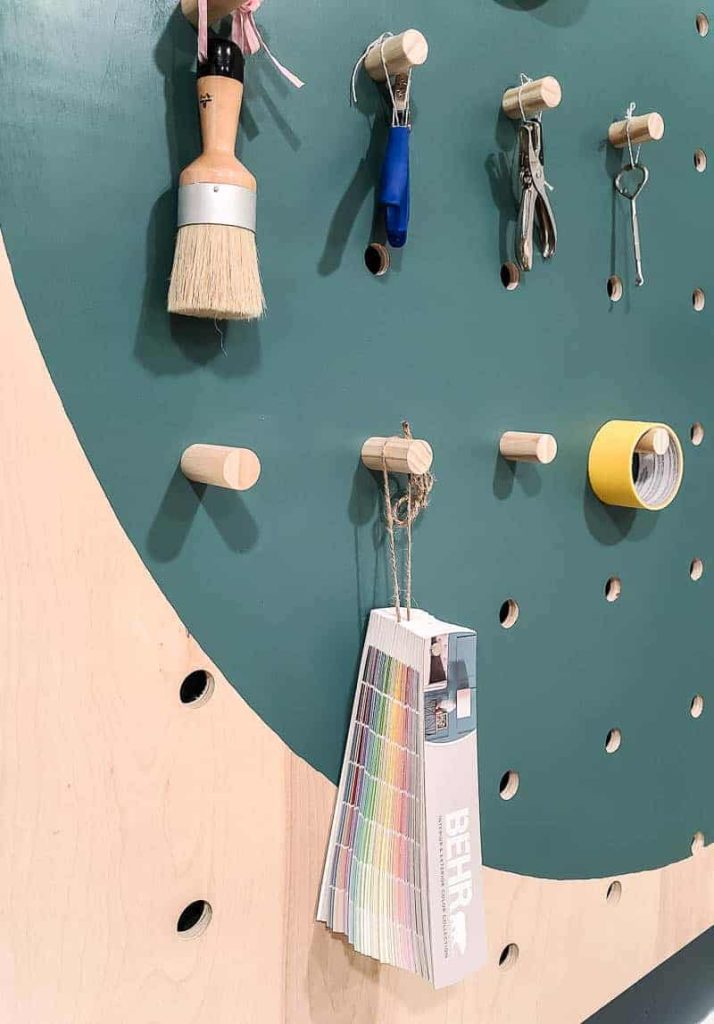
Now, I can easily access any tool I need for crafts, DIY projects, and kid’s art projects.
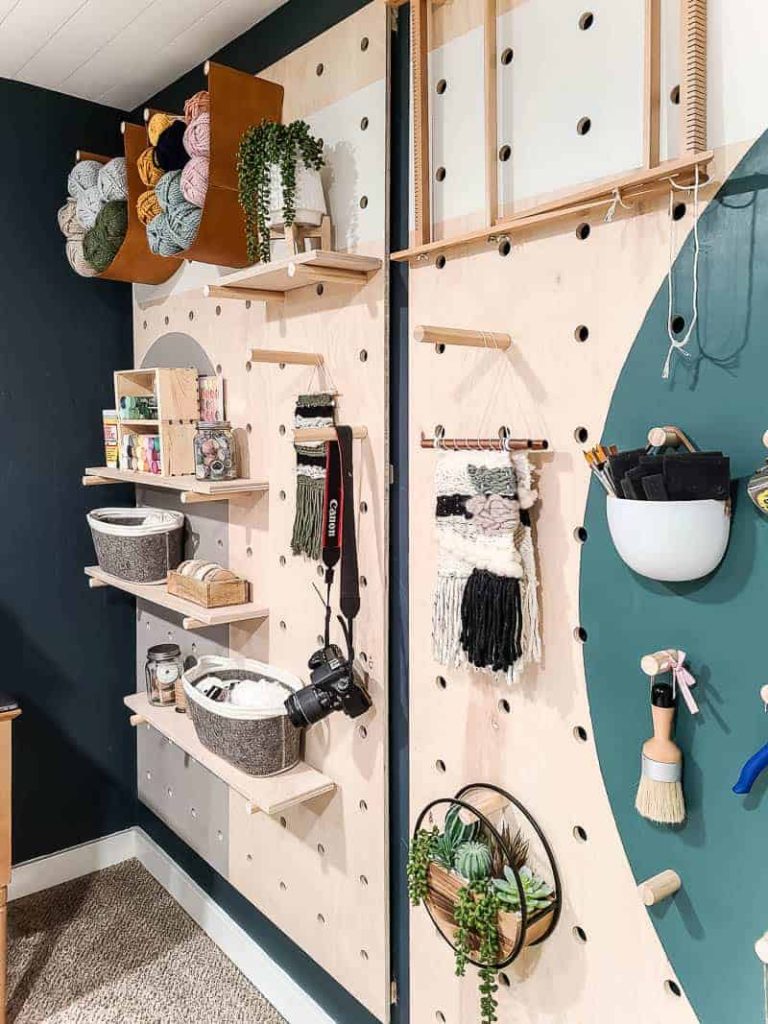
It doesn’t have to be 100% functional. Feel free to add items that show your own style and spark inspiration!
Adding additional storage for craft supplies doesn’t have to be boring or add bulk to your space. A giant pegboard can do wonders for your clutter!
A quick and easy DIY project like this one will give your space the style and functionality it needs!
Where you would add a giant pegboard wall in your home?
Let me know in the comments below!
How To Build A DIY Giant Pegboard Wall
This giant pegboard wall is an easy and stylish way to add some organization to a room. Learn how to build and install a DIY pegboard wall with easy step-by-step directions.
Materials
- 1/" 4'x8' sheet of plywood (we used two)
- Fine grit sandpaper
- Wood glue
- 1x2 furring strips (to create french cleat & spacers)
- 1 inch brad nails
- 2 inch finish nails (to attach french cleat to back of plywood)
- Blue green paint color (in semi circle)
- Gray paint color (in arch)
- Tan paint color (in line)
- 3x4" plywood pieces (for shelves) cut at 6" deep
- 1" dowels
Tools
- Regular sheet of MDF pegboard (as a guide)
- Level
- Sharpie
- Clamps
- 1" long shank forstner drill bit
- Drill guide
- Orbital sandpaper
- Table saw
- Brad nailer
- Stud finder
- Finish nailer
- Painter's tape
- String
- Pencil
- Angled paint brush
Instructions
- Mark plywood board. We used the MDF pegboard as a template on our large sheet of plywood. Clamp the pegboard panel to the plywood and mark the holes you want to drill with a Sharpie. We spaced ours out 6" so we marked every 6th hole.
- Drill holes for the dowels. Start with a small pilot hole and then use the forstner bit and the drill guide to create the 1" holes. Begin drilling very slowly to prevent the plywood from chipping out. After drilling, lightly sand plywood.
- Cut the dowels down to size. We cut them to 8 inches for our 6" deep shelves.
- Hang the giant pegboard on the wall with a French cleat. You can make the french cleat yourself or buy a premade one like this. If you make it yourself, attach it to the back your plywood with wood glue and 1 inch brad nails. When you attach the other side of the cleat to the wall, be sure you nail into studs and use 2 inch finish nails. Then slide the pegboard onto the cleat on the wall.
- Paint the giant pegboard (optional).
- Arrange the pegboard shelves.

Wow, wow, and wow! You have left me speechless. I love everything about this project. Thank you, thank you. Thank you.
Thanks! We are absolutely love our new pegboard wall, it’s so handy!
Planning to mount smth similar to the wall. Judging by the size your plywood board is quiet heavy. Do you experience any problems with your french cleat solution to mounting pegboard? A bit worried that it won’t hold in my case=)
The french cleat is a great way to hold really heavy items! Be sure to have the cleat screwed into the studs with long screws that go all the way into the stud. We also added small “spacers” down near the bottom of the pegboard and nailed those in with finish nails at the location of studs. That helps hold a little of the weight as well. We haven’t had any issues with our pegboards and the weight. Note that we used 1/2″ plywood for the pegboard instead of 3/4″ to make it a little lighter.
I’ve been waiting to try this and think I’m finally ready! Thanks for the tutorial / video! Now that you’ve had it up and have been using it … any regrets not using the thicker plywood or having it mounted further out from wall? I want to possibly hang heavier things off of it (school backpacks???) and thinking thicker may be the way to go.
Great questions. If I were to do this project again, I would do it…the exact same way, haha! It’s holding up great. I don’t think thicker is necessary, it would just make it heavier hanging on your wall. These dowels are strong enough to hold even heavier things.
Wow. That dark colour circle is so beautiful I’d paint the entire board that colour if i could build such a thing. It would be against a lighter coloured wall of course.
Or maybe the entire walls could be pegboards so this way I don’t have to worry about stripping any wallpaper. 😉
Yes, I love the color in the circle. It is Meteorological by Behr. I wrote all about it here: https://www.makingmanzanita.com/behr-meteorological-paint/
This is amazing, and looks like it’ll be just the thing for my spare bedroom to craft studio renovation. Where did you get your leather slings from – are these also a DIY?
Yes, those were a DIY. I had recycled leather on hand and I simply wrapped it around a peg and glued into place. Pretty simple!!
What drill guide did you use to drill your holes?
We used the Rockler JIG IT Drill Guide and it worked like a charm for this. Here’s a link: https://amzn.to/36UnpNh
Hi Chelsea,
Love the pegboard! I just want to verify what the thickness is on your pegboard. The materials list shows 1/“ 4×8 plywood? I saw in one of your responses, you indicated you used 1/2” plywood, but the plywood in the video looks way thicker than 1/2”? Would you please confirm the thickness you used?
Thank you!
We used 1/2″ plywood on the walls and 3/4″ plywood for the shelves
We used 1/2″ plywood on the walls and 3/4″ plywood for the shelves
Hi! Do you have a link to the yarn storage used here? They look like leather hammocks 🙂
Yes they are little leather hammocks. We actually DIYed those. I just cut recycled leather down to size and then glued it to dowels. Easy peasy!
Yes they are little leather hammocks. We actually DIYed those. I just cut recycled leather down to size and then glued it to dowels. Easy peasy!
Curious how snug the pegs are. Working on this currently and it seems like the holes are just a bit lose compared to the dowls before any sanding. Drill bit is 1″ as are dowls and guide is straight.
Yes, we ran into that too when we sanded them too much. We mentioned in the post” be careful to not sand the sides of your dowel, however, because you’ll make them too small for the holes drilled, which will make them sag when inserted into the peg holes. (We learned the hard way on this one!… Watch the video tutorial above for more details).”