How To Create Your Own Interior Design Mood Board (for FREE!)

Do you want to make an interior design mood board for your next room makeover? In this article, I'll show you a free interior design mood board creator and teach you how to create a mood board (for free!)
If you’re having trouble deciding what to buy (or you find yourself buying things that don’t seem to work together once you get them home), a mood board will be a game-changer for you.
A mood board is a visual jumping board to make sure your decor and furniture purchases work with the style that you are trying to create. It is a great tool that interior designers use all of the time and there’s a reason why!
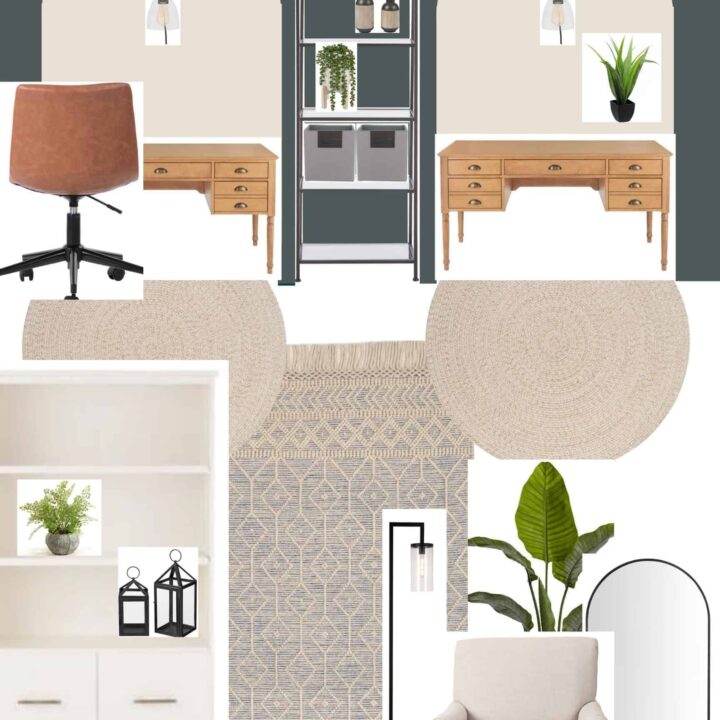
Last week we revealed our new and improved GORGEOUS home office (have you seen it yet)? As a part of the reveal post, I shared our mood board for the space, which is something that I always do when we’re tackling major room makeovers.
Today I thought I’d walk you through the entire process of how to create a mood board for free because I’m super passionate that they can help you create cohesive room makeovers that you’ll be confident to shop for!
Want to see more of our home office makeover?
- How To Create Your Own Interior Design Mood Board (for FREE!)
- Shiplap Ceiling Tutorial To Cover Textured or Popcorn Ceilings
- How to Build a DIY Giant Pegboard Wall
- How To Paint An Arch Like A Pro
- Sliding Closet Door Makeover (and what I would do differently)
- DIY Kraft Paper Roll Holder Tutorial (Cheap & Easy!)
- Modern Boho Office Reveal (Before & Afters)
Today I thought I’d walk you through the entire process of how to create a mood board for free because I’m super passionate that they can help you create cohesive room makeovers that you’ll be confident to shop for!
Creating an Interior Design Mood Board:
Common Mood Board FAQs
First of all, let’s start with the basics!
What is a mood board?
To put it simply, a mood board is a visual guide for your room makeover. It is like a one-stop-shop for all of the decor, furniture, and colors you’re bringing into the room. Think of it like an inspiration board for your interior design project!
Having an interior design mood board creates an easy-to-follow design plan for your room’s vibe so you can buy decor and furniture with confidence.
You can create physical mood boards with cut-out pictures from magazines, fabric samples, and paint swatches, or a digital mood board showing all of the different design elements. Whether it is physical or digital, the key is to show a visual representation of ideas!
When should you create a mood board?
Right now!…hehe, but really…Your room’s mood board should be created as soon as you can, That way, you’ll have a guide to refer to when decorating (or even redecorating) your home. An interior design moodboard should be your first step in the design process.
How to create a mood board for free?
There are a lot of robust options for an interior design mood board creator, some paid and some free. I’m going to let you in on a little secret and share my process for creating mood boards for free in this article!
How To Create Your Own Mood Board
1. Start on Pinterest
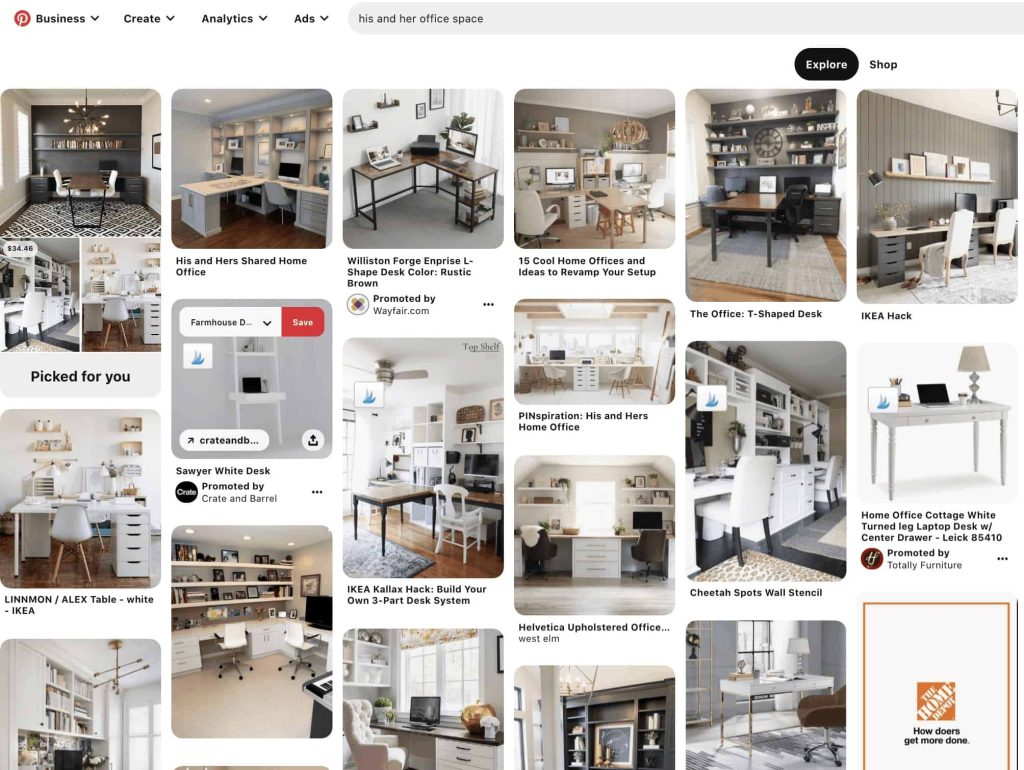
The best place to start collecting inspiration for your design boards is a Pinterest board. Need more help on Pinterest? Read this guide on how to use Pinterest to discover your home decor style. It is an amazing visual tool and you can create a free account if you don’t already have one!
After you’ve done some pinning, review your Pinterest board and look for items that appear multiple times. Search for colors that you are drawn to or patterns that you love.
The more you pin, the more you will figure out how to create a mood board for your room design. You’ll be able to see a clear direction for the specific style and overall feel of your room.
2. Search for products
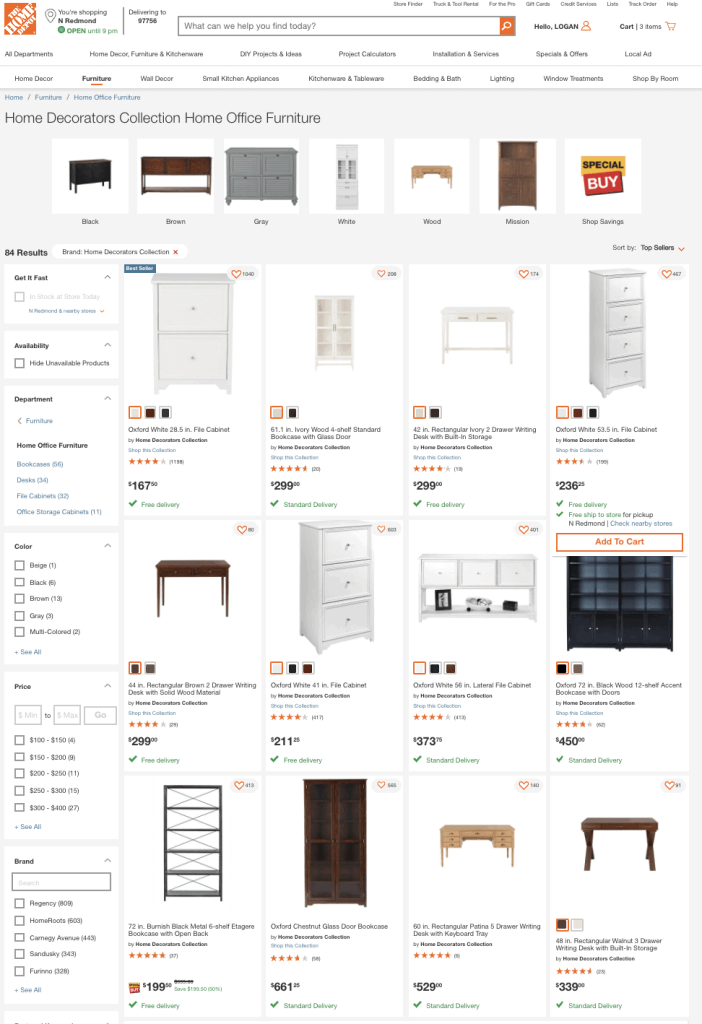
Once you move on from pinning for inspiration and style, you can start looking more specifically for products that you’ll need to purchase.
Here are a few ways to find products:
- Take a look at some of the rooms you loved that you found on Pinterest. Most room makeovers that are shared by bloggers will have all the sources linked so you can quickly find the products that have inspired you.
- Visit your favorite retailers to start browsing. Just look for the Pinterest “pin” icon, which should come up on most all product website images to pin it to your board so you can save it for later when you move on to actually creating your interior design mood board.
- Search in Pinterest for the specific item looking for to find more inspiration (ie: gray sectional couch, 8×10 boho textured rug, etc).
- I’ve got a whole shop section on our website that’s organized by room to help inspire you as well!
I like to keep all of the product ideas, images of furniture, and color swatches saved straight into my Pinterest board as well. That way they are easy to find when you go to create your own mood board.
Don’t forget about easy-to-miss things like paint colors, window treatments, light fixtures, and wall decor.
3. Put it all together
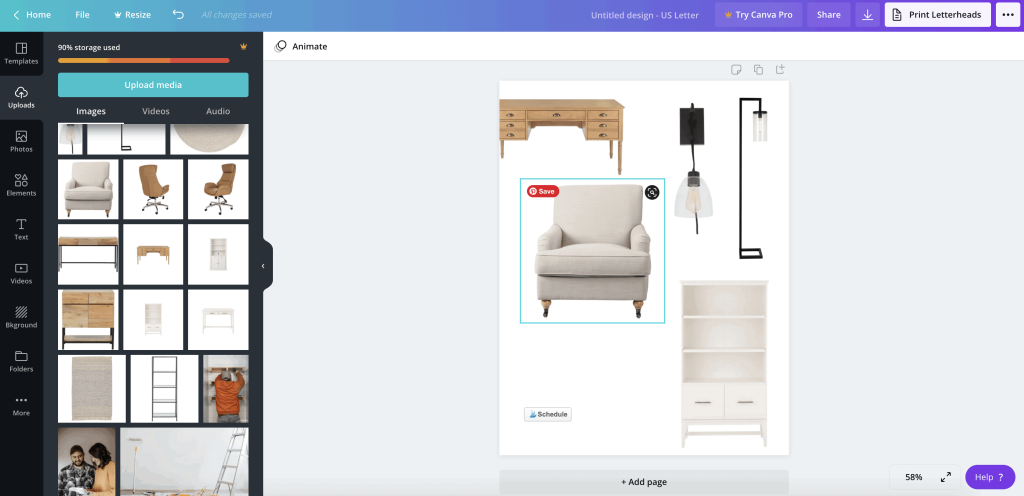
For those of you who want to create your interior design mood board electronically, Canva is a great FREE online graphic design website where you can arrange the photos together quickly and easily.
First, you’ll need to save all of the images for the products you want to add to your mood board. You should be able to right-click on the photo from Pinterest and click “save as” or “save image as”.
Some retailers will block your ability to save the image. In that case, you can take a screenshot of the image.
To create the interior design mood board on Canva:
- Click the “Create a design” button on the top right
- Choose your size, I usually start with letter size. This will bring you to a blank piece of paper with a white background.
- Click “Uploads” on the left column. Drag and drop all of your product images or push “upload media” to find the files on your computer.
- Once they are uploaded, drag and drop each image to your paper.
- Use the small bars on each side of the image border to crop out extra white space on the image.
- You can layer the images on top of each other by dragging and dropping them if you want them to overlap. Click the “Position” button in the top right to move forward or backward if needed.
- Add a title to the mood board if you want by clicking the “Text” button on the left column. There are tons of built-in fonts to choose from.
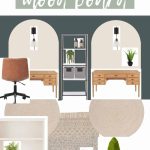
- Want to add in wall color as a background? (like I did below in the office mood board)…There are two ways to do this:
- Option 1. Add your paint swatch image to the Canva design. Push “Elements” on the left column, and select a square under “Shapes”. Click the colored box in the top left to edit the color of the shape. You should see Photo Colors listed in the list of colors with an automatic color palette created for each photo added to the design. Click your paint color from the boxes of photo colors next to the paint swatch image. If that doesn’t work, there’s also a way to use the eyedropper tool to pick up a color from anywhere else on the design. Lastly, you can also type in the Hex code for the color (which you can find for your paint color by Googling it).
- Option 2. Add your paint swatch image to the Canva design. Crop the image so any borders, text, or logos are removed. Drag the image size to fit the area that you want.
- Want to change the paper size? Unless you have Canva Pro, you can’t change paper size after you’ve already started your design. One way around this, however, is to start a new design with the right size and then select all in the old design (click and drag with your mouse), copy and paste into the new design. You may need to drag the edges of the images once they are pasted in based on your size difference.
UPDATE: If you get the paid version of Canva, you’ll get access to the amazing background remover tool. This is perfect for creating clean and professional-looking mood boards! I think it is totally worth it. I started using it after I created this office mood board and I’m blown away by how easy it is and it makes it look more fancy like the professional designers create.
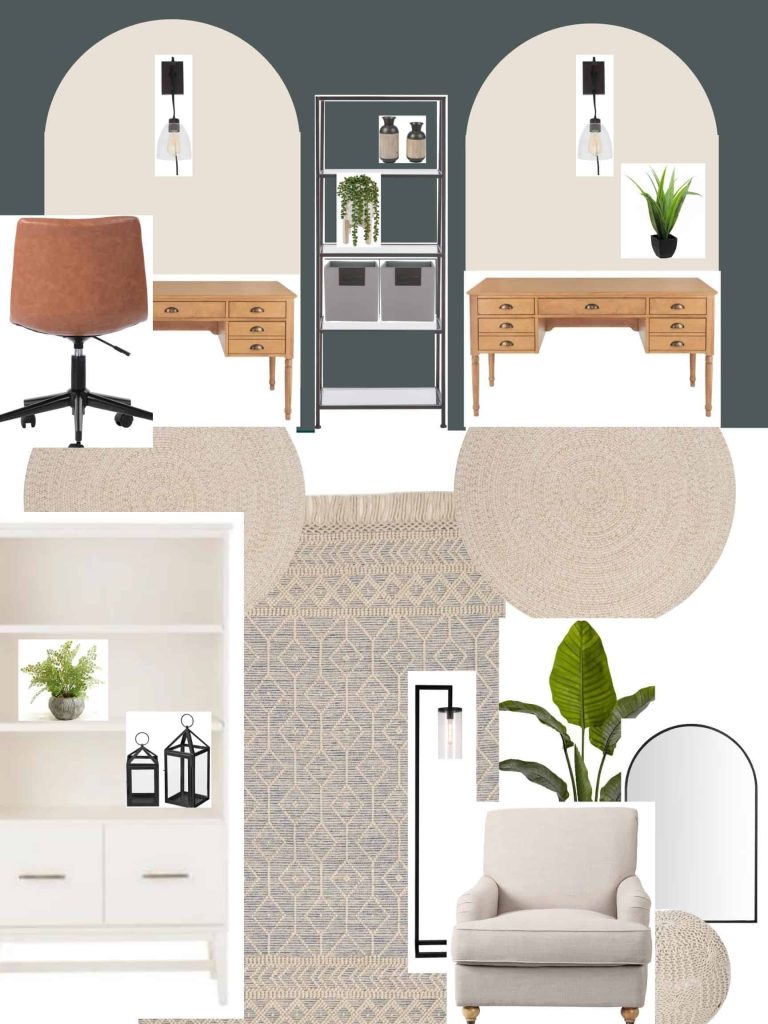
Once you’ve got everything together on your mood board, take a sec to step back and see if you love it all together. Sometimes I love something when I see it in a photo individually, but when you put it next to another product or color – it clashes majorly.
Your mood board is a perfect way to see if everything you’ve chosen is cohesive.
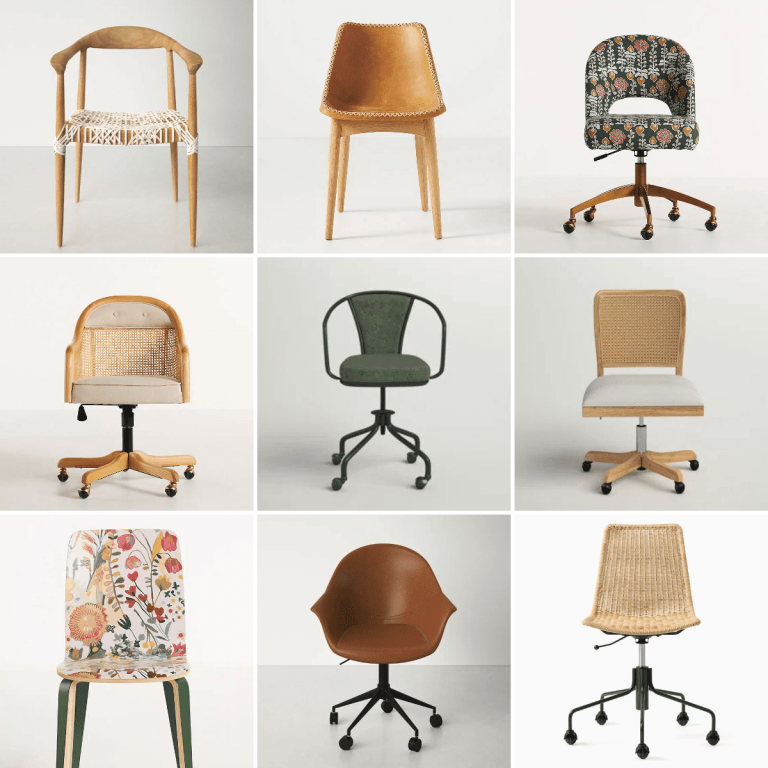
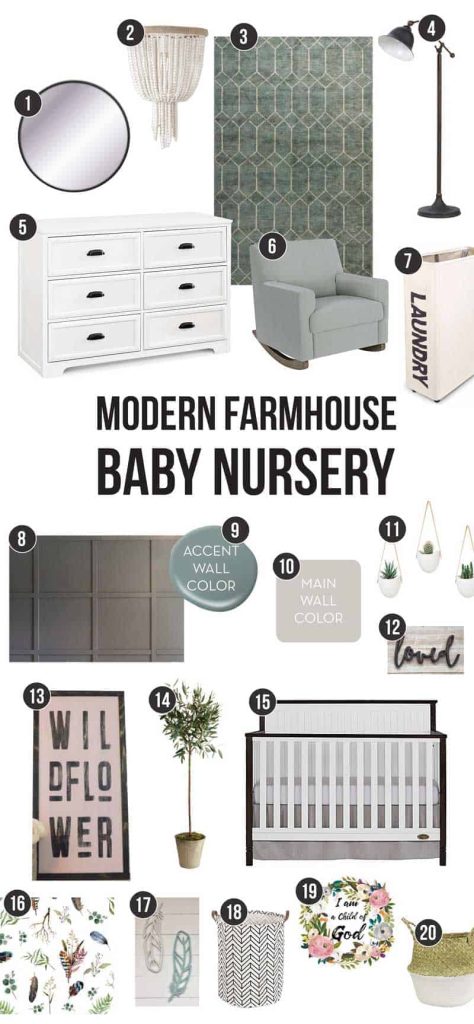
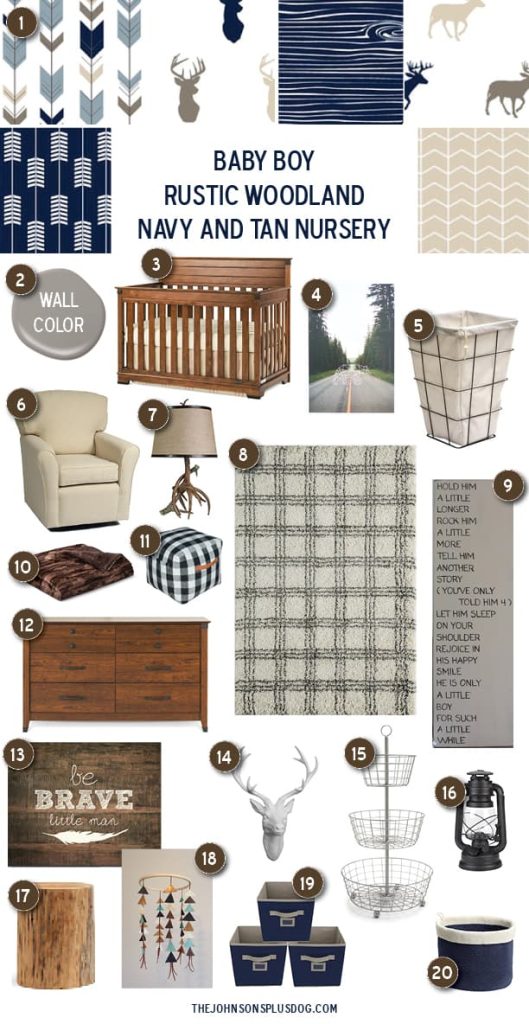
More Examples of Interior Design Mood Boards I Love!
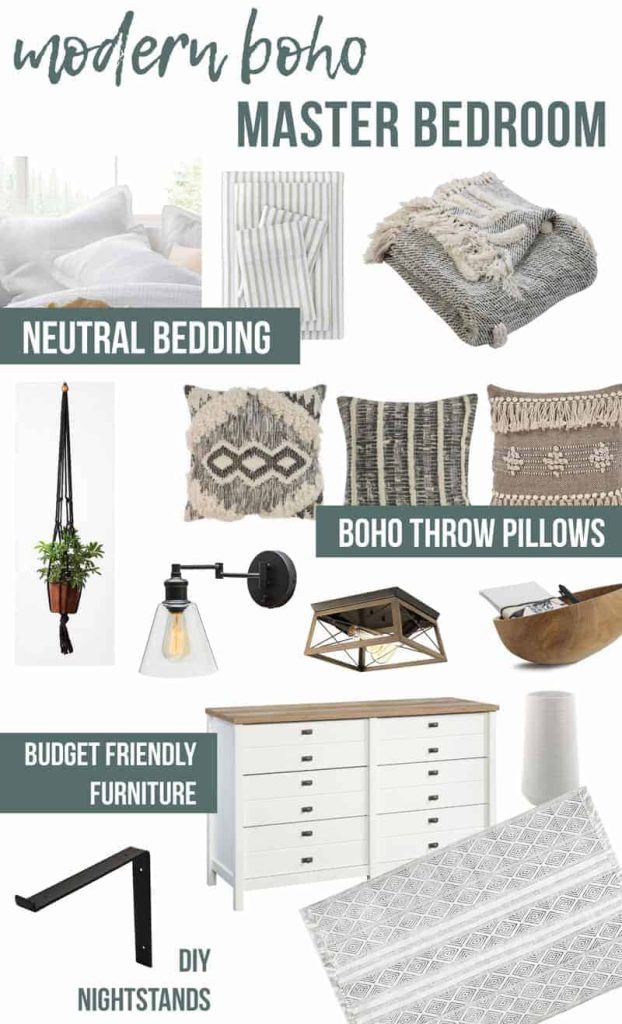
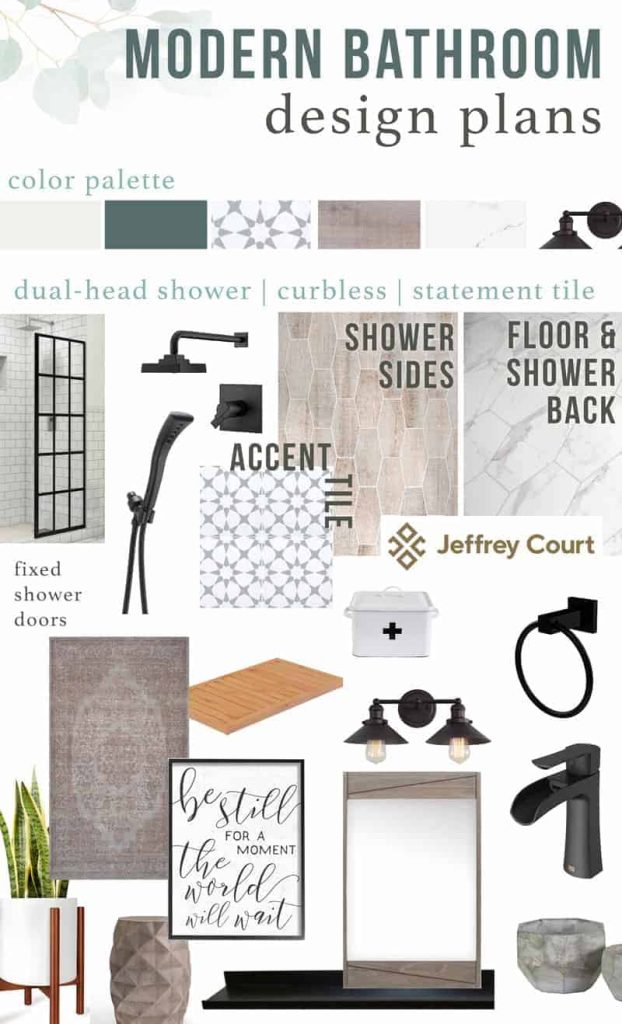
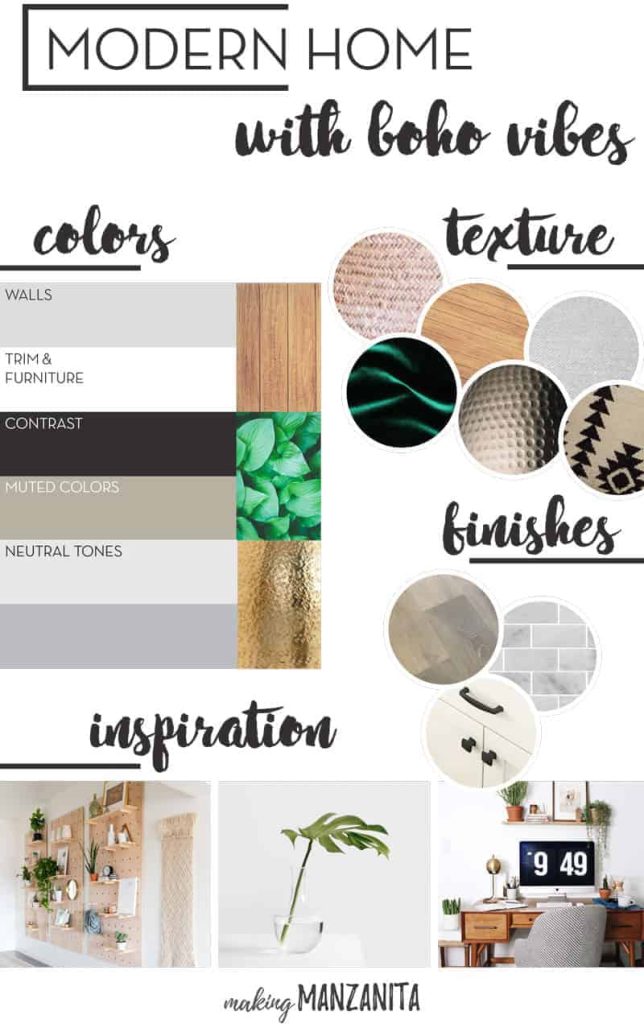
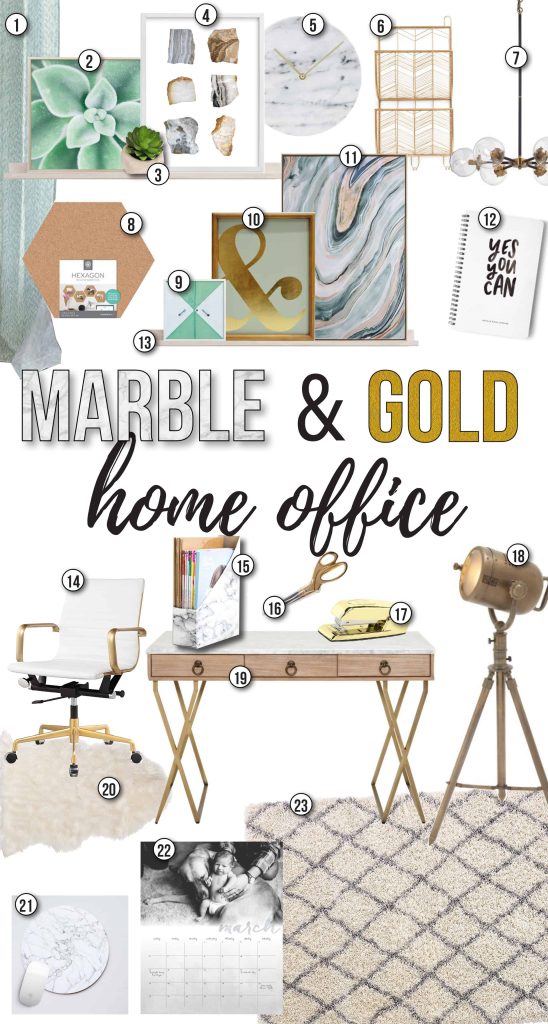
Having an interior design mood board for your next room makeover will make a world of difference. Even if you never created one before or don’t have fancy design software – this tutorial should have taught you that it is super easy, right?!
Don’t you just hate it when you order something online, only to get it shipped and realize it doesn’t go well with your paint color or area rug?
After you create a mood board, you’ll visually be able to test the waters with certain colors, textures, and products for your room designs. This will save you money and time on returns.
What room are you making over next?
Let us know in the comments below!
How To Create An Interior Design Mood Board
Wondering how to create your very own interior design mood board? Here are some simple (and FREE) ways to find your perfect home design inspiration and create fun mood boards for any room in your home.
Materials
- Your creativity
Tools
- Computer or smart phone
Instructions
- Start on Pinterest to get inspiration. Review your pins and look for items that appear multiple times.
- Search for products and save to Pinterest board.
- Go to Canva and click "create a design" on the top right.
- Choose your size, I usually start with letter size. This will bring you to a blank piece of paper.
- Click “Uploads” on left column. Drag and drop all of your product images or push “upload media” to find the files on your computer.
- Once they are uploaded, drag and drop each image to your paper.
- Use the small bars on each size of the image border to crop out extra white space on the image.
- You can layer the images on top of each other by dragging and dropping if you want them to overlap. Click the “Position” button in the top right to move forward or backward f needed.
- Add a title to the mood board if you want by clicking the “Text” button on the left column. There are tons of built in fonts to choose from.
Notes
Want to add in wall color as a background? (like I did below in the office mood board)…There’s two ways to do this:
- Option 1. Add your paint swatch image to the Canva design. Push “Elements” on left column, select a square under “Shapes”. Click the colored box in the top left to edit the color of the shape. You should see Photo Colors listed in the list of colors with an automatic color palette created for each photo added to the design. Click your paint color from the boxes of photo colors next to the paint swatch image.
- Option 2. Add your paint swatch image to the Canva design. Crop the image so any borders, text or logos are removed. Drag the image size to fit the area that you want.
Want to change paper size? Unless you have Canva Pro, you can’t change paper size after you’ve already started your design. One way around this however, is to start a new design with the right size and then select all in the old design (click and drag with your mouse), copy and paste into the new design. You may need to drag the edges of the images once they are pasted in based on your size difference.