Shiplap Ceiling Tutorial To Cover Textured or Popcorn Ceilings

Do you have heavily textured or popcorn ceilings and you don’t want the hassle of removing it? Learn how to install shiplap on your ceiling!
In this easy shiplap installation tutorial, we take you step-by-step through the process using premade, primed, shiplap planks to create a beautiful, bright, finished look to any room.
The 70s called and they want their popcorn ceiling back! No one knows exactly why textured ceilings were ever really a thing, but they were. Anyone who has a popcorn ceiling knows they are excellent cobweb collectors and begin to take on a funky yellow tint as they age. Yuck!
We knew this room needed an update, but we both cringed at the idea of scraping the ceilings or skim coating it. Plus, there’s the risk of stirring up asbestos if your home was built before 1990 – even more reason to skip the scraping!
Table of Contents
- Our Home Office Before the Shiplap Ceiling
- How to Install a Shiplap Ceiling: Tutorial & Video!
Want to see our other renovation projects? Check out our full home tour here!
Want to see more of our home office makeover?
- How To Create Your Own Interior Design Mood Board (for FREE!)
- Shiplap Ceiling Tutorial To Cover Textured or Popcorn Ceilings
- How to Build a DIY Giant Pegboard Wall
- How To Paint An Arch Like A Pro
- Sliding Closet Door Makeover (and what I would do differently)
- DIY Kraft Paper Roll Holder Tutorial (Cheap & Easy!)
- Modern Boho Office Reveal (Before & Afters)
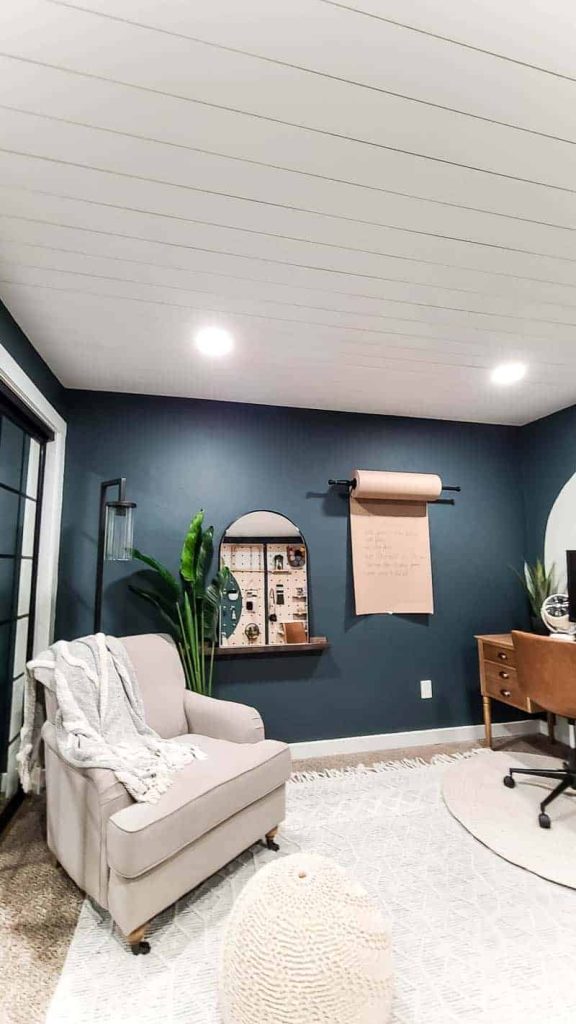
Our Home Office Before the Shiplap Ceiling
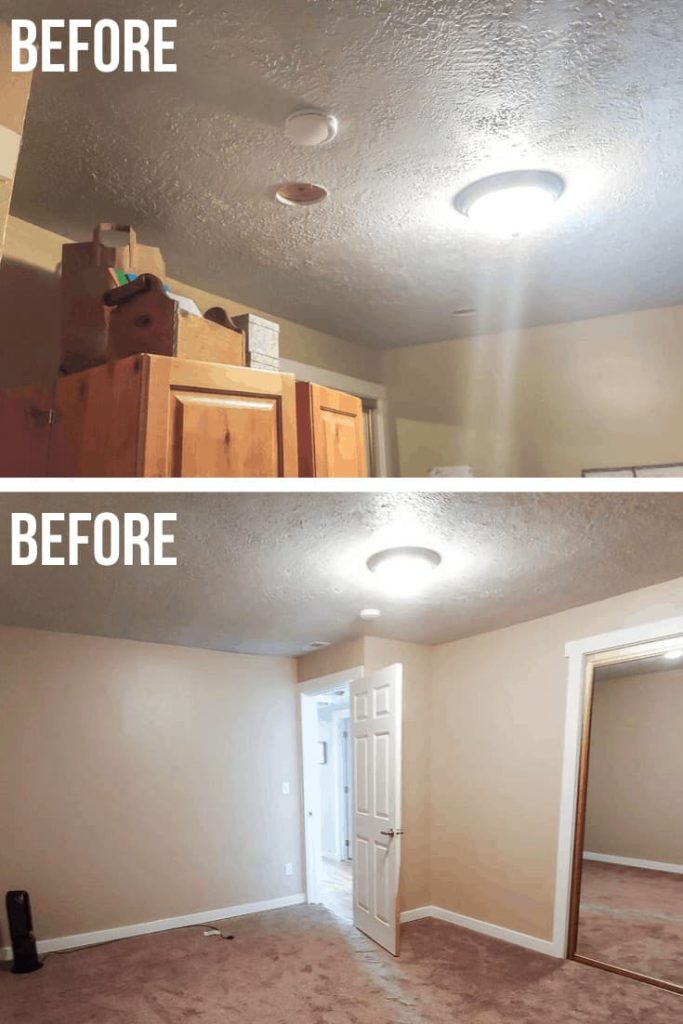
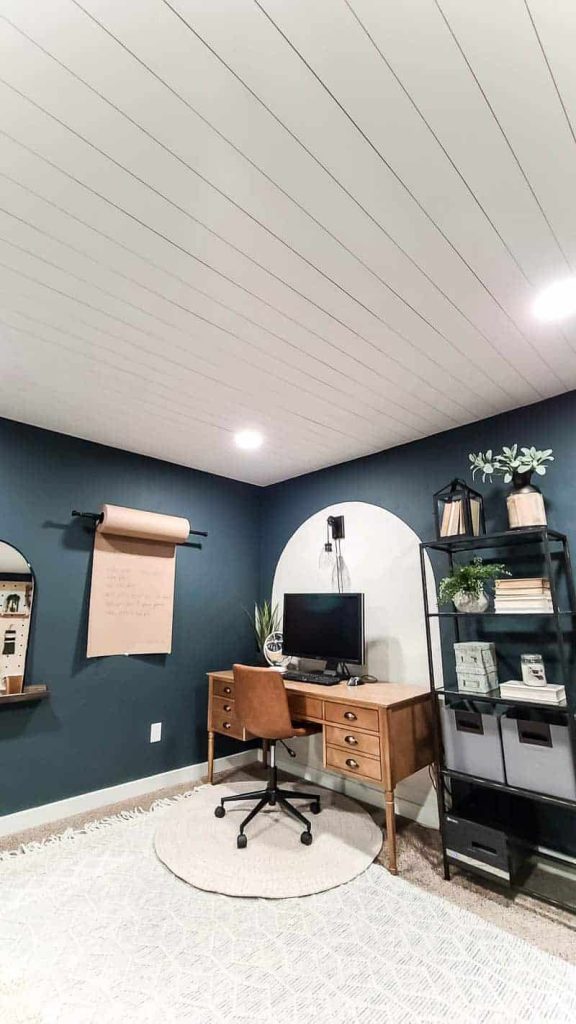
Enter: Shiplap Ceilings!
Installing shiplap is a great way to give a room a little boost. After we completed this shiplap project, we marveled at how much brighter and bigger the room seemed!
If you want to make your own plywood shiplap, feel free to take on that extra project. You could also choose to rip down sheets of 1/4″ plywood like we did on this faux shiplap wall to make your own planks.
We found a shortcut with premade, primed shiplap planks that have tongue and groove joinery. The premade shiplap was a little extra cash, but it was well worth it in the time that we saved!
But it really just comes down to how much time you want to spend preparing the planks or how much money you want to spend to go with a quicker option of installing premade tongue and groove shiplap planks on the ceiling
If you aren’t quite ready to permanently install shiplap on your ceiling, we get it. It’s a commitment. And much like popcorn ceilings, you don’t want to be stuck with something you aren’t crazy about.
So, if you need to slowly introduce yourself (or husband) to the idea of a new shiplap style ceiling, test a few shiplap decor projects or do a faux shiplap wall to be sure it’s your speed.
Are you ready to jump straight into installing shiplap on your ceilings? Check out these gorgeous shiplap ceiling ideas for some creative options!
Not sure shiplap is your jam? Check out these other great ceiling design ideas!
How to Install a Shiplap Ceiling: Tutorial & Video!
If you love DIY videos, be sure to subscribe to our YouTube channel so you don’t miss the next one!
We summed the whole process of installing our new shiplap ceiling up in a video tutorial as well as a written out step by step tutorial!
This shiplap ceiling tutorial also contains affiliate links, but nothing that I wouldn’t recommend wholeheartedly. Read my full disclosure here.
Supplies & tools needed to install a shiplap ceiling:
- 16′ planks of shiplap – to figure out how much you need multiply the length by the width of the room in inches and then divide by the width of the planks and then buy 10% extra for waste
- Miter saw
- Measuring tape
- Finish nail gun – we used a 16 gauge with air compressor
- 2″ finish nails
- Stud finder
- Ladder or step stool
- Multi-tool
- Hole cutter
- Caulk
- Spackling
- Putty knife
- Sanding block
- Ceiling paint
- Paint tray
- Paint roller
- Paint roller cover
Step 1. Remove everything from the ceiling.
Start by removing fixtures from your ceiling, including lights, chandeliers, air vents, and anything else that is attached to your ceiling.
Later in the video, we walk you through how to work around these areas using a few basic tools.
Step 2. Locate the ceiling joists.
Before you begin nailing the shiplap planks to your ceiling, find and mark the ceiling joists with a stud finder.
Curious what ceiling joists are? The main job of joists is to connect the outside walls together and provide support to the ceiling materials in the room below.
Ceiling joists are an important player in this project because they support your roof from the inside and will act as the “mount” for your shiplap planks.
Joists connect to the rafters, which are the load-bearing support for your roof, and basically hold the frame of your roof together. Unless you have a flat roof, you have rafters and joists above your popcorn ceiling.
Skipping this step could really damage your ceiling and ruin the whole shiplap ceiling project.
Instead of joists, we had sheets of plywood right above our ceiling, so we were able to nail right into the plywood which worked perfectly. Ideally, the joists and planks should run perpendicular to each other.
If you find the joists are running the same direction as your shiplap, attach furring strips to the ceiling with a 16 nail gun into the joists before the shiplap planks to minimize the weight-bearing on the joists.
After attaching the furring strips into the joists, you can nail the planks directly into the furring strips.
How much weight can I hang from a ceiling joist?
There are different sizes of joists depending on when your home was built and the room you are working in.
Regardless, shiplap planks should not max out any weight loads, but be aware of any attic storage above the room you are working in.
Step 3. Cut and attach the shiplap planks.
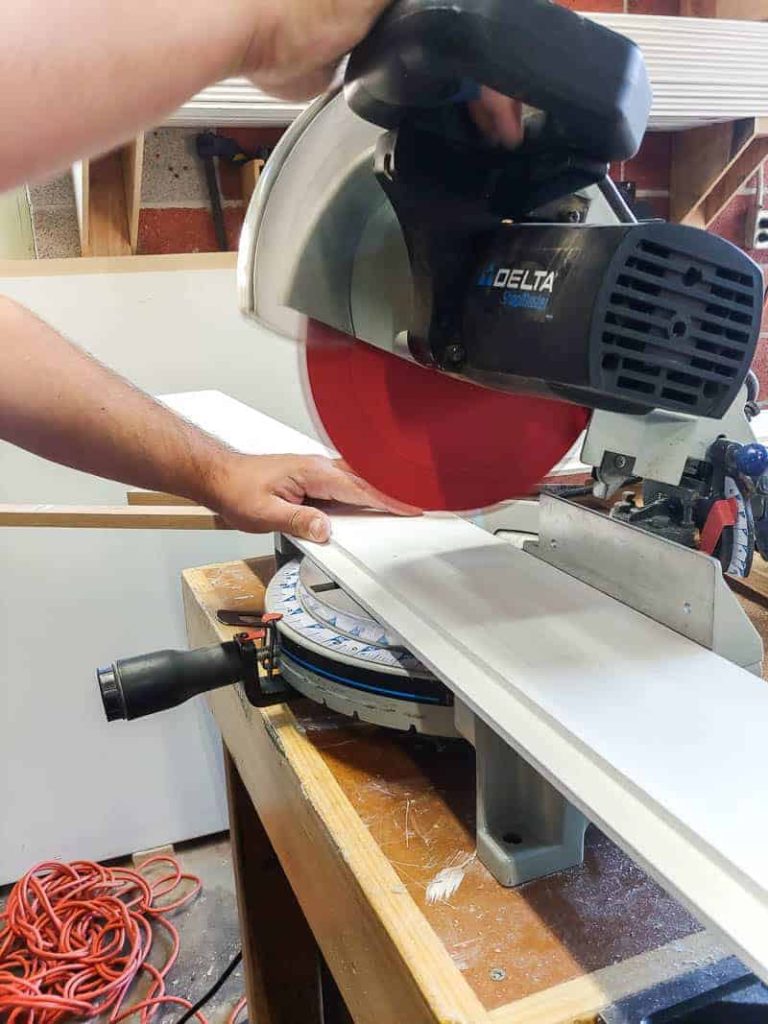
Cut the shiplap planks down to the correct size for your room with a miter saw (check out this post to understand why the miter saw is the best type of saw for this job!)
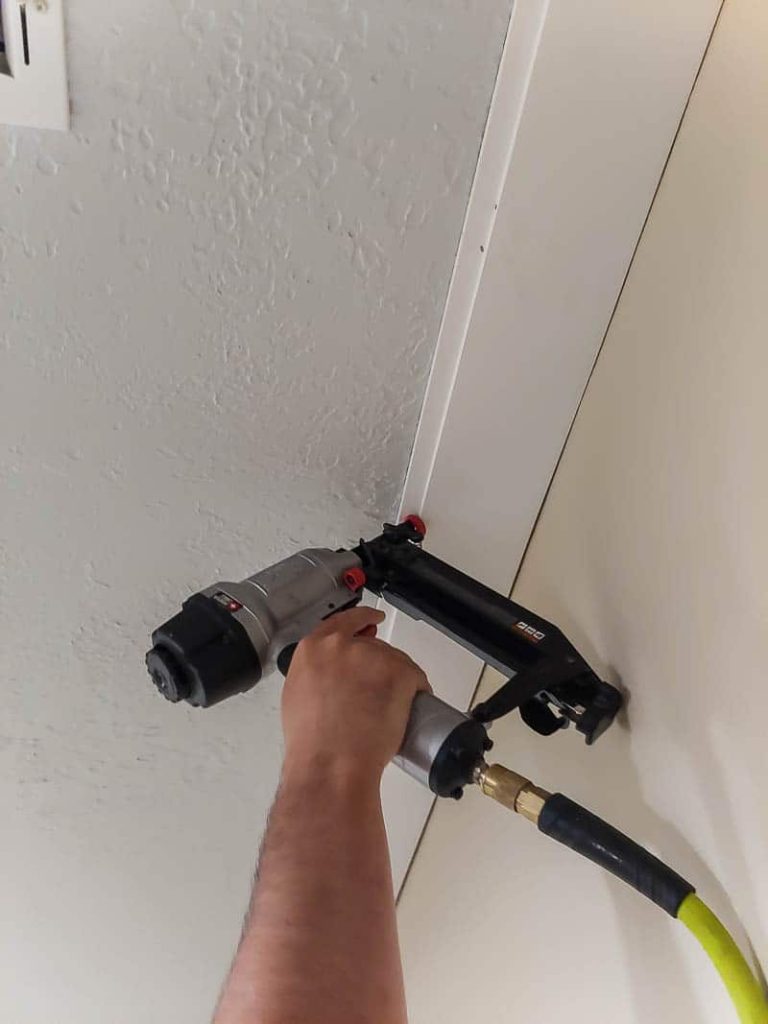
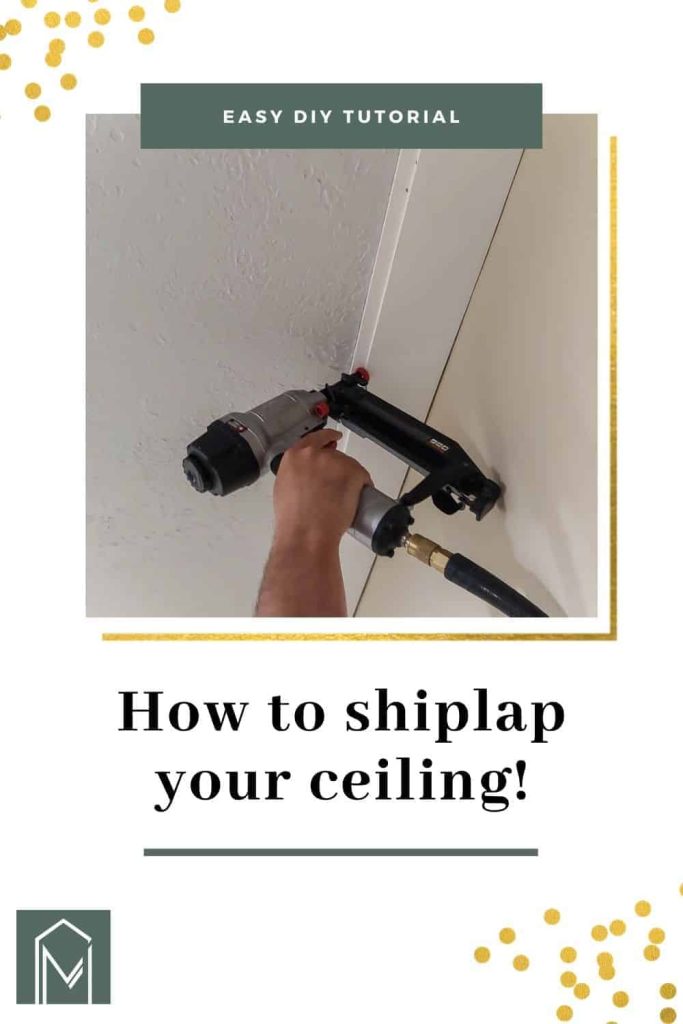
The first shiplap plank you add to the wall is the most important to get nice and square because everything else will line up with that one.
As you begin nailing, make sure you are holding your finish nail gun at a 45-degree angle. This will prevent the planks from shifting against the other boards and straining the enforcements above.
We drove the 2″ nails into the edge of the shiplap planks along the tongue. This was to minimize the number of nail holes on the surface of the shiplap ceiling. We did need to add a few nails here and there for extra support on the bottom side of the planks (the surface of the shiplap).
If you had a super flat ceiling (without heavy texture or popcorn), when you could get away with only adding nails on the tongue side. But we added them because the heavy texture on the ceiling didn’t make for a super flat surface.
How to cut the shiplap ceiling planks around fixtures and vent covers
In this room, we had several air vents and light fixtures we needed to make room for. To make room for these fixtures, we attached a plank to the ceiling close to the fixture’s hole, then made markings where space was needed.
Using a hole cutter for the circular cuts (like the recessed can lights) and a multi-tool for the straight cuts (like for the vent covers), we cut along the markings so we could easily reattach our fixtures and vents over the shiplap ceiling.
Step 4. Sew things up with caulk and spackle.
Now that your shiplap planks are in place on the ceiling, it’s time to caulk and spackle.
Caulking and spackling really seal the deal on the aesthetic of a project. We’ve got a few caulking tips if you need them. It’s tedious, but you’ll be glad you did this part.
First, apply caulk in a small bead with a caulking gun, along the edges of the room. Then, smooth with your finger to create a seal between the walls and ceiling planks.
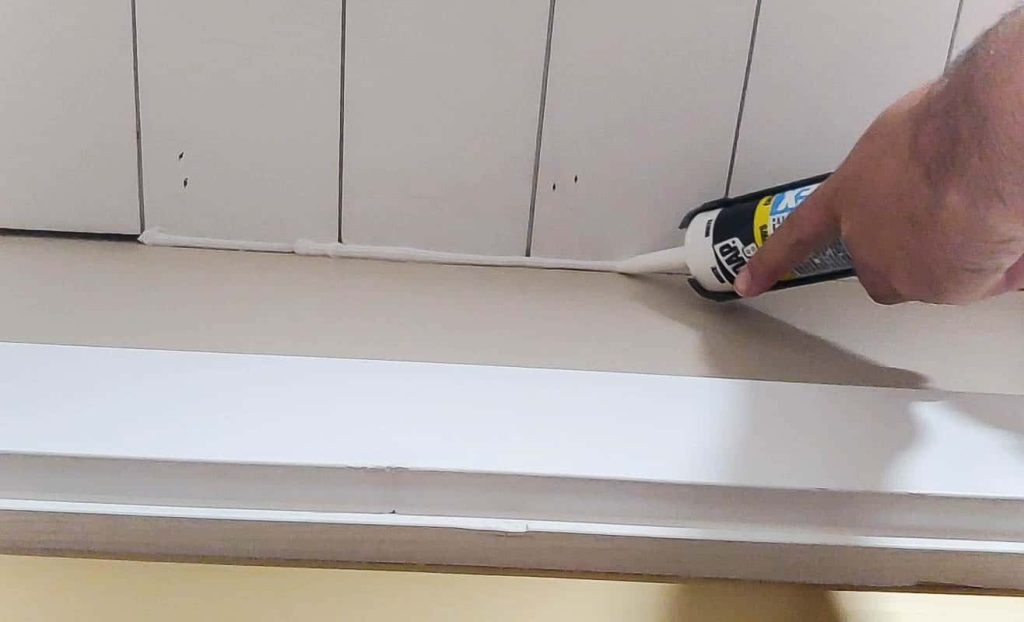
Keep in mind that paint touch ups along the wall may be necessary after caulking. For this project, we planned on painting the entire room, so the messy caulk smears weren’t a major concern for us.
If you wanted to make sure your lines were clean, you could apply painter’s tape to the wall first and then remove the tape after you’re done caulking.
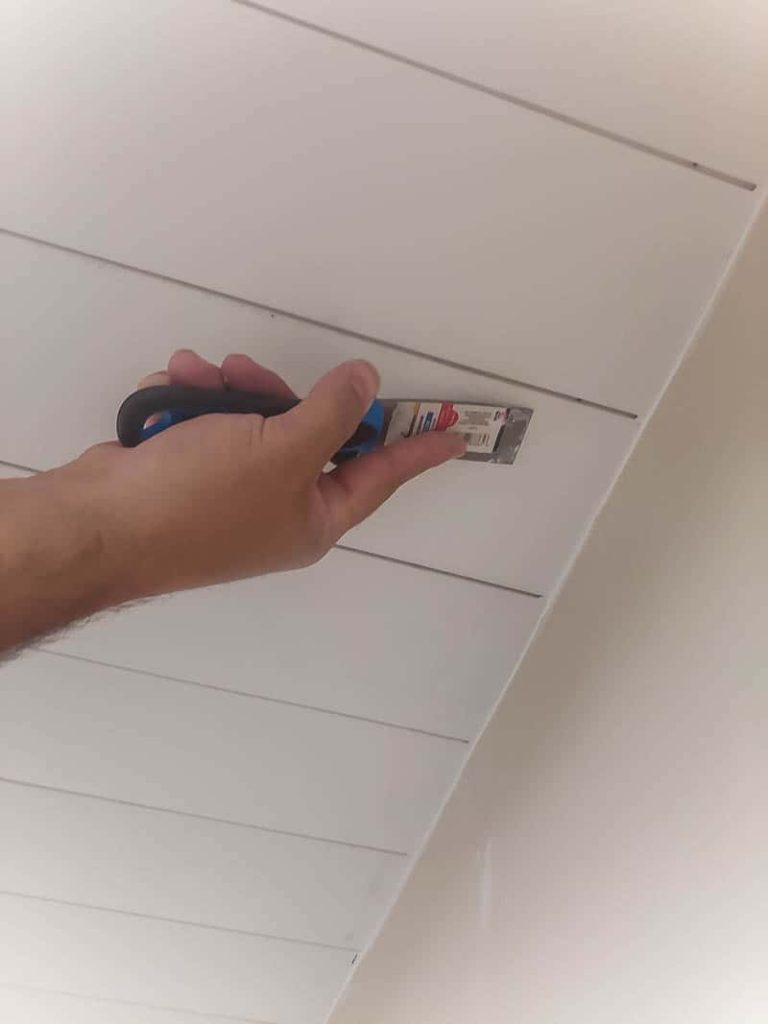
Spackle the nail holes on the surface of the shiplap using a putty knife, sand to smooth, and then you are ready to paint.
Step 5. Complete your shiplap ceiling project
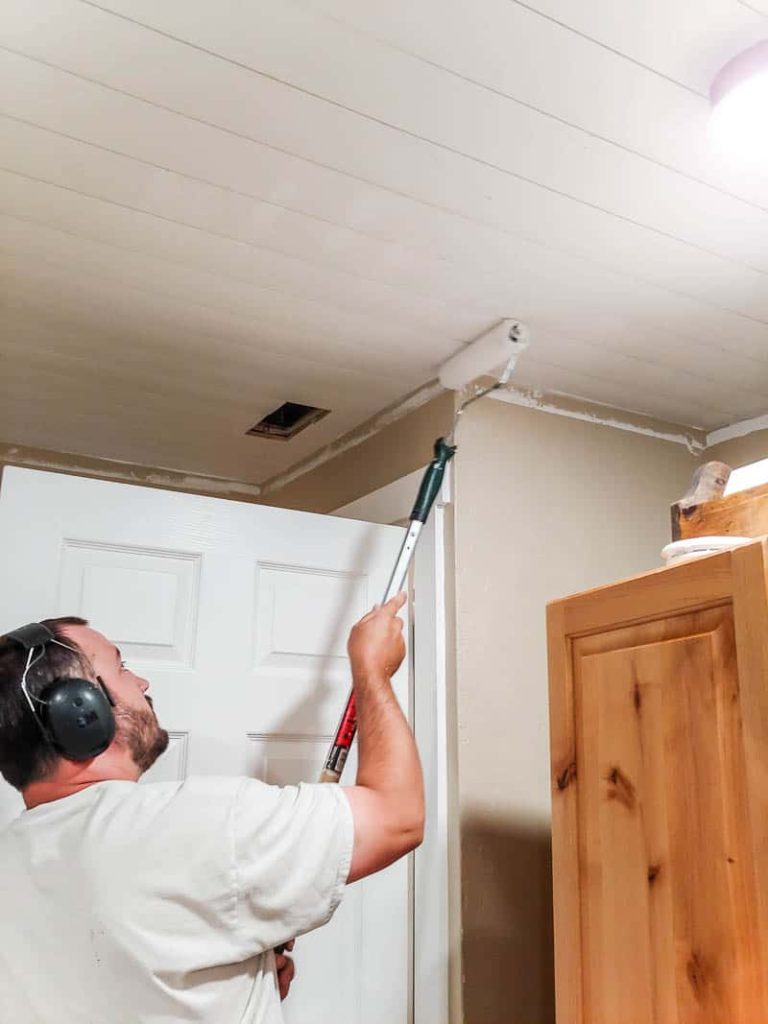
For all of our ceilings, we use Behr’s Flat White ceiling paint, but you can use any color of your choice. Roll on the paint in the same direction of the planks.
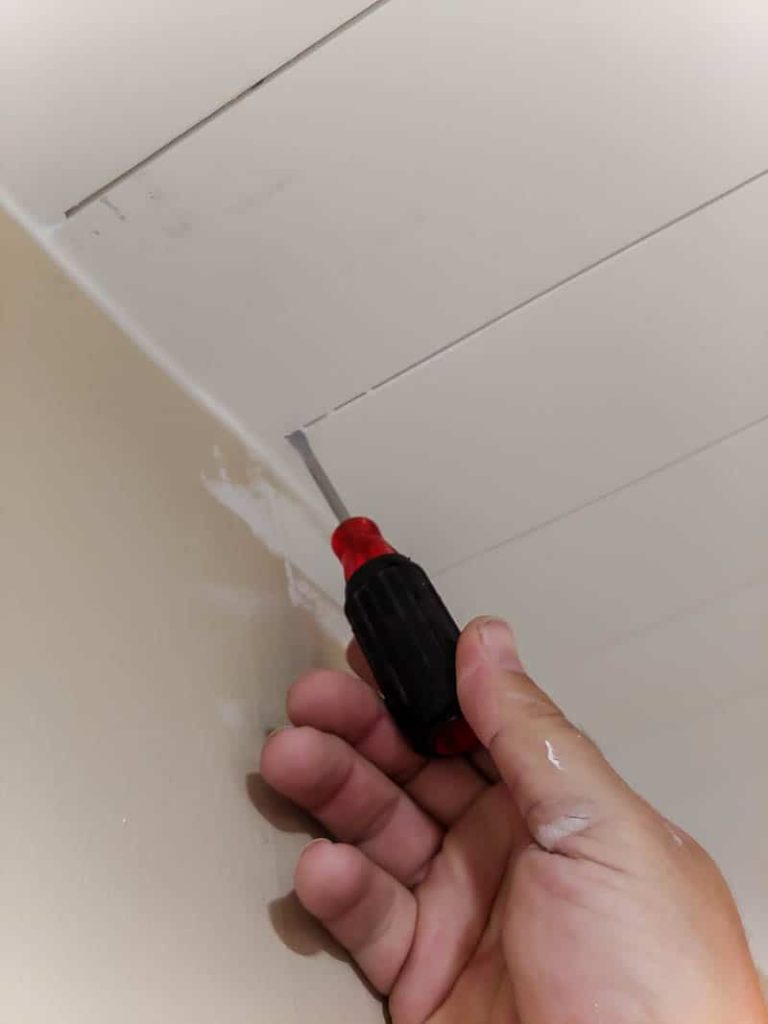
If you find the paint is running between the shiplap planks, run a screwdriver along edges between the planks while the paint is still wet.
As you are painting, be mindful of “bumping” the walls with your roller (especially if you aren’t planning on painting the walls after the shiplap ceiling is installed). For this reason, it’s a good idea to “cut” into the ceiling with a paintbrush, painting about an inch or two into the ceiling planks and away from the walls. We use an angled paintbrush for cutting in and we have a whole tutorial about how to cut in paint.
If you are painting the entire walls as we did, you don’t have to be as careful.
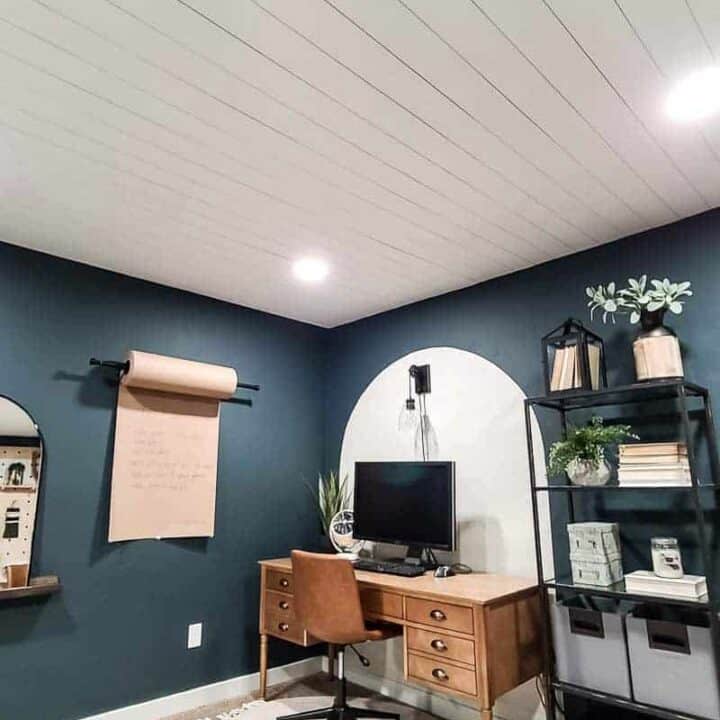
After the planked ceiling is painted and dried, replace your light fixtures and vent covers, and enjoy a beautiful and bright new look! You may even want to put in a fun new farmhouse chandelier to complete the finished shiplap ceiling!
Updating aging ceilings doesn’t have to break the bank! Installing shiplap over textured ceilings is a great way to skip scraping and will give your home an updated look that you can be proud of.
Would you install a shiplap ceiling in your home?
Let us know in the comment below!
How To Install Shiplap Ceiling
Do the ceilings in your home need an update? Here's a step-by-step guide on how we transformed our old, outdated popcorn ceilings into gorgeous shiplap, with minimal effort and mess!
Materials
Tools
- Miter saw
- Measuring tape
- Multi-tool
- Hole cutter
- Putty knife
- Sanding block
- Paint tray
- Paint roller
- Paint roller cover
Instructions
- Remove everything from the ceiling.
- Locate the ceiling joists.
- Attach the shiplap planks to ceiling. As you begin nailing, make sure you are holding your nail gun at a 45 degree angle. This will prevent the planks from shifting against the other boards and straining the enforcements above.
- To cut the shiplap around light fixtures and air vents, use a hole cutter for the circular cuts and a multi-tool for the straight cuts, we cut along the markings so we could easily reattach our fixtures and vents over the shiplap ceiling.
- Apply caulk along the edges of the room.
- Fill nail holes with spackling.
- Paint shiplap ceiling with flat white ceiling paint. Roll in the direction of the planks.
Notes
- If you find the joists are running the same direction as your shiplap, attach furring strips to the ceiling before the shiplap planks to minimize the weight bearing on the joists. After attaching the furring strips into the joists, you can nail the planks directly into the furring strips.
- If you find the paint is running between the shiplap planks, run a screwdriver along edges between the planks while the paint is still wet.


Where did you purchase your shiplap?
Home Depot – here’s a link: https://rstyle.me/+zI4efwJ2UDda4xSioHkyGQ
What’s the color paint you used on walls?
Midnight in NY by Behr.
You said you spent roughly $500 on materials. How large is/was the room?
The room was about 15 feet x 12 feet, but the cost of lumber has definitely skyrocketed since we completed this project about 8 months ago, so I’d expect the cost would be much more to complete today.
I am looking to do shiplap on my ceiling, but have plumbing pipes above, I am a little skeptical to pull the trigger! Any tips or would you advise against it?
Good question Anne we would recommend installing the rails perpendicular to the shiplap and using those to nail into. Be sure that your nail size only goes through the shiplap and into the rails and drywall ceiling, but not all the way through to avoid hitting any pipes.
This ceiling turned out amazing!!! I would love to recreate this in our dining room. We are doing some kitchen cabinet painting next week, but this might just have to be our next home project. Thanks so much for sharing your beautiful home!
Hey, folks. Why am I having difficulty finding 1”x8”x16’ shiplap boards, and where can I get them?
I want to do the living room, kitchen, and hallway. I only need 61 boards (small rooms and a short hallway)
Thanks.
Are you not able to use the ones we linked? Looks like they are still available on The Home Depot. Here it is again: https://rstyle.me/+e0-gHfCEaAZir6bGl9ObrQ