How To Install A Faux Shiplap Wall

Oh my goodness.... it's #shiplap time. Today we're going to walk you through the simple steps on how to install a faux shiplap wall on the cheap. You'll be amazed by the crazy transformation the faux shiplap wall made in our farmhouse bathroom.
If you’re looking for a DIY update for your bathroom that you can start in and finish in one weekend (and I mean one weekend where you have normal life going on…not one weekend where the whole crew comes in and finishes a house in one weekend…seriously, how do they even do that!?) – this is it!
I promise to keep this guide on how to install a faux shiplap wall super simple.
UPDATE: Here’s how the farmhouse master bathroom turned out. Check out the full room reveal.
Table of Contents
Further Reading – Here’s some other accent wall ideas:
- How To Make A Plywood Shiplap Wall
- Board and Batten Wall Tutorial (on textured walls!)
- Gallery Wall Inspiration: 5 Gallery Wall Styling Tips
- How To Plan Your Gallery Wall Layout (and Nursery Wall Art Reveal)
- 16 Gorgeous Green Accent Walls
- Unique Accent Wall Idea with X-Carve CNC Machine
- 10+ DIY Wood Accent Wall Ideas To Make Yourself
- 30+ DIY Wall Treatments To Try In Your Home
This tutorial on how to install a faux shiplap wall contains affiliate links, but nothing that I wouldn’t wholeheartedly recommend anyway! Read my full disclosure here.
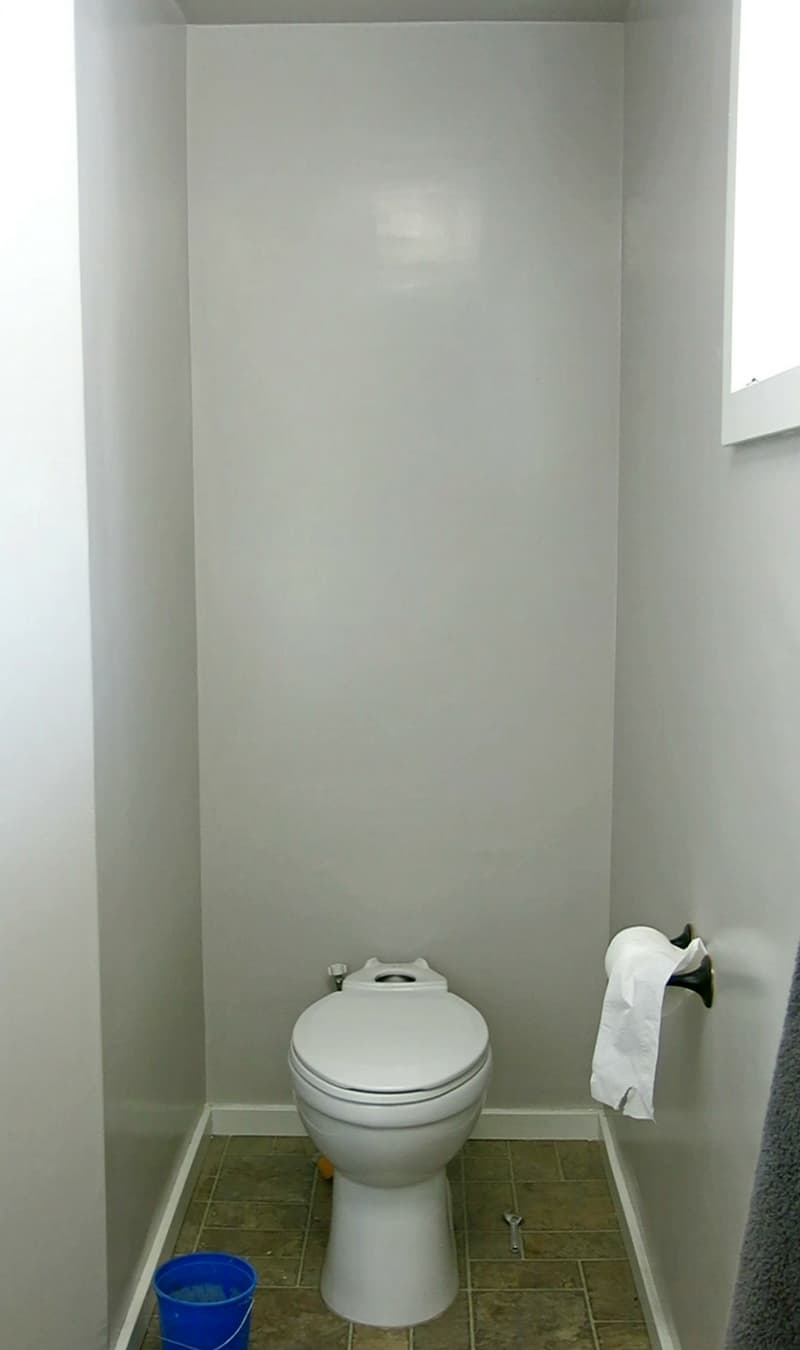
Before Our Shiplap Walls: A Look at Our Boring Bathroom
Let’s just take a peek back at what this area looked like when we moved in.
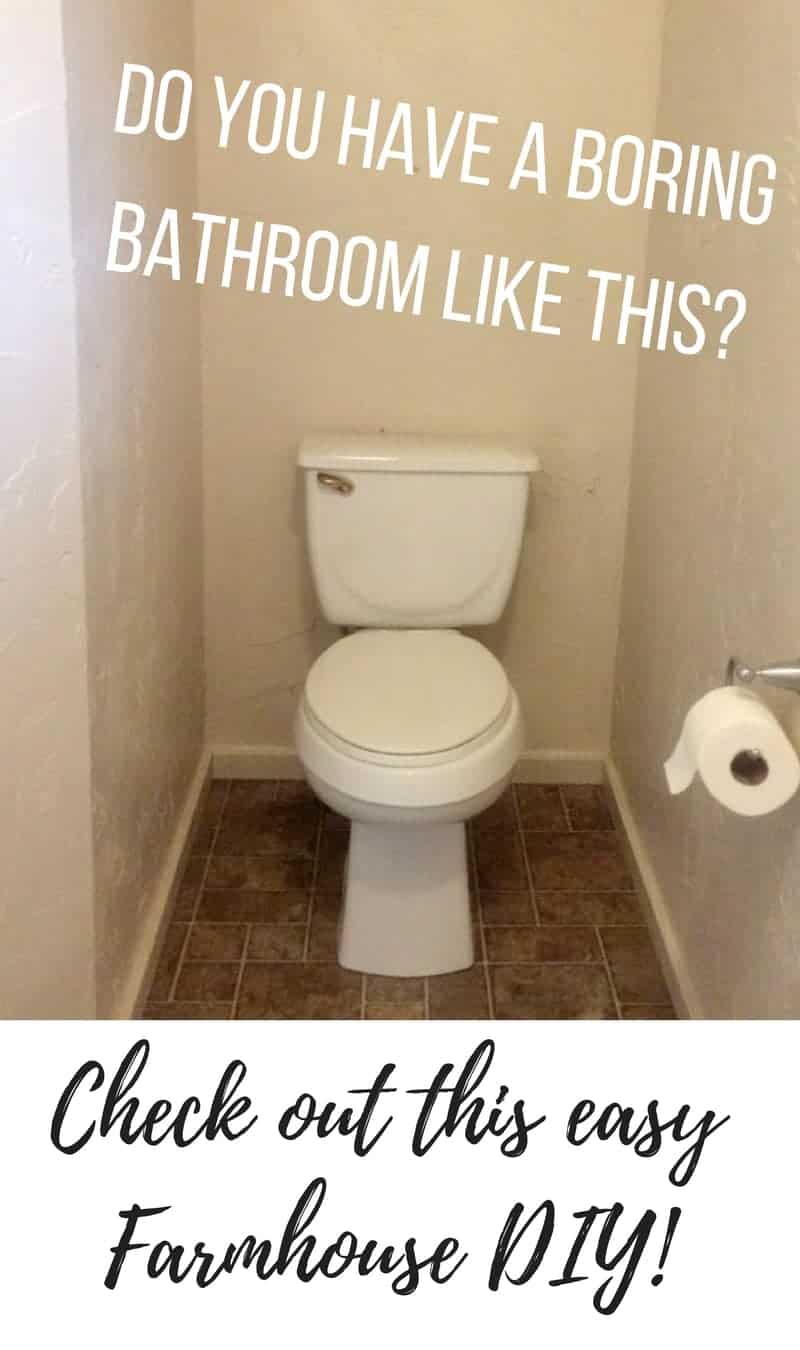
Scary…I know! Since then, we (by that I mean Logan…most of the hard work was done while I was pregnant so I had a good excuse for not being able to help a lot…if you see the size of this bathroom, there definitely wouldn’t have been room for him and me/my big ‘ol pregnant belly) have skim coated the walls…which is just a fancy word for making the texture smooth. The texture throughout the entire house was hideous. It looked like someone took drywall mud and had a splatter paint party.
After skim coating, we painted (Burnished Clay by Behr if you’re wondering), replaced the toilet, and put our clunky storage shelves in place.
A few weeks ago we got a little DIY bug. Logan and I have both been going kind of stir crazy with the bad weather all winter (Spring, please hurry up already).
We decided to tackle some super easy and budget-friendly transformations to our boring master bathroom and it all started with shiplap.
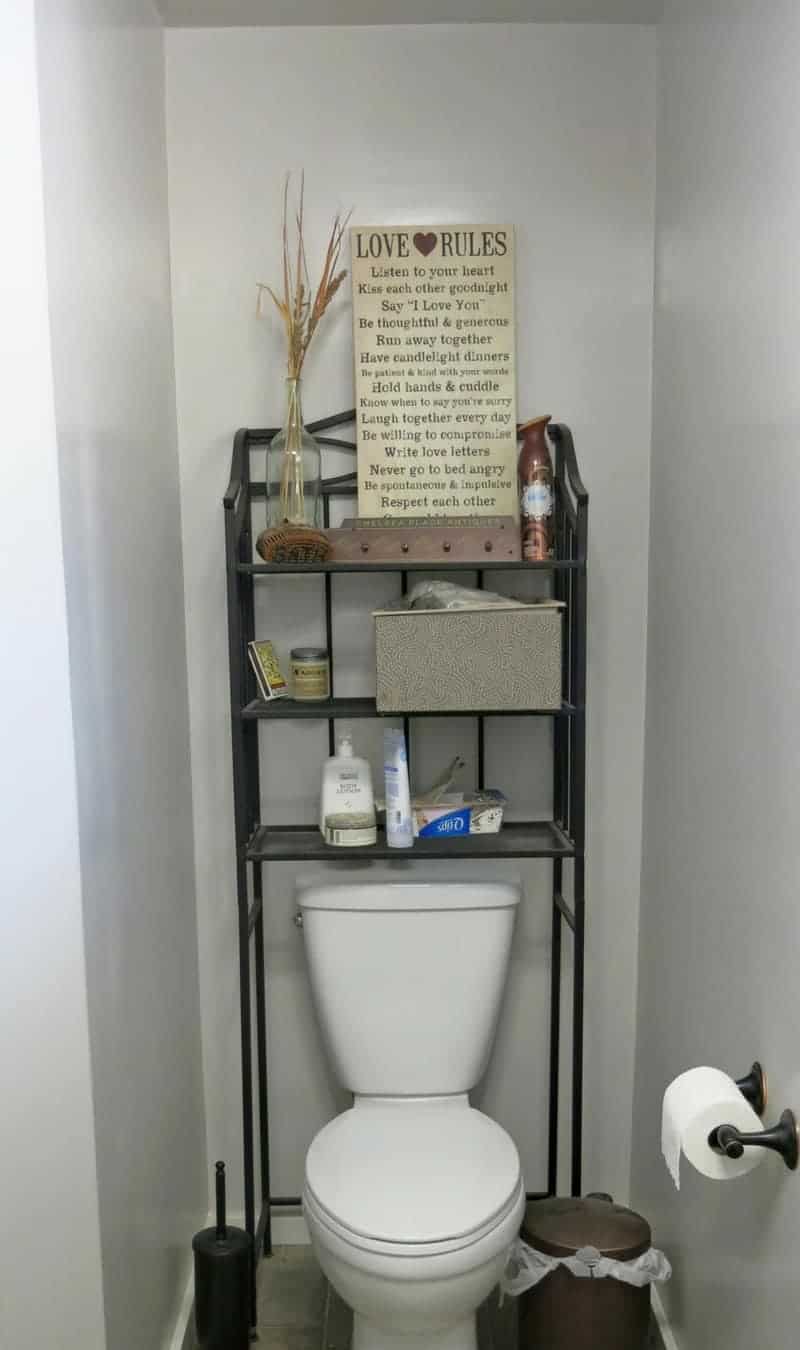
I’ve been wanting to do something…really ANYTHING… to the wall behind our toilet that housed those ugly shelves.
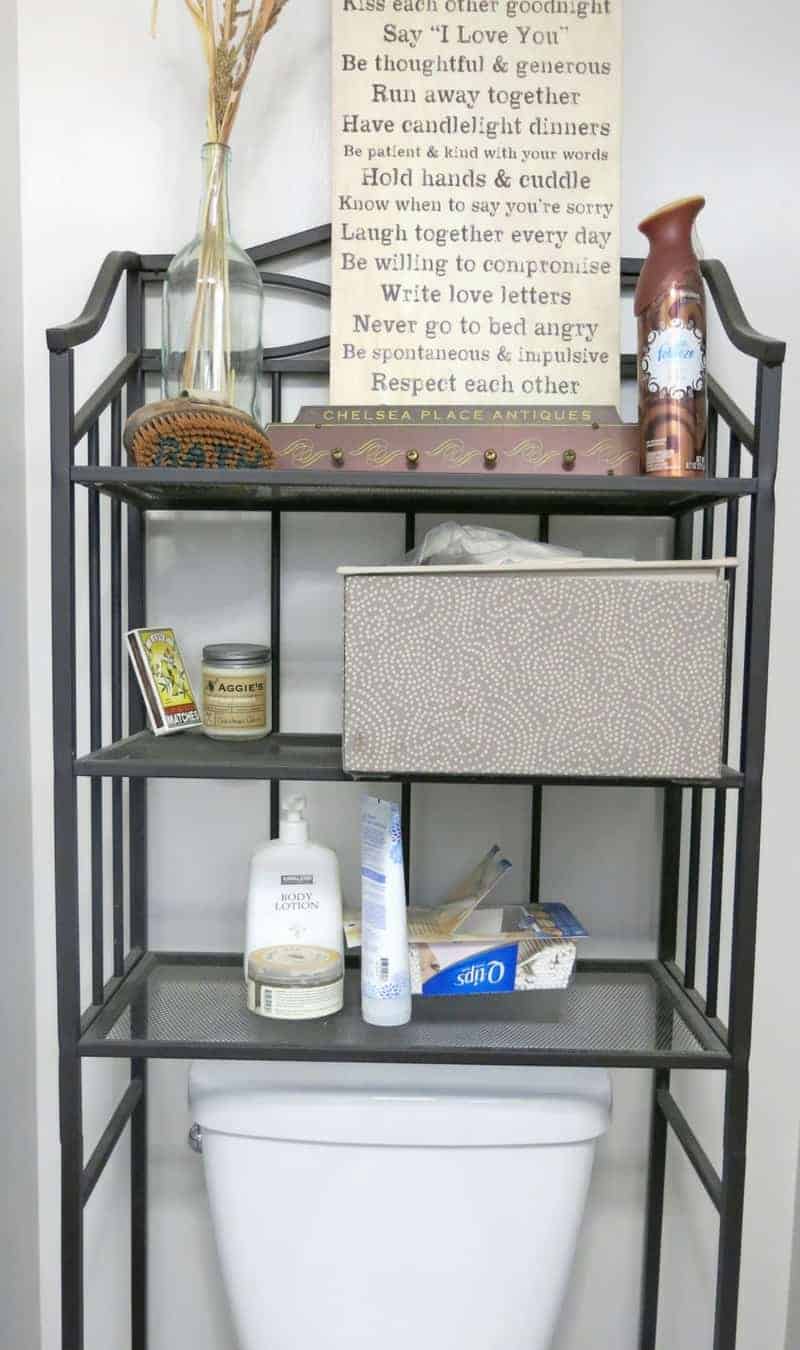
We’ve had the shelves for years and…let’s just be honest, I’ve always kind of hated them, but we needed the extra storage in all three houses we’ve lived in since getting married.
So there they stayed behind the toilet collecting dust and clutter. After getting Logan to sit down and watch some Fixer Upper with me and then I showed him my friend’s faux shiplap wall from Making Joy and Pretty Things (you gotta check it out!), I finally convinced him that shiplap is a necessity.
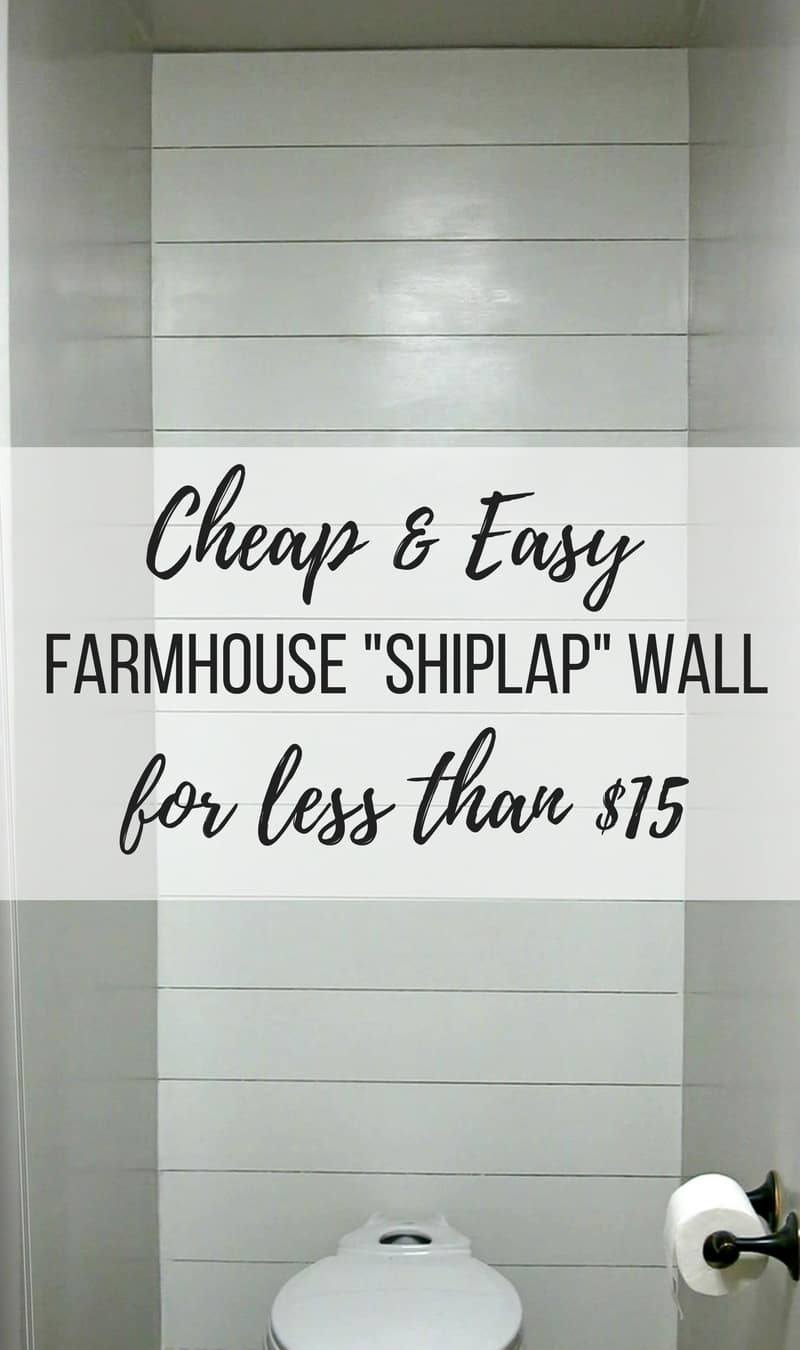
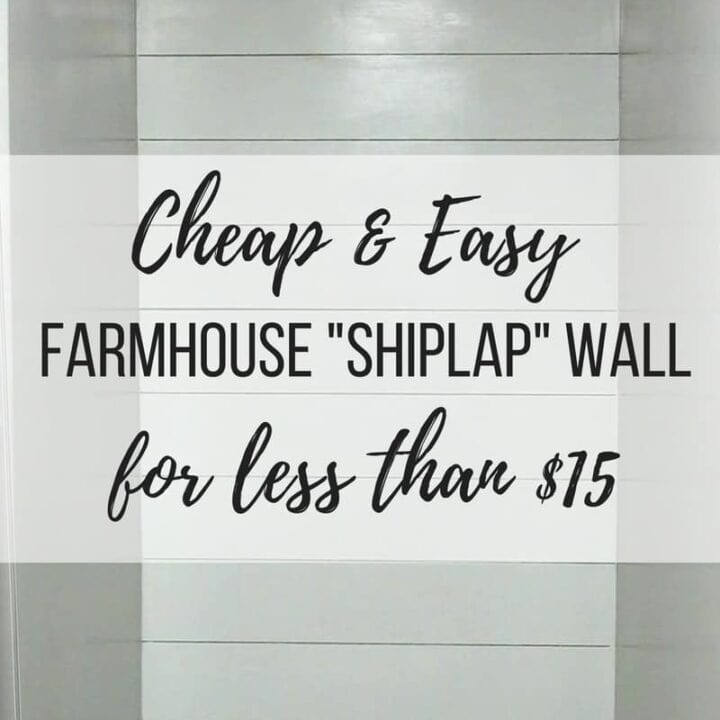
The problem was real shiplap is EXPENSIVE!!! We’re talkin’ at least $60 for the wood to cover this small wall! We only spent $12 bucks on the wood for our faux shiplap.
Faux shiplap wall: video tutorial
If you love DIY videos, be sure to subscribe to our YouTube channel here.
Ready to see how to install a faux shiplap wall?
Here are the supplies for the faux shiplap wall.
- Underlayment plywood – our wall was pretty small, we only needed one sheet
- Brad nailer (with air compressor) – we have this combo pack
- If you don’t have a nailer and air compressor and can’t borrow one or rent one – you could hammer in finish nails with a hammer and then finish them with a nail punch
- Brad nails
- Spackling
- Fine grit sandpaper – we used 220-grit
- Paint – we used Behr’s Snowy Pine (learn more about the paint color here)
- Paintbrush
- Nickle…yep that’s right a nickle from your wallet. I promise I’ll explain!
- Level
- Caulk & caulking gun
- If you don’t have a caulking gun, you could use a tube like this instead
- Table saw
- If you don’t have a table saw (LIKE US), you can just use a circular saw and some clamps…I’ll show you how you can rip wood without a table saw below
- If you really don’t have access to any woodworking saws, I think you can kindly ask the employees at Home Depot to cut the wood for you when you buy it, but this just depends on the store.
Ok, let’s get started on this guide on how to install a faux shiplap wall.
How to Install a Faux Shiplap Wall Step-by-Step
Step 1. Remove the tank from the toilet.
By removing the tank from your toilet, you’ll be able to work on the wall MUCH easier. It’s worth the “extra” step, trust me.
If you’re wondering how to remove the tank of the toilet, here are simple directions.
You only need to follow steps 1 and 2 in those directions though, unless you wanted to remove the whole toilet…which I don’t think is necessary.

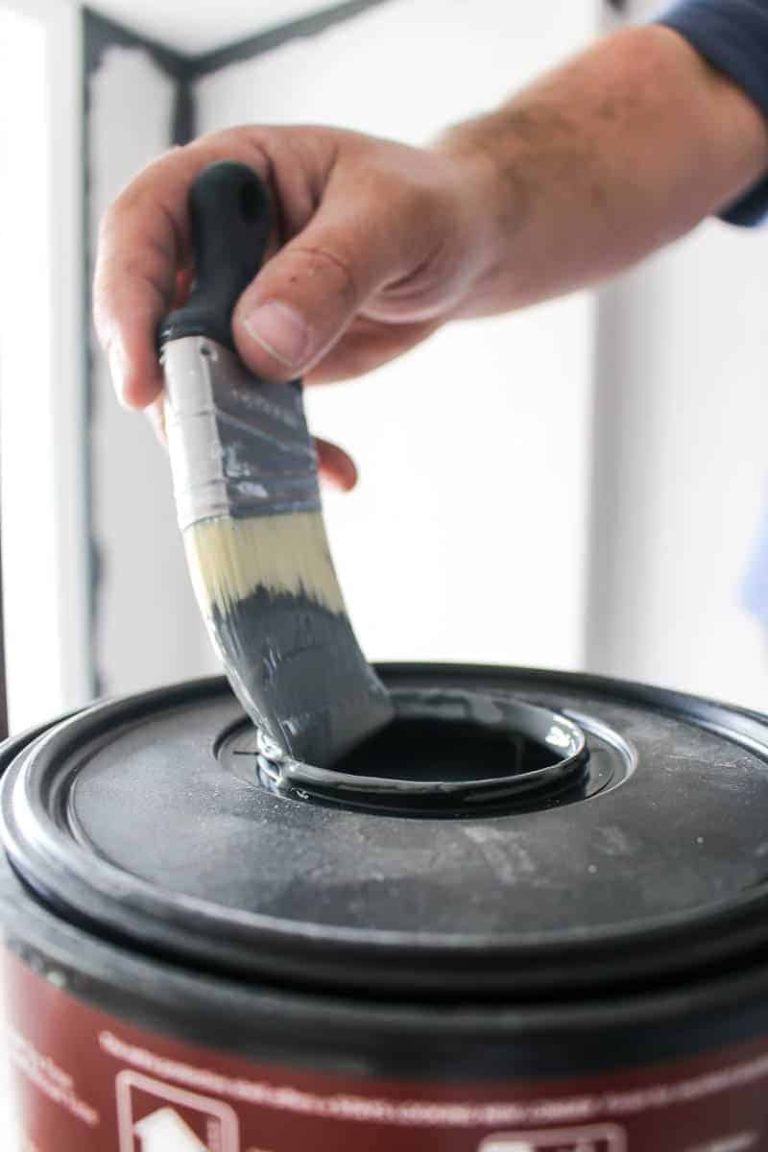
Step 2. Paint your wall.
You definitely want to paint your wall with one light coat of whatever color is going to go on top of the faux shiplap (this white, in our case).
Don’t worry about the edges or getting it perfect. The only reason you’re painting this is for the gaps between the planks that will peek through.
If your wall is a really dark color and you’re planning on doing a light shade on the faux shiplap, you’ll want to be more careful to get all the edges and you’ll probably want to do more than one coat.

Step 3. Cut wood to size.
Next, you want to get all of your wood cut down to size. Measure your wall’s width and start making the cuts. We cut our boards 6 inches tall.
You don’t have a table saw either?! No problem… take a look at how we make it work with the tools we do have.
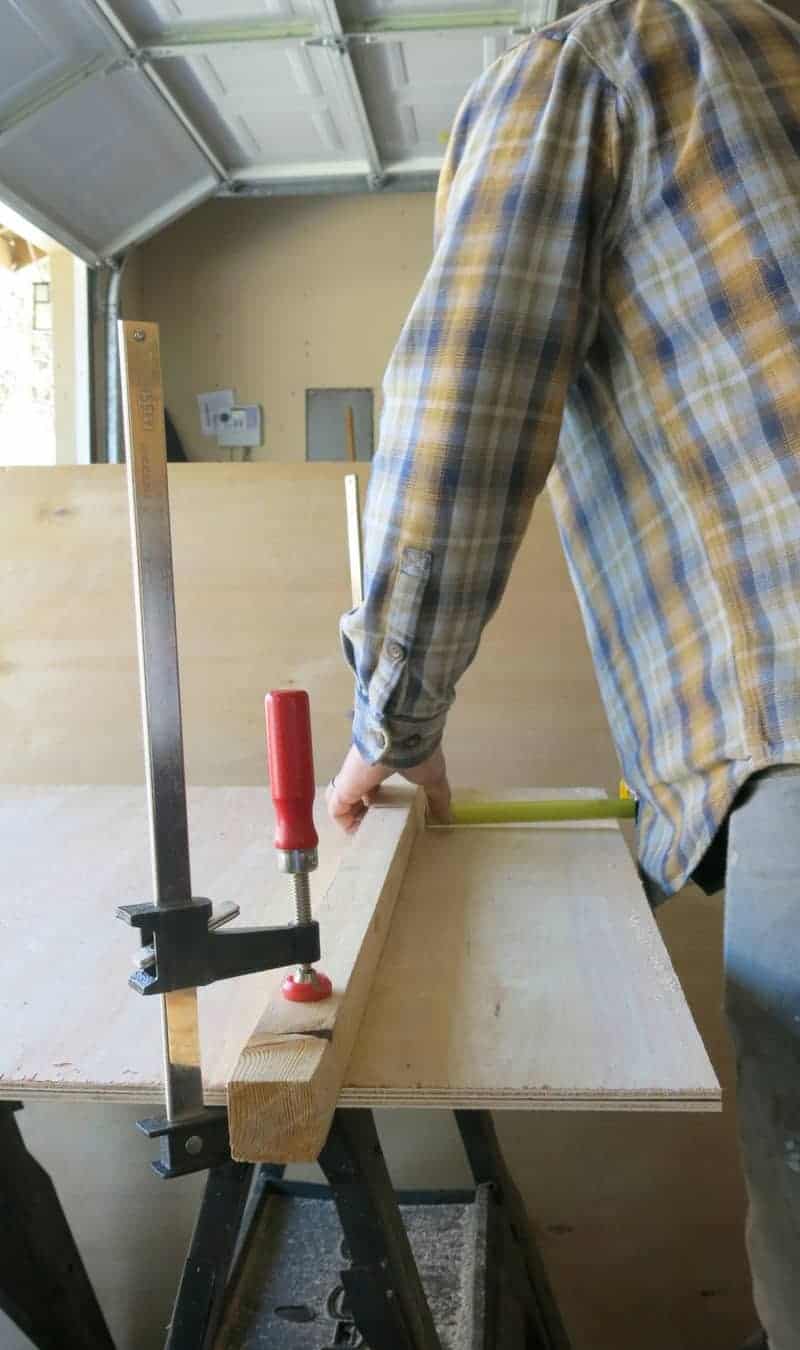
Logan sets up a guide board (1×1 that we had laying around the garage) and secures it to the boards he’s cutting with clamps.
He measures the distance that the blade is from the left side of the circular saw and adjusts the guide accordingly.
After making sure it’s straight, you just cut the wood using the guide on your left. Tada!
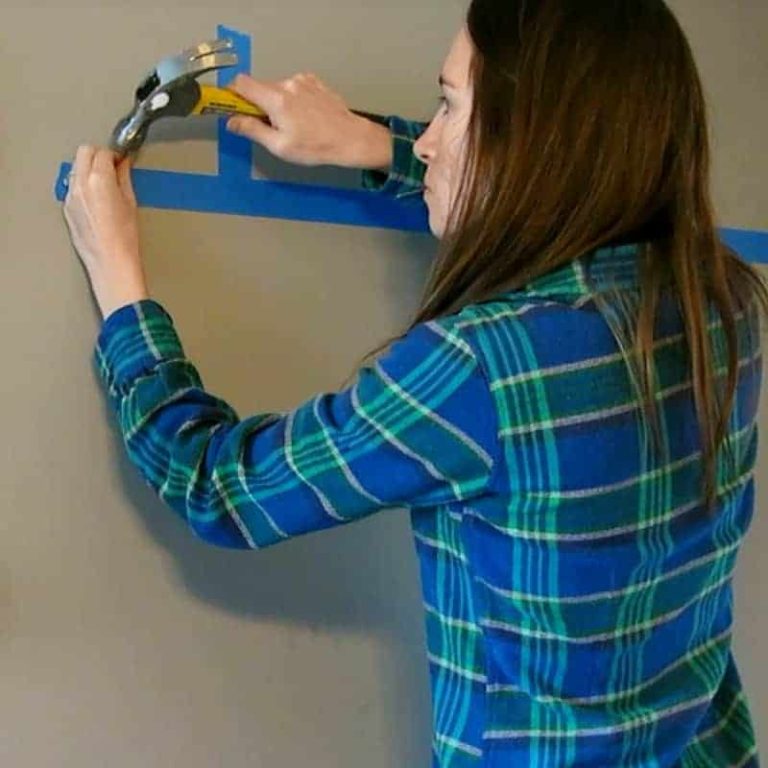
Step 4. Nail wood to the wall.
Be sure to start at the top of the wall and work your way down. If you have a skinny piece, you want it to be at the bottom of the wall so it is less noticeable.

Be sure to keep the planks level as you move your way down the wall by holding the level on the bottom of the planks as you attach them.
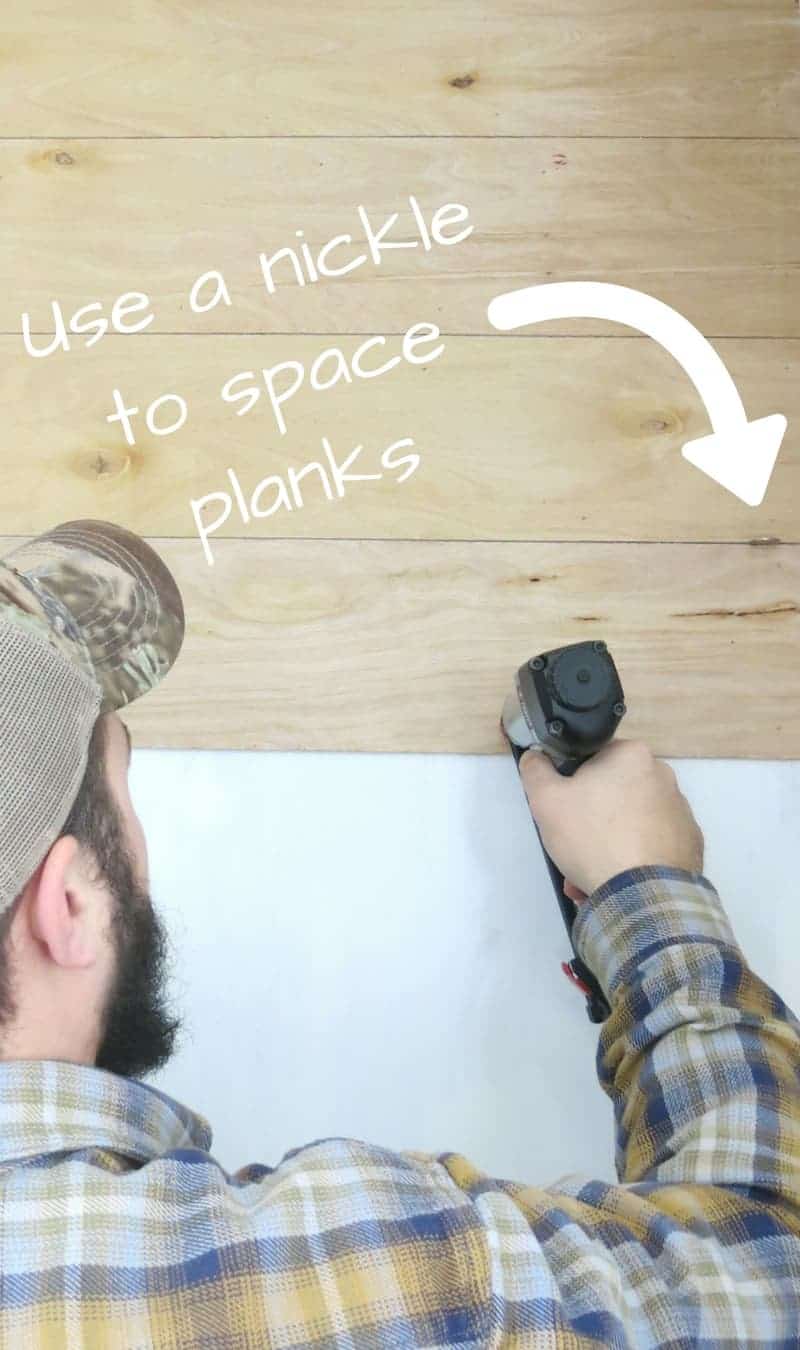
Ready for a handy tip? Use a nickel to space your planks out on your faux shiplap wall! Put one on both the left and the right of the wall (and in the middle if your wall is larger).
Step 5. Caulk edges.
Run a thin bead of caulk on the corner and then use your finger to smooth it out. The purpose of this is so that there is a nice clean line for your paint (the same reason you always want to caulk the edges of trim before you paint).
Related reading – Check out all of our caulking tips and tricks here!

Step 6. Patch nail holes and sand.
This is pretty simple. All you do is apply a dab of spackle on your nail holes and then rub off the excess.
To finish up, be sure you sand the areas you patched with some 220-grit sandpaper to make the finish smooth. You don’t want to skip sanding because you’ll see the marks on the surface where the spackle was.
Further reading – Check out our full tutorial for how to patch nail holes here.
(Update: we recently did a shiplap wall in our living room with a slightly different shiplap method and we decided NOT to fill any of the nail holes for a more rustic look, check the shiplap accent wall here)

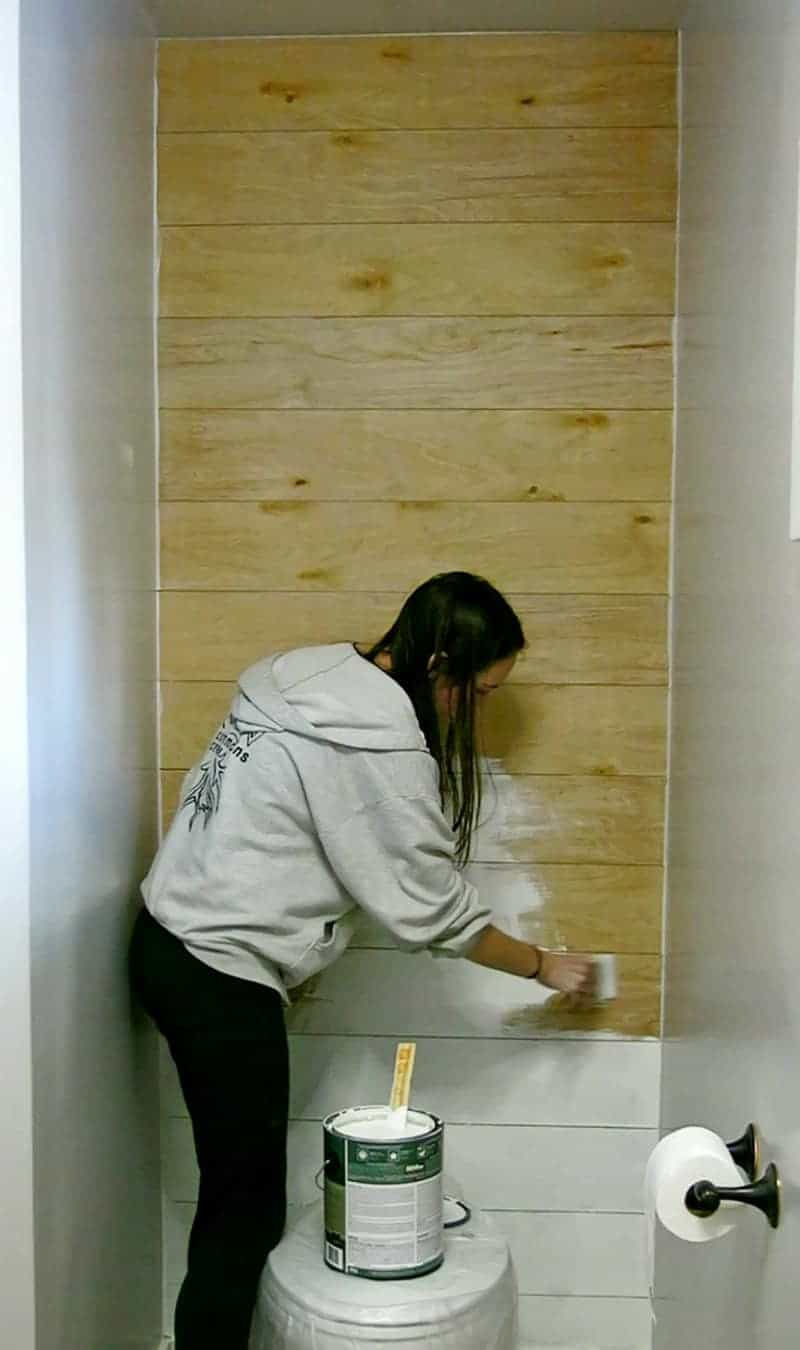
Step 7. Paint your faux shiplap wall.
We used Behr’s Snowy Pine and did 3 coats. Be sure to cover your floors and toilet and be careful on the edges when you are cutting in (or use some painter’s tape).
If I was doing this again, I would have started with a coat of primer before painting since we were painting on raw wood.
- A lot of people asked why I used a paintbrush instead of a roller for the shiplap wall, let me explain! I was worried a roller would get the paint on too thick in the cracks between the wood and I would end up with tons of the paint drips. With the brush, I was able to control how thick the paint went out and avoided laying it on heavily on the cracks. It didn’t take me much time at all to paint the small wall by hand!
Step 8. Scrape the gaps between the faux shiplap planks.
After you finish painting, you’ll probably run into some drips of paint between the planks, even if you use a paintbrush and not a roller. This is super easy to solve.
Just run something straight through the edge of the gaps. I used a putty knife, but you could use a credit card or something like that too.

Step 9. All done!
Step back, pat yourself on the back and go binge-watch some more Fixer Upper.
That was easy, right?! After we finished, we were both shocked at the crazy transformation. It was so stinkin’ easy!
The best part about this faux shiplap wall is that it was SUPER inexpensive. Assuming you already have the paint, brushes, nails, and all the tools on hand – this will cost you less than $15!!
What do you think? Did you love this guide on how to install a faux shiplap wall? Do you have convinced your hubby on adding some farmhouse shiplap in your house yet? Did you use real shiplap or faux shiplap?
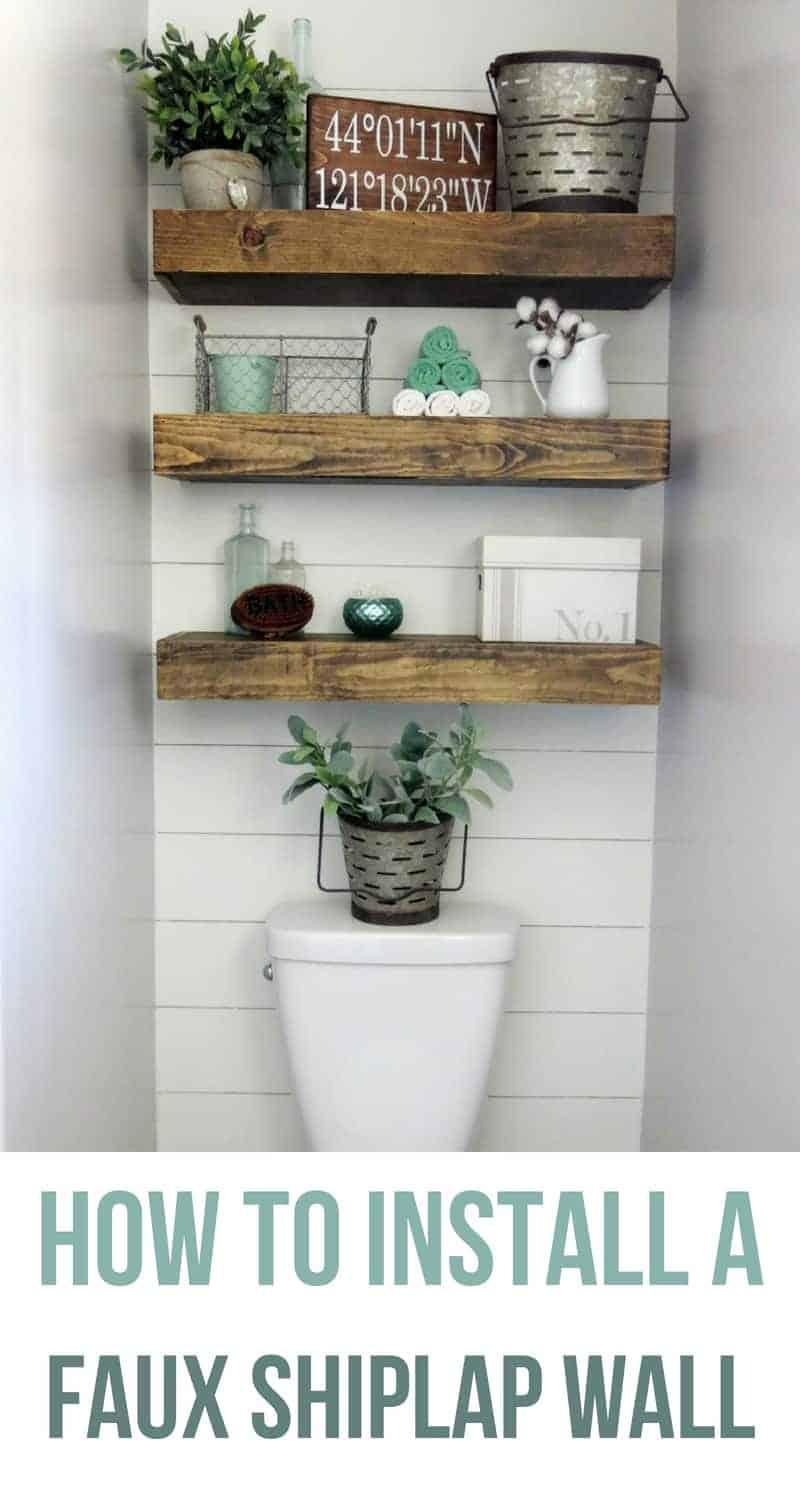
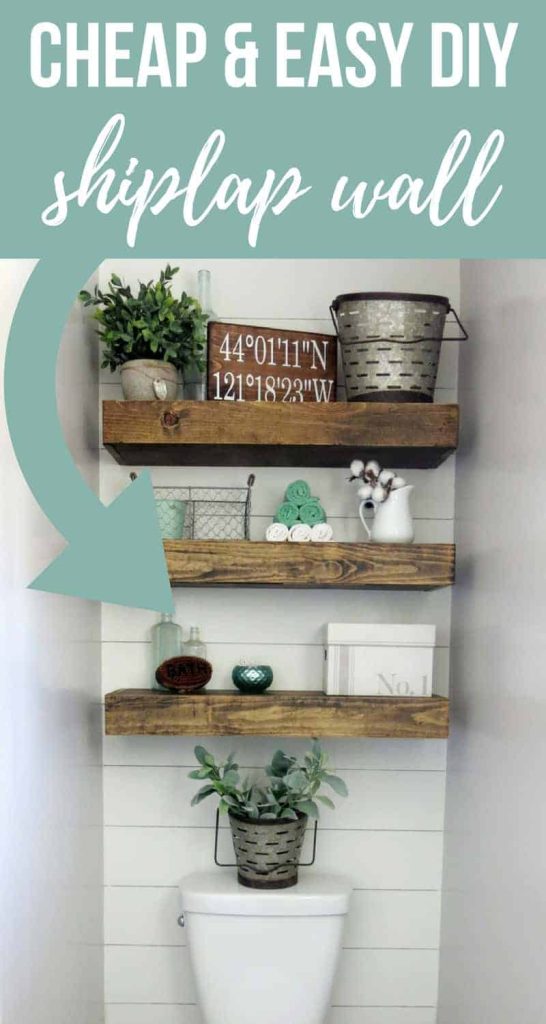
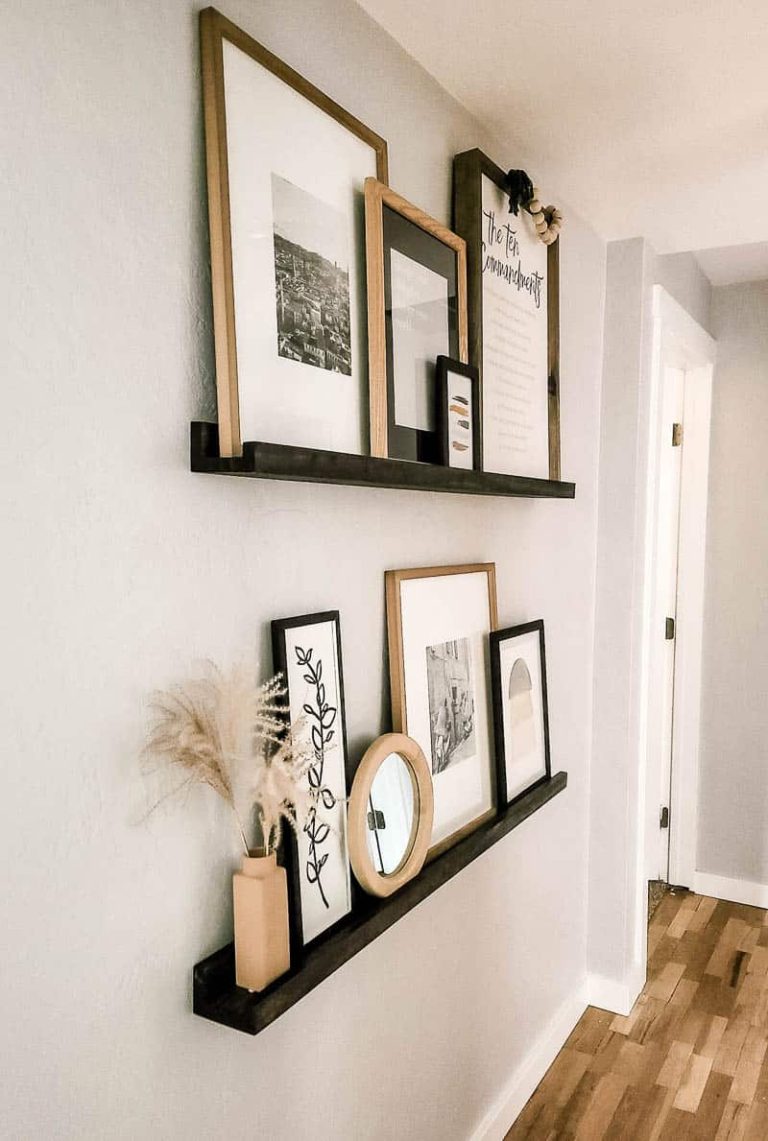
I can’t wait to show you the next simple DIY we did in our farmhouse master bathroom…. floating shelves to go on our shiplap wall. Check out the full tutorial for our floating shelves here!
Need more #shiplap?
The video of our faux shiplap wall and floating shelves in our farmhouse master bathroom literally went VIRAL. It was so cool to see something that we did get noticed by SO many people. If you are not one of the 20,000,000 people that saw this on Hometalk’s Facebook page, here’s a little time lapse version of our transformation (and a sneak peek at the super cute farmhouse decor)!
Looking for more of our farmhouse master bathroom renovation?
- How To Install A Faux Shiplap Wall (you are here!)
- How To Build Floating Shelves For Extra Bathroom Storage
- Farmhouse Master Bathroom Room Reveal
- Ombre Painted Sign
- Chippy Paint Wood Sign
- Installing a Vintage Medicine Cabinet
- How To Give Builder Grade Vanity Light Farmhouse Style
- How To Fix A Shower Curtain That Is Too Short
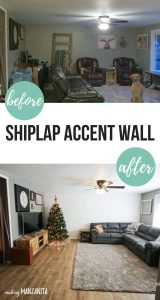
If you love this faux shiplap wall in our farmhouse bathroom, check out the shiplap accent wall we added to our living room!
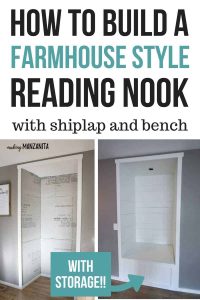
You’ll also probably this cute little farmhouse reading nook we added!
How to Install a Faux Shiplap Bathroom Wall
Love the look of shiplap walls? Here's how we upgraded a boring bathroom wall with a cheap and easy faux shiplap wall.
Materials
- Underlayment plywood
- Brad nails
- Putty
- Fine grit sandpaper
- Behr's Snowy Pine
- Paintbrush
- A nickel (yep, the coin, from your wallet!)
Instructions
- Remove tank from toilet.
- Paint your wall.
- Cut wood to size.
- Nail wood to wall.
- Caulk edges.
- Patch nail holes and sand.
- Paint your faux shiplap wall.
- Scrape the gaps between the faux shiplap planks.

I wondered how you finished it at the bottom. That would be been a good photo to show.
Maria, we didn’t do anything special at the bottom. We just placed the bottom piece of faux shiplap directly on top of the trim piece. We also added a bead of chalking (just like we did on the sides of the wall as shown). Let me know if you have any questions!
I also wondered how you finished around the pipe from the toilet that goes into the wall?
Hi Katie! That’s a great question. Our pipe actually comes up from the floor, not the wall, so we didn’t have to worry about this.
What paint finish did you use? Gloss? Semi Gloss? Eggshell? Flat?
We used Semi-gloss, Rita. 🙂
How is the shiplap holding up with the moisture of the bathroom?
Jana, it’s doing great. We always run the fan while showering and afterwards and we used a high quality semi gloss paint over top of the shiplap.
Thank you so much for the tutorial, I just finished installing mine behind my toilet in the master bath and it looks great!!
Awesome Nikki! I’d love to see a picture of your finished project 🙂
How wide did you cut the boards? I’m hoping to do this in my 1/2 bath this weekend!
We cut the boards 6 inches tall. Good luck with your wall. Come back and share a picture here when you’re done (or tag me on Instagram or Facebook @makingmanzanita ). I’d love to see it !
What size brad nails did you use for this? I’m wanting to use this method to coverup how hideous the drywall in our closets look 🙂
The underlayment plywood is 1/4″ and drywall is usually 1/2″. You want to locate your studs and use a brad nail at least 1 1/4″ to get into the stud. Hope that helps 🙂 good luck with your project.
If I use shiplap in my bathroom how do I water proof it and does the wood bind in diffrence Temps do is use a paint or stain that is water proof also is there diffrence kind of wood we could use
What type of wood boards did you use for the faux shiplap?
Wanda, We used underlayment plywood cut down to 6 inches. https://homedepot.sjv.io/c/1244563/456723/8154?u=https%3A%2F%2Fwww.homedepot.com%2Fp%2FUnderlayment-Common-7-32-in-x-4-ft-x-8-ft-Actual-0-196-in-x-48-in-x-96-in-431178%2F203183010
I have a powder room with almost the exact same dimensions, but I was thinking about doing shiplap on all the walls so that I don’t have to deal with the horrific wall paper situation. I feel like the room needs some interest. I saw a picture of the entire room done and it looked awesome.
Hello, We installed a ship lap wall in the exact same “toilet room” as you have in the back of the toilet, the product was at Home Depot. We also installed a cubicle over the toilet to store towels as our master bath didn’t come with a linen closet. Now we are considering (& have purchased) more of the same material for the left & right sides of the toilet to install chair rail height but I’m skeptical now & need someone’s opinion before proceeding. I guess I’m 2nd guessing myself, thinking will it be over done in such a small space. Please give me your opinion. Thank You!
In my eyes, there can never be “too much shiplap” 🙂 But it is totally personal preference. I’ve seen it done and every wall from floor to ceiling and I loved it, so I don’t think it would be too much.
I would love to do this to my powder bathroom, I am just afraid I would hit a water line behind the toilet. What is your advice?
Nice. Tip: so much easier to prime and paint the strips BEFORE installation. Just a little touch up afterward.
I just joined your site. Why? Because I simply adore your work. Fantastic Shiplap bathroom. Thanks for sharing
Welcome!
Love this idea and your video. I just have one comment. You put a pail with TP in top right corner and it’s very high up. I would have placed that down on first shelf and maybe in a crate rather than a pail 🙂