How To Hang A Picture The Easy Way

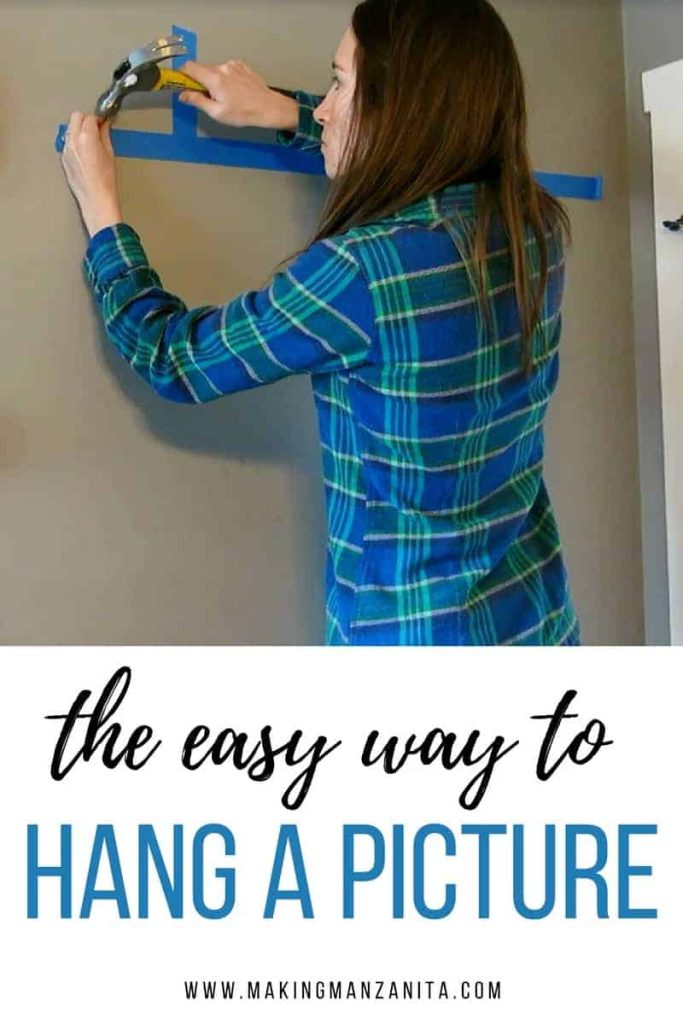
This picture hanging hack will change the way you hang decor on your walls. If you typically have to make a bunch of holes in the wall before getting your picture to hang on the wall straight, this is for you, my friends. Here's how to hang a picture the easy way.
Let me tell you a story…. Logan and I had just come home from our Ireland honeymoon and had gone through and unwrapped the humongous pile of wedding presents in the middle of our living room.
We were smitten with newlywed bliss and decided to hang some decor up on the walls to make our little apartment feel more like home. I grabbed the new step stool and he looked for the hammer. I asked him where the painter’s tape was and he was thoroughly confused.
“Why do we need painters tape to hang a picture?” He thought to himself.
It wasn’t until we started working together to hang the picture that I realized that we were on two different wavelengths. “
How does he not know how to hang a picture !?” I asked myself.
This was one of the first lessons of marriage that we encountered. We had two very different ways to do something so simple like how to hang a picture.
After a little communication (read: why you definitely need to go to premarital counseling, haha), we decided to compromise and do it my way…. because, well – it was the easy way to hang a picture!
Table of Contents
This how to hang a picture tutorial contains affiliate links, but nothing that I wouldn’t wholeheartedly recommend anyway! Read my full disclosure here.
Related: Check out these other articles!
- How To Hang Gallery Wall
- How To Plan Your Gallery Wall Layout
- 5 Gallery Wall Styling Tips
- Genius Painter’s Tape Tips You Need To Know
- 14 Family Photo Wall Ideas
Picture Hanging Hacks: The Easiest Way to Hang Picture Frames
Keep in mind! For most of the things we hang around our house, we use the Command picture hanging velcro strips and just love them because you can easily remove them from the wall without damage.
But there are some things that just require a nail and hammer. And so here we are. Guys, I almost feel silly sharing this blog post with you today.
This guide on how to hang a picture is so simple, but this first compromise in our marriage taught me that not everyone knows how to hang a picture the easy way.
I definitely don’t want you guys to feel left out on a simple lesson like this, so here’s your simple guide on how to hang a picture.
Video Tutorial
If you love DIY videos, be sure to subscribe to our YouTube channel!
Supplies needed:
- Picture that you will be hanging on the wall – duh!
- Painter’s tape
- Nails
- Hammer
- Level
- Pen or pencil
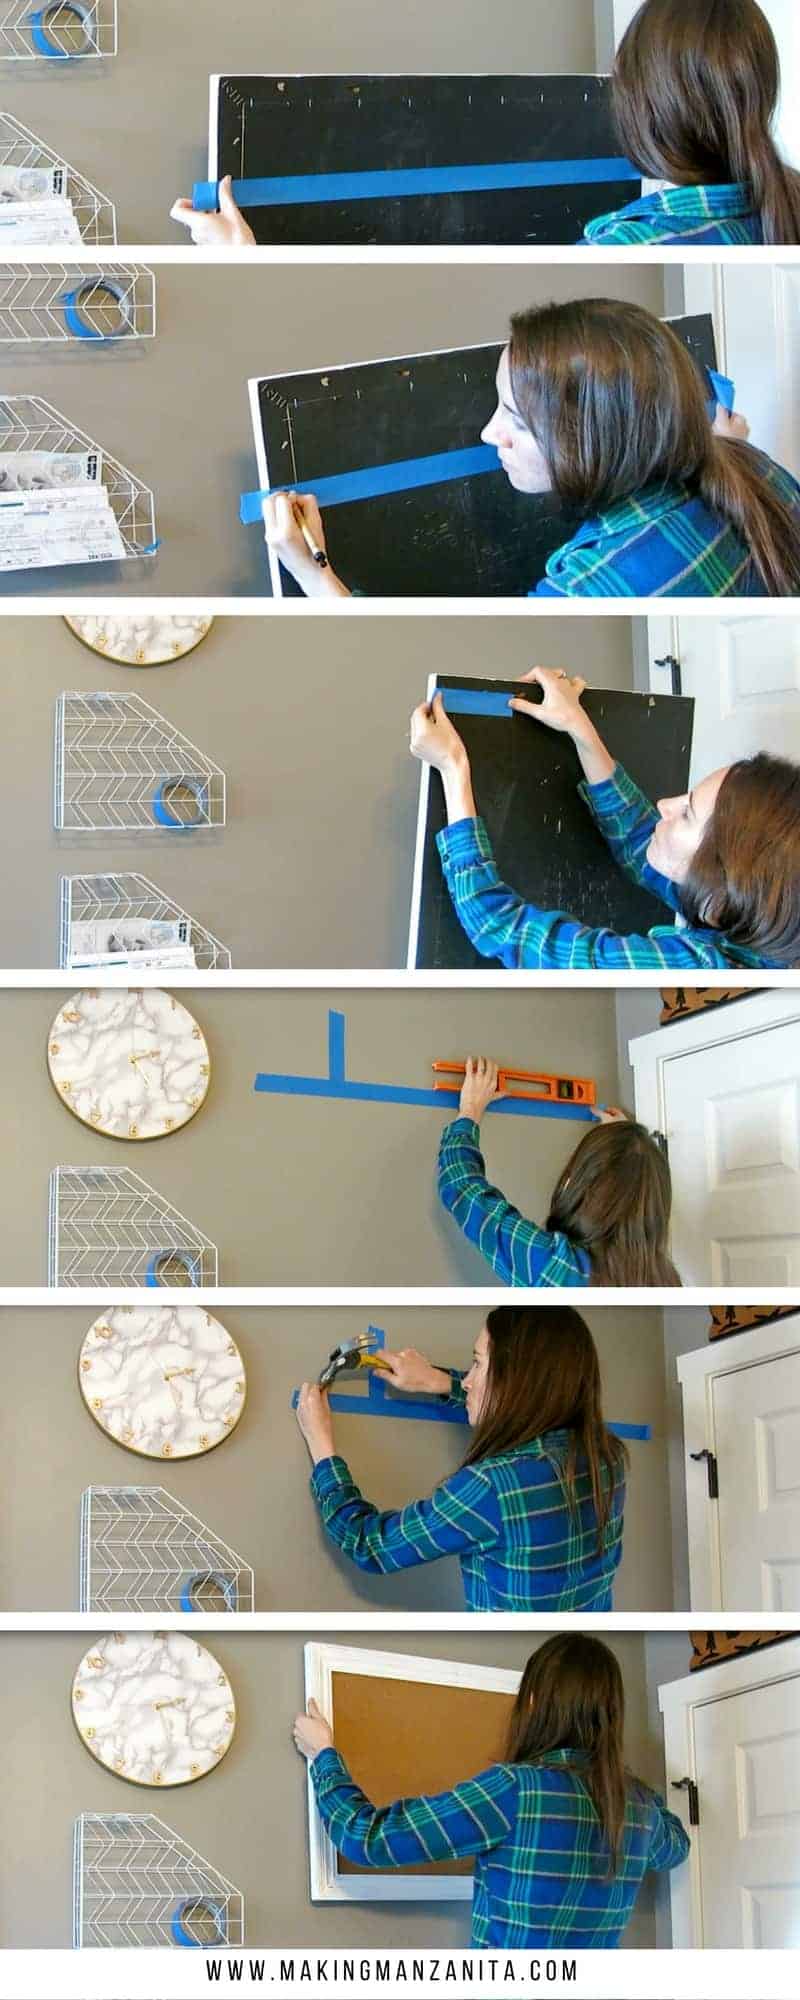
Step 1. Apply painter’s tape to the back of the picture over the keyholes.
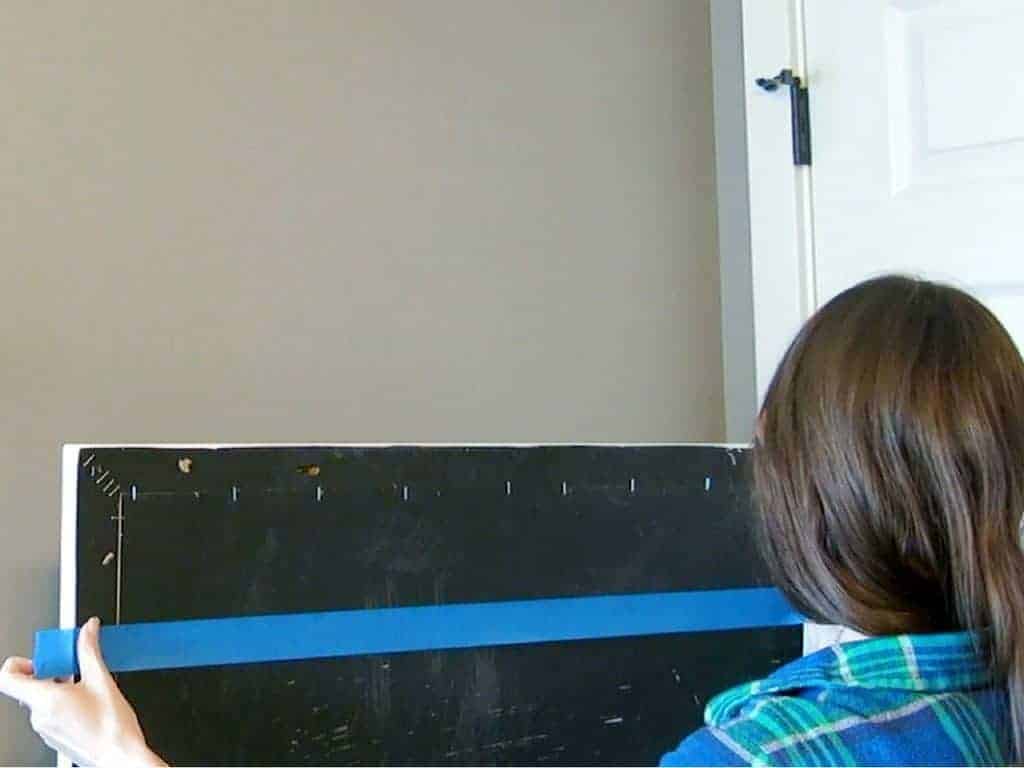
First, you will push the painter’s tape onto the backside of the picture frame over the keyholes, which are the little holes that hang on the nails.
You want to line the keyholes to the very top edges of the painter’s tape.
Step 2. Mark the location of the keyholes on the tape.
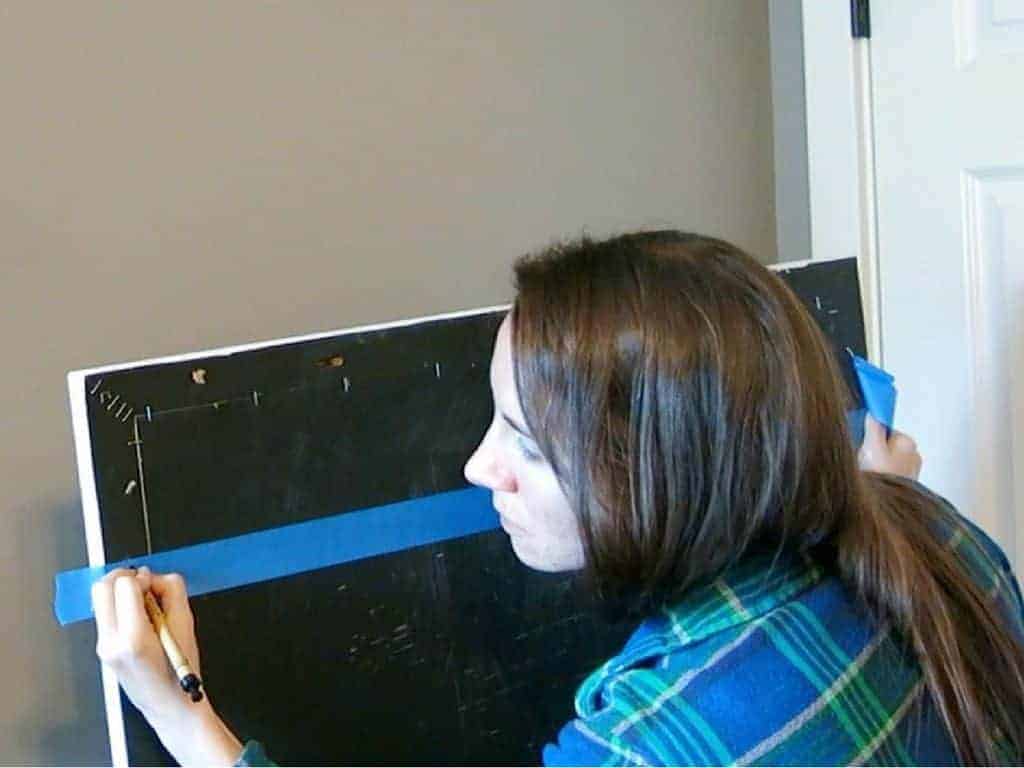
Make a small marking with a pen or pencil on the tape where the keyholes are.
Alternatively, you could also punch a tiny hole in the tape with the nail. You just need to know the location of the keyholes on the tape.
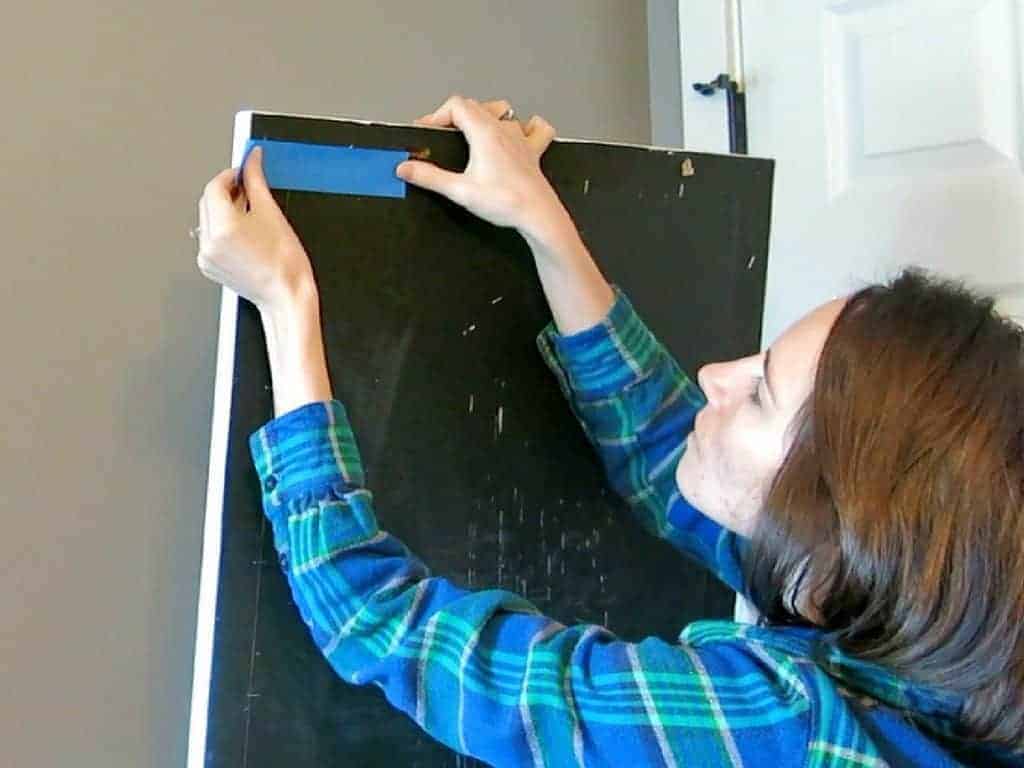
Step 3. Use tape to measure the distance from the top of the keyhole to the top of the frame.
Sure, you COULD get the measuring tape out to measure the distance.
Then, you COULD hold the measuring tape on the wall with one hand and try to grab a hammer with the other hand all while balancing up on a step stool….but remember – this is the easy way to hang a picture!
Save yourself the trouble and just use a bit of painter’s tape to measure the distance from the top of the keyhole to the top of the frame.
This piece of tape is the measure from the keyholes to the top of the frame. (Note: the picture is turned on its side in this picture, so that’s why the tape is horizontal. If you were holding the picture right side up, the tape would be vertical).
Step 4. Apply painter’s tape to the wall.
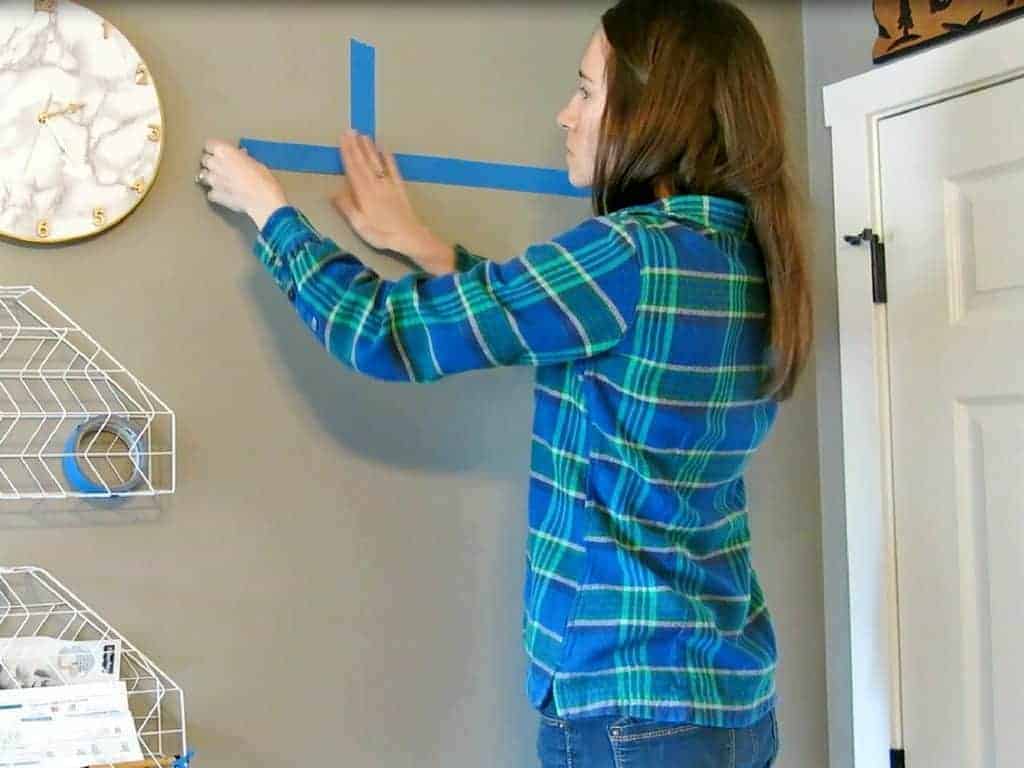
You will line the top of where you want to frame to be with the top of the measured short piece of tape (which measured the distance of the top of the frame to the top of the keyhole).
In my example photo above, I wanted the top of the frame to be lined up with the top of the clock.
Next, you’ll apply the longer piece (which had the markings of the locations of the keyholes on it) at the bottom of the short piece.
This will tell you how far down you need to put the nails in the wall and how far apart they should be separated.
Step 5. Make sure your tape is level.
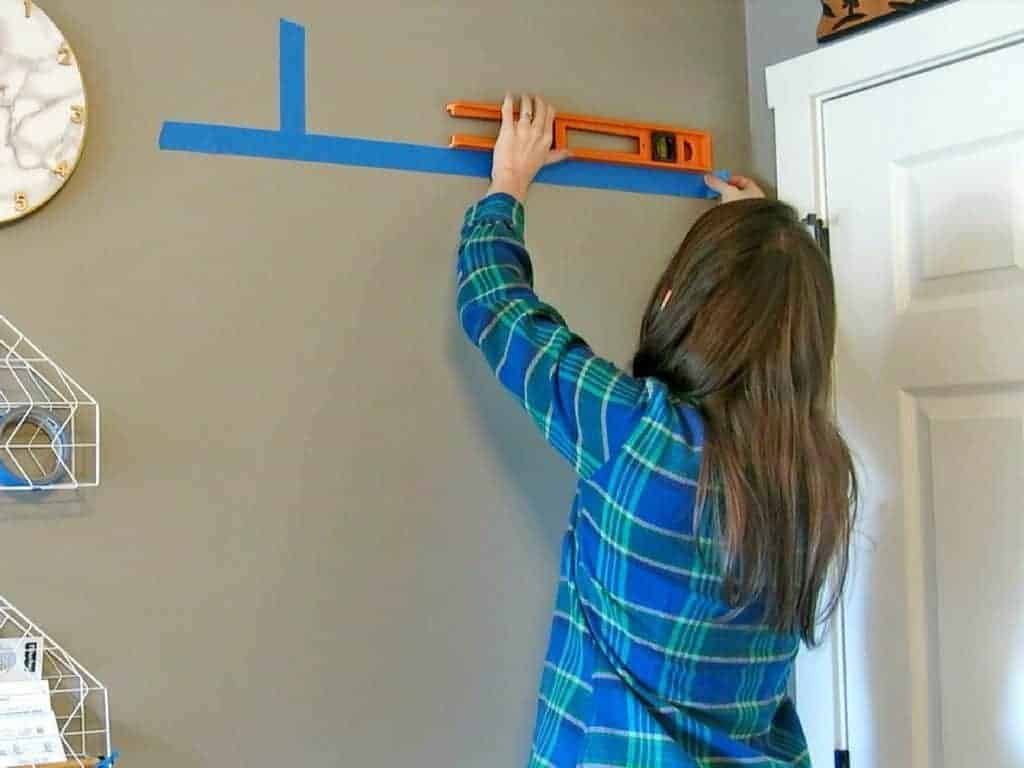
Since you made the markings on the tape at the very top, all you need to do is make sure the tape is on the wall level and your holes will be level too!
Step 6. Hammer your nails into the wall.
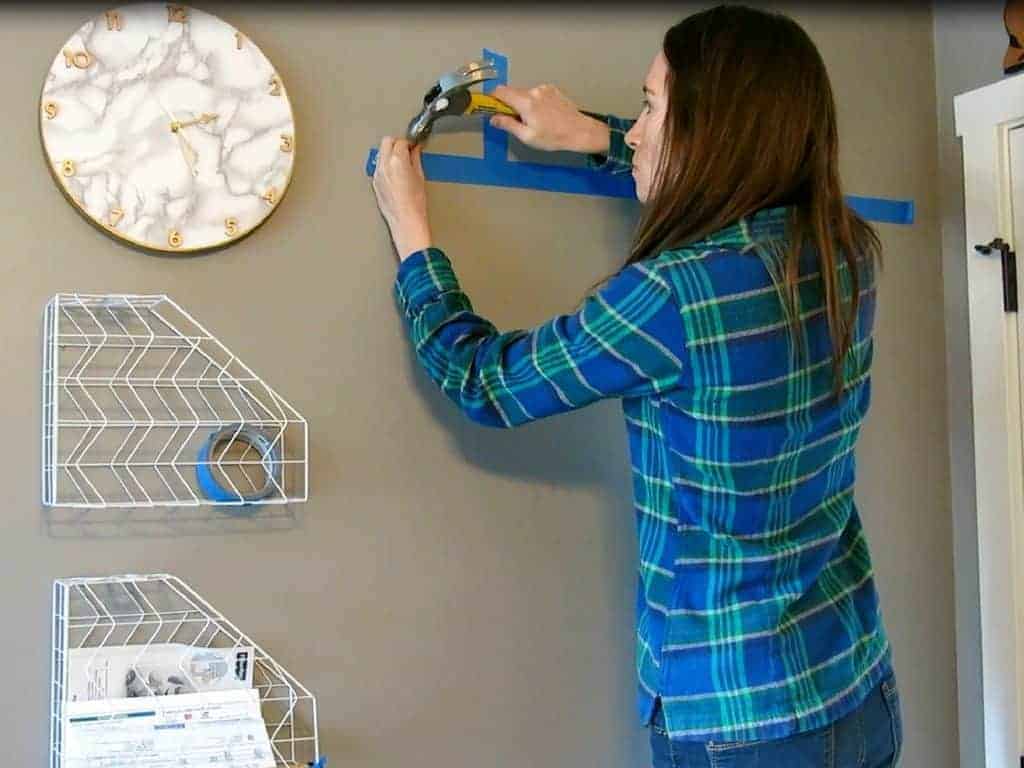
Next, you can hammer your nails into the wall. I recommend doing this at a slight angle (pointing downwards). I usually use finish nails unless a larger nail is necessary.
Step 7. Remove painter’s tape.
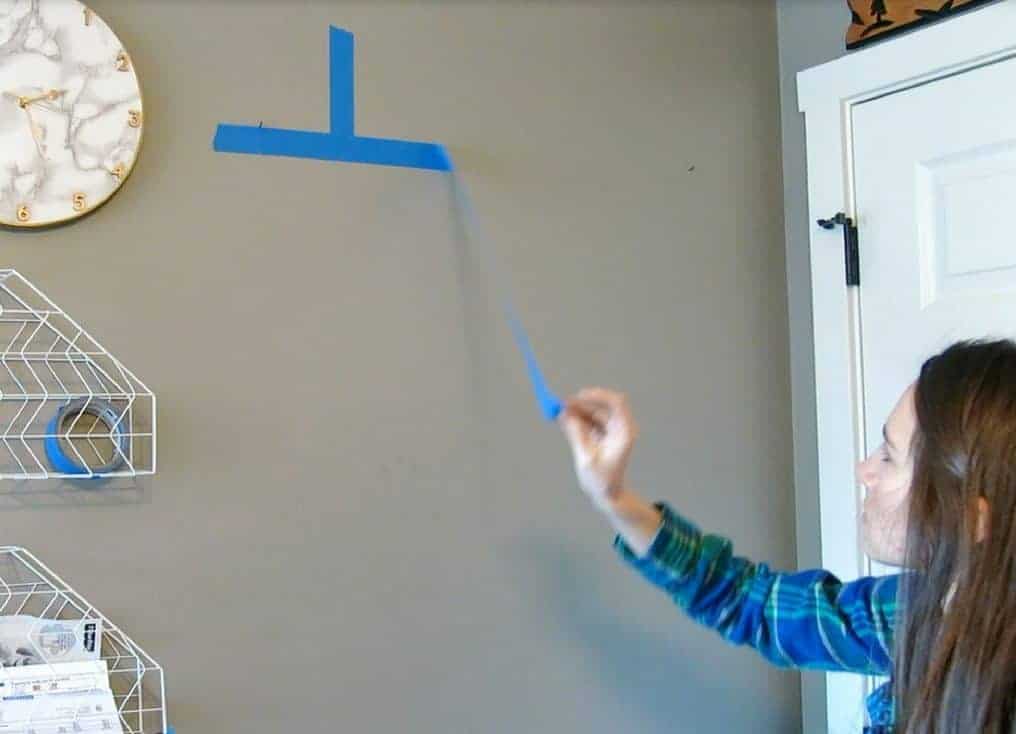
It’s just like rippin’ off a band-aid.
Step 8. Hang your picture!
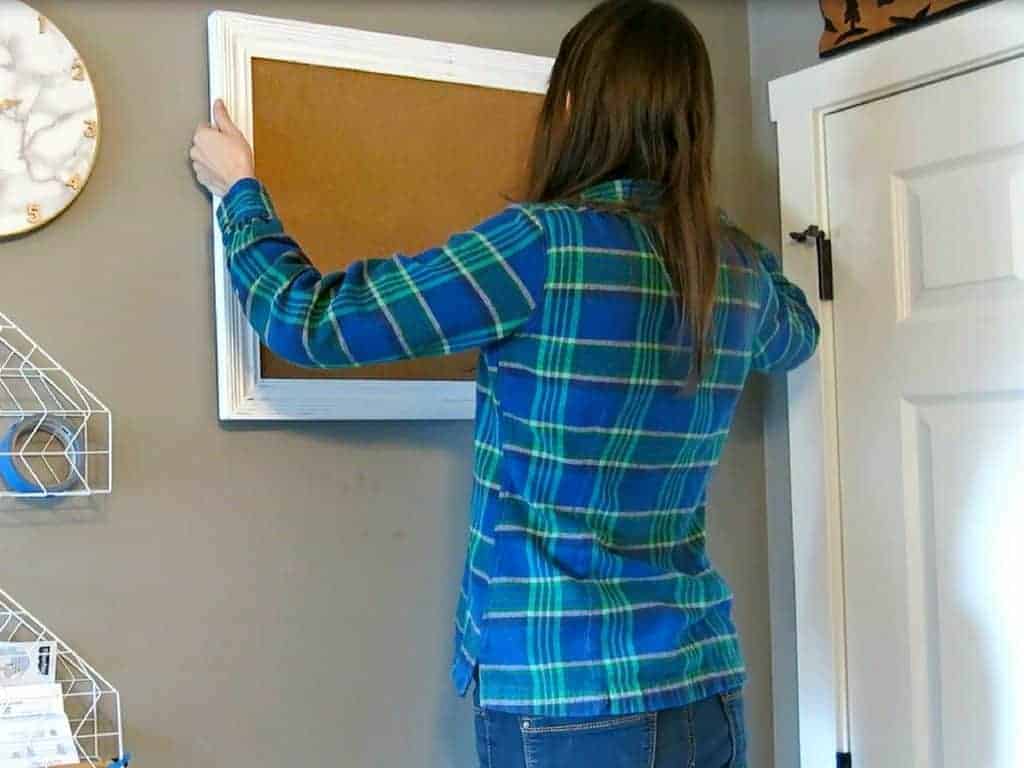
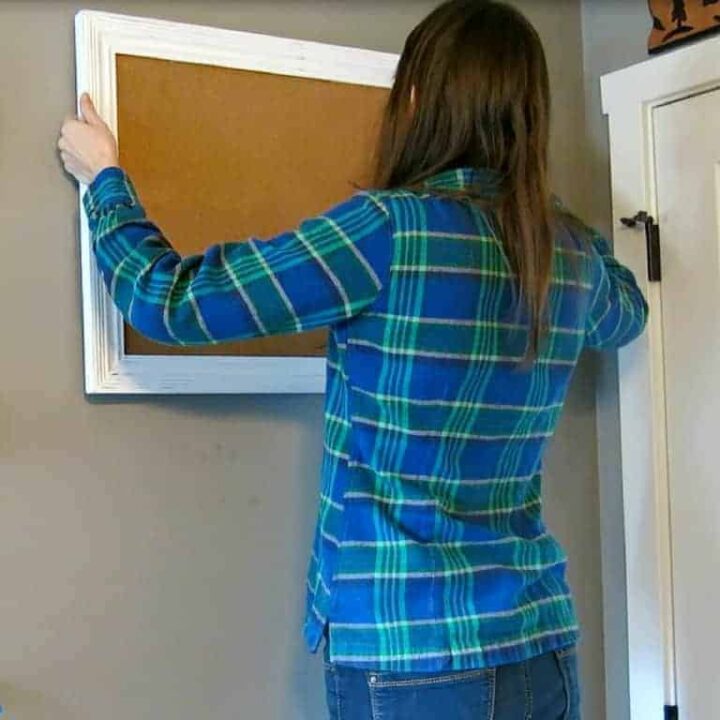
You should be able to place your picture right on the nails. If all goes as planned, the keyholes should line right up to the nails and your picture will be level.
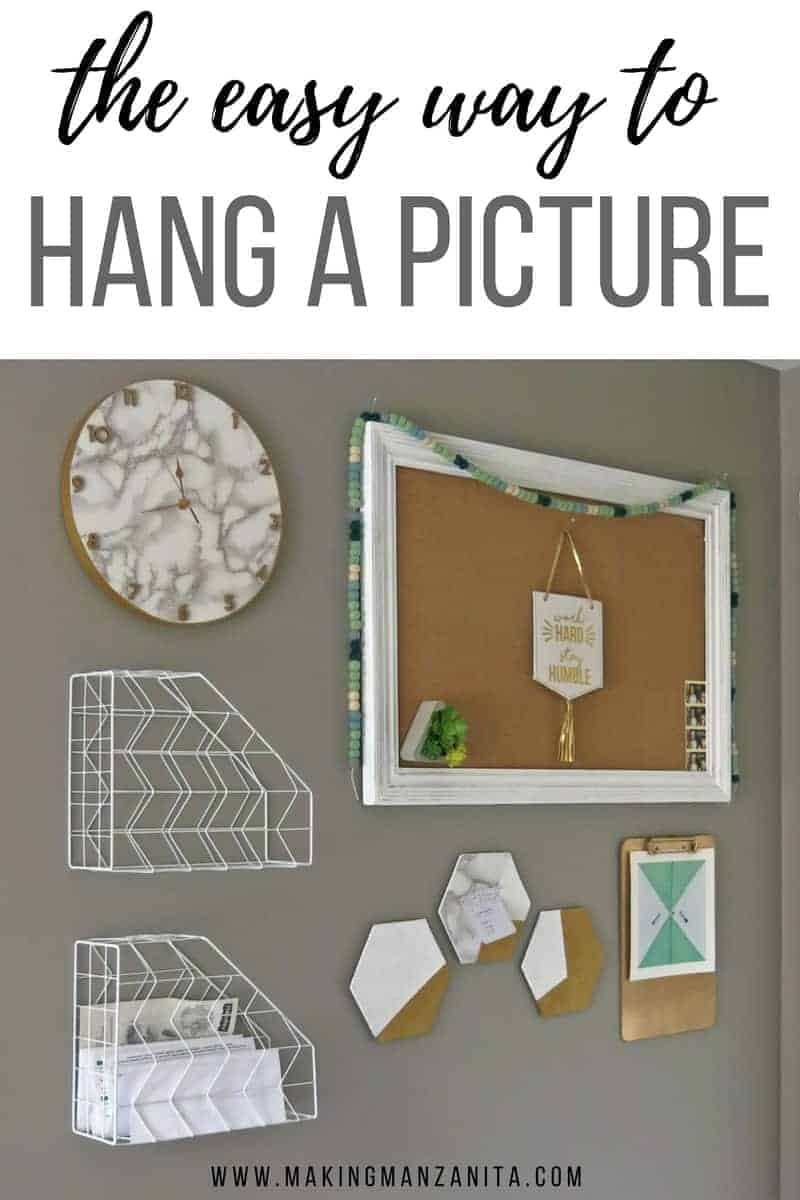
The first compromise of our marriage ended up changing the way that Logan hung pictures forever once we determined that my way was the right way :).
You no longer have to make a bunch of holes in your wall to get the picture hung straight if you use this picture hanging hack.
I told you that this was how to hang a picture the easy way! Couldn’t get any simpler, right?
Check out all my other painter’s tape tips and tricks here!
Is this how you have always hung a picture or do you do it differently?
Let me know in the comments!
How To Hang A Picture The Easy Way
Do you struggle to hang pictures level? You'll want to use this convenient picture hanging hack! Here's how to hang a picture the easy way with just a few tools!
Materials
- Picture that you will be hanging on the way
- Painter’s tape
- Nails
Instructions
- Apply painter's tape to the back of the picture over the keyholes.
- Mark the location of the keyholes on the tape.
- Use tape to measure the distance from the top of the keyhole to the top of the frame.
- Apply painter's tape to wall.
- Make sure your tape is level.
- Hammer your nails.
- Remove tape.
- Hang your picture.



How awesome! It will be my go to way to hang a picture.
Question:. I do not “get” the short piece of tape. In the sample picture, with you, the short tape is horizontal. On the wall, it is vertical.
How do you have the short tape horizontal to measure from the keyhole to the top of the frame???
I’m so sorry that the picture is confusing. I just update the post to clarify because a couple people have asked me about that. Yes, the short piece of tape is to measure the keyhole to the top of the frame. The reason it’s horizontal in the picture is because I turned the picture on its side because it was so big to hold! Sorry for the confusion Kathy. Glad you found this informative!
Wonderful! Thank you so much! I’m more confident after reading your article and seeing your video. I’m going to hang a group of six now!
Woohoo! Glad I was able to help! 🙂
Worked like a charm! Thanks for making an otherwise difficult task simple and effective!
So glad you found this helpful!!!
I learned the hard way to be sure that the keyholes are EXACTLY the same distance from the top of the frame. If they aren’t, use two short pieces of tape and level the tops of these pieces of tape.
Yep, this is totally why I use those two short pieces! The tape just helps me not have to get the tape measure out. Quick and easy.
Lovely idea! My current problem is expensive frames of different sizes with picture wire strung between two eye hooks. Is there an “easy” way to get them to line up with the tops or bottoms horizontally level?
Hi Jenni! Yes, the picture wire frames tend to be a little more tricky. I’d still use this same method, but when measuring the distance between the top of the frame and the eye hook, instead measure the top of the frame to the picture wire (when pulled tight). I also love using these easy hooks for frames with picture wires too: https://amzn.to/2VtyTjO
Hope that helps!
Thanks for the tips
So glad you found them helpful!