How To Cut In Paint without Painter’s Tape

Want to learn how to cut in paint? In this step by step tutorial, we'll teach you the whole process of how to cut in paint at ceiling and along the edges of trim and baseboards without tape (even if you're a beginner)!! We will also teach you how to select the best paint brush for cutting in!
Painter’s tape is great…we agree. It’s perfect for things like crafts with spray paint, painting abstract shapes like we did on this giant pegboard wall and getting straight lines on two tone walls. We even recently shared all of our painter’s tape tips in this article. But what you shouldn’t be using painter’s tape for is cutting in paint on trim, baseboards or at the ceiling.
What? No painter’s tape on trim or between wall ceiling? How in the world do you paint straight lines without painter’s tape?
Well, that’s what we are going to teach you in today’s article. Learn how to cut in paint at ceiling and along trim and baseboards without tape – and see our recommendations for the best paint brush for cutting in. Let’s dive in!
This how to cut in paint tutorial contains affiliate links, but nothing that I wouldn’t recommend wholeheartedly. Read my full disclosure here.
FAQs about cutting in paint
Before we get into the specifics, let’s go over some basic frequently asked questions about cutting in paint.
What does it mean to cut in paint?
Cutting in paint is the action of painting a straight line in a corner, around trim, baseboards or where the ceiling meets the wall without painter’s tape.
Do you cut in before or after rolling?
You should cut in paint before rolling the paint on the walls. Rolling after you cut in helps even out the texture of the paint brush used when cutting in.
Is it OK to cut in one day and paint the next?
Technically, you could cut in one day and paint in the next, but we recommend rolling the paint on the walls right after you cut in before the paint has had time to cure. This helps even out the texture and blend.
Do I need to cut in twice when painting?
Cutting in twice when painting is not usually necessary because paint goes on heavier with a paint brush than a roller.
What’s the best paint brush for cutting in?
In our opinion, the best paint brush for cutting in is the Wooster shortcut with a tapered edge (meaning that there is a dome shape to the edge of the bristles when you look at the brush edge-wise – which is called the filament). We typically use either the Wooster Ultra/Pro Firm Shortcut Angle Sash 2″ brush or the Wooster 2″ Shortcut Angle Sash brush with Chinex bristles. Both of those have that tapered filament that make it perfect for getting a nice clean line for trim.
Cutting In Paint Tips – Video Tutorial
If you love DIY videos, be sure to subscribe to our YouTube channel!
How To Cut In Paint at Ceiling
Before you begin cutting in paint in any room, here’s a little warning the art of cutting in paint takes practice…like a lot of practice. It’s not going to be perfect the first time, so give yourself grace and time to get it down.
But I promise you that it is well worth it to pick up this skill if you’re renovating or you do a lot of painting projects. Just think about ALL of the time you’ll save putting down that painter’s tape (which takes forever) and then dealing with the paint that inevitably seeps under the painter’s tape – ugh.
Step 1. Select the right tools for the job (the best paint brush for cutting in)
One of the most important aspects to painting a straight line between wall and ceiling is simply using the right kind of paint brush. When you are cutting in, it’s important to use a brush with an angled sash and a tapered filament. We prefer a brush with a shortcut style handle.
- Angled sash refers to the diagonal edge of the paint bristles that go low to high when you look at the face of the paint brush.
- Tapered filament means that there is a dome shape to the edge of the bristles when you look at the brush edge wise. The tapered filament will help the paint flow because it pumps the paint out on the surface. An untapered filament (flat) will be a cheaper cost and has less coverage and control.
- Shortcut handle is a comfortable handle that fits well in the palm of your hand and is easy to get into tight spaces if needed. The handle is more of a preference so you if you feel like you have better control with a longer handle, use that!
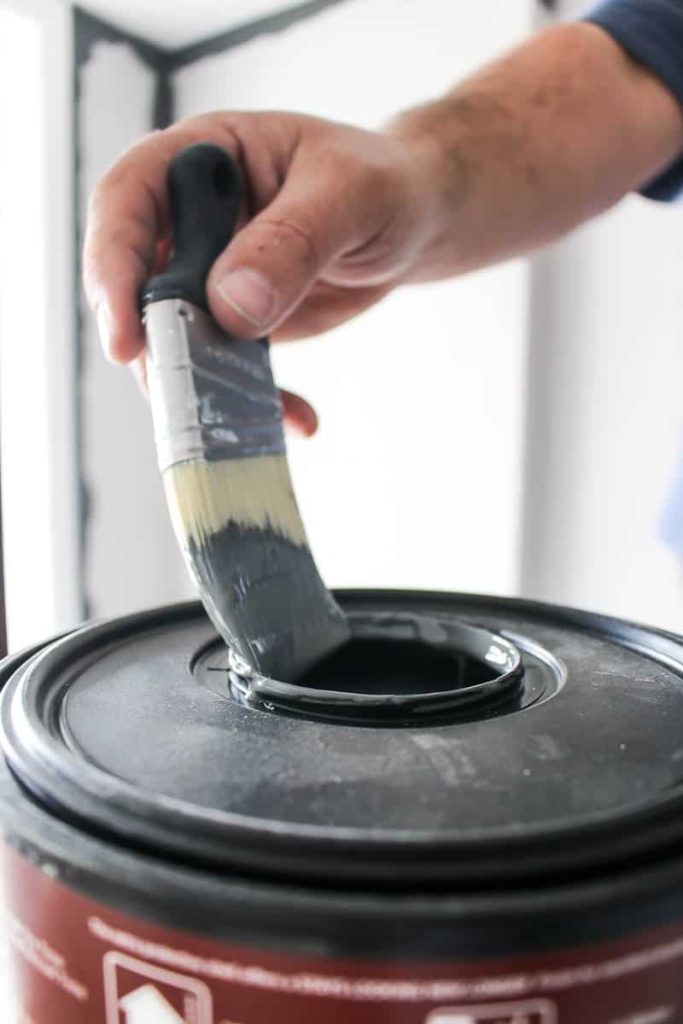
Step 2. Prepare paint material.
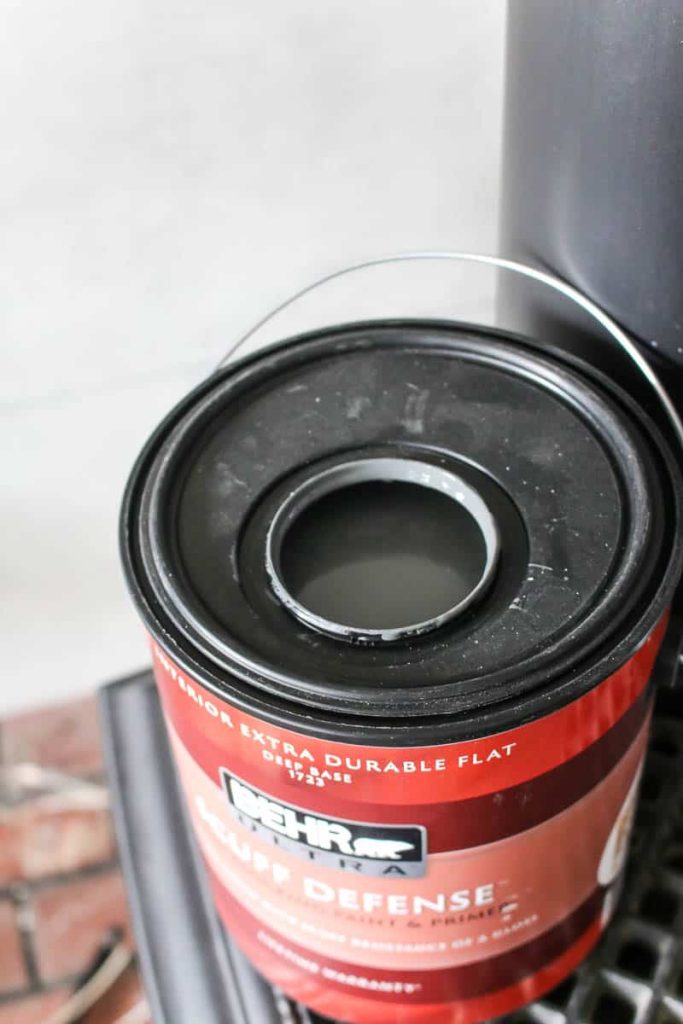
We usually just dip the paint brush directly into the paint can when cutting in paint. However, you want to make sure you shake the can well and stir before starting with a paint stick because the ingredients and colors separate.
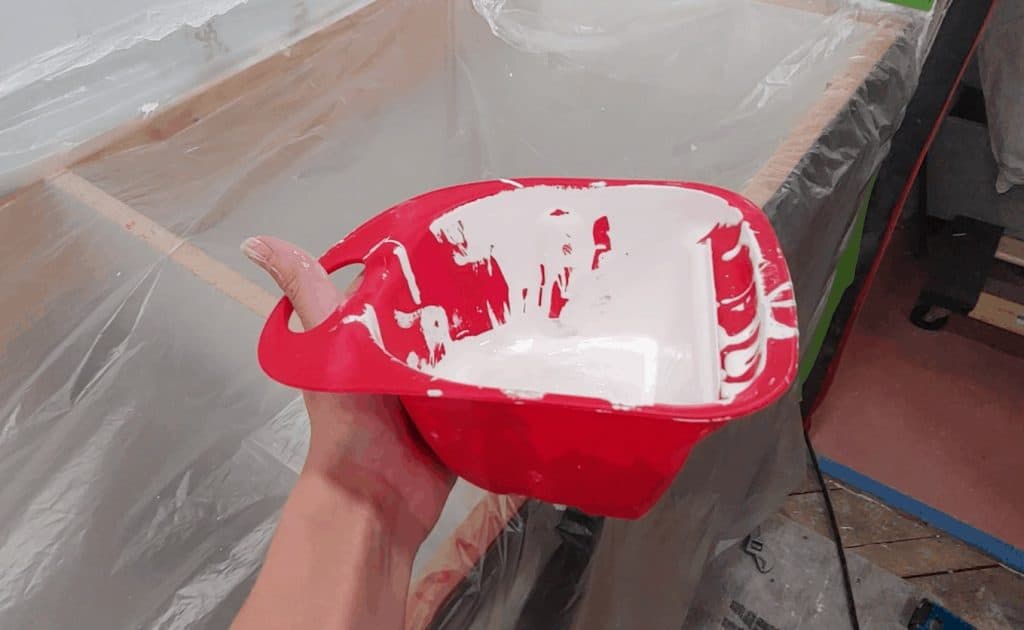
If you wanted a smaller cup for paint that is easier to hold and bring around the room with you, we recommend the Handy Craft Cup, which is small and very easy to hold with one hand. If you wanted something a little bigger, you could try the Handy Paint Cup that has a magnet to hang your brush on as well so it doesn’t get all messy in the paint, genius right?
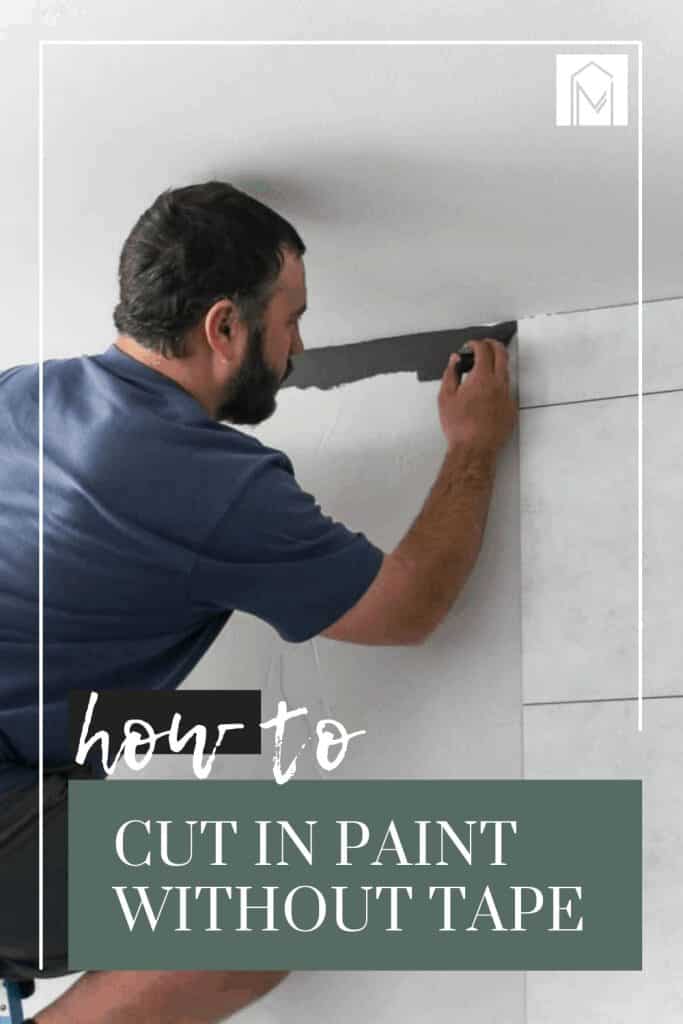
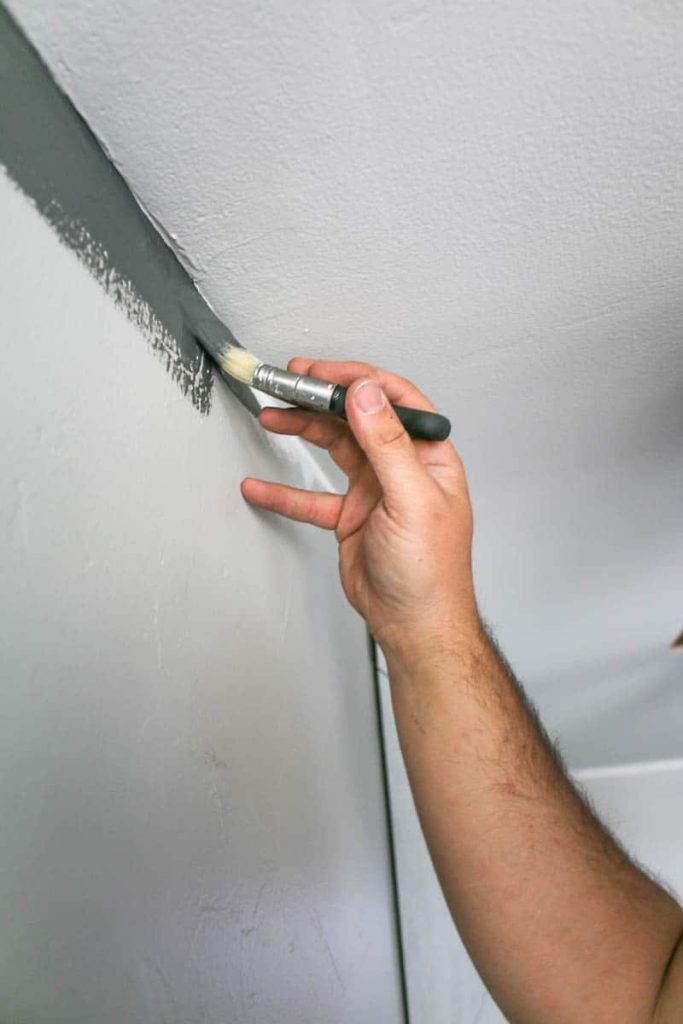
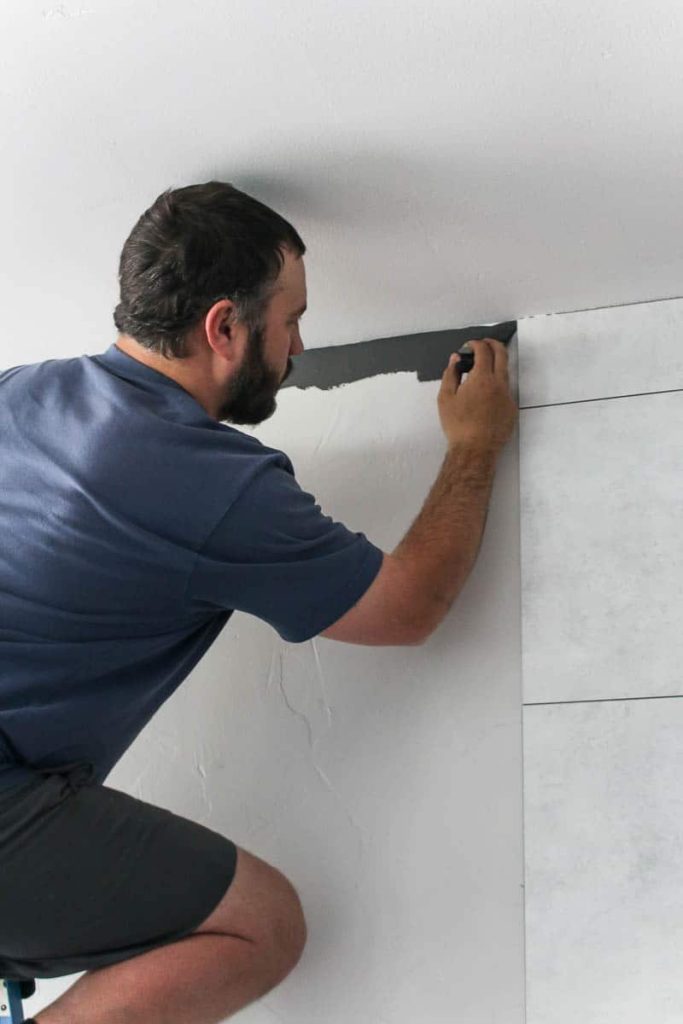
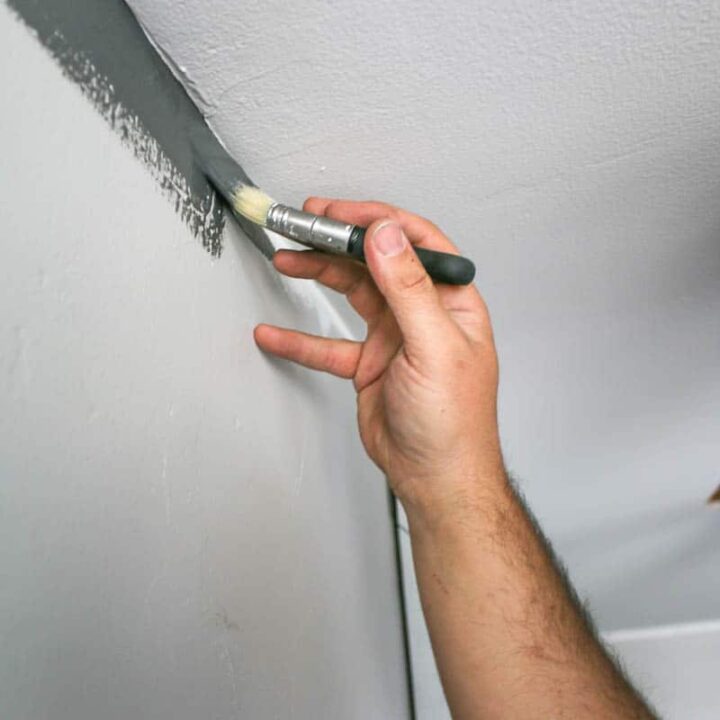
Step 3. Slowly cut in paint where the wall meets the ceiling.
Dip the bottom 1/2 of the paint brush into the can and brush the backside of the brush on the edge of the paint can to get rid of the excess. Don’t get rid of too much paint though, you want to have a full paint brush when you bring it up to the wall.
Using the side of the paint brush that is full of paint, brush off the excess paint along the wall near the ceiling line, but not right up against it yet. The key is to off load most of the paint off of the brush so it’s not a dripping mess.
Then you can hold the paint brush up to the line where the wall meets the ceiling and using the angle of the bristles slowing make a straight line with the paint. Since the excess paint is already on the wall right there from when you off loaded, you are simply spreading that paint out with the paint brush.
Once you’re done with that section and ready to fill up the paint brush again, brush over the wall area to make sure there’s not droopy edges to the paint. This will help blend the paint later better when you go over it to paint the walls.
It helps to get as high as you can on a ladder so you have a straight view of where the wall meets the ceiling. This way you can get really up close and personal with where those bristles are are painting. You want to be able to see the top corner of the paint brush clearly.
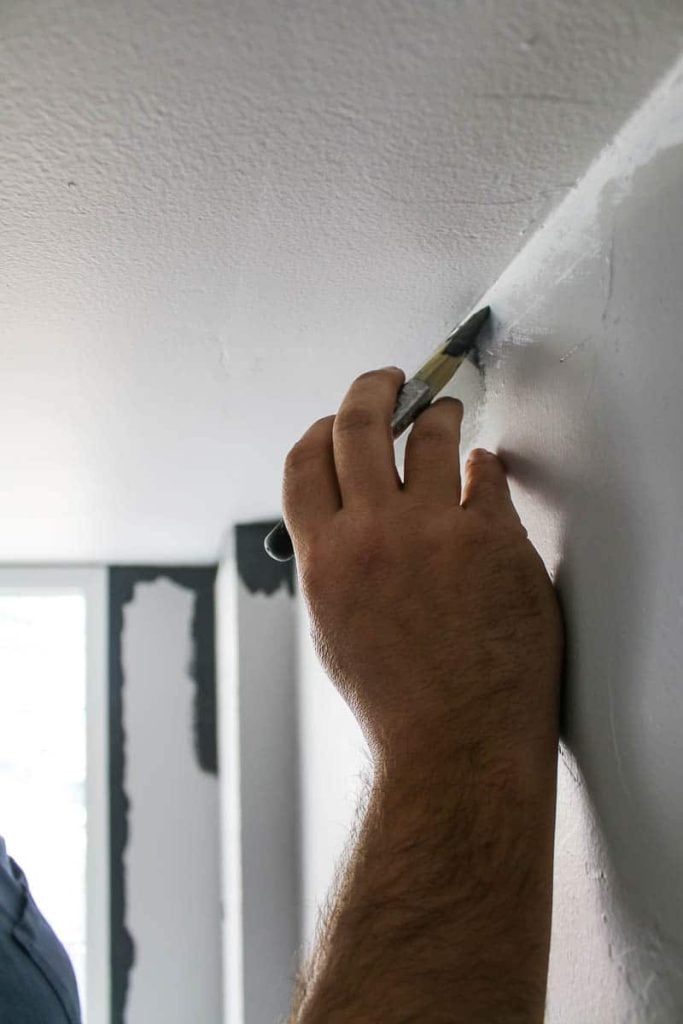
Tips for a steady hand while cutting in paint
As much as you can, try to keep your hand as steady as possible. If it helps, you can hold out your pinky finger and rest that on the wall to give you a guide for steadiness. If you feel like your hand starts to get shaky, you’re probably tired (especially when you’re lifting your arm up to cut in paint at the ceiling), so take a break and come back to it.
Make sure you’re fully hydrated and have a full stomach before cutting in and avoid coffee or caffeine. This will help keep your hand nice and steady.
Pro Tip – Wrap your paint brush up in a plastic shopping bag or Ziploc and put it in the fridge while you take a break so you don’t have to wash out the painting brush while you’re resting.
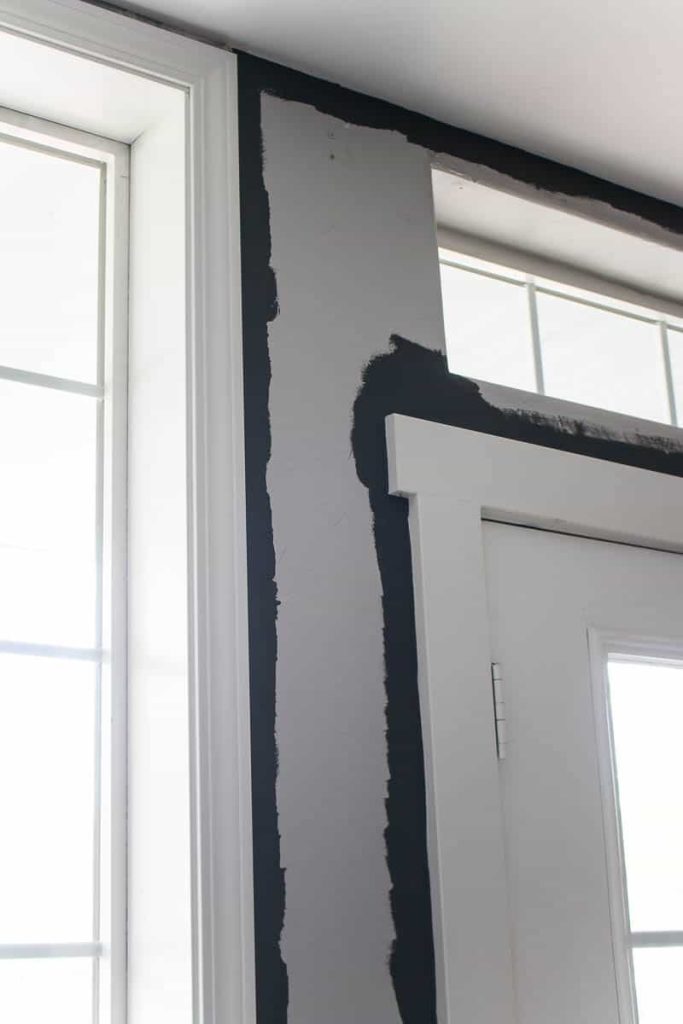
How To Paint Edges of Trim and Baseboards Without Tape
Now the process of how to paint edges of trim and baseboards without tape is very similar to the way you cut in along the ceiling!
You will use the same type of paint brush that is designed for cutting in and will also need to mix up your paint can before beginning (Steps 1 and 2 above).
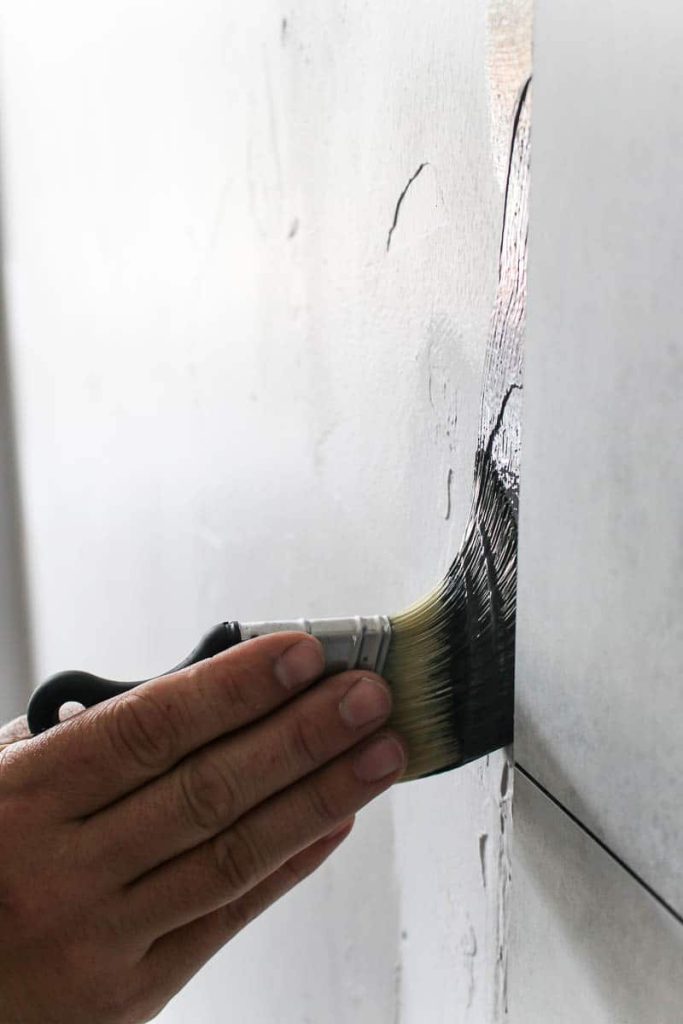
When you are cutting in along the edges of trim, you’ll want to:
- Load the paint brush up and brush off backside on paint can
- Brush off excess paint on wall right along the edge of the trim, but not touching it
- Slowly use the angled edge of the paint brush to press the paint into the corner where the wall meet the trim while holding the paint brush with a steady hand
- Brush over the entire area again to make sure the paint is nice and flat on the edges and there are no brush marks so it’s easier to blend later when you paint the walls
When you’re cutting in along the edges of baseboards, you’ll want to:
- Follow the same steps as cutting in along trim
- It is best to lay down on your side while cutting in where the wall meets baseboards so you have a straight on shot of where the brush is painting.
How To Cut In Paint using Painter’s Tape
Hopefully, by the end of this tutorial on how to cut in paint, we’ve convinced you that taking the time to practice the skill of cutting in is well worth your time. With a little bit of patience and practice, you can totally cut in WITHOUT painter’s tape.
But I understand that there’s probably still a few of you that are stuck in your ways (#stubborn) and want to still use painter’s tape to cut in.
Here’s the best way to cut in with paint using painter’s tape:
- Clean the areas where you need to cut in. You want the painter’s tape tp be able to stick to the surface well, so any dust need to be removed first.
- Carefully tape the areas after they are dry with the wide painter’s tape (not the thin stuff).
- After you apply tape, take the tip of your thumbnail (or a credit hard or putty knife…something hard and flat) and run it along the edge of the tape and press firmly. This will help seal the painter’s tape to the wall and hopefully avoid the paint from seeping under the tape. But it’s never perfect, so if you’re still having trouble you can try either running a thin bead of caulking along the edge of the tape to seal it or painting the underneath color along the edge of the painter’s tape to seal the edge. We explained more about that process in this tutorial for our two tone walls.
- Brush over the tape with a paint brush. Be sure to not have too much paint on the brush though. Wipe both sides of the brush on the can before you apply to the wall.
- Remove the painter’s tape from your edges as soon as the paint is dry to the touch. Don’t let the tape sit there all night long because the paint will start to cure and when the tape is removed, you may pull some of that paint up too, which you definitely don’t want to do.
Hopefully, we’ve convinced you that even a beginner can cut in paint without using painter’s tape! With these simple steps, you can learn how to cut in paint at the ceiling and how to paint edges of trim and baseboards.
It all starts with using the right tools for the job so be sure you’re using the best paint brush for cutting in. Armed with time to practice and a whole lot of patience, you can create beautiful straight lines between the wall and ceiling and edges when you’re painting a room.
Did you learn something new in this tutorial of how to cut in paint?
Let us know in the comments below!
How To Cut In Paint without Painter's Tape
Materials
- Paint
Tools
- Angeled sash brush with tapered filament
- Paint stir stick
- Handy Craft Cup
- Handy Paint Cup
Instructions
- Select the right tools for the job. It's important to use an angeled sash brush with a tapered filament when cutting in paint.
- Pepare paint materials. Shake can well and stir with paint stick before starting.
- Slowly cut in paint where the wall meets the ceiling. Only dip the bottom h1/2 of the brush into the can and brush the backside of the brush on the edge fo the can to get rid of excess. Using the side of the brush that is full of paint, brush off the excess paint along the wall near the ceiling. Then hold the brush up to the line where the wall meets the ceiling and using the angle of the bristles, slowly make a straight line with the paint. Since the excess paint is already on the wall that you off loaded, you are simply spreading that paint out with the paint brush. Once you're done with that section, brush over the wall area to make sure there isn't a droopy edge to the paint.
- To cut in the on edges of trim and baseboards, repeat the same steps.
Notes
- It is best to lay down on your side while cutting in where the wall meets baseboards so you have a straight on shot of where the brush is painting.
- Pro Tip – Wrap your paint brush up in a plastic shopping bag or Ziploc and put it in the fridge while you take a break so you don’t have to wash out the painting brush while you’re resting.
- Make sure you’re fully hydrated and have a full stomach before cutting in and avoid coffee or caffeine. This will help keep your hand nice and steady.
Related: Other Interior Painting Articles
- Choosing Front Door Paint Colors (& How To Paint A Door)
- Two Tone Walls in Bedroom: How To Paint Straight Lines
- Mountain Mural Tutorial (Featuring Behr Paint Colors Trends)
- Behr Chic Gray Paint Reveal (+ The Best Order of Painting A Room)
- Modern Sponge Painting | Semi Circle Pattern in Back of Locker Cabinets
- How To Paint An Arch Like A Pro
- A Basic Paint Sheen Guide for Interior and Exterior Surfaces
- How To Cut In Paint without Painter’s Tape
- How To Paint A Ceiling With A Roller
- Behr Fashion Gray | Paint Color Overview and Review
- How To Paint A Room For Beginners | Ultimate Guide
- Tips for Painting Baseboards and Trim
- Black Bamboo Behr | Paint Color Overview and Review
- Behr Meteorological | Paint Color Overview and Review
- Behr Falling Snow | Paint Color Overview and Review
- 16 Gorgeous Green Accent Walls
- Snowy Pine Behr Paint Overview
- In The Moment Behr Paint Color Overview
- 22 Front Door Paint Colors to Inspire You
- Master Bedroom Colors | 20 Great Paint Color Ideas with Pictures
- Behr Midnight in NY Paint Color Overview
- Graphic Charcoal Behr | Paint Color Overview and Review
- Do I need Primer Before Painting?
- How to Paint a Room Fast
- How To Clean Walls Before Painting
- Interior Painting Tools List – 17+ Must-Haves for Homeowners
- Cost to Paint a Room – DIY vs Hire Comparison
- How to Transform Walls with Just Paint: 20+ Wall Painting Ideas