Your Ultimate DIY Guide on How to Restain Wood
If you are wondering how to restain wood, here's a step-by-step approach. Whether you want to stain the wood darker or lighter, we'll teach you the best way to restain wood!
There are plenty of reasons why you may be wondering how to restain wood. Maybe you found the perfect antique dresser at a yard sale, but it is covered in a dark wood stain and you wanted it light. Or you inherited a family heirloom old piece of furniture that is solid wood, but it was painted somewhere along the way you want it restained to its former glory.
Today we’re going to teach you a few different methods for how to restain wood.
Can you restain wood?
Yes, you can restain wood that has already been stained (or even painted). You have a few different options to restain wood:
- Use a gel stain over previously stained and sealed wood
- Remove the old sealer and apply another coat of stain (applying darker over lighter stain)
- Remove the old sealer and stain by sanding and applying a new stain (applying a lighter stain color)

This how to restain wood article contains affiliate links, but nothing that I wouldn’t recommend wholeheartedly. Read my full disclosure here.
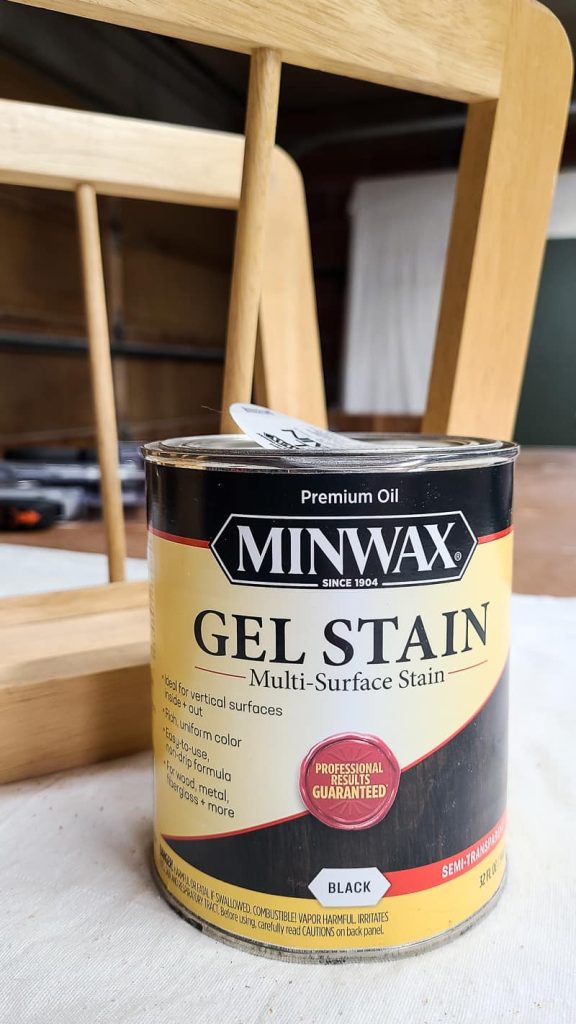
Method 1: Use a gel stain to restain wood
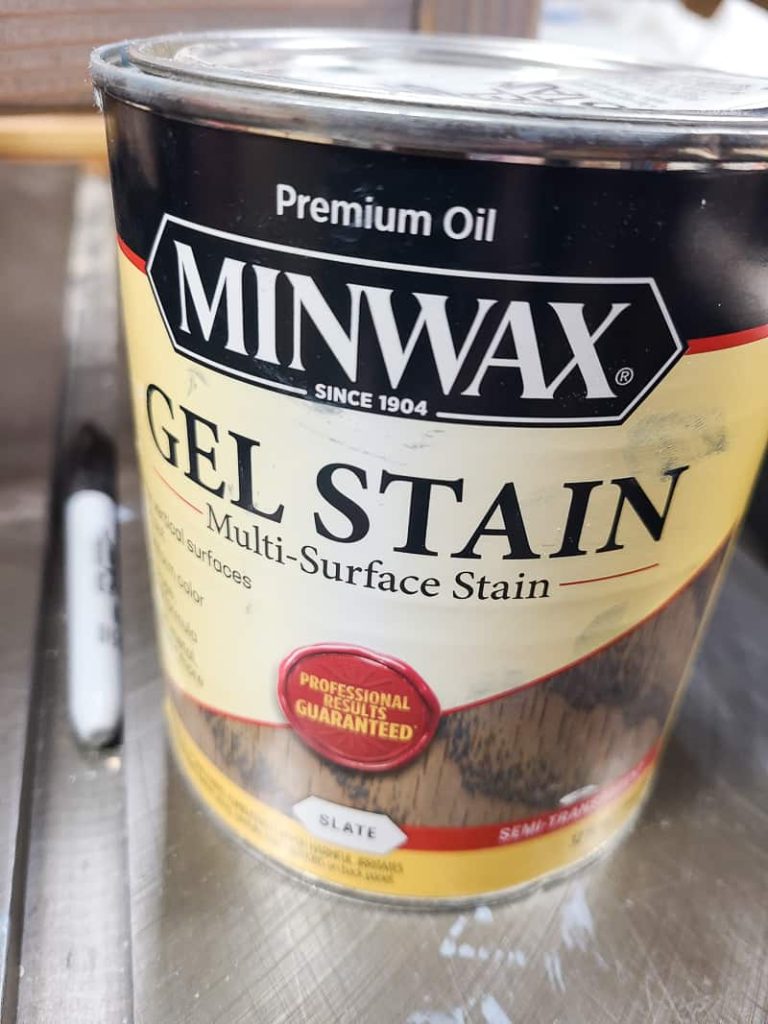
Gel stain is an oil-based stain for wood projects. As the name suggests, gel stain is much thicker than paint or other traditional stains which is what gives the color so much depth when applied.
Gel stain is great for projects with an existing finish or stain that may just need a refresh, a darker stain, or a complete color change.
The great thing about gel stain is that only minor sanding is required, so you don’t have to sand away the existing finish as you do with regular stains. Instead, just apply the gel stain right on top of the existing stain.
This type of stain is easy to use and very forgiving of mistakes, so it’s perfect for beginner woodworkers! Because it is thick and doesn’t run, it works well on both vertical and flat surfaces. It also provides excellent coverage and deep, rich color.
Gel stain is a surface-laying stain, meaning that it doesn’t get absorbed into the wood like other traditional oil-based wood stains. This is the reason that you don’t need to sand your entire piece down to raw wood before using gel stain!
I’m going to give you a summary of the simple steps for using gel stain below, but if you want to learn more about it, check out our full how to use gel stain guide here.

1) Prep your surface
- Sand By Hand: Start by gently sanding with fine-grit sandpaper by hand. No need to use a power sander or orbital sander for this.
- No need to go hardcore, just rough up the wood’s surface a bit. The existing finish does NOT have to be removed.
- This roughness helps the stain stick better.
- Remove Dust: Use a tack cloth or a slightly damp clean rag to remove sanding dust.
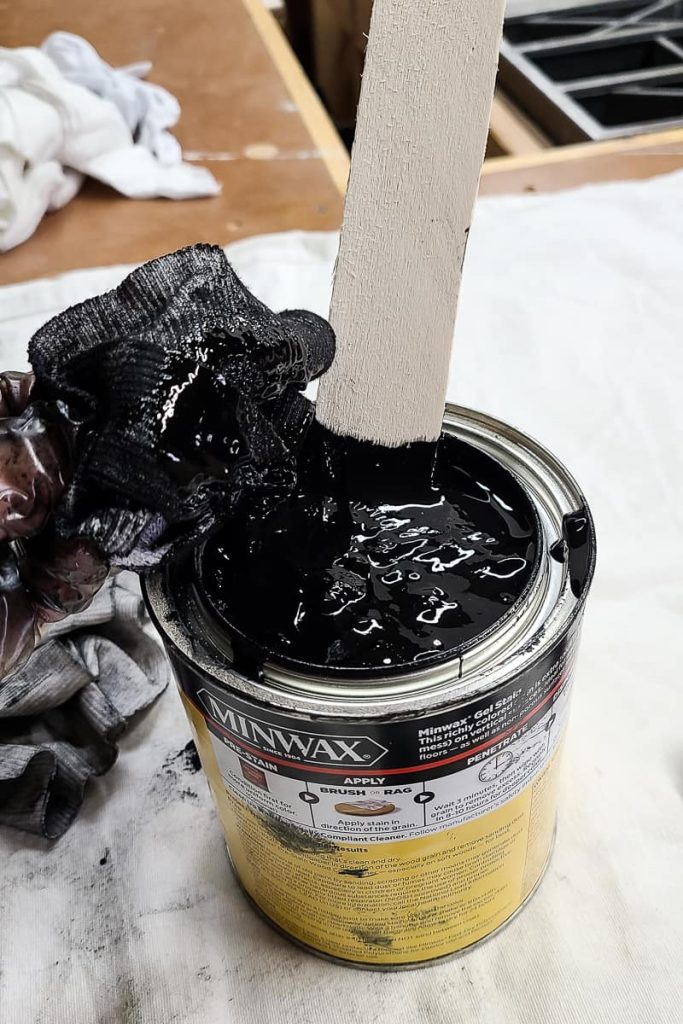
- Stir Stain: Once sanded and dust-free, grab a wood shim or paint stick. Give the gel stain a good stir for about 3 minutes. Keep stirring until it smooths out and the lumps disappear. Remember, the gel stain still be pretty thick even after stirring.
2) Restain wood with gel stain
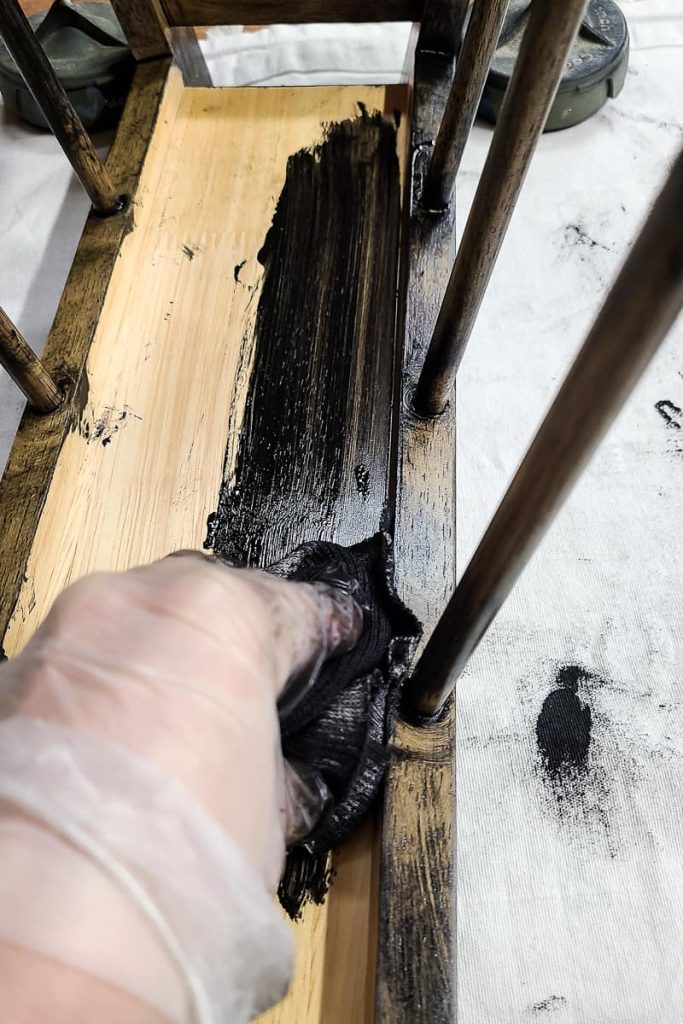
- Apply: Start by generously applying gel stain on the surface of the wood with a staining rag.
- Wait: Let it sit for a few minutes, then wipe off excess with the same rag.
- Wipe: Wipe in the direction of the grain of the wood. Aim for long, smooth strokes down the project. For big jobs like a wood table, keep those strokes straight.
- Recoat: If you want more coats, wait 8-10 hours after the first. However, check your product label to confirm the recoat time.
- You can add more than two coats for your desired look.
- Remember, more coats mean a longer drying time before sealing.
A big tip from me: It’s a good idea to make sure to wear gloves during this process. Gel stain is especially difficult to remove from your nails and hands. There are many different ways to remove wood stain from your hands, but gel stain is a little more challenging.
Method 2: Remove sealer only and restain wood
If you want to stain wood darker and don’t want to use gel stain, you don’t necessarily need to completely remove the old stain by sanding the wood down to raw wood. You just need to remove the sealer before restaining the wood.
Sealer, like polyurethane, polycrylic, varnish, or lacquer, protects the wood with a hard layer of sealant. Wood stains (whether it is oil-based stains or water-based stains) need to absorb into the wood, so you cannot apply a stain over a clear coat finish.
1) Remove the old sealer from wood
If you want to restain the wood, the first step is to remove the old finish (sealer). You could, of course, sand the surface to remove the old sealer. However, sanding off a finish without disturbing the stain is really tough! Many times the sanding will start to go through the stain as well as the finish.
So if you’re keeping the old stain, the easiest way to remove the old sealant is with a stripper instead of sanding. There are a couple of different products to remove old sealers. You can use a chemical stripper or a homemade stripper mixture.
For either of these methods, be sure to take the right safety precautions. You’ll need to wear rubber gloves to protect your skin, dust musk to avoid inhaling the chemicals, and eye-protective wear. Your working space should be well-ventilated to avoid inhaling chemicals.

Chemical stripper for removing polyurethane finish (without removing old stain)
Chemical strippers, like Citristrip, are designed to remove finish and old paint from wood. But they aren’t going to remove the old stain that has been absorbed into the top layer of the wood.
However, it may appear that the stripper is removing the wood stain and changing the color of the wood. This is because some of the stain has soaked or bled into the finish. So when you’re removing the top layer of finish, you’re also removing a bit of the color from the stain.
All that to say, remember that there are no promises here that the piece won’t be lighted when using a chemical stripper, especially if you have something with a dark stain.
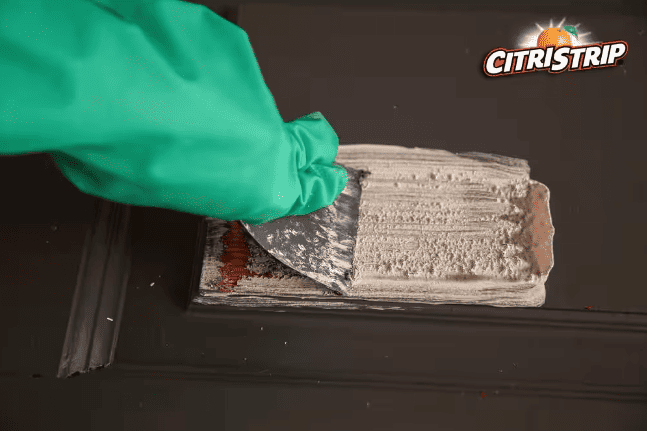
Removing old sealer with Citristrip is a breeze. Remember to follow the manufacturer’s instructions on the Citristrip label for specific details. Here’s how:
- Prep Your Workspace: Choose a well-ventilated area, preferably outdoors. Lay down a drop cloth or old newspapers to catch drips.
- Safety First: Wear chemical-resistant gloves and safety goggles to protect yourself.
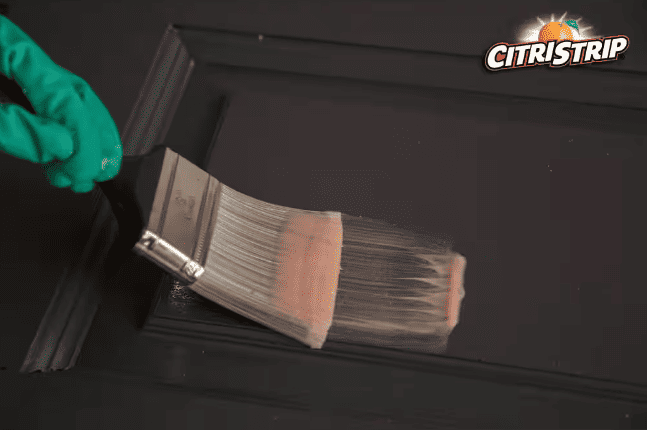
- Apply Citristrip: Using a brush or an old paintbrush, apply Citristrip generously to the entire surface. You can cover it all with plastic wrap to prevent it from drying out.
- Wait Patiently: Let Citristrip work its magic for about 30 minutes to 1 hour. You’ll notice the sealer starting to bubble and lift.
- Scrape Off: Use a plastic or wooden scraper to gently scrape off the softened sealer. Work carefully not to damage the underlying surface.
- Repeat if Necessary: For stubborn or multiple layers of sealer, you may need to apply a second coat of Citristrip and repeat the process.
- Clean Up: Wipe down the surface with a rag soaked in mineral spirits to remove any remaining residue.
- Final Rinse: Rinse the surface with water to neutralize any remaining Citristrip.
- Inspect and Sand: Check if all the sealer is removed. If not, repeat the steps as needed.
- Dispose: Dispose of used Citristrip and residue according to your local regulations.
Homemade stripper for removing sealers
You can also make a homemade stripper with a few supplies that you probably already have in your workshop. This is a great idea if you don’t want to go buy another product for your furniture restoration project.
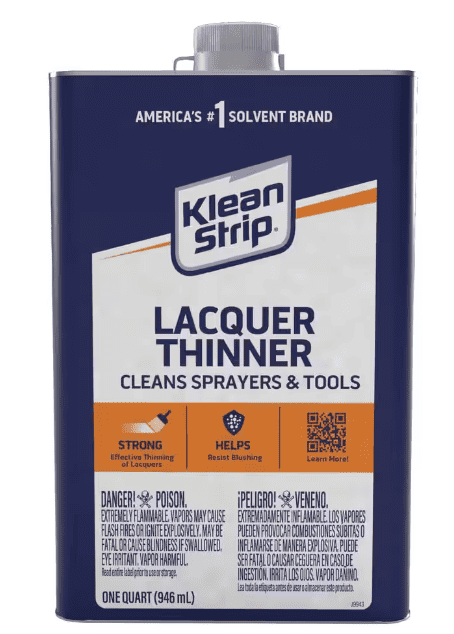
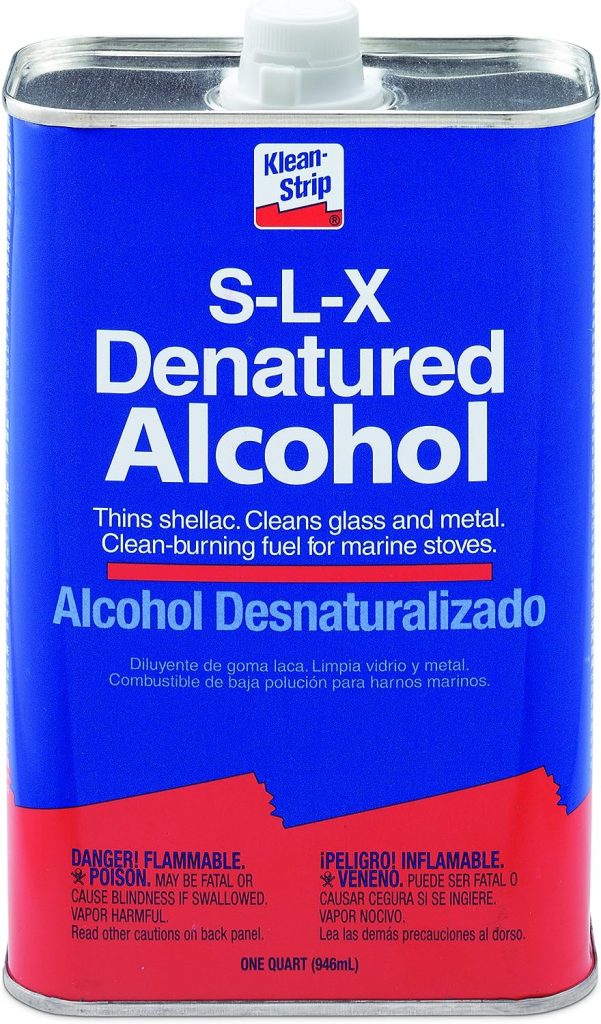
- Combine Ingredients: Mix equal parts of lacquer thinner and denatured alcohol into a small paint can (not plastic). The reason you want to mix them is because lacquer thinner will remove lacquer and alcohol will remove shellac. If you’re unsure what the finish is, the combination of the two will fight through either type of sealant.
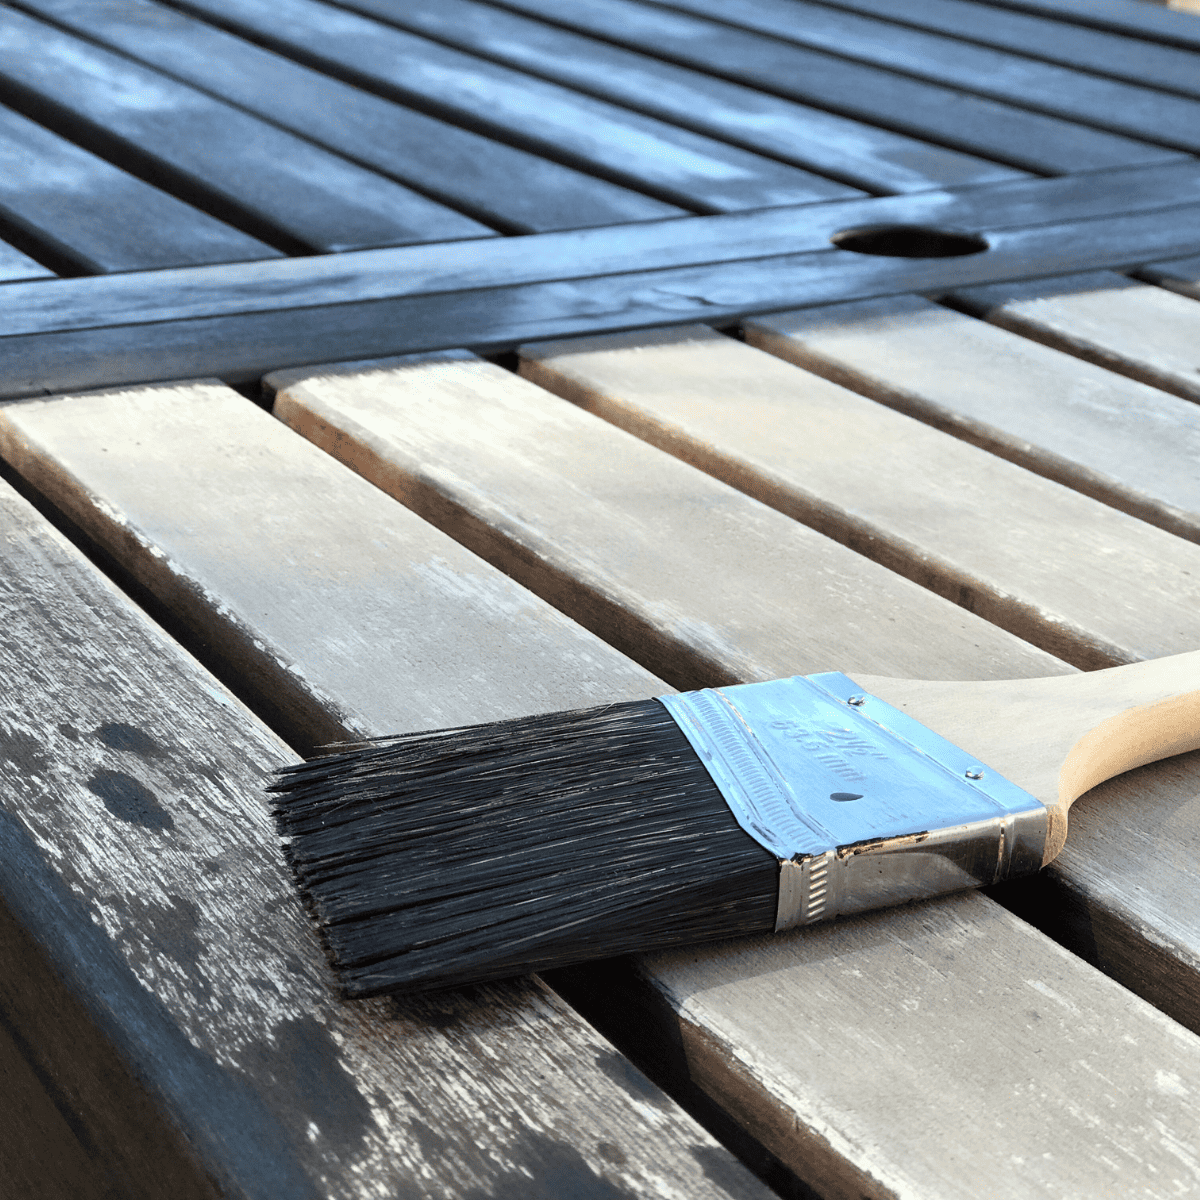
- Apply Stripper: Use a paint brush or soft cloth to apply the homemade stripper over the wood. Let it sit for about 10 seconds.
- Wipe Away: Follow up with steel wool to wipe away the stripper and old sealer.
- Rinse: Wipe the surface with a clean and damp rag to wash the wood.
- Repeat: Repeat these easy steps as needed to get rid of the top coat of sealant.
Even for the homemade stripper method, you’ll want to be sure you’re working in a well-ventilated area.
2) Restain wood
After the sealant has been removed with either a chemical stripper, like Citristrip, or a homemade stripper, you can move on to restaining the wood.
This method of keeping the old stain only works if you’re staining the piece with a darker color because a lighter stain is not going to show up over a dark stain color.
Remember that because the old wood stain is still on the wood, the wood stain that you apply will look a little different than it would if you were using it on bare wood. It is a good idea to test out stain combinations in an inconspicuous area to see what stain color you like best.
- Choose the Right Stain: Select a stain that is compatible with the type of stain already on the wood. For example, if the existing stain is oil-based, use an oil-based stain.
- Prepare Your Surface: Ensure the surface is clean, dry, and free of any dirt, dust, or grease.
- Lightly Sand the Surface: To help the new stain adhere better, lightly sand the existing stain with fine-grit sandpaper (220-grit is a good choice) by hand. This will create some “tooth” for the new stain to grip onto.
- Clean and Remove Dust: After sanding, wipe the surface clean with a tack cloth or a damp cloth to remove any sanding dust.
- Apply the New Stain: Using a brush, rag, or foam applicator, apply the new stain evenly over the existing stain. Follow the direction of the wood grain for a consistent finish.
- Wipe Off Excess: Allow the new stain to sit for a few minutes (typically 5-15 minutes) to penetrate and adjust the color. Wipe off any excess stain with a clean cloth, following the wood grain.
- Allow to Dry: Let the stained surface dry completely according to the manufacturer’s instructions. Curious how long it takes stain to dry? Check out our guide here!
- Optional Additional Coats: If you want a darker or richer color, you can apply additional coats of the new stain after the first coat has dried. Check the label to see how long you need to wait until you can recoat.
Method 3: Sand wood to remove sealer and stain and apply new stain
The last way to restain wood is to sand it down to remove the old sealer and stain and then apply your new stain. This is the best bet if you’re going to be staining stain colors, especially if you’re going from a dark wood stain to a light wood stain color.
However, keep in mind that this method can be a lot of work! Sanding all of the finish and stain off can take some time and major elbow grease.
You’ll have to work patiently and methodically to ensure that you’ve removed all traces of the old sealer and stain before applying the new one for the best results.
- Safety First: Put on safety goggles and a dust mask to protect your eyes and lungs.
- Prepare the Work Area: Work in a well-ventilated space, preferably outdoors. Lay down a drop cloth to catch debris.
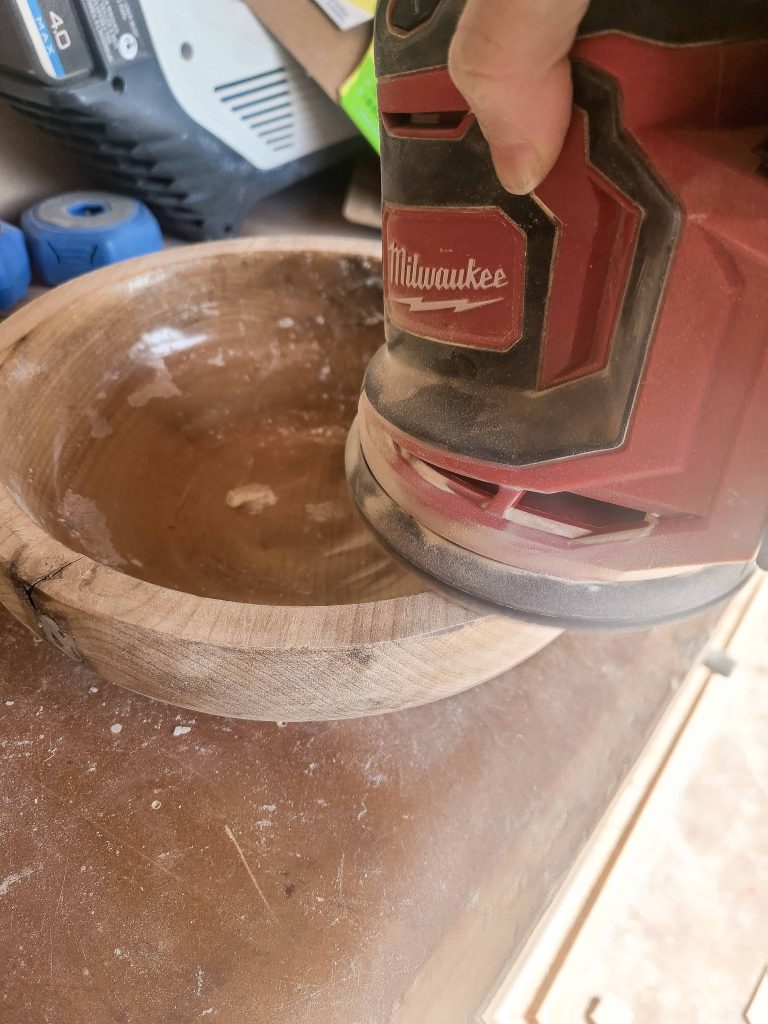
- Start Sanding: Begin with coarse-grit sandpaper (around 80-100 grit) and an orbital sander to remove the old sealer and stain. Sand with the grain of the wood.
- Keep the sander moving to avoid creating uneven spots.
- Continue sanding until you’ve removed the majority of the old finish.
- Work Your Way Up to Finer Grit Sandpaper: Switch to medium-grit sandpaper (around 120-150 grit) and then fine-grit sandpaper (220 grit). Sanding with progressively finer grits will smooth the wood and prepare it for the new stain.
- Clean the Surface: Use a rag to wipe away dust and debris between each sanding stage. Ensure the wood is completely clean before moving on to new stain.
- Apply the New Stain: Use a brush, foam applicator, or rag to apply the new stain evenly in the direction of the wood grain. Allow the stain to penetrate for a few minutes, then wipe off any excess with a clean rag.
- If you want an even darker color, you can apply additional coats of stain once the first coat has dried.
- Allow to Dry: Let the newly stained wood dry completely, following the manufacturer’s recommendations on the stain can.
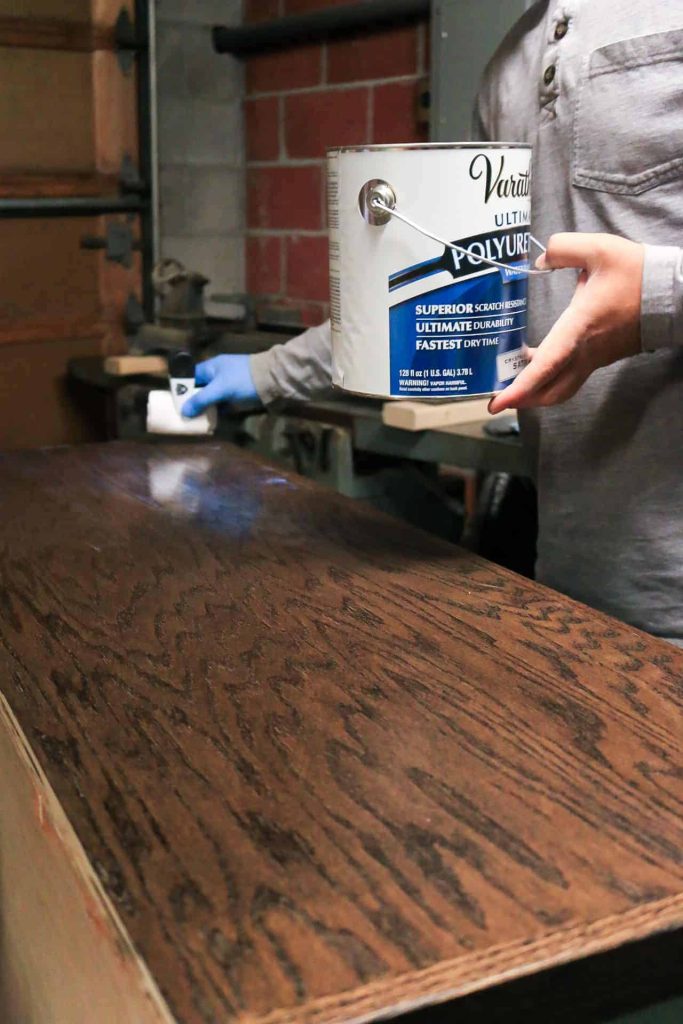
Last step (for all methods): Apply sealant over stained wood
The final step for all of the different restaining wood methods is to add sealer at the end to protect the wood. Applying a sealer to stained wood is an essential step to protect and enhance the finish.
- Prepare the Workspace: As always, be sure to work in a well-ventilated area to ensure proper airflow.
- Select the Right Sealer: Choose a clear wood sealer that is compatible with the type of stain you use. For example, if you used an oil-based stain, use an oil-based sealer.
- Stir: Open and gently stir the sealer using a stir stick. Avoid vigorous shaking, as it can create bubbles in the sealer and you’ll want to avoid that.
- Apply: Dip your brush, foam applicator, or rag into the sealer, ensuring it’s evenly coated. Start applying the sealer to the stained wood, working in the direction of the wood grain. Apply a thin, even coat. Don’t apply too much sealer at once because you’ll run into drips and streaks.
- Let Dry: Allow the first coat of sealer to dry according to the manufacturer’s instructions. This typically takes a few hours, but it will probably vary depending on the type of sealer and your environment.
- Sand Between Coats (If Needed): If the sealer label recommends it or if you notice any imperfections in the first coat, lightly sand the surface with fine-grit sandpaper (usually around 220 grit) before applying additional coats. You can also use steel wool in between coats. Wipe away the dust with a tack cloth.
- Apply Additional Coats (If Desired): Depending on your desired level of protection and sheen, you can apply multiple coats of sealer. Always allow each coat to dry before applying the next and sand/smooth/clean in between each layer.
- Final Coat: The final coat should be applied in the same manner as the previous coats. Take your time to make sure it’s smooth and even.
- Allow to Cure: After the final coat, let the sealer cure for the recommended time on the product label. This could be anywhere from a day to a few weeks, depending on the type of sealer. This is important!
In conclusion, restaining wood can be a beginner-friendly DIY project that breathes new life into old furniture. With the right tools, techniques, and some patience, you can achieve beautiful results that enhance the beauty and durability of your wood furniture piece. So, don’t be afraid to try to restain wood if you find wooden furniture that you’d rather have stained lighter or darker!
Have you tried any of these methods of how to restain wood?
Let us know in the comments below.