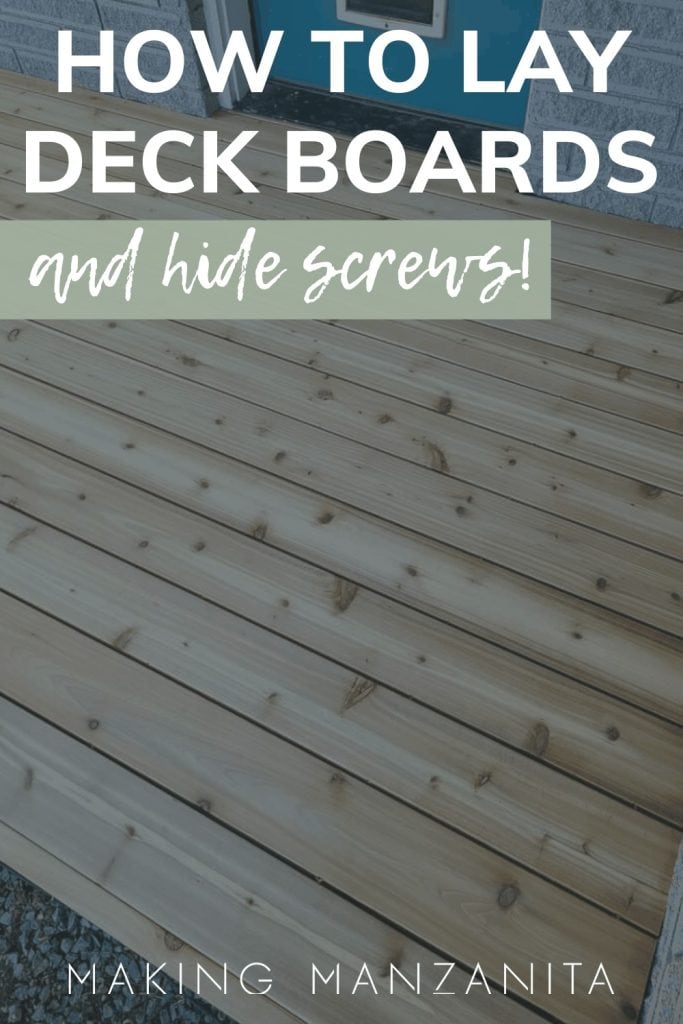
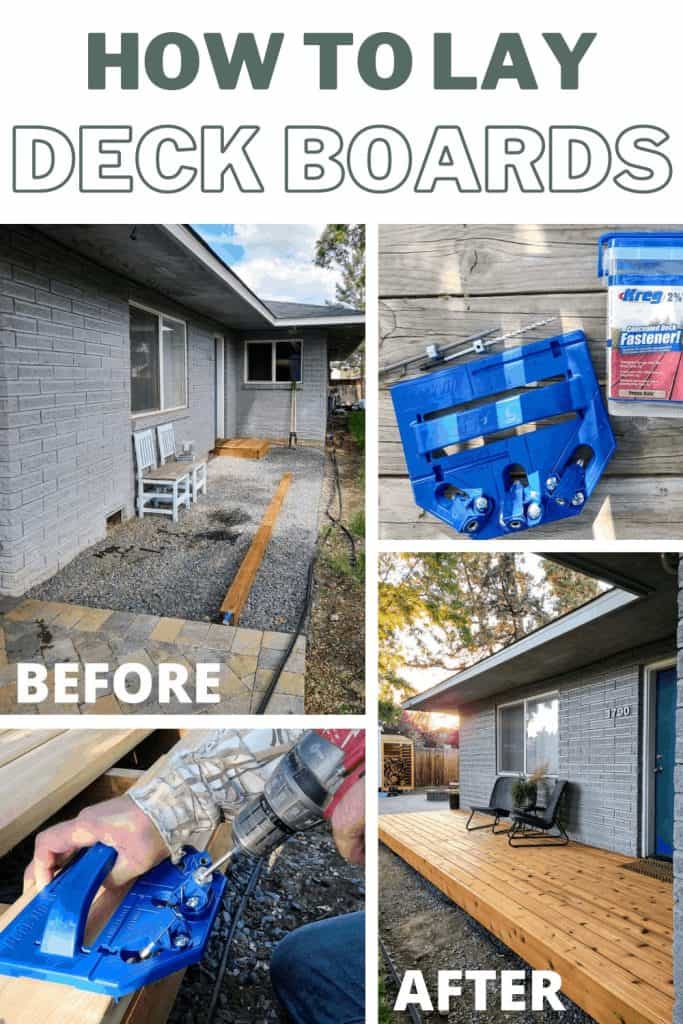
How To Lay Deck Boards (and hide the screws!)

If you're building a wood deck, you're probably wondering how to lay deck boards and better yet...is there a way to install deck boards and hide the screws? With the Kreg Deck Jig you can easily get the concealed deck look in 4 easy steps.
Thank you to Kreg for wood deck project! All opinions are entirely my own. This post also contains affiliate links, but nothing that I wouldn’t recommend wholeheartedly. Read my full disclosure here.
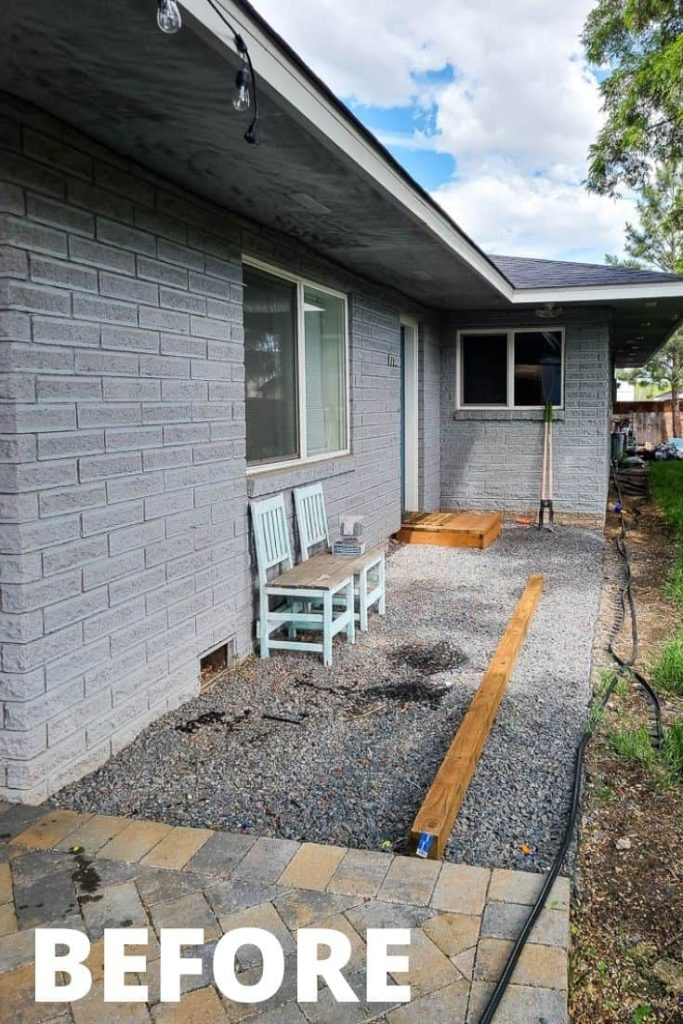
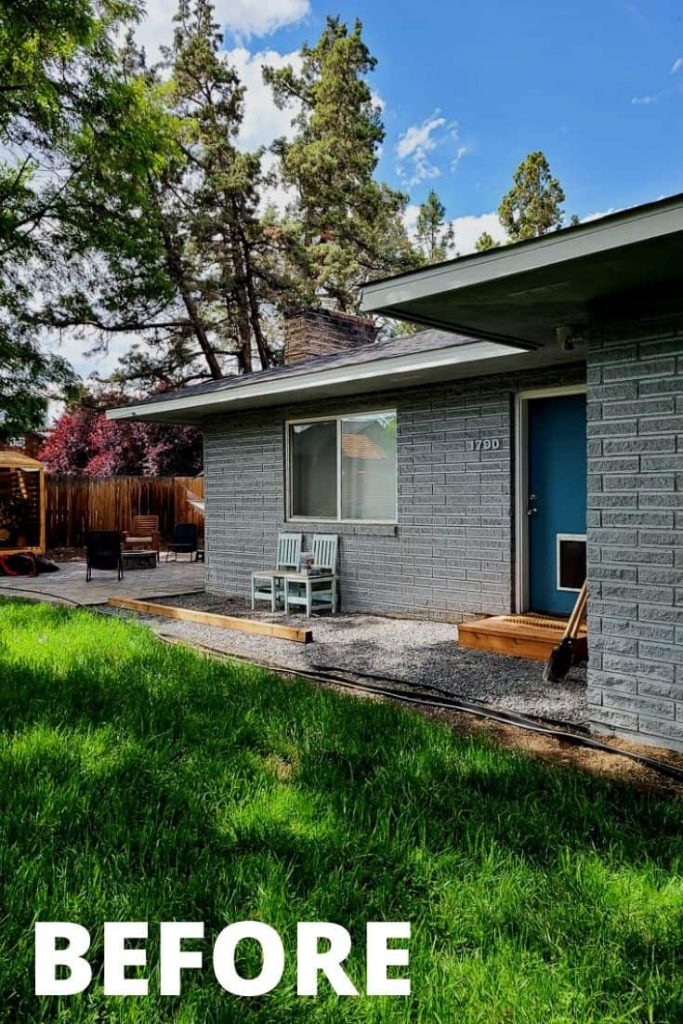
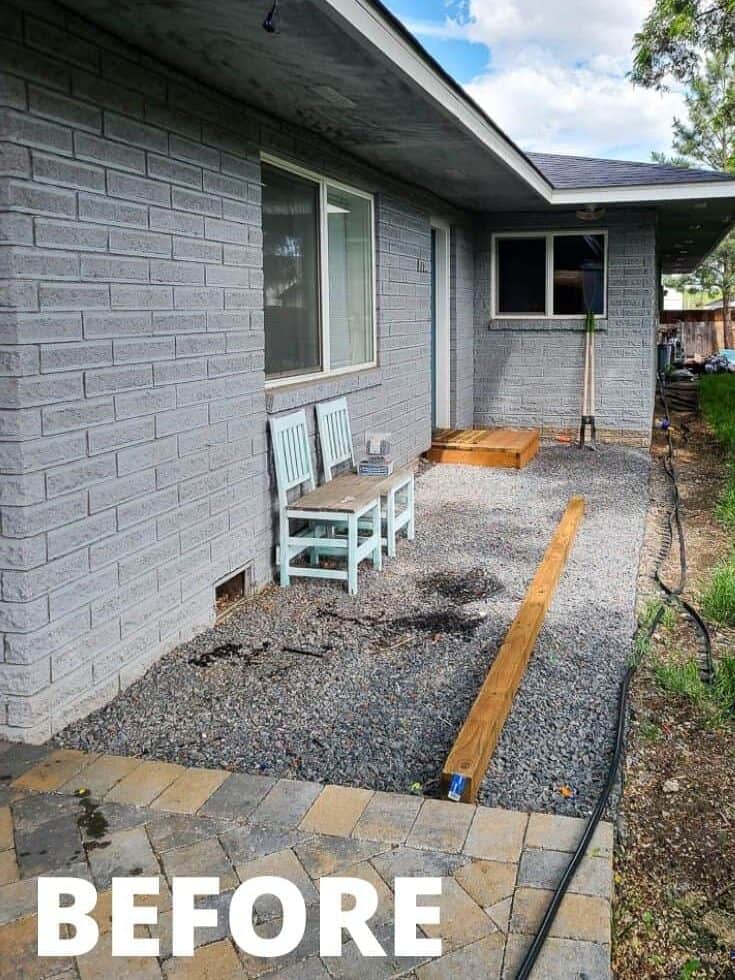
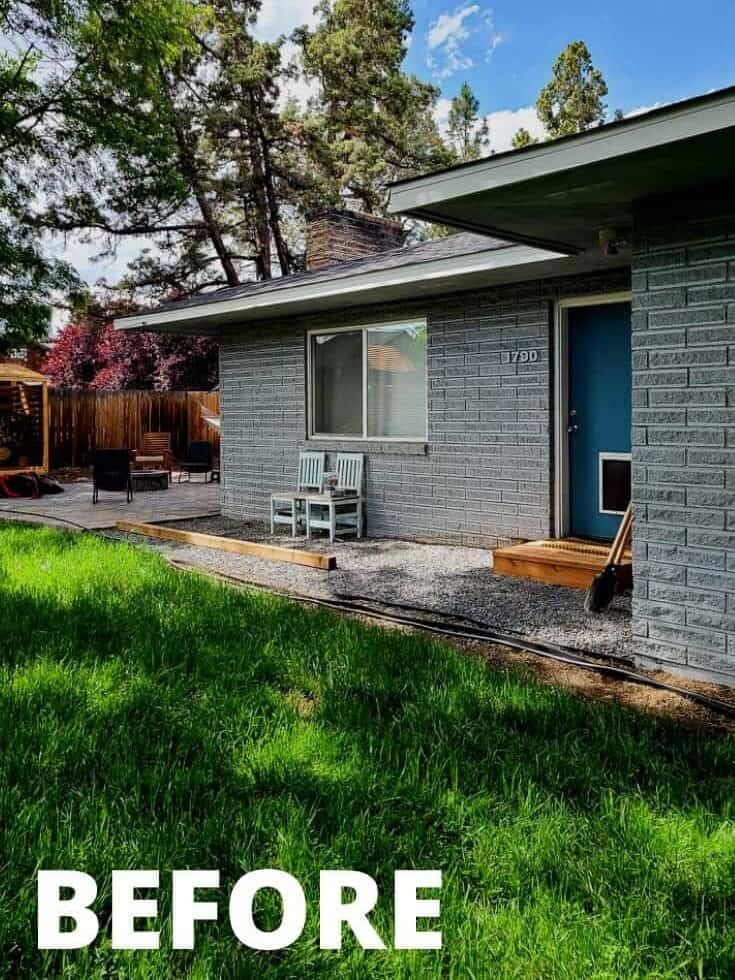
Last summer when we completed our big backyard makeover, we removed a cracked concrete landing pad and ramp at the backdoor.
Since we were a little busy with planting new grass seed and installing a new paver patio, firepit and playground – we opted to just down landscape fabric and gravel in this area in the backyard.
We had planned to come back this year and build a deck to match the old wooden deck on the side of our house that we restored a couple of years ago.
Table of Contents
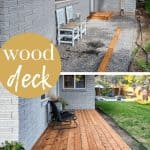
Before pictures
Kreg Deck Jig: Overview
If you’ve been around a while, you know that we are big fans of the Kreg pocket hole system. So when our friends at Kreg reached out to tell us about their Deck Jig system, we jumped at the chance to try it on the wood deck we had planned for the backyard this summer.
The awesome part about the Kreg Deck Jig is that you are able to completely conceal to screws by attaching the deck boards with angled screws along the edges of the deck boards!
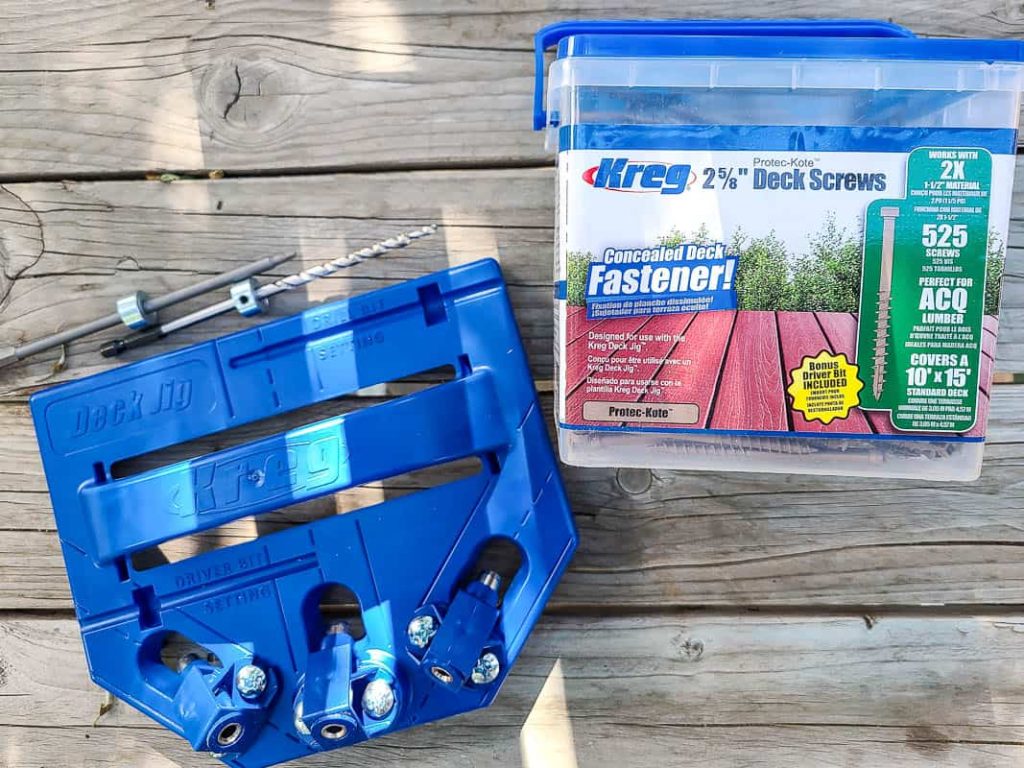
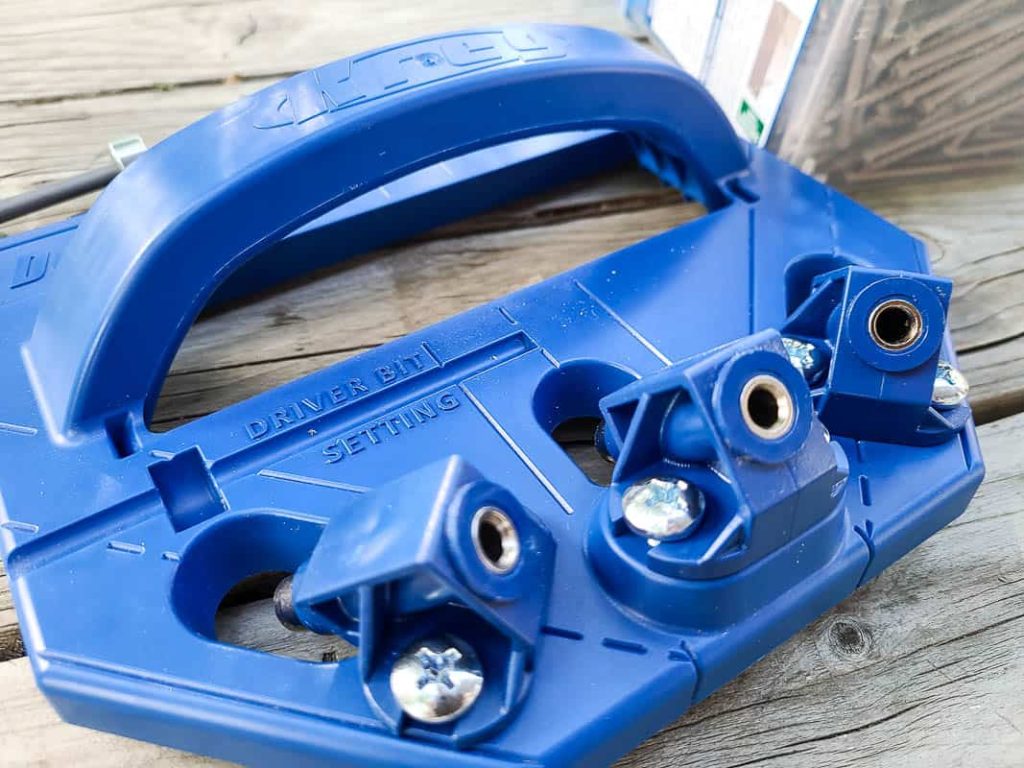
Kreg Deck Jig Features
- The jig itself has an easy-grip handle that gives you a secure hold and complete control over each and every joint.
- There are three separate Drill Guides that allow you to install the deck boards in a variety of hard-to-reach places – like along the edge of the deck where it means a wall
- The drill guides are lined with hardened steel (just like Kreg’s pocket hole system) to keep your drill bit and driver at the precise, optimal angle.
- Kreg Deck Jig comes with the handy spacer rings (those are the red things) that ensure accurate deck board spacing for proper drainage between the deck boards and lead to a longer deck life.
- You can use the jig on solid wood decks (like we were) or even composite decking.
- Depending on the screw size that you choose, you install 4/4, 5/4, or “2 by” decking. We used 2×6 deck boards.
For this wood deck, we teamed up with our friends at Kreg again to create the woodworking plans! We are sharing the plans and a full detailed tutorial for the whole deck for free over at KregTool.com!
How to use the Kreg Deck Jig: Video Tutorial
If you love DIY videos, don’t forget to subscribe to our YouTube channel!
How to Lay Deck Boards: A Step-by-Step Guide
Today we’re just going just focus on one step of the bigger deck build and show you how to lay deck boards using the Kreg Deck Jig! If you want to see how to build the rest of the deck & get free plans with measurements, hop over to this post!
Step 1. Start with a strong foundation.
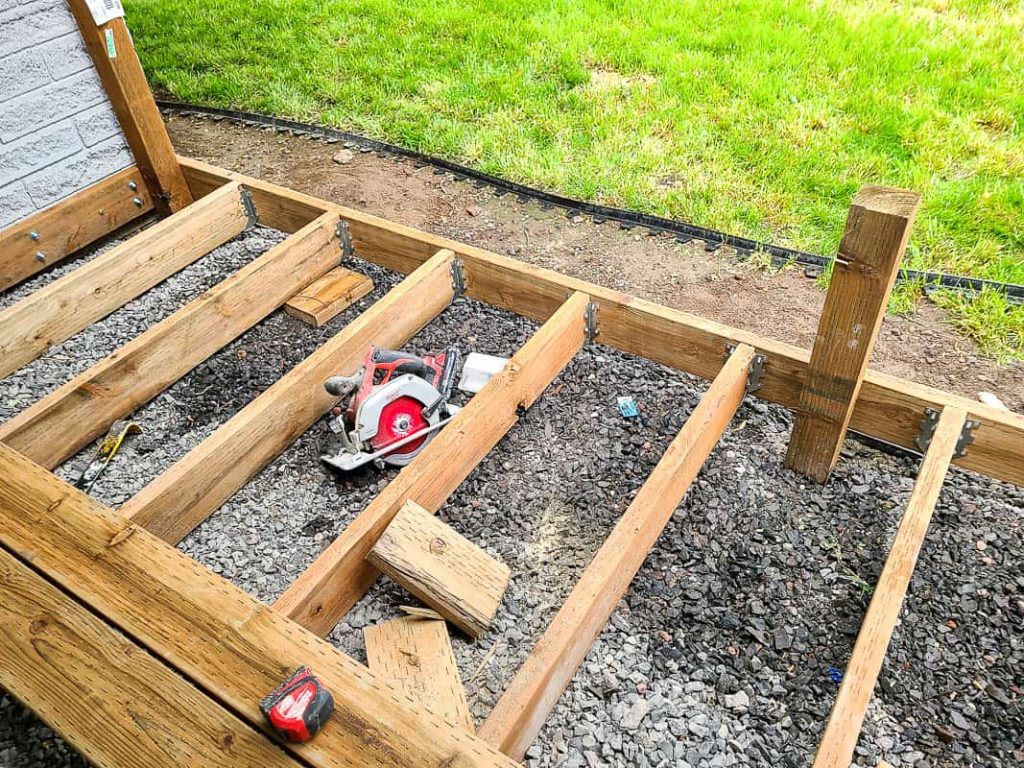
Before even starting to lay deck boards, you need to have a strong foundation! That means:
- A ground that is covered with landscape fabric to control weeds growing under your deck.
- Bed of gravel where the deck will be installed to help with drainage.
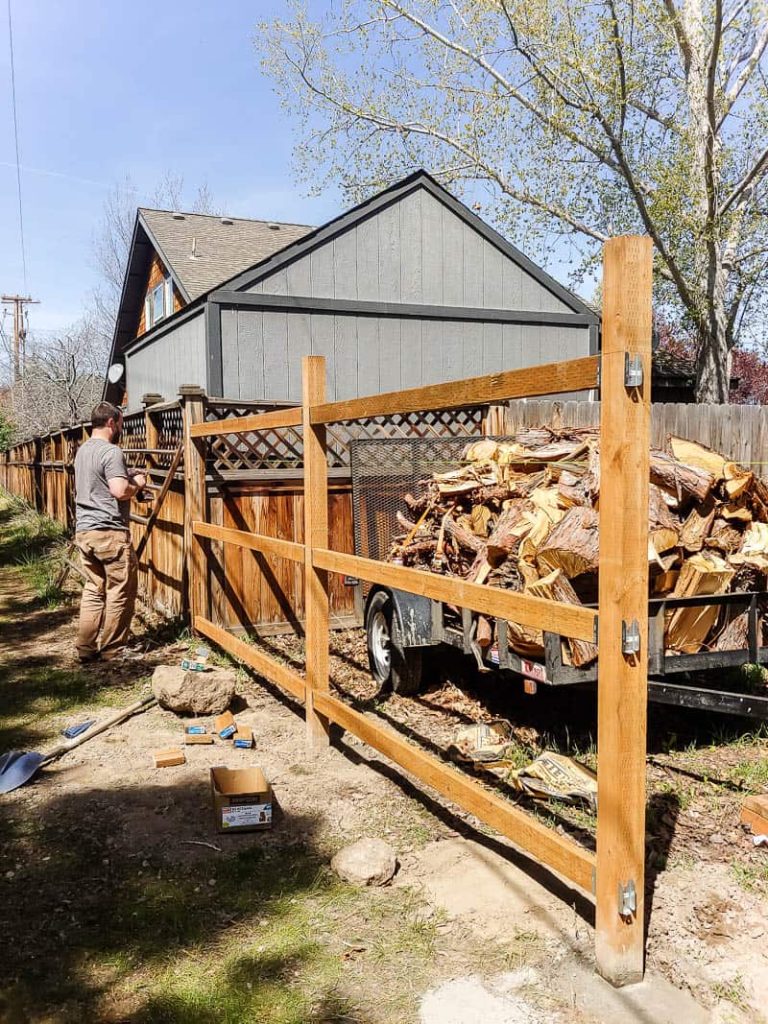
- Posts spread out evenly around the perimeter of your deck and secured with concrete (check out this tutorial to learn how to set fence posts, which is the same process you would use for deck posts). Be sure to refer to your local building codes on post spacing requirements.
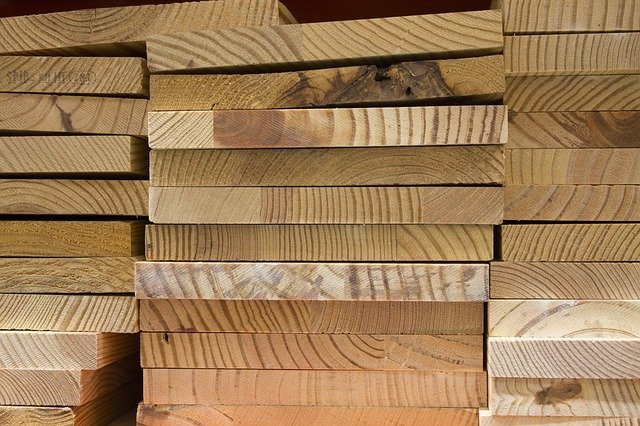
- A deck frame built with pressure-treated 2×6 lumber (check out this tutorial to learn exactly how to build the deck frame, including free woodworking plans with the measurements we used).
Once you have those items in place and ready to go, you can move on to laying the deck boards with the Kreg Deck Jig!
Step 2. Set up your deck jig
If you are using the Kreg Deck Jig for the first time, there is some minor assembly that will only take you a few minutes. Refer to your instructions for the details, but essentially all you need to do is attach the drill guides to the jig using the provided screws and add some rubber feet to the bottom of the jig.
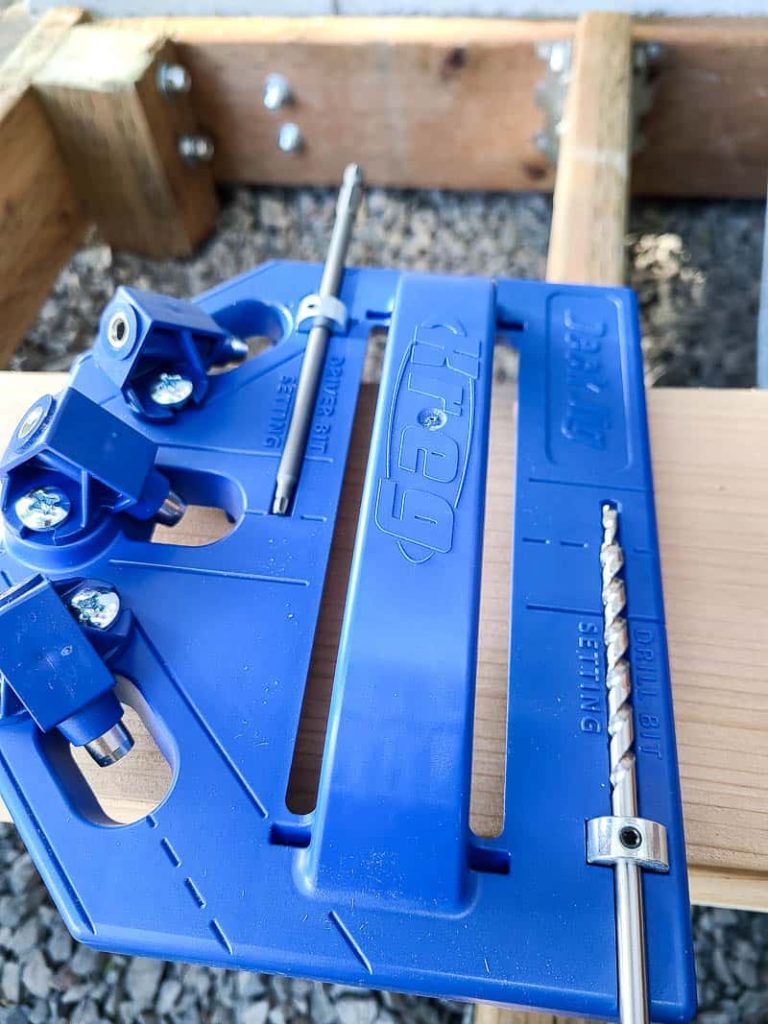
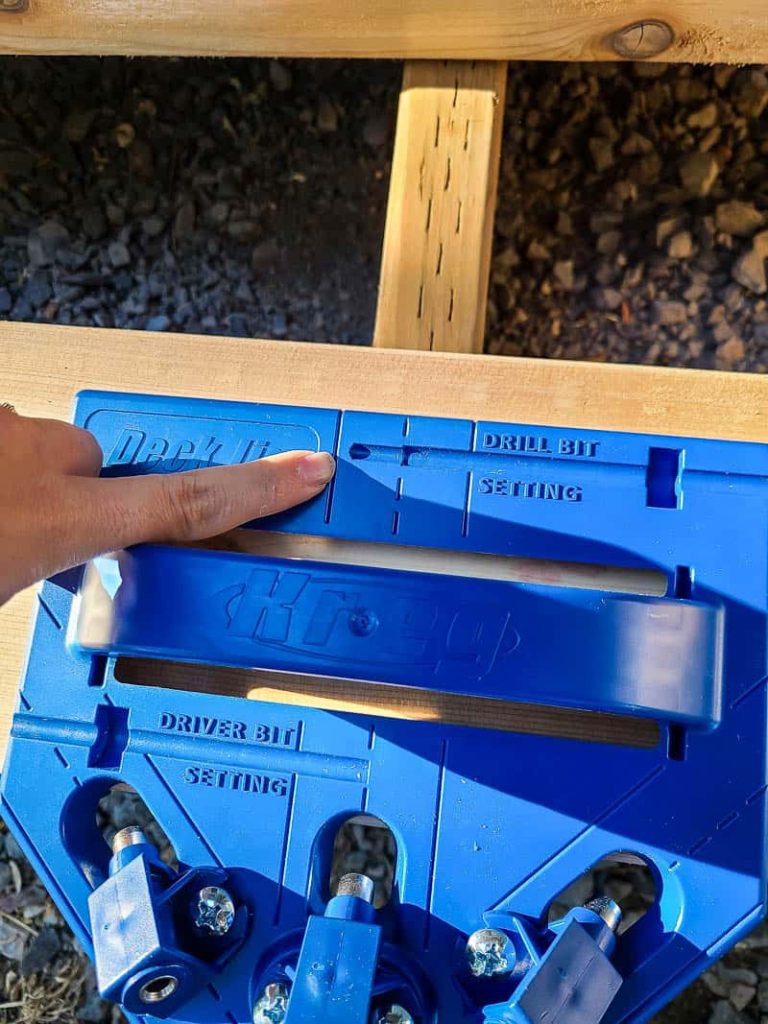
Next, you’ll need to set the depth collar of the drill bit and driver bit. The process is a little different if you are using grooved decking or non-grooved decking.
We are using non-grooved decking, so we used the recessed slots on the top of the jig that are labeled “drill bit setting” and “driver bit setting”. You simply place the drill bit and driver bit into the slots and align them with the dashed lines. Then put the stop collars in the slots and tighten them in place with a hex wrench. Refer to your instructions for detailed pictures of this process.
For grooved decking, it’s a little different. You set the stop collars on the drill bit and driver bit by holding the jig up to a piece of decking and aligning it to the grooves.
Once your stop collars are on, you’re ready to get started laying the deck boards.
Step 3. Lay deck boards
Place your first deck board on the frame and make sure it’s nice and straight. We started with the deck board furthest from the house and used a mason line to ensure it was straight.
Before you add the rest of the deck boards, attach your trim to the edges of the deck frame, screwing it in from the back so the screws are concealed.
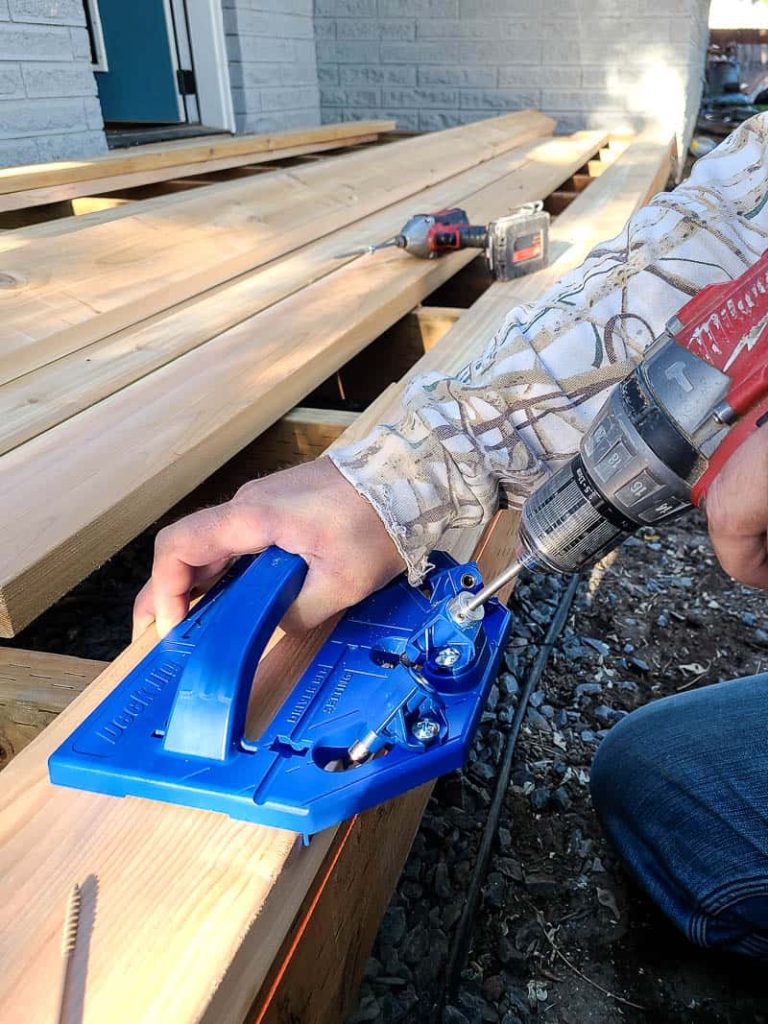
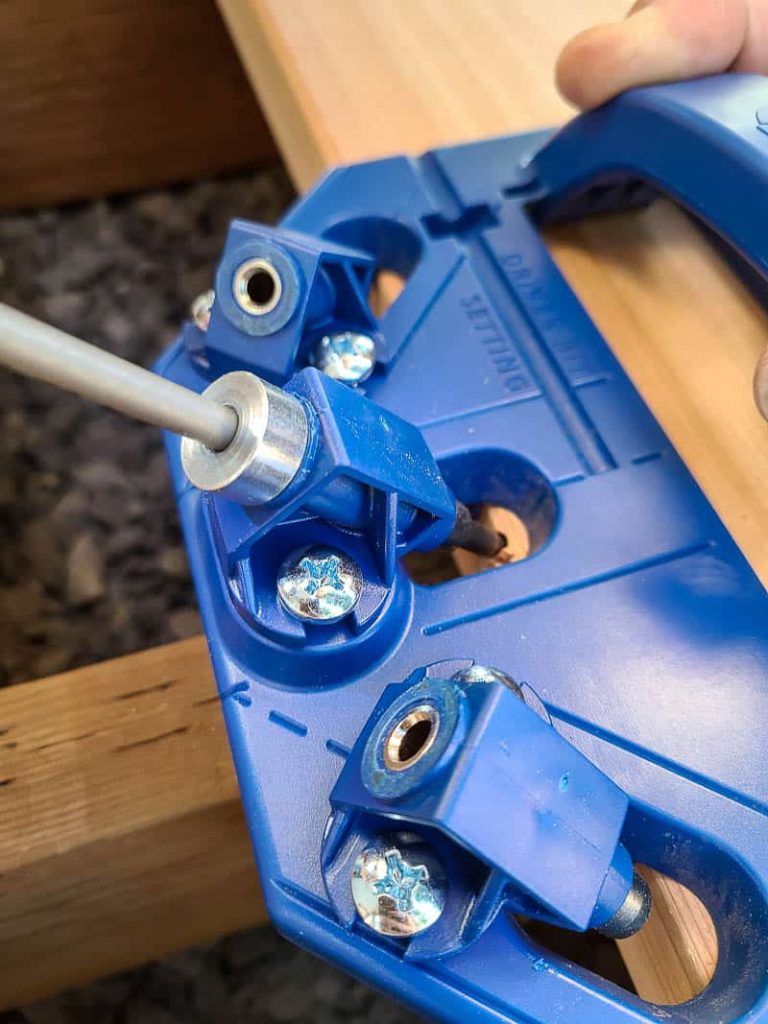
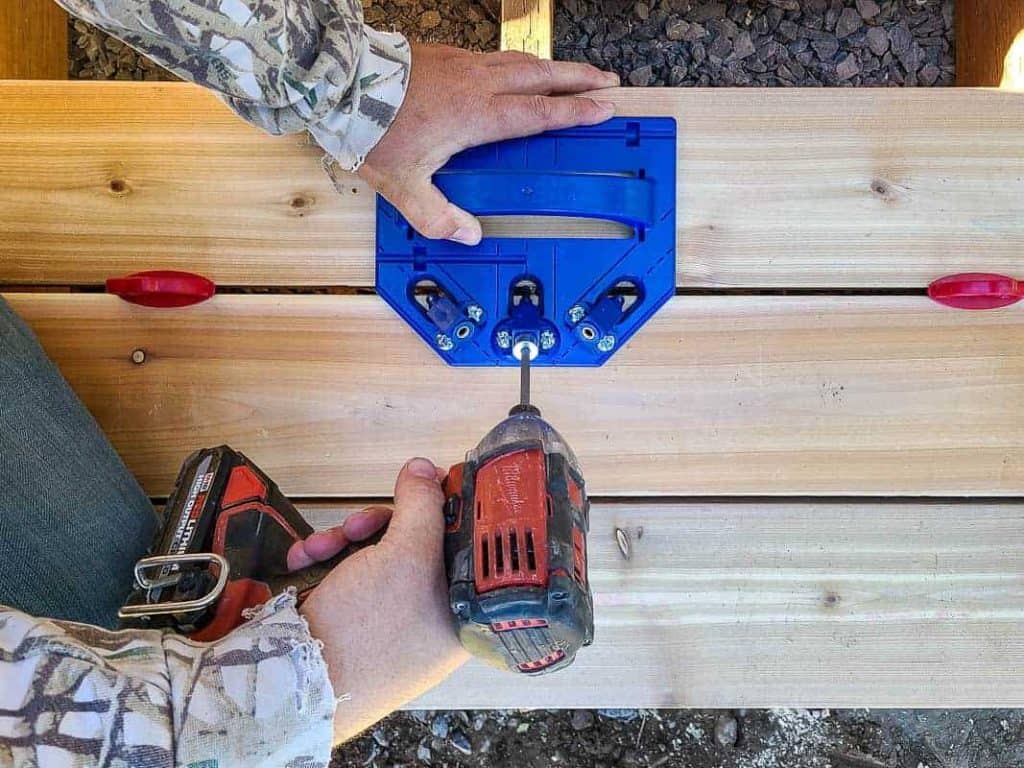
To use the Kreg Deck Jig, set it on top of the deck board and align the drill guide to the joist underneath. Pre-drill a pilot hole using the drill bit and drive it until the stop collar touches the top of the drill guide. Keep the Deck Jig in place.
Next, grab a deck screw and add it to the end of the driver bit. Place it in the drill guide and drive the screw into the same hole that you just pre-drilled. Continue driving until the stop collar touches the top of the drill guide. Now you can remove the Deck Jig.
Work your way down an entire deck board on one side, adding a pilot hole and driving a screw with the Deck Jig at every joist location.
Next, move to the other side of the deck board and continue. You want to have a screw going into both sides of the board at every joist.
Use the red spacer rings in between the deck boards to keep the proper spacing. The spacer rings allow for 1/4″ spacing, which allows debris to fall through boards and air to circulate under the deck to make sure there’s no moisture building up.
Kreg Deck Jig – Drill Guide Hole Placement
Whenever possible, try to use the center drill guide to drive the screws into the deck board. Use the lines on the jig to make sure the joist is lined up and your drilling the screw into the center of the joist.
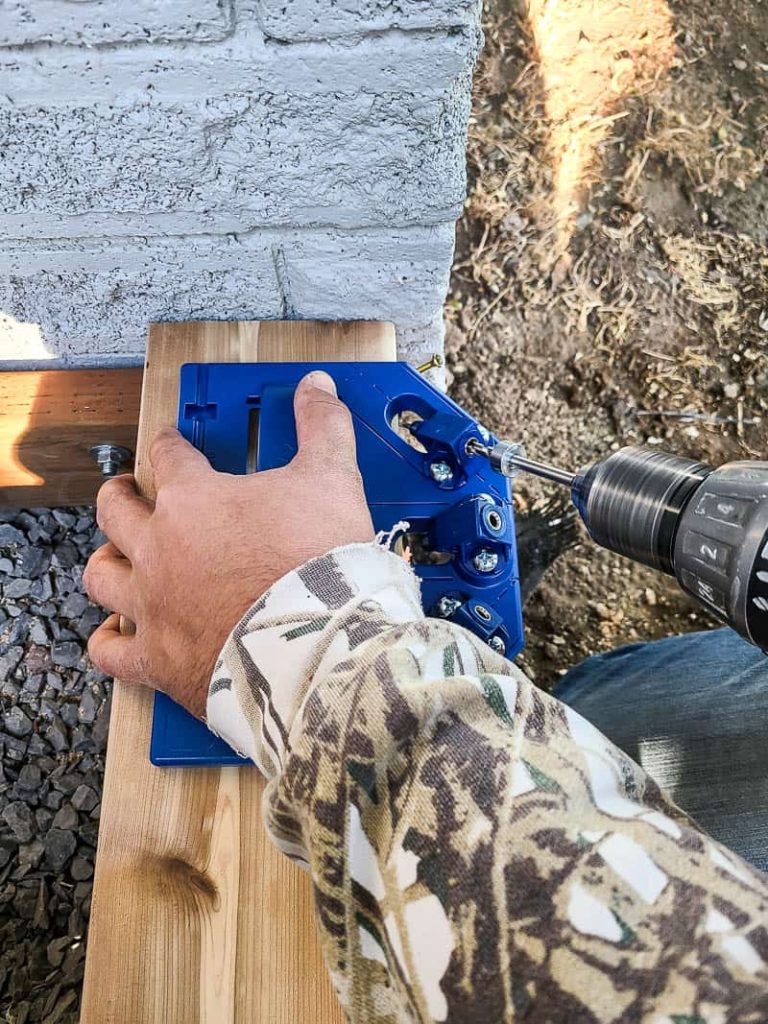
In some cases, you won’t be able to use the center drill guide. For instance, if the edge is obstructed, you’re splicing two deck boards on the center of one joist, or along the edge of the deck where you’re up against a wall… you will need to use the angled drill guides to get the screws in.
When you can’t position the jig effectively (like for the last row of deck boards along the house), you can drive a face screw into the top of the board.
There are several scenarios of drill guide hole placements outlined in the Kreg Deck Jig instructions if you get stuck.
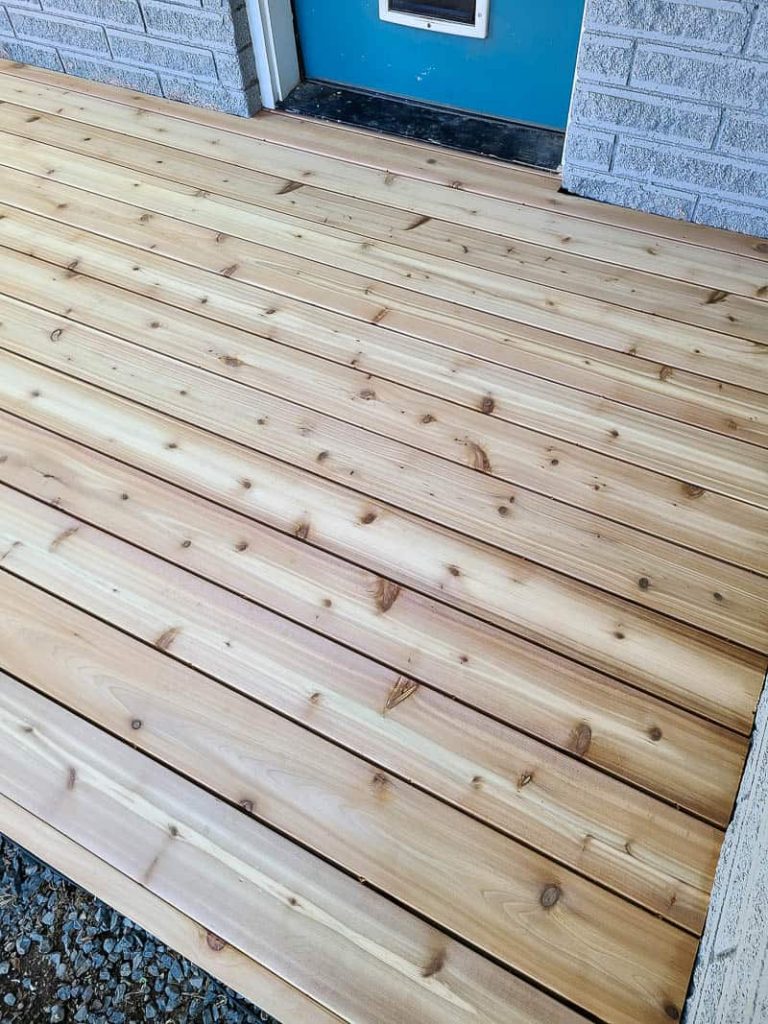
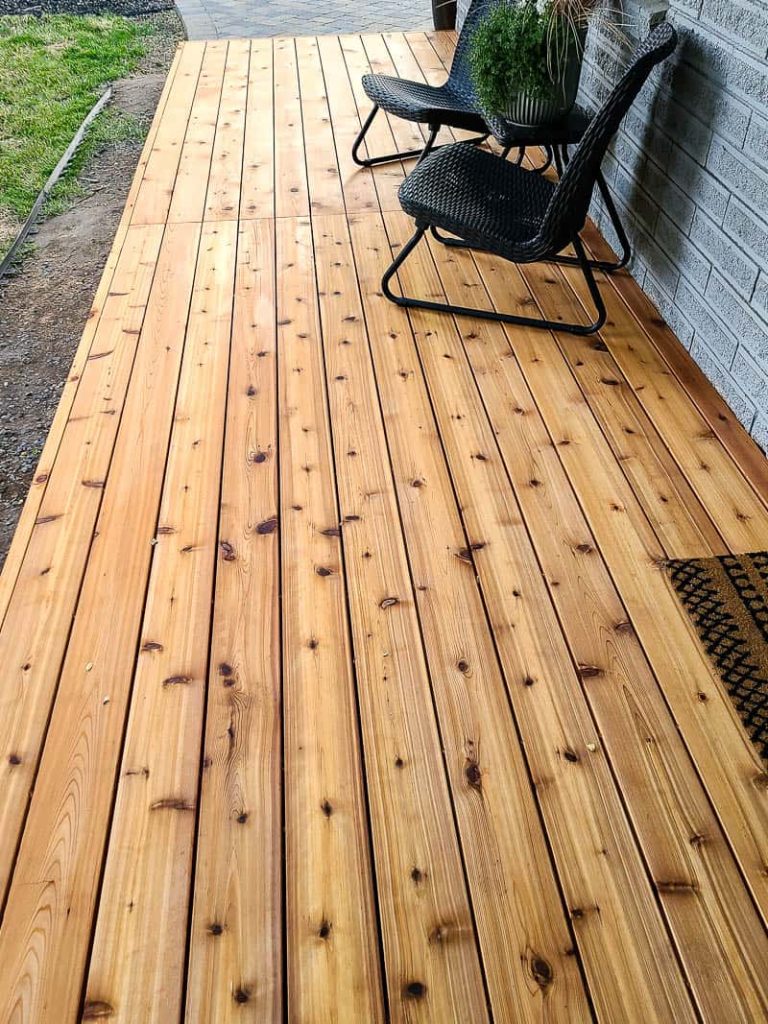
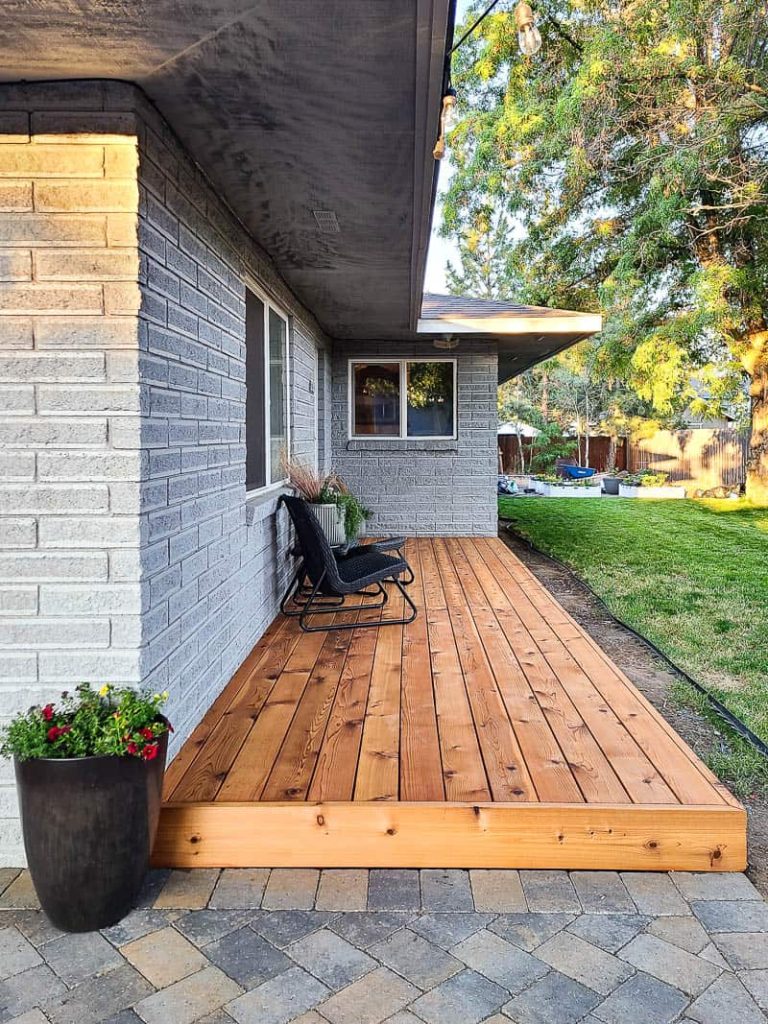
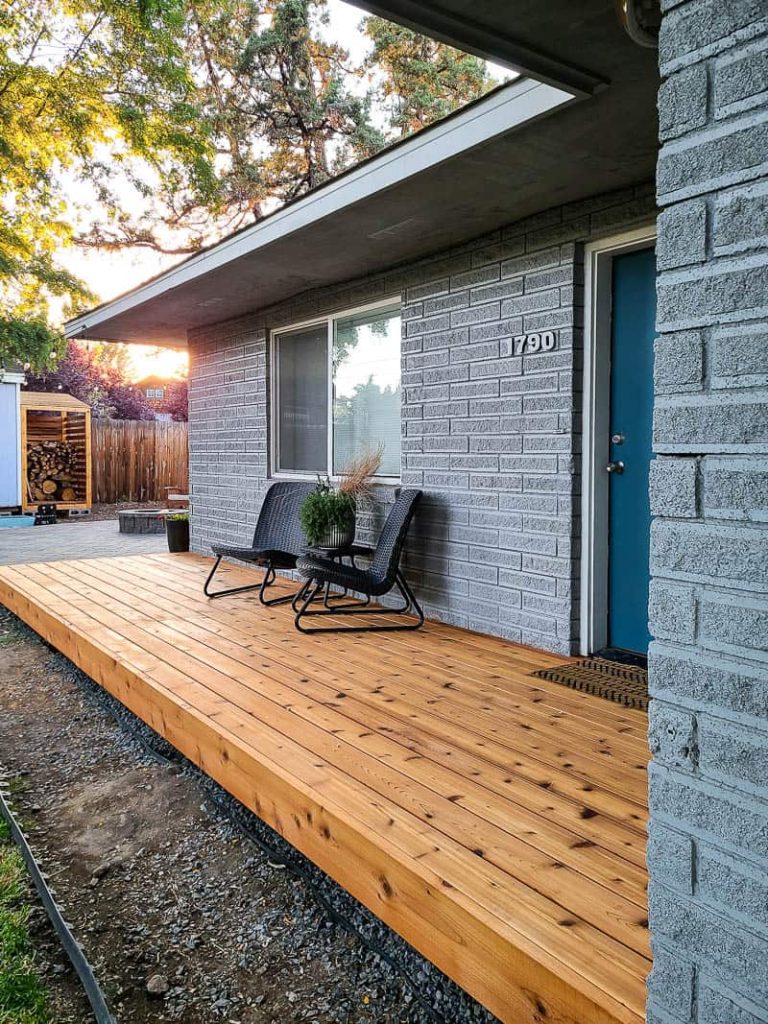
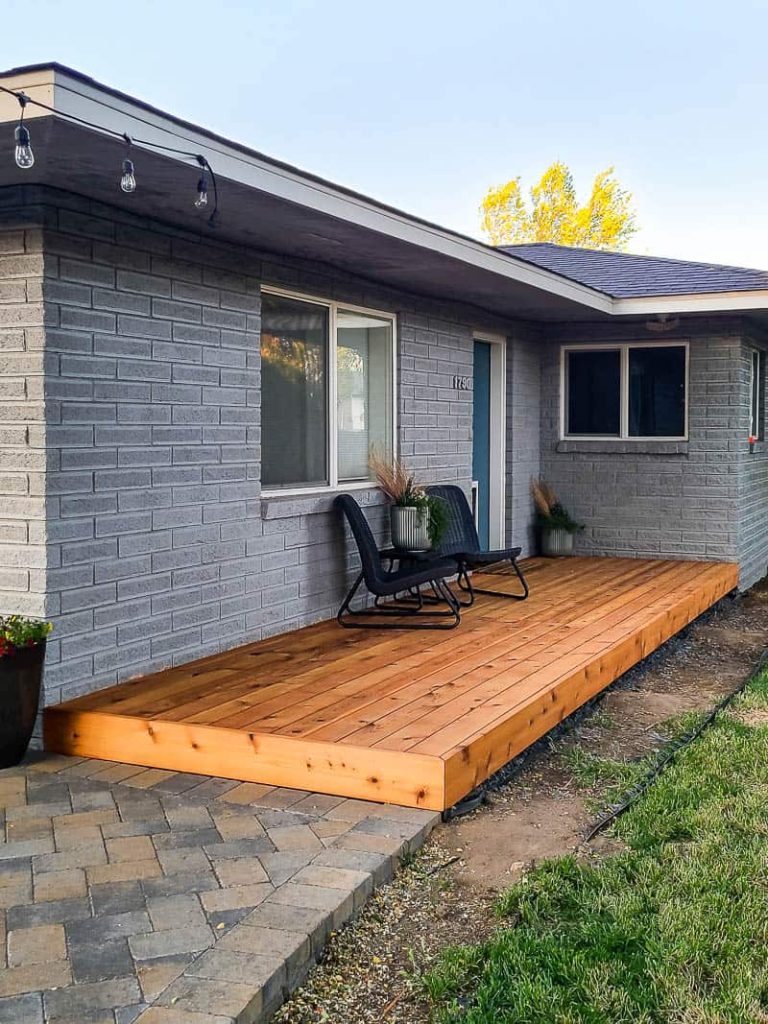
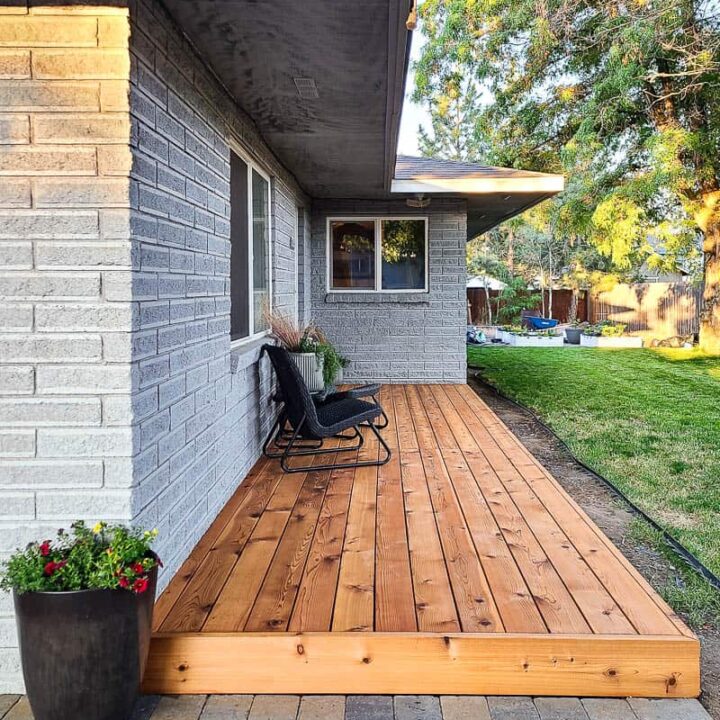
There you have it, that is how you lay deck boards using the Kreg Deck Jig. I’m so glad that we decided to incorporate the jig because now we have a beautiful wooden deck without a bunch of screws on the top.
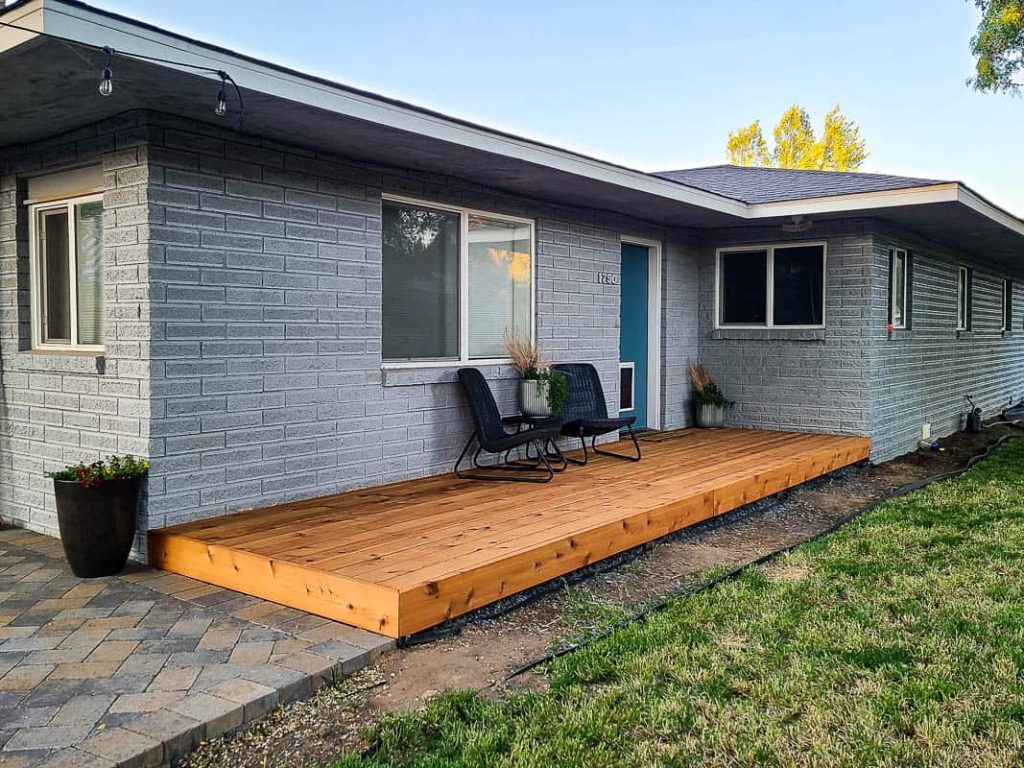
You really are able to see the beauty of the wood – rather than a bunch of screws!
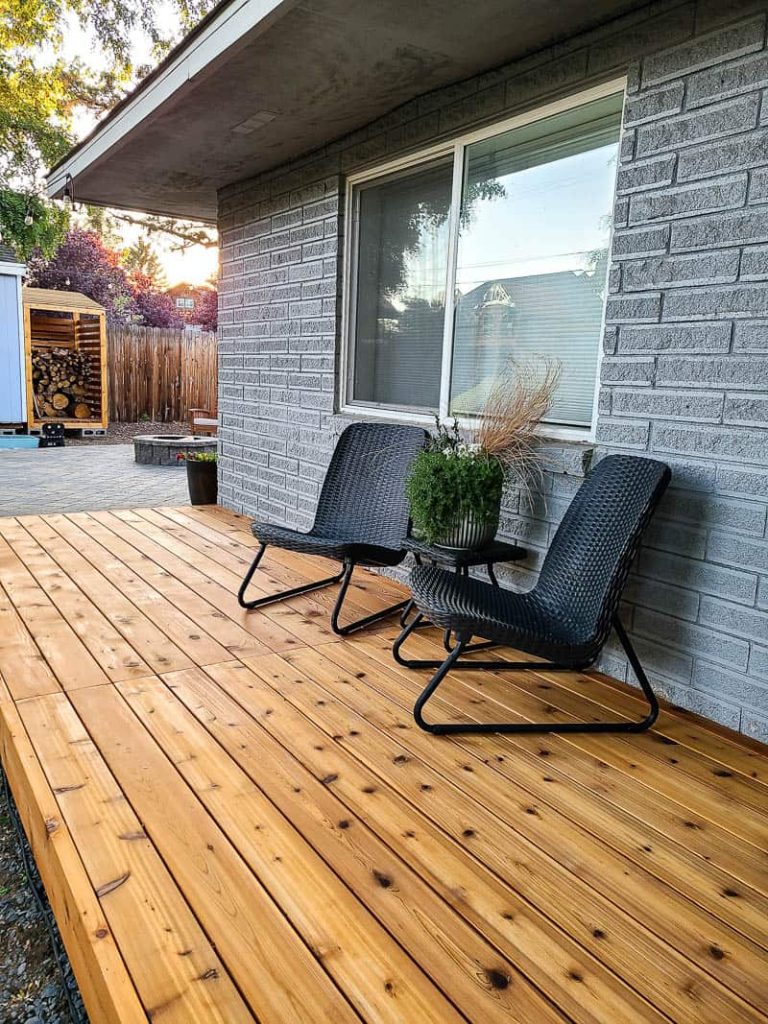
Let’s take a look at the before and afters!
Don’t forget to hop over to KregTool.com to check out the full step by step tutorial for how to build this wood deck and download the free woodworking plans!
Do you have any more questions about how to lay deck boards or using the Kreg Deck Jig?
Let us know in the comments below!
How To Lay Deck Boards (and hide the screws!)
If you’re building a wood deck, you’re probably wondering how to lay deck boards and better yet…is there a way to install deck boards and hide the screws? With the Kreg Deck Jig you can easily get the concealed deck look in 4 easy steps.
Materials
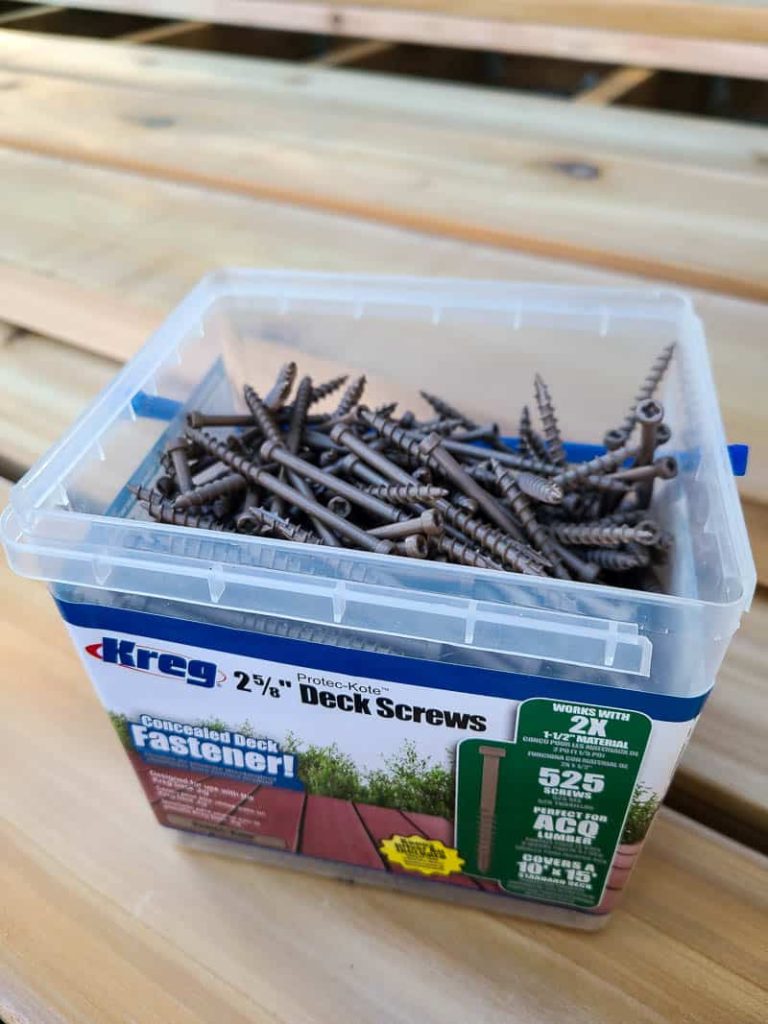
- Deck Screws
- 13 Cedar Deck Board , 1 ½” X 5 7/16” X 12’
- 13 Cedar Deck Board , 1 ½” X 5 7/16” X 10’
- 1 Pressure Treated Post , 3 ½” X 3 ½” X 12’
- 6 Pressure Treated Board , 1 ½” X 5 1/2” X 12’
- 2 Pressure Treated Board , 1 ½” X 5 1/2” X 22’
- 1 Pressure Treated Board , 1 ½” X 5 1/2” X 8
- Cedar Boards , 1 ½” X 7 1/4” X 12’
- Cedar Boards , 1 ½” X 7 1/4” X 8’
- 4 Bags of Concrete
- Stain or deck oil
- Wood Brightener and Cleaner
- Sleeve Anchors - 3/8" Diameter 4" Long
- Carriage Bolts - 1/2" x 6"
- Prolonged Washers - 1/2"
- Washers - 1/2"
- Nuts - 1/2"
- Exterior wood screws, Size 9, 2 1/2" long
- GRK Screws - 4" Long
- Joist Hangers
Tools
- Kreg Deck Jig
- Circular Saw
- Drill Driver
- Post Hole Digger
- Corded Hammer Drill Driver
- Carbide Hammer Drill Bit
- Hammer
- Level
- Speed Square
- Orbital Sander
- Hand Saw or Sawzall
- Sprayer or Deck Oil Applicator
- Stain Brush
- Paint Rags
- 80 Grit Sandpaper
Instructions
- Start with a strong foundation before you start laying deck boards.
- Set up your deck jig. If you're using it for the first time, all you'll need to do is attach the drill guides to the jig using the provided screws and add rubber feet. Next, you'll set the dept collar of the drill bit and driver bit. The process is a little different if you are using grooved decking or non-grooved decking, so check the instructions provided with more details.
- Lay deck boards. To use the Kreg Deck Jig, set it on top of the deck board and align the drill guide to the joist underneath. Pre-drill a pilot hole using the drill bit and drive it until the stop collar touches the top of the drill guide. Keep the Deck Jig in place. Next, grab a deck screw and add it to the end of driver bit. Place it in the drill guide and drive the screw into the same hole that you just pre-drilled. Continue driving until the stop collar touches the top of the drill guide. Now you can remove the Deck Jig.
Notes
- The materials and tools listed above are for the entire deck build. For the full tutorial of build the wood deck (including free woodworking plans), check out this tutorial.
- Use the red spacer rings in between the deck boards to keep the proper spacing. The spacer rings allow for 1/4″ spacing, which allows debris to fall through boards and air to circulate under the deck to make sure there’s no moisture building up.


Did you find once the wood cured and shrunk the gap in the boards was too big. The guy building our deck says that’s the downfall of these hidden systems
No we didn’t notice any usual gapping in between the deck boards after using this. Still looks great.
No we didn’t notice any usual gapping in between the deck boards after using this. Still looks great.