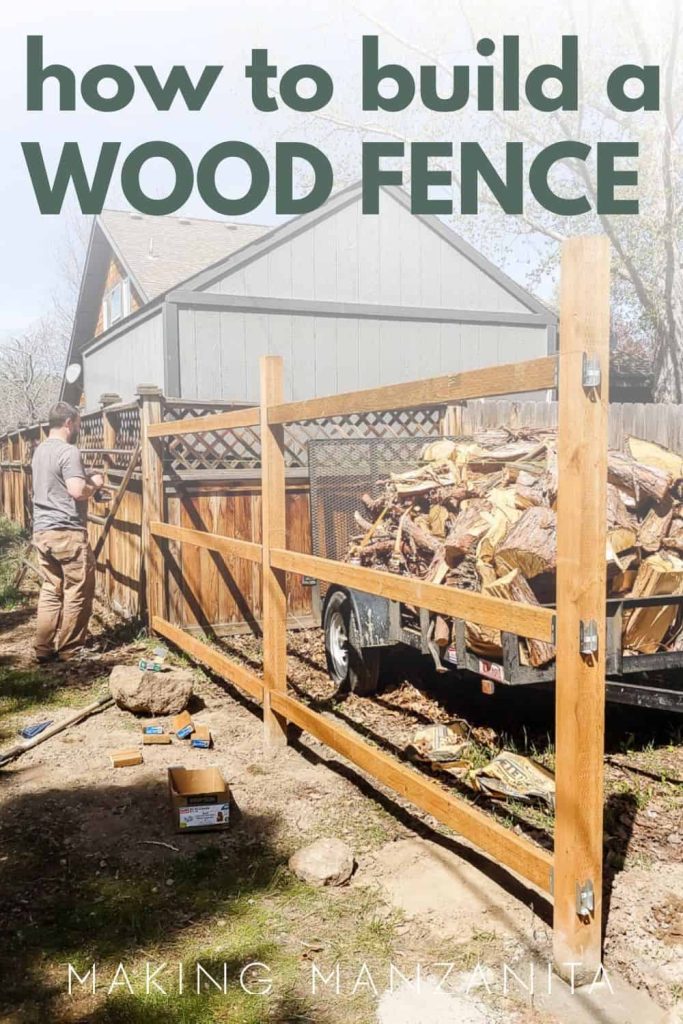
How to Build a Wood Fence In Your Backyard

Do you need more privacy in your backyard? Learn how to build a wood fence! No need to hire it out, you can totally DIY fence installation using these tips and tricks!
Having a fenced backyard is a necessity for most people – at least where we live. Whether you want to fence in your backyard for your pet to run around, your kids to play safely or just for some privacy, you’re probably going to be asking yourself how to build a wood fence yourself.
That’s something we definitely asked ourselves during our first fixer upper renovation and again in this second house during our backyard makeover.
Table of Contents
Building the fence yourself will definitely save you a ton of money in labor costs and it’s a pretty doable project for a DIYer if you take the time to learn the process of how to build a wood fence.
Do you want to see more of our big backyard makeover??
- Family Friendly Backyard Plan: Our Next Big Project (BEFORE Pictures)
- Large Chalkboard For Backyard With Live Roof
- Easy Garden Tool Storage In Backyard Shed
- DIY Build for Outdoor Vertical Garden Pots (With Free Plans)
- Mulch for Playground: Why We Chose Rubber Play Bark
- How to Plant Grass Seed
- How To Create A Cozy Patio
- How To Build A Paver Patio with Fire Pit
- How To Build A Fire Pit With Pavers
- Our Backyard Makeover Before and After Pictures
- How to Build a Wood Fence In Your Backyard
- How To Make a Wooden Gate for Your Fence
- How To Lay Deck Boards (and hide the screws!)
DIY Fence Installation FAQs
How much is it to build a fence per foot?
The cost to build a fence varies greatly with materials and the style and type of fence you choose, but for us, this has typically been about $22 per foot for a 6′ privacy fence with DIY installation, of course.
How far apart should wooden fence posts be?
The max spacing between fence posts should be 8′ apart on-center.
What type of wood fence lasts the longest?
Cedar fence pickets with pressure-treated posts and rails will last the longest. Cedar is naturally rot-resistant, so it’s a great wood to use outdoors.
How many years does a cedar fence last?
When installed correctly a cedar fence can last between 15 and 30 years.
Which is cheaper – wood fence or vinyl?
This really just depends. Both of these types of fencing are used for different applications to varying levels of quality. Either can be cheap, but the focus should be on what is the better application and the final look that you’ll get.
Is it cheaper to build your own privacy fence?
Yes. Anytime you do something yourself, the correct way, it is going to be cheaper. Even if you have to buy all of the tools required, you’ll still save money when you build it yourself. When you don’t pay a contractor, you save that amount and just pay material costs.
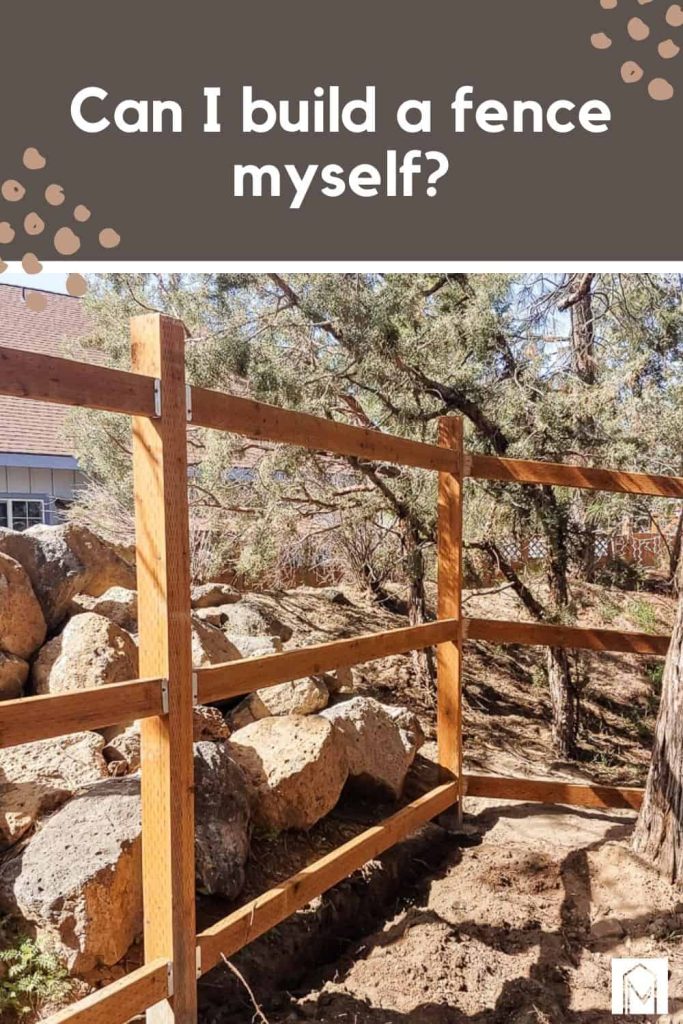
Can I build a fence myself?
You can absolutely build a fence yourself. This actually isn’t too hard and is fairly straightforward. There aren’t a lot of steps to building a fence and the process isn’t very complex. It’s very easy to research and do the job correctly.
Do you need to seal cedar fencing?
You do not have to seal cedar fencing, but this will help it retain its color longer. If you don’t seal the cedar fencing will fade to grey over a long period of time.
What type of screws should I use on my wood fence?
You should use deck screws on your wood fence. These are made to be used outdoors and will hold up to the harsh weather and won’t rust.
Should I use nails or screws on my wood fence?
Screws are preferred for extra longevity for your wooden fence.
How To Build A Wood Fence – Video Tutorial
If you love DIY videos, be sure to subscribe to our YouTube channel here.
This how to build a wood fence tutorial contains affiliate links, but nothing that I wouldn’t recommend wholeheartedly. Read my full disclosure here.
DIY Wood Fence for Backyard – Step-by-Step Tutorial
DIY Wood Fence Supplies:
- Cedar Fence Pickets
- Pressure Treated Fence Posts (4×4)
- Pressure Treated Fence Rails (2×4)
- Rail Brackets
- Fence Screws
- Cement
- Shovel
- Post Hole Digger
- Mason Line
- Tape Measure
- Post Level or a 4′ Level
- Landscape Stake
Step 1. Plan your fence.
Before you get started, be sure to check your lot’s boundaries to make sure you are building the fence within your lot line. Also, you should check with your HOA or CC&Rs to make sure there aren’t any fence restrictions or designs that you need to stay within. Lastly, you should consult with your local municipality to see if a permit is required for a fence.
The next step when figuring out how to build a wood fence is to map out exactly where the fence will be going. This helps get a good visual so you can be absolutely sure that you like your plan, and you can decide which fence design will work best.
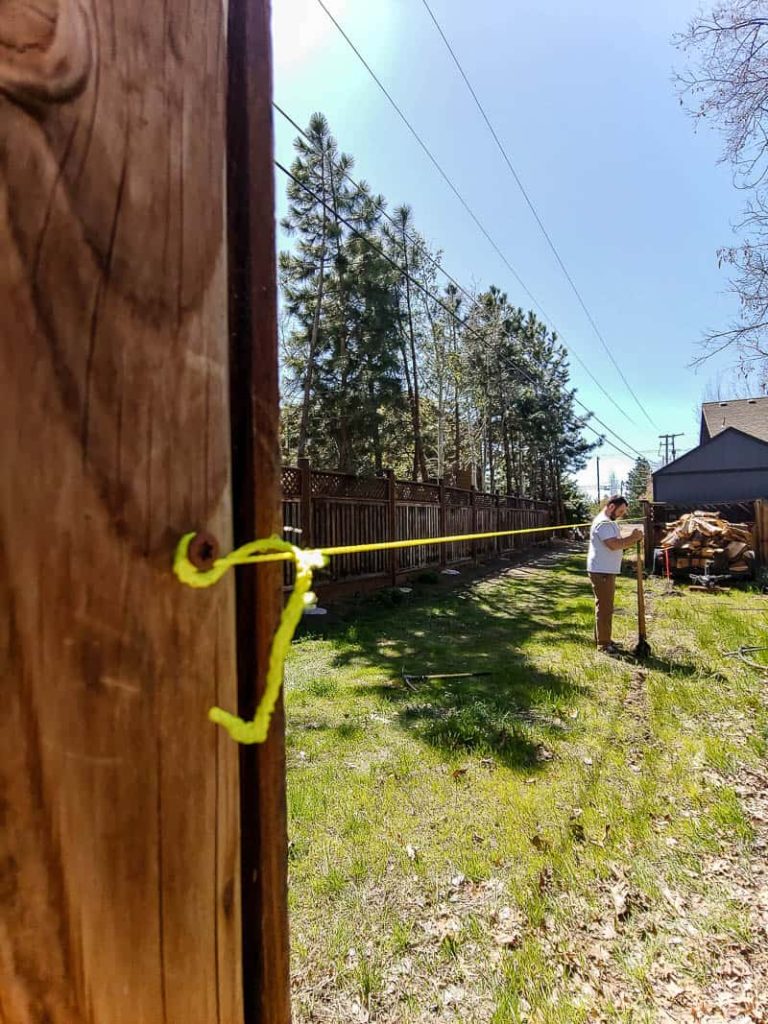
Use landscape stakes and mason line to map the fence location. If you’re simply building a fence between two existing fences, you can add a mason line to each adjoining fence, and this will be the line that you build your fence upon.
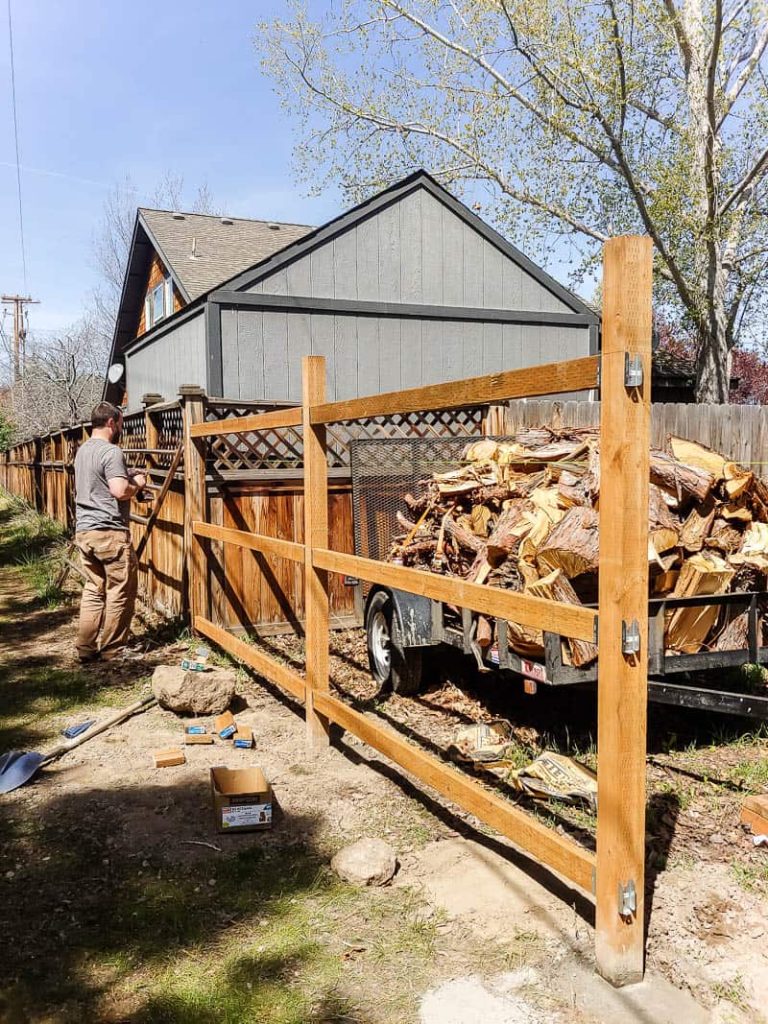
Step 2. Mark fence post locations
This is easier done with a friend, but you can do it solo. Start with the edges and corners, where there should also be a fence post. Next, take your tape measure and mark out 8 feet in between each corner and edge along your fence line.
Repeat this step and mark 8 feet along your entire fence. This allows you to make the most use of your 8′ 2×4 fence rails.
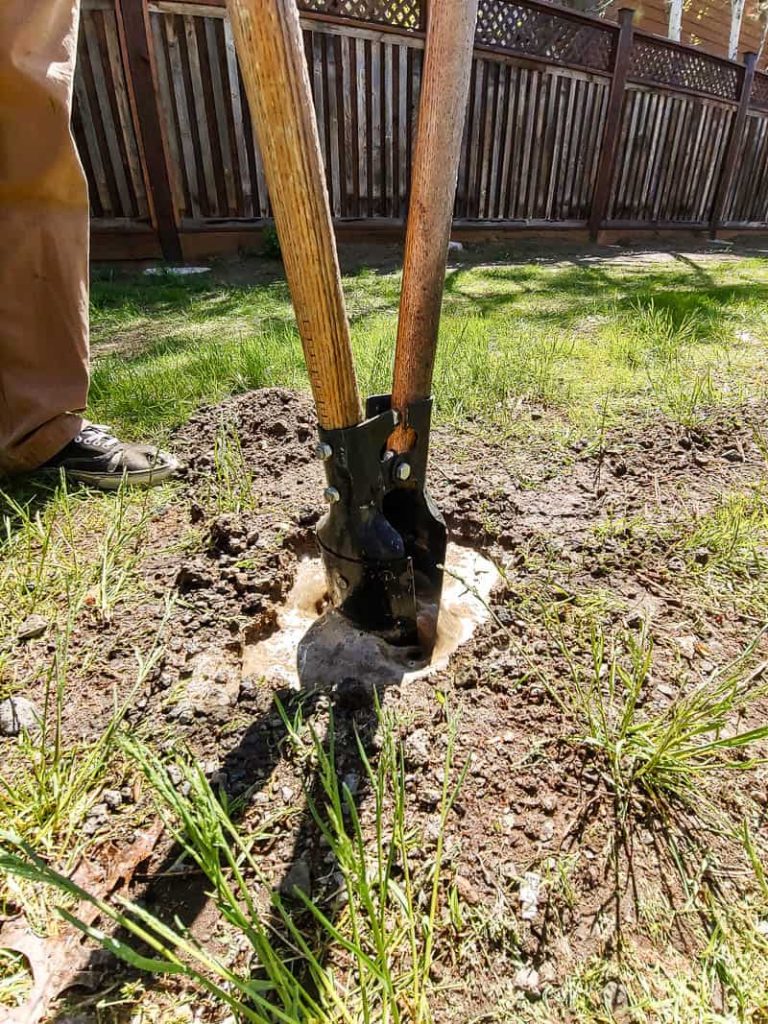
Step 3. Start digging post holes
Use a post-hole digger to dig at least 2 feet down and 12 inches wide.
Privacy fences are typically 6 feet tall, so you’ll want to dig your post holes at least 2 feet deep. This allows you to anchor your 8-foot posts and have 6 feet of the post above ground for your fence.
Remove any large rocks and boulders you find in the ground. If you encounter a large boulder that is not able to be removed from the ground, keep reading because we added a video below all about how to set a fence post in rock.
Step 4a. Set fence posts with cement
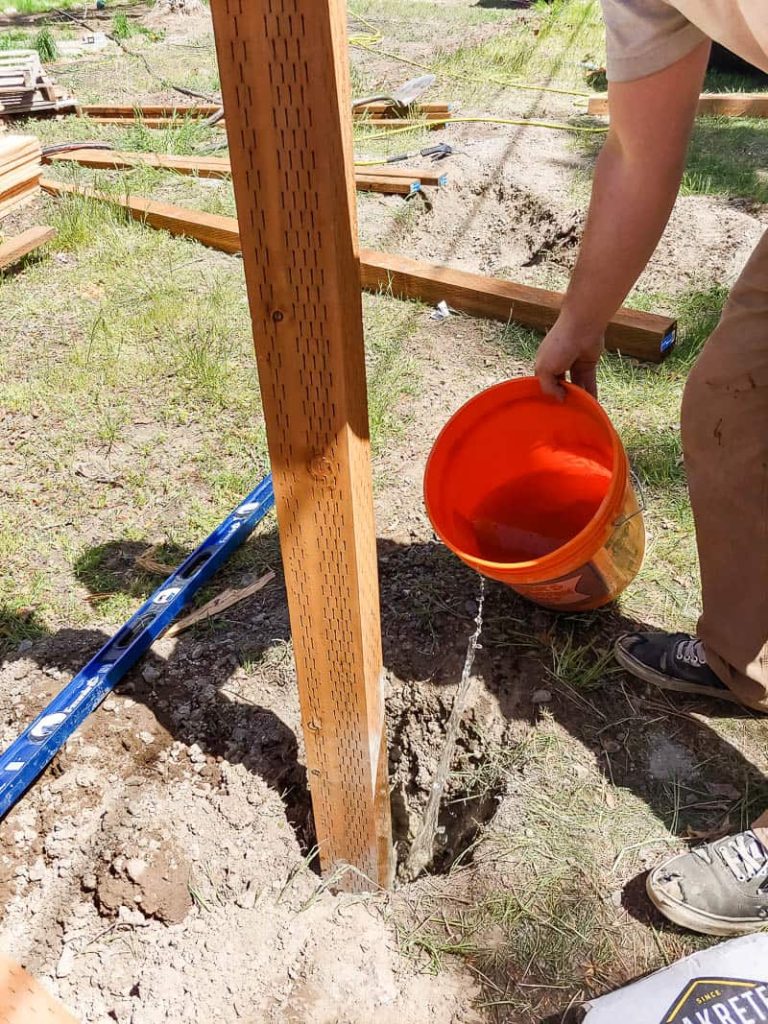
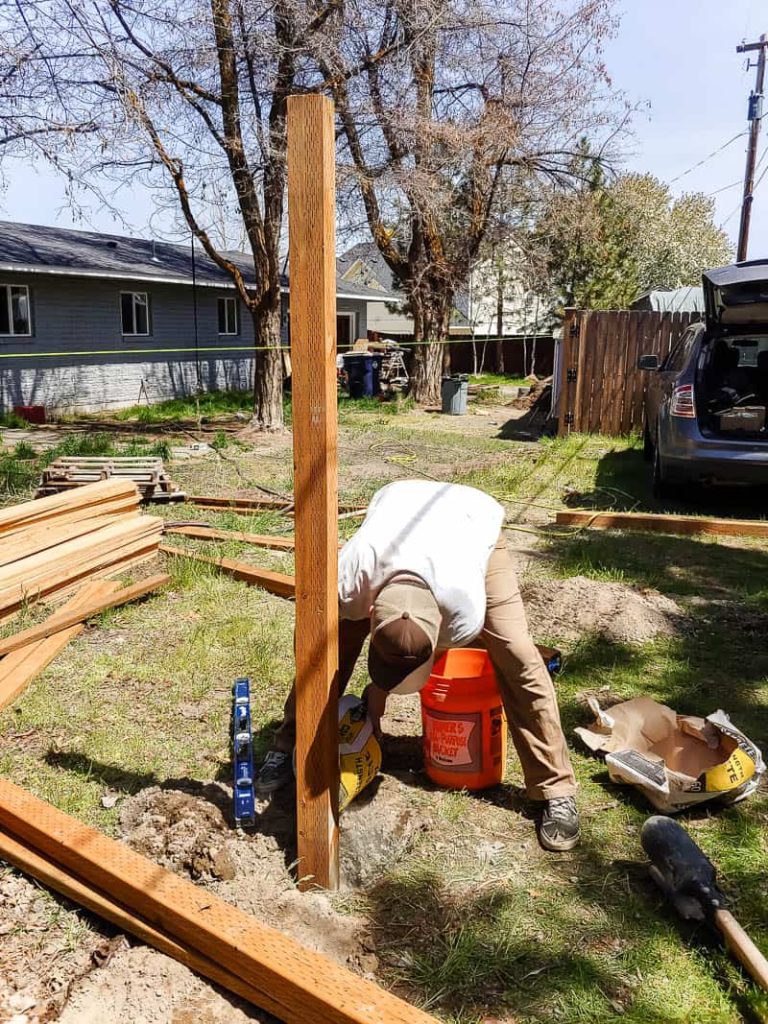
It helps to have an extra set of hands for this step. One person to hold the post and check that it is level. The other person will work on filling the hole with cement.
After your post holes are dug, you can add your post in the middle of the hole. The other person will then pour in the dry cement mix. Fill the hole with the cement mix up to 3-4 inches below the ground level. Next, add water slowly directly to the hole and allow it to saturate the mix. You can use your shovel to manually mix the cement mix and water in the hole.
Before the cement hardens, make sure your post is nice and straight by using a level. Once it is straight, brace it to the ground with landscape stakes screwed into the fence post.
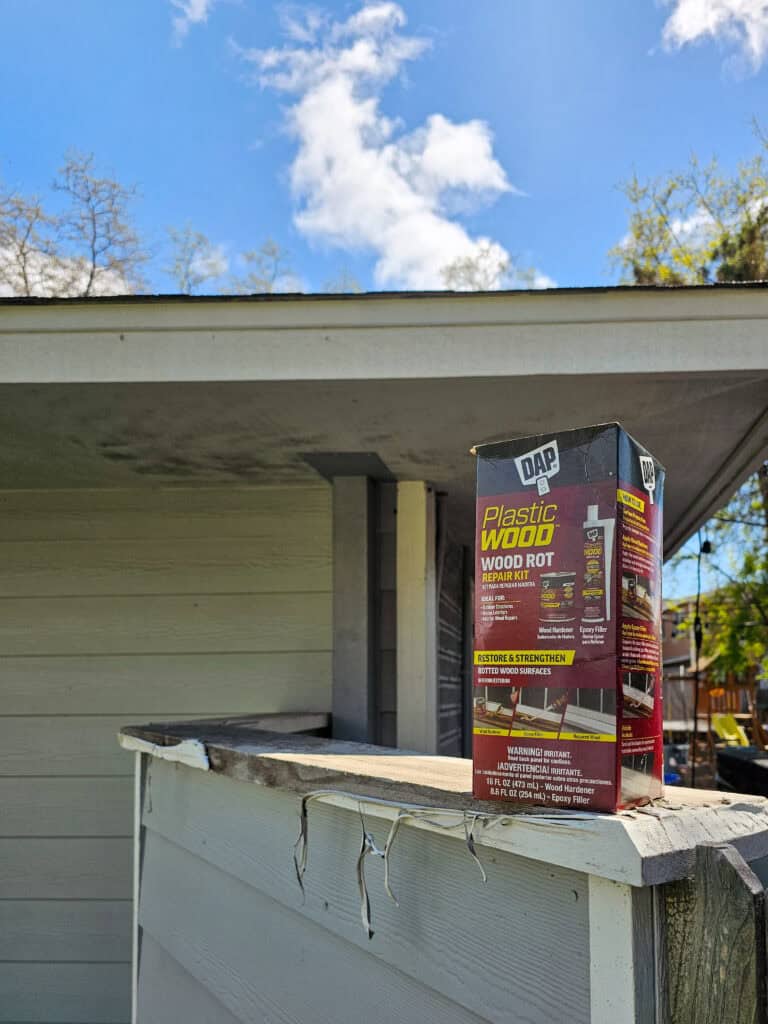
Step 4b. Set fence posts in rock base (if you have large boulders in your ground)
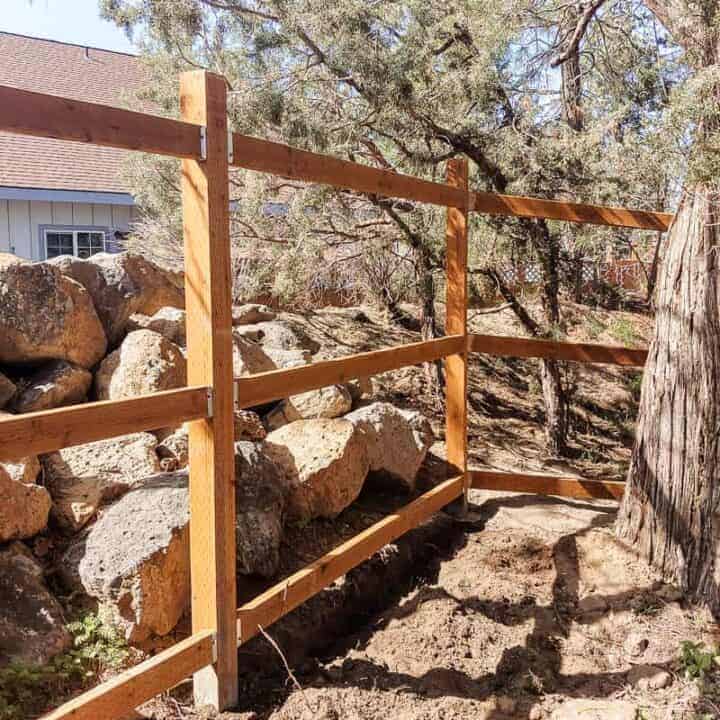
As you dig out your fence post holes, you may run into some rocks and boulders. Ideally, you want to remove all rocks from the ground before adding your fences. However, you may run into a boulder so large that it is unable to be removed from the ground. This is what happened to us in our backyard!
Here’s what we did to set the fence posts in a rock base:
Here’s the general process:
- Drill a large hole in the rock base where you want the fence post to go.
- Clean out the hole by blowing compressed air into the hole.
- Fill the hole with epoxy/acrylic anchoring adhesive – we used this one.
- Set post anchor into the hole immediately and make sure it’s straight.
- Let the adhesive dry/cure.
- Add the fence post into the anchor and screw it into place.
- Backfill the remaining area of the hole with concrete and water. Mix it with a shovel and let it dry.
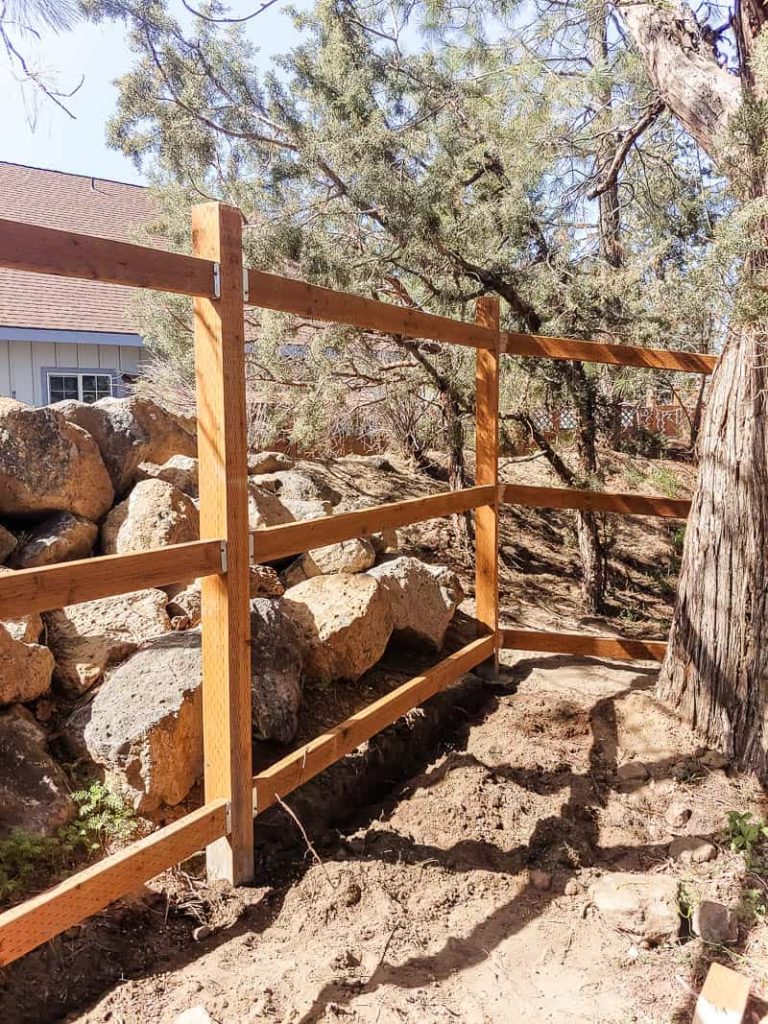
Step 5. Connect the posts
Once your cement has had time to dry (check your bag’s instructions for the correct dry time), you can start connecting all of the posts and add your rails.
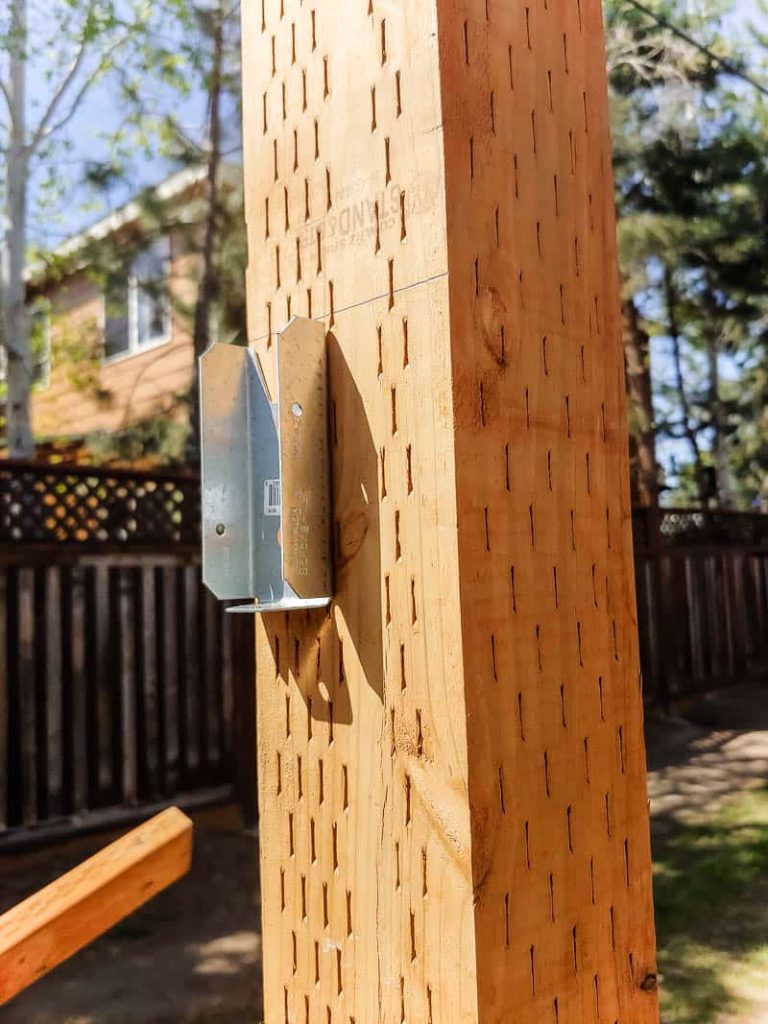
For a 6-foot privacy fence, you’ll need 3 rails – top, bottom, and middle. We put the bottom rail about 8 inches from the ground, the top rail about 8 inches from the top of the fence, and the other one in the middle of the top and bottom rails. Measure and mark your first fence post and screw the rail brackets into place on the posts.
Next,. place your 2×4 fence rail into the bracket and hold it level up to the next fence post and mark the fence post where the bracket should go.
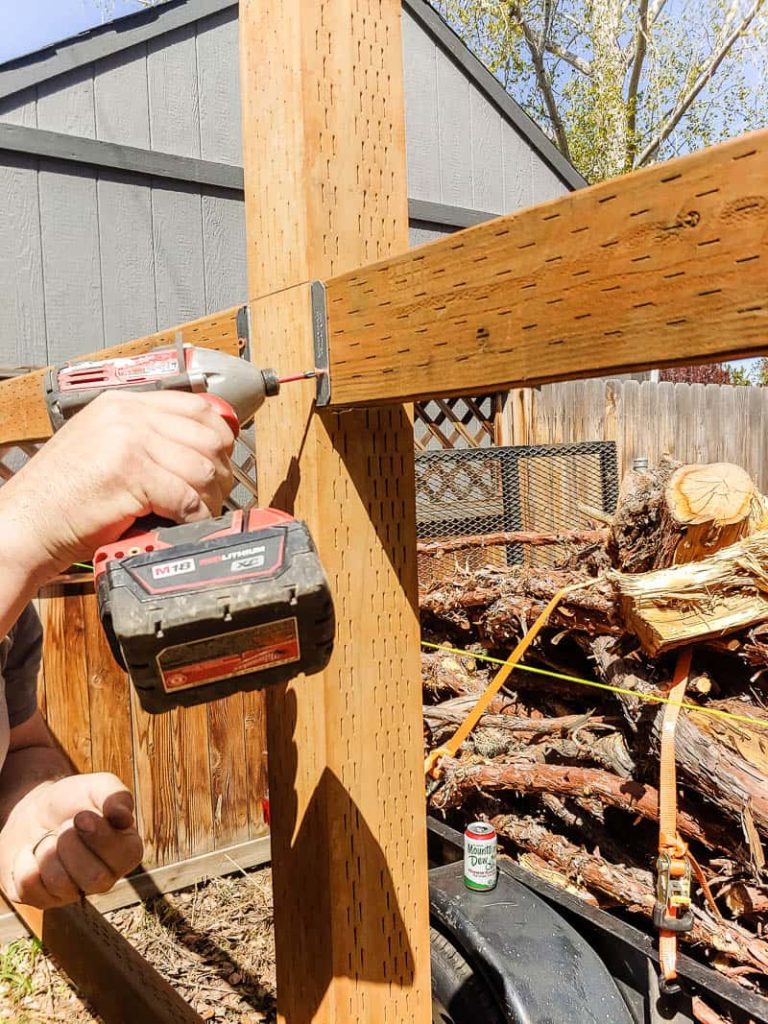
Once both brackets are screwed into place on the posts, screw the 2×4 fence rail into the bracket.
Continue adding each fence rail one by one in this manner until your posts are all connected with top, bottom, and middle fence rails.
Depending on the spacing between your fence posts, you may need to cut your rails down to size to fit perfectly.
Chances are that your fence posts aren’t all exactly the same height as well, so you can chop the top off with a reciprocating saw if necessary.
Step 6. Attach fence pickets
The last step is the most tedious of all. Lay out your pickets along your fence and start screwing them in one by one. There should be 2 deck screws per rail, so 6 screws total on each picket. Some people use nails but your fence will last a lot longer with screws.
Make sure your first picket is nice and level. You don’t need to install the pickets with any spaces in between them.
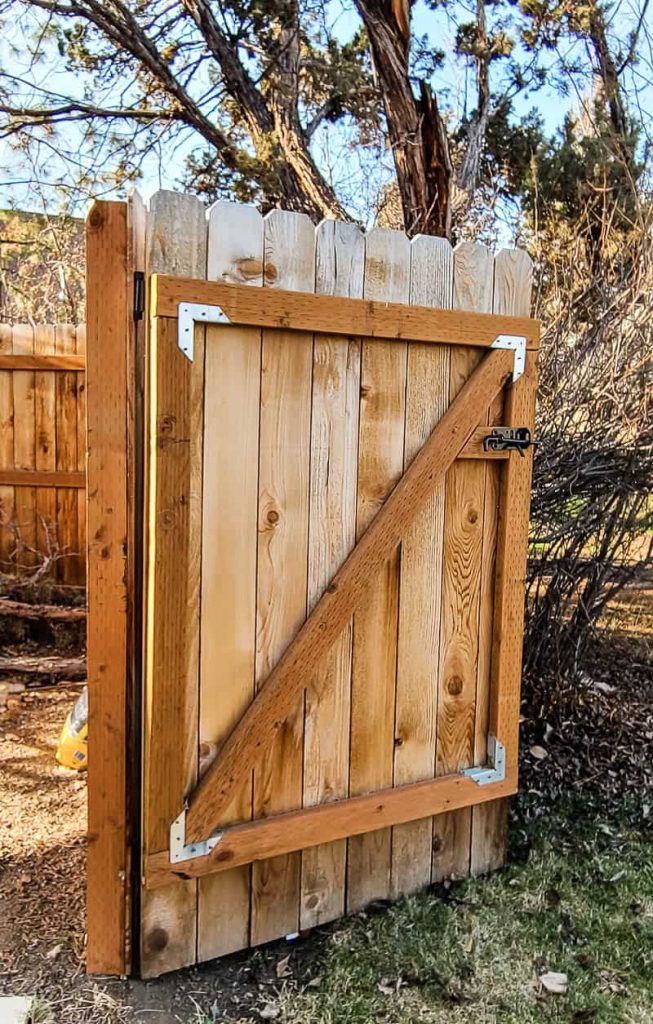
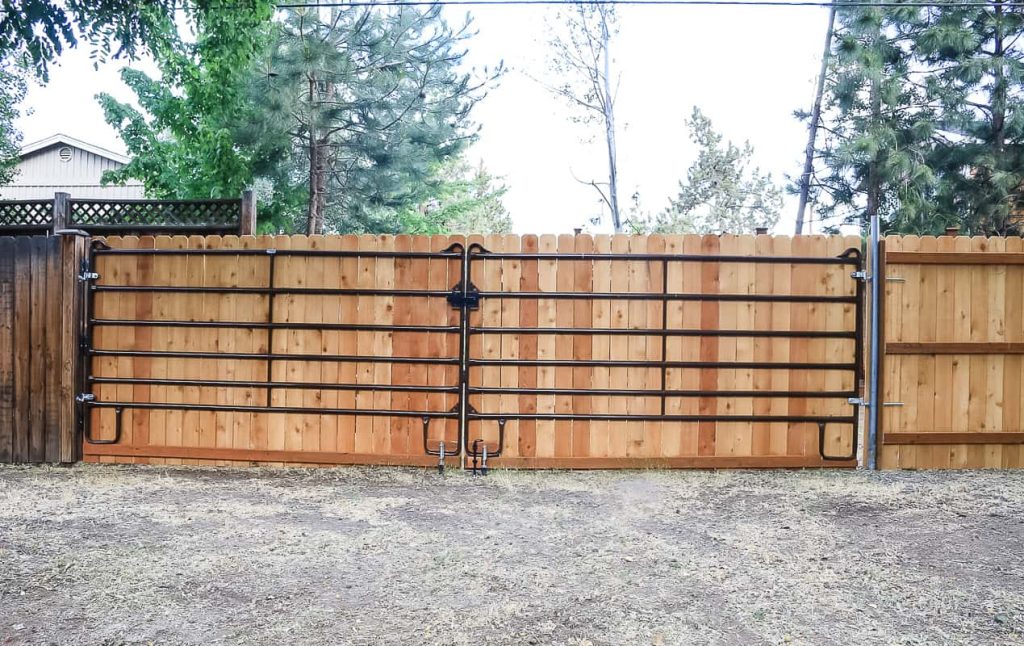
Step 7. Build wooden gate
Depending on your fence layout, you may want to add a wooden gate to your fence. We added one near the front yard so you can easily access the backyard through the side gate. This is helpful so we can easily get our lawn mower from the backyard shed and into the front yard to mow the lawn.
We summed up the whole process of building the gate in a separate video and blog post, so be sure to check that out here.
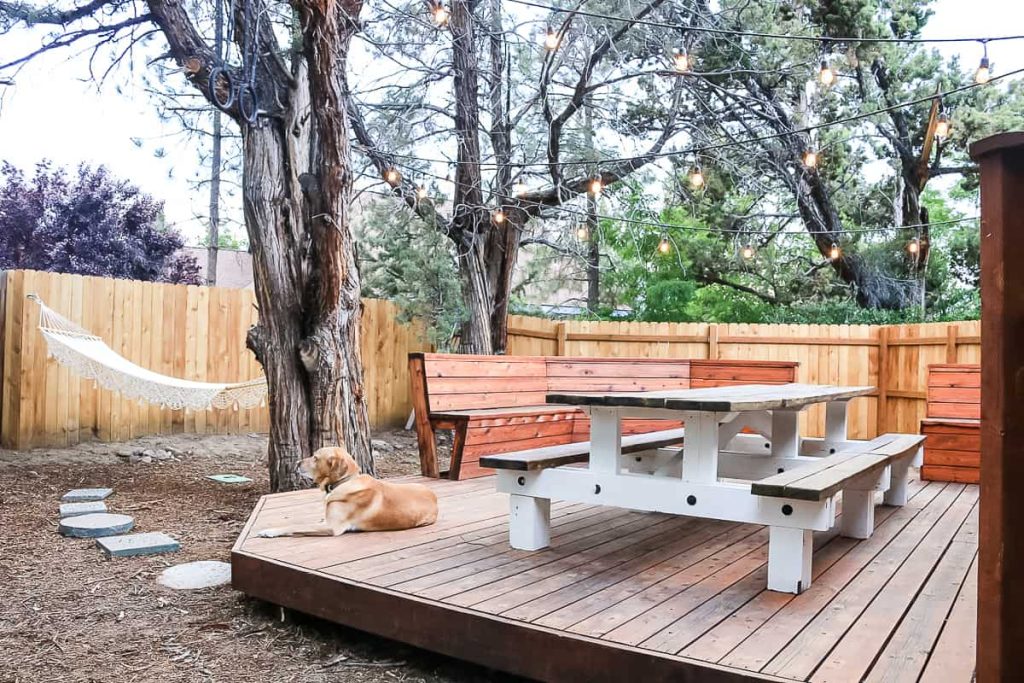
Wood Fence After Pictures

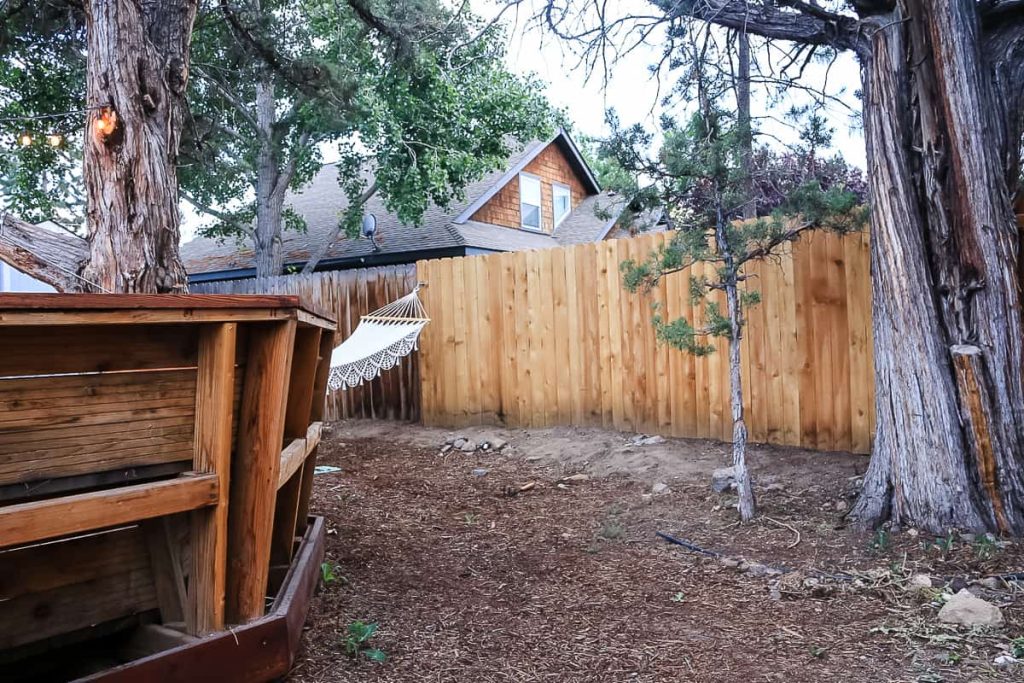
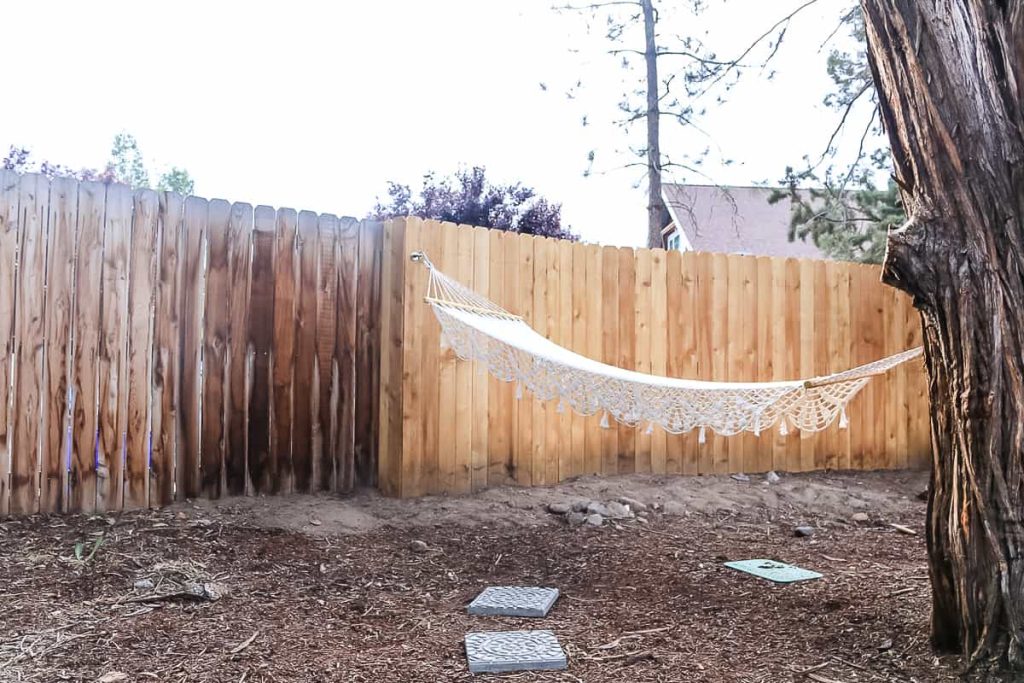
Building our wood fence was a huge project because we had to do the backyard and the side yard + two gates! But it was so worth it!
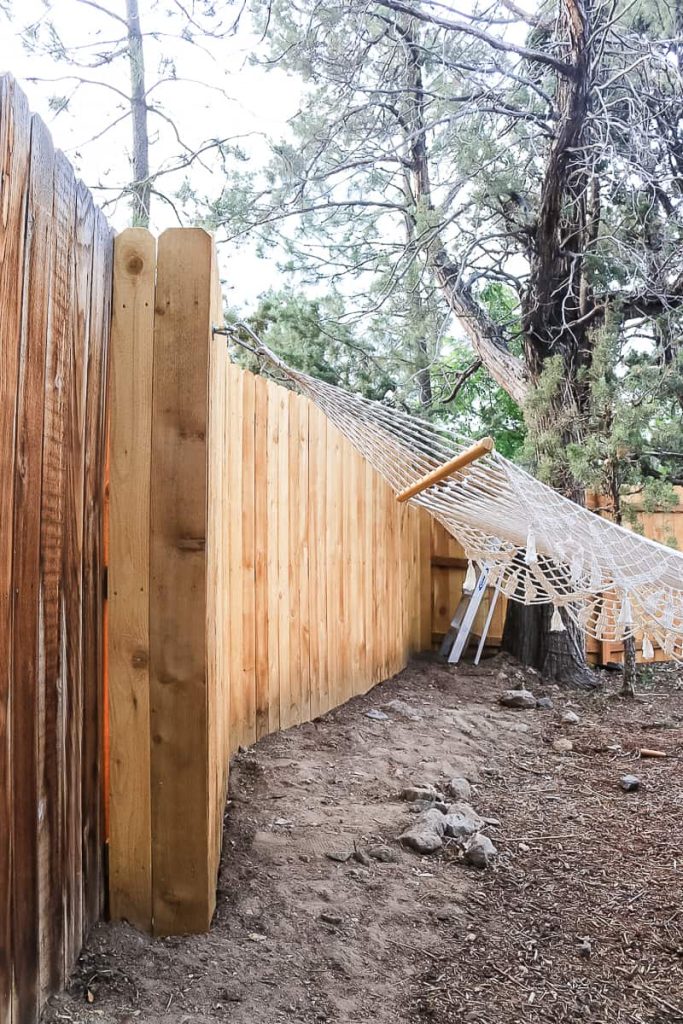
After having the fence built, our dog can run freely in the backyard, our kids can play safely, and we can have privacy from surrounding neighbors.
Although it will take you a lot of time and hard work, building a backyard privacy fence is totally doable do-it-yourself project. By following these steps in this tutorial and taking your time to do it right, you’ll save hundreds – if not thousands – of dollars in labor costs.
Do you have any questions about how to build a wood fence?
Let us know in the comments below!
How to Build a Wood Fence In Your Backyard
Materials
Tools
- Shovel
- Post hole digger
- Mason line
- Tape measure
- Post level (or 4' level)
- Landscape stakes
Instructions
- Plan your fence.
- Mark your fence post locations (8 ft apart)
- Dig post hole with post hole digger. Go at least 2 ft down and 12 inches wide for a 6 ft fence, which will use 8 ft posts. You want the bottom 2 ft to be in ground.
- Set fence posts with cement.
- Connect the posts with 2x4 fence rails at top, bottom and middle using rail brackets.
- Attach fence pickets with 6 screws on each picket (2 at each rail)
- Build gate (if needed). We summed up the whole process of building the gate in a separate video and blog post, so be sure to check that out here.
Notes
As you dig out your fence post holes, you may run into some rocks and boulders. Ideally you want to remove all rocks from the ground before adding your fences. However, you may run into a boulder so large that it is unable to be removed from the ground. This is what happened to us in our backyard! We summed up the whole process in this YouTube video.
- Drill a large hole in the rock base where you want to fence post to go.
- Clean out the hole by blowing compressed air into the hole.
- Fill hole with epoxy/acrylic anchoring adhesive – we used this one.
- Set post anchor into hole immediately and make sure it’s straight.
- Let adhesive dry/cure.
- Add fence post into anchor and screw into place.
- Backfill remaining area of the hole with concrete and water. Mix with shovel and let dry.


Wow, your fence turned out great! About a year ago, my husband and I got our fence redone by a local contractor since we both are older and have bad backs. The fence has held up well so far. We choose a composite fence to give our home more privacy from our neighbors especially now that we have grandkids. Next time we need a new fence (hopefully not for a while), we might have to talk our son into doing a project like this for us!
I have a dip (hole) in my front yard where it’s not level with the rest of the yard. How do I fill that in? Do I remove the grass that’s there or just fill it in and add grass send and fertilize. The dip is 5′ x 10′ with a slope that goes toward the street.
Yes, I’d remove the grass, fill it in and level with everything else and then add new grass seed. We have a whole post about planting new grass seed that could help you out as well. https://www.makingmanzanita.com/plant-grass-seed/ Good luck!
These are my comments:
2 3/8″ fence posts are stronger than wood andlast longer easier to set than wood.
Unless your ground is perfectly level, posts should be set closer than 8 feet because often ends of stringers have splits or knots in them.
The use of stainless steel ring nails 2 inches in length shot with a 21 degree nailer at 100 psi is much faster and just as good as screws.
The of an oil based stain on cedar is far superior to water based, but the cedar must be dry.
Cedar is often sold as wet and will shrink and crack as it dries. Place the pickets without any space between them.
Make sure each pickit is vertically level.
Thanks for chiming in!