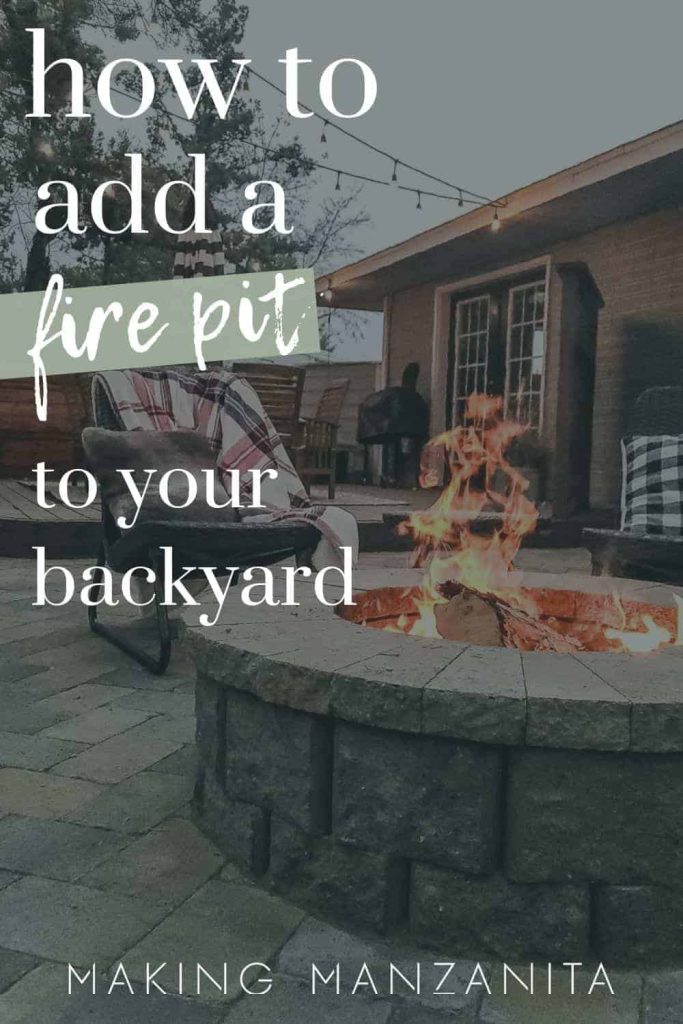
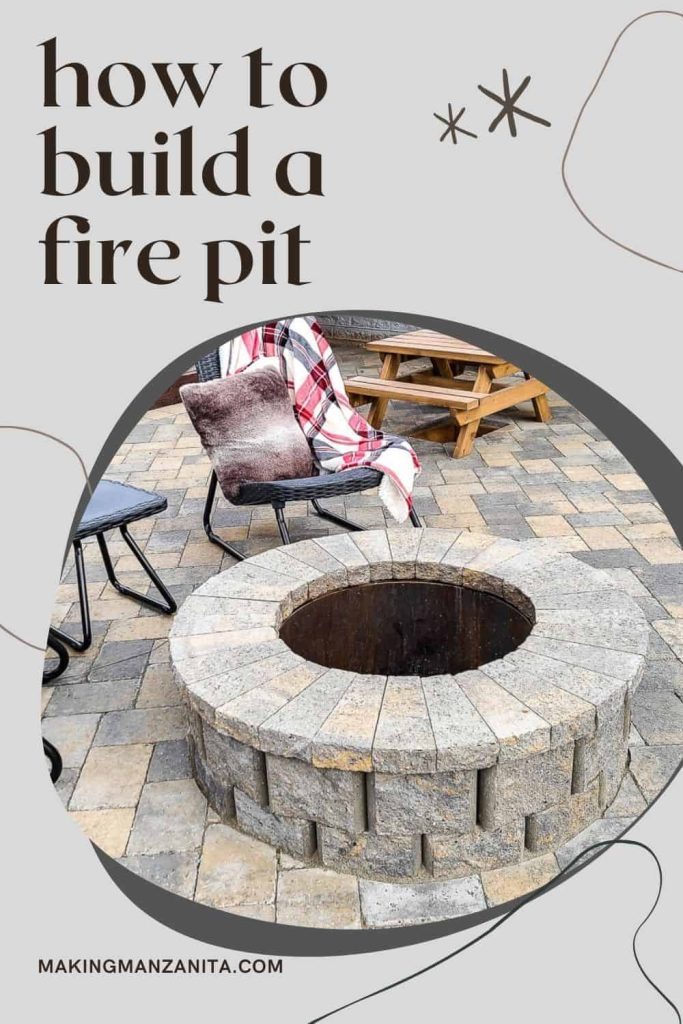
How To Build A Fire Pit With Pavers

Tired of sitting around in the living room watching TV with everyone’s head in their phones or tablets? If you’re looking for a good place to add more chances to connect with your family or friends – a fire pit is the way to go!
There’s just something about a cozy fire that brings out conversation, laughter, and stories. I’m not sure what it is, but it’s like magic. Making your backyard a social area is a great way to connect more with friends, family, and neighbors.
We’ve been dreaming of a fire pit for years and I’m so glad that we decided to make it happen and build a fire pit when we planned our big backyard makeover. We added a built-in fire pit with wall blocks into our paver patio.
If you’re looking to add a paver patio to your backyard, we walk you through the whole process in this article, which we partnered with Keystone Hardscapes on. But today we’re going to show you how to do just the fire pit part.
Do you want to see more of our big backyard makeover??
- Family Friendly Backyard Plan: Our Next Big Project (BEFORE Pictures)
- Large Chalkboard For Backyard With Live Roof
- Easy Garden Tool Storage In Backyard Shed
- DIY Build for Outdoor Vertical Garden Pots (With Free Plans)
- Mulch for Playground: Why We Chose Rubber Play Bark
- How to Plant Grass Seed
- How To Create A Cozy Patio
- How To Build A Paver Patio with Fire Pit
- How To Build A Fire Pit With Pavers
- Our Backyard Makeover Before and After Pictures
- How to Build a Wood Fence In Your Backyard
- How To Make a Wooden Gate for Your Fence
- How To Lay Deck Boards (and hide the screws!)
Fire pit video tutorial
We wrapped up the entire process in YouTube video because some things are just easier to learn in video format, right?
If you love DIY videos, be sure to subscribe to YouTube channel here so you don’t miss the next one!
This DIY paver fire pit tutorial contains affiliate links, but nothing that I wouldn’t recommend wholeheartedly. Read my full disclosure here.
Supplies for how to build a fire pit with pavers tutorial:
- Fire pit kit – which should include the wall blocks, a metal ring insert (or bowl) and construction adhesive
- Caulking gun
- Level
- Dead blow hammer or rubber mallet
- Gravel
- Tamper
Step 1. Plan your fire pit.
Every good DIY project starts with some research and a plan.
We would recommend getting a fire pit kit, which is what we did because it comes with everything you need. There are tons of options out there, but generally you’ll find either round fire pits with trapezoid shaped pavers or square fire pits with square or rectangle shaped pavers.
We used a Keystone Hardscapes round fire pit kit, which can be found on page 81 of this online catalog. Note: this is a Northwest regional fire pit so this exact version may not be available in your neck of the woods. You can check with your local Keystone Hardscapes dealer to see what they have that is similar.
When you’re planning your fire pit, be sure to check your local building codes, CC&Rs or homeowner’s association rules, check for underground utilities, and locate it a safe distance from structures, trees and limbs.
Step 2. Prepare the ground for your fire pit.
The prep for your fire pit will definitely depend a lot of exactly where you’re installing it and what is currently there.
Here’s some basics about installing fire pits in your backyard on different ground covers:
- When installing a fire pit on your existing paver patio, cement the bottom layer of fire pit blocks to your patio to avoid it shifting around. For the bottom of the inside of the fire pit, you’ll want to either cut out the pavers to reveal the paver sand & gravel underneath OR install fire rated bricks on top of the blocks to protect them.
- When installing a fire pit on top of grass or another dirt ground cover, you’ll want to dig out the ground approximately 7 inches and fill with approximately 5 inches gravel for a good fire pit base. Tamp down the gravel several times and make sure it’s nice and level. Wet down with a garden hose to compact the gravel base even more.
- When installing a fire pit in a new paver patio (like we were doing), install your fire pit before adding the rest of your pavers. You’ll cut the pavers around the fire pit so it’s nice and snug and and built into your paver patio.
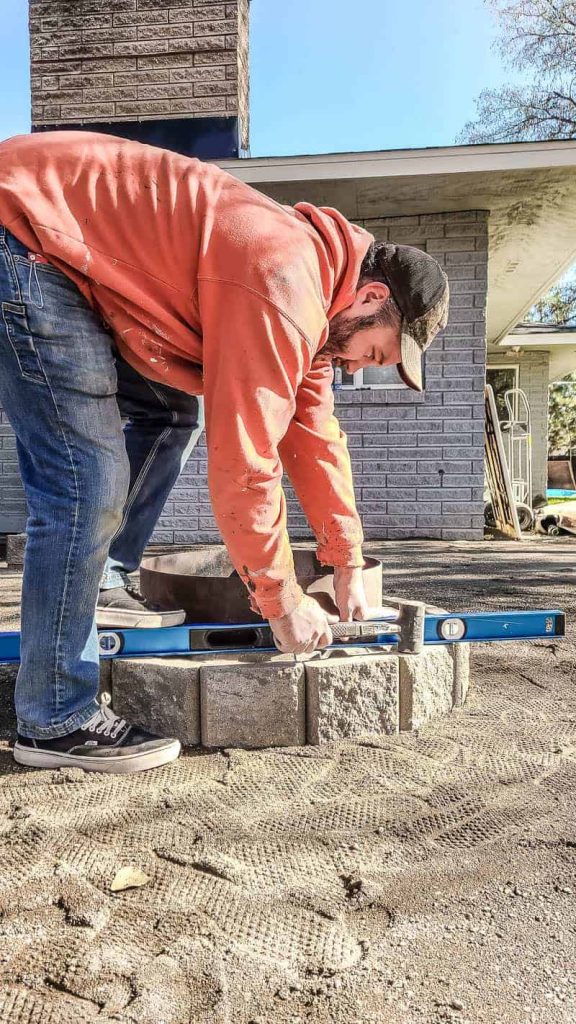
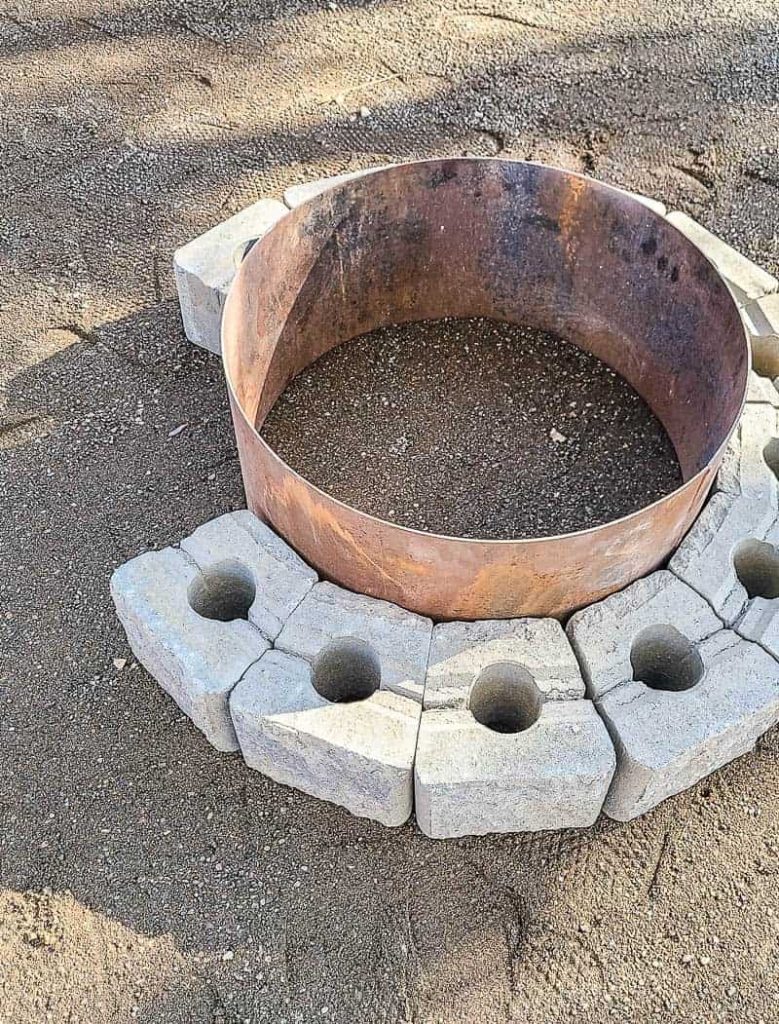
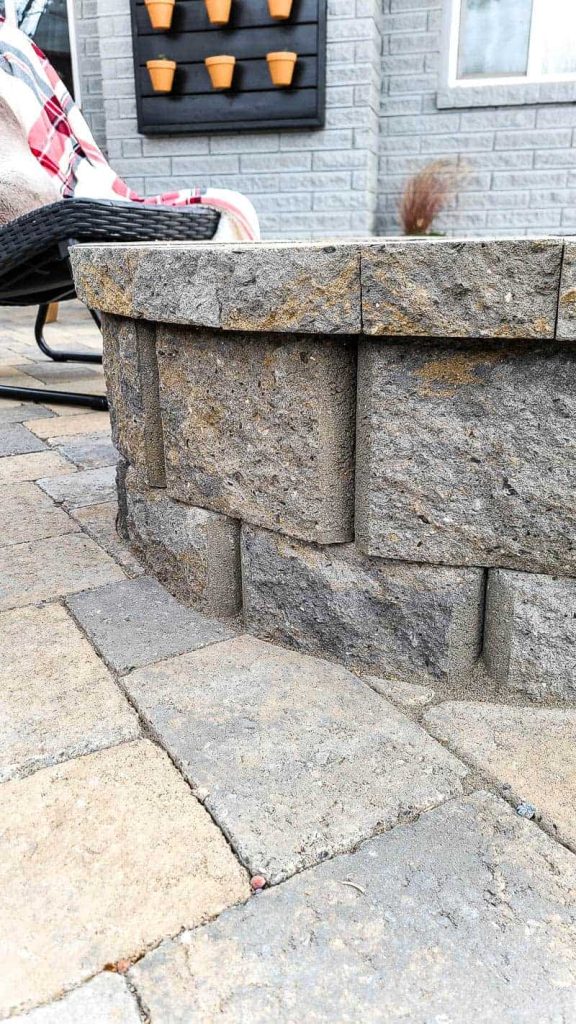
Step 3. Level bottom layer of fire pit blocks.
Place your metal ring in the correct spot and start laying out the first row of pavers around the fire pit. Grab your level and dead blow hammer (or rubber mallet) to make sure the wall blocks are nice and level around the fire pit. Getting the first layer just right is important for the rest of the fire pit.
If you’re installing on existing paver patio (as mentioned above) this is when you’ll attach the blocks to the existing patio with cement.
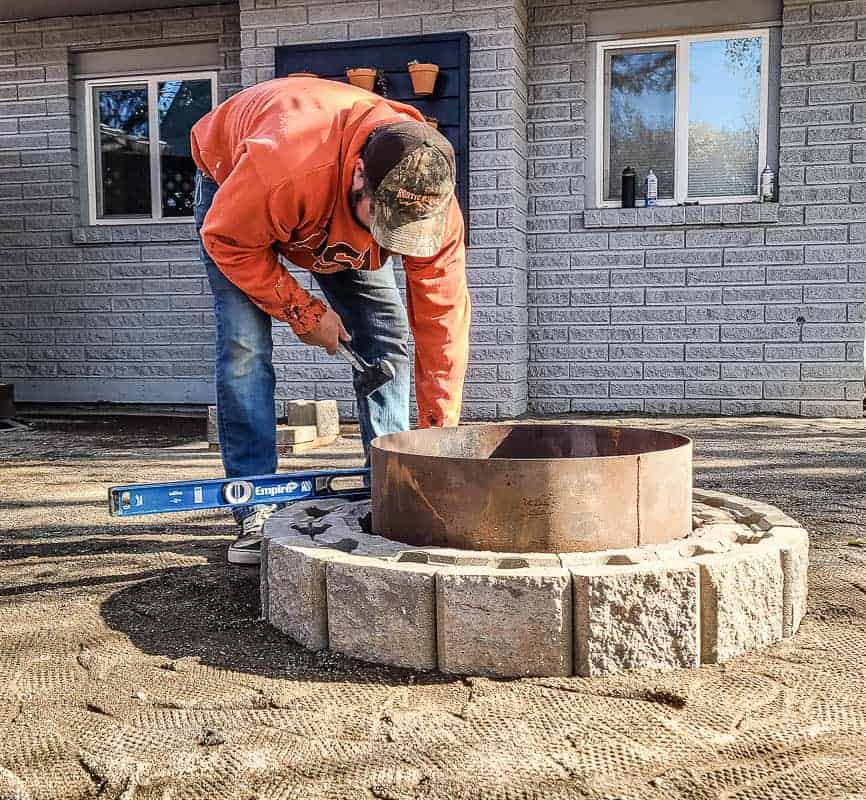
Step 4. Lay out fire pit to dry fit.
Next build up the entire fire pit wall blocks to do a “dry fit”, meaning that nothing is attached quite yet.
If your fire pit kit comes with bowl (instead of a metal ring), place it on top after you’re done dry fitting to make sure the bowl fits nicely as well.
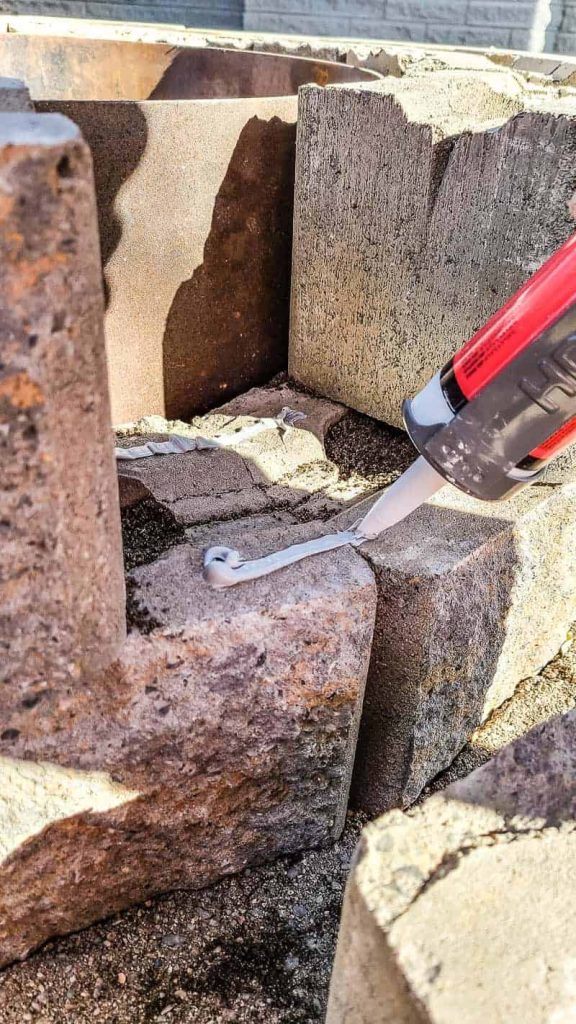
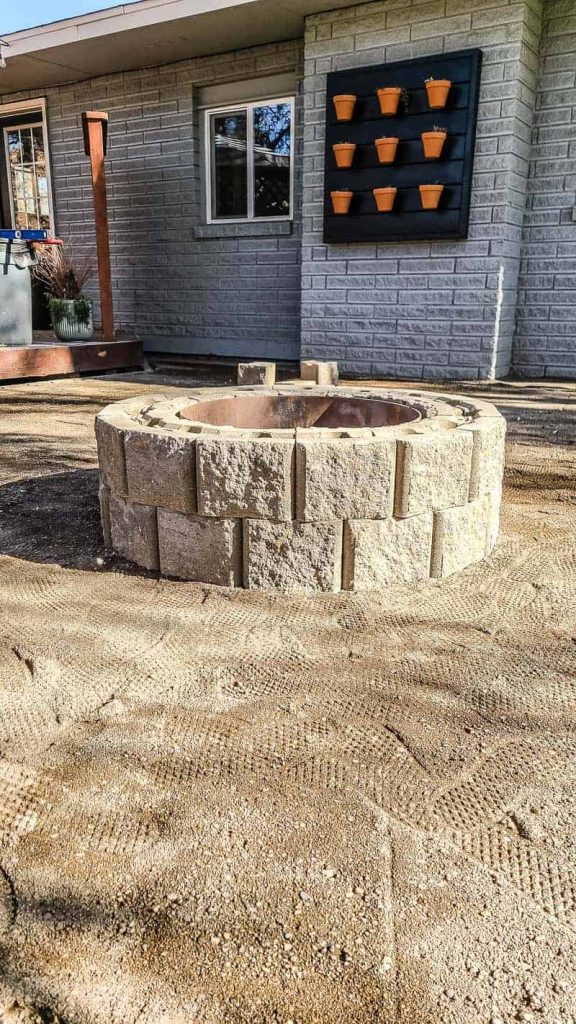
Step 5. Add landscape adhesive in between blocks around fire pit.
If everything fits together nicely, remove the top layers of wall blocks to get to the bottom row.
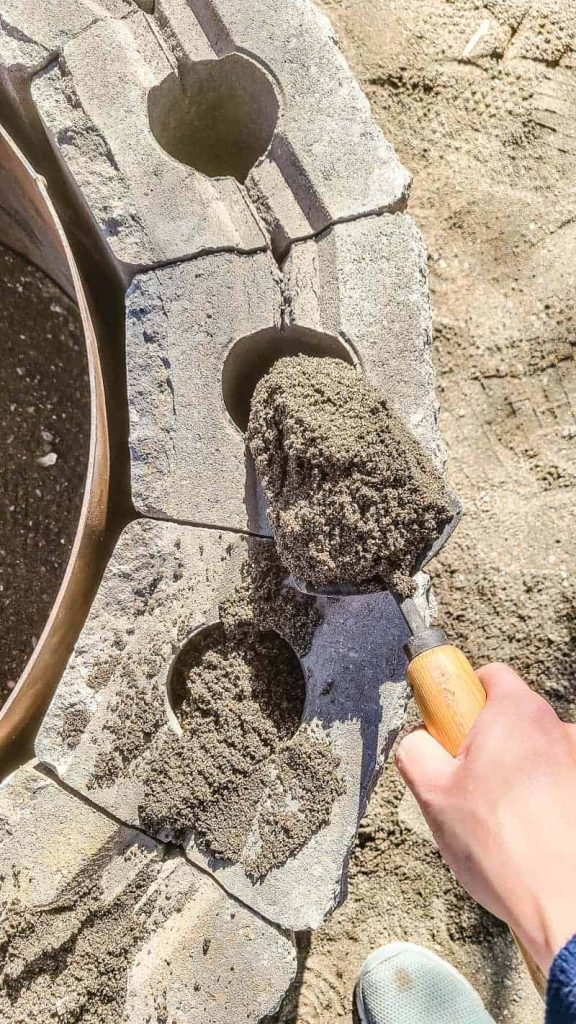
If your fire pit pavers are hollow like ours, fill them with paver sand as you go and brush off the top side so they are nice and clean.
Add each level of the fire pit back into place to test fit and then pull each block up one by one and add beads of landscape adhesive and press each block back into place gently.
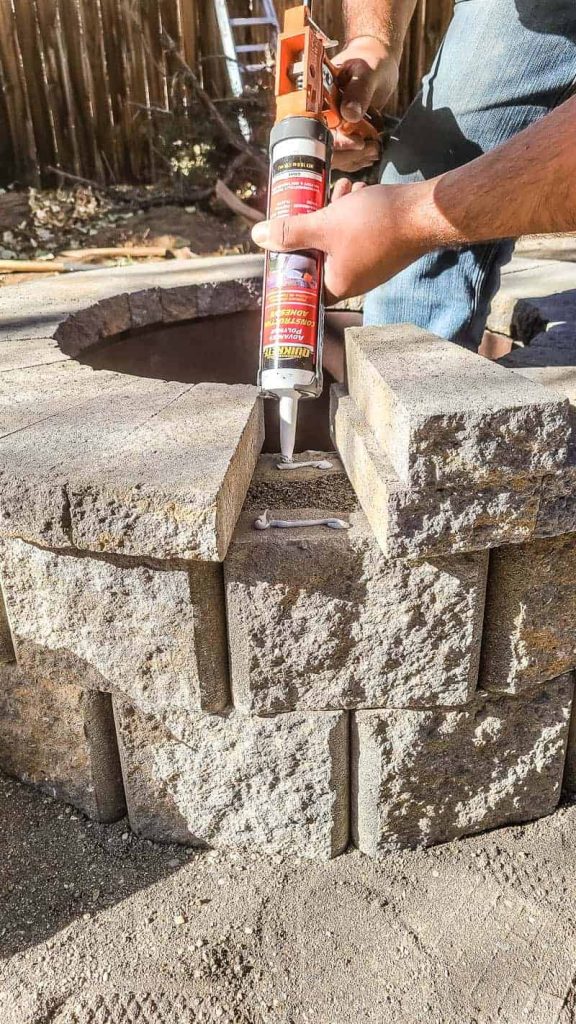
Continue this process until the entire fire pit is assembled.
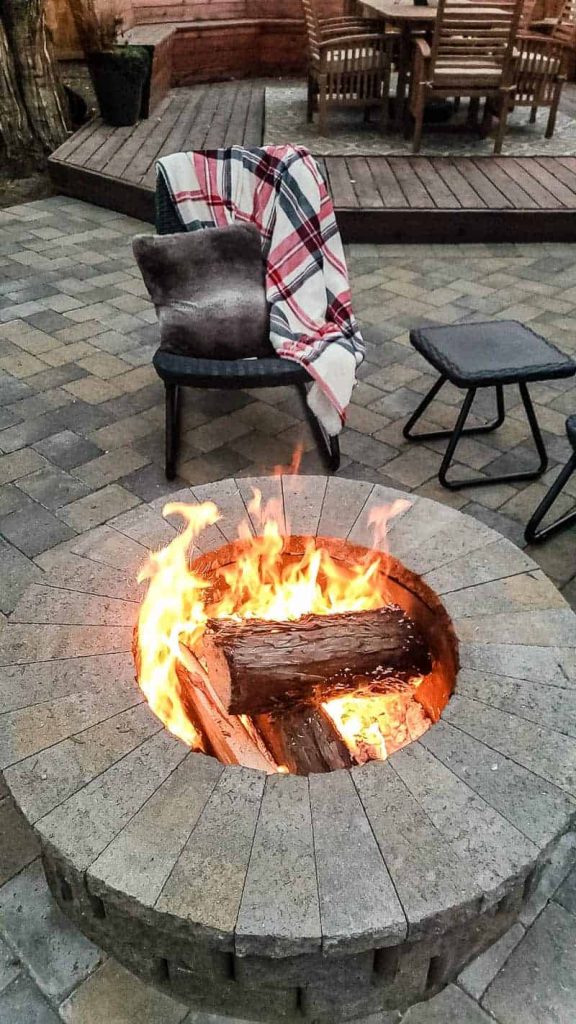
I know you may be tempted to start the fire pit right away, but be sure check the curing time on the landscape adhesive you used before lighting your first cozy fire.
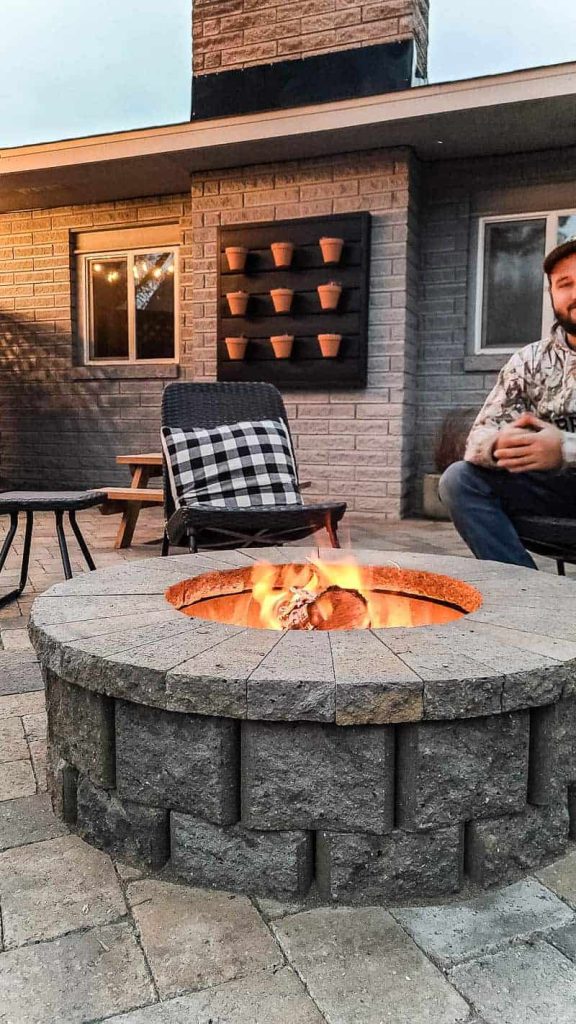
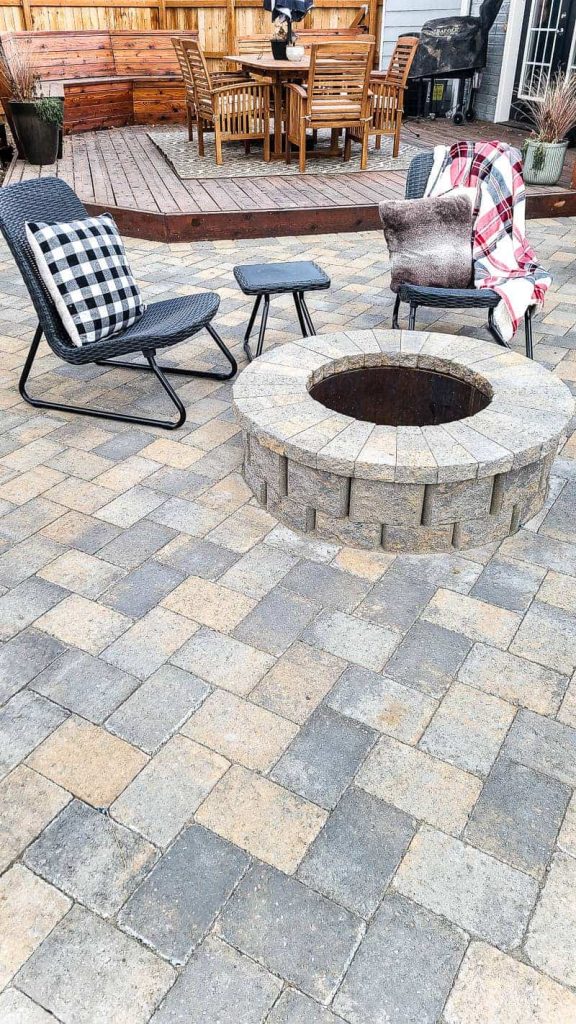
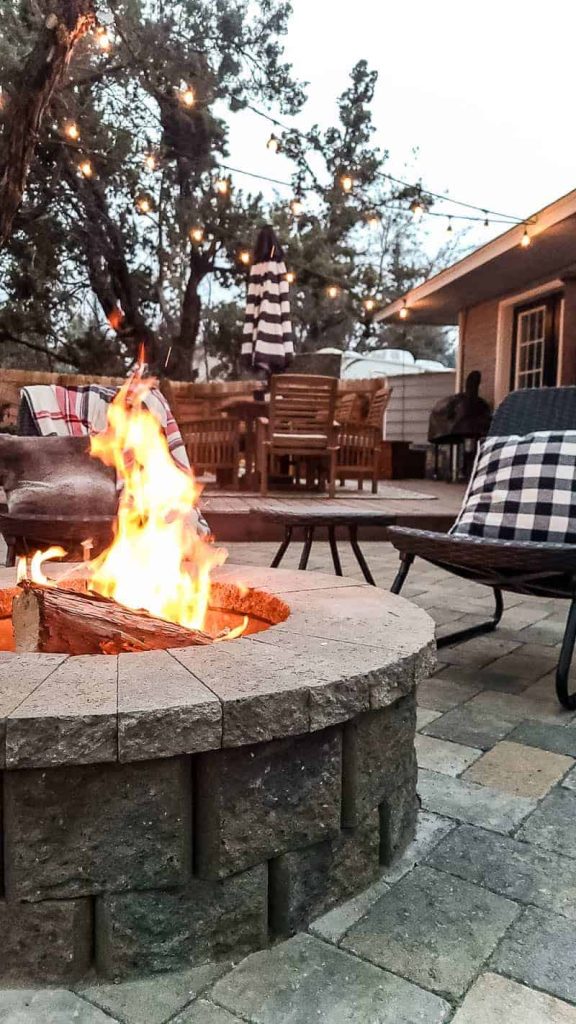
Now the last and final step is to ditch the phones, put away the laptops, grab a cozy blanket and s’mores supplies and throw on a beanie… now you’re ready for some quality family time around the fire pit!
Once you build a fire pit with pavers you’ll answer the magic that I’m talking about the brings out the connection, community, story telling and that laughter.
Even if you’re not installing a new paver patio in your backyard (like we did), you can still designate a little corner of your backyard to install a DIY paver fire pit! By following this step by step tutorial, the process is easy!

How To Build A Fire Pit With Pavers
Materials
- Fire Pit Kit (should include wall blocks and metal ring insert)
- Construction landscape adhesive
- Gravel
- Paver sand
Instructions
- Plan your fire pit
- j