Handmade Christmas Ornament with Farmhouse Style

I am so thrilled to be participating in the annual Christmas ornament exchange again! It’s SUCH a fun tradition! DIY bloggers sign up and get matched with another blogger that has a similar style and you make a Christmas ornament for each other and ship them off!
Click here to see all of the other ornaments and add your own ornament tutorial to the link party!
Last year I was paired with the amazing Kim from Made In A Day and made her this fun boho dreamcatcher ornament. She made me this gorgeous clay ornament that I can’t wait to get out and display again this year!
This year I was matched with Emily from Domestic Deadline. I had so much fun getting to know her a bit through emails back and forth! We actually were kind of shocked with just how much we had in common!
Emily likes the farmhouse style, just like me and has some shiplap throughout her house – like on this gorgeous farmhouse kitchen island. So I made a handmade Christmas ornament with mini shiplap!
It turned out SO cute! I can’t wait to show you how easy it was to make!
Psssstttt….this was ALSO super budget friendly to make! I got everything from either my craft supplies on hand or from the dollar store!
Farmhouse Style Handmade Christmas Ornament Video Tutorial
If you love DIY videos, be sure to subscribe to our YouTube channel so you don’t miss the next one!
This ornament tutorial contains affiliate links, but nothing that I wouldn’t wholeheartedly recommend anyway! Read my full disclosure here.
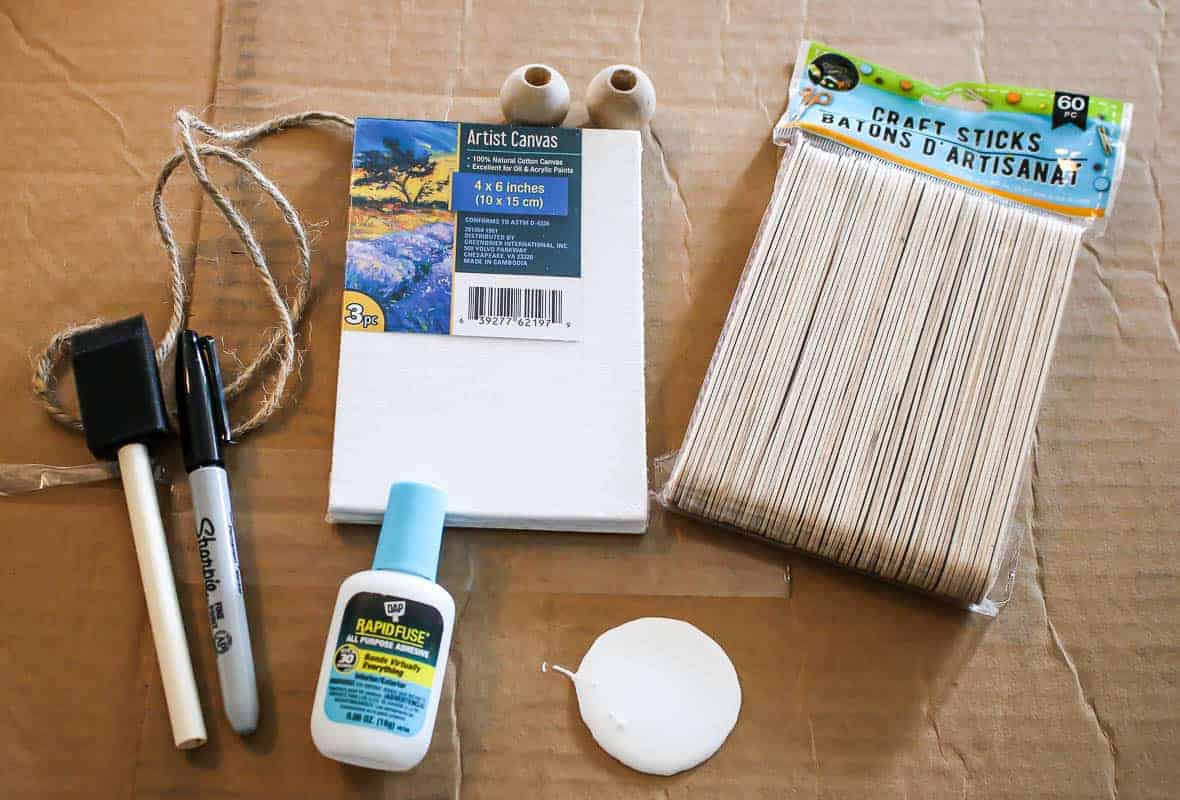
Supplies for shiplap handmade Christmas ornament:
- 4×6 canvas
- Popsicle sticks
- White acrylic craft paint
- 2 Foam paint brushes
- Wood stain
- DAP Rapid Fuse Adhesive
- Scissors
- Sharpie marker
- Scrap pieces of paper (approx 2 x 2 inches)
- Jute (about 6-8 inches long)
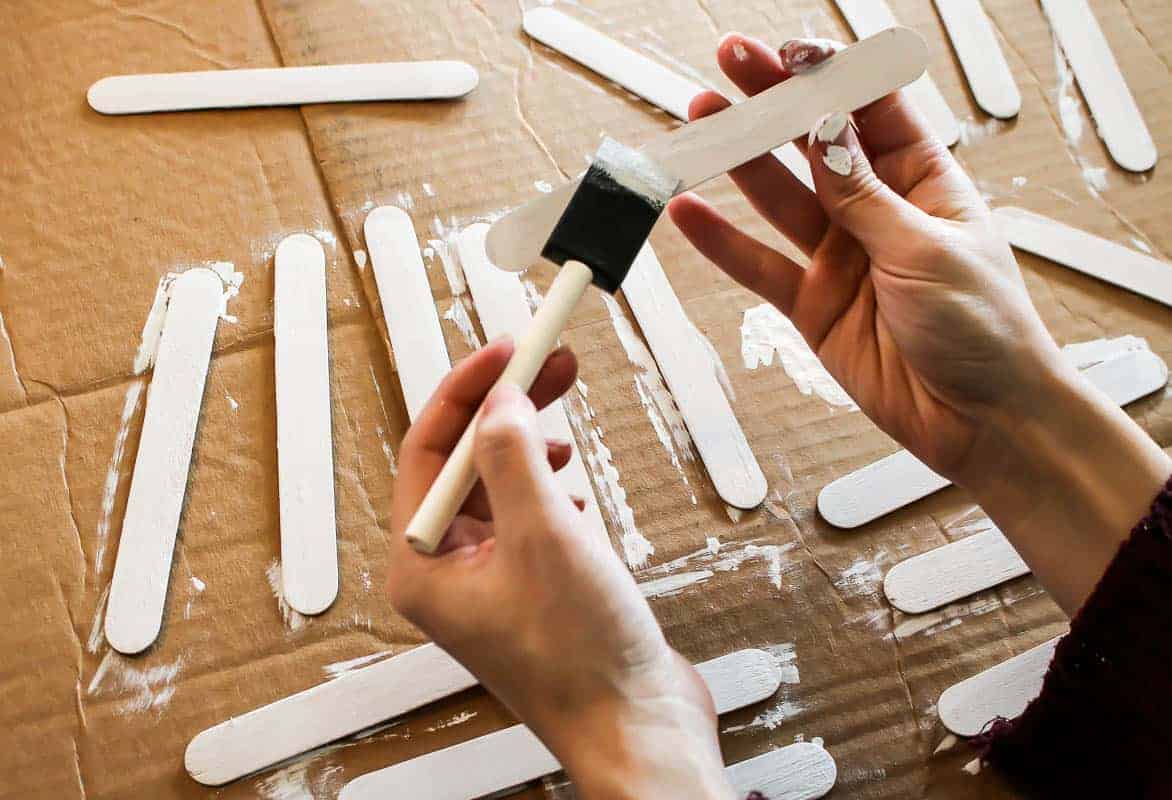
Paint popsicle sticks.
Using a foam brush and white craft paint, give your popsicle sticks two coats of paint. You will need 6 sticks per ornament, so be sure to paint enough for how many ornaments you are making.
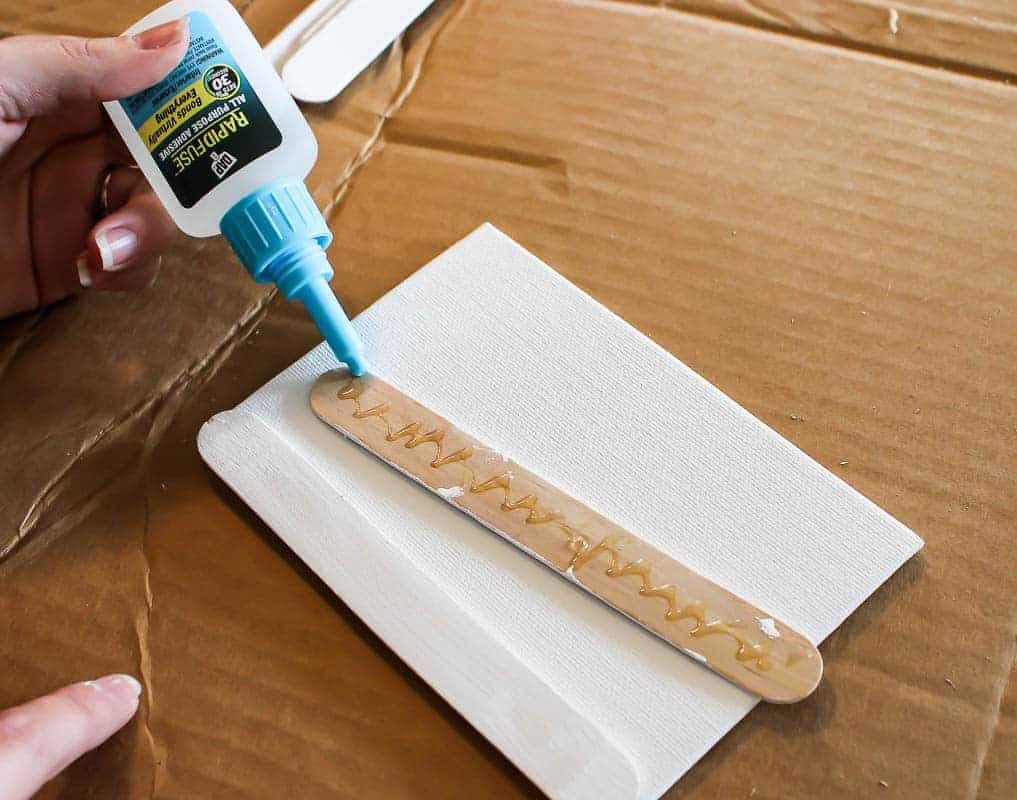
Glue sticks to canvas.
Using this awesome glue, add the popsicle sticks to your canvas. Be sure to hold each stick in place for about 30 seconds to give the glue a chance to set.
I guess you don’t necessarily HAVE to use the canvases, but they are cheap and they are the perfect size. You could probably get away with using some thick cardboard if you wanted as well, but if you did that – be sure to paint it white before attaching the sticks in case any is seen in between the sticks.
Cut sticks for frame.
I wanted to create a cute little frame for the handmade Christmas ornament, so I used more popsicle sticks for this!
And did you know that you can cut popsicle sticks with just plain old scissors!? It was so easy to simply cut them down to size for the frame.
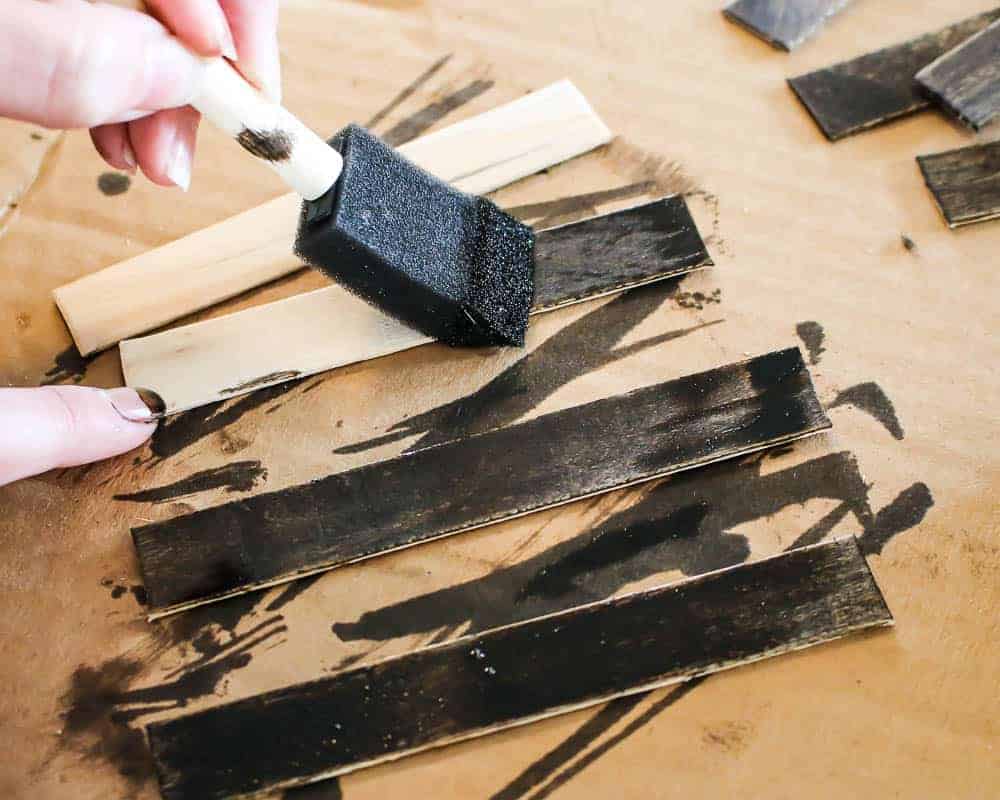
Stain popsicle sticks for frame.
I thought it would look cute if the frame looked more like wood. I mean I guess popsicle sticks ARE wood, but with the stain they look less popsicle stick-ish. 🙂
Attach frame.
Using the same Rapid Fuse glue, attach your frame to the shiplap Christmas ornament.
Write your saying.
You could really write anything you want, but I couldn’t get over how cute this is since it is a mini sign with shiplap! And I knew that Emily (who I was making this ornament for) would like the saying because she has some shiplap in her beautiful home!
I wrote:
All I want for Christmas is shiplap.
Haha!!
To write the saying on the handmade Christmas ornament, I just used a Sharpie marker.
Attach a hanger to back.
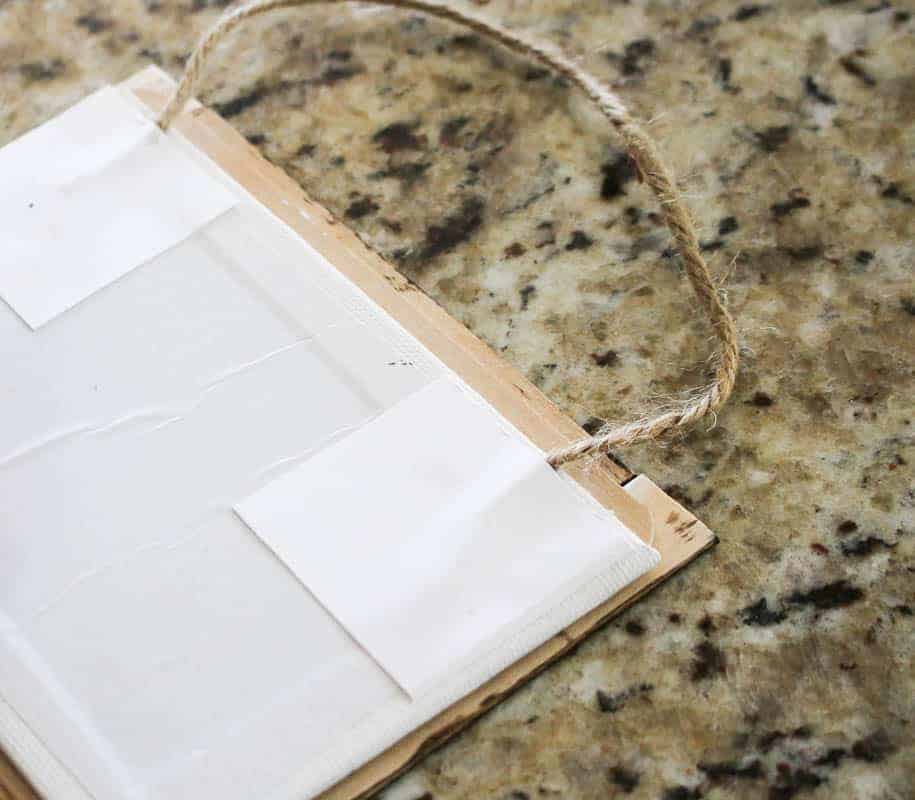
To attach a hanger to hang the ornament on the Christmas tree, I simply made a hanger with jute twine cut to about 6-8 inches. To attach I used the Rapid Fuse glue and cut a small piece of paper to be glued on top of each end.
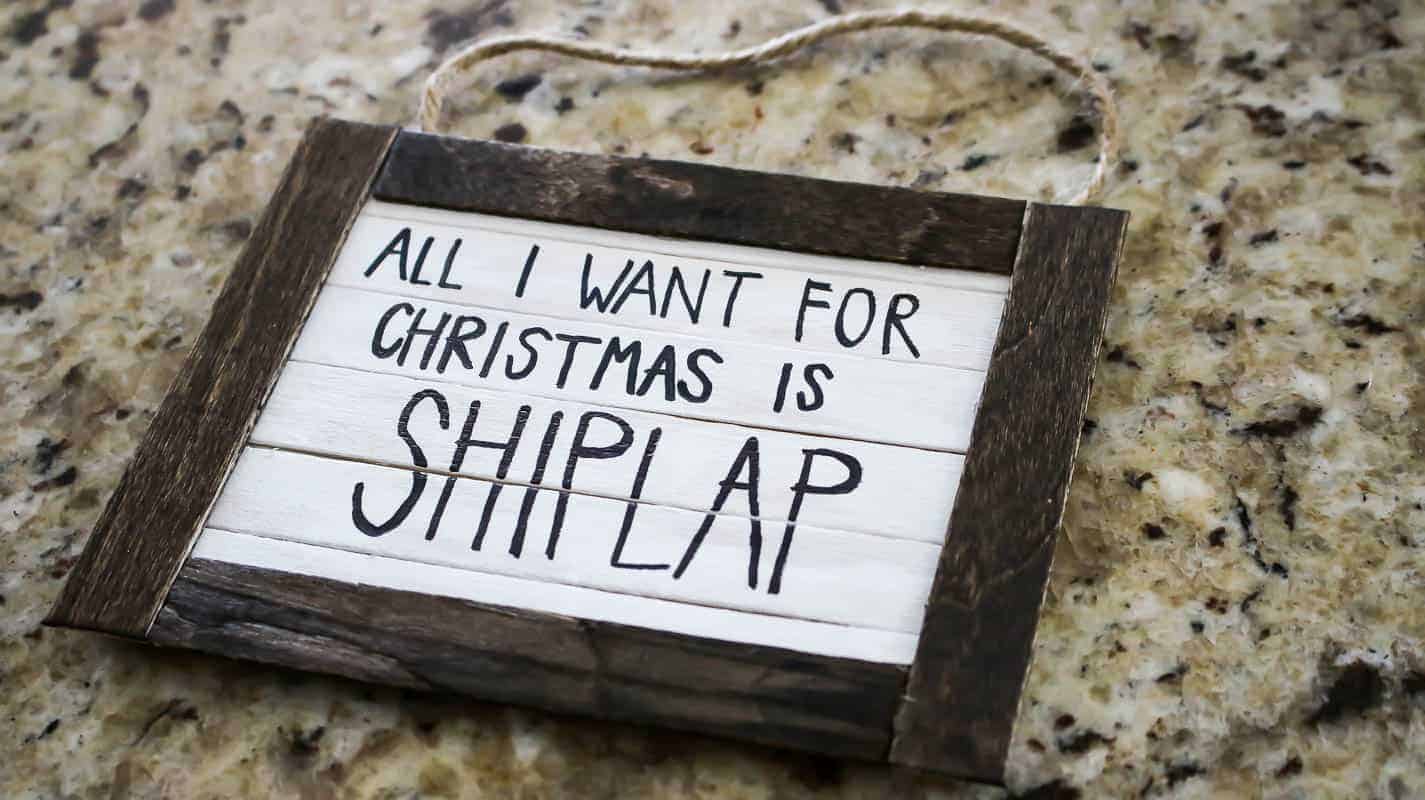
And that’s it folks! It was so easy to make this farmhouse style handmade Christmas ornament on a budget!

It looks perfect mixed in with farmhouse style Christmas decorations and could be easily customized by writing whatever saying you wanted!
It was SO fun participating in the Christmas Ornament Exchange again this year! Be sure to hop on over here to see 38+ Christmas ornaments to make and add your ornament tutorials!

What saying would you write on your handmade Christmas ornament?
Let me know in the comments below!
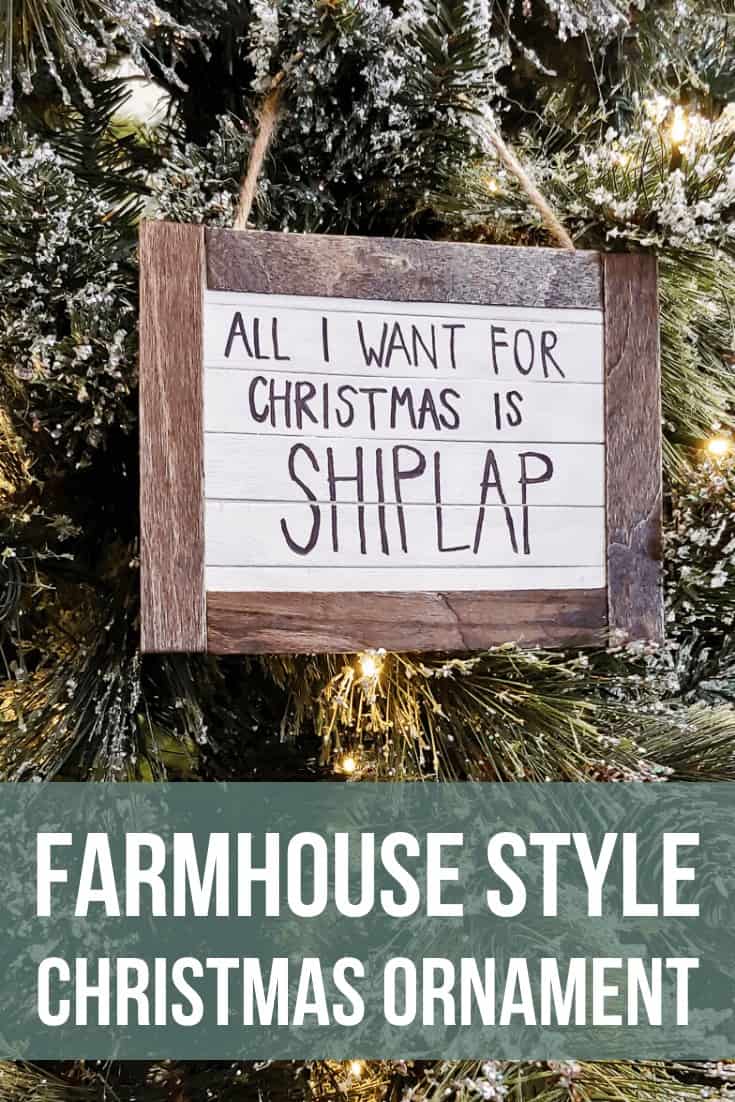

How To Make A Farmhouse Style Christmas Ornament
Looking for a handmade Christmas ornament with farmhouse style?? Nothing says “farmhouse” more than shiplap! You’re going to love this Dollar Tree ornament with mini shiplap!
Materials
- 4×6 canvas
- Popsicle sticks
- White acrylic craft paint
- Wood stain
- DAP Rapid Fuse Adhesive
- Scrap pieces of paper (approx 2 x 2 inches)
- Jute (about 6-8 inches long)
Tools
- Scissors
- Sharpie marker
- 2 Foam Paint Brushes
Instructions
- Paint popsicle sticks
- Glue sticks to canvas
- Cut sticks for frame
- Stain popsicle sticks for frame
- Attach frame
- Write your saying





This shiplap Christmas ornament is just too stink’n cute! Love how easy it is to make too. Pinned 🙂
Thank you so much !!
This is perfect for a farmhouse lover! Love the wording on it too 🙂 Pinned.
thanks, I hope Emily enjoys it !
Where did you find the 4×6 canvas? I can’t find it anywhere.
I found the 4×6 canvases at Dollar Tree in a 2-pack in November 2019. It looks like they are no longer sold online at DollarTree.com, but you still may be able to find them in stores. Here they are on Amazon in a pack of 12: https://amzn.to/2ZMtzvl