Tips for Painting Baseboards and Trim

It’s amazing what a coat of paint can do - especially for baseboards and trim. Painting baseboards and trim instead of replacing them is a great way to save a little extra cash and make what you have work for you.
You never realize just how much these areas need to be cleaned or retouched until you begin to notice the glaring imperfections. With kids, a dog, and a revolving door of weekend renovation projects, we are always cleaning up or repairing something. And it really shows when I look around the main living areas at our baseboards and trim.
Baseboards and trim are some of the last things that receive TLC, and they are also the things that suffer the most abuse. Small children, pets, and general wear and tear can really do some damage!
Although time-consuming, refreshing baseboards and trim will make a room shine and is well worth the effort. The crisp, clean look instantly squares up the space and makes everything feel new again.
This tips for painting baseboards article contains affiliate links, but nothing that I wouldn’t wholeheartedly recommend anyway! Read my full disclosure here.
What’s the best paint for trim and baseboards?
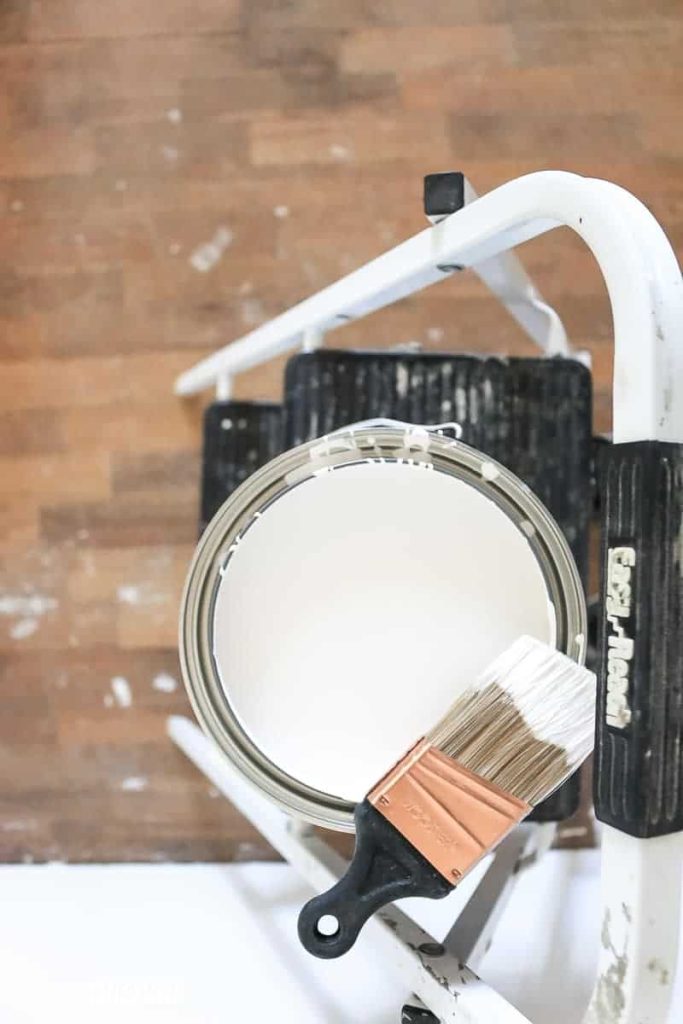
Let’s start with some basics – like the best paint for trim and baseboards. Choosing paint can be super overwhelming because they are SO many options.
We typically use BEHR Ultra Enamel Interior Paint in a semi-gloss sheen. All of our house has the same color and paint type for baseboards, trim and doors – so it makes it easy to remember for touch ups.
When selecting a gloss for trim and baseboards, semi-gloss works wonders! This type of sheen does double the duty by giving the room a polished look and leaving you with freshly painted trim pieces that are easy to clean.
Filling Holes & Painting Baseboards and Trim: Video Tutorial
If you love DIY videos, don’t forget to subscribe to our YouTube channel!
How to Prepare Baseboards and Trim for Painting: Step-by-Step Tutorial
If you’re trying to decide whether to refresh or repair your base, review these tips before making the trip to a home improvement store.
1. Determine if you should paint or replace trim and baseboards.
First, you will need to determine if your baseboards are really worth painting or if removing and installing new trim would make more sense.
If your baseboards or trim have large, noticeable imperfections, repainting may not give you the finished look you desire, so replacing them may be the better option for you.
Here are a few questions to ask when weighing the options:
- Is there water damage or visible deformities on the trim? If this is the case, replacing the trim is the best and safest option for your home and family.
- What’s the cost difference between replacing the trim and painting the trim? Weigh the cost of materials and the cost of your time. Remember that even if you chose to replace your baseboards, you’ll still have to paint them so you’re not saving a ton of time.
- How old is the existing trim? Is it worth it to paint old trim? If the trim or baseboards are 7+ years old, replacing them might be more economical.
If you’re buying new trim or baseboards, be sure to get the pre-primed trim and you can usually get away with doing 1 coat of paint on the trim.
2. Make the repairs.
Like all paint jobs, preparation is key – and baseboard and trim are not the areas to skimp on!
Here are a few minor repair projects to consider before painting:
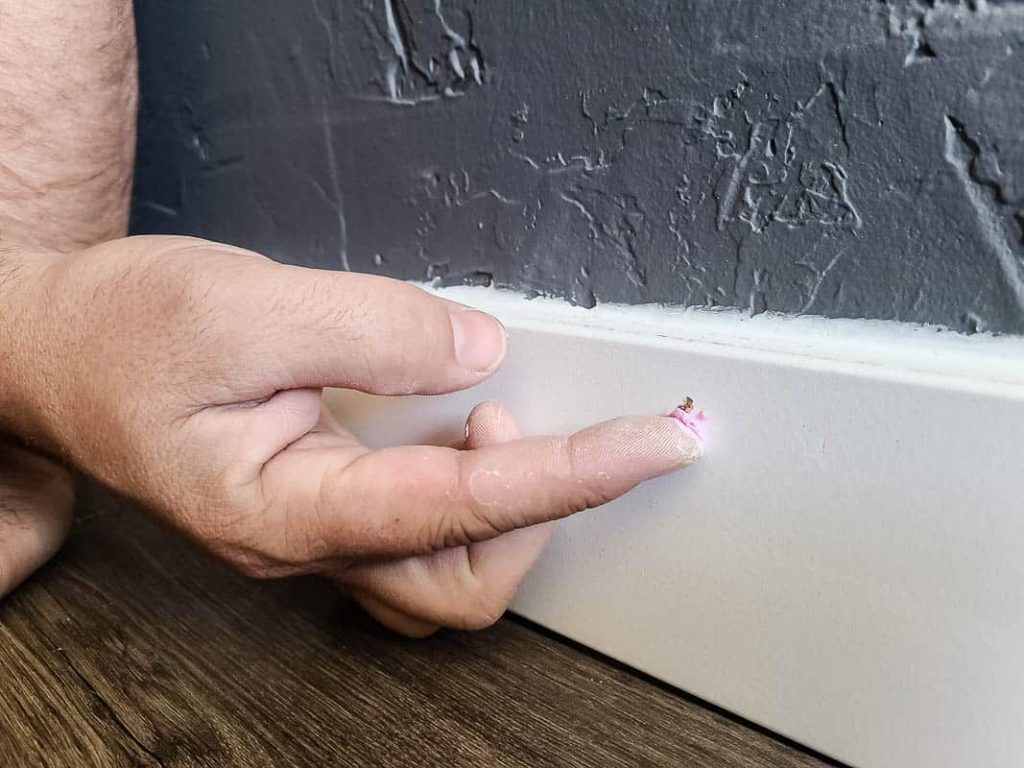
Taking the time to repair holes or notches from everyday use will ensure a smooth painting process.
- Spackle dents, joints and holes before painting. Apply spackle with a putty knife to cracks around window sills, fireplace mantels, and in corners. If you installed new base, fill nail holes and the seams where the 2 trim pieces meet with spackle as well.
- Caulk corners and where the baseboards meets the wall. To get a professional finish, be sure you caulk the edge where the wall meets the baseboards.
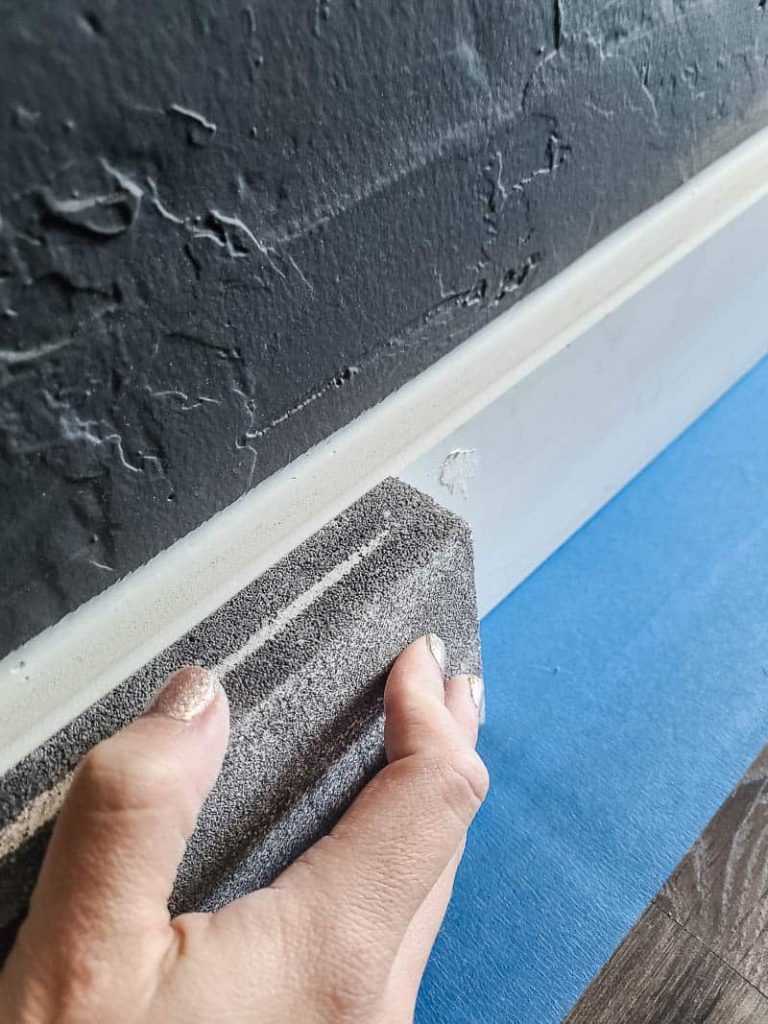
- Use a sanding block to smooth out spackled areas once they are dried.
- Clean out tight areas with a putty knife. Scrape out excess paint layers from the window sill corners to create a nice, clean space.
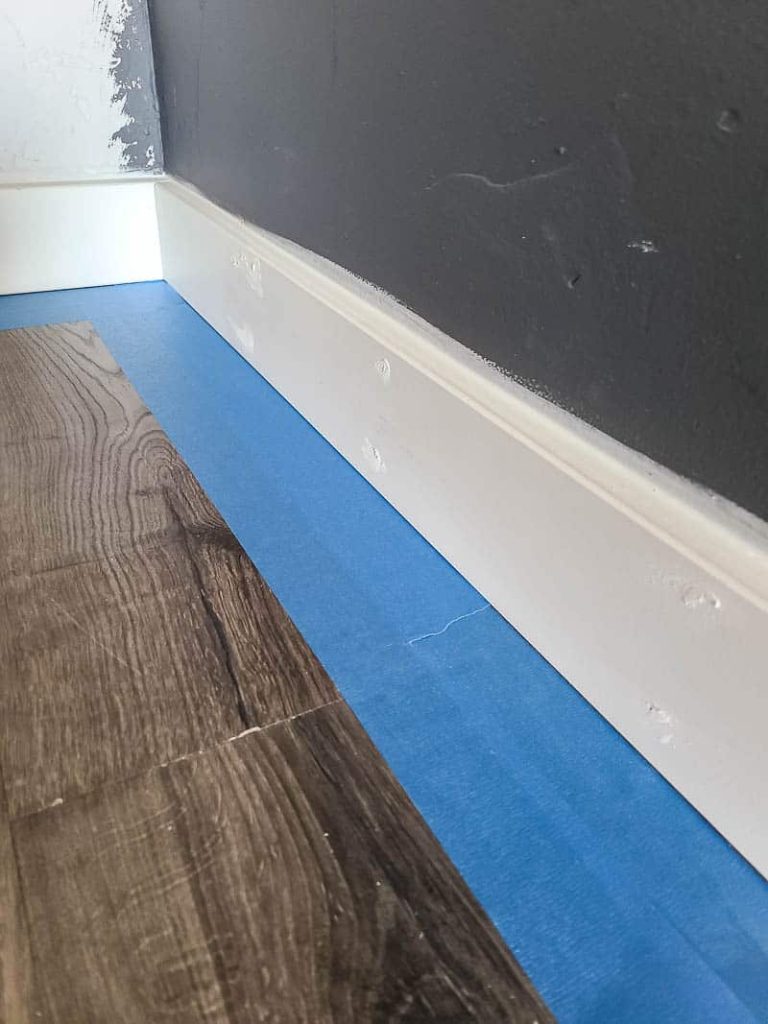
While the spackle is drying, take the time to put painter’s tape on the floor to protect it from paint. Even though we recommend cutting in paint the top of the baseboards with the wall color with a paint brush (and no painter’s tape), the tape is super helpful on the floor to protect it.
To help make sure no paint bleeds under the tape on the floor, shimmy it slightly under the baseboards a little.
Even when painting baseboards with carpet floors, you can use painter’s tape. Just shimmy it under the baseboard slightly so it covers the crack between the carpet and baseboards.
3. Prepare the trim.
Even if spackling isn’t necessary, take a few minutes to lightly buff or sand out any spots that could catch or obstruct a paint job. Sanding also helps shave off that layer of dust that’s been caked on by moisture, hair products, and general wear and tear.
If you feel like the trim or baseboards need further cleaning before you paint, TSP is the best option. You simply mix up the right amount with warm water in a bowl and wipe on with a rag. Follow up with another wet rag to rinse off. Be sure to use cleaning gloves when working with TSP.
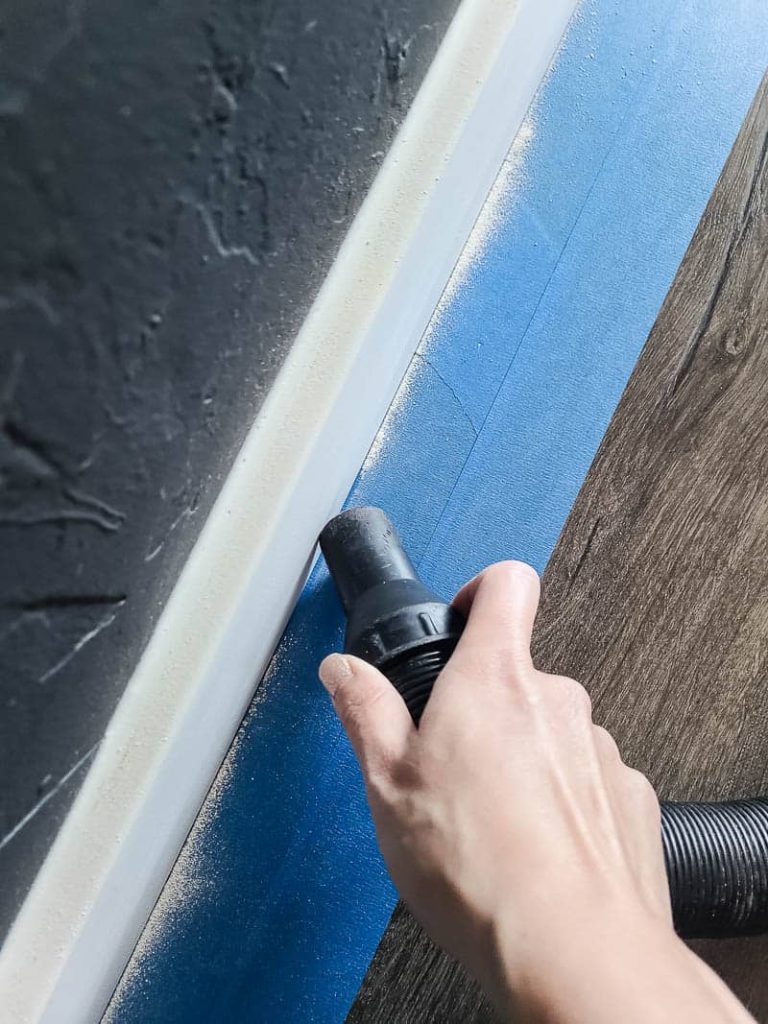
After sanding, vacuum the sanding dust from around the corners and anywhere that paint will be applied. A shop vac is a great tool for this job! We don’t recommend vacuuming construction debris or wood particles with a household vacuum cleaner.
Alternatively, you can use a slightly damp rag to get all of the sanding dust.
4. Painting baseboards and trim.
As you prepare to paint, make sure the floors and windowpanes are taped off with painter’s tape. Don’t forget to lay down a tarp or drop cloth to protect the floor from paint drips and spills.
When it comes to the order of painting an entire room, start with painting the trim first (well after you’ve painted the ceiling, that is).
When selecting a gloss for trim and baseboards, semi-gloss works wonders! This type of sheen does double the duty by giving the room a polished look and leaving you with freshly painted trim pieces that are easy to clean.
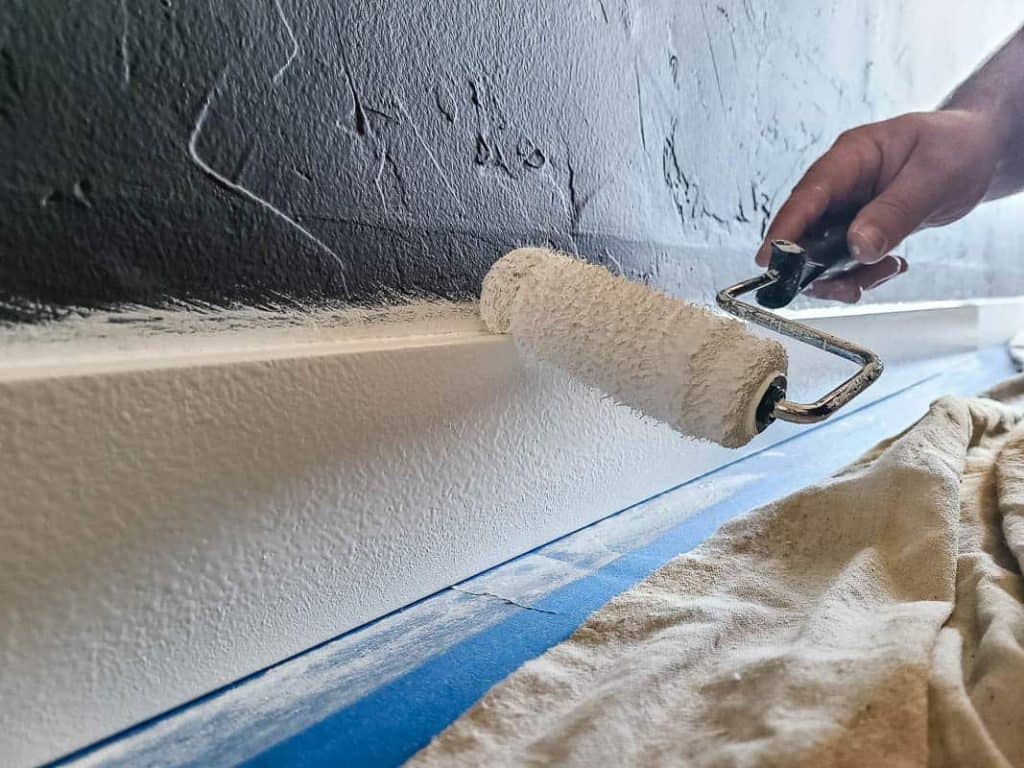
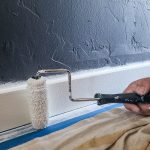
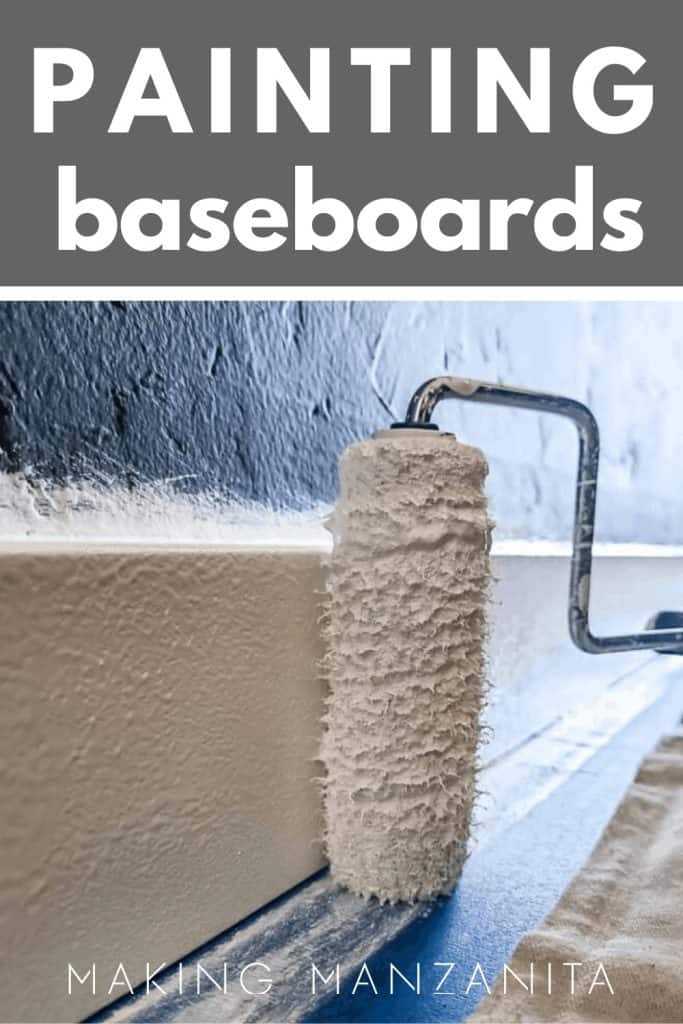
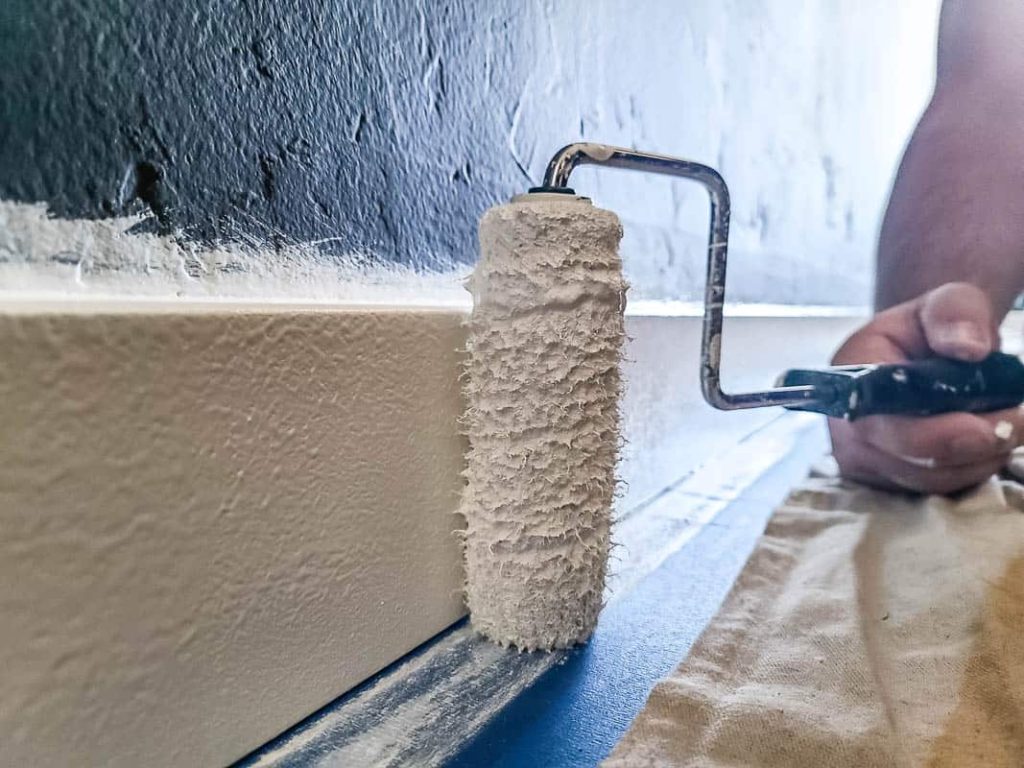
For the best results and the most coverage, we use a 4-inch paint roller on the edges and the front of the trim. We apply the paint fairly heavily, so we don’t have to apply multiple coats.
Tip: If you are buying new trim or baseboards for a room, purchase pre-primed trim.
If you are painting around the edges of a fireplace, built-in shelving, or similar, be careful not to brush across an edge with a paintbrush. This causes the paint to coagulate around corners and ridges, which can be a real pain to buff out and correct.
Depending on the color and sheen, multiple coats of paint may be necessary to hide imperfections and achieve the desired result. Be sure to allow each coat of paint to dry completely before applying another so the paint will dry evenly and without visible brushstrokes.
Painting Baseboards FAQs
How much paint do I need for baseboards?
Paint goes quite a long way when painting baseboards. Considering that a gallon of paint can cover 350-400 square feet and the small surface area on baseboards, you won’t even need a gallon to paint your baseboards in a standard size room.
How often should baseboards be painted?
You should repaint your baseboards anytime you start to see wear and tear or you’re looking to freshen things up. In our house, our baseboards are usually repainted every 2-3 years.
Refreshing these areas will make any room feel brand new again. What questions do you have about painting baseboards and trim?

How To Paint Baseboards and Trim
It's amazing what a coat of paint can do - especially for baseboards and trim. Painting baseboards and trim instead of replacing them is a great way to save a little extra cash and make what you have work for you.
Materials
- Paint (we recommend a semi-gloss sheen)
- Spackle
- Caulking
- Painter's tape
- TSP (if heavy duty cleaning is needed)
- 4 inch paint roller
Tools
- Putty knife
- Sanding block
- ShopVac
- Rags
Instructions
- Determine if you should paint or replace trim and baseboards.
- Make the repairs. Spackle dents, joints and holes before painting baseboards. Caulk corners and where the baseboards meets the wall. Use a sanding block to smooth out spackled areas. Clean out tight areas with a putty knife. Put down painter's tape on the floor to protect it from paint.
- Prepare the trim. Lightly sand. Clean further with TSP if needed. Clean with ShopVac and wipe down with slightly damp rag.
- Paint trim with 4-inch paint roller and semi-gloss paint.
Related: Other Interior Painting Articles
- Choosing Front Door Paint Colors (& How To Paint A Door)
- Two Tone Walls in Bedroom: How To Paint Straight Lines
- Mountain Mural Tutorial (Featuring Behr Paint Colors Trends)
- Behr Chic Gray Paint Reveal (+ The Best Order of Painting A Room)
- Modern Sponge Painting | Semi Circle Pattern in Back of Locker Cabinets
- How To Paint An Arch Like A Pro
- A Basic Paint Sheen Guide for Interior and Exterior Surfaces
- How To Cut In Paint without Painter’s Tape
- How To Paint A Ceiling With A Roller
- Behr Fashion Gray | Paint Color Overview and Review
- How To Paint A Room For Beginners | Ultimate Guide
- Tips for Painting Baseboards and Trim
- Black Bamboo Behr | Paint Color Overview and Review
- Behr Meteorological | Paint Color Overview and Review
- Behr Falling Snow | Paint Color Overview and Review
- 16 Gorgeous Green Accent Walls
- Snowy Pine Behr Paint Overview
- In The Moment Behr Paint Color Overview
- 22 Front Door Paint Colors to Inspire You
- Master Bedroom Colors | 20 Great Paint Color Ideas with Pictures
- Behr Midnight in NY Paint Color Overview
- Graphic Charcoal Behr | Paint Color Overview and Review
- Do I need Primer Before Painting?
- How to Paint a Room Fast
- How To Clean Walls Before Painting
- Interior Painting Tools List – 17+ Must-Haves for Homeowners
- Cost to Paint a Room – DIY vs Hire Comparison
- How to Transform Walls with Just Paint: 20+ Wall Painting Ideas