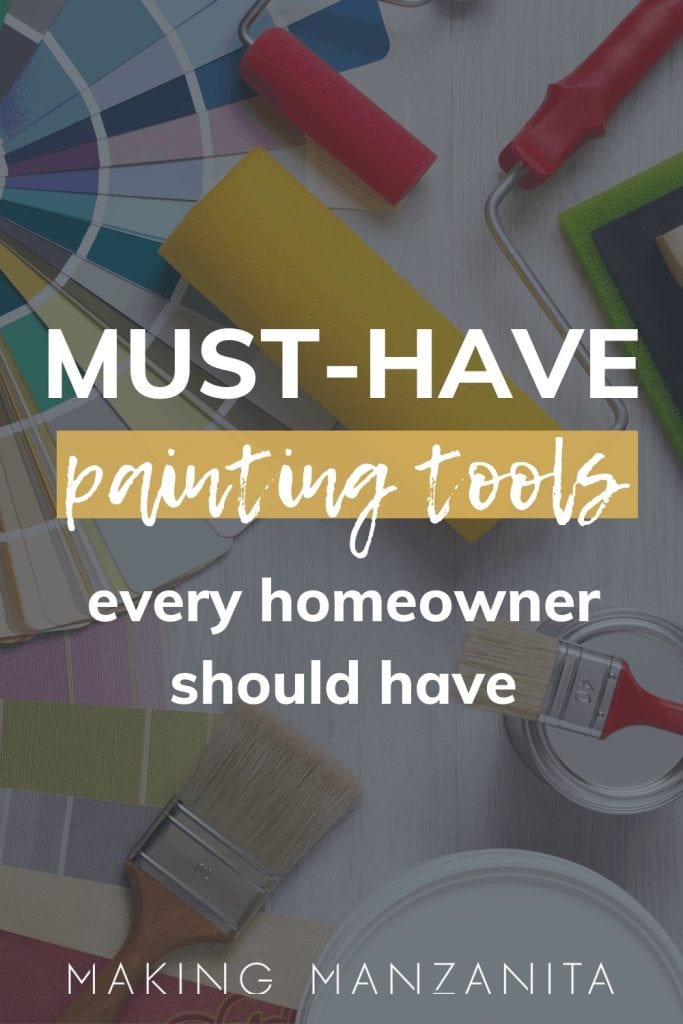
Interior Painting Tools List – 17+ Must-Haves for Homeowners
Planning to paint a room? First you need to gather your tools & materials. In this interior painting tools list, we're sharing 17+ must-have painting tools that every homeowner needs to have!
If you’ve never painted a room before, you’re probably trying to figure out exactly what you need to buy before it is painting day!
Don’t worry! In this painting tools list, we’re sharing our favorite tools that we use for painting. We’re also explaining why we like each paint supply and what it is used for.
Painting is definitely something you’re going to be doing a lot of whether you’re buying an old house to remodel or renovate or something newer to make it your own.
This painting tools list contains affiliate links, but nothing that I wouldn’t recommend wholeheartedly. Read my full disclosure here.
17 Interior Painting Tools: The Essentials You Need for DIY Painting Projects
1) Paint can opener
Before you even think about painting a room, you’ve gotta open the paint can first, right? A paint can opener is handy for this.
Don’t have a paint can opener? You can also use a flathead screwdriver!
2) Putty knife
One of the very first things you need to do before painting the walls is to patch any nail holes or imperfections. A putty knife works well to apply the spackle in a thin and even layer.
Don’t forget to inspect baseboards and trim too. Patch any nail holes or imperfections on trim or baseboards in the same way with spackle.
3) Sanding sponge
Once the spackle is dried, you want to sand it smooth so it will be unrecognizable where you patched it. A sanding sponge like this works perfectly!
We like this one because it has two sanding grades – fine and medium and can be used wet or dry. However, it does last longer if you use it only when dry.
When it comes to painting baseboards & trim, quickly sanding also helps shave off that layer of dust that’s been caked on by moisture, hair products, and general wear and tear.
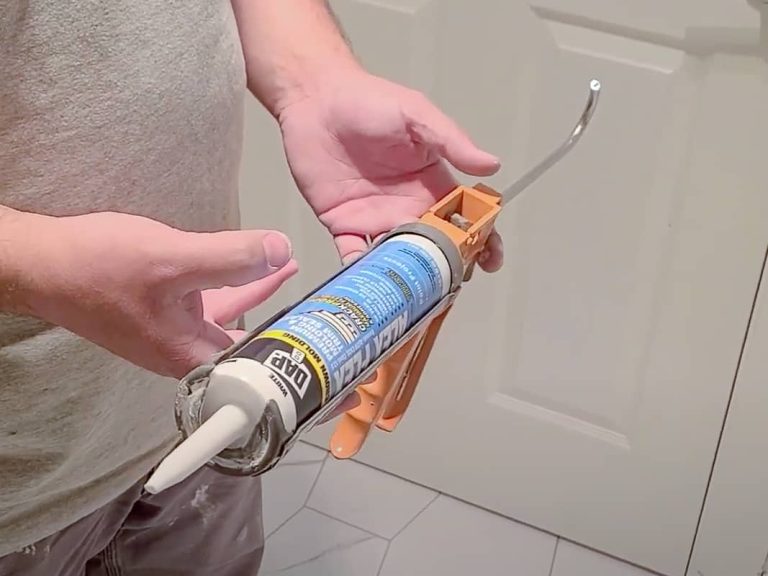
4) TSP (an all-purpose, heavy-duty cleaner)
Once all patching and sanding are done, you definitely want to clean everything really well. We recommend using TSP mixed in a bowl of hot water and applied with a rag or sponge.
Follow up with another wet rag to rinse off. Be sure to use cleaning gloves when working with TSP.
Further Reading – Learn more about cleaning walls before painting here!
5) Paint stir sticks
It may seem obvious to include a paint stir stick on this interior painting tools list, but I just want to make sure you don’t forget it!
Once you open the can of paint, don’t forget to stir it well with a paint stick. I also recommend shaking the can before opening it in addition to stirring it.
The colors and additives in the paint tend to separate and settle when it has been sitting.
When you buy your paint at the home improvement store, you can probably ask for some paint stir sticks for free! But if not, they are pretty cheap to buy!
If you are in a pitch and don’t have any stir sticks, you can use wood shims or scrap wood too! Just be sure it is nice and clean first.
If you have extra paint stir sticks lying around, turn them into a DIY key holder like this.
6) Angeled paintbrush (for cutting in)
For cutting in along the edges of the walls, at the top near the ceiling, or around trim and baseboards, you want to use a high-quality angeled paintbrush with a tapered filament.
The angled sash of the paintbrush allows you to paint nice straight lines, and the tapered filament helps the paint flow out evenly with good coverage.
Want to learn how to cut in paint like a pro? Check out this tutorial!
7) 4-inch paint roller & cover (for painting trim and baseboards)
For the best results and the most coverage, use a 4-inch paint roller on the edges and the front of the trim and baseboards.
Further reading – check out all of our tips and tricks for painting baseboards and trim here!
8) Paint roller covers – 3/8″ nap (for painting walls and ceilings)
When it comes to painting walls and ceilings, use a 3/8″ nap 9″ wide roller.
If you’re painting on untextured plaster or completely smooth walls, you may want to go with a nap size of 3/16″ or 1/4″. If your walls have heavy texture or you are painting on something like concrete block or stucco, use a 3/4″ or 1″ nap paint roller.
Don’t skimp and buy the cheap ones. The “brand name” roller covers that are shed-resistant give you a better finish and you don’t run the risk of getting lint in your paint.
9) Paint roller
We love this affordable 9-inch roller frame that has a durable smooth-rolling cage. The bottom of the handle is threaded to allow you to attach an extension pole.
I also love that the roller cover comes off easily (most of the time) by tapping it along the edge of a bucket or large trash can to get the wet roller cover off.
We’ve had this for years and it still works as good as new, so this is a painting tool that you’ll be able to use over and over again.
10) Paint roller extension rod
Having a good paint roller extension pole is a necessity. It allows you to paint a ceiling (which is the first thing you’ll paint according to our best order of painting a room guide) and the full length of a wall without spending time up on a ladder or step stool.
This paint roller extension rod extends from 2 feet to 4 feet (at 6-inch increments) with the push of a button and simply threads onto the bottom of the handle of your roller frame.
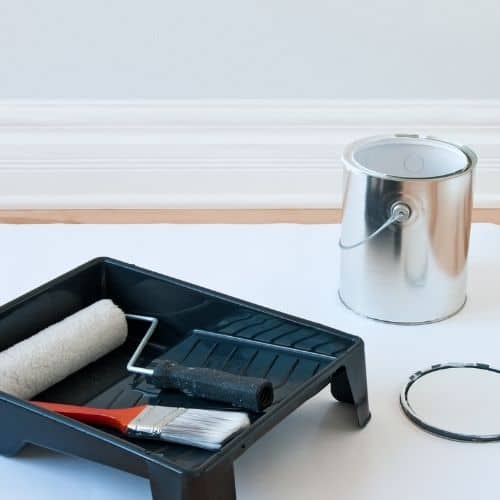
11) Paint tray
There’s nothing special about a painter’s tray. We use the cheap generic branded ones and simply toss them when we are done rather than trying to clean them out, but they could be easily cleaned if you wanted.
12) Painter’s tape
You may be surprised to learn that we only use painter’s tape when we’re painting to protect the flooring under the edge of the baseboards.
Even though we recommend cutting in paint on the top of the baseboards with the wall color with a paintbrush (and no painter’s tape), the tape is super helpful on the floor to protect it. To help make sure no paint bleeds under the tape on the floor, shimmy it slightly under the baseboards a little.
Add two rows of painter’s tape along the edge of the room so it is a little wider. This will fully protect it as you paint the baseboards with a 4-inch roller, while in the middle of the room, you can protect the flooring with drop cloths.
Further reading – Check out our painter’s tape tips and tricks here!
13) Drop cloths
Unless you are painting a room that is completely empty of furniture and the floors are going to be replaced immediately, you’ll want to cover everything with high-quality drop cloths.
We usually push all of the furniture to the center of the room and drape it in plastic drop cloths and then use the fabric drop cloths on the floor and move them around with us as we paint.
14) Rags
If you’re anything like me, you’re going to need painter’s rags for cleanup along the way while you paint… a lot of rags. What can I say? I’m a messy painter.
It is best to buy them in bulk because you’ll go through more than you think wiping up little drips and spills along the way. These painter’s rags are made from t-shirt material, which is low in lint. These also work great for staining your woodworking projects!
15) Ladder
Depending on the height of your walls, you may be able to get away with only needing a step stool, but it is helpful to be able to get right up to the edge of the wall where it meets the ceiling when cutting in paint, so a full-size ladder is recommended.
Having a ladder is a handy DIY tool to have around anyway! You’ll definitely use it for more things around your house – like installing a vanity light or adding a board and batten accent wall.
16) Safety glasses
There would be nothing worse than painting something like your ceiling and having paint splatter in your eye. Best to arm up and put on those safety glasses.
These will come in handy for more than just painting too! Use these when cutting wood with a saw or using a nail gun.
17) ShopVac
After sanding, you definitely want to be sure to vacuum the sanding dust from around the corners and anywhere that paint will be applied
A shop vac is a great tool for this job! We don’t recommend vacuuming construction debris or sawdust with a household vacuum cleaner.
Alternatively, you can use a slightly damp rag to get all of the sanding dust.
Bonus: 10 Time-Saving Painting Tools that Make Any DIY Painting Project Easier!
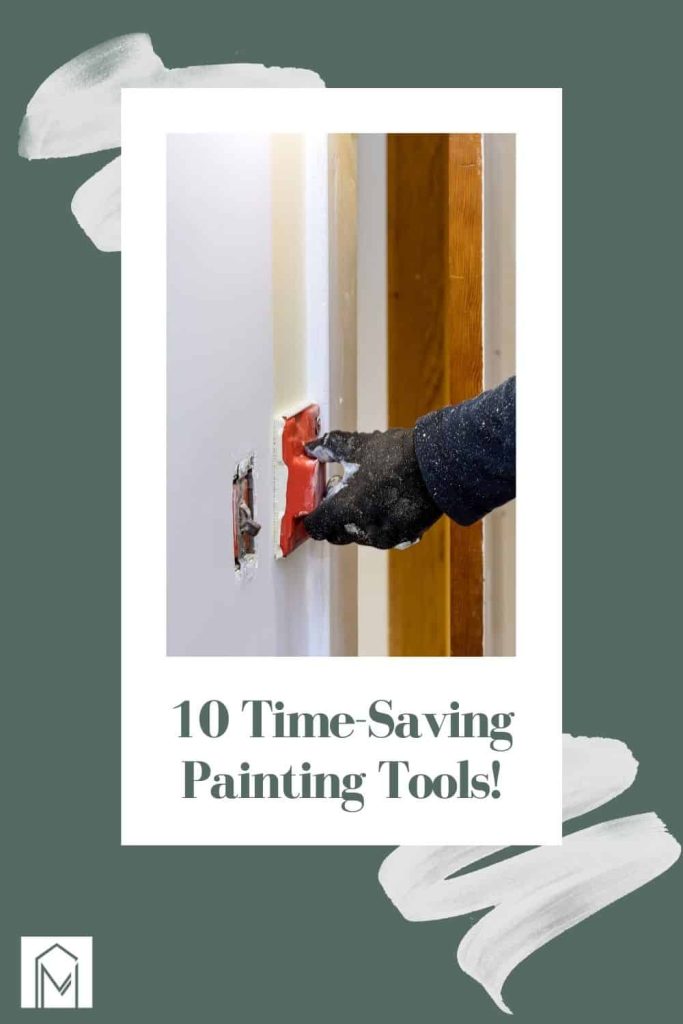
Once you’ve painted a room or two (or you just closed escrow after buying a fixer-upper), you may be looking to upgrade some of your painting tools! These 10 genius supplies will save you time and make painting easier!
Handy paint tray
Tired of filling up your paint tray over and over as you paint a room? This paint tray holds a full gallon of paint and has grips on the bottom of the tray so it doesn’t move around as you load your paint roller.
You definitely wouldn’t want to toss this one in the trash when you’re done, so it’s best to grab some paint tray liners for the tray so you have an easy clean-up.
Handy paint pail with handle
If you’re looking for a way to carry the paint around with you as you paint, you may want to check out this paint pail with a handle. It also has a magnet to hang your paintbrush on so it doesn’t get all messy in the paint.
Craft paint cup
As an alternative to the paint pail, I prefer this small craft cup. The Handy craft cup is easy to hold and move paint around the room with you as you go. I love it for cutting in. It is small enough to only hold a little bit of paint, enough to cut in 1 room.
Power paint roller
Looking for a way to paint a room faster? Give the Wagner Sidekick Power Roller a try! The roller clamps to the edge of your paint can or bucket and the paint comes up with the suction tube and directly out of the roller. No more paint trays and stopping to load the paint roller, so you can save time and paint a room faster.
Interested in learning more about how to use a power roller? Check out this video.
Edging tool
Although we swear by carefully cutting in the edges of walls with an angeled paintbrush, this paint edging tool is a good option if you don’t feel confident in a steady hand with a paintbrush.
You slide the edging tool along the edge of the wall to get a nice straight line. Just be careful not to get any paint on the tool when you’re using it.
Pour spout
I can’t tell you just how many times I’ve gone to pour paint or stain out of the can and spilled it everywhere. The paint always seems to pour all over the edge of the paint can and get stuck into the rim. This paint can pour spout snaps to the edge of the paint can to give you a nice and clean pour!
Paint sprayer
An alternative method of painting walls is with a paint sprayer, which can definitely save you time. But I don’t typically recommend this for a beginner for painting interiors because there’s a steep learning curve and it’s VERY messy.
If you DO want to do your painting with a sprayer, here’s a paint sprayer that is very similar to what we have that we’ve used for tons of projects (our exact model is no longer sold) – like this outdoor plant wall, firewood storage rack, and our wood deck.
Mask and peel
If you’re painting window trim or French doors, this mask and peel is a lifesaver! No more taping everything off with painter’s tape. You simply brush this onto the windows, let it dry, paint the trim, and then razer the edge and peel this off of the windows.
Painter’s tape with plastic attached
If you are taping off a larger area, you may want to try this pre-taped painter’s plastic. You simply press the tape into place and then unfold the plastic (which expands to 24″).
Multi-position ladder
This multi-position ladder looks so handy, so it definitely belongs on this painting tools list! You can use it as a standard A-frame style ladder, let out an extension so it goes higher (great for painting vaulted ceilings), or configure it as a trestle-and-plank (like scaffolding, needs extra brackets sold separately), 90-degree angle, or at different heights for staircases.
There’s a lot that goes into painting a room, but hopefully, this painting tools list helped you narrow down exactly what you will need to have on hand before painting. Now you can confidently head to the store to buy your painting tools and supplies!
Which item from this painting tools list is your favorite?
Let us know in the comments below!
Related: Other Interior Painting Articles
- Choosing Front Door Paint Colors (& How To Paint A Door)
- Two Tone Walls in Bedroom: How To Paint Straight Lines
- Mountain Mural Tutorial (Featuring Behr Paint Colors Trends)
- Behr Chic Gray Paint Reveal (+ The Best Order of Painting A Room)
- Modern Sponge Painting | Semi Circle Pattern in Back of Locker Cabinets
- How To Paint An Arch Like A Pro
- A Basic Paint Sheen Guide for Interior and Exterior Surfaces
- How To Cut In Paint without Painter’s Tape
- How To Paint A Ceiling With A Roller
- Behr Fashion Gray | Paint Color Overview and Review
- How To Paint A Room For Beginners | Ultimate Guide
- Tips for Painting Baseboards and Trim
- Black Bamboo Behr | Paint Color Overview and Review
- Behr Meteorological | Paint Color Overview and Review
- Behr Falling Snow | Paint Color Overview and Review
- 16 Gorgeous Green Accent Walls
- Snowy Pine Behr Paint Overview
- In The Moment Behr Paint Color Overview
- 22 Front Door Paint Colors to Inspire You
- Master Bedroom Colors | 20 Great Paint Color Ideas with Pictures
- Behr Midnight in NY Paint Color Overview
- Graphic Charcoal Behr | Paint Color Overview and Review
- Do I need Primer Before Painting?
- How to Paint a Room Fast
- How To Clean Walls Before Painting
- Interior Painting Tools List – 17+ Must-Haves for Homeowners
- Cost to Paint a Room – DIY vs Hire Comparison
- How to Transform Walls with Just Paint: 20+ Wall Painting Ideas

Thank you so much for this informtive article.
so glad you found it helpful!