DIY Christmas Village Makeover For Less Than $10
If you love neutral farmhouse Christmas decor, you're going to love this DIY Christmas Village that gets an easy makeover! You'll be headed straight to the thrift store to find your own village to makeover!
Have you ever had one of those amazing thrift store finds? You know what I’m talking about, right?
One that literally stops you in your tracks and you have to pick your jaw up off of the floor because the price and everything are just too good to be true. You can instantly picture the item upcycled and styled in your home.
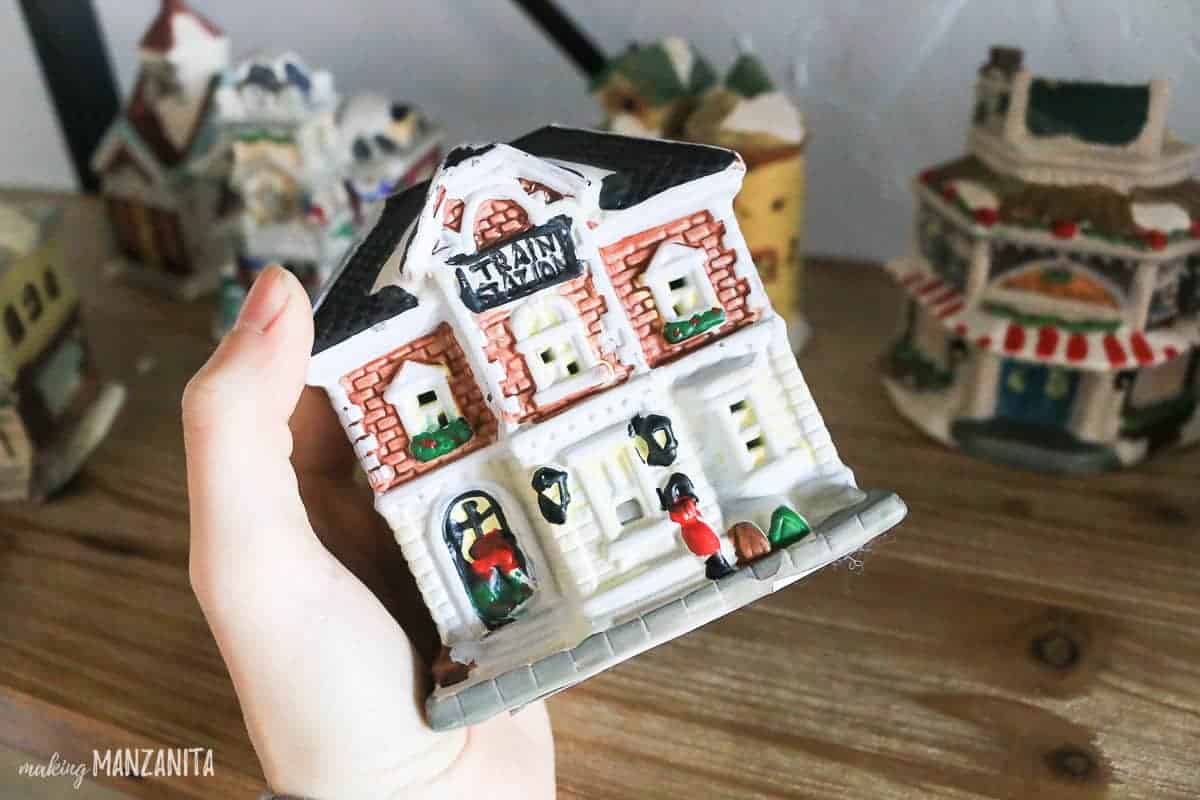
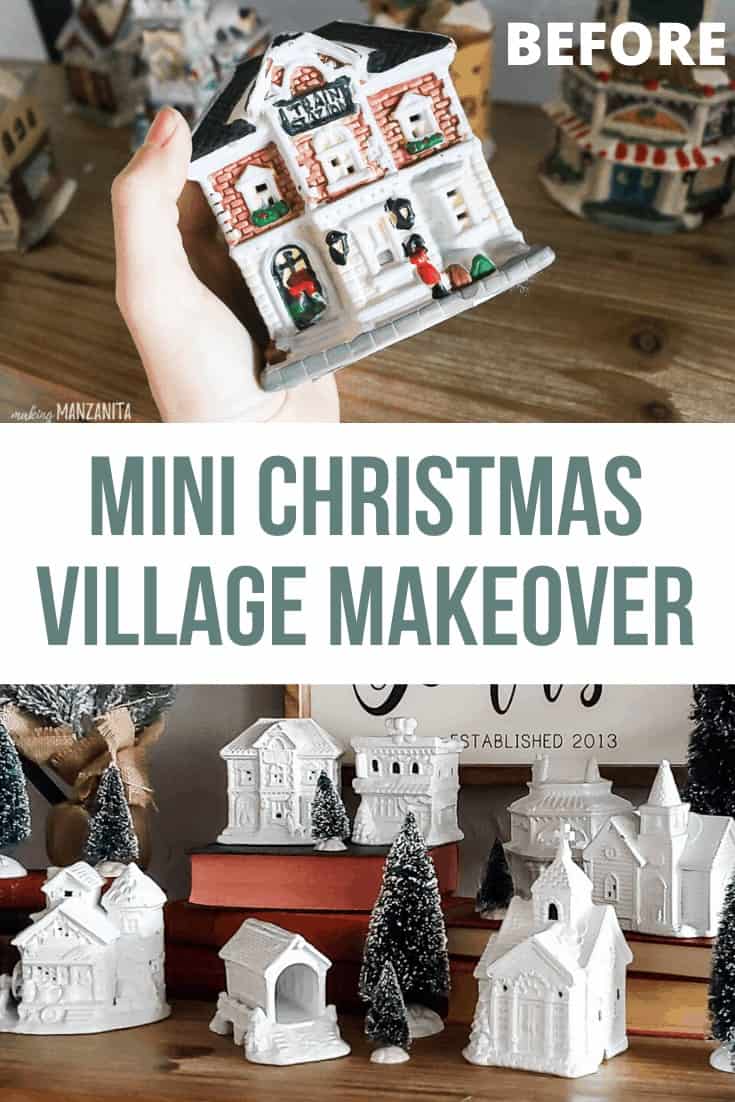
Well, that’s what happened last year just after Christmas when I walked past this miniature Christmas village display for NINETY PERCENT OFF. Yes, that’s right. I was only going to need to pay 10% of the original price to have this little village come home with me. And just look at how cute the little houses are!
Before Pictures of Christmas Village
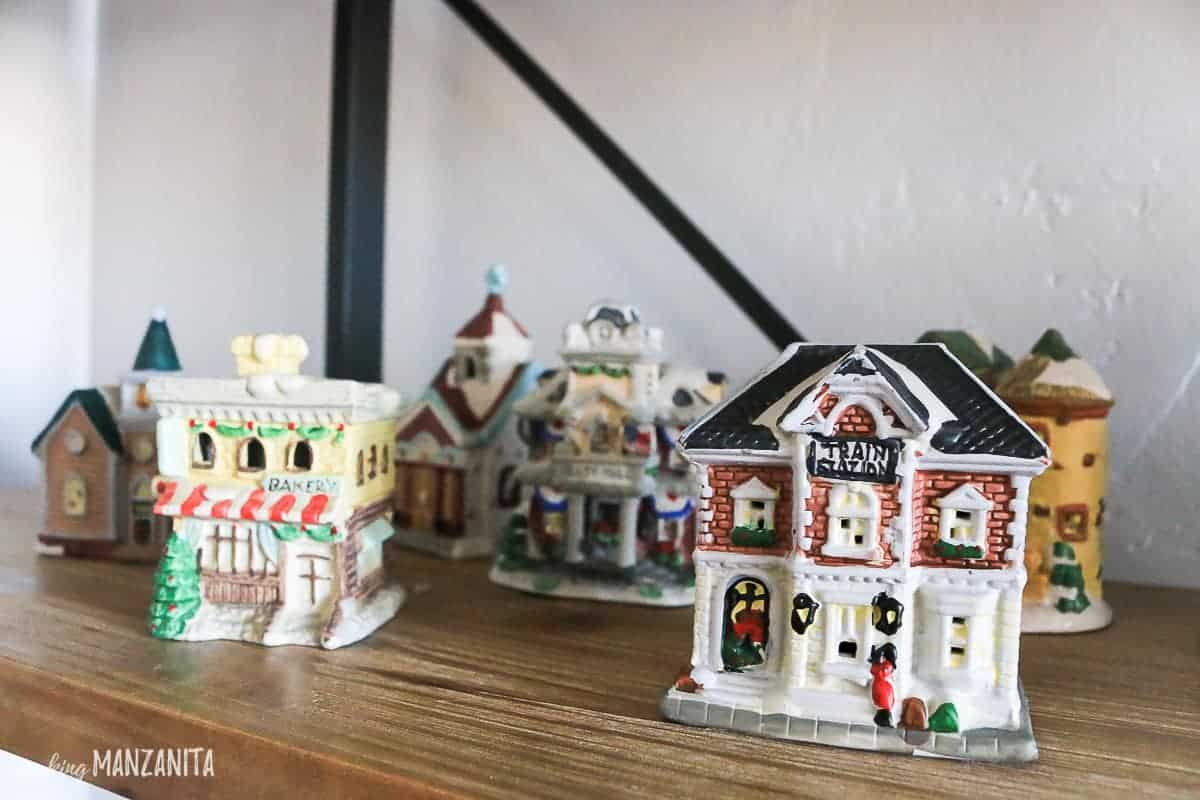
There was actually a lot more to this little village, more like an entire village! But I knew I didn’t want to store something too big, so I walked away with about a half dozen miniature houses that were just perfect to fit in with my holiday decor.
The best part? I think I spent….maybe two or three dollars tops. Crazy, right?
There is something really charming about the way they were original with all of the colors, so if this look is your jam, you can totally keep them the way they are. But I knew I would love them even more with the white coat of spray paint.
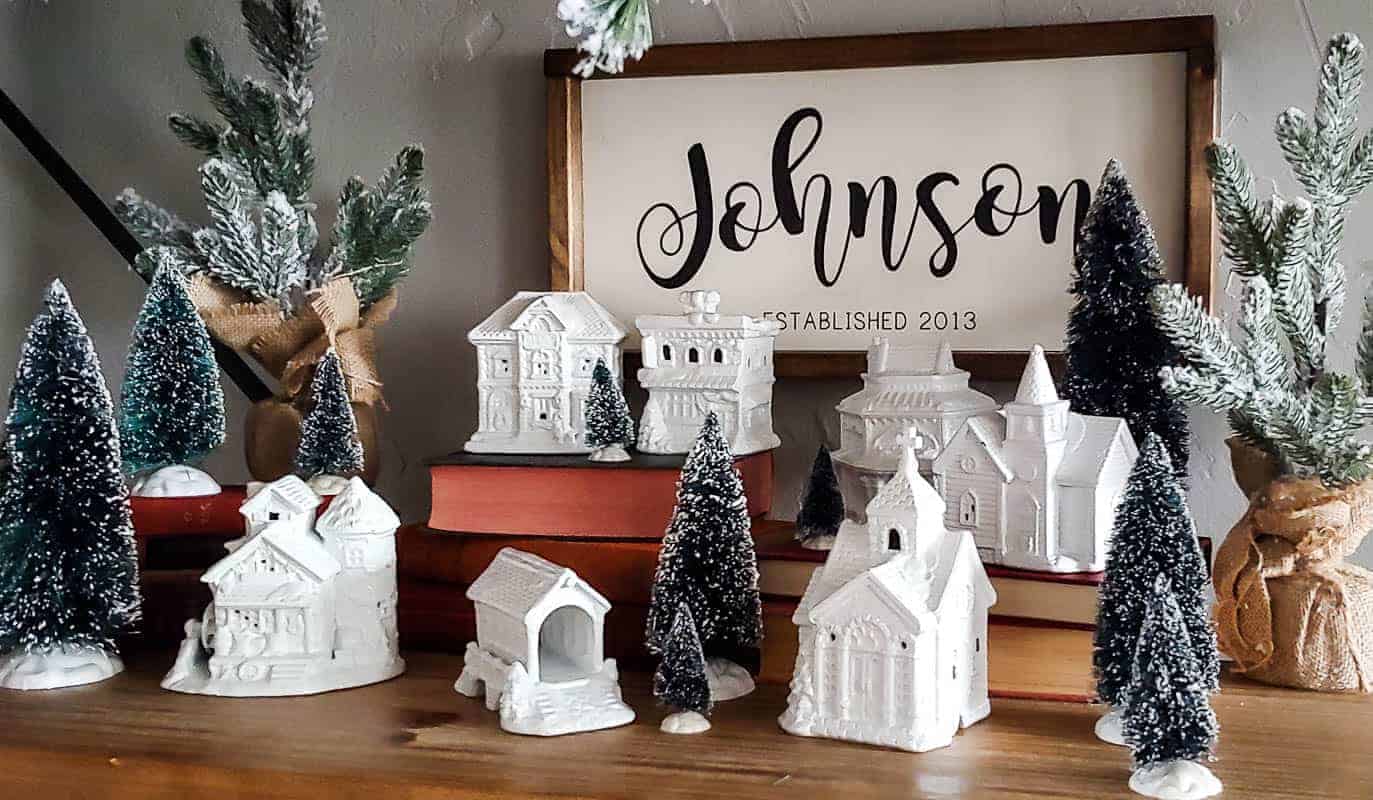
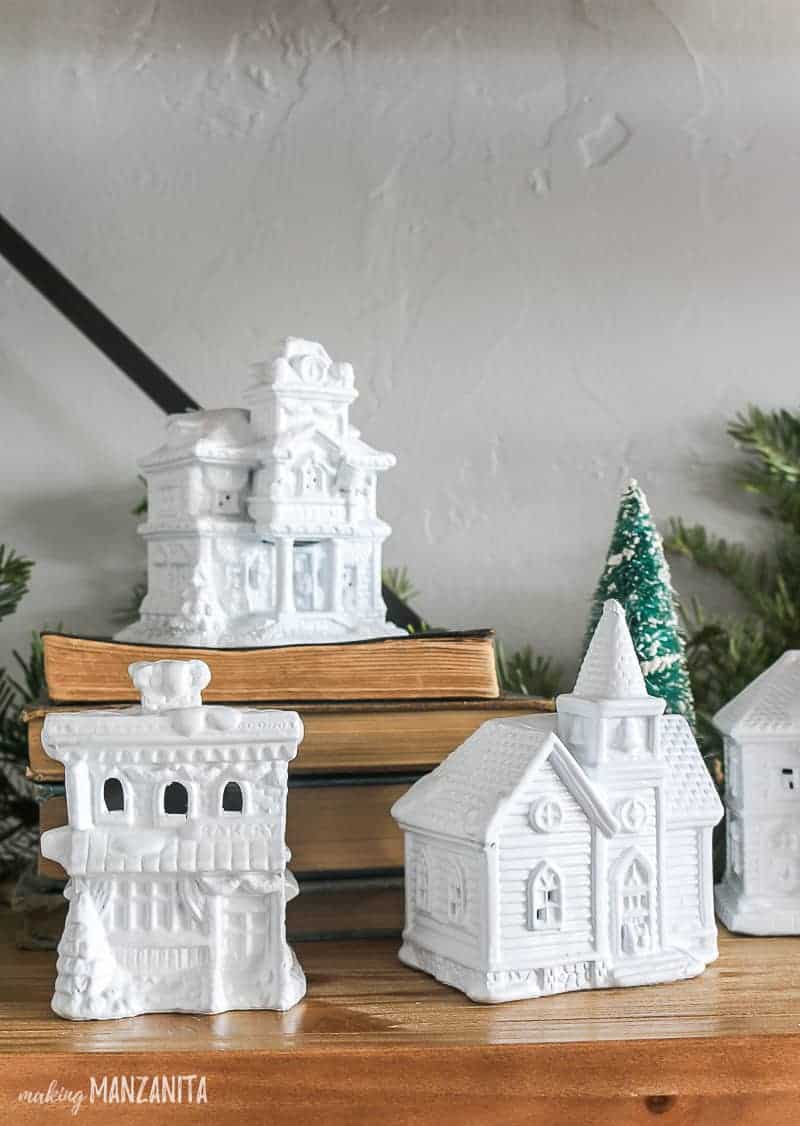
Doing an easy spray paint makeover to this DIY Christmas village with white paint made them fit in perfectly with my existing Christmas decor, which has more of a farmhouse or neutral style.
And after painting the little town with white spray paint, it looks like everything got a snowy makeover! It seriously looks like that quaint little village turned into an enchanting winter wonderland with just a quick spritz of spray paint. It’s such a wonderful way to give new life to your vintage finds!
Although this is a super simple project, I’m breaking it all down in a step-by-step tutorial for you to follow along as you create your own adorable Christmas villages. Keep reading to learn more from our easy tutorial with simple steps to follow.
This DIY Christmas Village post contains affiliate links, but nothing that I wouldn’t wholeheartedly recommend anyway! Read my full disclosure here.
Supplies for DIY Mini Christmas Village:
- Miniature Christmas Village Figurines – buy similar here or check your local thrift store around and after Christmastime!
- White Primer
- Spray Paint
- All-Purpose Cleaner (optional)
Step 1. Clean village figurines.
If the village is dirty or dusty, you want to be sure to clean it well before painting. You can do this one of two ways – either in the sink with soap and water or with a spray all-purpose cleaner and a rag.
Either method should work fine. Just be sure that they dry thoroughly before painting
Step 2. Apply primer first.
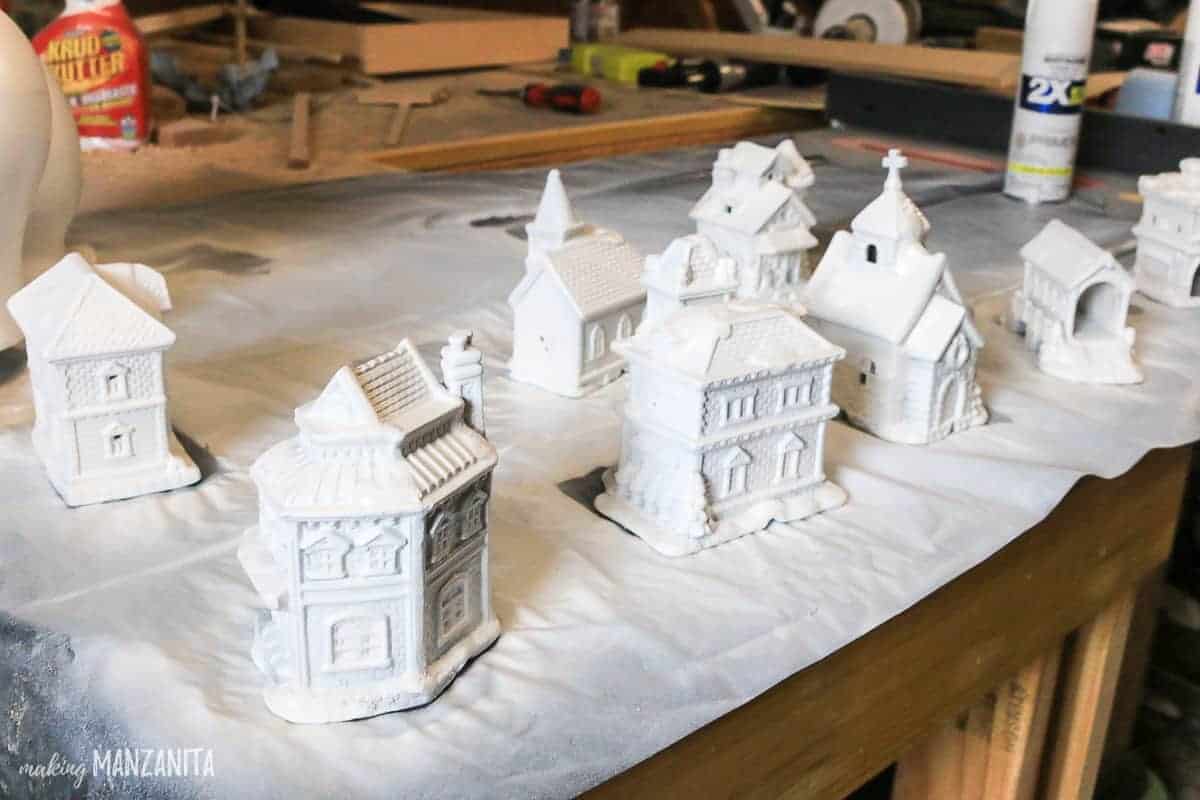
The next step is to spray it with several coats of white primer. This helps get rid of the background colors and provides a great surface for the white spray paint to stick to.
Step 3. Spray paint Christmas village.
Follow up with several light coats of this spray paint on the village. Be sure to do a light coat so the spray paint doesn’t gum up or drip.
Wait for the spray paint to dry before handling.
Yes, that’s it really. I feel kind of silly for even doing a DIY tutorial for this one because it’s SO darn simple!
If you’re new to spray painting, check out my simple tips and tricks for getting a good finish in this full tutorial.
Also, since this is a holiday craft project and all, you may find that the weather is pretty cold when you’re working on this Christmas craft, so definitely read my tips for spray painting in cold weather!
The spray paint really makes this DIY Christmas Village come to life again and instantly updates it so that it fits right in with farmhouse Christmas decorations.
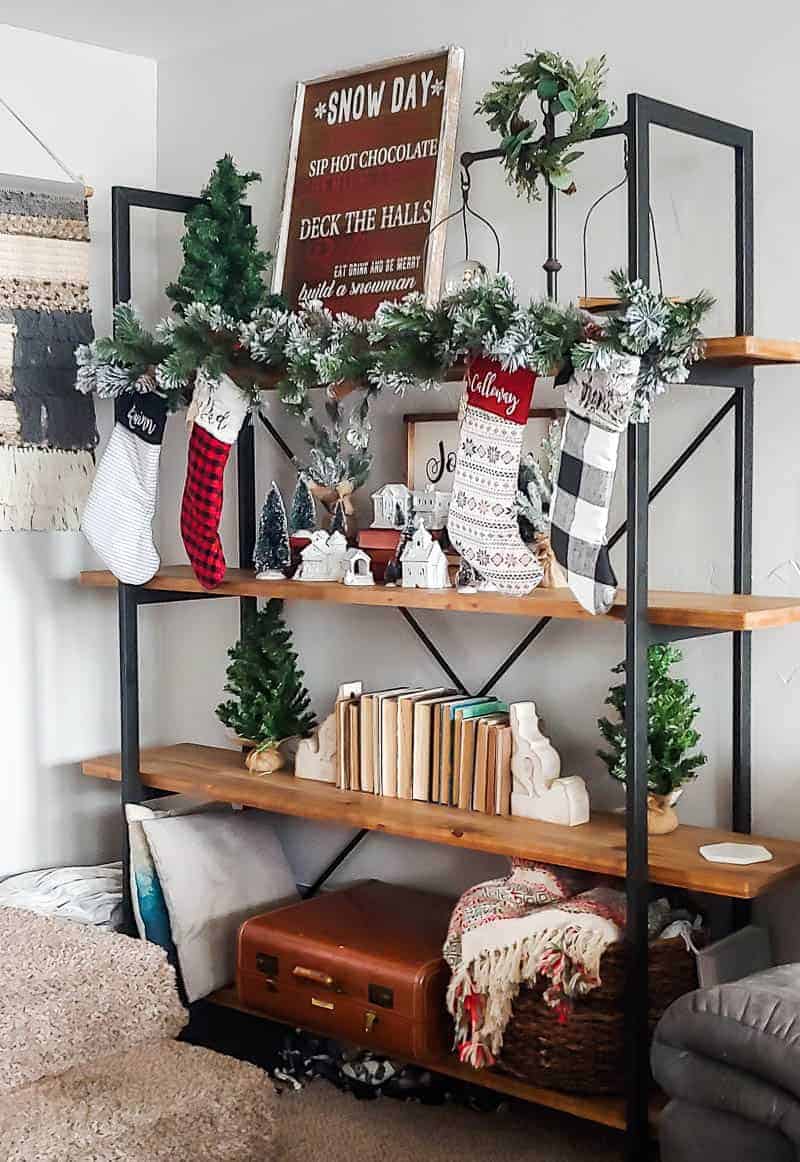
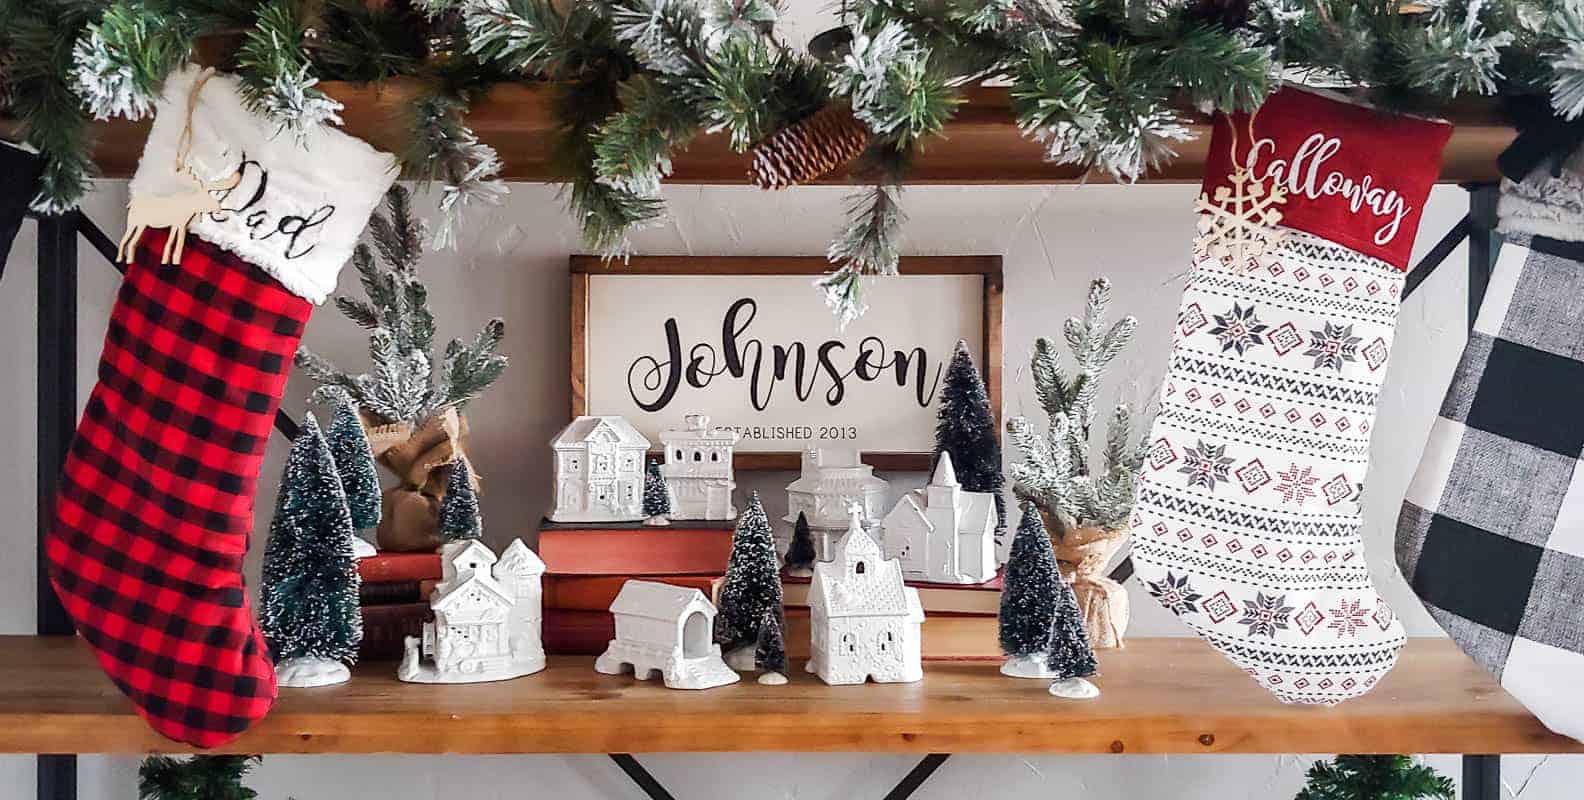
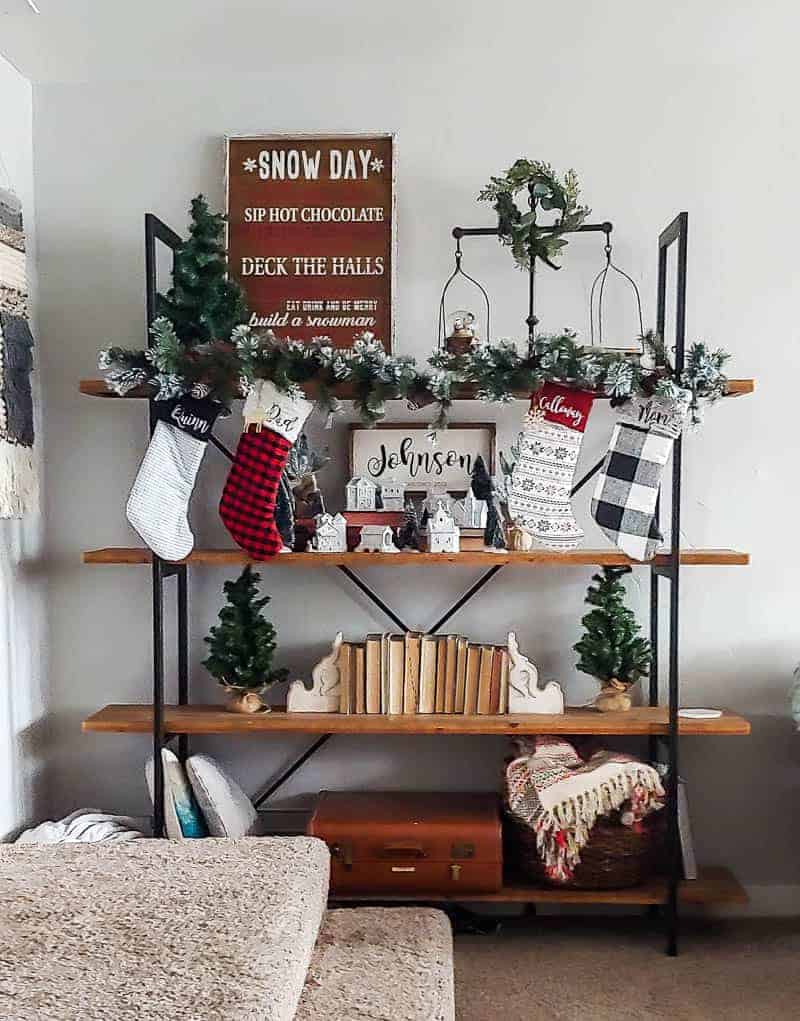
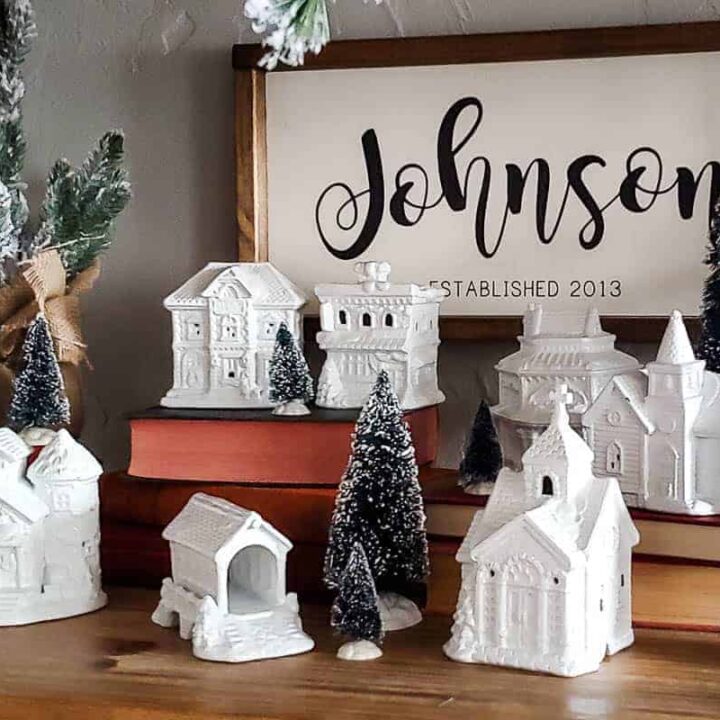
Just look how cute it looks on my living room shelves! Kind of makes me wish I had snagged more little Christmas houses at the the thrift store.
The vintage books stacked up in the back provide the perfect height variation to put some mini houses up there for a 2nd level. Mixed in with some vintage bottle brush trees that I picked up at a garage sale a few years ago that look like cute little evergreen trees, it’s just so cute!
If you want to take it one step further for your own Christmas village, you can also add fake snow everywhere. Usually, they have faux snow on sale at the Dollar Store around the holidays.
The sky’s the limit with your DIY Christmas village. You can add more houses and village accessories over the years. When you find new houses all you have to do is paint them white and they will match instantly!
They are so much fun to decorate with. Inevitably, my kids always rearrange them after I set them up the first time. Sometimes I end up finding their little toys mixed in around the houses. But it’s not a big deal. It’s our little family tradition to rearrange them all season long.
Related – Need some help styling shelves? You’ve got to read this post about How To Decorate Shelves
I love the way our cute new personalized Christmas stockings from this Etsy shop frame the mini village.
Spraying your holiday village with white paint is a simple yet brilliant way to create that fresh, snowy vibe to fit in with neutral Christmas decor without breaking the bank.
Before you know it, your Christmas village will be a dazzling display of holiday cheer! We hope you’ve found our tips and tricks helpful in transforming your village into a winter wonderland.
What’s the best deal you’ve ever found at the thrift store?
Let me know in the comments below!
How To Make A DIY Christmas Village Makeover
If you love neutral farmhouse decor, you'll love this simple DIY mini Christmas village craft! Turn a classic Christmas village into a snow-covered Christmas scene in just 2 simple steps.
Materials
- Miniature Christmas Village Figurines
- White Primer
- Spray Paint
- All Purpose Cleaner (optional)
Instructions
- Clean village figurines
- Spray paint Christmas village
Want to see more Christmas craft projects? Check out these posts!
- Fake Gingerbread House with Dollar Tree Dollhouse
- DIY Wood Nativity Scene
- How To Make A Christmas Tree Star with Yarn and Cardboard
- Wood Bead Ornaments: 3 Easy Tutorials
- Macrame Christmas Ornaments: 3 Easy Versions
- How To Make Easy Faux DIY Mercury Glass Christmas Ornaments
- DIY Matte Textured Ornaments with Dollar Tree Ornaments
- Homemade Mulling Spices for Christmas Gifts with Free Printable Tag
- Easy DIY Stovetop Potpourri Gift Idea with Free Printable Tags
- How To Make Cheap and Easy Paper Bag Snowflakes with Lunch Bags
- How To Make Cotton Ball Garland for Less Than $5
- DIY Stocking Tags | Cheap & Easy Idea Anyone Can Do
- Easy DIY Gnome for Christmas Decor Using Dollar Store Materials
- Easy Boho DIY Yarn Christmas Trees
- DIY Christmas Village Makeover For Less Than $10
- Handmade Christmas Ornament with Farmhouse Style
- DIY Wrapping Paper For Christmas Gift Wrap
- How To Make Christmas Gift Tags With The Silhouette Mint
- DIY Dreamcatcher Ornament for Boho Christmas Tree
- Easy Leather Christmas Ornaments – Circles with Wood Beads
- DIY Leather Ornaments – Mini Christmas Tree with Wood Beads
- How To Make A Fabric Christmas Tree
- Rustic Christmas Advent Calendar
- Fabric Christmas Ornaments Made With Homespun Fabric – 4 Different Tutorials
- Cozy Sweater Covered Vases


I did this years ago with exactly that, thrifted houses, churches, etc. I went a bit further and added I think it was German glitter glass to the tops and where ever it fell and they are perfect! So much easier than trying to match colors and styles.
Love that idea!! Thanks for sharing.
P.S. I forgot to mention that years ago I was able to pick these up for 25 cents up to 2.00. Today they are much pricier but even still, much cheaper than buying new ones! I love that little covered bridge you display and you just gave me a wonderful idea to add to my houses. They do in fact, make perfect farmhouse decor!
Fabulous ideas I love the idea of the fabric tree and the white little village houses I’m also thinking of doing the white paint idea to update my ceramic navity scene that I have had for years.Thanks for sharing.