I know what you are thinking. WHAT?!? We haven’t gone trick or treating yet, I know.
Ok, don’t shoot the messenger here. I’m not the one that had out the Christmas decorations in July…. ahem, Hobby Lobby. I’m looking at you.
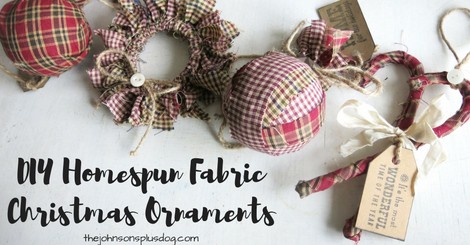
As we move into the Holiday season over here, I thought today I would show you how to make some easy DIY fabric ornaments. These can also make great handmade gifts for Christmas.
I am not a seamstress… I don’t even own a sewing machine. So I don’t wander down the aisles of the fabric section very often, but when I do… it’s almost always for homespun fabric.
Table of Contents

Want to see more Christmas craft projects? Check out these posts!
- Wood Bead Ornaments: 3 Easy Tutorials
- Macrame Christmas Ornaments: 3 Easy Versions
- How To Make Easy Faux DIY Mercury Glass Christmas Ornaments
- DIY Matte Textured Ornaments with Dollar Tree Ornaments
- Homemade Mulling Spices for Christmas Gifts with Free Printable Tag
- Easy DIY Stovetop Potpourri Gift Idea with Free Printable Tags
- How To Make Cheap and Easy Paper Bag Snowflakes with Lunch Bags
- How To Make Cotton Ball Garland for Less Than $5
- DIY Stocking Tags | Cheap & Easy Idea Anyone Can Do
- Easy DIY Gnome for Christmas Decor Using Dollar Store Materials
- Easy Boho DIY Yarn Christmas Trees
- DIY Christmas Village Makeover For Less Than $10
- Handmade Christmas Ornament with Farmhouse Style
- DIY Wrapping Paper For Christmas Gift Wrap
- How To Make Christmas Gift Tags With The Silhouette Mint
- DIY Dreamcatcher Ornament for Boho Christmas Tree
- Easy Leather Christmas Ornaments – Circles with Wood Beads
- DIY Leather Ornaments – Mini Christmas Tree with Wood Beads
- How To Make A Fabric Christmas Tree
- Rustic Christmas Advent Calendar
- Fabric Christmas Ornaments Made With Homespun Fabric – 4 Different Tutorials
- Cozy Sweater Covered Vases
What is homespun fabric?
Well, according to this article in Our Pastimes, It’s a weave fabric and gets its name because it is similar to the style of fabric that women used to spin at home… hence the name homespun.
Homespun fabric is bound to have some small imperfections and nubs woven into the fabric. Each thread is a different color and it’s typically a plaid pattern.
Another characteristic of homespun fabric is that the print is the same on the front and the back.
I love using homespun fabric for Christmas decorations and ornaments. I even incorporate homespun fabric into my wrapping sometimes (think fabric ribbon and bows)!
The rustic colors of the fabric, which are usually found with hunter and olive green, burgundy, and tan lend themselves well to primitive Christmas decorations.
Today I’m sharing tutorials for 4 different kinds of homespun fabric Christmas ornaments.
This fabric Christmas ornaments tutorial contains affiliate links, but nothing that I wouldn’t wholeheartedly recommend anyway! Read my full disclosure here.
Homespun Fabric Christmas Ornament #1
(Fabric Strip Ball Ornament)


Supplies for fabric Christmas ornament #1 (fabric strip ball ornament):
- Homespun fabric
- Foam ball (I use 3” ones) – (UPDATE: Shout to a viewer named Kelly here. She gave me the great idea during a live video of using whiffle balls purchased from the Dollar Store instead, it’s probably cheaper!)
- Glue (I love 3-in-1 Craft Glue. Hot glue would work too!)
- Jute twine
- Mini metal star *optional (I used 1”)
- Stamped paper tag *optional
- Scissors (these ones work GREAT on fabric!)

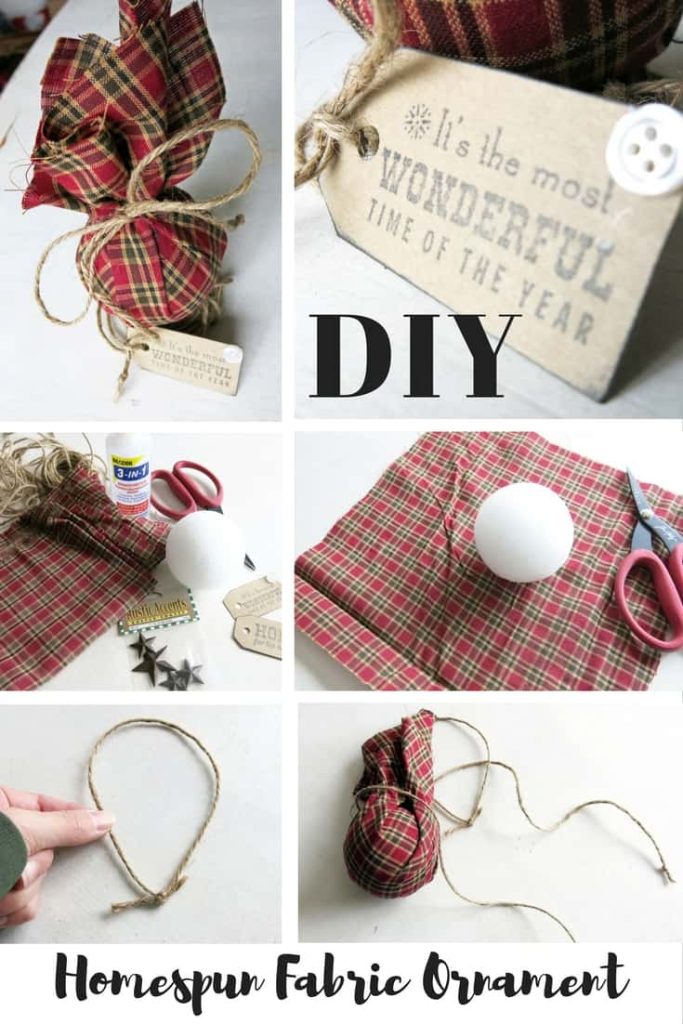
Step 1: Cut fabric into strips
For this ornament, you’ll want to cut your homespun fabric into strips about 1 inch wide and approximately 12 inches long or long enough to wrap around the ball with about 3 inches on each side at the top. I love the Tim Holtz Tonic Scissors for all my crafting needs.
I like to use 3 different patterns. You’ll need about 5-6 fabric strips per ornament.
Step 2: Glue on your fabric strips
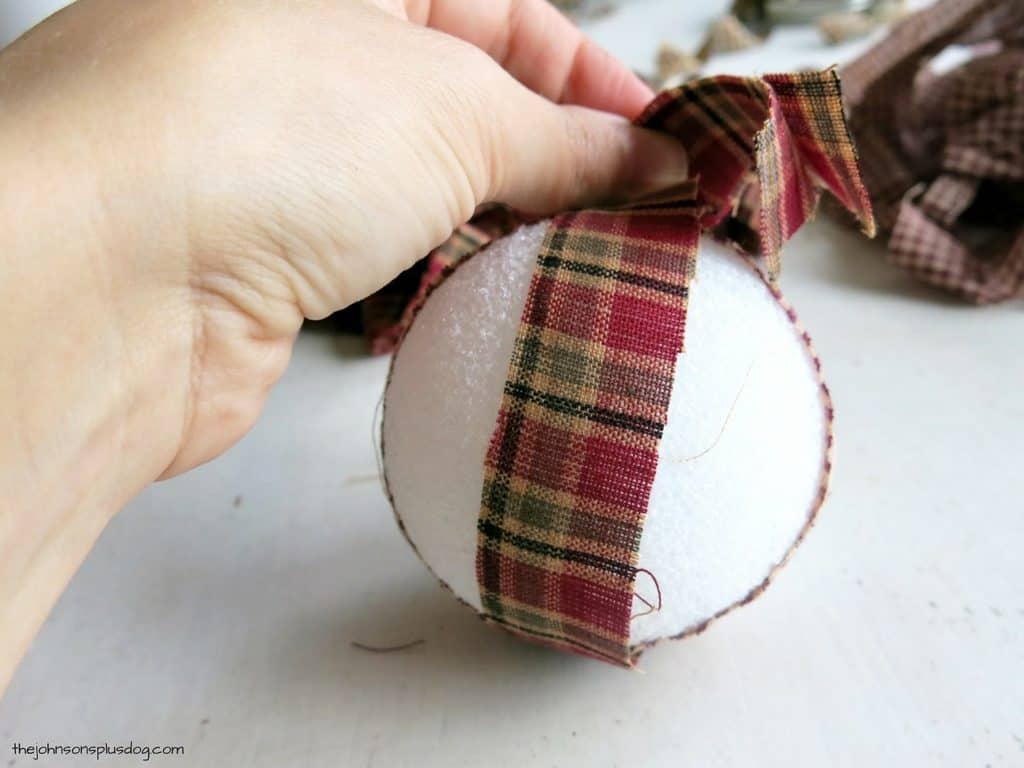
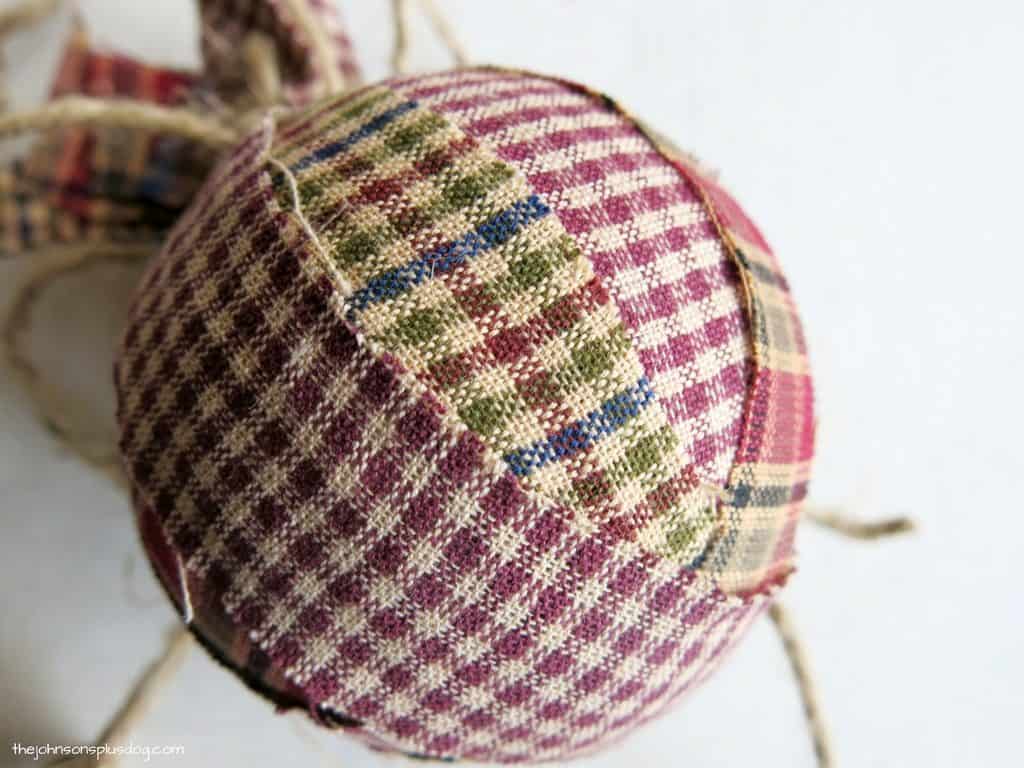
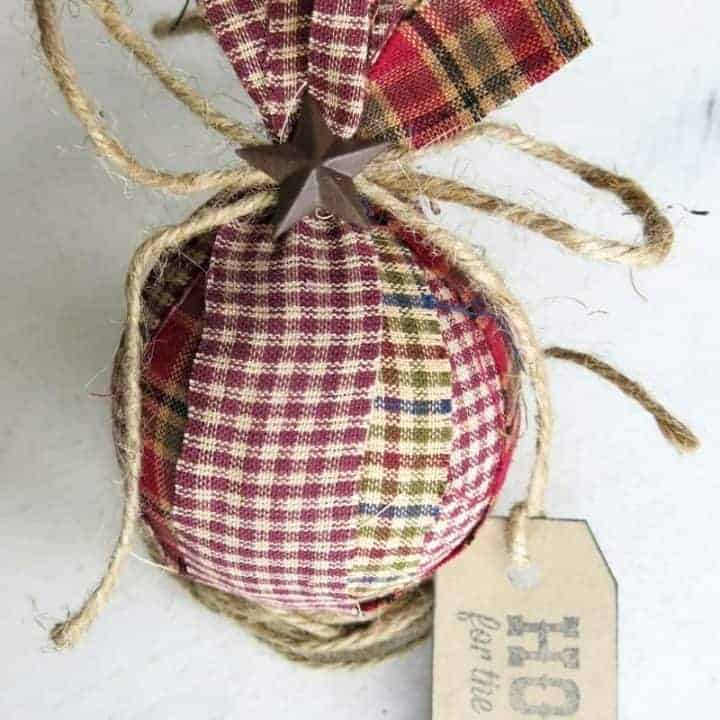
I spread some 3-in-1 glue on the fabric strip and wrap around the foam ball, bunching your fabric ends at the top. You can also use another type of crafting glue or hot glue.
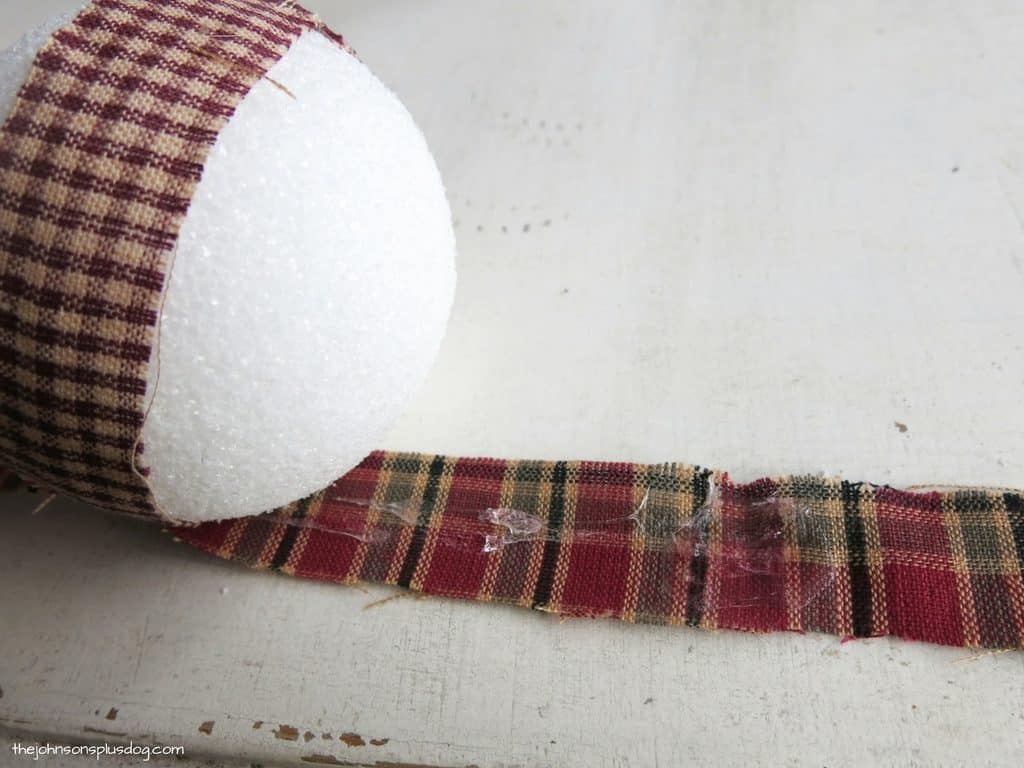

Continue attaching your fabric strips until the entire foam ball is covered.
Step 3: Make a jute twine hanger
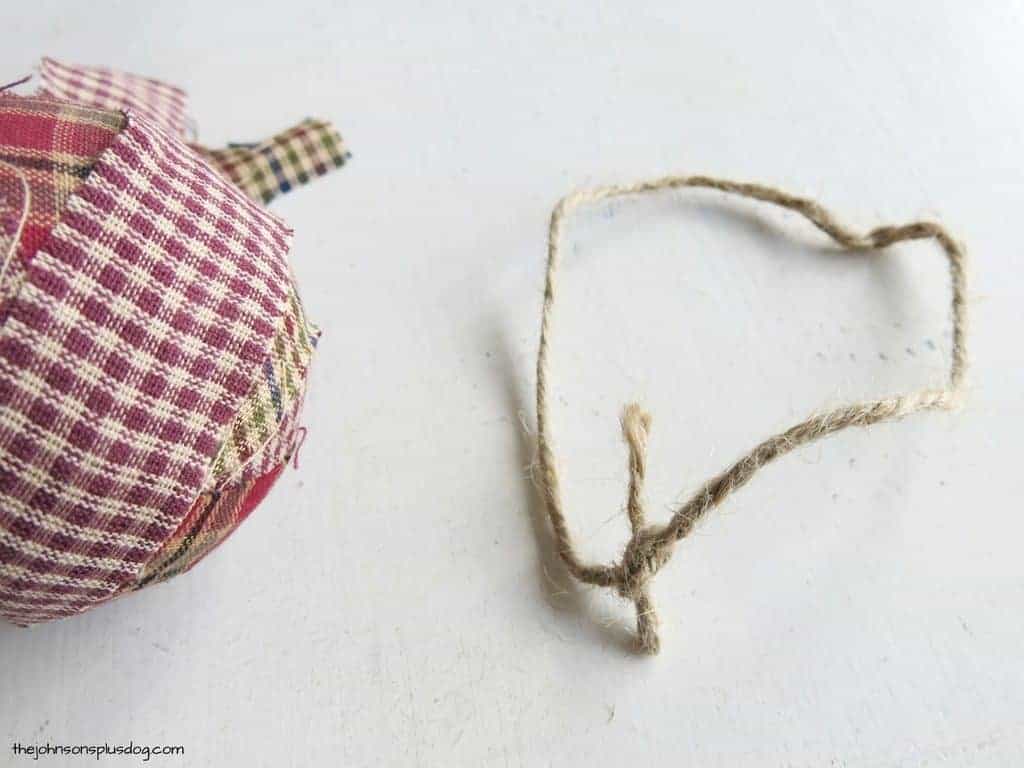
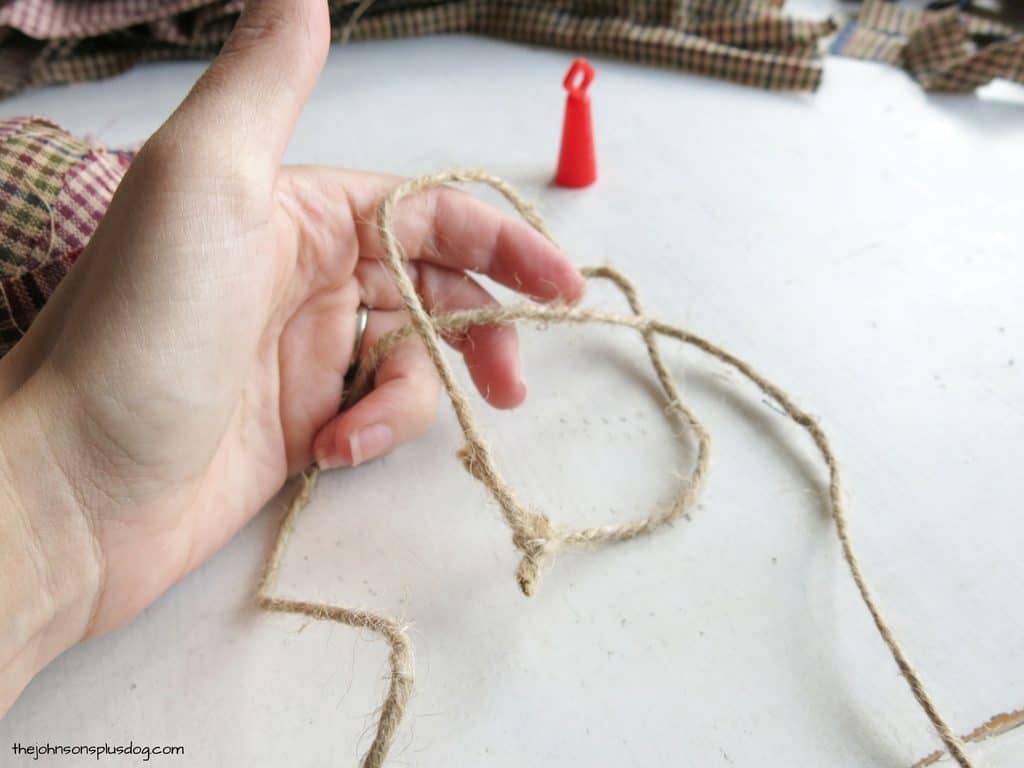
To make the hanger, I make a circle of jute about 6 inches tall.
Next, I take another piece of jute twine about 14-18 inches long. This will be your bow, so the longer the twine, the larger the bow. You can always cut off the extra string.
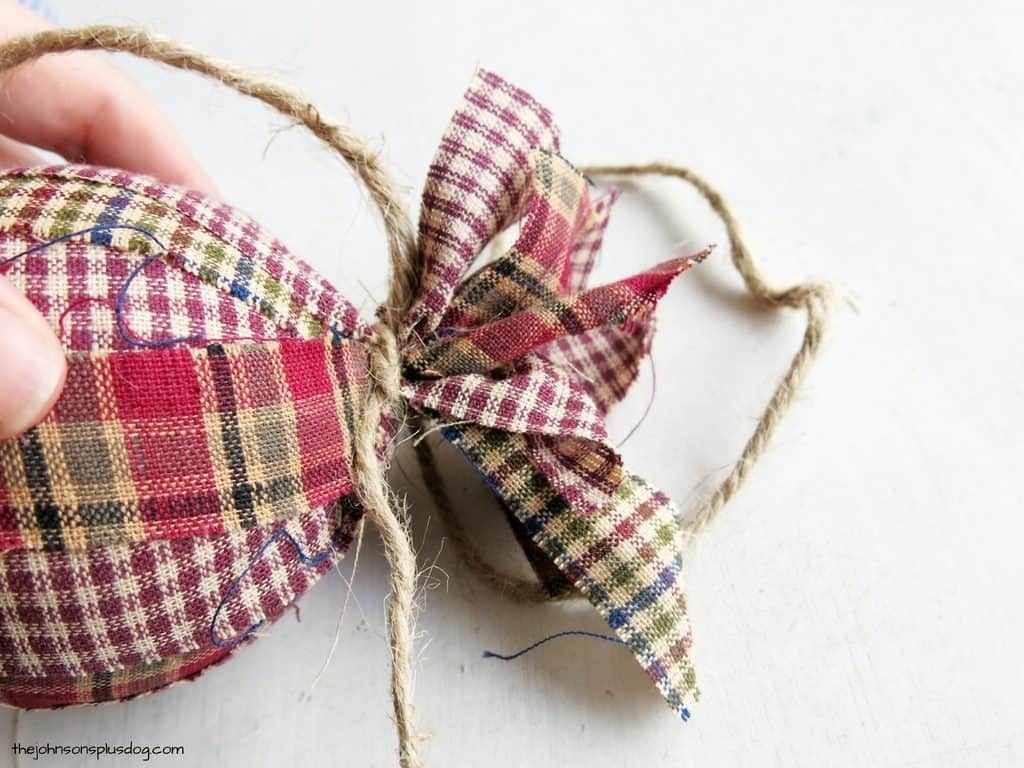
Run this longer piece through the smaller circle and then tie it around the fabric bunches at the top of your ornament.
You can adjust the smaller circle so the knot is in the back of the ornament and hidden. Then tie it tightly and finish off with a bow.
Step 4: Glue on a rustic metal star (optional)
This part is optional, but I love the extra rustic charm it adds to the fabric ornament.
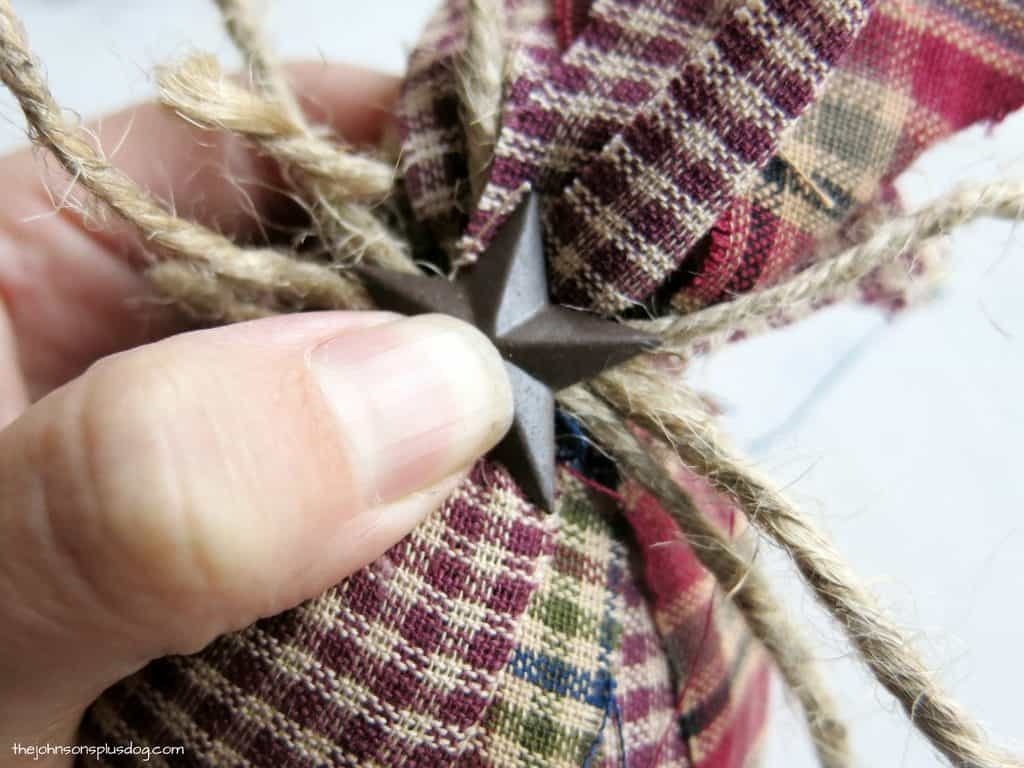
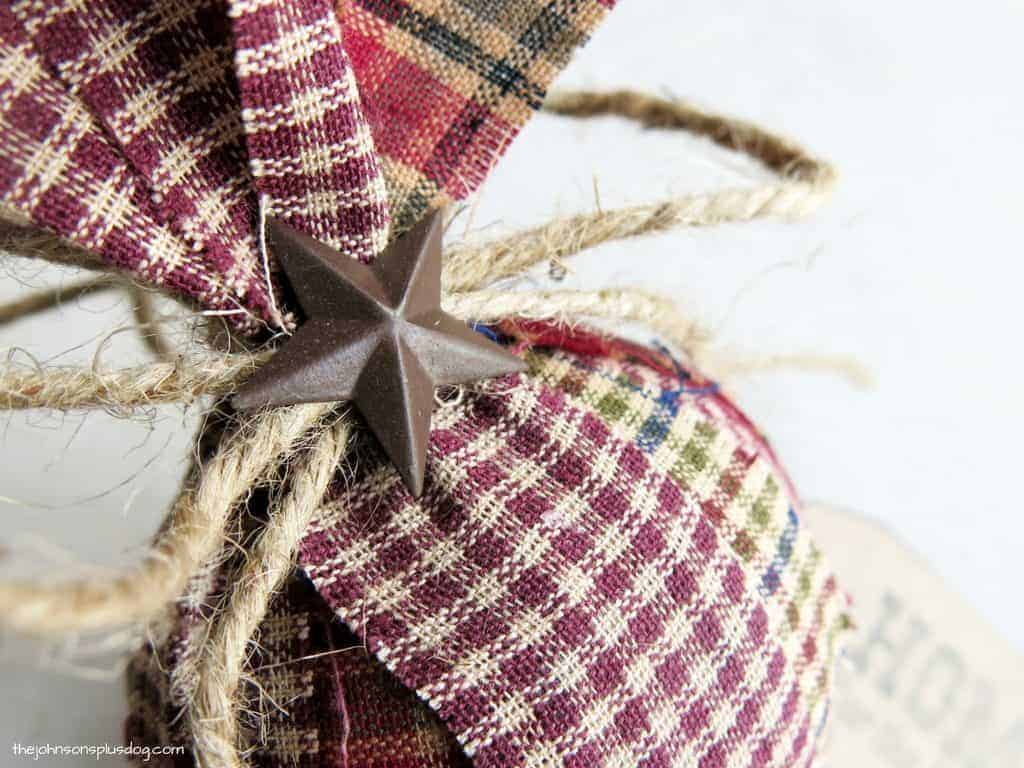
These stars can be a little hard to find, but I get mine on Amazon. I like the 1-inch size stars for the ornaments. I’ve tried larger ones and I found the 1-inch size is a little easier to glue on.
Use a dab of this glue and hold it onto the center of the jute bow for about 20-30 seconds.

Step 5: Attach a stamped Christmas tag
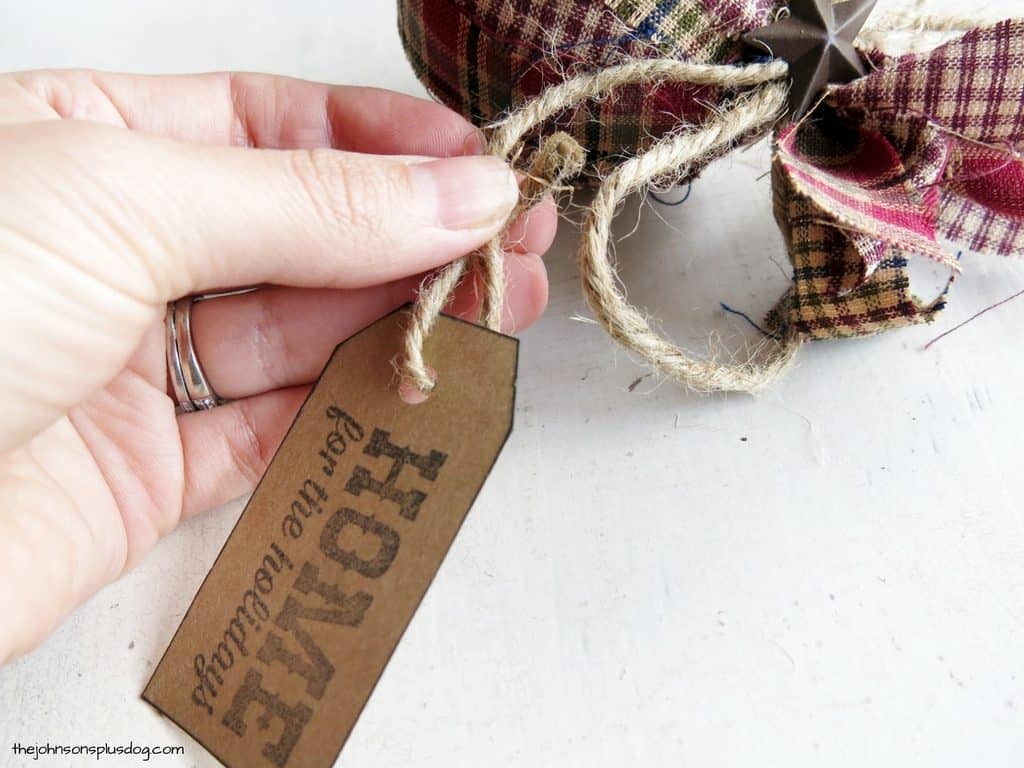
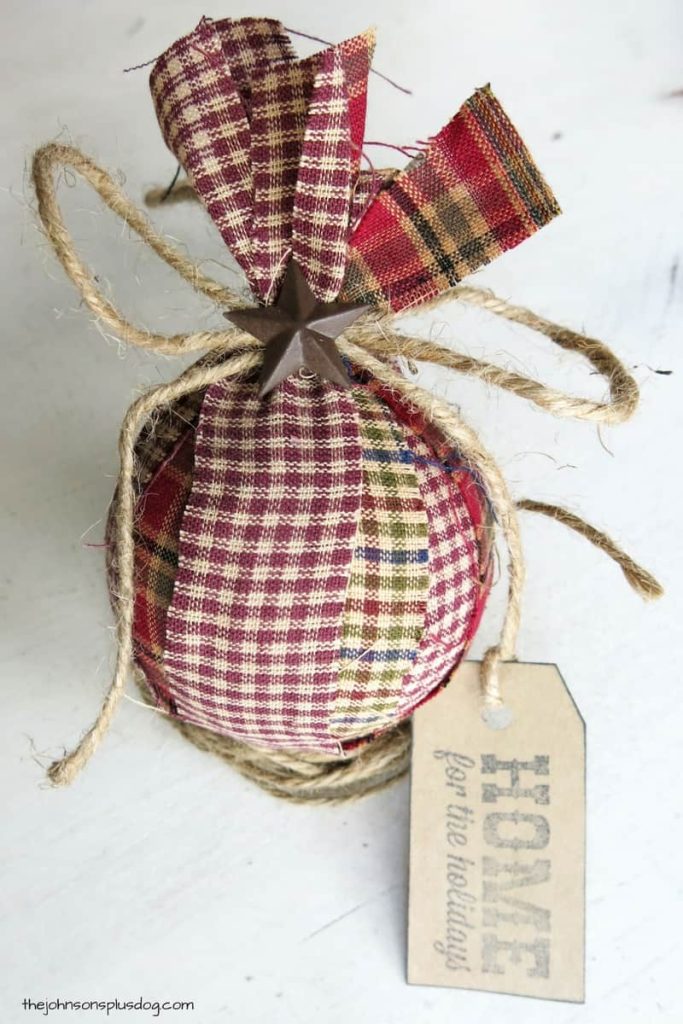
I like the extra touch of Christmas that the stamped tags add. I just use a Christmas stamp with a fun holiday saying on a kraft paper tag and tie on one of the ends of the bow.
Lastly, you can tie knots at the end of the jute so it doesn’t unravel!


Homespun Fabric Christmas Ornament #2
(Bunched Fabric Ball Ornament)

Supplies for bunched homespun fabric ball ornament:
- Homespun fabric
- Foam ball (I use 3” ones)
- Glue (I love 3-in-1 Craft Glue. Hot glue would work too!)
- Jute twine
- Mini metal star *optional (I use 1”) I didn’t end up using one of these on this ornament, I can always add one later if I want.
- Stamped paper tag *optional
- Scissors (Love these ones for cutting fabric)

Step 1: Cut your fabric in a square
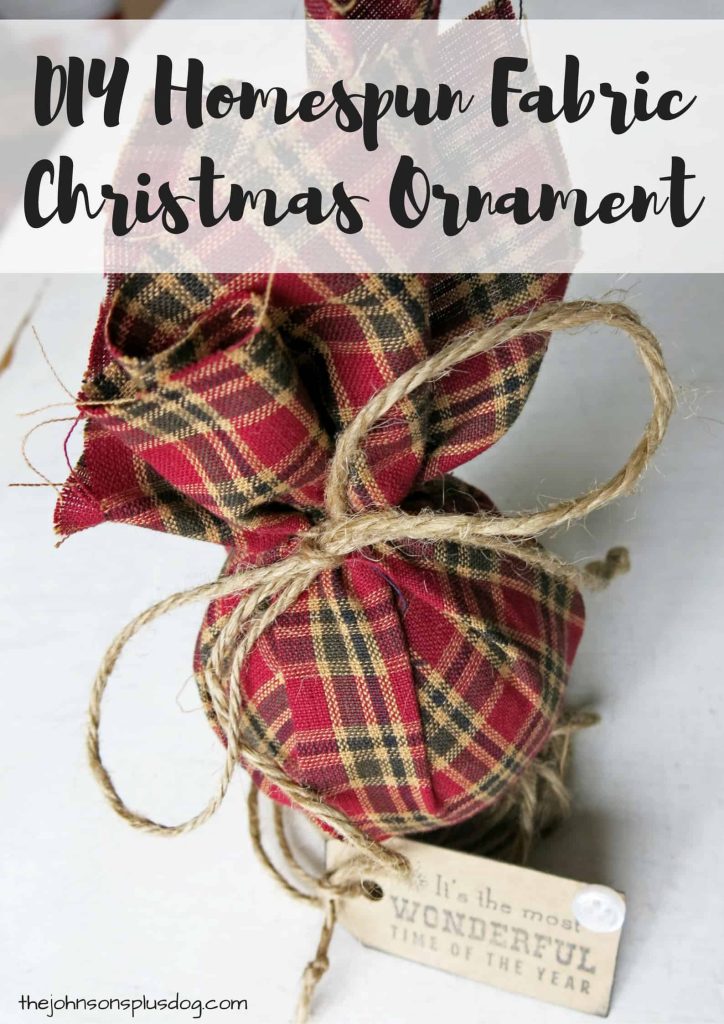
I usually use a piece about 12” x 12” square. Just make sure when you bunch the fabric around the ball that it covers the entire foam ball.
The larger the square, the more fabric you’ll have bunched at the top. I love the Tim Holtz Tonic Scissors to cut the fabric.
Step 2: Bunch and glue your fabric on the ball
I usually spread some 3-in-1 glue all over the foam ball and then wrap the fabric around and bunch at the top.
Step 3: Make your jute hanger
Next, make the hanger exactly how you made the one in the 1st ornament.
- To make the hanger, make a circle of jute about 6 inches tall.
- Next, take another piece of jute twine about 14-18 inches long. This will be your bow, so the longer the twine, the larger the bow. You can always cut off the extra string.
- Run this longer piece through the smaller circle and then tie it around the fabric bunches at the top of your ornament.
- You can adjust the smaller circle so the knot is in the back of the ornament and hidden.
- Then tie it tightly and finish off with a bow.


The knots at the end of the longer jute piece help it not unravel.


Homespun Fabric Christmas Ornament #3
(Mason Jar Lid Mini Fabric Wreath)


Supplies for mason jar lid mini fabric wreath ornament:
- Homespun fabric
- Mason jar lid ring (wide mouth or regular work fine)
- Jute twine
- White or tan button *optional
Step 1: Cut homespun fabric
I was actually looking for a way to reuse the scraps from the fabric strip ball ornament (1st tutorial on this post) and that’s how this idea came about!
Your strips will need to be about 1 inch wide and 4-5 inches long. You can play around with different lengths to see what you like best for these fabric ornaments.

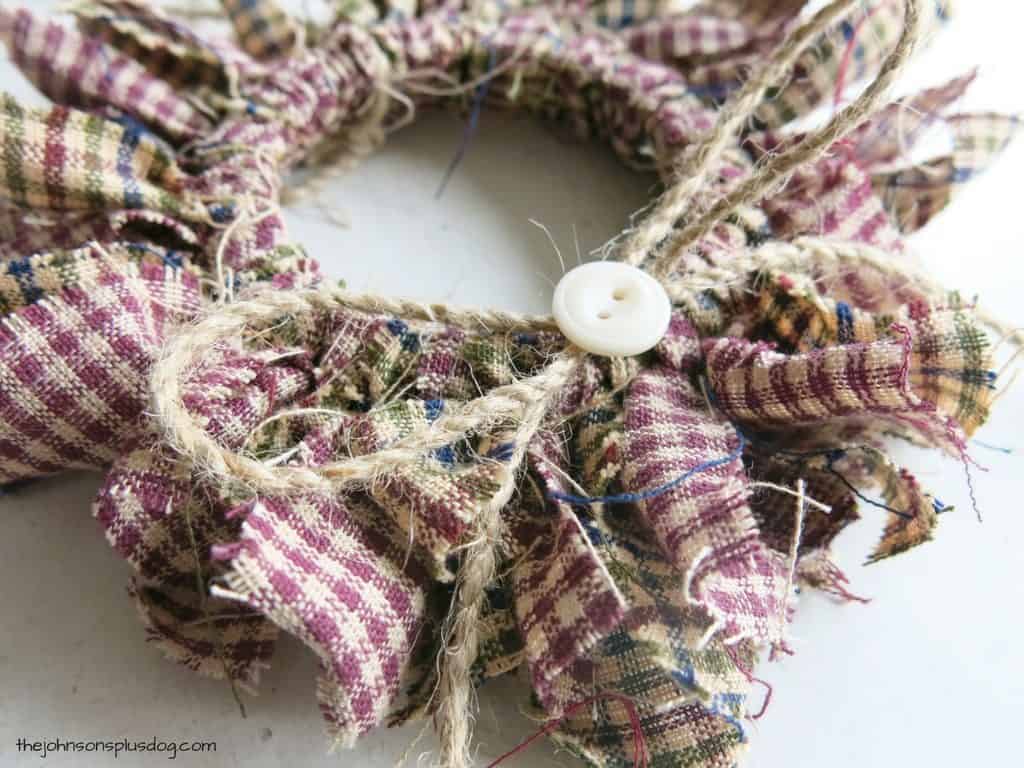
Step 2: Tie fabric on to mason jar lid ring
I just did a simple tie around the ring to attach the fabric to the mason jar lid… similar to the first step of tying your shoelaces.
Continue to fill in around the mason jar lid ring until it’s all covered.


Step 3: Make a jute hanger
To make the hanger, I made a circle of jute about 3 inches wide around the ring and secured it with a dab of glue.

I finished it off by tying a knot on the top.

Step 4: Attach jute bow and button
Next, I just made a little jute bow and glued it onto the front of the mini wreath using my 3-in-1 glue.
Then I glued a cute little button to the center of the bow. Knot the ends of your jute bow to prevent unraveling.


Homespun Fabric Christmas Ornament #4
(Fabric Wrapped Candy Cane Ornament)


Supplies for fabric wrapped candy cane ornament:
- Homespun fabric
- Plastic candy canes
- Glue (I love 3-in-1 Craft Glue. Any craft glue or hot glue would work too!)
- Jute twine
- White/tan button
- Seam binding ribbon
- Stamped paper tag *optional
Step 1: Cut fabric
Cut your fabric into strips approximately 1 inch wide. I love using the Tim Holtz Tonic Scissors for cutting fabric and other craft projects.
Alternatively, you can also rip the fabric for a more rustic look!
Step 2: Glue and wrap fabric around candy canes
I apply the 3-in-1 glue all over the candy cane and wrap fabric starting from the bottom.


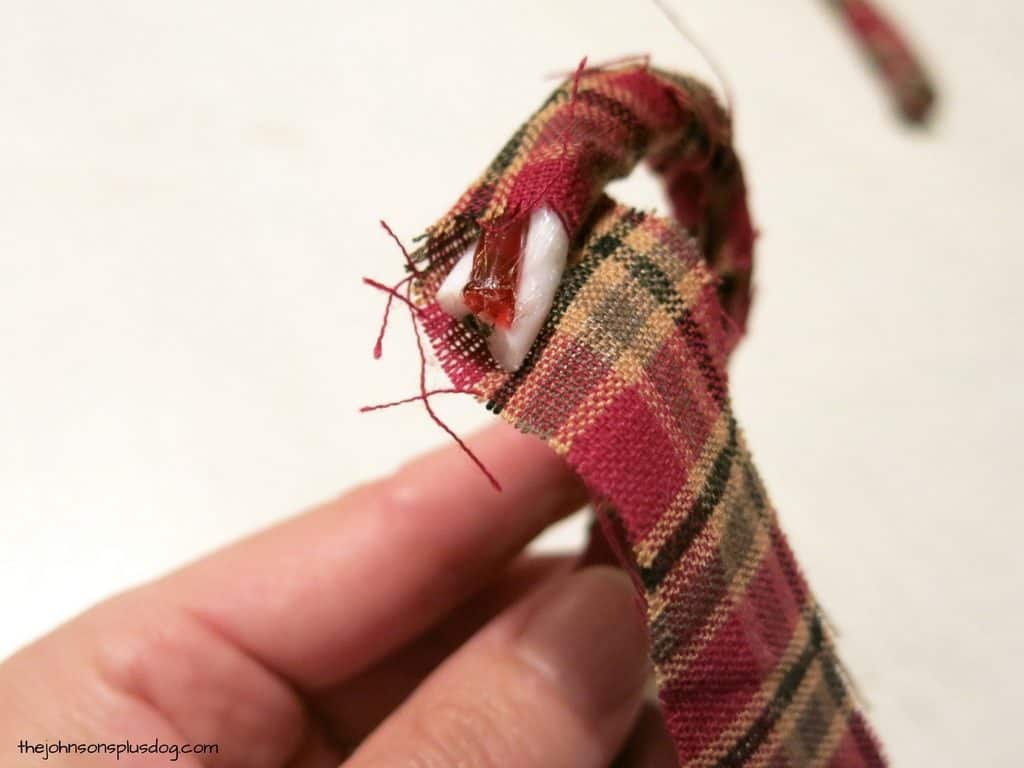
Step 3: Glue candy canes together
Just apply a dab of glue where the candy canes meet and hold until the glue has set (about 30 seconds or so).

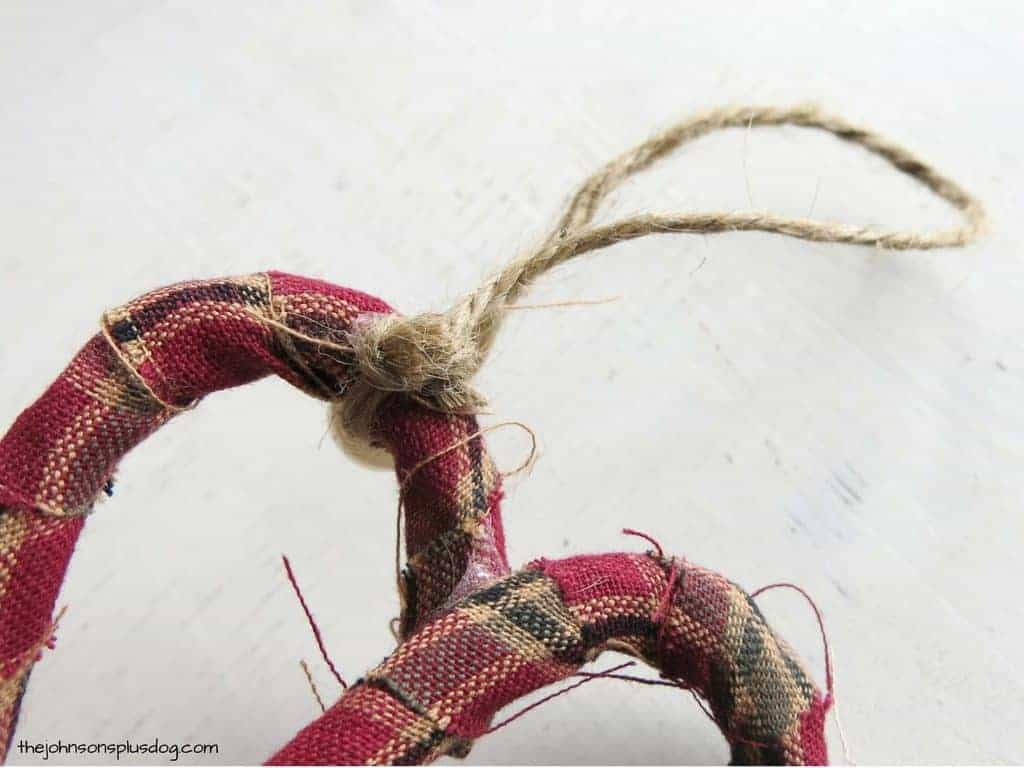
Step 4: Make a jute hanger
I cut a piece of jute about 6 inches long and tie it around to the top of the candy cane. Tie a knot and secure it to the back of the ornament with a dab of glue.
Apply a button to the front for an extra added rustic touch.

Step 5: Tie on stamped tag
Cut a small piece of jute (about 3 inches) and tie a loop around the candy canes where they criss-cross.


Step 6: Finish off with crinkle ribbon bow
First of all, this seam binding ribbon is the BEST! To make it look the way it does in the photo I get it wet and pour some coffee over it (yes… I said coffee!).
Then I let it sit for about 15 minutes or so.
Ring it out and let it dry overnight.
You can totally dye it in other colors using ink or dye. I use this stuff on everything! Isn’t it awesome?

You can tie this cute bow over the jute loop holding the tag to cover the knot in the back.


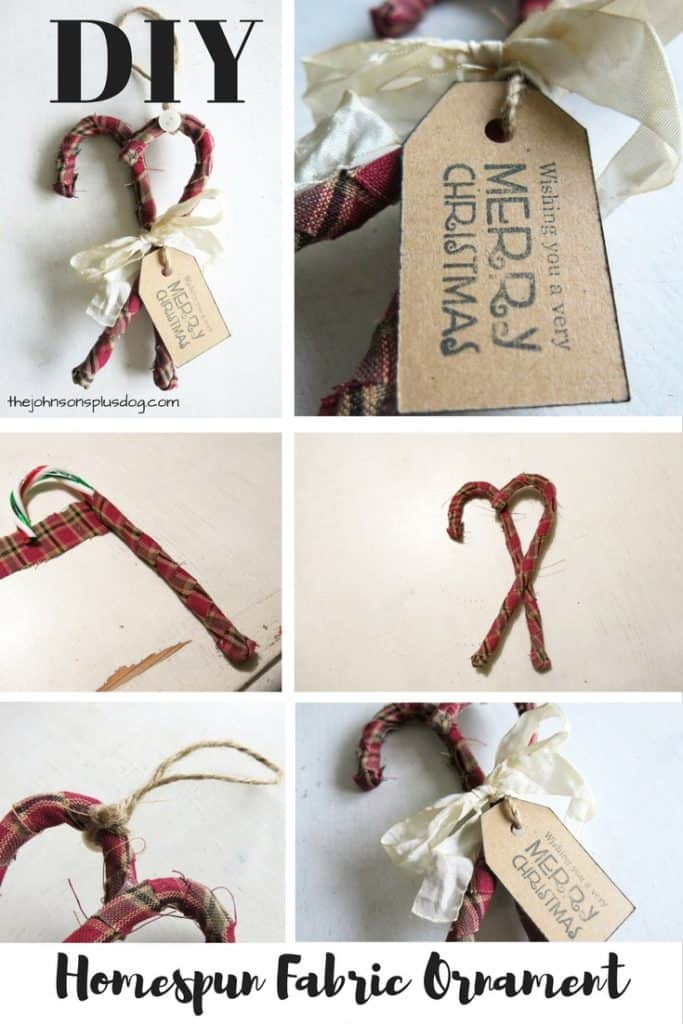
There you have it!
Did you like these fabric Christmas ornaments?
I’ve given these fabric ornaments to just about every single person on my Christmas list over the years, so it’s safe to say that they make GREAT Christmas gifts.
Which homespun fabric Christmas ornament was your favorite? Do you have any other ideas for how to use homespun fabric this Christmas?
If you love these homespun fabric Christmas ornaments, you’ll love these other Christmas DIY projects:
How to Make Fabric Christmas Ornaments Made With Homespun Fabric
Add a festive homemade touch to your Christmas tree this year with these 4 homemade fabric Christmas ornaments! Learn how to make 4 different fabric ornament designs, all using the same affordable crafting supplies.
Materials
- Homespun fabric
- Foam ball (I use 3” ones)
- Glue
- Jute twine
- Mini metal star *optional (I used 1”)
- Stamped paper tag *optional
Tools
- Scissors
Instructions
- Cut fabric on strips.
- Glue on your fabric strips.
- Make jute twine hanger.
- Glue on rustic metal star (optional)
- Attach a stamped Christmas tag.


Cute ornaments Chelsea!
Thanks Paula! They are so much fun to make.
I really like all of them. So cute! The wreath one would work with different size wood embroidery hoops, too. There you’d get 2. Of course if you’re using bigger hoops (how cute would that be?) you’d probably need wider & longer strips. I don’t own a sewing machine either. Any sewing I do is done by hand (mostly ornaments). It’s hard when you don’t sew & you love fabric to find non sewing ideas.
That is such a great idea to use an embroidery hoop to make a bigger version! I’ve done it before with a wire wreath form and it turned out good but it took a long time! So much cutting and tying 🙂
You can make them using round shower curtain rings as well. I’ve been using them for crafts for years. The method shown is the way I make my primitive flowers, minus one step. I am starting my Christmas ornaments now. 🙂 These are all very cute ideas that I will be doing. I have a primitive rag Garland in the same design as my ornaments. ?
I like your ideas! They look easy and will try it! Sk
Awesome, have so much fun!
Joining you from Noosa , Queensland Australia
Welcome!
Where did you get the stamps for the tags?
I got them years ago at Joann’s I believe.
Do you use real candy canes or fake?
We used plastic.
I used your idea for the canning ring wreath, but used and pair of old curtains and my mom’s PJ’s (so it wasn’t double sided, but super special. She passed away in June and I am making everyone one for Christmas, I then glued the PJ fabric to the canning lid circle and inserted it so more of the pattern can be seen. Turned out super cute.
That sounds like a great way to remember your Mom this holiday season. Blessings to you!