Rustic Painted Wood Sign Tutorial
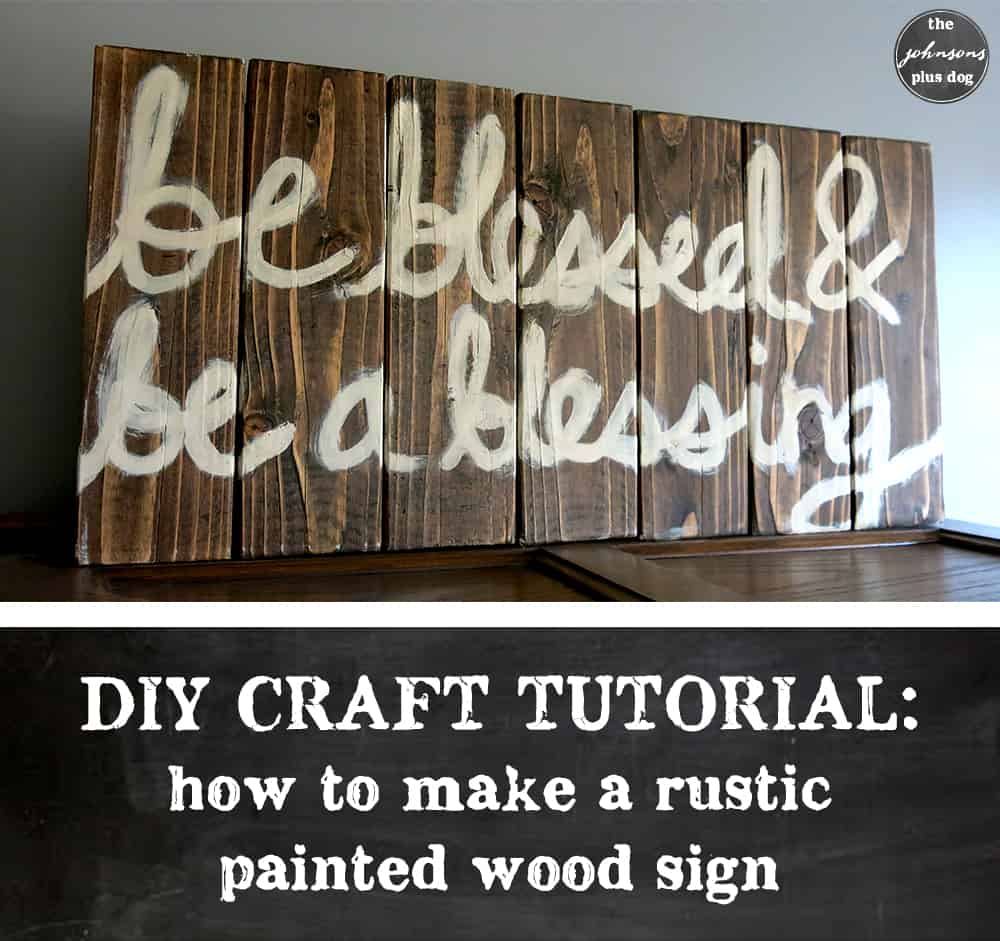
I love making wood signs. This rustic painted wood sign was no exception. You can make your own rustic painted wood sign using 2x4's!
This rustic painted wood sign tutorial contains affiliate links, but nothing that I wouldn’t wholeheartedly recommend anyway! Read my full disclosure here.
Hey guys! I’m so excited to share this fun rustic painted wood sign tutorial with you. This project was a custom order for someone on my Etsy store, Manzanita Exchange.
Custom orders are probably some of my most favorite things to make for my Etsy store. This customer, in particular, had been searching for a sign with a specific saying and wasn’t able to find anything in the style she wanted.
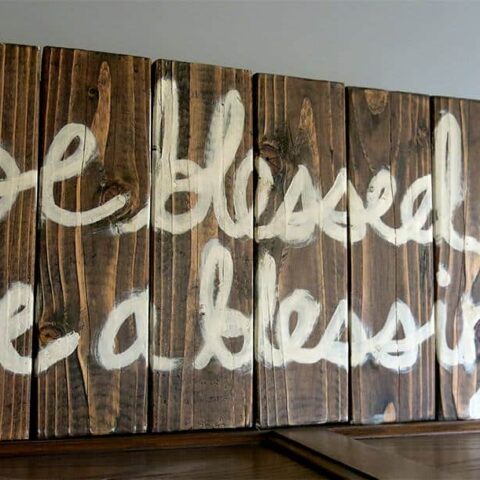
She saw my listing for a rustic painted wood sign that says “blessed” and reached out to see if I could make something similar for her. It was so much fun making this, hope you’ll give the rustic painted wood sign a try too!
The quote she wanted was “be blessed & be a blessing” and it is such a beautiful reminder, isn’t it?
I love making wood signs. Sometimes I use pallet wood, sometimes I use new wood, sometimes I use old wood, sometimes I use my Silhouette Cameo to make a stencil, and sometimes I just freehand the painting. This time I’m going to share with you a sign using new wood and painting freehand.
Are you ready to see how to make a rustic painted wood sign?!
Supplies for rustic painted wood sign
- One 8-foot 2×4 board (new or old)
- Sander with 150-grit sandpaper
- Dark wood stain
- Towel/cloth for stain & finishing wax
- Wood glue
- Finishing nails
- Hammer
- 2 wood boards for the back of the sign (I used two pallet wood pieces)
- Acrylic paint
- Paintbrush (I also used a stencil brush also to create the “rough brush” look)
- Masking or painter’s tape
- Finishing wax
How to make a rustic wood sign step by step.
Step 1. Cut 2×4 boards to size.
I was making my sign about 12” x 24”, so we cut the boards to 12” each, and I used 7 going vertical across the sign. Alternatively, you could place the boards horizontally, like this one.
Keep in mind that 2×4 boards are not actually 2 inches by 4 inches – read more about confusing lumber dimensions here.
Step 2. Lightly sand the boards.
How much you sand really depends on what type of wood you are using. I didn’t need to do much sanding because I was using new wood.
I just wanted to slightly round all of the edges and smooth it out a bit. I used an electric hand sander, but you can certainly sand by hand if you don’t have a sander.
Be sure to wipe off the boards after you sand with a damp rag to get all of the sanding dust.
Step 3. Stain the boards.
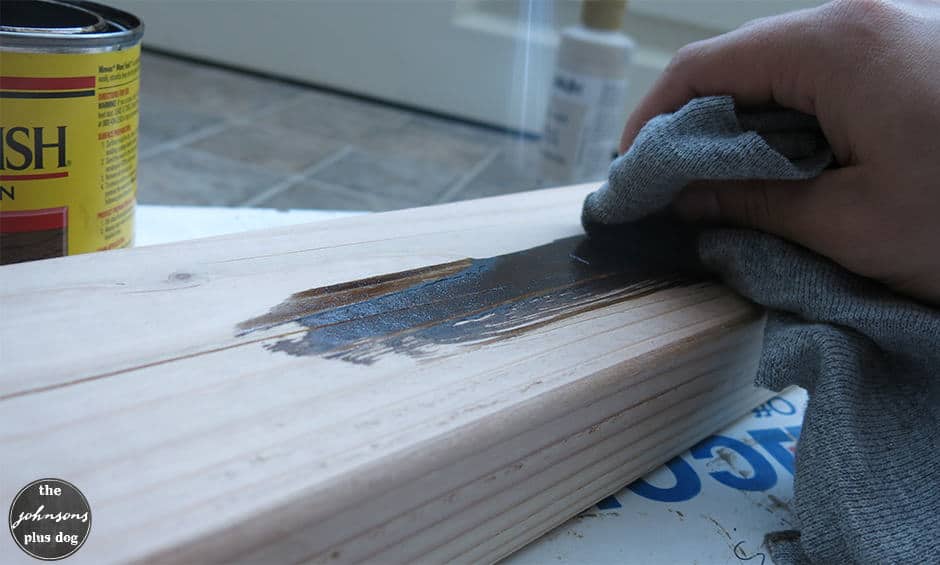
I love the look of a dark wood stain with light letters, like white or cream. But, you can stain your sign any color under the sun.
Also, instead of staining, you could paint it too! I LOVE this ombre-painted sign technique that would look really fun on a sign like this.
I used a cotton rag to apply the stain and I did it pretty heavily because I wanted it to be dark.
Remember to always go with the grain of the wood when applying stain.
I usually stain both the front and the back of the boards to give them a more finished look. But, you don’t really need to stain the back if you don’t want to.
After applying the stain, I usually let it sit for 5-10 minutes and then give it a good wipe with a clean cloth to get all of the excess stain off.
After staining, let it dry. I waited 24 hours or so.
Step 4. Arrange the boards and attach backboard supports.
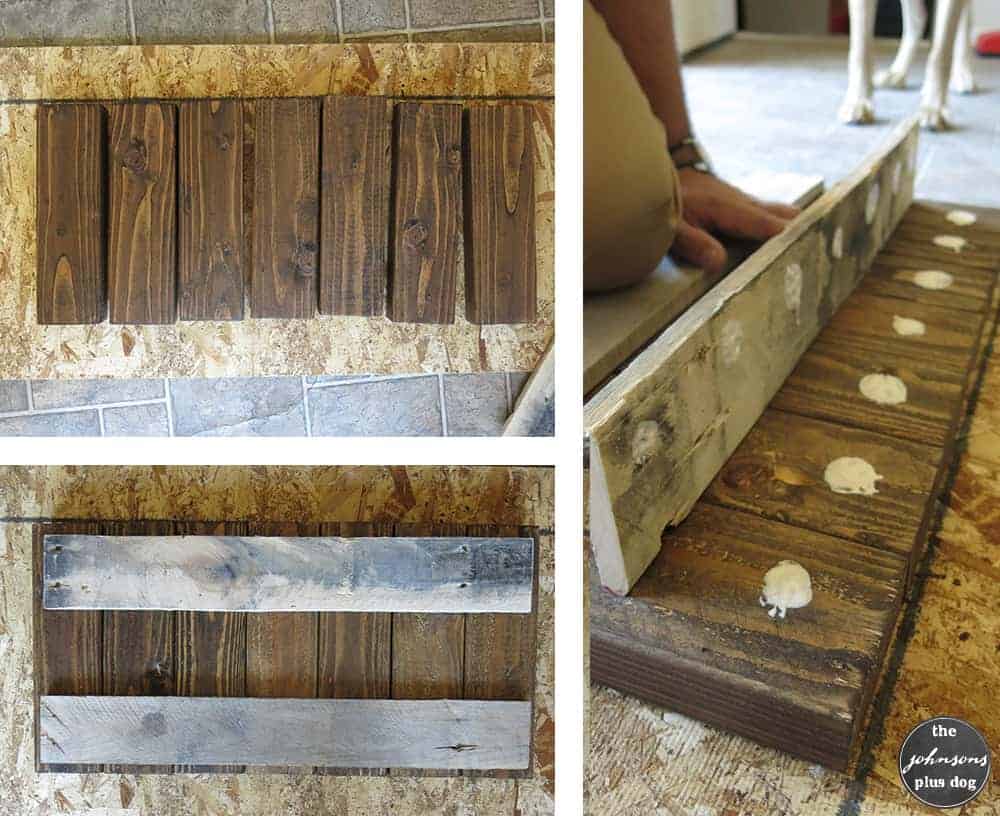
When laying out the boards I always try to space out the variations in the wood grains and knots. Once you have your boards just perfect, flip them over.
To attach the backboard supports, I used pallet wood cut down to size (a little shorter than your sign).
Be sure you attach the top board straight because it is what you will be using to hang your sign on the wall.
Apply wood glue to attach the boards near the top and the bottom and make sure all the boards line up and are square.
Step 5. Nail in your backboard supports.
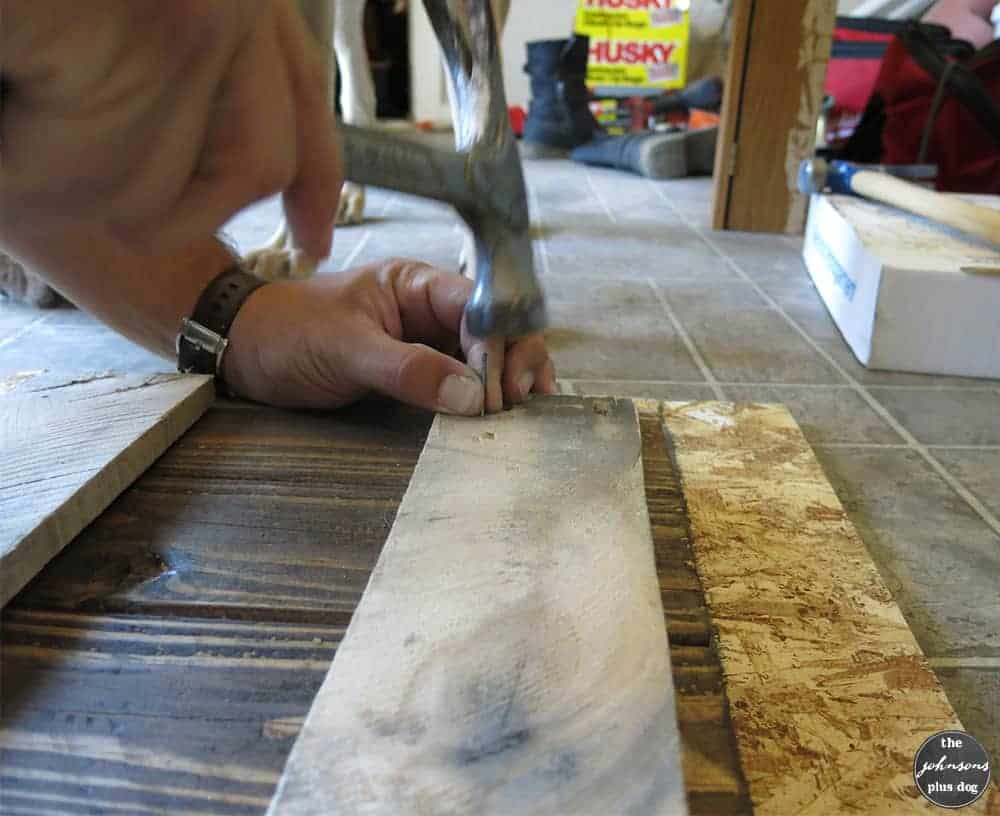
We used finish nails.
Usually, Logan does the hammering while I hold the boards straight, lined up, and square.
We start at one end with one nail, move to the other end with one nail, and then finish with middle boards. We usually do two nails and each board, so on my sign with 7 wood pieces, there were 14 nails on each backboard support – so 28 altogether.
Usually, before I start moving the sign around and prepping to paint, I give it 24 hours, if you’re in a hurry you could probably start painting before the glue dries.
The nails would totally hold it in place, but I’m always super careful because I’m scared of screwing up after putting this much time into already.
Step 6. Trace out your design and start painting!
I use painter’s tape or masking tape to keep my words straight…there’s nothing worse than stepping back and realizing you just painted something totally crooked!
If I’m painting the sign freehand like I did this time, I usually trace the lettering out with a pencil.
I did have a brilliant idea this time to use chalk instead of a pencil but turns out it didn’t work out that great.
The chalk didn’t really want to write on the stained wood that well. I think the chalk thing would work better if the wood was painted instead of stained.
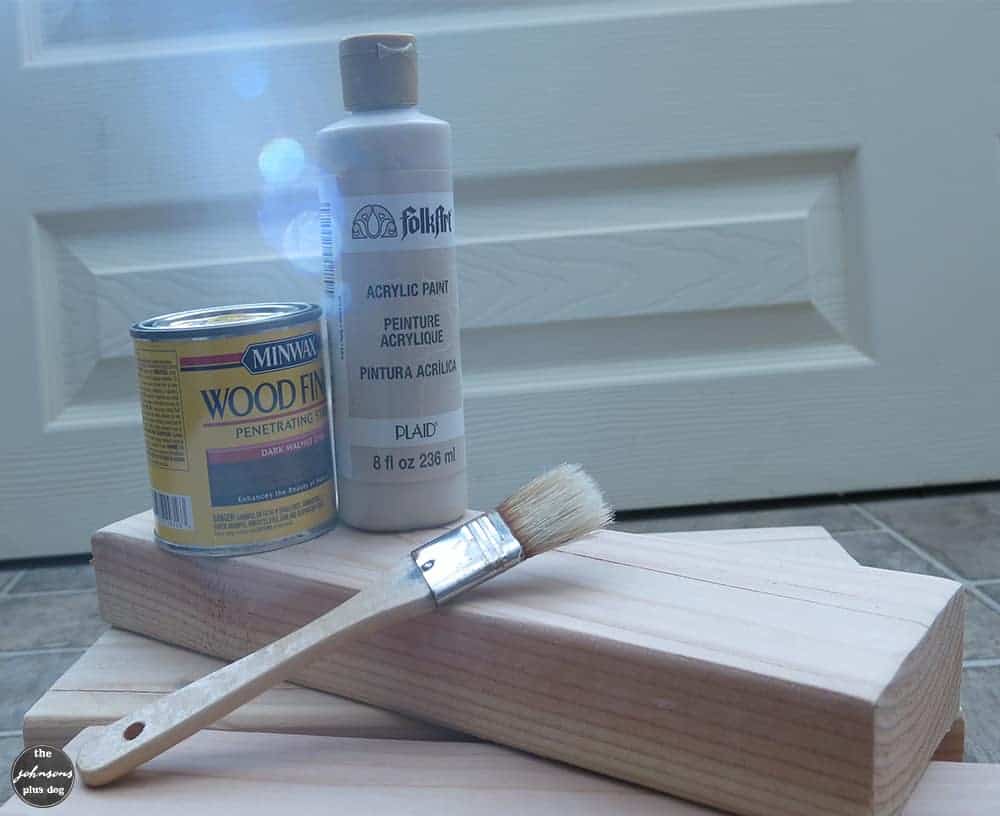
After I trace it out and get a general idea of how it will lay out, I start painting.
For this version, I wanted to use a rough brush look. I was planning to use the old brush in the picture this picture above, but it was way too big/thick for how many words I needed to fit on the sign.
Instead, I ended up taking a quick trip to the craft store because you want to know a secret? Most of my craft supplies are packed up since we’re in the middle of a home renovation!
I got a Size 8 artist brush and a stencil brush. I thought the stencil brush would be able to give me the “rough brush” look and it ended up working out great.
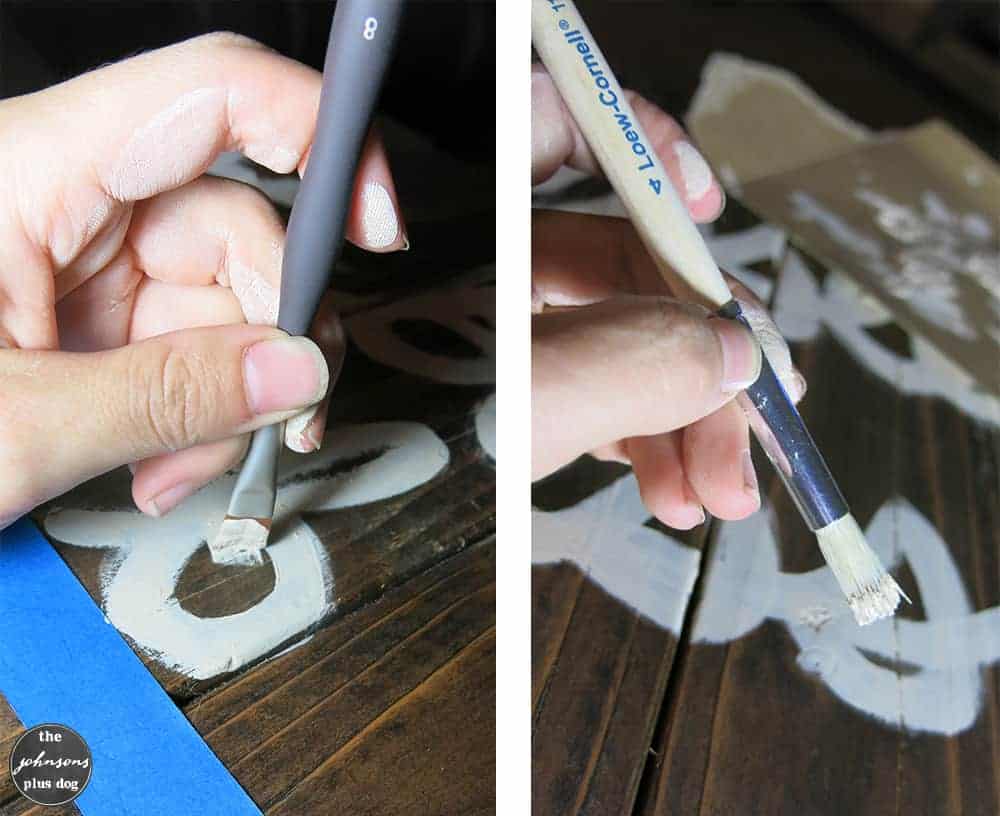
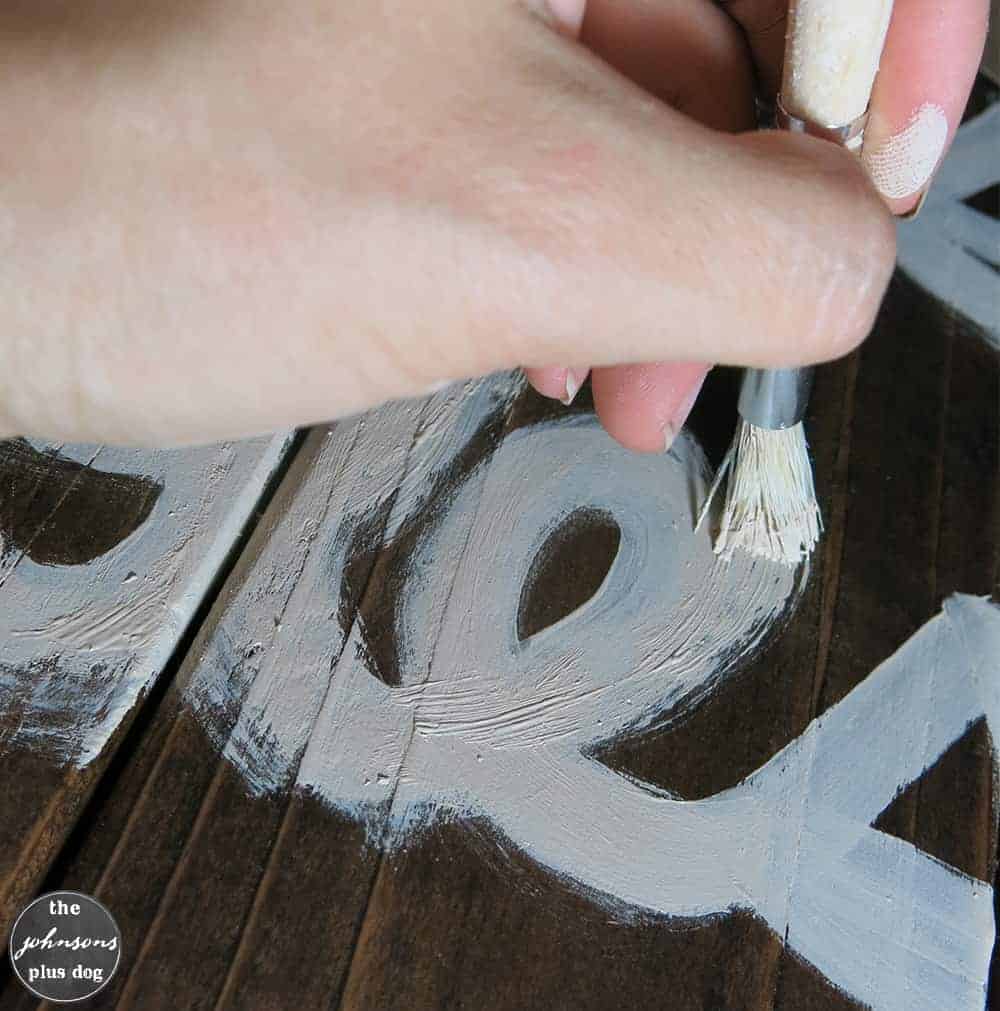
To get the “rough brush” look, I used the artist brush to get the base of the lettering done and then followed up with the stencil brush secondly. I used the stencil brush after I finished each word while the paint was a little wet still.
After you get the lettering just right, let it dry overnight.
Step 7. Finish with wax.
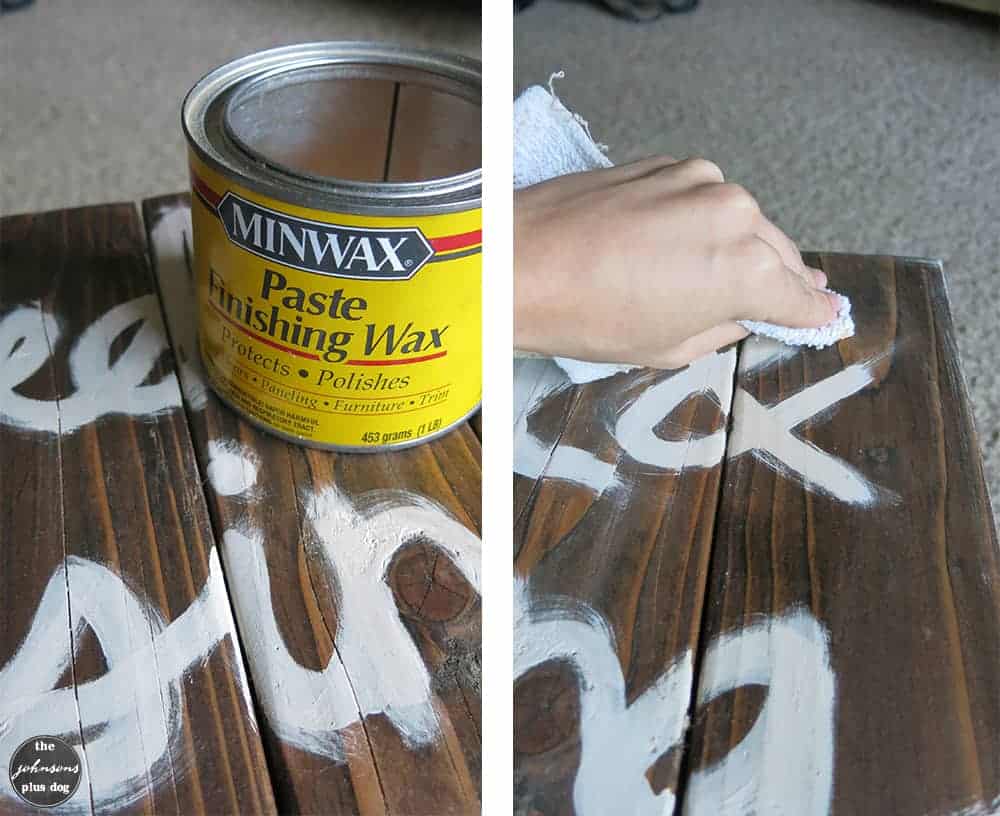
I love finishing wax. It’s great because it protects and brings out the wood color and grain perfectly. Just like the wood stain, apply with a cloth or towel and go with the grain. Let sit for 5-10 minutes and wipe clean.
Ta-da! All done. I would love to see your rustic painted wood sign projects!

I had so much fun doing this craft with you – check out my other craft tutorials here.
Have a great day and don’t forget to “be blessed and be a blessing!”
How To Make A Rustic Painted Wood Sign
Learn how I make a custom DIY rustic painted wood sign for a customer from my Etsy store! Follow this tutorial to create your own rustic wood signs for your home.
Materials
- One 8-foot 2×4 board (new or old)
- Dark wood stain
- Towel/cloth for stain & finishing wax
- Wood glue
- Finishing nails
- 2 wood boards for back of sign
- Acrylic paint
- Masking or painter’s tape
- Finishing wax
Tools
- Sander with 150-grit sandpaper
- Hammer
- Paint brush
Instructions
- Cut 2x4 boards to size.
- Lightly sand the boards.
- Stain the boards.
- Arrange the boards and attach back board supports.
- Nail in your back board supports.
- Trace out your design and start painting.
- Finish with wax.

I liked your tutorial Chelsea. My friends and I make wooden signs and donate them to the Hospice Heartisan Boutique on Miner St. We have never used the wax as a sealer. We will have to try it.
Oh, you’ll love it Paula! I like the matte finish it creates and it makes the signs last even longer 🙂
Thanks for sharing your great tutorial with us at Merry Monday. I’m a sucker for dark wood. I love rustic designs, too.
This looks awesome! Your post has been Pinned,Tweeted and shared on Facebook! It will be featured this week on the Friday Favorites Link Party at Mustlovehome.com. Come by and see your feature and share what you have been working on this week! The doors open Thursday at 7PM. Hugs – Christine at Must Love Home
LOVE your rustic sign…so cute. And what a great tutorial. Thanks for sharing and being a wonderful co-host of the #HomeMattersParty – we love having you on the team! 🙂
~Lorelai
Life With Lorelai
Great tutorial! Such a cute sign. Also great to be co-hosting #HomeMattersParty with you this month!