How To Remove Grout Haze From Tile (The Easy Way)
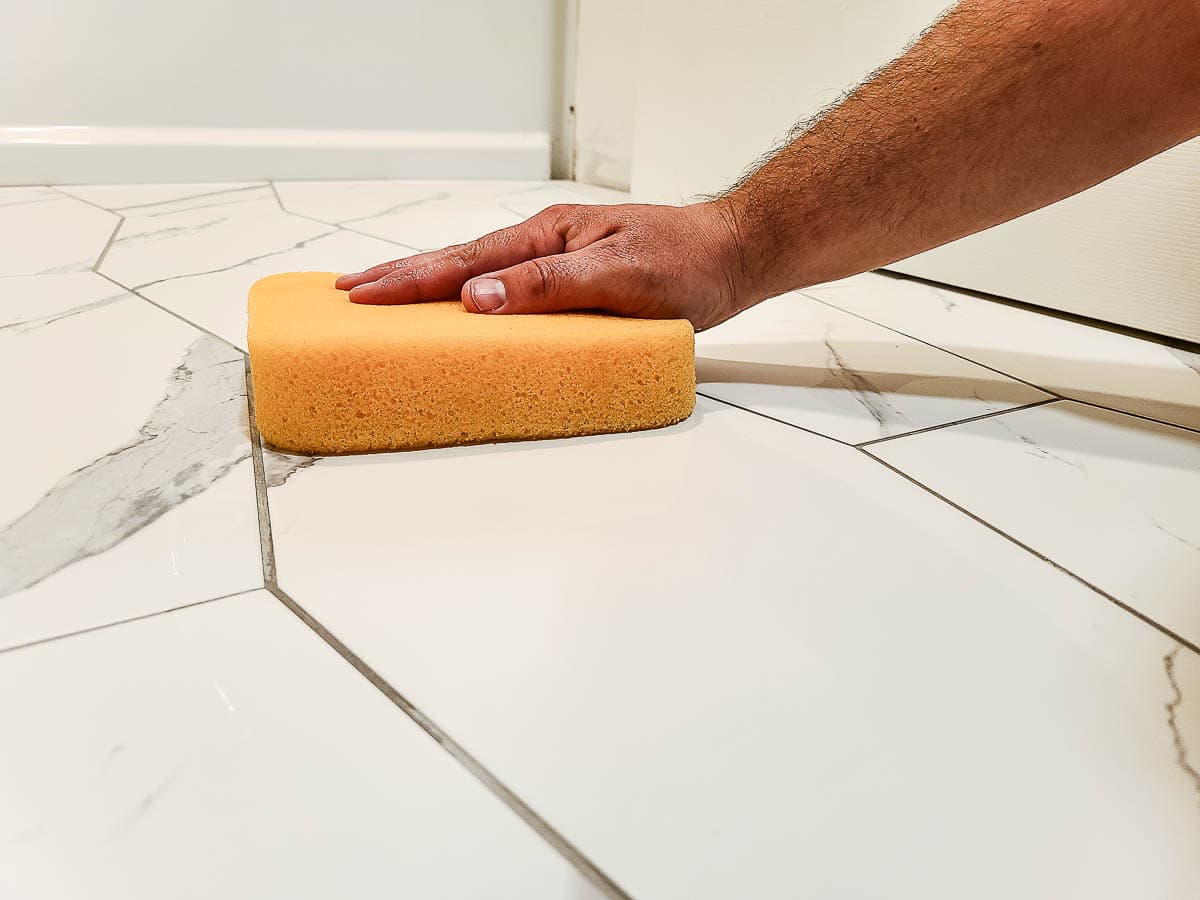
Say goodbye to pesky grout haze after tiling with this DIY vinegar and water solution! Get step-by-step instructions, safety tips, and more. Discover how how to remove grout haze from tile the quick and easy way!
So you’ve finished your tile project! You wiped off all of the leftover grout with a rubber grout float, cleaned up your supplies and you’re just about ready to give yourself a big pat on the back when you suddenly realize that there’s this faint residue all over the surface of your new tiles. It’s almost like a white powder, film, or grout dust that was left on the tile surface.
This, my friends, is called grout haze. Have no fear! The good news is that you didn’t do anything wrong during the grout installation process! You’ll run into this stubborn haze on the entire surface of your tiles regardless of how well you clean up the excess grout or whatever grout type you use. But it is pretty easy to remove!
Today we’re going to walk you through the entire process of how to remove grout haze from tile with a quick and easy method using products that you probably already have lying around your house.
This grout haze removal tutorial contains affiliate links, but nothing that I wouldn’t recommend wholeheartedly. Read my full disclosure here.
Do they make grout haze removal products and cleaners? Yep, they sure do.
But as long as you catch the grout before it has fully cured, you can handle the grout haze cleaning with eco-friendly green products, like water and vinegar! I’d vote for this method every time over a heavy duty grout cleaner full of chemicals.
Now if you wait a long time to remove the grout haze from the tile, you may need to go with a heavy-duty cleaner from the hardware store. It’s all about timing it right.
Can you use this cleaning method on all types of tile?
This cleaning method is for ceramic tiles or porcelain tiles, but NOT porous stone type of tile, like marble. Because it uses a vinegar solution in the cleaning process, which is acidic, this method cannot be used on stone tiles, like marble. Acid-sensitive stones include marble, granite, limestone, and sandstone, among others.
If you have marble or something else sensitive to acid-based cleaners, you can try to simply wipe the haze off the surface of the tiles with a microfiber towel in a circular motion.
Whatever grout haze isn’t removed with that method, can be taken off with a neutral cleaner, like this all-surface cleaner that is safe for marble tile. Just be sure to read the package of any commercial cleaner to see if it is safe for natural stone tiles or not.
How To Clean Grout Haze: Step-by-Step
Supplies for cleaning grout haze:
- 5-gallon bucket
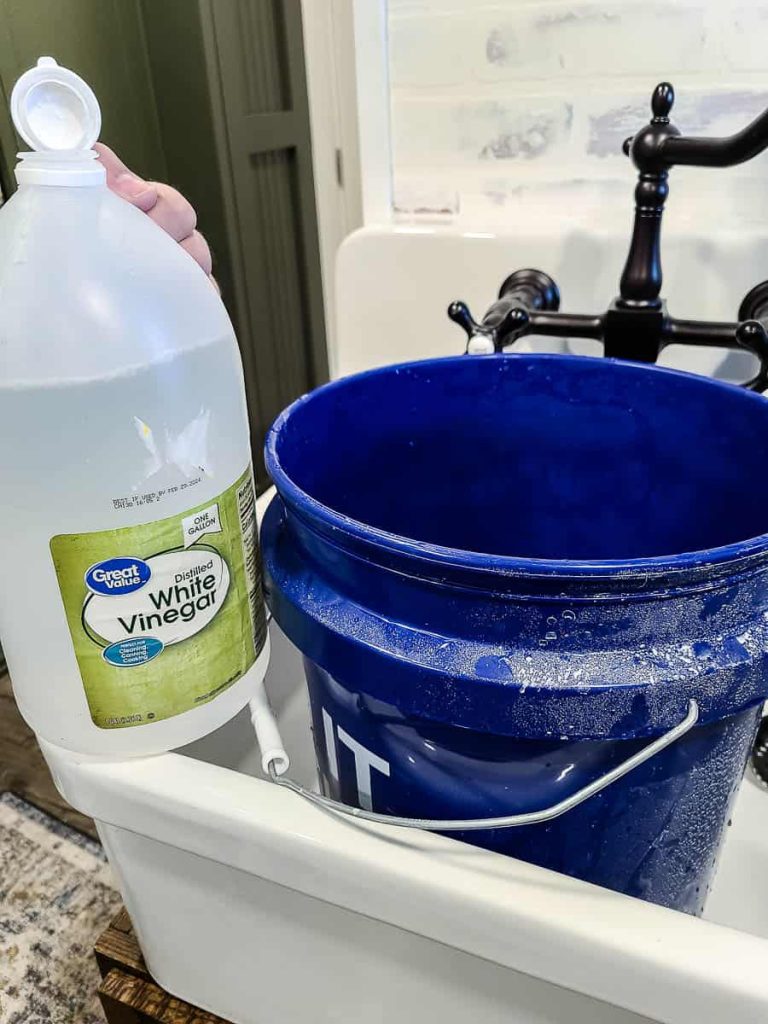
- White distilled vinegar
- Water
- Tile sponge (sometimes called a grout sponge)
- Rubber gloves
Step 1. Wait before cleaning the grout haze
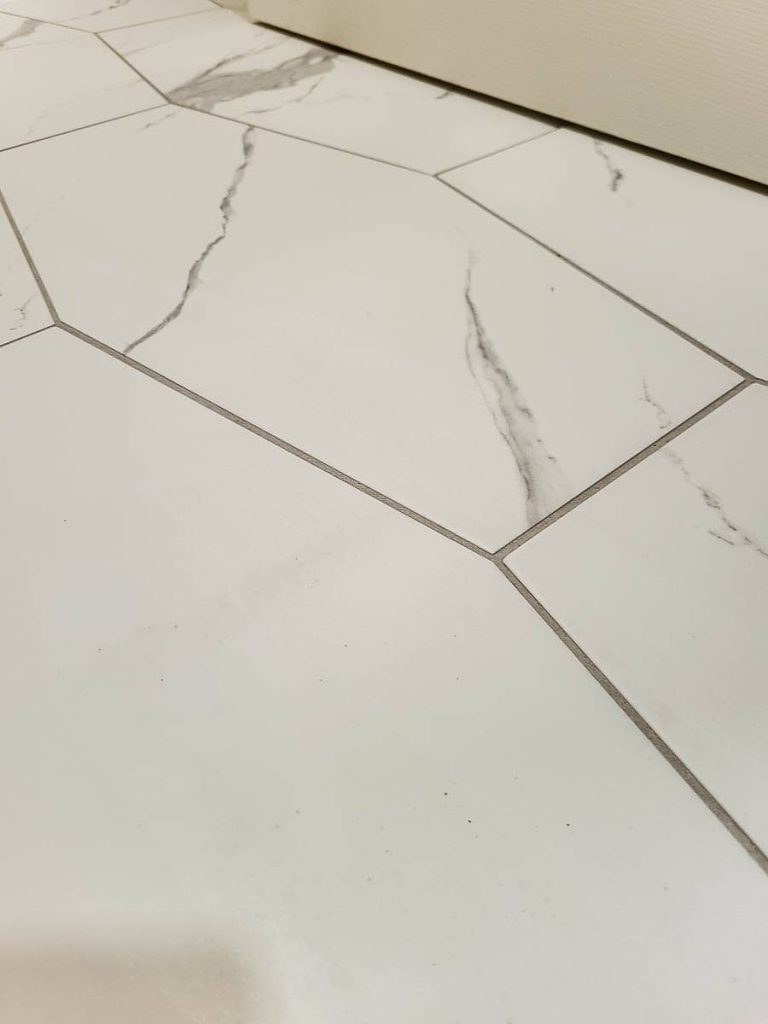
After you have wiped the excess grout off with a wet sponge, you need to stay off it for the recommended time per your grout’s instructions so it can dry. The exact waiting time after your grouting job will depend on the type of grout you use, so just check your instructions. It will likely be between 3 and 24 hours.
Don’t wait too long after the grout lines have been cleaned to remove the grout film. In general, the longer you wait, the harder it will be to remove the haze. So for best results, we recommend waiting the recommended time, but not extra time, like 3+ days!
Step 2. Mix together warm water and vinegar
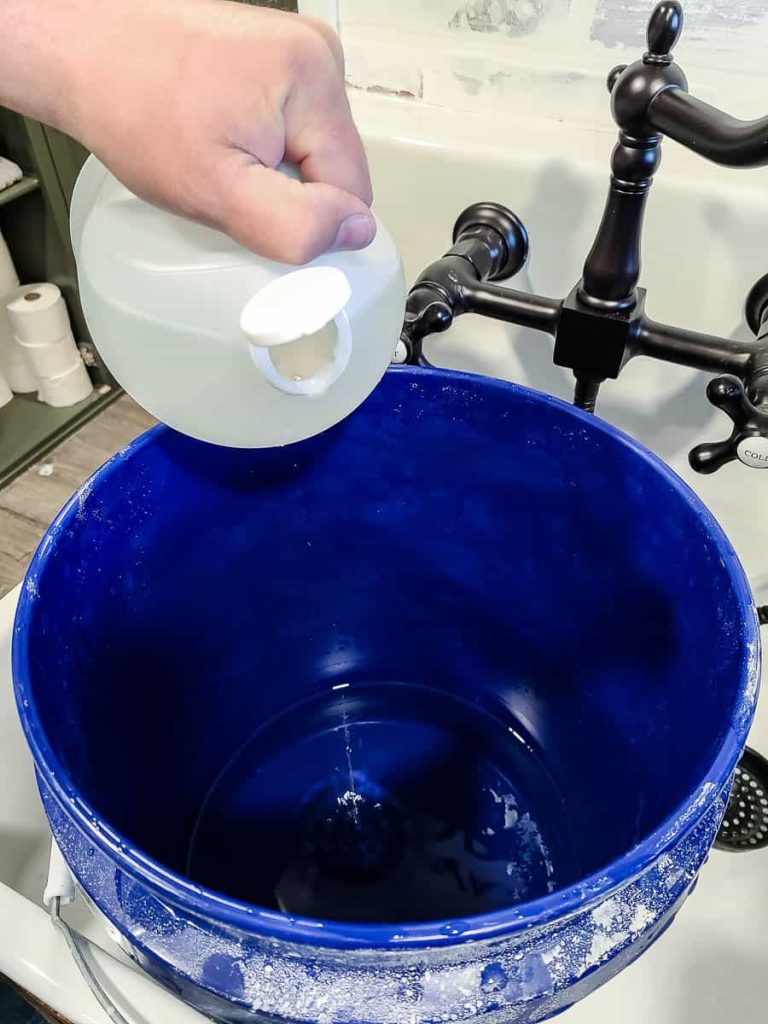
To mix together your own grout haze cleaning solution, just mix together warm and clean water with distilled white vinegar (4 parts water to 1 part vinegar ratio) in a bucket.
Another way to apply it is with a spray bottle with a trigger spray, so feel free to use whatever method works best for you.
Step 3. Apply the water & vinegar mixture to grout haze
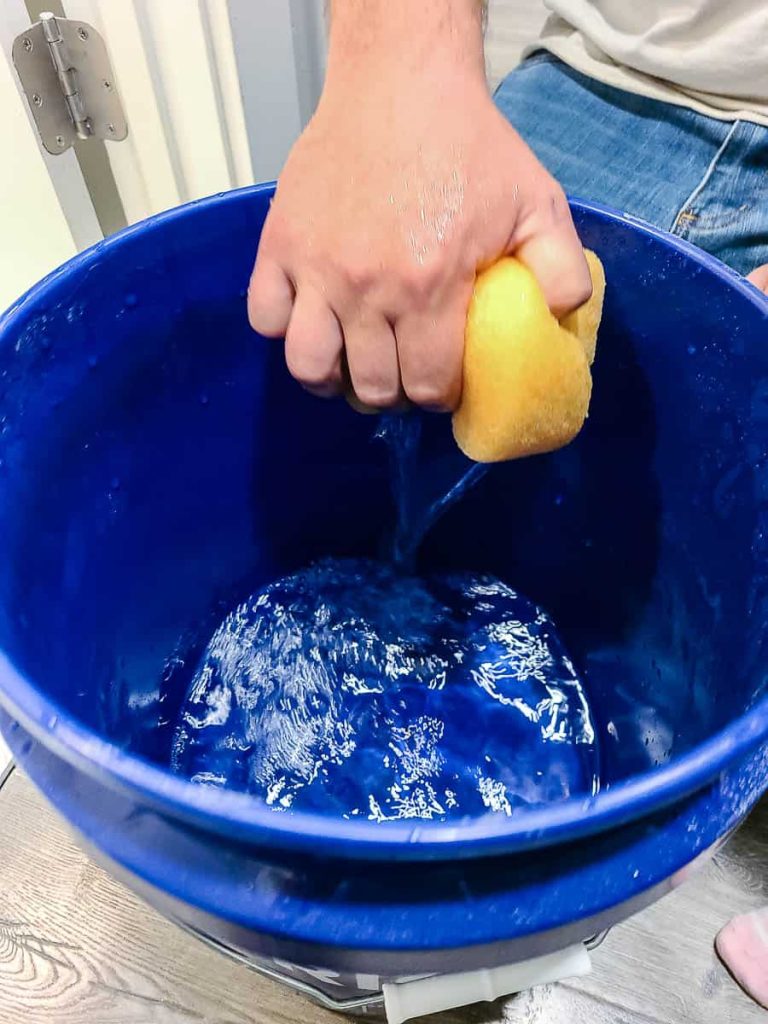
Dip your tile sponge into your bucket with the water and vinegar mixture and squeeze out the excess so it is a mostly dry sponge. Wipe the sponge over the entire surface of your tile. Follow up with a dry and clean cloth to dry it.
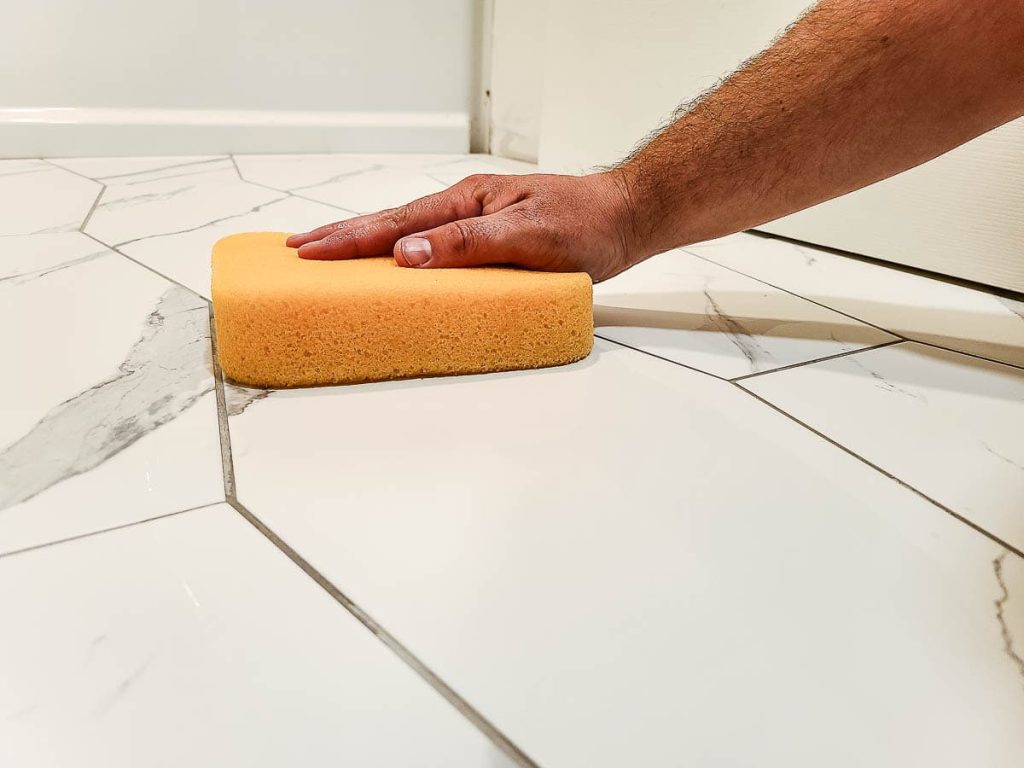
If you decide to use a spray bottle instead, simply spray the grout haze with the cleaning solution and wipe it off with a dry towel.
If you are cleaning large areas, like a tile floor in a large room, it could be easier to use a mop instead of a sponge or spray bottle.
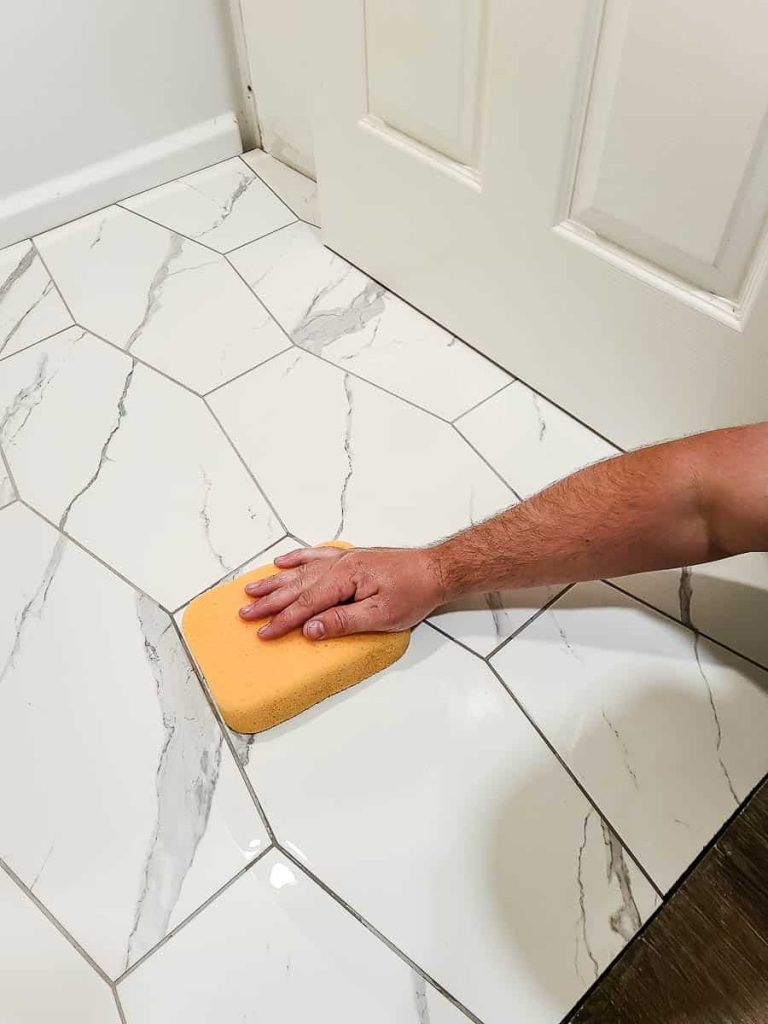
Although Logan’s not doing it here (#rebelwithoutacause), it is recommended that you wear rubber gloves when working with vinegar (or other types of acid cleaners).
Once dry if you still see some remaining grout haze, feel free to do a second pass with the water and vinegar mixture.
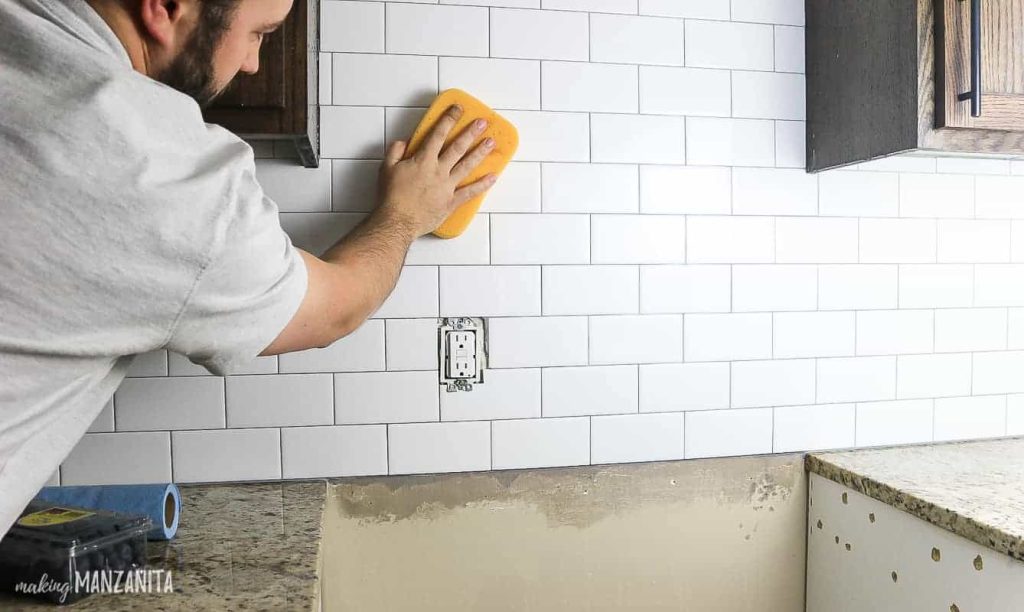
This cleaning method has always worked great for us with an obvious visible change. It basically eliminates the appearance of the grout haze! Pure magic.
With vinegar and water in your cleaning arsenal, you can say goodbye to grout residue and hello to sparkling tiles! I love that this solution is super budget-friendly and uses eco-friendly products.
Do you have any questions about this grout haze removal method?
Let us know in the comments!






1. what is the best way to clean dirty grout?
2. what is the best paint for bathroom ceiling and walls?
3. what is the best way to clean glass shower doors?
Hi Carol. For cleaning grout, I use a mixture of baking soda, hydrogen peroxide and dish soap. It makes a little paste. I use a grout brush (or toothbrush) to put it on, let it sit and then scrub it off. Works like a charm! For bathroom paint, we simply use regular latex interior paint but we always use a primer that’s made for bathrooms. See more info in this post: https://www.makingmanzanita.com/best-primer-for-bathroom/ To clean glass shower doors, it helps to squeegee them off right after use everyday. That makes a big difference. To clean the residue off the doors, I use Lime Away and it works great for us! Hope that was helpful.