How To Build A Barn Door

Today we're going to teach you how to build a barn door! This DIY barn door is cheap to make and has a fun modern style. We're also giving you a little weekly check in on our progress of our master bathroom renovation.
This post and the Renovation Challenge is sponsored by Jeffrey Court. All opinions are entirely my own and do not reflect that of Jeffrey Court. This post also contains affiliate links, but nothing that I wouldn’t recommend wholeheartedly. Read my full disclosure here.
One of the many things we did this week for our bathroom renovation was build a DIY barn door, so we wanted to take the chance to teach you how to build a barn door too!
Barn doors are so popular and I’ve always been a huge fan, but we’ve never had anywhere in our homes where it made sense to incorporate a sliding barn door. But when we added the doorway to our bedroom from the master bathroom as a part of this renovation, it was the perfect spot to add one.
In this tutorial, we’ll walk you through the entire step-by-step process for how to build a barn door with MDF wood and a modern X-design. Let’s jump in!
Do you love barn doors too? Check out these DIY barn door ideas, shiplap barn door ideas, and learn how to lock a sliding barn door!
Table of Contents
- DIY Barn Door: YouTube Video Tutorial
- How to Build a Barn Door: Step-by-Step Tutorial
- Materials needed
- Tools required
- Step 1. Cut MDF panel.
- Step 2. Cut MDF slats.
- Step 3. Prime everything.
- Step 4. Find center.
- Step 5. Mark wood for middle diagonal slat.
- Step 6. Cut middle diagonal slat with circular saw.
- Step 7. Attach middle diagonal slat.
- Step 8. Continue with X design.
- Step 9. Repeat on back side of barn door.
- Step 10. Fill nail holes.
- Step 11. Paint barn door.
- Step 12. Attach handle and hardware.
- Step 13. Route out a line on the bottom of the door for the guide.
- Step 14. Hang barn door.
- Cost to make DIY barn door
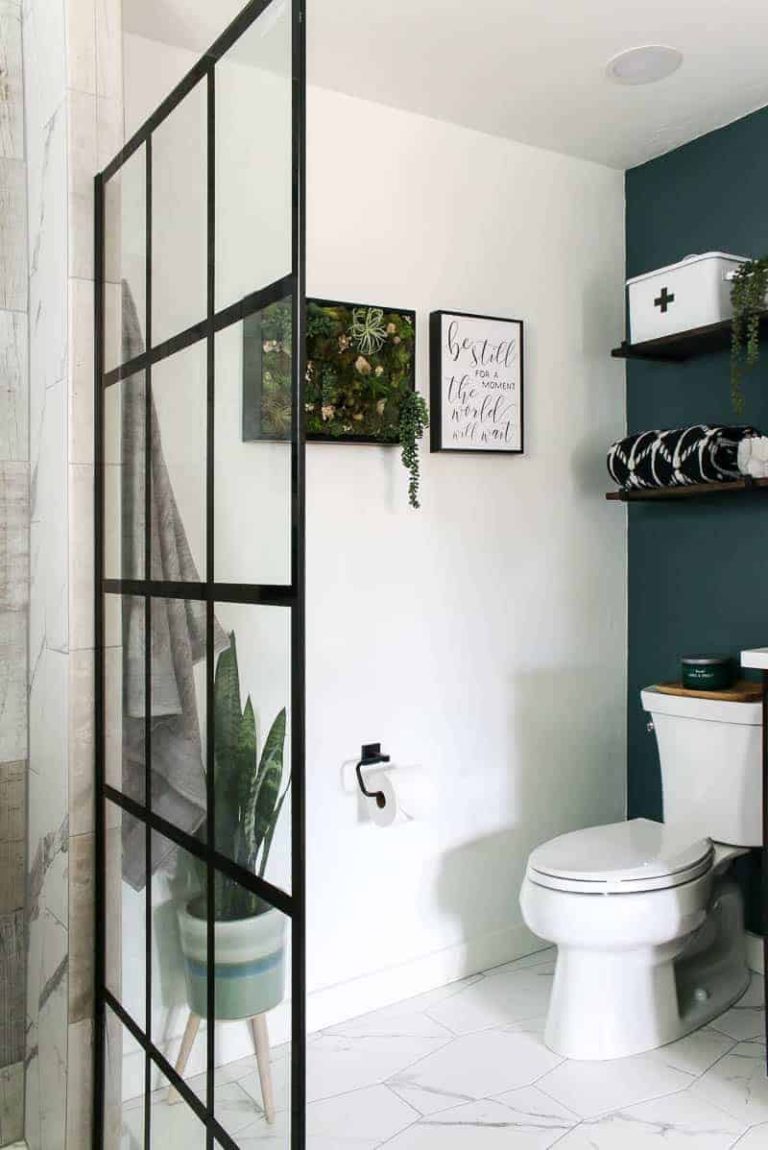
- Week 5 progress on the bathroom renovation
Want to catch up and see more about our master bathroom renovation?
- Week 1: How to Demo A Bathroom
- Week 2: Modern Bathroom Design Plans
- Week 3: Everything You Need To Know About Large Format Tile
- Week 4: Can An Ensuite Bathroom Add Value To Your Home?
- Week 5: How To Build A Barn Door
- Week 6: The BIG Reveal
- DIY Hamper with Tile
- Bathroom Renovation Cost (Our REAL Numbers!)
- DIY Shower Guide: Everything You Need To Know
DIY Barn Door: YouTube Video Tutorial
If you love DIY videos, be sure to subscribe to our YouTube channel!
How to Build a Barn Door: Step-by-Step Tutorial
Materials needed
- MDF panels (3) – learn more about MDF wood in our guide!
- Poplar board (we needed 22 ft)
- Primer
- 1 1/4 inch nails (for finish nailer)
- Construction adhesive
- Paint
- Nickels (yep, like the kind from your piggy bank!)
- Barn door hardware
- Barn door handle
- Wood Filler
Tools required
- Tape measure
- Square
- Finish nailer
- Air compressor
- Tap set
- Hammer
- Circular saw
- Table saw
- Miter saw
- Pencil
- Level
- Roller (for primer & paint)
- Paint trays
- Putty knife
- Router
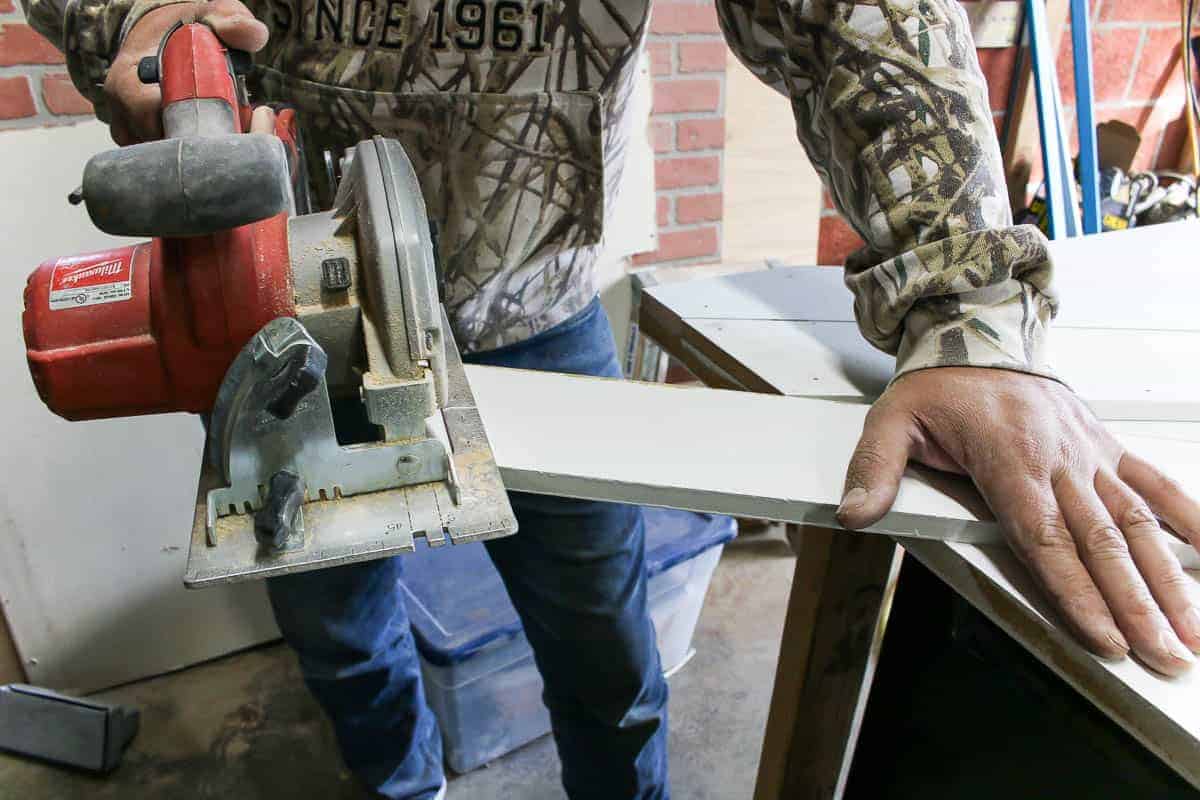
Step 1. Cut MDF panel.
Using the table saw, cut one of the MDF panels down to a couple of inches larger than the finished door will be. This is a little larger than the door will actually be, but we will trim it down later.
Step 2. Cut MDF slats.
To save some money, you can rip larger MDF wood sheets down to 4 inches wide using the table saw. We ripped two of the other MDF panels into 4-inch slats so we had enough to cover both sides of the door. Alternatively, you could buy 4 inches wide MDF trim that is already cut down (but it’s a little more expensive)
Step 3. Prime everything.
Apply primer on all sides of MDF (all of the cut slats and sheet) with a 4-inch roller. Let dry throughly.
Step 4. Find center.
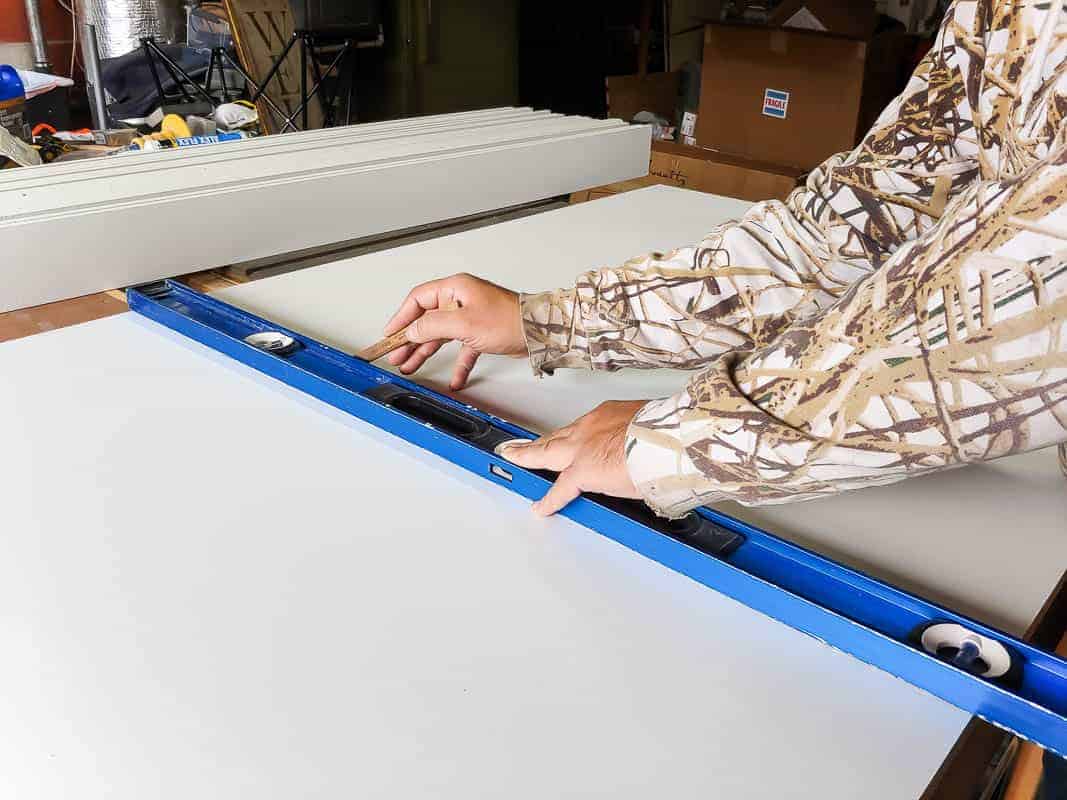
Measure the center of both the vertical and horizontal edges of the MDF sheet and draw two straight lines with level and pencil in the middle.
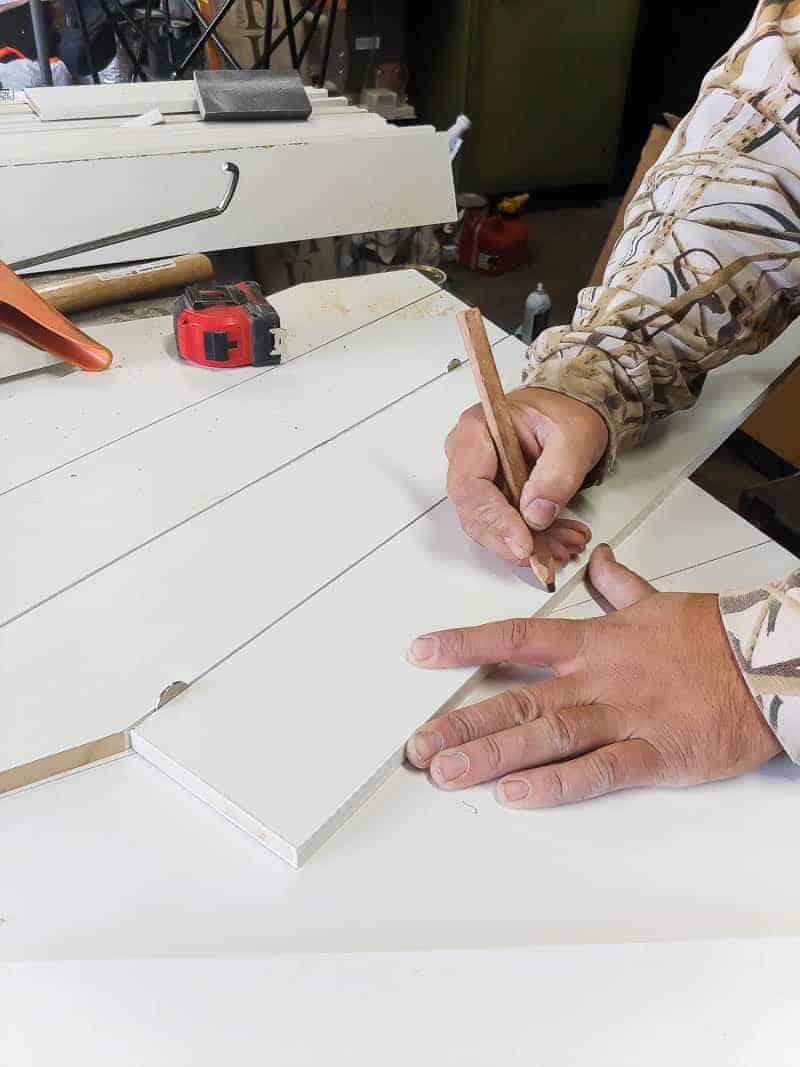
Step 5. Mark wood for middle diagonal slat.
For this design, everything works off of the center X shape. Start with the first piece and have it go directly through the middle of the panel. You can make sure you are lined up correctly by measuring on the bottom where the corner of the MDF sheet hits the slat. Should be exactly 2 inches if you cut your slats to 4 inches as we did.
Holding the slat into place (either with two people or with a clamp) you can bend down and draw lines on the bottom of the slat along the border of the MDF panel. These lines indicate where you need to make your first cuts.
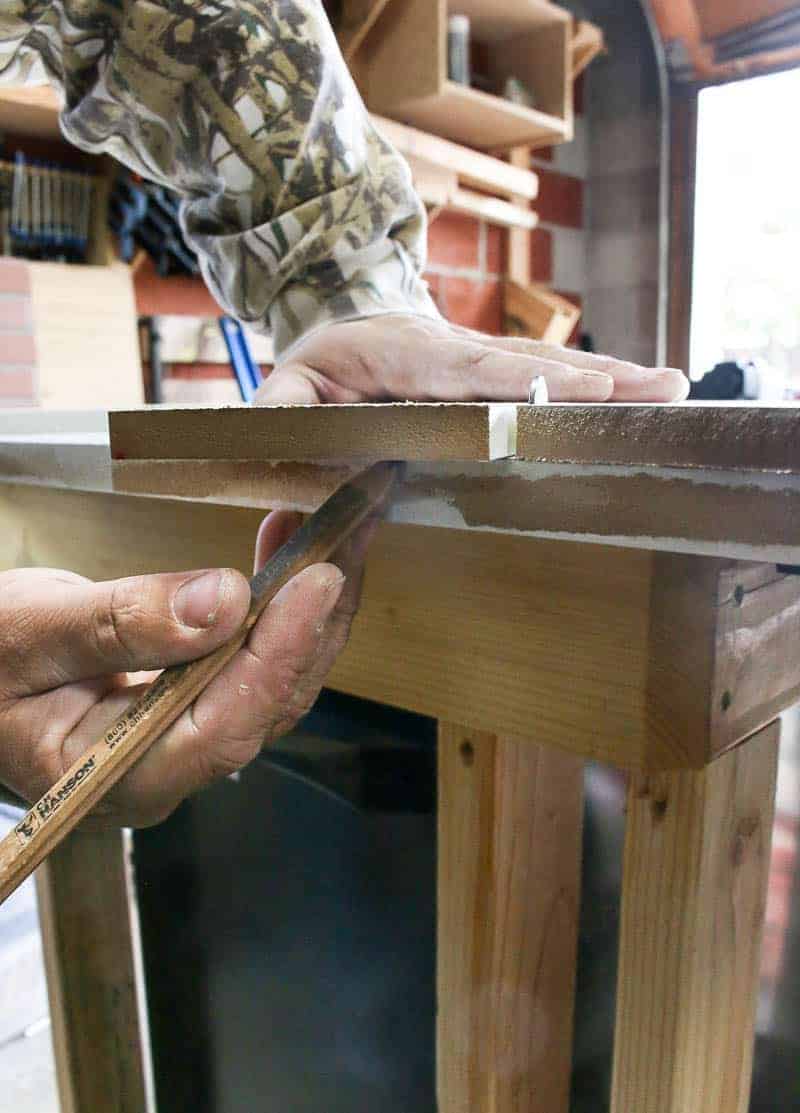
Step 6. Cut middle diagonal slat with circular saw.
We made all of our cuts with a circular saw. This was just faster for us, but you could also use a miter saw and change the angle each time. Remember you’re going to trim down the edges of the door later, so it doesn’t have to be 100% perfect.
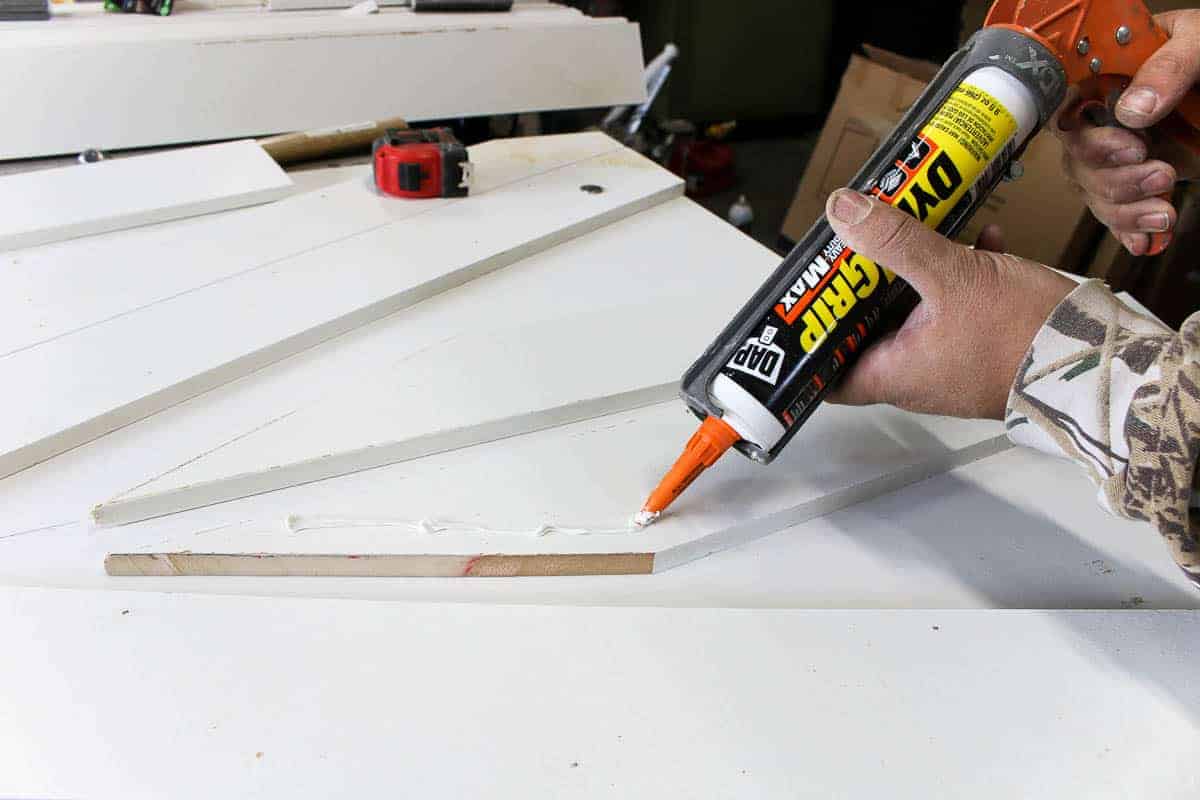
Step 7. Attach middle diagonal slat.

Now it’s time to attach that first piece. Apply construction adhesive to the back and then push it down into place, paying close attention to make sure it’s lined up in each corner so the angle is right. Have one person hold the board down and one person nail it into place with the finish nailer.
Step 8. Continue with X design.
Now you really just repeat the last few steps (mark wood, cut wood & attach) over and over and over as you make the X design.
We found it easiest to do one-half of the X design and line up all pieces on that middle vertical line.
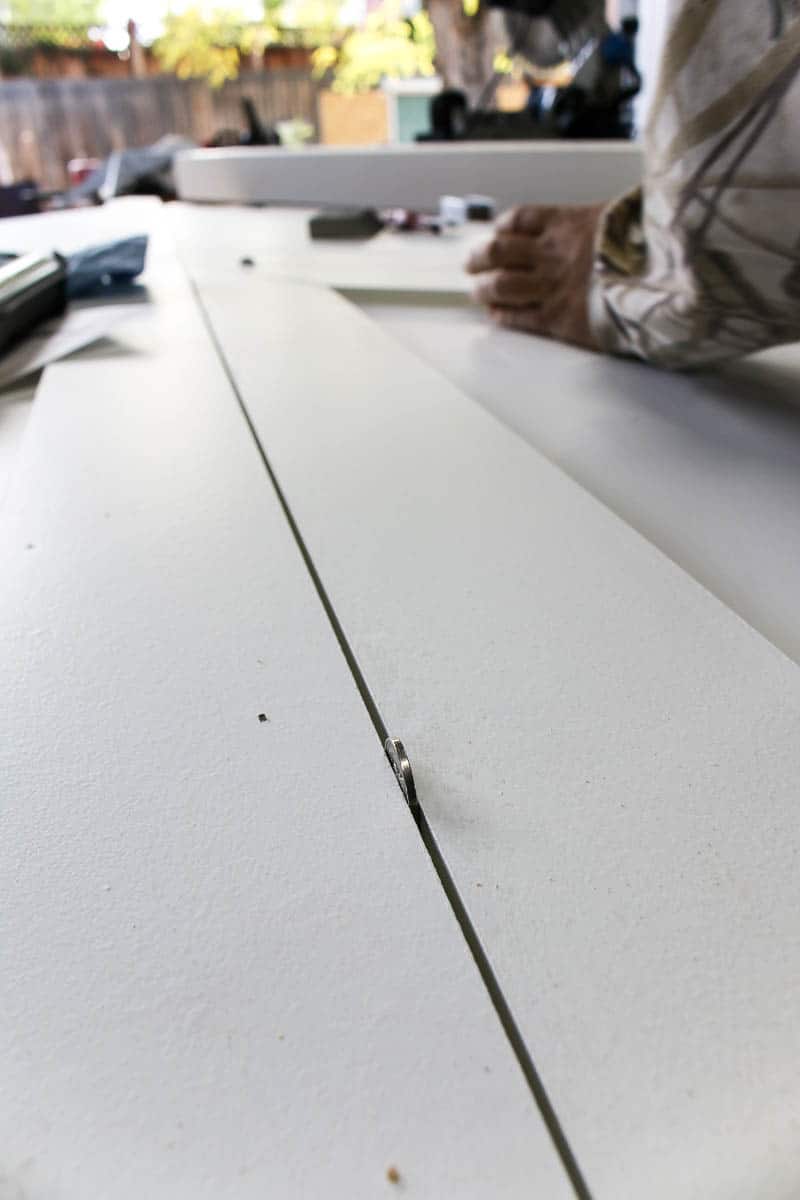
Do you want to know what the BEST spacer is for things like this (or faux shiplap walls)?…Nickels. Free because you probably have a bunch lying around, right?
Step 9. Repeat on back side of barn door.
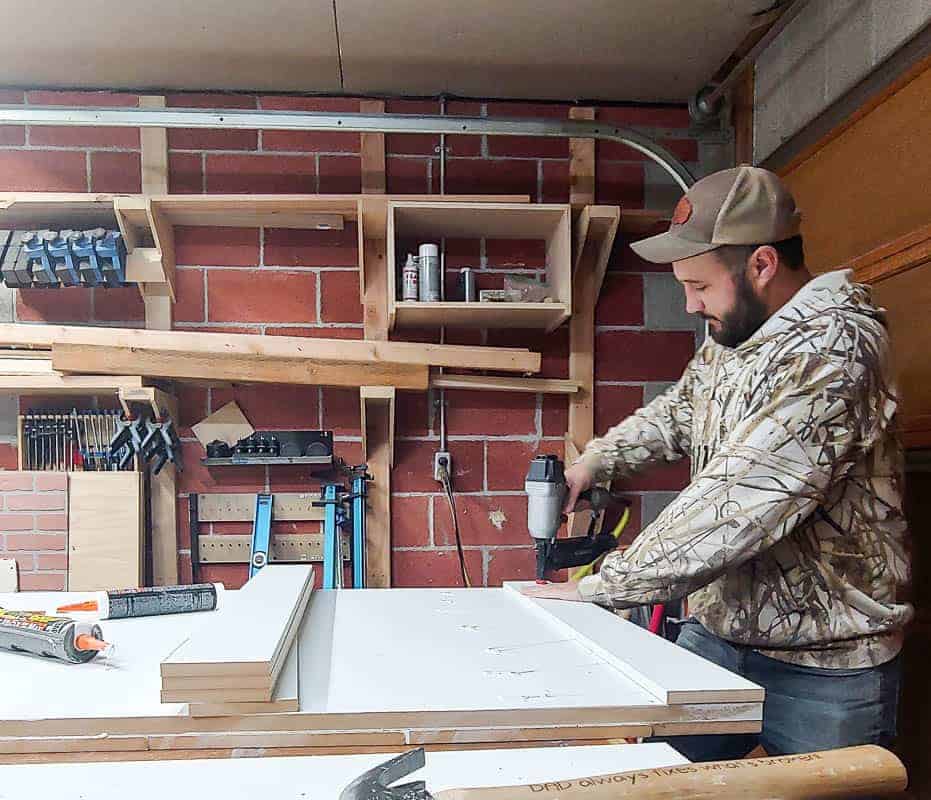
Now, we actually decided to just do a simple horizontal design on the backside of the door (this will be the side facing the bathroom). We thought that the modern X design may be a little too busy (and it took WAY longer and to be honest, we’re in a bit of a time crunch here in Week 5 of this renovation).
With the horizontal design, we didn’t need to mark each piece individually. We could just cut them all at once on the miter saw and then attached.
Step 10. Fill nail holes.
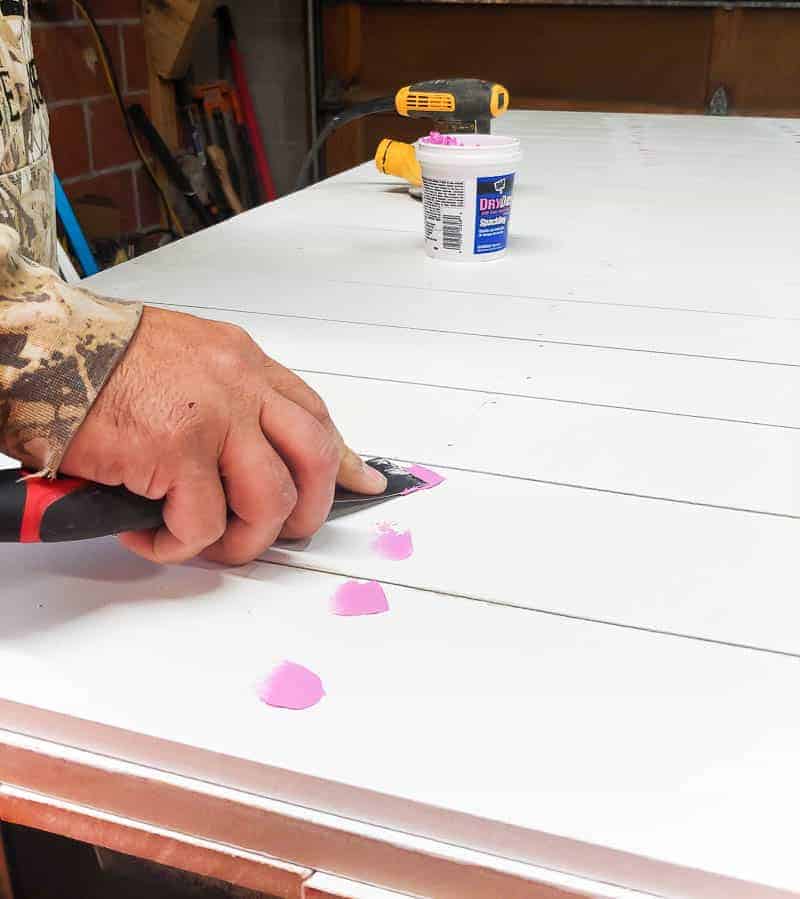
Using a putty knife, apply wood filler to all nail holes. Let dry and then sand until smooth. Clean surface well after sanding.
Step 11. Paint barn door.
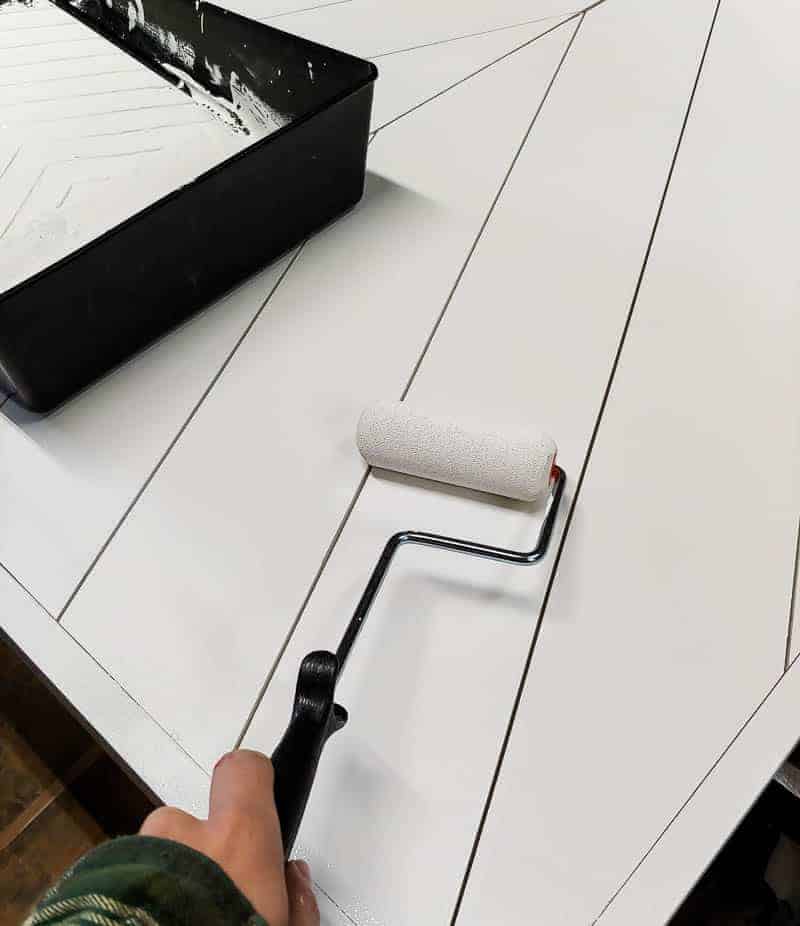
I used a smooth finish 4-inch roller and applied two coats of this paint to both sides and all edges of the door.
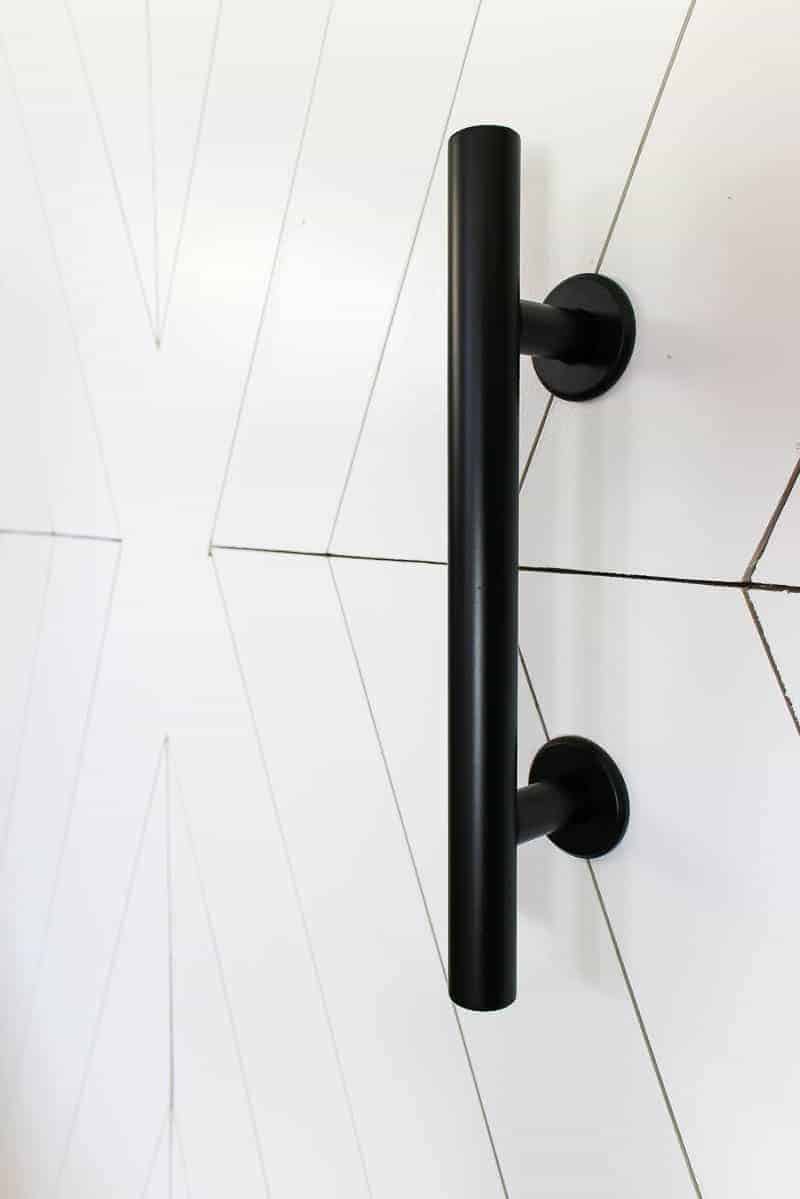
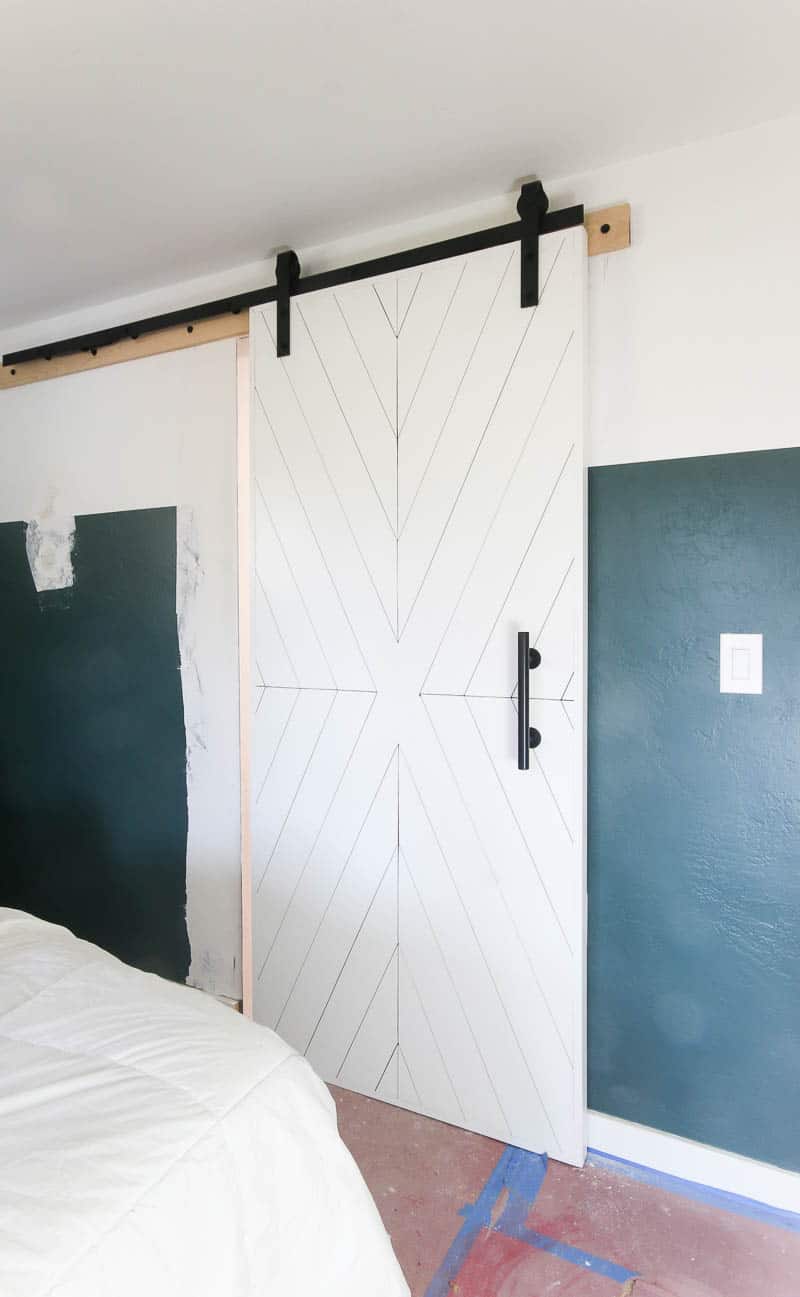
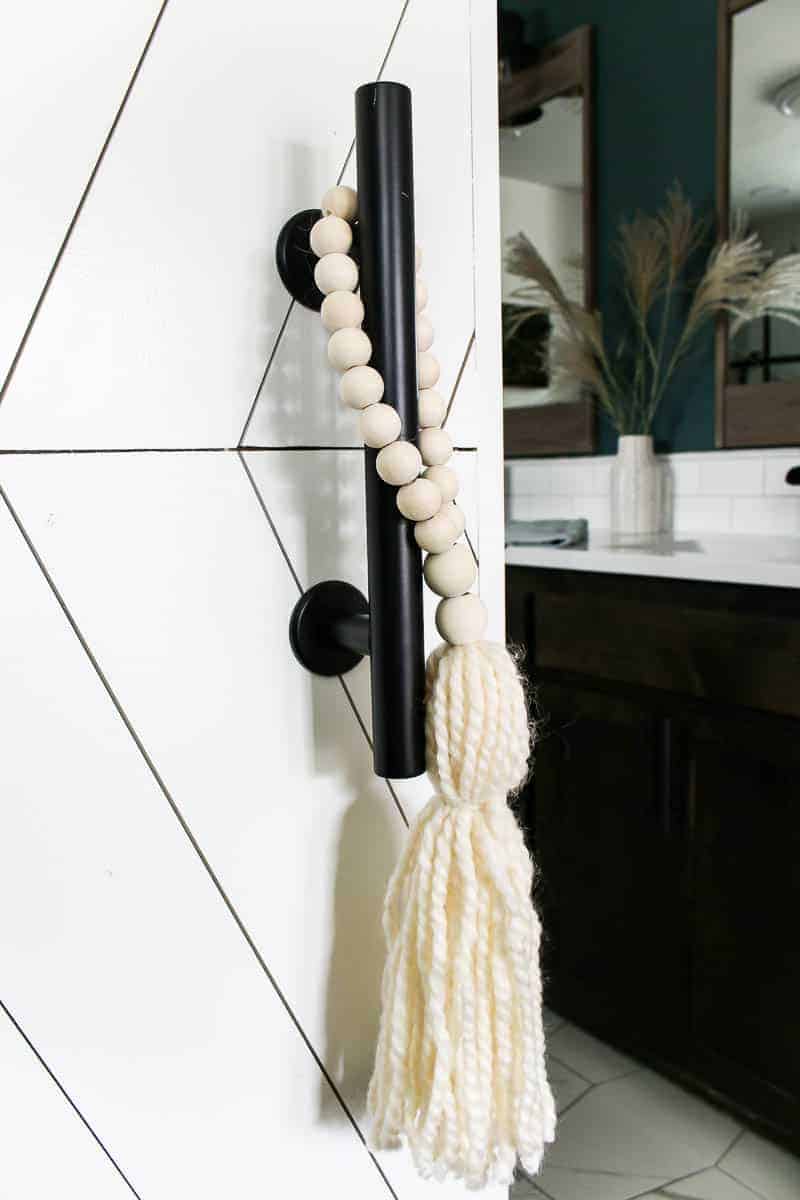
Step 12. Attach handle and hardware.
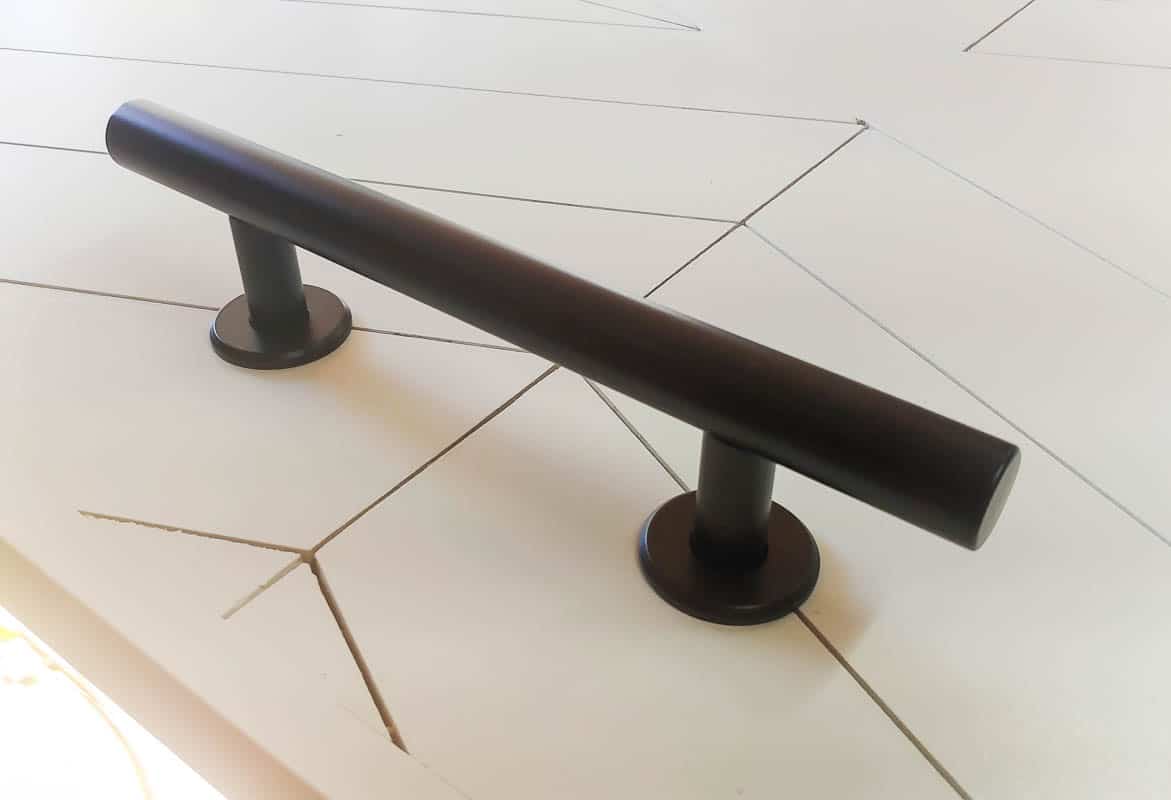

Attach handle and hardware to the barn door per your instructions provided with the items you buy.
Step 13. Route out a line on the bottom of the door for the guide.
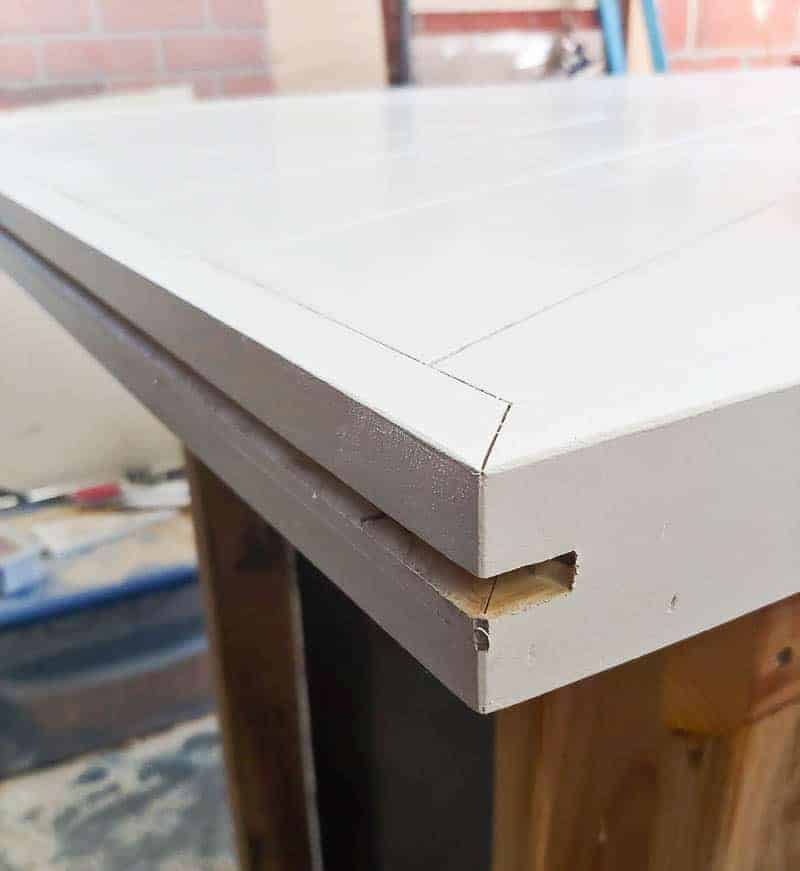
You may or may not need to do this for the type of barn door hardware that you purchase, so be sure to check your hardware instructions. We used a router to get this line in the door.
Step 14. Hang barn door.
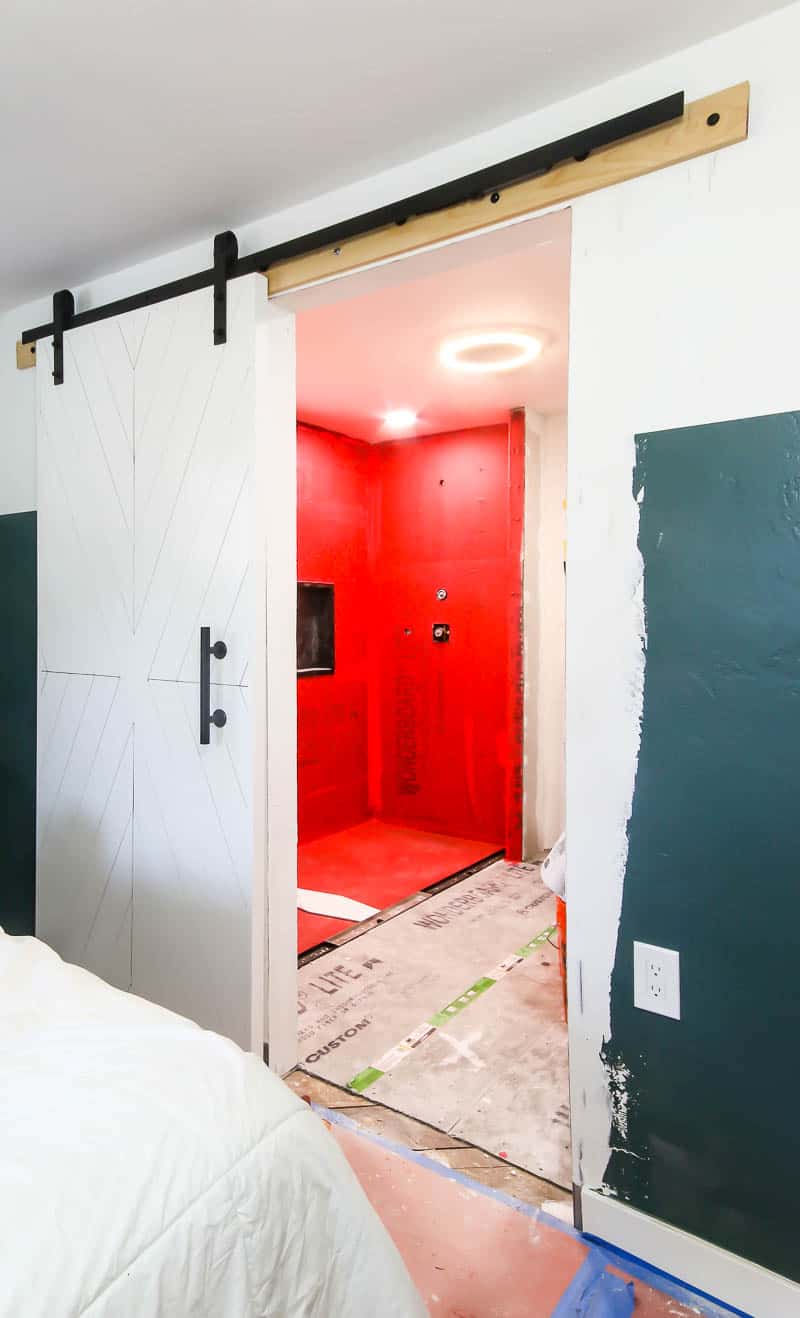
We used this barn door hardware kit to hang the door on the wall. Just follow the instructions provided with the hardware that you purchase.
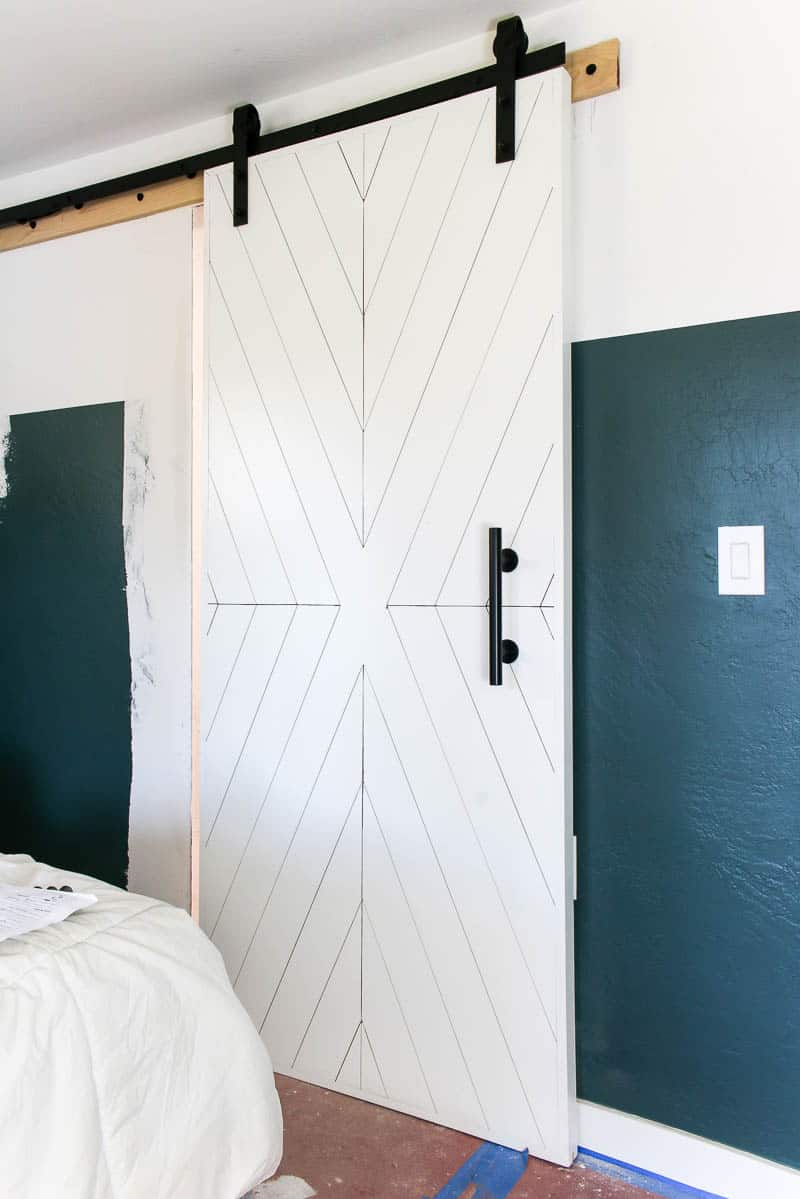
Isn’t it pretty?!
We still, obviously, need to do a lot of touchup to the paint and texture from cutting open the door way, but that will come.
I’ll be sure to update this post after we wrap everything up to share some more pretty pictures of the DIY barn door in all her glory, but until then I’m just going to be over here staring at this beautiful thing!
[UPDATE: Here are some updated pictures of the barn in “all of her glory” after we finished the bathroom renovation.]

Cost to make DIY barn door
*Note: these were the cost at the time of building the barn door in 2019. Of course, they are subject to change and may vary from store to store or location to location. *
- 1×3 poplar board (22 feet @ $1.52) – $33.44
- MDF panels (3 @ $28.72) – $86.16
- Handle – $25.00
- Hardware Kit – $89.99
- 1 1/4 inch nails – $20.56
- Paint, primer, adhesive, and all tools already had on hand
Total cost to make barn door: $255.15
Considering how much we’ve already spent on this bathroom renovation, this bathroom door is a ton of bang for your buck. Can’t believe this all only cost us $250!
UPDATE: We’re all done with the bathroom now, check out how it turned out here!
Week 5 progress on the bathroom renovation
Each week, we’ve been rounding up our behind-the-scenes videos for you, which has been SO fun…so here’s what happened in Week 5 behind the scenes:
If you love DIY videos, be sure to subscribe to our YouTube channel here!
Oh my freakin’ goodness….. guys. We have one more week of the Jeffrey Court Renovation Challenge. You can check in on how all of the other designers are doing here.
So this is how we started Week 5:
Ok – I’ll just be honest. I’m kind of freaking out. I really have been majorly stressing for the last few weeks, especially with Logan being out of town last week. I felt like we were really behind.
And Logan, on the other hand, has been totally chill. Wasn’t worried at all.
That, right there, is the epitome of our personalities! Now that we’ve been renovating together, side by side, for 4 and half years… I’ve learned that’s just how it works. I freak out. He remains calm. And then all the of the sudden at the end, he works like a dog to catch up.
Well, this week – he finally switched over into crunch mode. It’s game on.
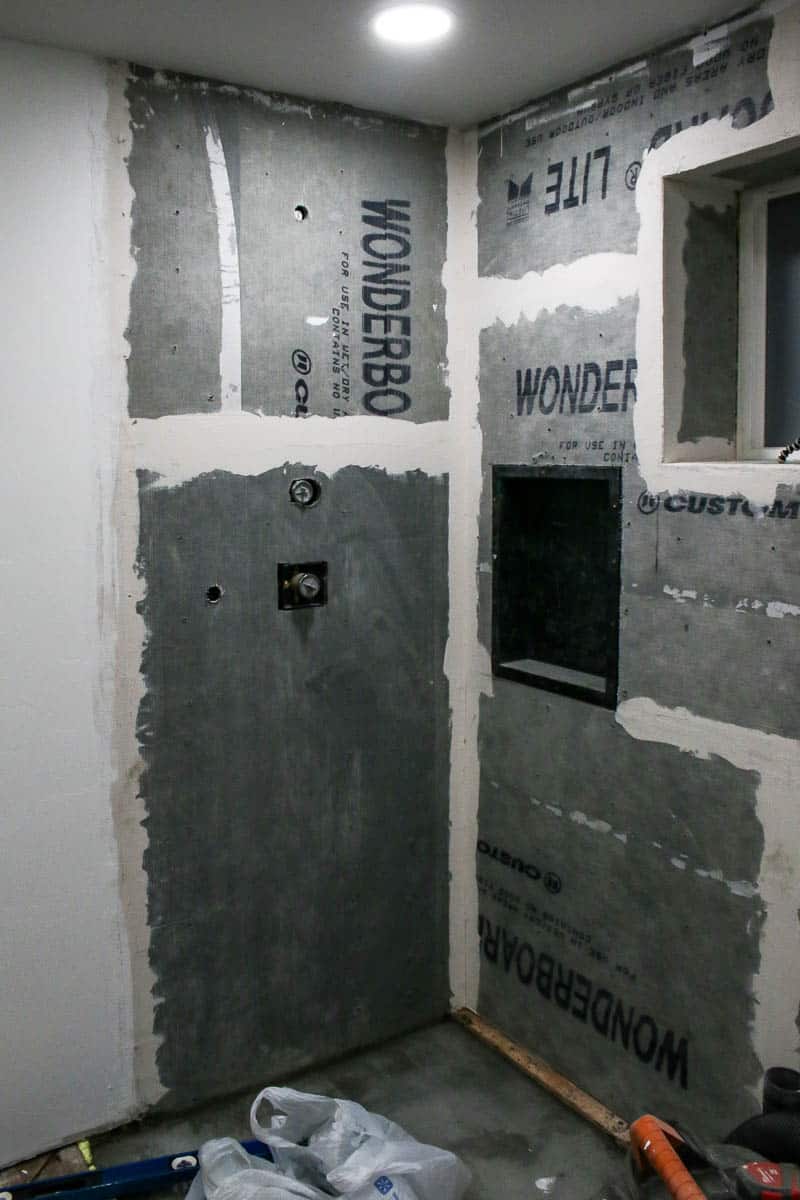
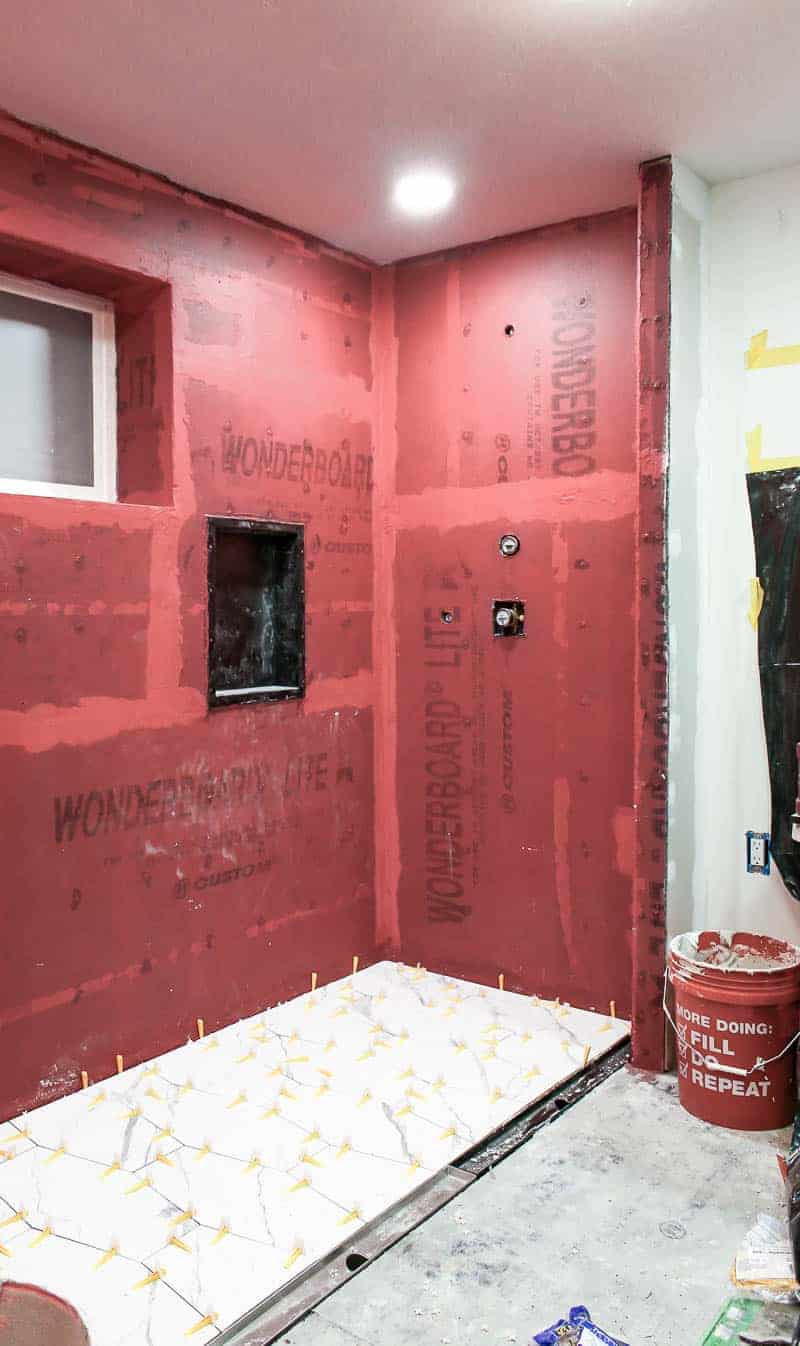
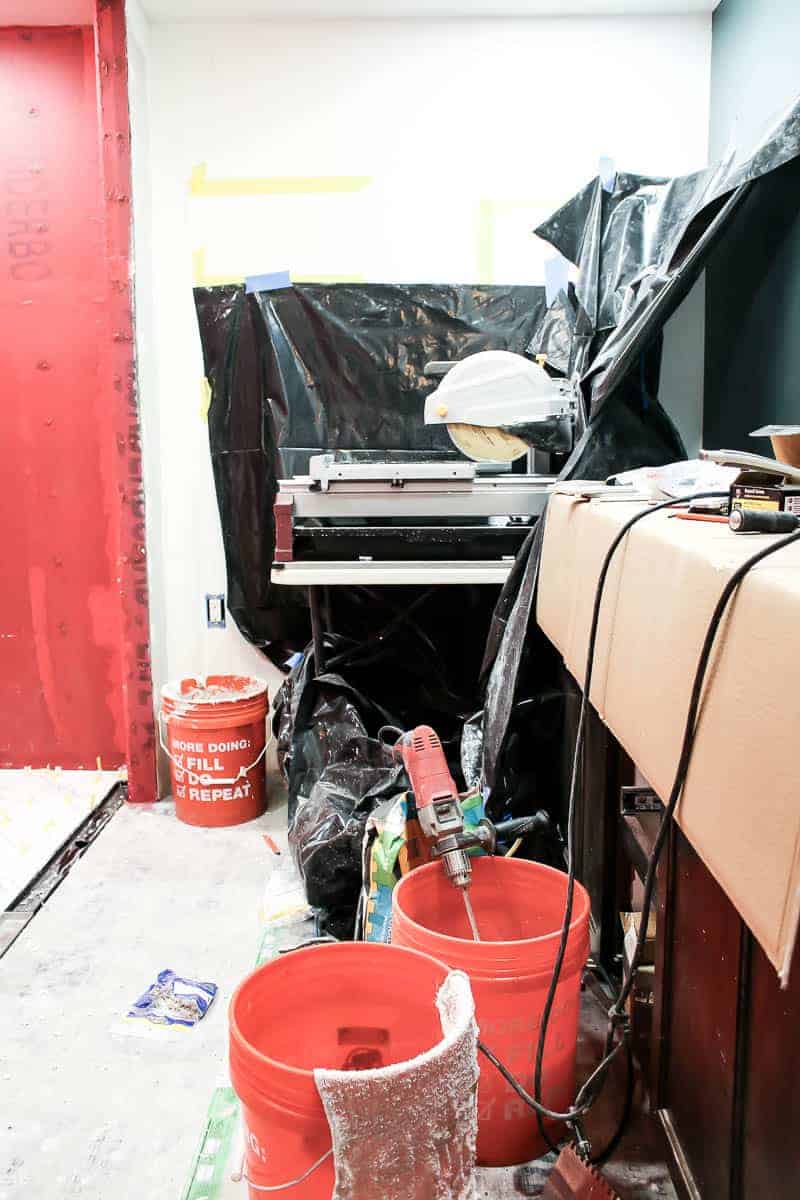
He got back from his trip and we THOUGHT it was a full-on tile party, buttttt there was still quite a bit of tile prep needed. And things that required drying time that slowed us down. Now today…. on the last day of Week 5 we are FINALLLLLY starting to lay our first tile.
In the middle of tile prep, we were out in the garage busting out DIYs left and right – like the barn door, a DIY wooden hamper, wall decor, etc. I’m keeping a few things up my sleeve so there are a few surprises in store for the big reveal next week.

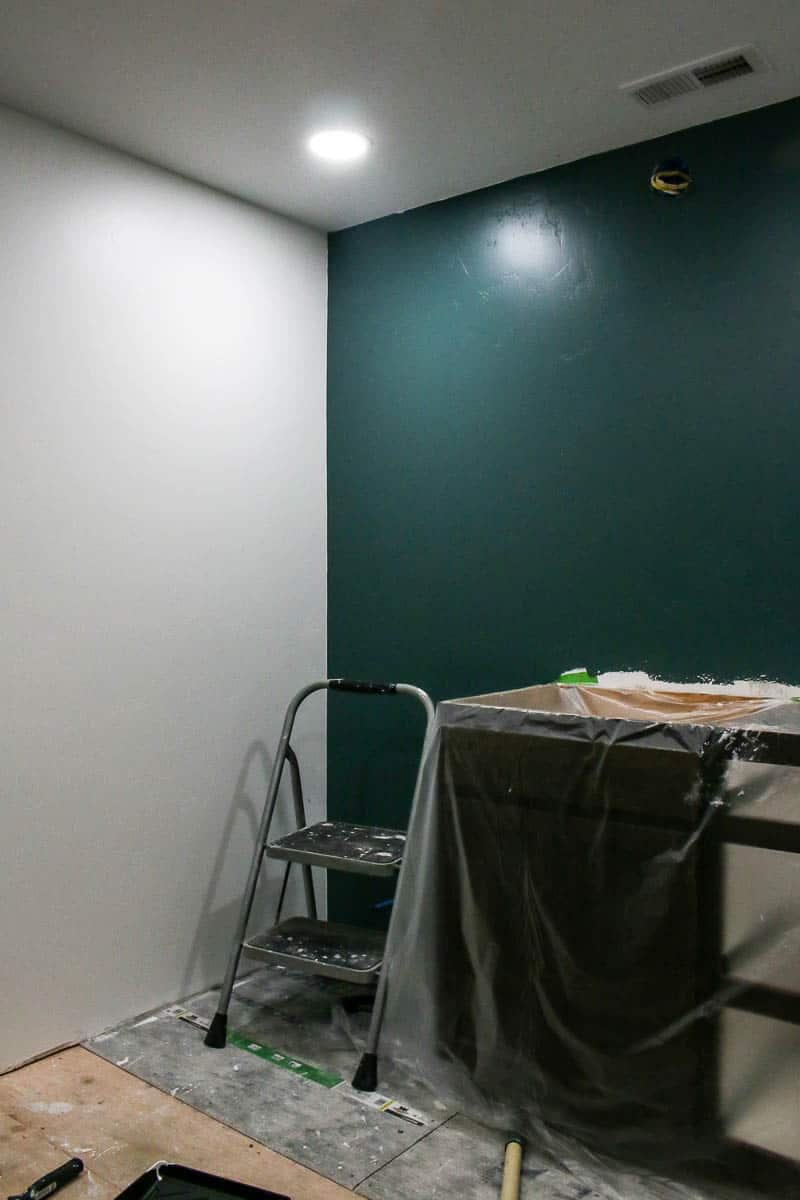
So here’s everything we got done in Week 5:
- Countertop installed – this was the ONLY thing that we hired out
- Built DIY barn door – see above for the full tutorial on how to build a barn door
- Build DIY wood hamper – you won’t believe the fun twist to this DIY, which you will see in the reveal next week
- Succulent wall decor – and it is seriously the coolest thing I’ve made in a long time…. 🙂 !
- Finished running errands and ordering all the final decor – There was a lot of little decor things I still needed. Everything has been ordered by now and is on its way to the house!
- Tile prep – Finished shower pan, dry fit tile for shower floor, applied RedGard to waterproof the shower
- Tile shower floor – Right before posted this blog post we wrapped up the shower floor tile, woohoo!
You’re probably looking at us and then down at the to-do list below and thinking there is just no way they can pull it all off in a week. And I don’t blame you.
We still have a lot on our plate for the last week here, so keep your fingers crossed that everything goes as planned and we can actually pull this off.
UPDATE: We’re all done with the bathroom now, check out how it turned out here!
Project list for our bathroom renovation:
Demo entire bathroomCover up doorway to hallwayOpen new doorway to master bedroomRough in new plumbing (toilet, showers, sinks)Add new subflooringCreate shower panAdd recessed lightingAdd new vanity light electricalAdd bathroom exhaust fanInstall shower niche linersInstall insulationAdd sheetrockTape and texture drywallPaint walls- Tile shower walls
- Install shower niches with accent tiles
- Tile around window and in windowsill
- Tile floor – in process
- Install new toilet
Relocate vanityInstall new countertop- Tile backsplash on vanity
- Install fixed shower door panels
- Install shower heads
- Build DIY laundry hamper – in process
- Install floating shelves
Build DIY barn door- Install vanity lights
- Install trim and baseboards
- Install bathroom accessories
- Hang shelf for mirrors
- Hang mirrors
- Decorate!
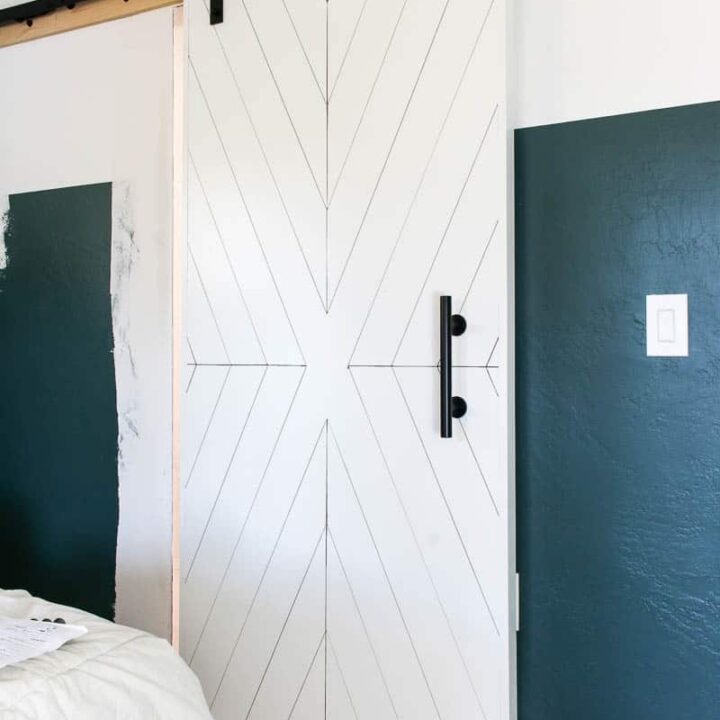
How To Build A Barn Door
Do you want to build a barn door? You'll love this step by step tutorial for how we build this modern white barn door with MDF.
Materials
- MDF panels (3)
- Poplar board (we needed 22 ft)
- Primer
- 1 1/4 inch nails (for finish nailer)
- Construction adhesive
- Paint
- Nickels (yep, like the ones from your wallet)
- Barn door hardware
- Barn door handle
- Wood Filler
Tools
- Tape measure
- Square
- Finish nailer
- Air compressor
- Tap set
- Hammer
- Circular saw
- Table saw
- Miter saw
- Pencil
- Level
- Roller (for primer & paint)
- Paint trays
- Putty knife
- Router
Instructions
- Cut MDF panel
- Cut MDF slats
- Prime everything
- Find center of MDF panel
- Mark wood for middle diagonal slat
- Cut middle diagonal slat with circular saw
- Attach middle diagonal slat
- Continue with X design
- Repeat on back side of barn door (or do a different design, we added simple horizontal slats)
- Fill nail holes
- Paint barn door
- Attach handle and hardware
- Route out a line on the bottom of the door for the guide
- Hang barn door

Our master bath needs a barn door so bad. I love this style. You guys did a great job!
Thanks! We’re still absolutely loving this barn door.
Hey what are the dimensions of the barn door? Looks great but I’ve no idea how tall and wide you made it.
Ours is 36″ wide by 82″ tall, but should be built according to the size of your door opening.
Ours is 36″ wide by 82″ tall, but should be built according to the size of your door opening.