Faux Concrete Wall Panels Behind Fireplace (No tools required!)
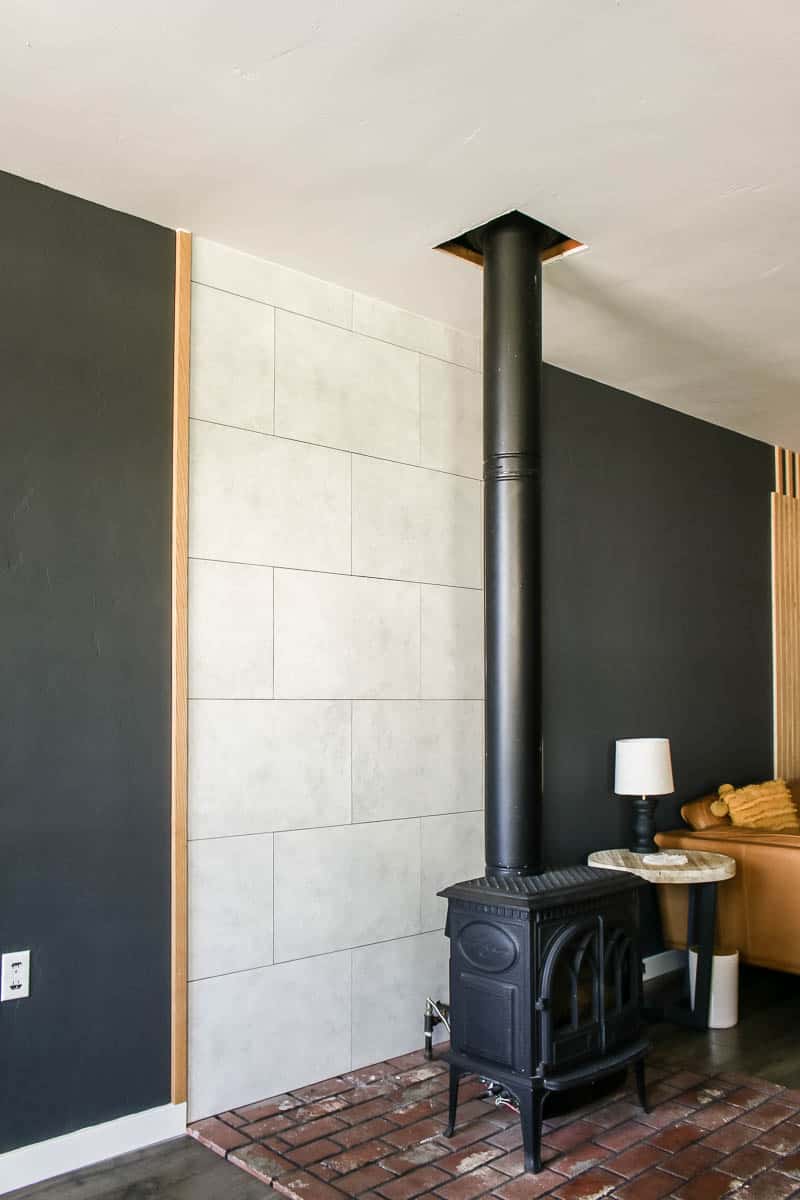
During our big living room makeover, we wanted to give our fireplace a more modern look. The plan for our DIY fireplace makeover was to remove the faux brick paneling completely and replace it with new material from floor to ceiling. It always kinda bugged me that the brick only went halfway up the wall.
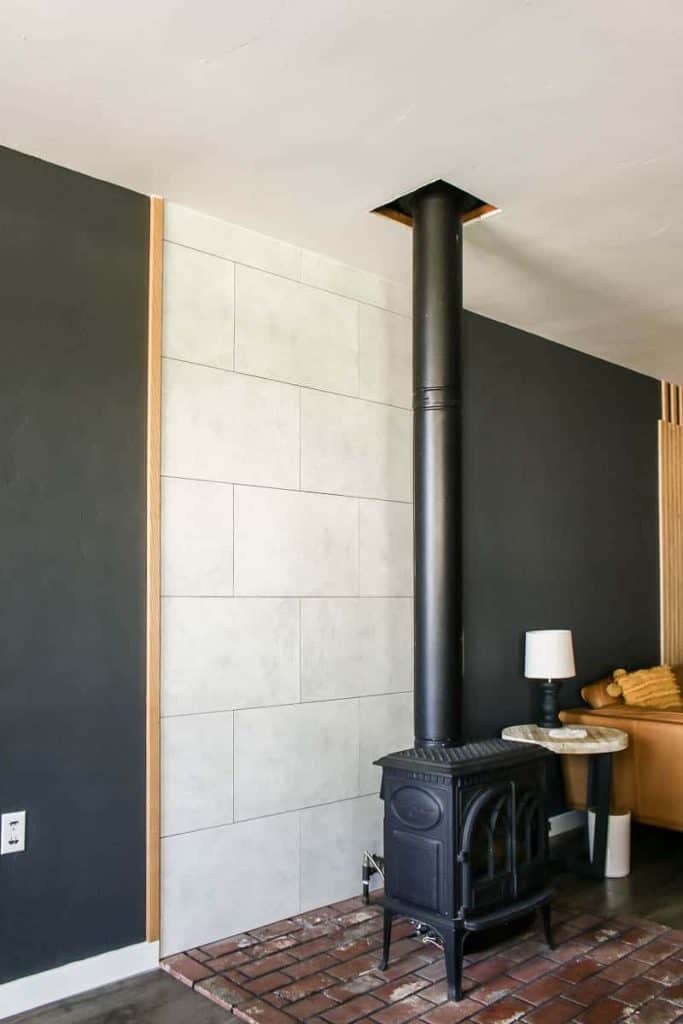
For this project, we used the large tongue & groove panels from Innovera Decor by Palram in a rustic concrete color, and the result was exactly the vibe we were going for.
Once I discovered these panels, I instantly did more research and was pleasantly surprised to learn that they are heat resistant so they can be used on fireplace walls as long as they are 6 inches away from a flame. Our free-standing gas fireplace sits about 11 inches from the wall, so the faux concrete wall panels were perfect.
This project would be great for a beginner or someone without a big budget for power tools. The interlocking panels made it so easy to install that we really only needed to use a little construction adhesive to hold it all together! The entire installation process took about an hour with two people working.
We highly recommend this product for those who are updating their space on a limited budget.
This DIY fireplace makeover contains affiliate links, but nothing that I wouldn’t recommend wholeheartedly. Read my full disclosure here.
Want to see more of our living room renovation?
- Modern Bohemian Living Room Mood Board & Layout (our next renovation!) – you are here!
- Removing Baseboards: Tips and Tricks
- How To Remove Carpet Tack Strips – 2 Easy Ways!
- How To Install Laminate Flooring on Concrete
- How To Fill Nail Holes in Wall
- How To Paint A Room For Beginners | Ultimate Guide
- Laying Large Format Tiles | Tile Entryway Reveal
- Easy DIY Tapestry Frame | 6 Simple Steps To Create Fabric Wall Art!
- DIY Slat Wall | Easy Modern Wood Accent Wall Idea
- Faux Concrete Wall Panels Behind Fireplace (No tools required!)
- Modern Boho Living Room Reveal
Fireplace Makeover: Before Pictures
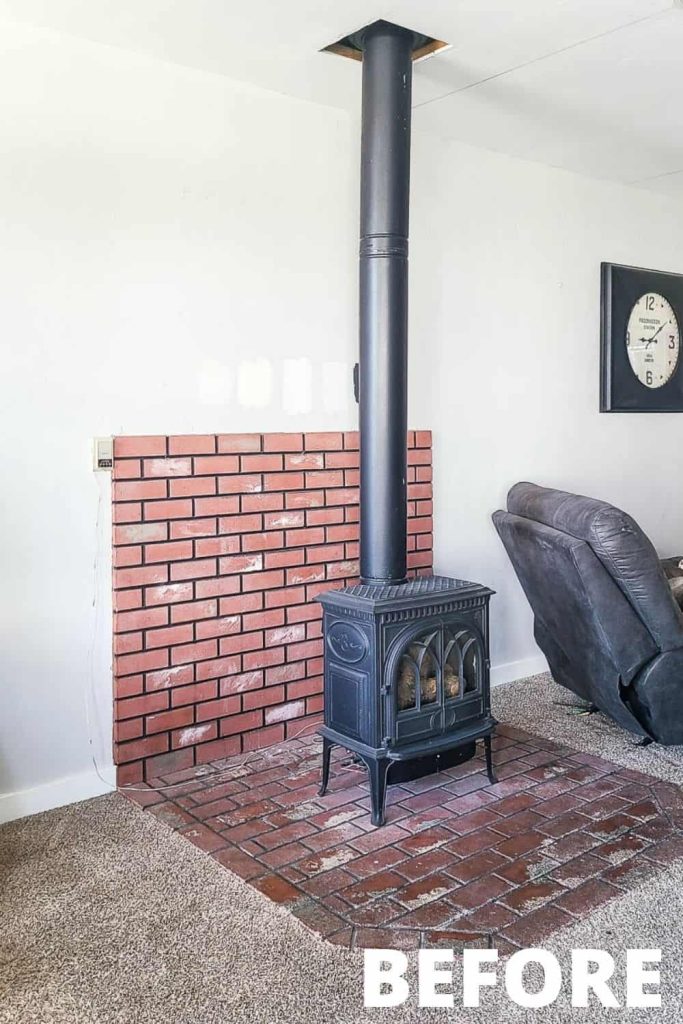
Here’s how the fireplace started. We decided to keep the freestanding gas fireplace because it works great and I love the rustic charm of it. But the wall behind the fireplace has always bugged me, as I mentioned above.
Since we added recessed lights in the ceiling during the living room makeover, we could finally get rid of the wall sconce lights and take the wall panel behind the fireplace from the floor to ceiling.
How to Replace Faux Concrete Wall Panels
Video Tutorial – How to Install Faux Concrete Wall Panels
If you love DIY videos, be sure to subscribe to our YouTube Channel!
Supplies needed for installing a faux concrete wall behind fireplace
- Innovera Decor by Palram tongue & groove wall panels, Light Gray
- Utility knife
- Straight edge (ruler, level, piece of lumber)
- Construction adhesive
- Caulk and caulking gun
- Rubbing alcohol and rag
- Finish nail gun
- 1 1/2″ finish nails
- Hardiebacker (recommended for behind fireplace)
Step 1. Remove existing wall panels
Start by removing any existing wall panels.
Our brick veneer paneling was screwed in, so it was easy to remove. We had to cut the paneling away from the wall behind the fireplace at the bottom where our gas line was, but other than that, it was simple!
Then, you’ll want to make sure your surface is nice and flat. If there is any drywall that needs replacing or patching, now is the time to take care of that.
We already had some existing drywall at the top that we did not want to remove, so we added an extra sheet of drywall at the bottom to create an even surface. However, since we are doing this behind a fireplace, we added Hardie Backer, instead of traditional drywall, so that it is fire-resistant.
Step 2. Install new wall panels.
Before any “real” work begins, you want to make sure any residue has been removed from the back side of the faux concrete wall panels and they have a nice clean backing for the construction adhesive to adhere to. The best way to do this is with rubbing alcohol.
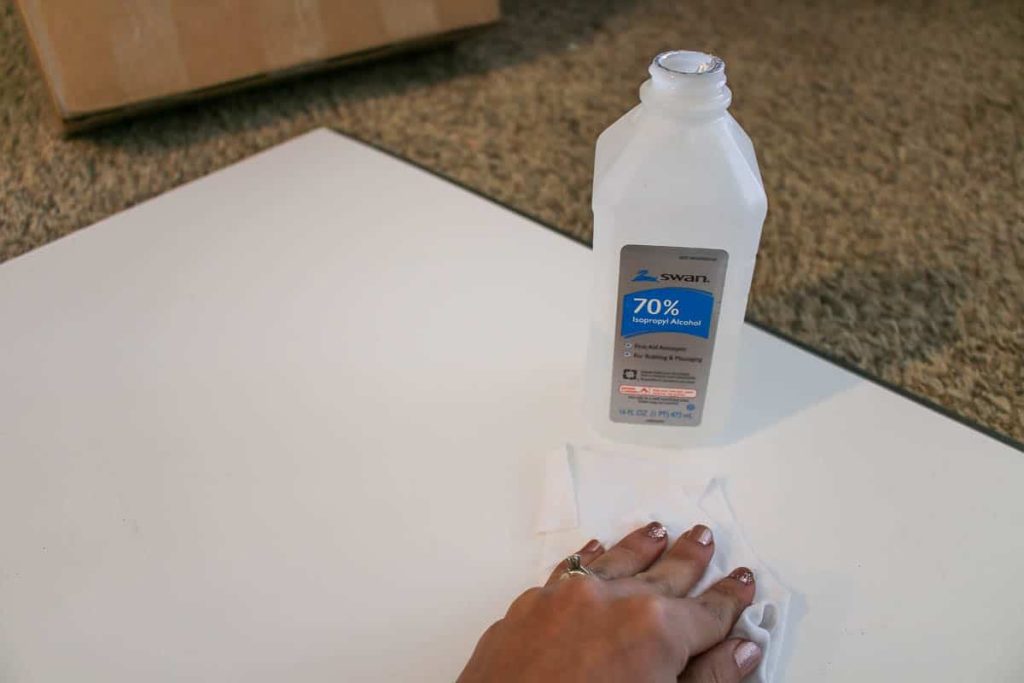
After the faux concrete wall panels have been thoroughly cleaned with rubbing alcohol and a rag, give them a chance to fully dry. Next, add the construction adhesive to the backs of the wall panels, working one panel at a time.
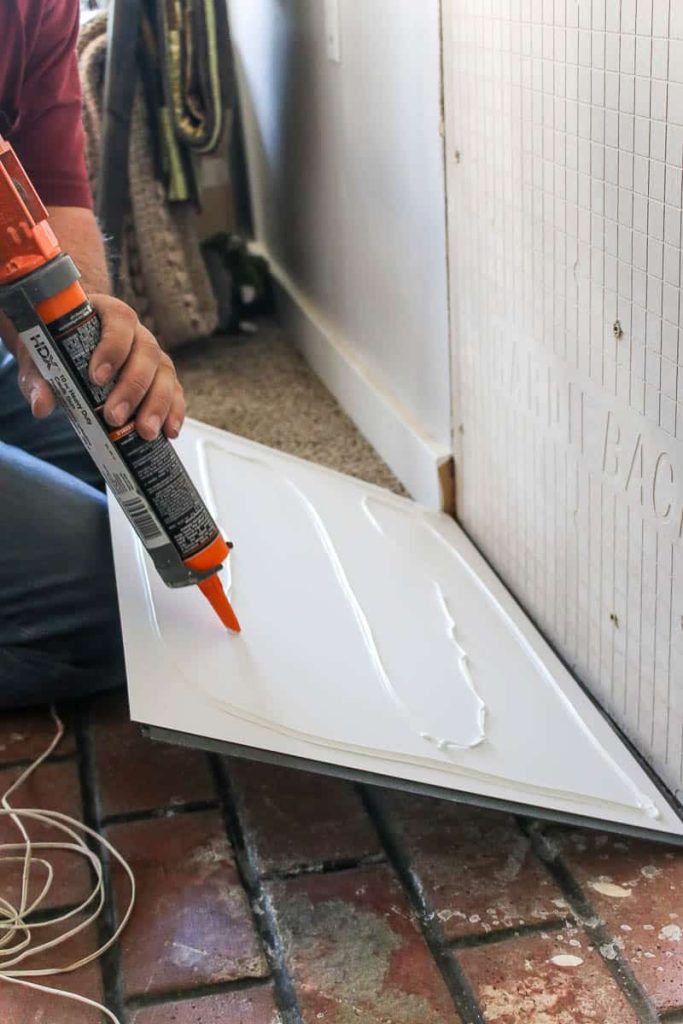
Here’s the best way to apply construction adhesive:
- Load the adhesive tube into the caulking gun.
- Trim the tip of the adhesive tube at a 45-degree angle with a utility knife.
- Squiggle in a back-and-forth motion to apply the adhesive to the panel.
After the adhesive has been applied, slide each panel into place on the interlocking edges, pressing the panel into the wall until the adhesive grabs – about 10 seconds.
Be sure to run your hand over the entire wall panel, pressing into the wall so the whole panel grips to the wall.
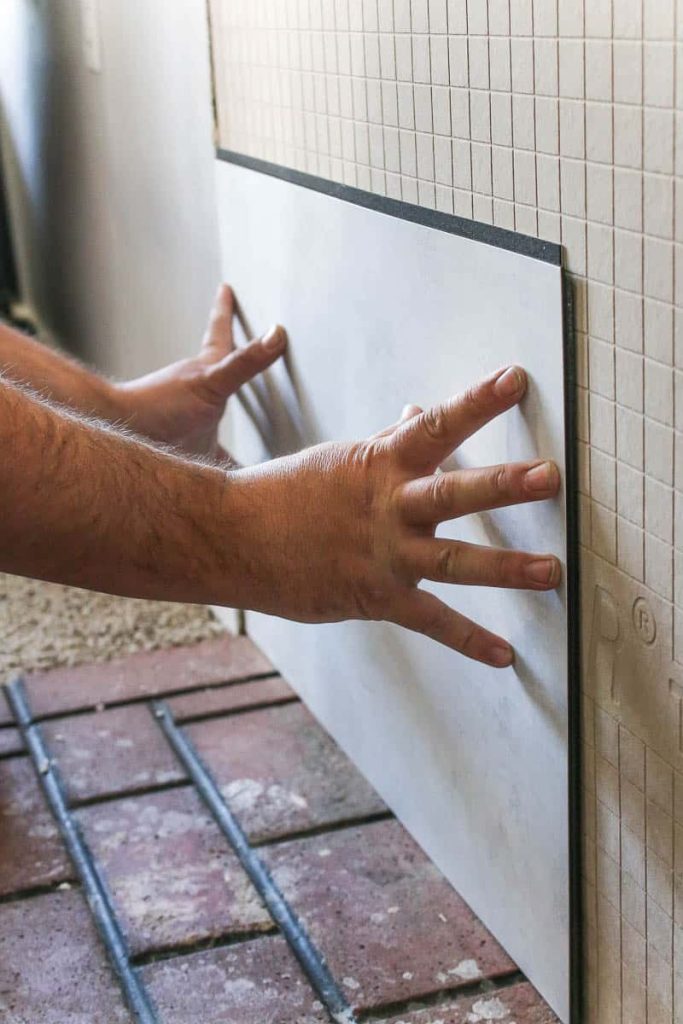
As you are installing, we recommend working from the bottom up. Depending on your space, you might need to trim the bottom edge to have each panel sit completely flush with the wall.
In our case, we had to cut the extra lip from the bottom so it would fit flush on the ground.
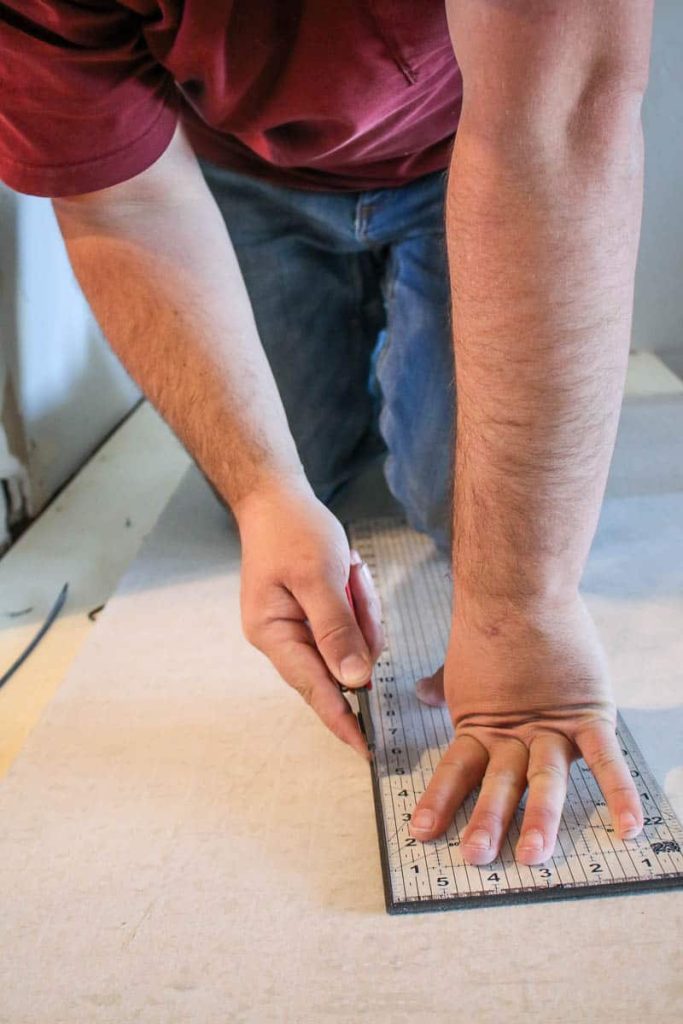
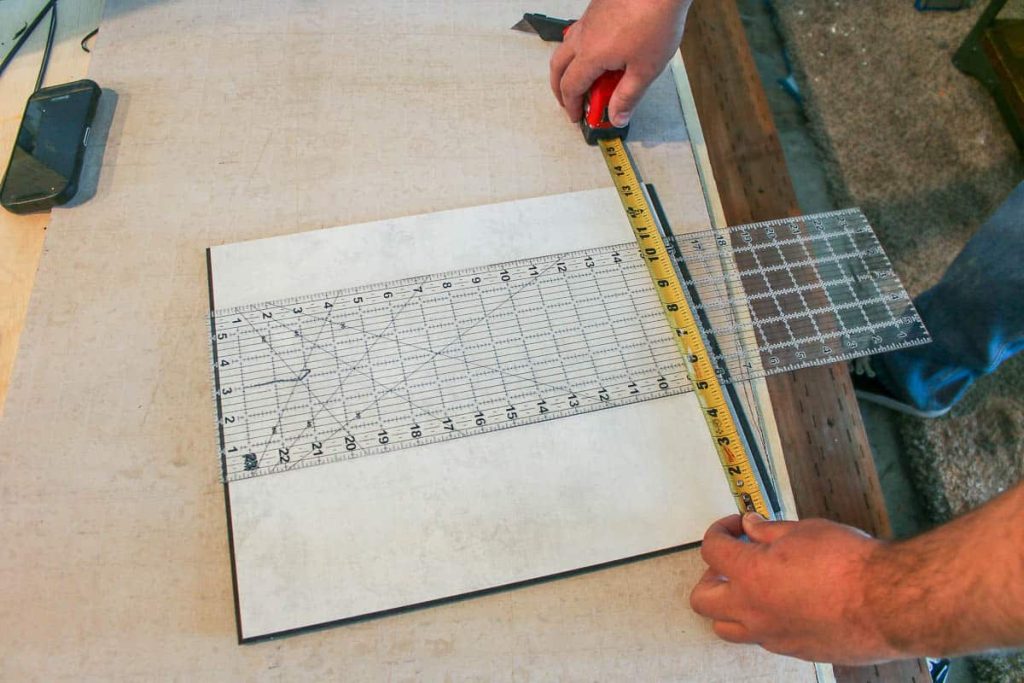
We found it was super easy to cut the panels as needed for tight spaces. All we needed to do was measure and cut with a utility knife against a straight surface.
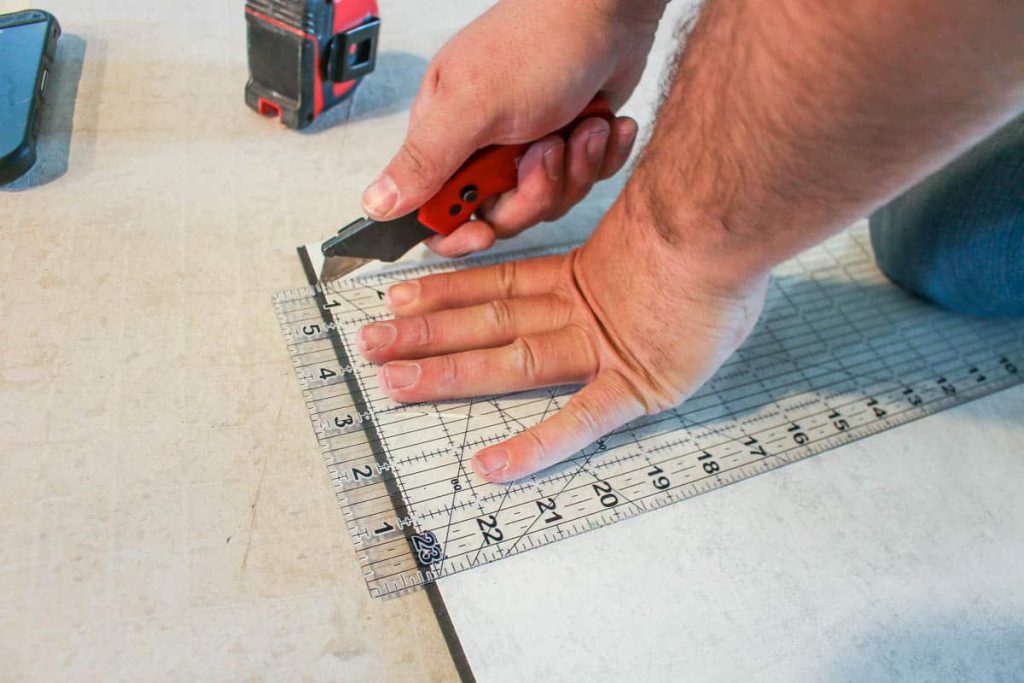
We used a clear acrylic ruler as a guide for this part, but you could also use a level, a piece of straight wood, or another straight edge.
Be sure to put something under the panel before cutting with the utility knife. We used a scrap piece of backerboard.
Step 3. Add trim to edges of fireplace panel
For the edges, we added wood trim to outline the edges of the fireplace. This also helped incorporate the wood slat accent wall we had planned in the living room.
First, we cut away any excess tongue & groove. Then, added a small piece of 1×2 lumber along the edges as our trim with a finish nail gun and 1 1/2″ finish nails.
Then, we applied a small bead of 100% silicone caulk in white where the fireplace panels and the wood trim met and where the panels and the ceiling came together. This gives it a nice professional-looking finish.
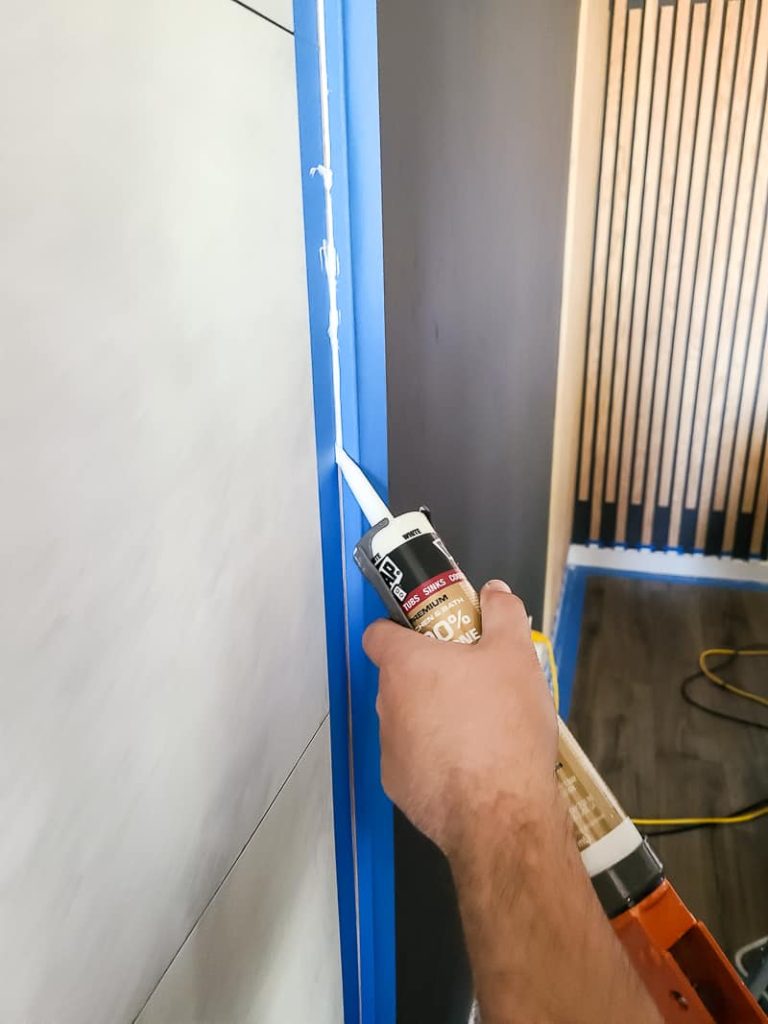
Here are a few caulking tips:
- To get a straight line and clean edges to your caulking, apply painter’s tape between the two edges where your caulk will go, leaving a small space exposed between the two pieces of tape.
- Apply a small bead of caulk with a caulking gun.
- Immediately, smooth the wet caulk with your index finger. You can dampen your finger slightly to prevent sticking.
- Remove the painter’s tape while the caulk is still wet.
In addition to caulking between the trim and fireplace panels, we also caulked at the top where the panels met the wall to give it a more finished look.
Fireplace Makeover: After Pictures
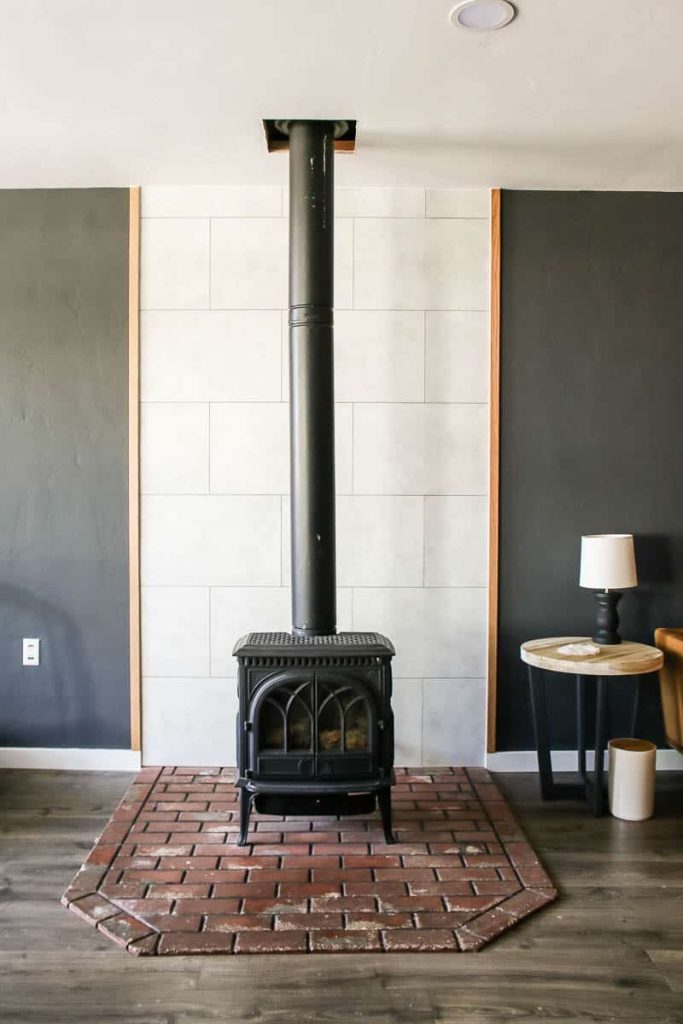
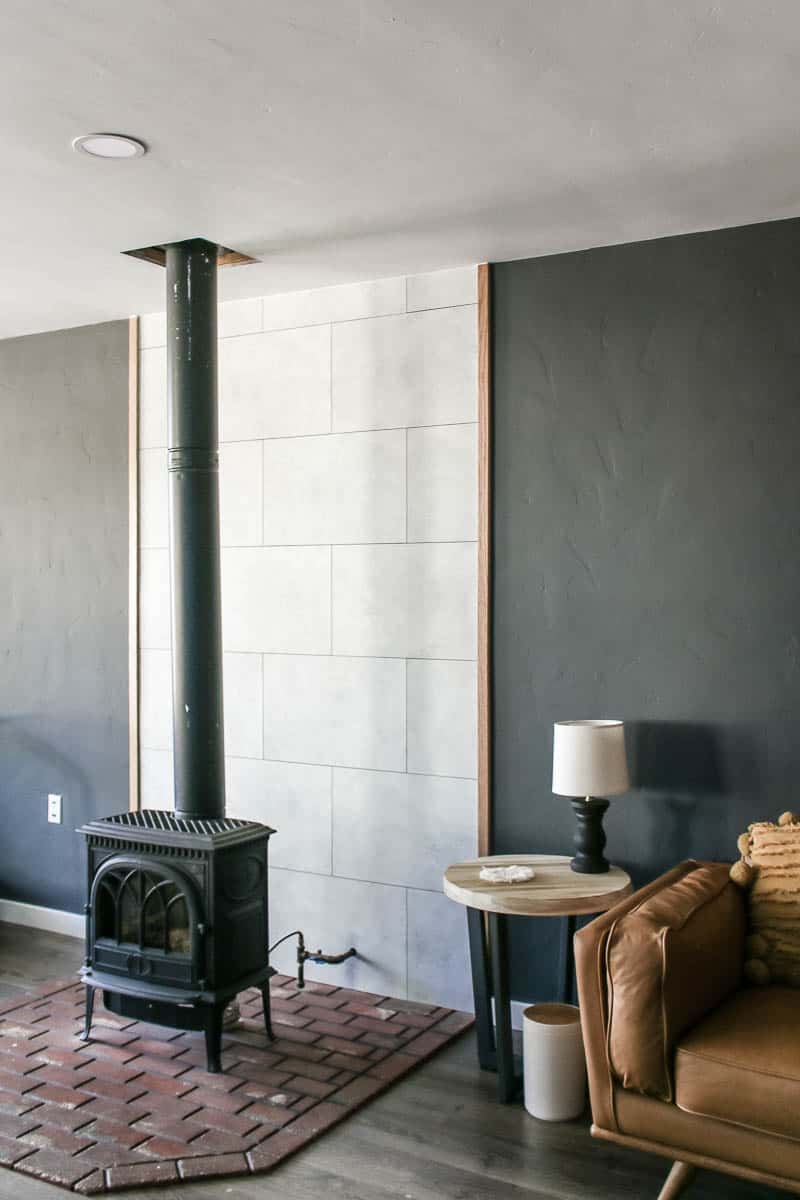
I love the way this project turned out! The ease of the demo and installation made this more fun than stressful.
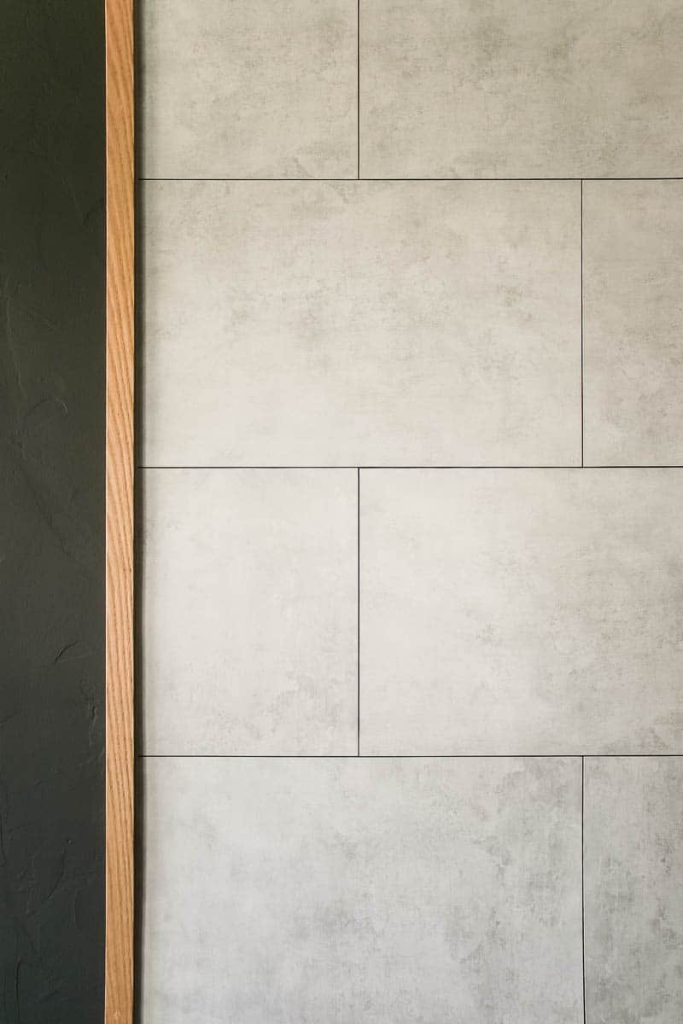
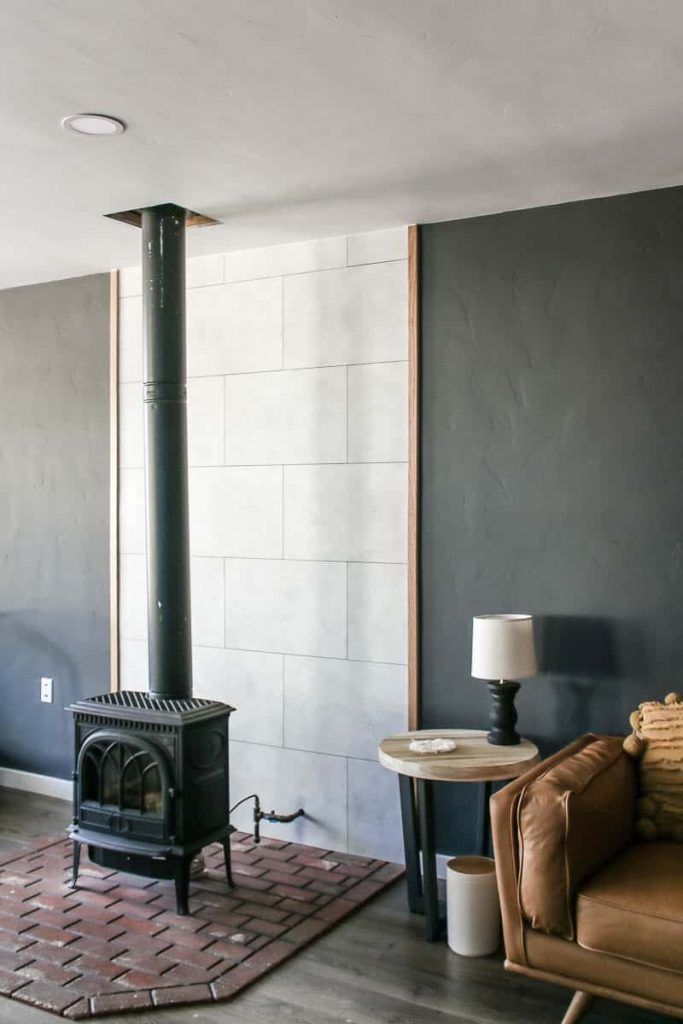
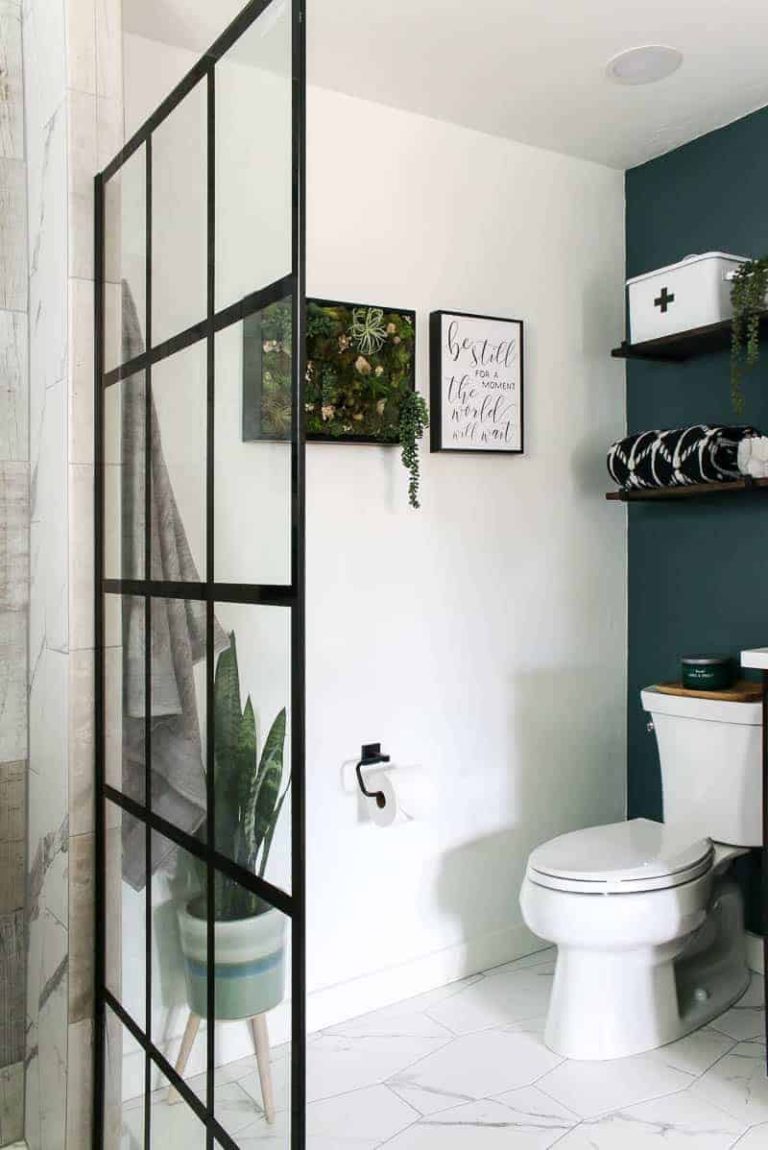
Plus, these panels can go on any wall – including the bathroom!

Here’s how the refreshed fireplace looks once the living room was styled and decorated! Check out more pictures & all of the sources of our modern boho living room here!
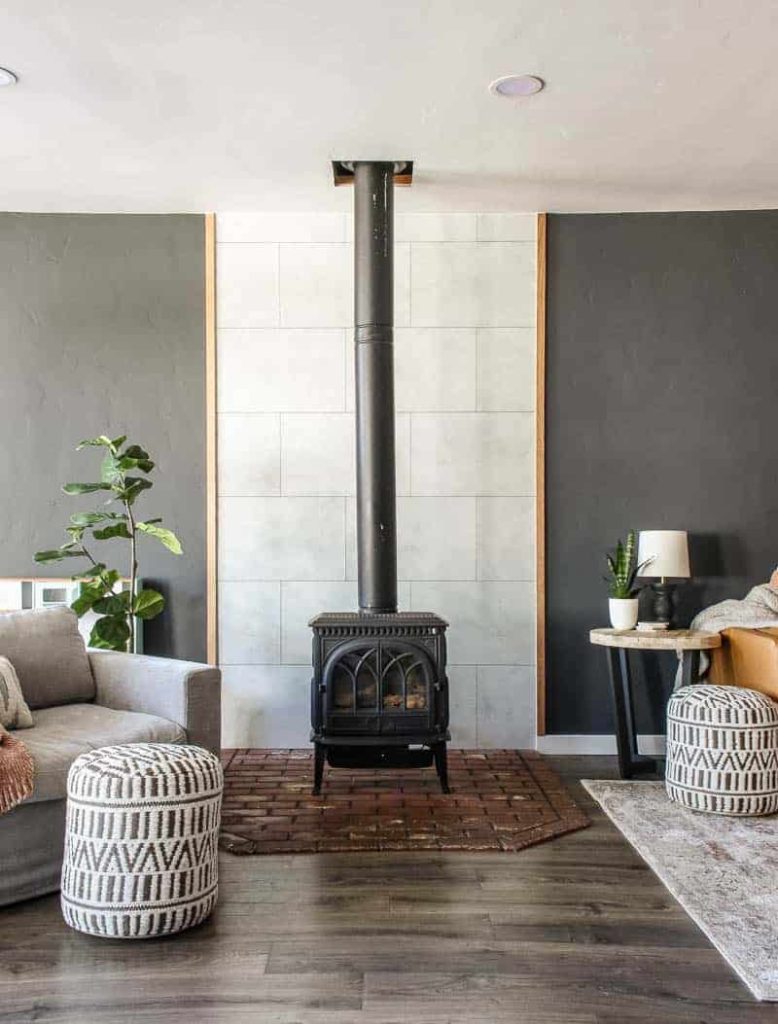
Where would you put faux concrete wall panels in your house?
Tell me your next project in the comments!
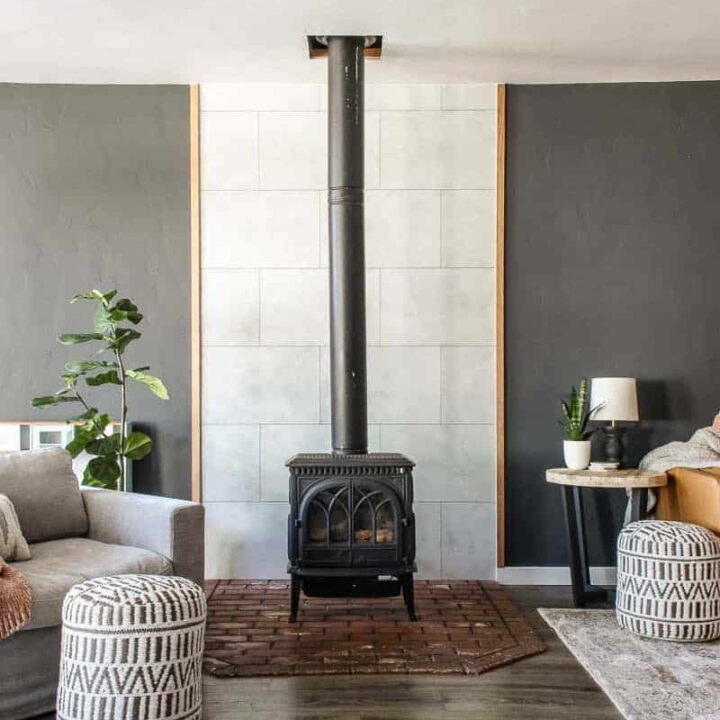
How to Install Faux Concrete Wall Panels
Looking for a way to make your fireplace, wall or even bathroom look more modern? These faux concrete wall tongue and groove panels helped us create this beautiful easy DIY fireplace makeover! It was so easy to install and required NO power tools.
Materials
- Innovera Decor by Palram tongue & groove wall panels, Light Gray
- Construction adhesive
- Caulk and caulking gun
- Rubbing alcohol and rag
- 1 1/2" finish nails
Tools
- Utility knife
- Straight edge (ruler, level, piece of lumber)
- Finish nail gun
Instructions
- Start by removing any existing wall panels.
- Replace or patch any drywall to make sure you have a nice flat surface.
- Use rubbing alcohol to remove any residue from the tongue and groove panels.
- If you're installing this on a fireplace wall, use Hardie Backer which is fire resistant.
- Add construction adhesive to the backs of the panels working one at a time.
- Slide each panel into place on the interlocking edges, pressing the panel into the wall until the adhesive grabs. Work from the bottom up.
- Measure and cut panels for tight spaces using a utility knife.
- Frame your faux concrete wall panels using 1x2 lumber, caulk where the panels and wood trim meet, and where the panels meet the ceiling for a professional finished look.
Recommended Products
As an Amazon Associate and member of other affiliate programs, I earn from qualifying purchases.


Great update!
Thanks so much Cindy! It was such a fun project.