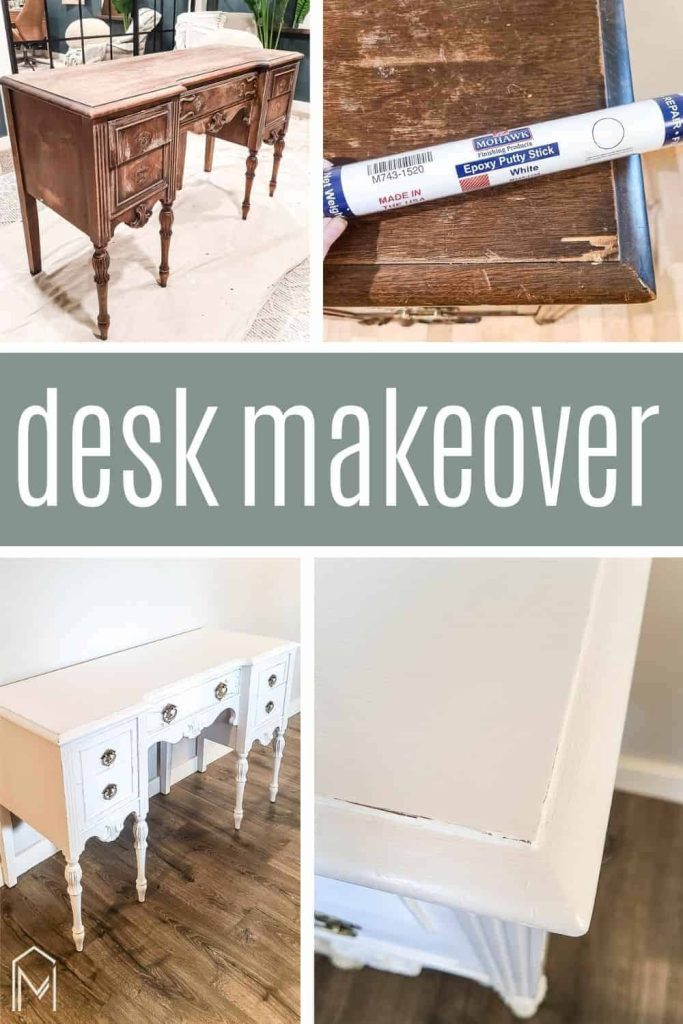
Vintage Wood Desk Makeover: How to Repaint and Repair Wood Furniture

Who's ready for a furniture flip? We're going to teach you how to repair wood furniture while transforming a wood vintage desk. This chalk paint desk turns out so good!
Thank you to Mohawk Consumer for sponsoring this post! All opinions are entirely my own. This post also contains affiliate links, but nothing that I wouldn’t recommend wholeheartedly. Read my full disclosure here.
If you’re painting vintage wood furniture, chances are that there is damage at least somewhere. Over time wood gets damaged with wear and tear.
Whether you bumped it against the wall when you were moving in or your kid ran into it with a toy bike, damage to wood furniture happens eventually.
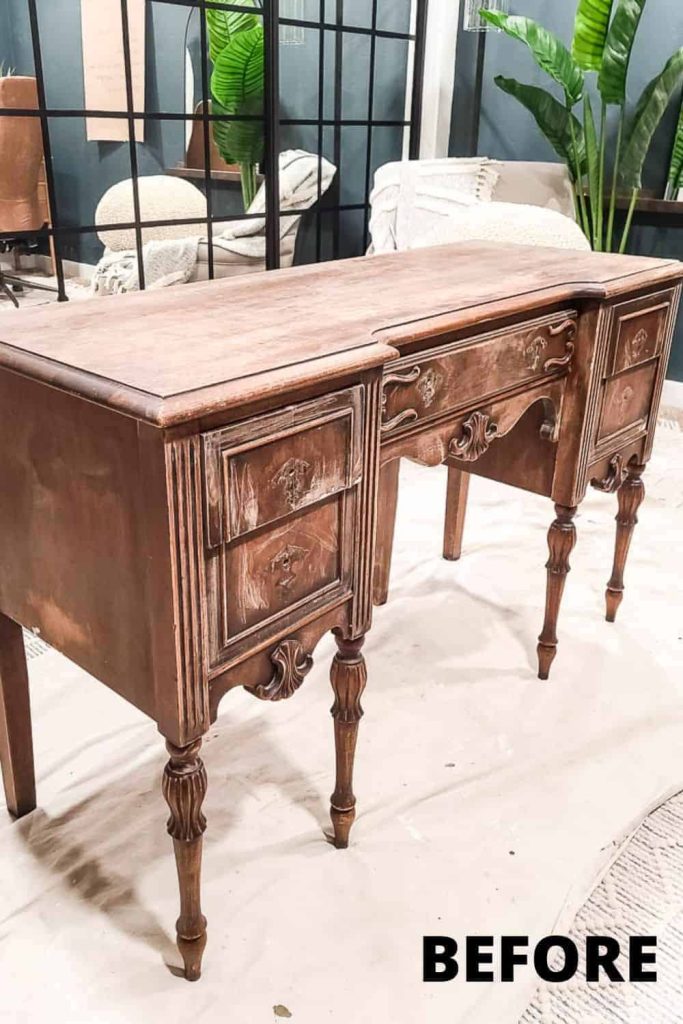
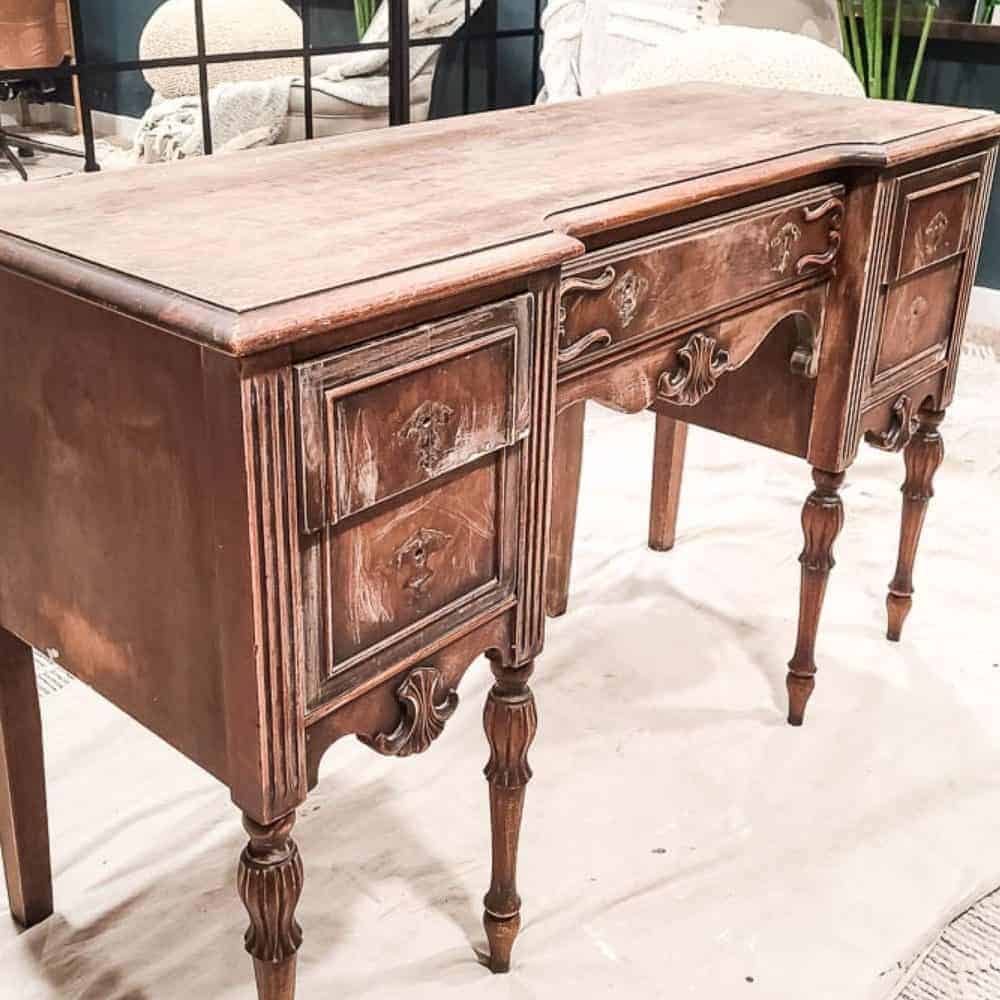
Repairing Wood Furniture: Before Pictures
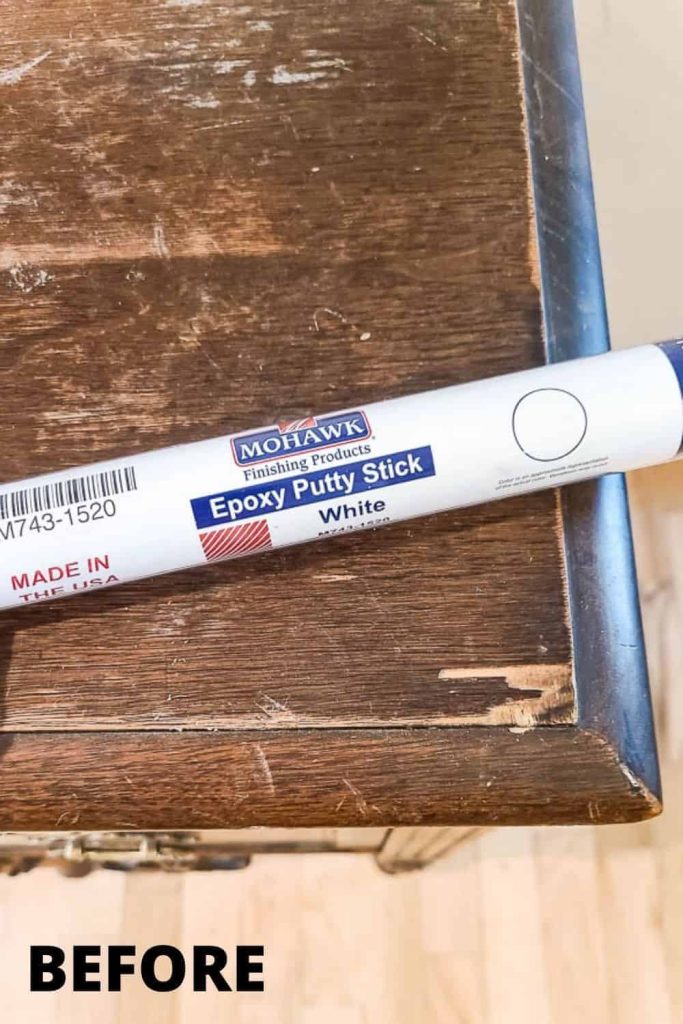
The best time to repair damage on wood furniture is before painting. Mohawk’s Epoxy Stick is perfect for furniture repair.
After being applied, it quickly cures into a very durable surface that can be sanded smooth and then stained or sealed. You can even drill into it if you wanted!
It works not only on wood, but also on metal, glass, and ceramic! Pretty impressive, right? And the best part is that it is SO easy to use. I’m going to show you the whole process in this furniture flip chalk paint desk tutorial!
Related Reading – Other Painting Projects You’ll Love
- Modern Sponge Painting | Semi Circle Pattern in Back of Locker Cabinets
- Outdoor Wood Painting Tips with A Paint Sprayer
- The Best Order of Painting A Room
- A Basic Paint Sheen Guide for Interior and Exterior Surfaces
- Vintage Bread Box Chalk Paint Makeover
- $3 Laminate Cabinet Transformed Into Green Boho Style Cabinet
- Chalk Paint Furniture Ideas | 29+ Before and Afters To Inspire You
- Milk Paint vs Chalk Paint – What’s the Difference
- Chalk Paint Overview | Why Use Chalk Paint vs Regular Paint
How much chalk paint do I need for a desk?
If you’re going to chalk paint a desk, you may be wondering how much paint to buy. Generally speaking, a quart of chalk paint usually covers 150 square feet.
A quart of chalk paint should be more than enough to paint one desk. For example, I’ve used this chalk paint on the base of our kitchen table and had enough left to do this desk as well.
Furniture Flip Video Tutorial
Sometimes things are just better in video format, right? We summed up the entire process in a new video on our YouTube channel. If you haven’t already be sure to subscribe so you don’t miss our next video!
Supplies for chalk paint desk:
- Vintage wood furniture
- Mohawk Epoxy Stick, White
- Orbital sander with 150-grit sandpaper
- 220-320 sandpaper or sanding block
- Primer
- Floetrol paint additive
- Chalk paint
- Angeled paint brush
- Wax brush
- Wax finish
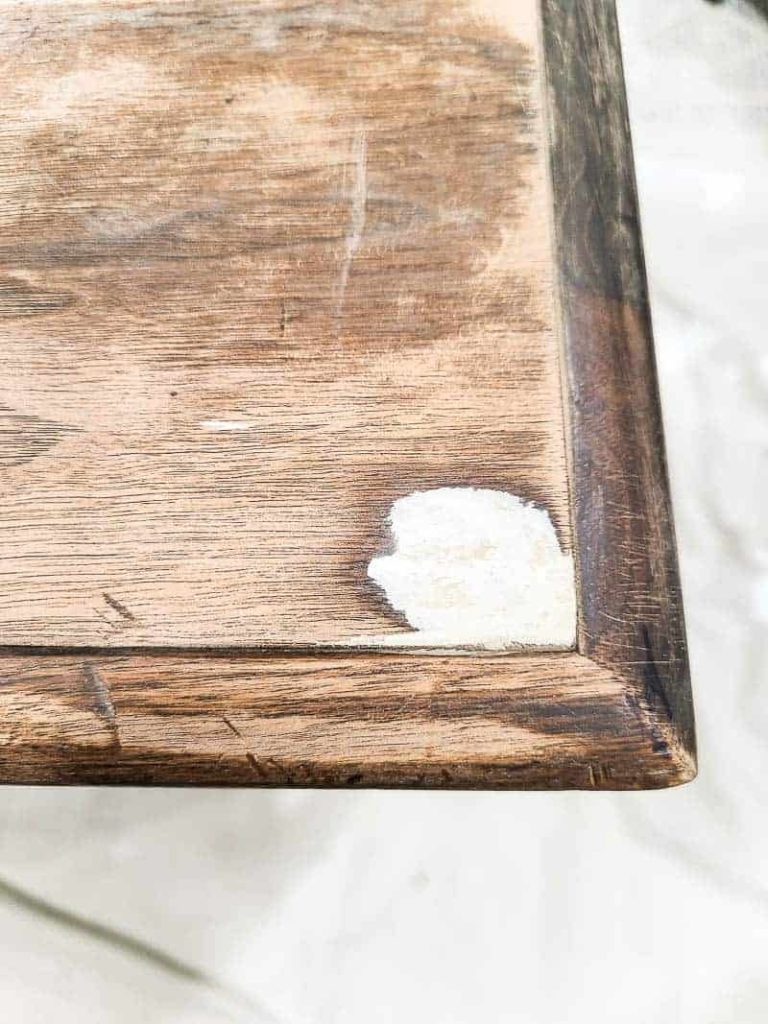
Step 1. Apply Epoxy Stick to repair wood furniture.

Using the Epoxy Putty Stick is simple.
- Once you open the tube, simply pinch off a small amount (about a grape size depending on the damaged area that you’re repairing).
- Smoosh it together in your fingers until it warms up a bit and is uniform in color. It’s similar to the consistency of Play-Doh, so this part is really easy. Mix only what you can use immediately, the epoxy will remain workable for roughly 5-10 minutes.
- Then just firmly press it into place where the damage is on your wood furniture. Best to get it a little bigger/higher than the actual damage because you can sand it down.
- You can get your fingers slightly damp to create a smoother surface if you’d like, but I didn’t do this and mine turned out fine. Shape as desired.
- It will cure within 20-30 minutes and you can move on to sanding!
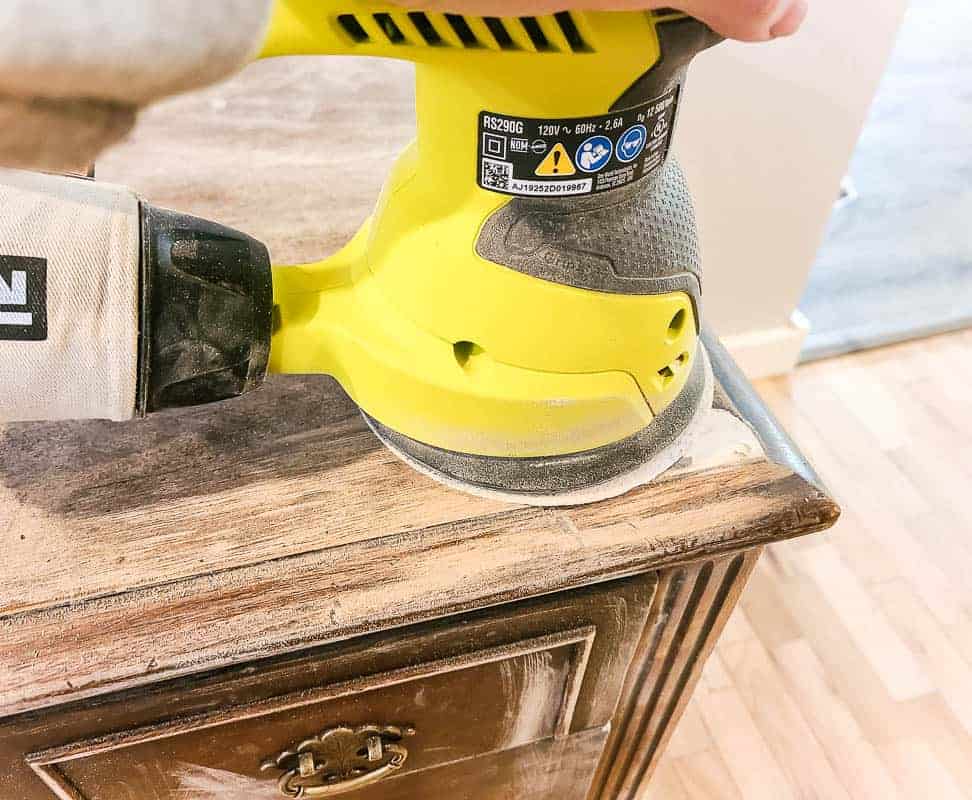
- I used an orbital sander with 150-grit sandpaper initially on the areas where I applied the epoxy stick. This was just to get the high spots of the epoxy. I finished the areas by sanding by hand lightly with 220 grit until smooth to the touch.
- Sanding is easiest within the first few hours of application, so it’s not recommended to leave it overnight or something.
Step 2. Lightly sand.
Lightly sand the entire surface of the wood furniture by hand with 220-grit sandpaper.
Do you have to sand before using chalk paint?
Many chalk paint brands boast that no prep or no sanding is required, but regardless of the brand – I find that a little sanding always helps. It gives the paint something to adhere to.
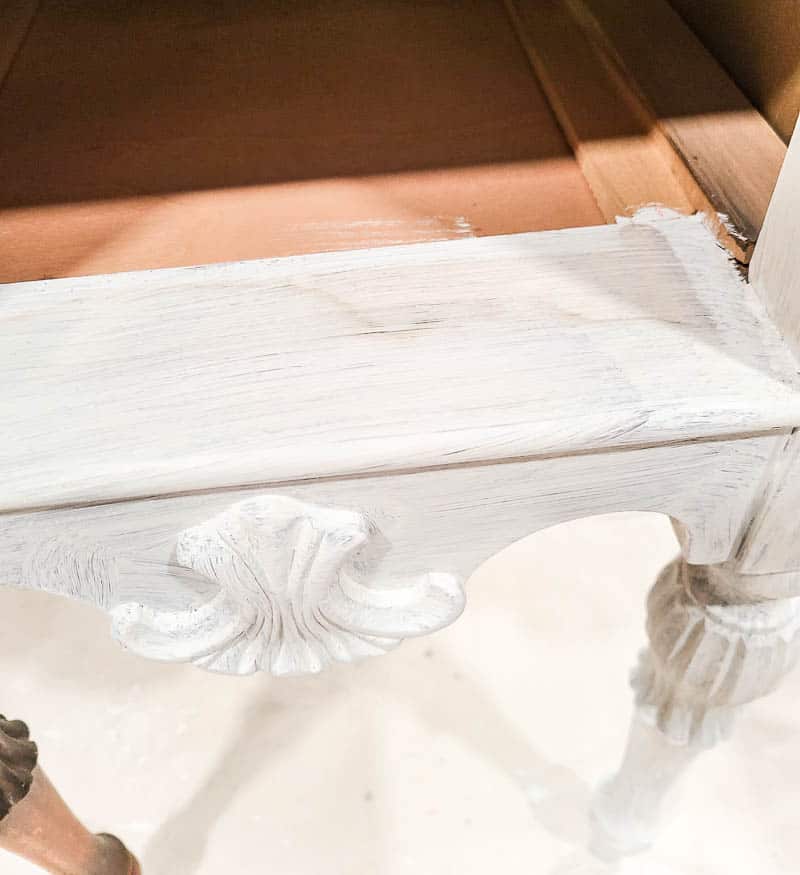
Step 3. Prime.
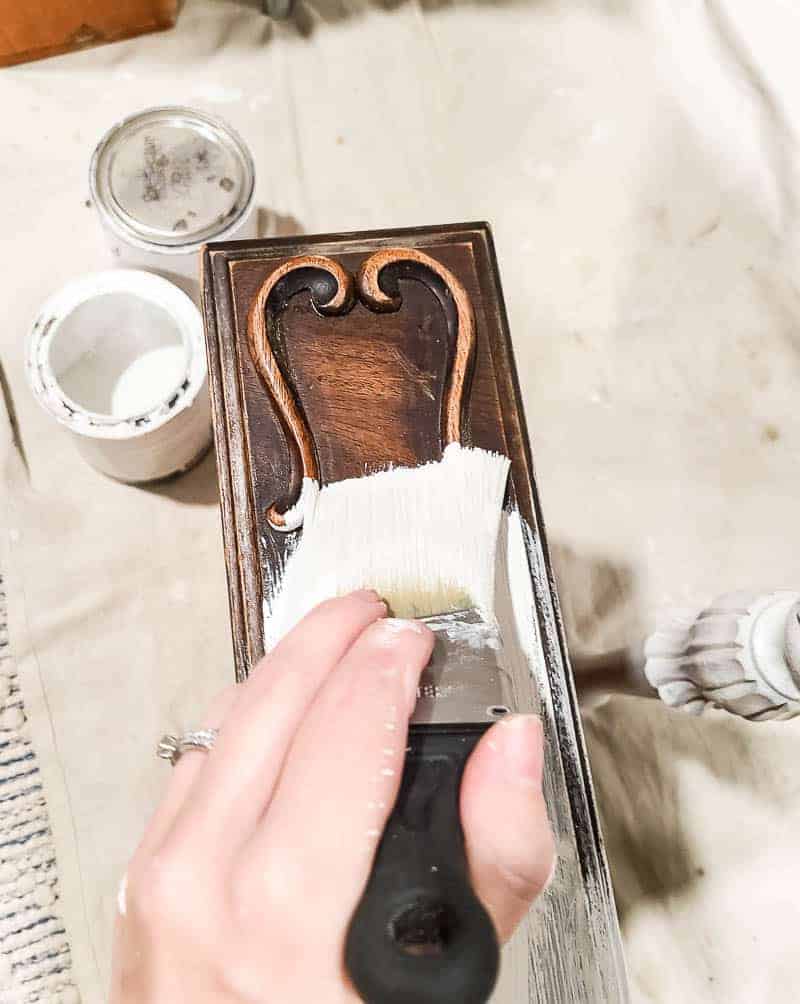
This will depend on the age and color of your wood furniture, but I tried out just skipping the step and going straight to chalk paint. I noticed some stains coming through right away, so I stopped with the chalk paint and did 2 coats of this stain-blocking primer.
I’ve also had great luck with this brand of primer too. I’m a fan of both!
You apply the primer just like you would paint. I find that this paintbrush is definitely my favorite, I love the way it fits in my hand and holds the paint.
Step 4. Chalk paint desk.
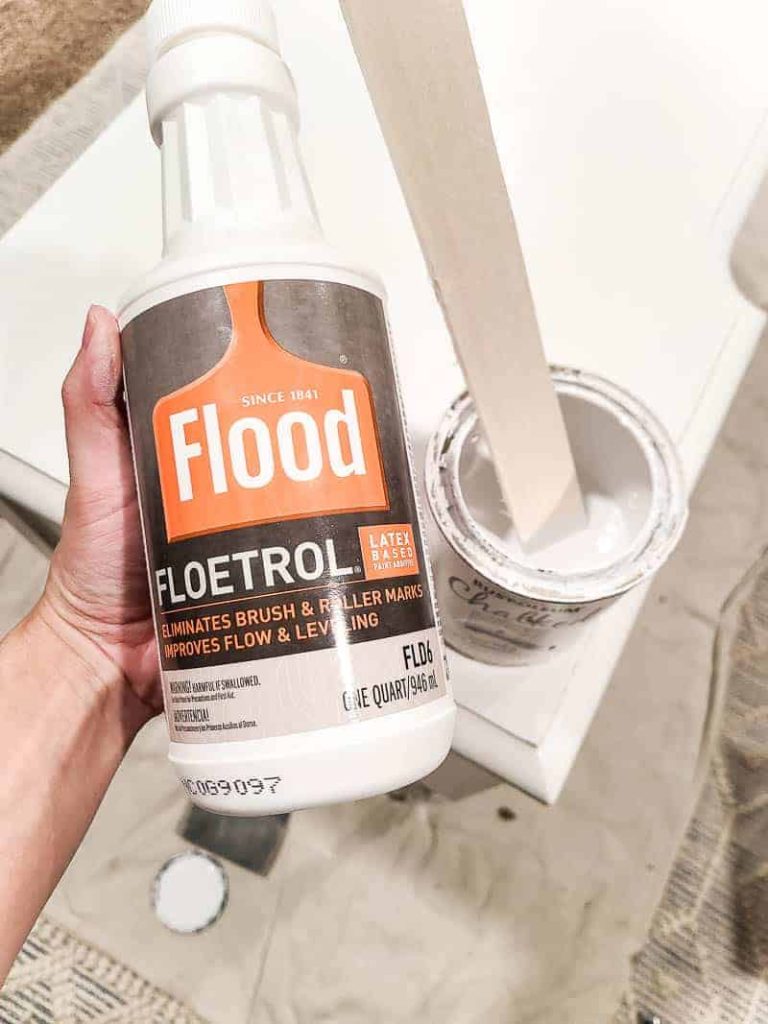
Since I was using a paintbrush for all of the paint, I decided to try out this paint additive that is supposed to help reduce brush marks. I added the recommended amount to the paint before starting.
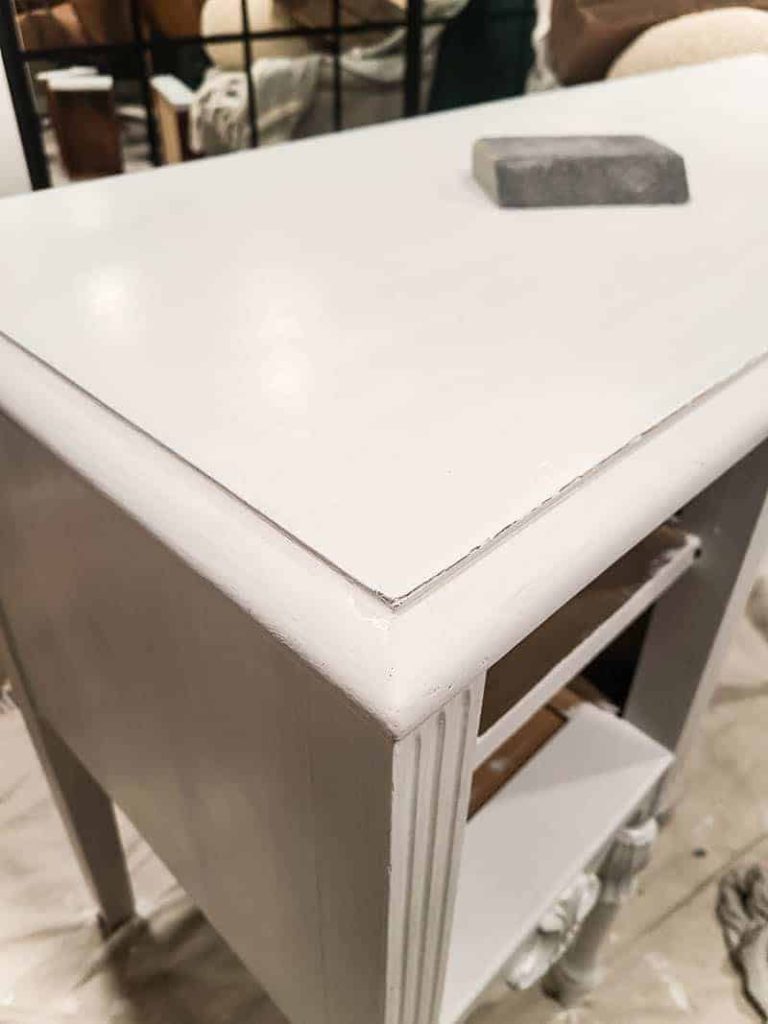
Another step I took to reduce brush marks in the paint finish was lightly sanding the surfaces with a fine-grit sanding block in between every coat of paint once it was dried.
I used the same angeled paintbrush to apply 3 coats of this chalk paint to the vintage desk, sanding in between each coat as mentioned.
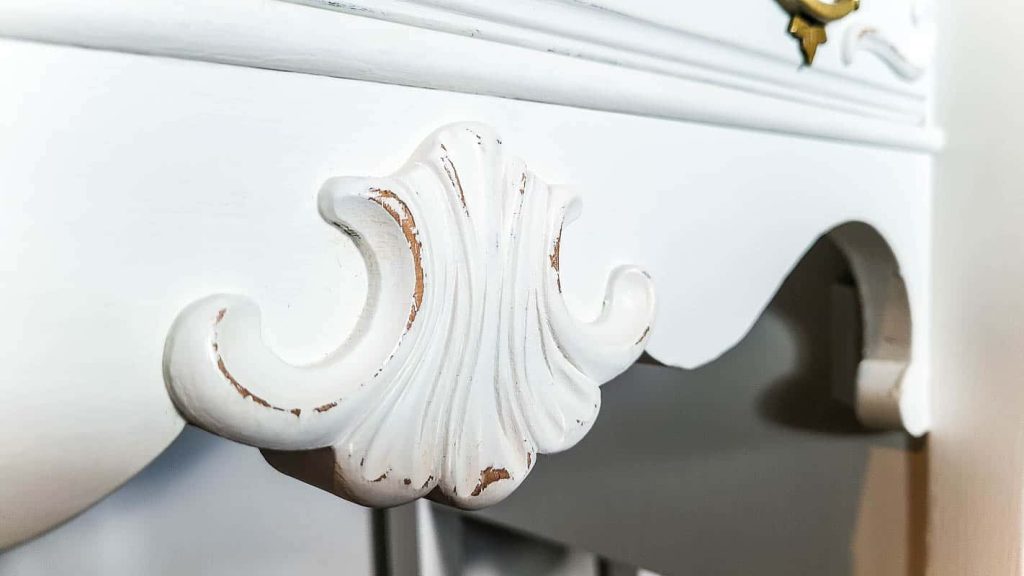
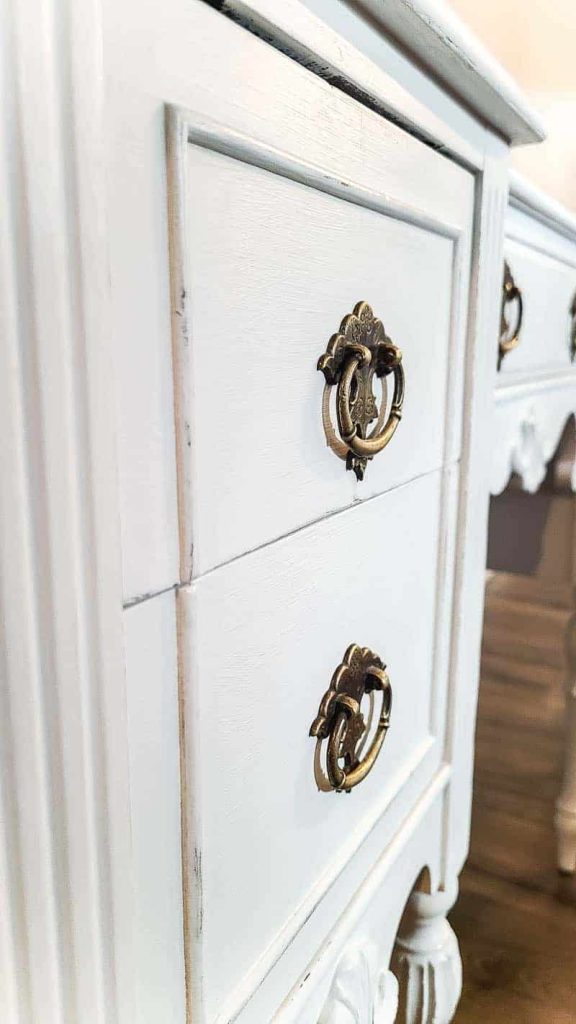
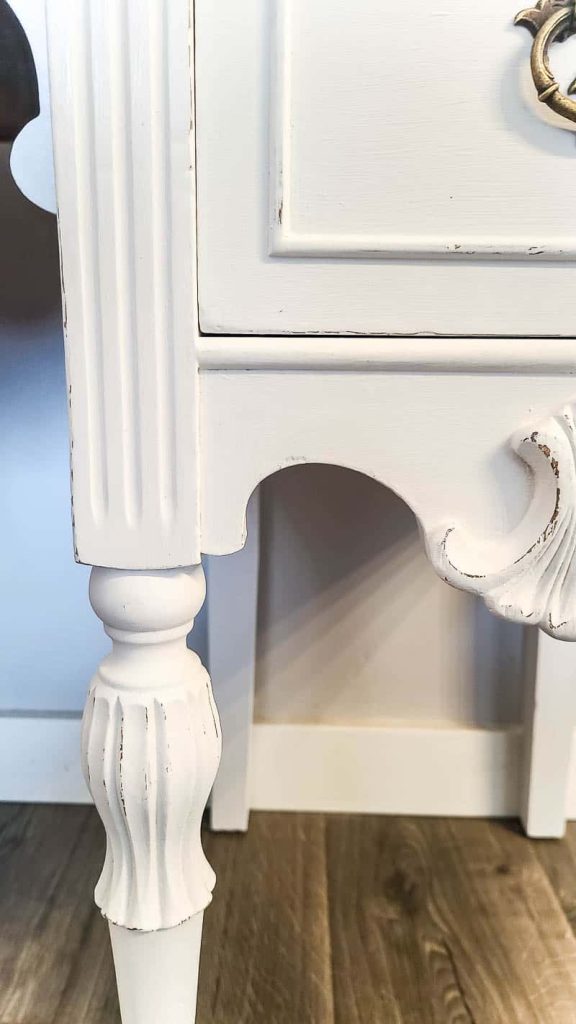
Once all coats were dried, I lightly sanded again and distressed the edges a little more. This is totally optional, but I love the look of distressed white furniture.
Step 5. Seal.
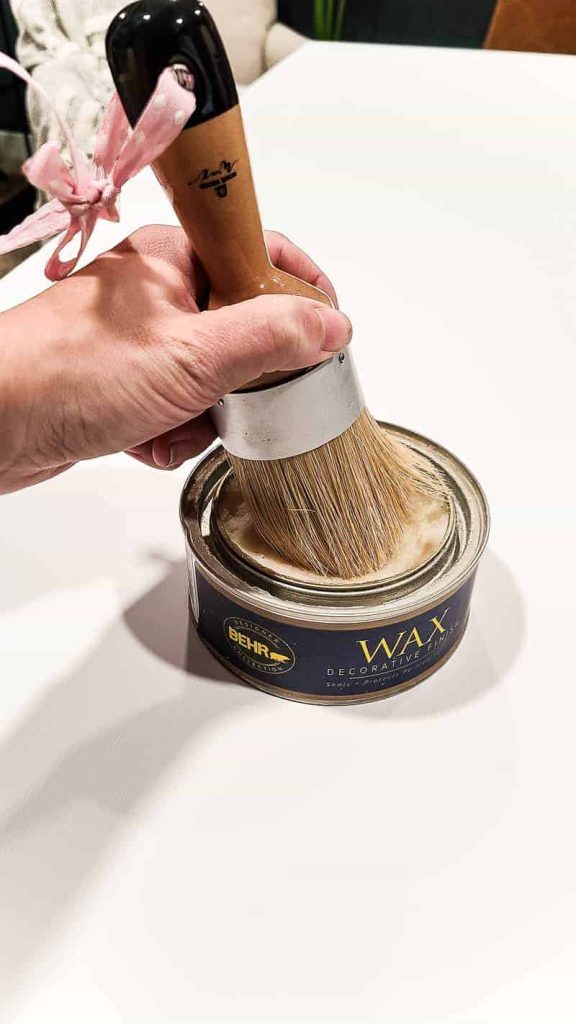
Using a wax brush and this wax finish, apply it in a circular motion over the entire surface of the desk.
This seals the surface with a nice, velvety finish that I love.
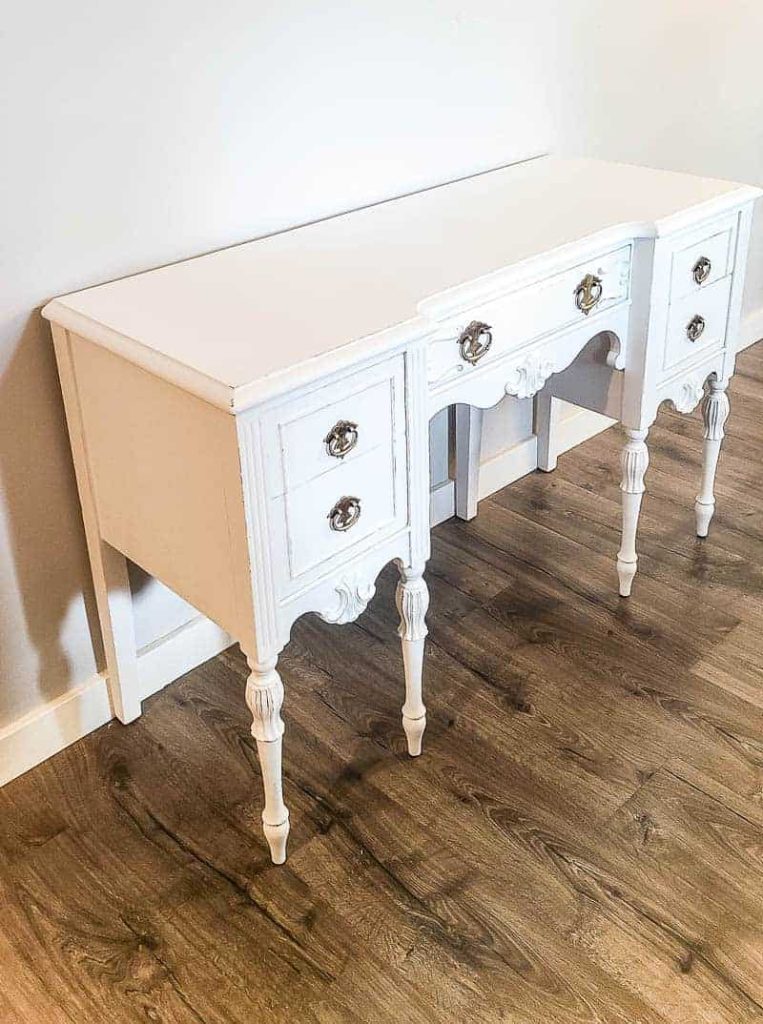
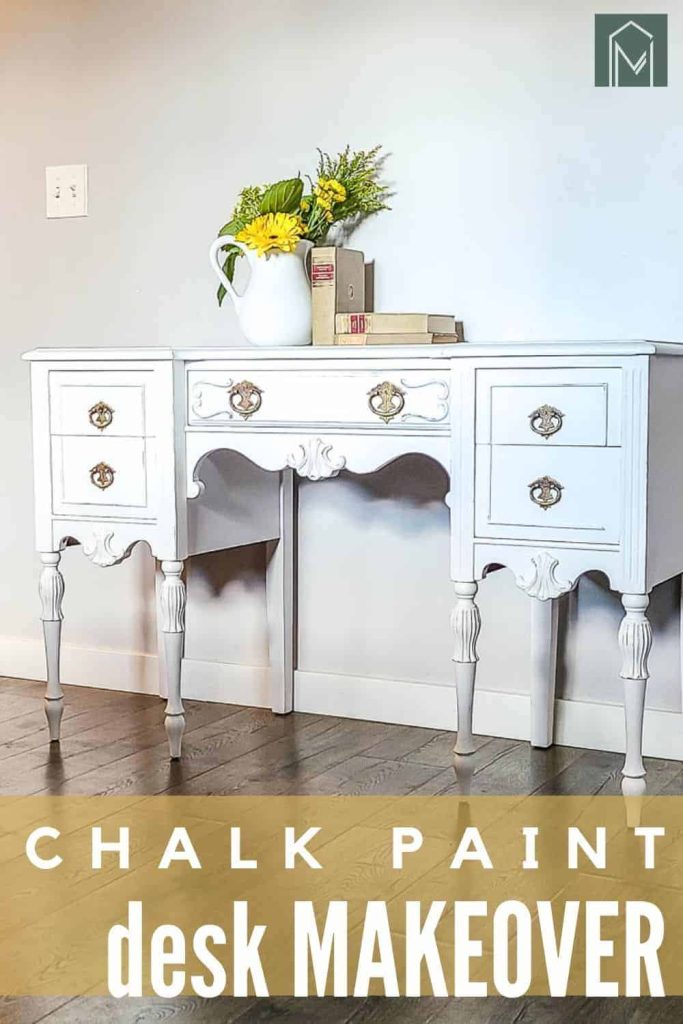
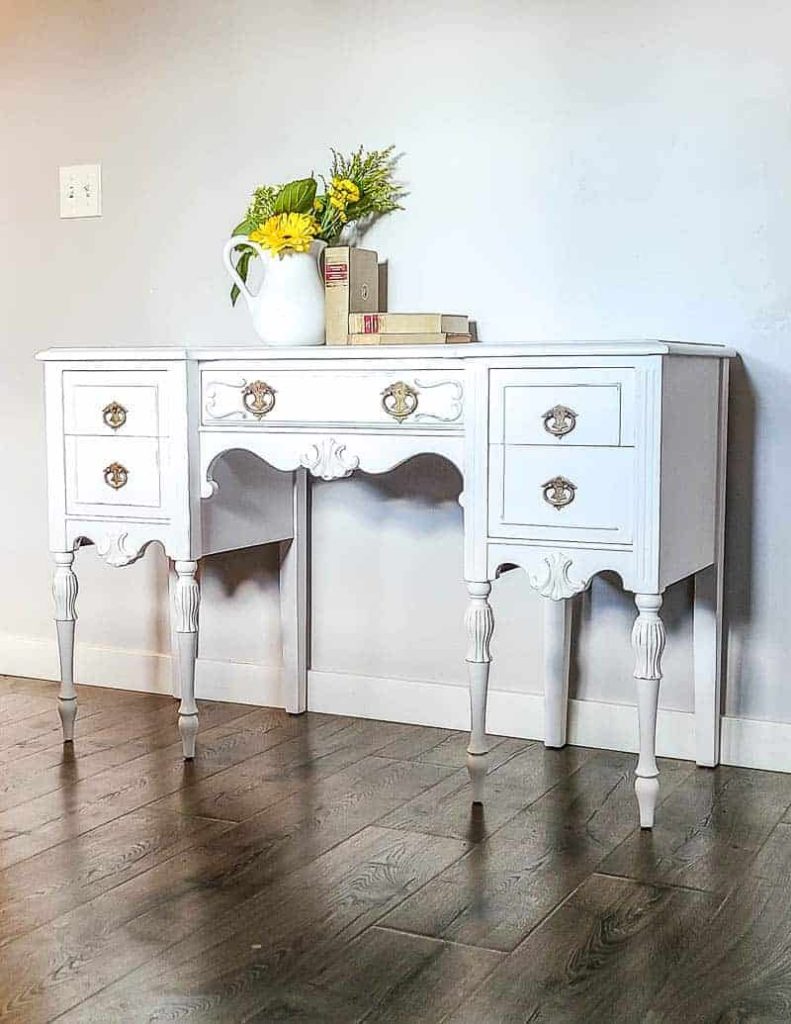
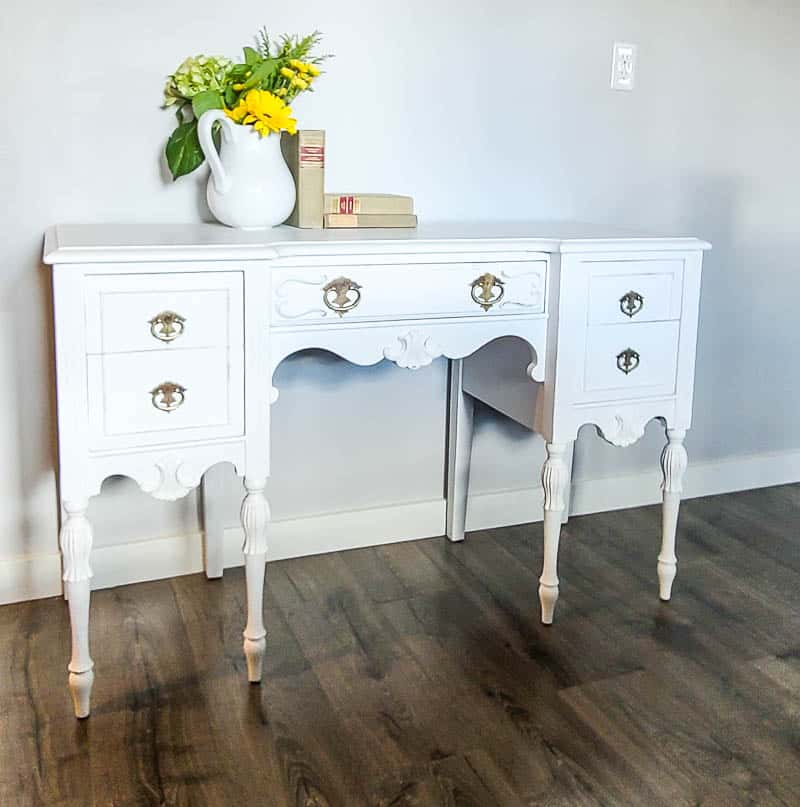
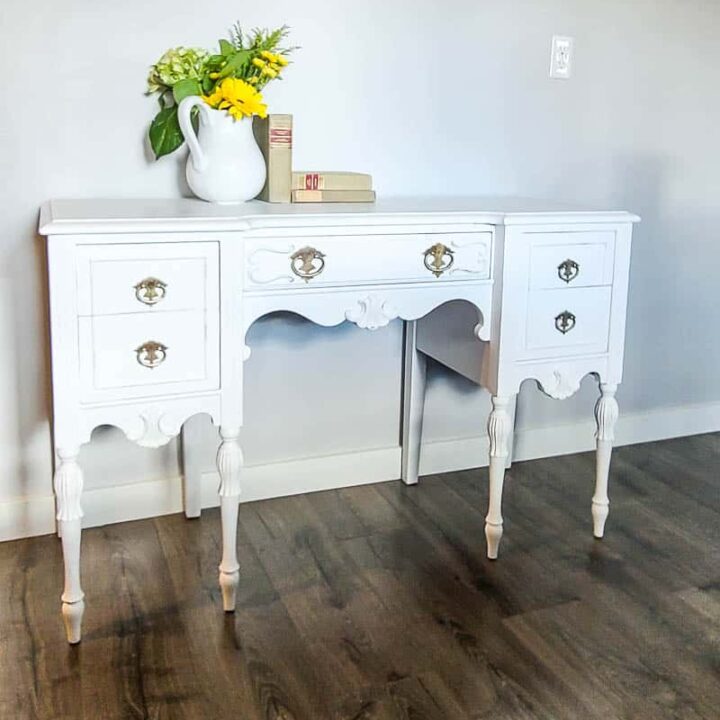
Turned out SO good, right?
Now let’s take a closer look at the before and afters of the damage that we repaired on this wood furniture!
Before and After Photos of a Repaired & Repainted Wood Desk

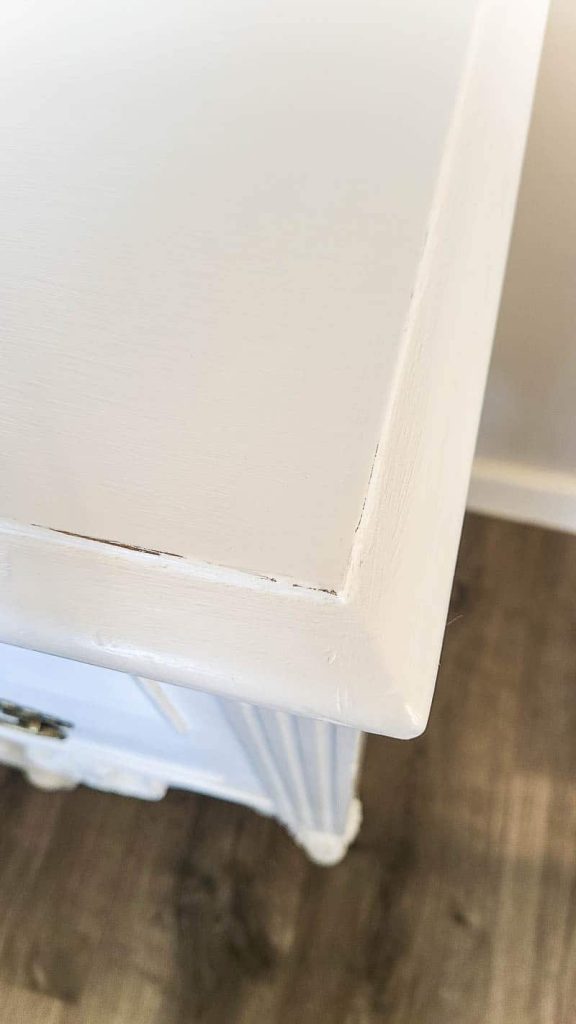
Crazy, right? You can’t even see the damaged area now!
If you loved this, be sure to check out these other chalk paint furniture ideas!
Did you learn something new in this tutorial on how to repair wood furniture?
Let us know in the comments below!
How To Chalk Paint Wood Furniture
Do you have old wood furniture that needs to be repaired and repainted? Learn how to best repair damaged wood furniture, and how to repaint using chalk paint.
Materials
- Vintage wood furniture of your choice
- Mohawk Epoxy Stick
- 150 grit and 220 or 320 grit sandpaper (or sanding block)
- Primer
- Floetrol paint additivie
- Chalk paint
- Wax finish
Tools
- Orbital sander
- Angeled paint brush
- Wax brush
Instructions
- Apply Epoxy Stick to repair dents, scratches or damage. To use the Epoxy stick, simply open, smoosh small amount together in your fingers until t warms up and firmly press into place where damage is. Wait 20-30 minutes and sand smooth.
- Lightly sand entire piece of furniture with 220 grit sandpaper.
- Prime with 2 coats of primer.
- Chalk paint desk with 3 coats of paint. Lightly sand in between coats.
- Seal with wax finish. Apply with a wax brush in a circular motion around the entire surface of the furniture.
Notes
- Once you mix up the epoxy in your hands, it will remain workable for 5-10 minutes
- You can get your fingers slightly damp to create a smoother surface with the epoxy if you’d like, but I didn’t do this and mine turned out fine.
- Sanding is easiest within the first few hours of application of the epoxy, so it’s not recommended to leave it overnight or something.