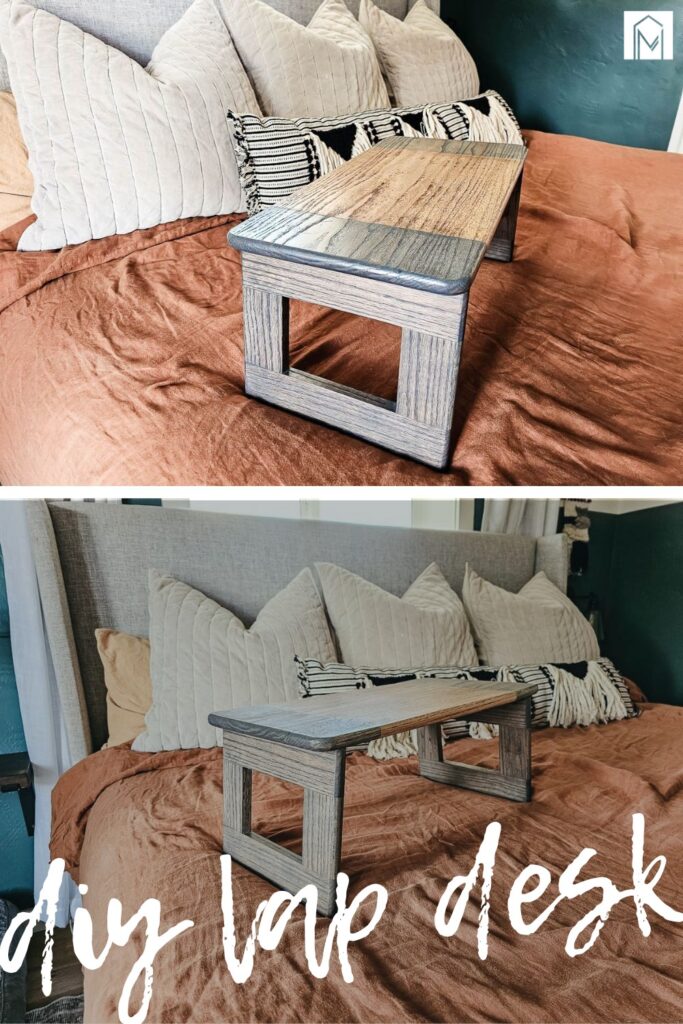
DIY Lap Desk with Free Woodworking Plans
Thank you to Kreg for sponsoring this DIY lap desk! All opinions are entirely my own. This post also contains affiliate links, but nothing that I wouldn’t recommend wholeheartedly. Read my full disclosure here.
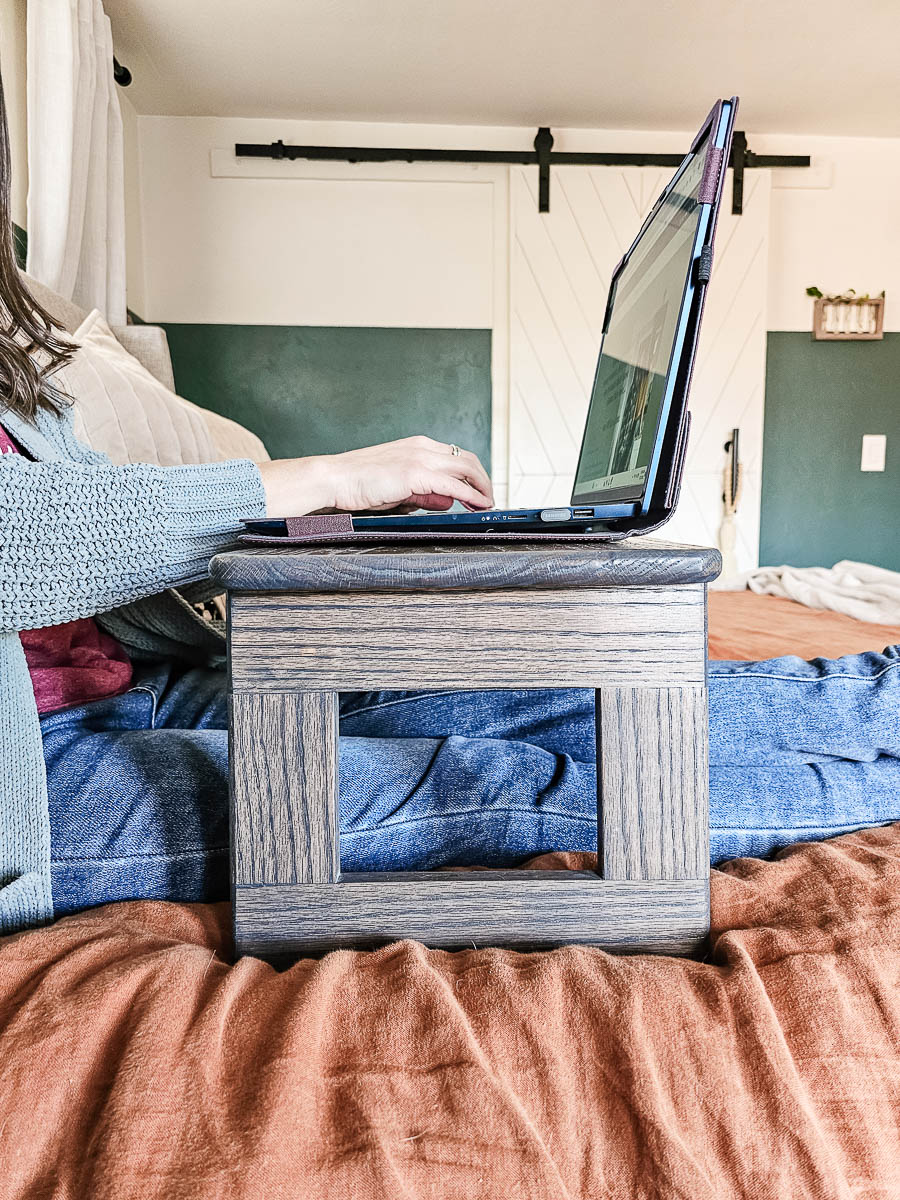
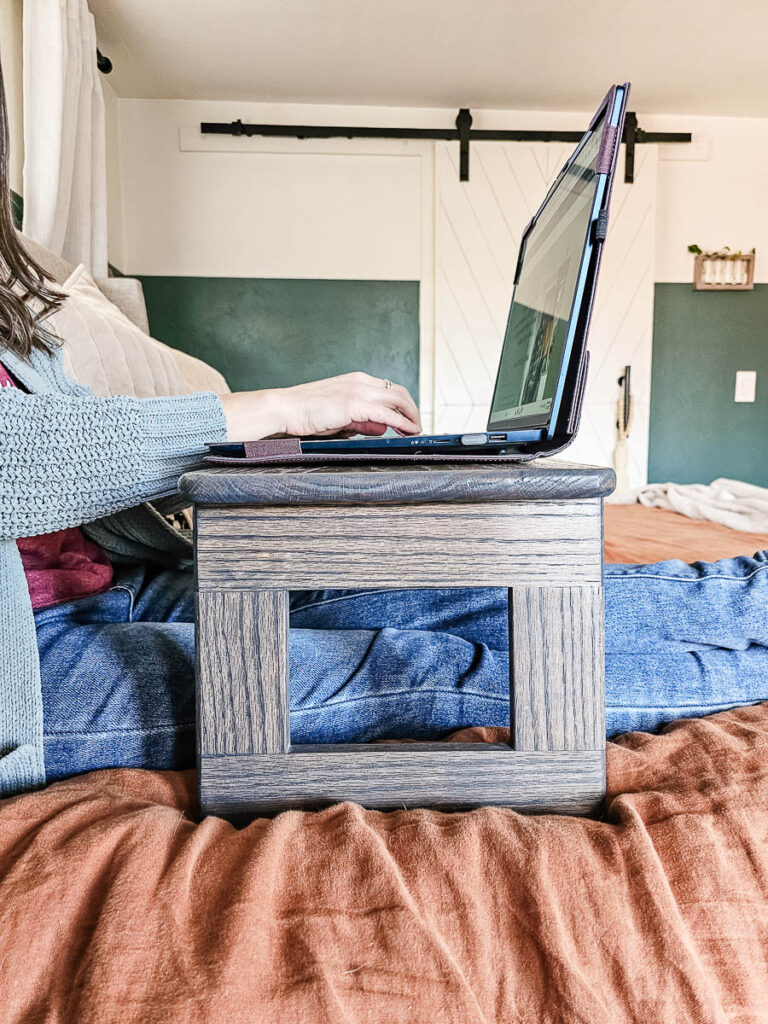
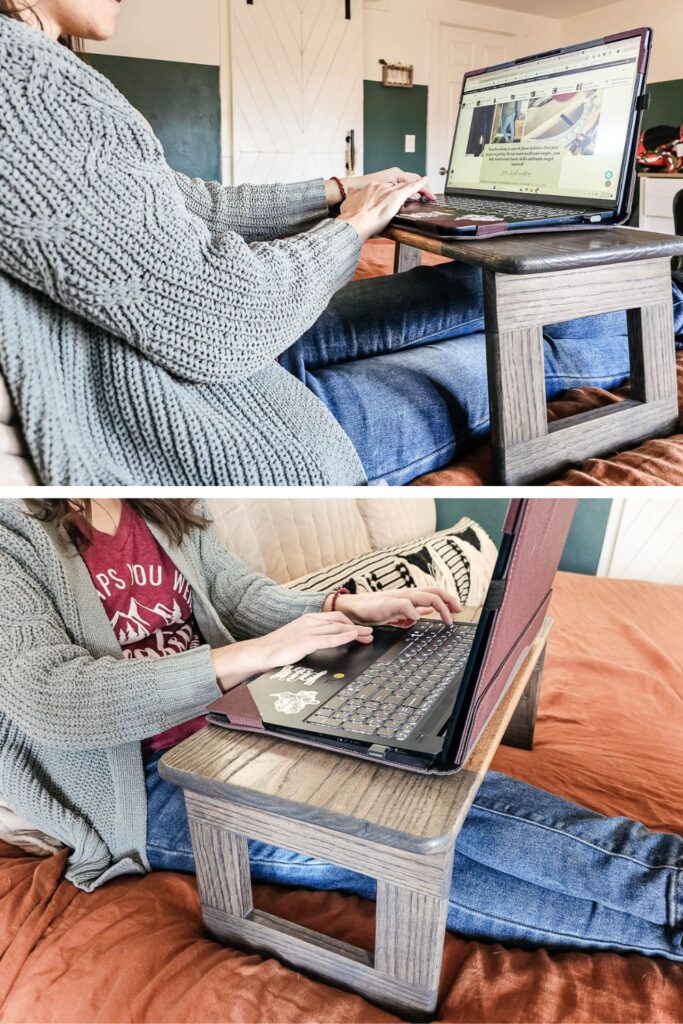
We often find ourselves working on our laptops from the couch while the kiddos watch cartoons or in bed after the kids have gone to sleep. But as the laptop runs, it can get pretty hot sitting on your legs.
It is also not very ergonomically correct to always be looking down at the laptop as you work. It is much better for it to be up closer to your eye level, which makes the laptop lap desk a great add if you work on a laptop often.
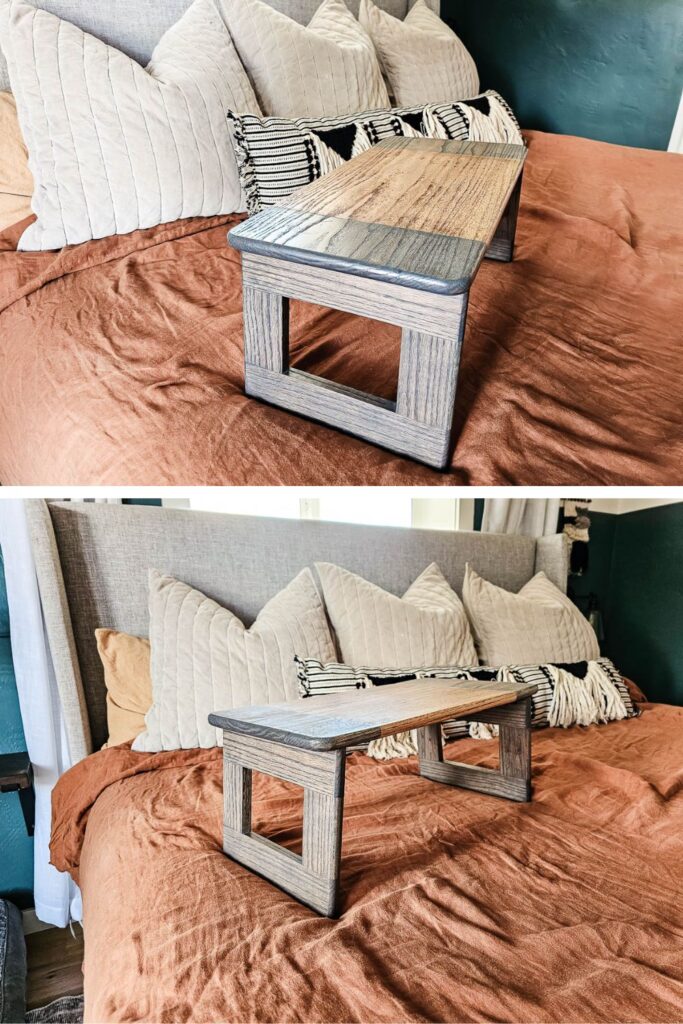
This DIY lap desk was an easy build and solves a problem for us, which is one of my favorite type of woodworking projects.
Kreg 720PRO Pocket Hole Jig
If you’ve been following Making Manzanita for a bit, you know that we are big fans of the Kreg pocket hole system.
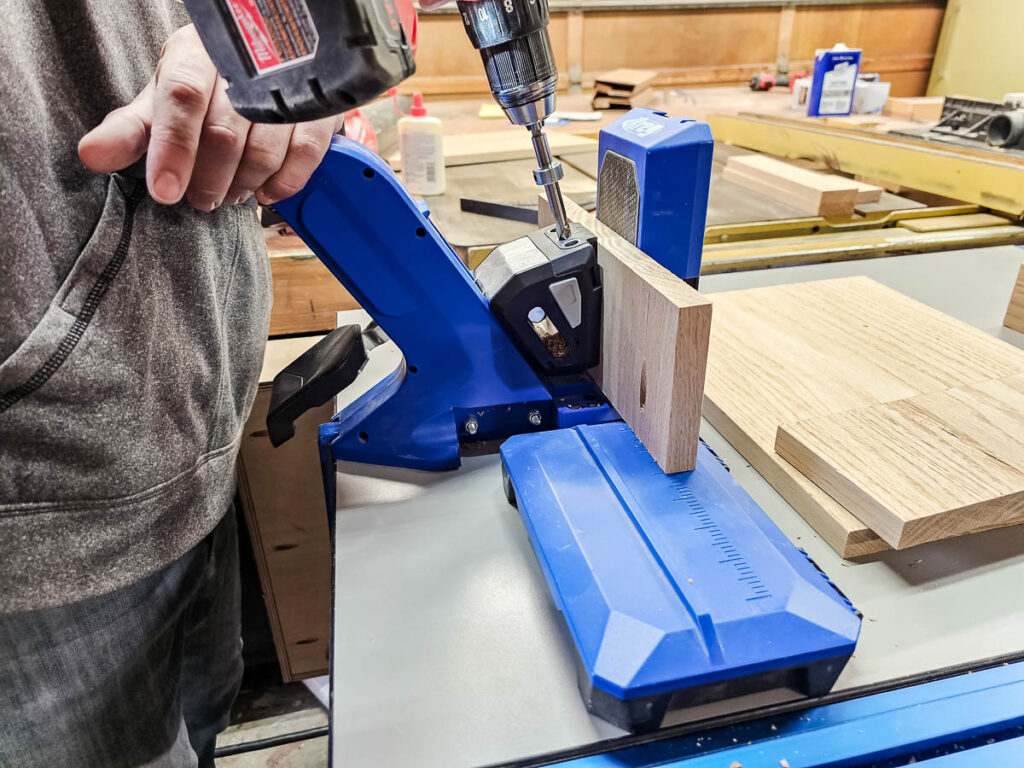
One of my favorite features of 720PRO is the clamp that you don’t have to adjust anymore. You should clamp it down and it automatically adjusts to match the thickness of your wood, so cool, right?
Pocket hole joinery is definitely one of the easiest ways to join wood in woodworking projects. It’s our favorite hidden weapon for beginning woodworkers!
Want to learn more? I wrote a super detailed guide & created a video all about how to set up your Kreg 720PRO Pocket Hole and use it, so be sure to check that out too!
We teamed up with our friends Kreg again for these laptop tray plans and are sharing them online for free, now available on KregTool.com!
Kreg’s website is chocked full of so many easy-to-follow FREE woodworking plans! I promise that you are going to find so much inspiration while you’re there! It is a goldmine!
How To Build A Lap Desk: Step-by-Step Tutorial
Tools & materials you’ll need
This project uses pocket hole joinery, which is great for beginners! We used the 720Pro jig, but you could use any pocket hole jig! If you’re not sure which jig is right for you, check out this guide.
Step 1: Cut the Wood
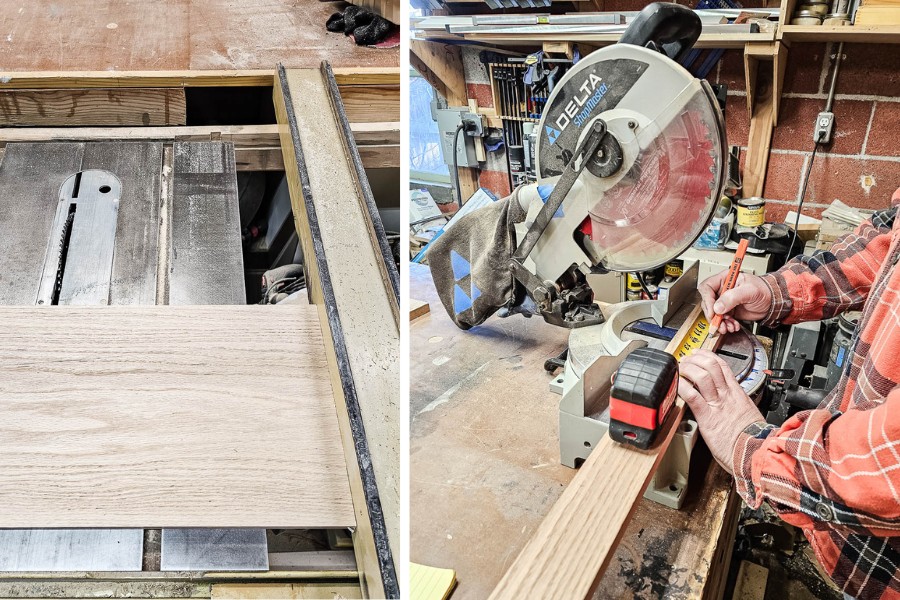
- Follow the cut list in the plans, which can be downloaded here.
- Use a miter saw for length cuts and a table saw for rip cuts.
- (Optional) Add a 5-degree angle to the top rail’s edge to help the legs stay open on the hinges.
Step 2: Drill Pocket Holes
- Drill pocket holes as shown in the plans. We used the 720Pro jig.
Step 3: Assemble The Top and Legs
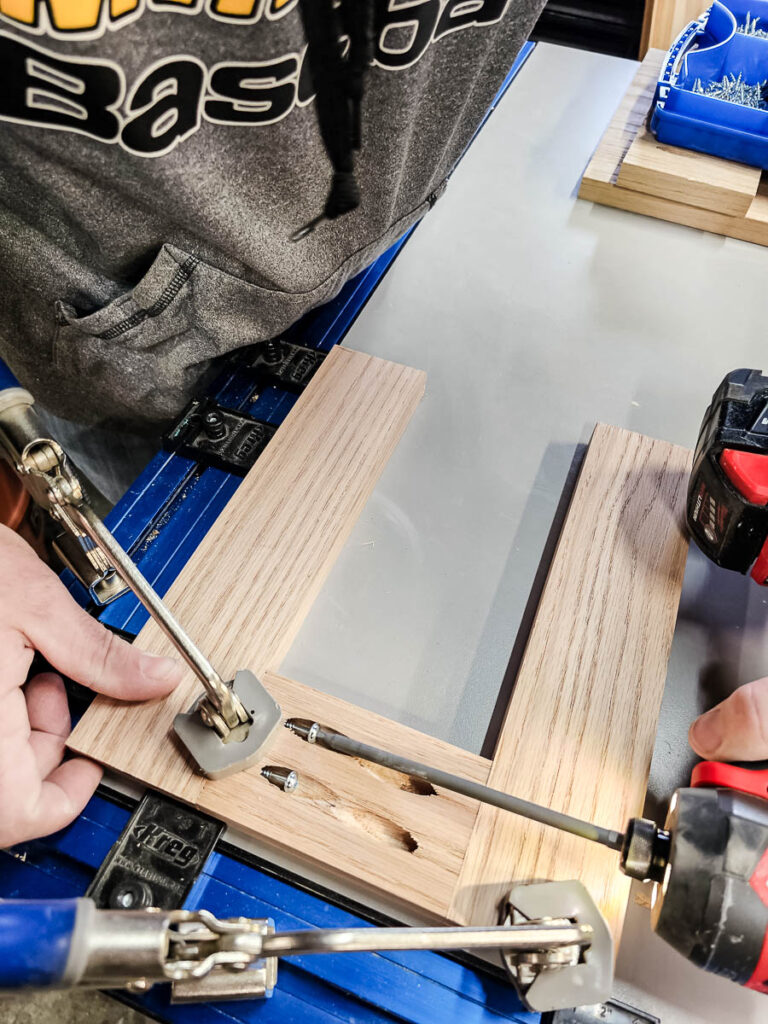
- Clamp the top side pieces and middle piece together to assemble the top of the lap desk.
- Secure with 1 ¼” pocket hole screws.
- Next, attach the leg connectors to the top and bottom rails using pocket hole screws to make the legs for the lap desk.
Step 4: Round Corners and Edges
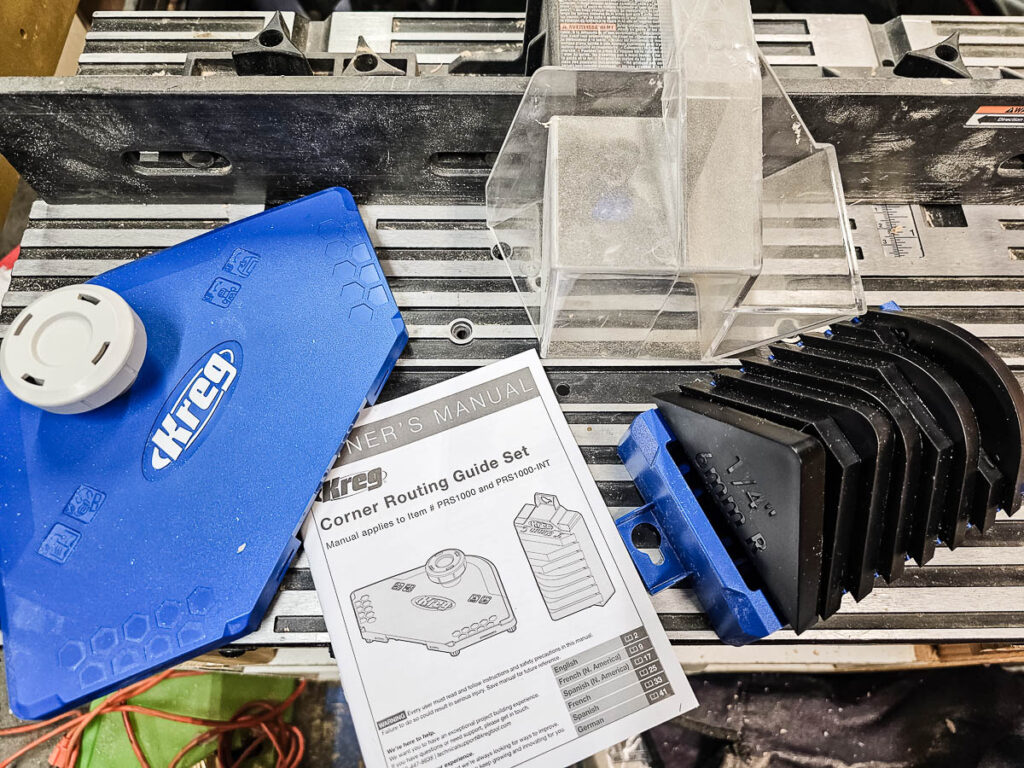
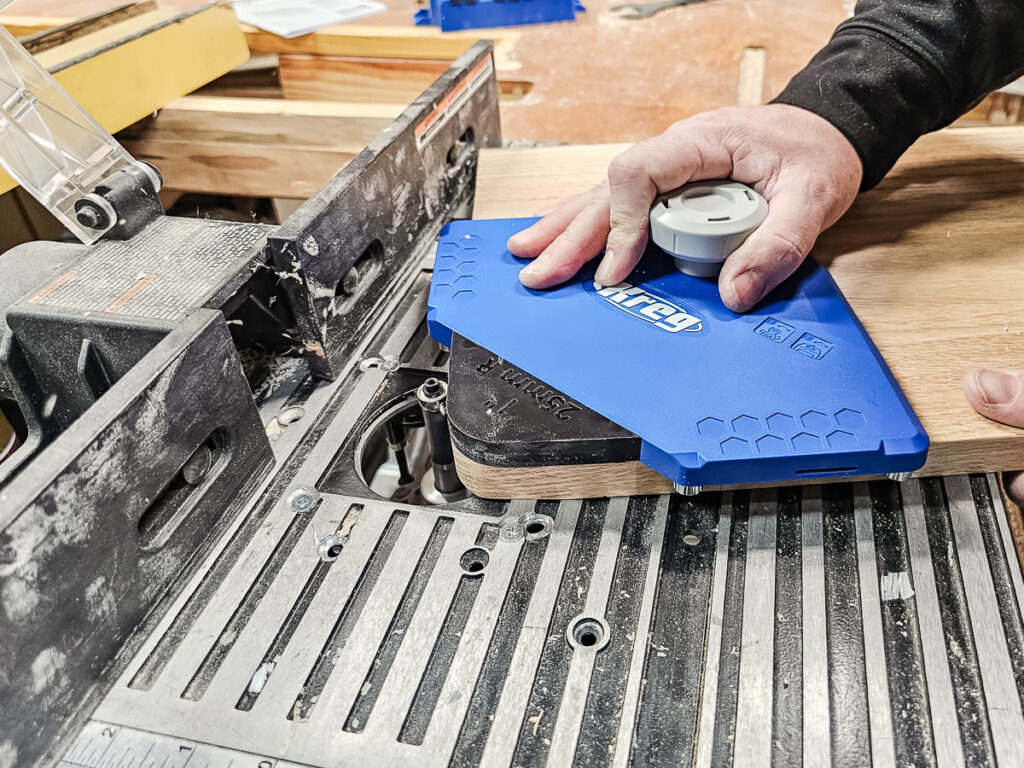
- Use a corner routing guide with a 1” rounded corner template.
- Then round all edges with a roundover bit and router.
Step 5: Install Pocket Hole Plugs
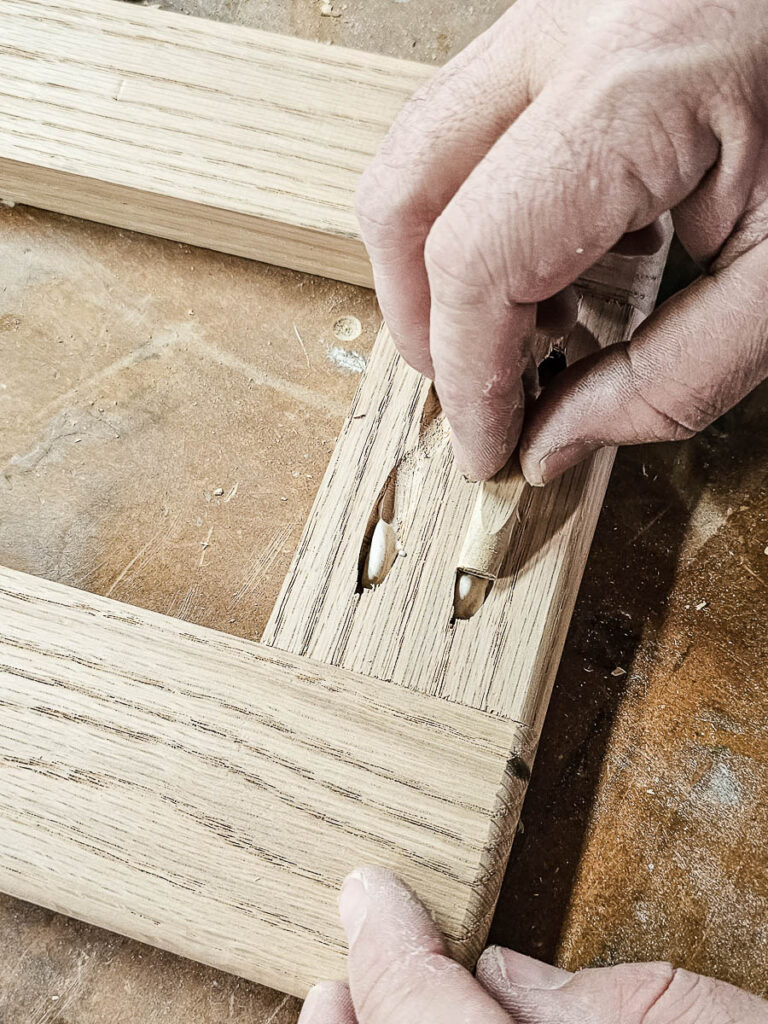
- If using premade plugs, glue them in.
- If making custom plugs, drill them from extra oak stock, then glue them into place.
Step 6: Sand Everything
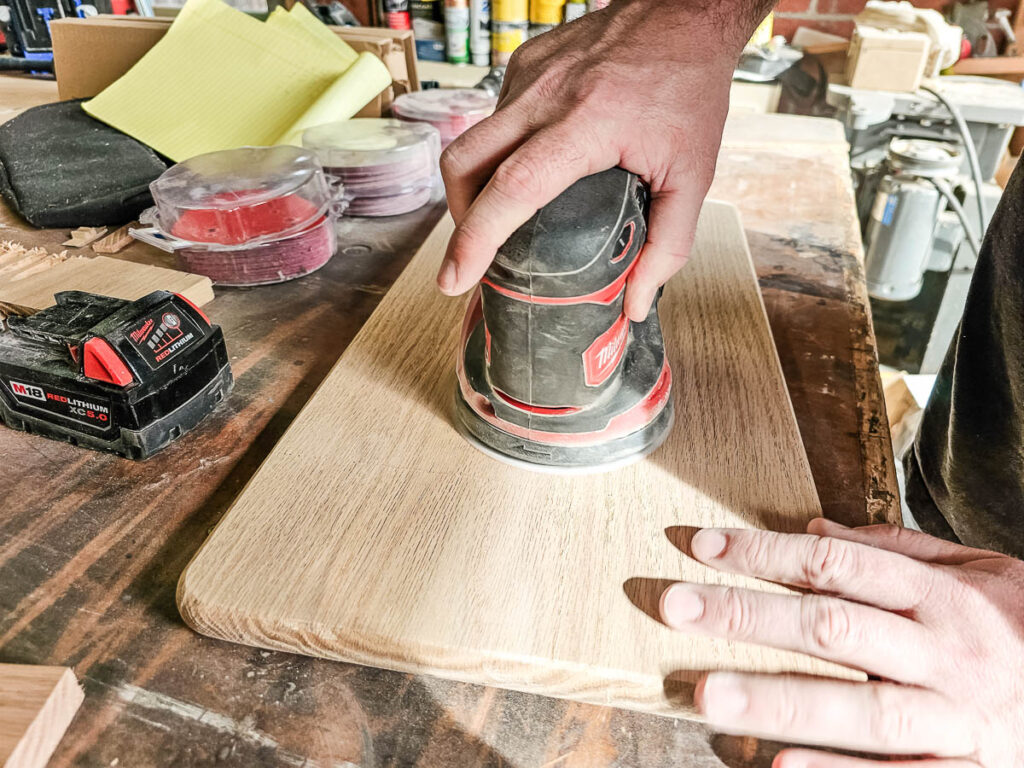
- Once the glue is dry, sand all surfaces with 80-grit, then 150-grit sandpaper.
Step 7: Stain and Seal
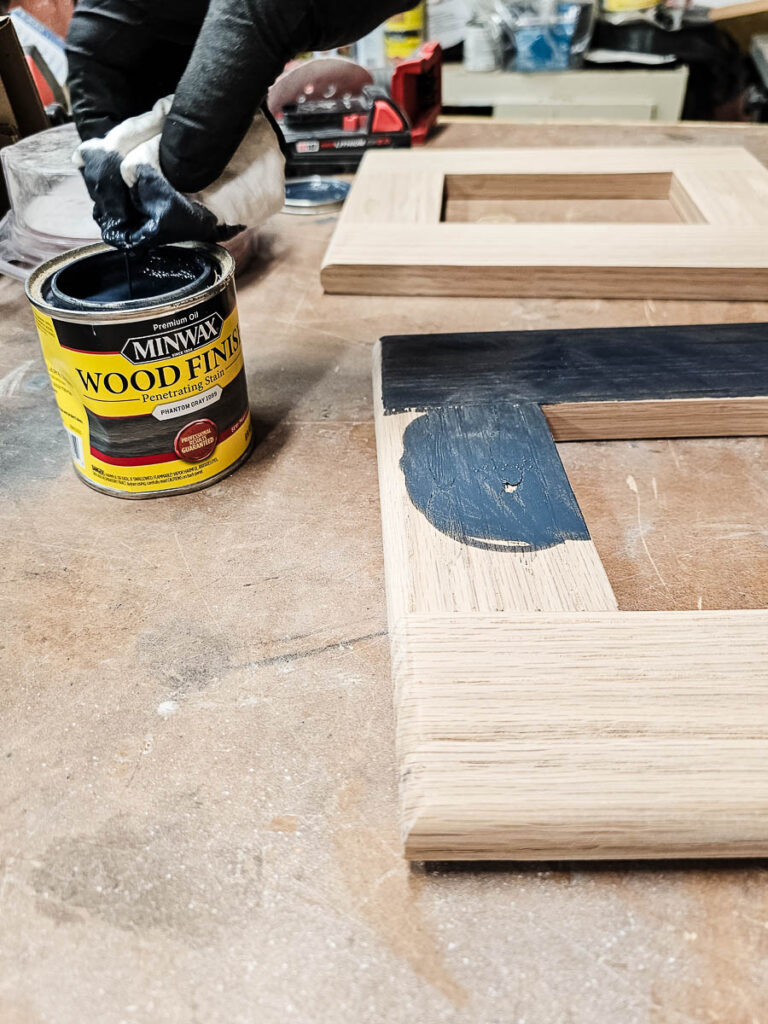

- Wipe off dust, then apply stain (we used two tones for contrast).
- Once the stain is dry, seal with spray lacquer.
Step 8: Attach Hinges
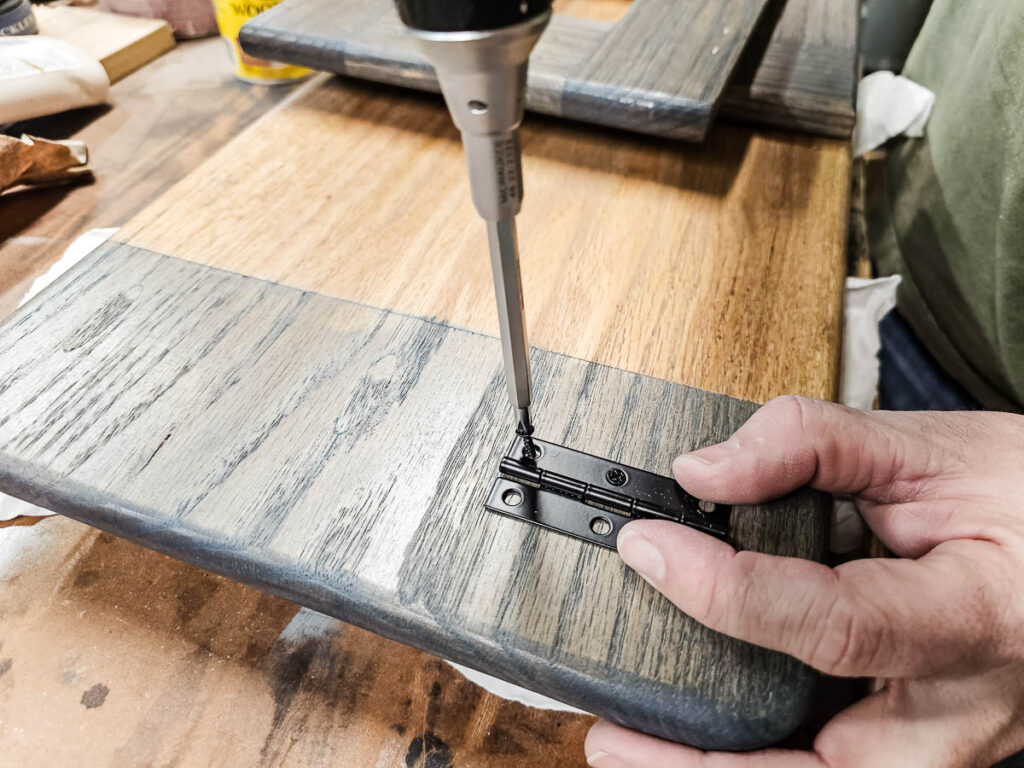
- Align the legs so they fold flat and don’t overlap.
- Ensure they open wide enough for comfort with both of your legs fitting underneath.
- Mark, pre-drill, and attach hinges with the provided screws.

If you want to build your own DIY laptop desk? We’ve done all the hard work for you! All you need to do is hop over to Kreg’s website and check out the full tutorial.
At the bottom of the tutorial on Kreg’s website, you’ll also see a link to download the free plan to get all of the detailed measurements and a cut list!
Do you have any other questions about how to make a DIY lap desk?
Let us know in the comments!
Related – Projects that use a pocket hole jig
- Kid’s Cabin Bed
- Table Top
- Planter Box for Front Porch
- Outdoor Plant Wall
- Farmhouse Sink Cabinet
- Mudroom Lockers
- DIY Desk Calendar & Wooden Pencil Holder
- DIY Dress Up Storage for Kids
- Picture Ledge DIY
- DIY Firewood Rack with Roof
- DIY Cane Headboard
- Boho Nightstand with Cane
- DIY Behind the Couch Table with Outlet
- DIY Headphone Stand
- DIY Cookbook Stand
- Easy DIY Grill Utensil Holder
- DIY Deck Box for Outdoor Toys
- DIY Towel Rack Made With One Board
- DIY Tool Organizer for Kreg Tool Stand
- DIY Mail and Key Holder
- DIY Step Stool for Toddler
- DIY Trash Can
- DIY Spice Rack
- DIY Book Holder
- Easy DIY Magazine Shelf
- DIY Clamp Rack
- DIY Chicknic Table
- DIY Bike Rack
- Small Bookshelf
- DIY Laptop Tray