Picture Ledge DIY + Free Woodworking Plans!
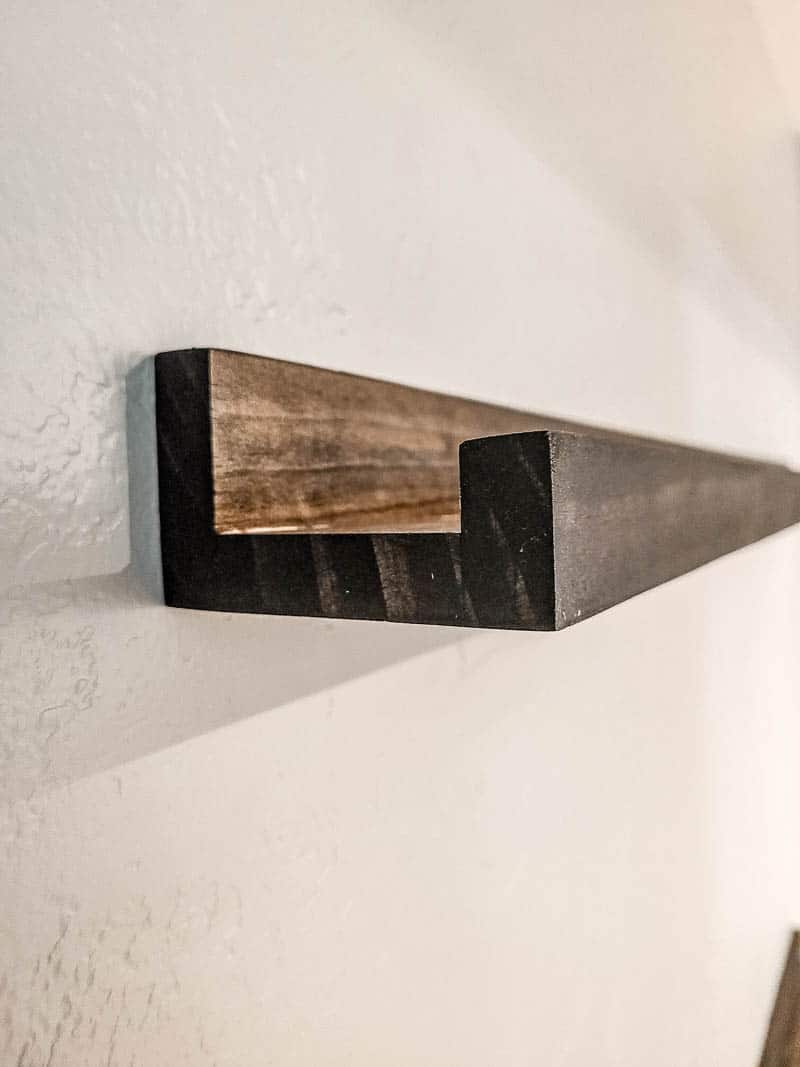
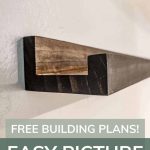
Looking for a very easy woodworking project that is perfect for beginners? Build this picture ledge DIY by using our free woodworking plans! These shelves are a great way to decorate your walls!
Thank you to Kreg for sponsoring this picture ledge DIY project! All opinions are entirely my own. This post also contains affiliate links, but nothing that I wouldn’t recommend wholeheartedly. Read my full disclosure here.
Today we’re sharing a super fun and VERY EASY woodworking project with you that is absolutely perfect for beginners.
Let’s start with the area that we’re going to completely transform while we’re at it – this back section of our hallway.
The Hallway BEFORE the DIY Picture Ledge
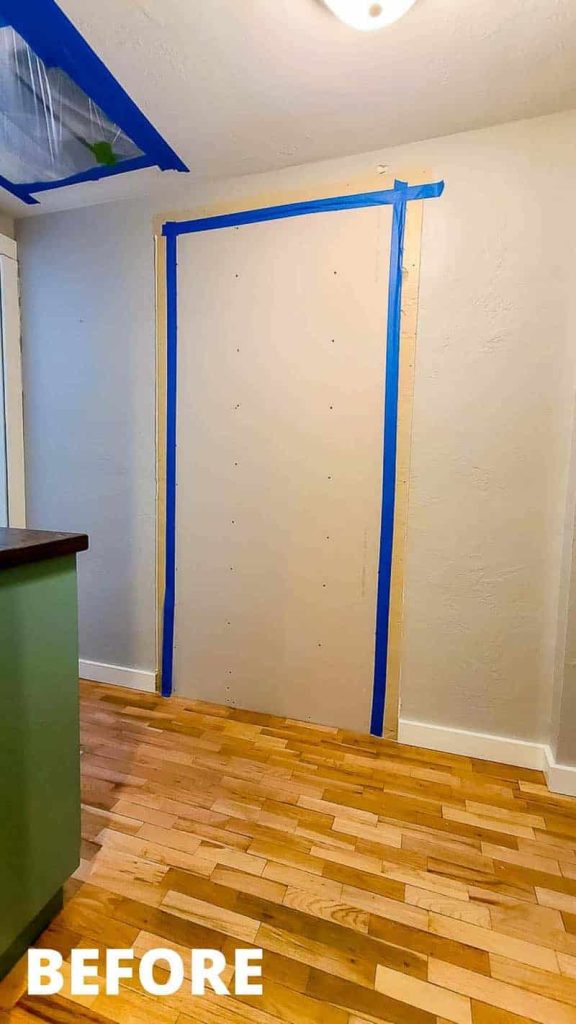
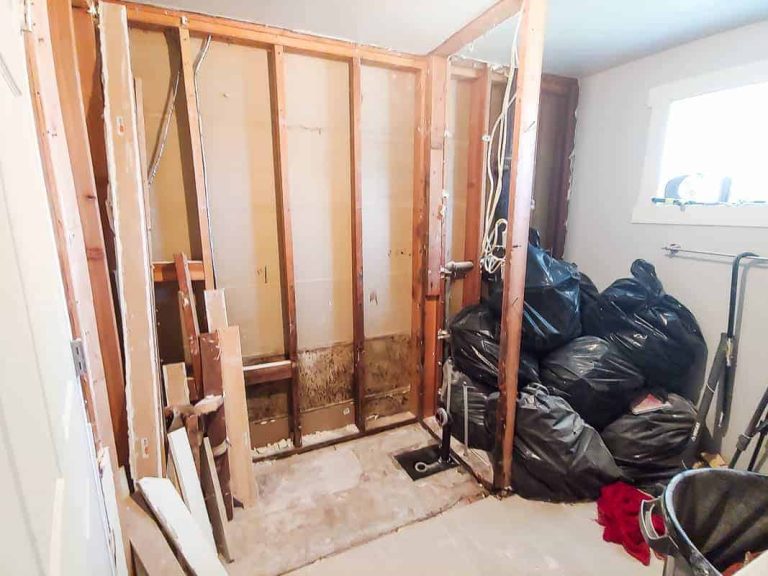
This hallway obviously needed a makeover! We still had a bare piece of drywall hung where a doorway used to be for this bathroom that we renovated last year and converted into a master bathroom.
And so it’s just sat like this for about a year while we’ve been focused on SO MANY other projects, like Cal’s mountain mural and cabin bed, our guest bathroom, these mudroom lockers and more.
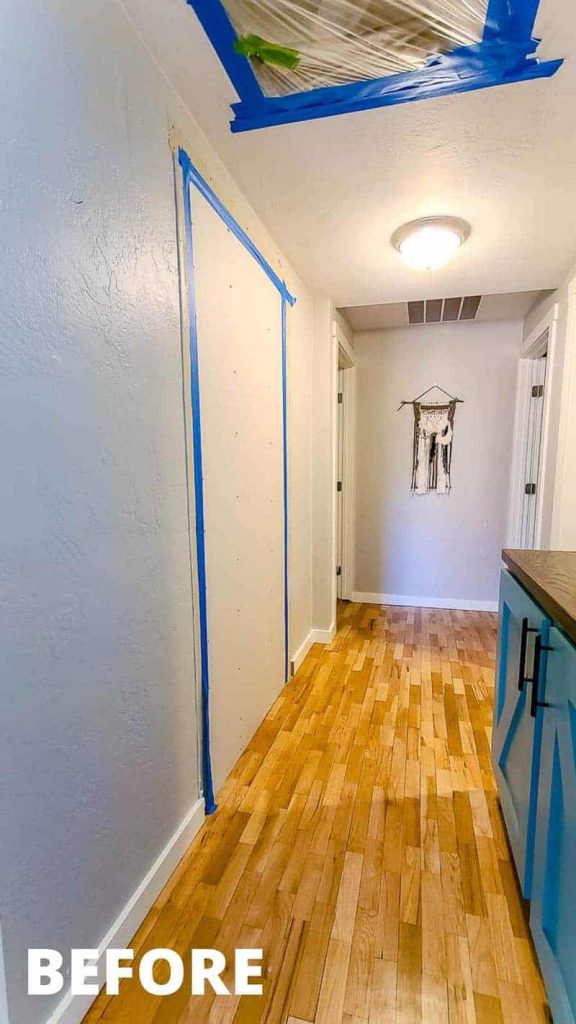
Earlier this year we gave the other half of the hallway in this space a mini makeover with fresh paint, a modern grid gallery wall full of family photos, a clipboard wall to hang the kids’ artwork, and a boho style basket wall.
After all of that love on the hallway, this area with the large drywall hole really stood out like a sore thumb!
So we started by patching the hole up and retexturing it to match our skip trowel texture.
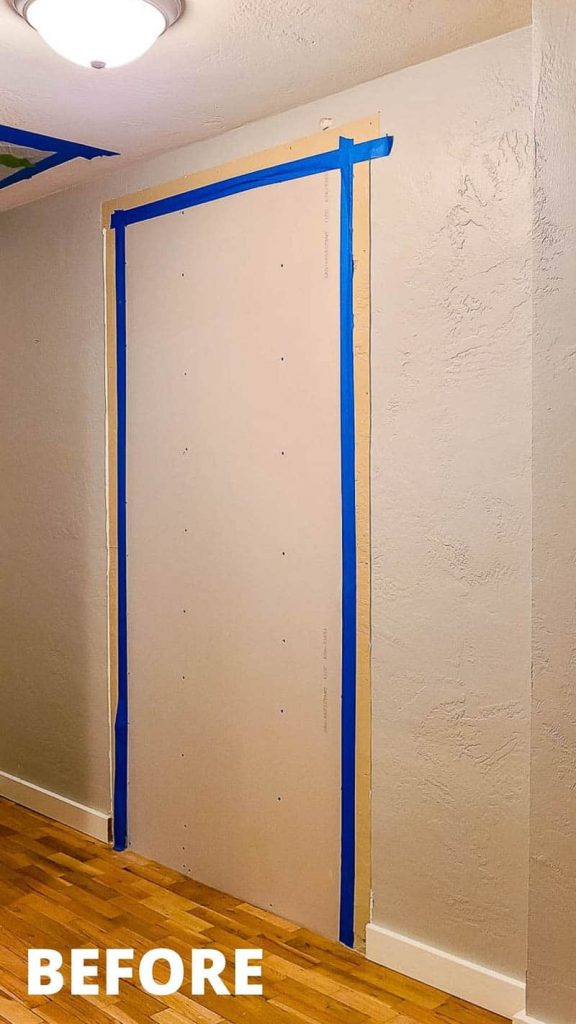
I absolutely love the look of picture ledge shelves and I knew it would be an easy DIY for us to tackle and show you how!
The best part is that we’re giving you the free woodworking plans for this picture ledge DIY, so it won’t take you long at all to build these for your home!
Using the Kreg K5 Pocket Hole System to Make DIY Picture Ledges
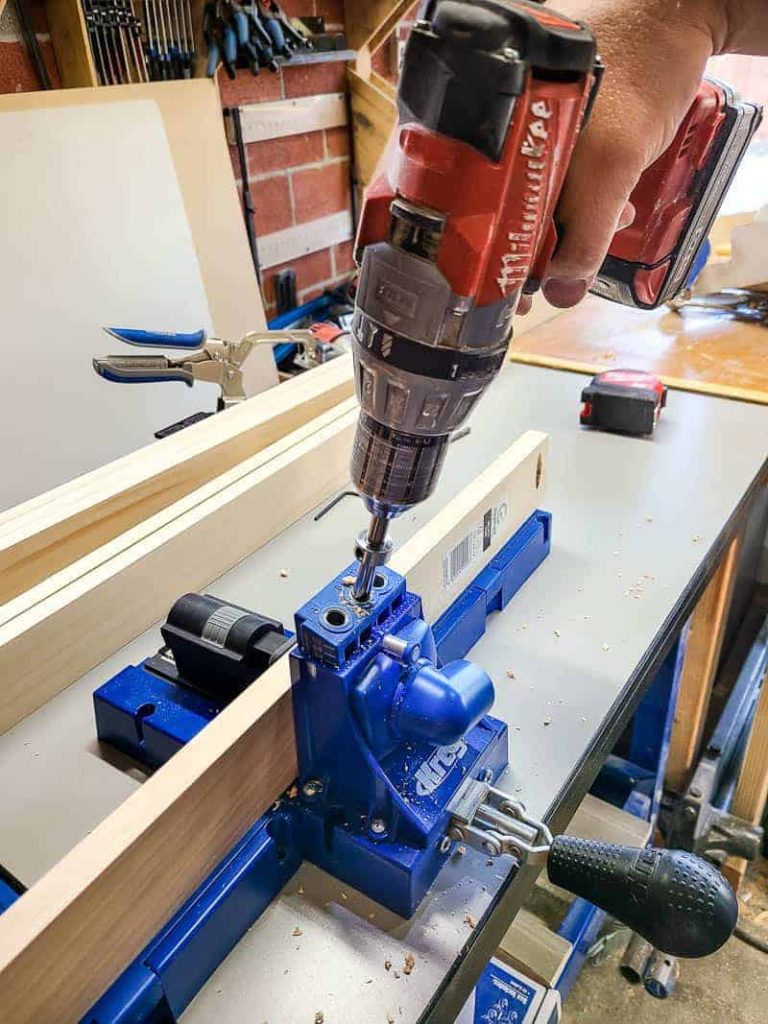
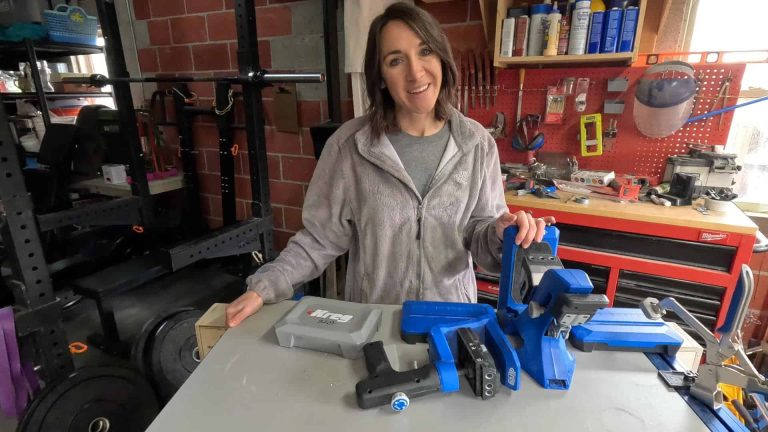
We, of course, incorporated pocket hole joinery into this picture ledge DIY, which is one of the easiest ways to join wood in woodworking projects. We have Kreg’s K5 Master System and LOVE it. It’s our favorite hidden weapon for beginning woodworkers!
Want to learn more? I wrote a super detailed guide & created a video all about how to set up your Kreg K5 Pocket Hole and use it, so be sure to check that out too!
UPDATE: In 2021 Kreg replaced the K5 Pocket Hole system with the Kreg 720 Pro. Check out our guide all about the new Kreg 720Pro to learn more.
For this very simple picture ledge DIY, we teamed up with our friends Kreg again to create the plans and share them online for free, which are now available on Learn.KregTool.com!
If you’re wondering, Kreg Tools is chocked full of so many easy-to-follow FREE woodworking plans! I promise that you are going to find so much inspiration while you’re there!
Related – Projects that use a pocket hole jig
- Kid’s Cabin Bed
- Table Top
- Planter Box for Front Porch
- Outdoor Plant Wall
- Farmhouse Sink Cabinet
- Mudroom Lockers
- DIY Desk Calendar & Wooden Pencil Holder
- DIY Dress Up Storage for Kids
- Picture Ledge DIY
- DIY Firewood Rack with Roof
- DIY Cane Headboard
- Boho Nightstand with Cane
- DIY Behind the Couch Table with Outlet
- DIY Headphone Stand
- DIY Cookbook Stand
- Easy DIY Grill Utensil Holder
- DIY Deck Box for Outdoor Toys
- DIY Towel Rack Made With One Board
- DIY Tool Organizer for Kreg Tool Stand
- DIY Mail and Key Holder
- DIY Step Stool for Toddler
- DIY Trash Can
- DIY Spice Rack
- DIY Book Holder
- Easy DIY Magazine Shelf
- DIY Clamp Rack
- DIY Chicknic Table
- DIY Bike Rack
- Small Bookshelf
- DIY Laptop Tray
DIY Video Tutorial
If you love DIY videos, don’t forget to subscribe to our YouTube channel!
Step-by-Step Instructions
Wood products needed
- 1×3 Select Pine Board – 96″
- 1×2 Select Pine Board – 96″
Supplies needed
- Pocket hole screws (1 1/4″)
- Wood glue
- Wood stain
- Finish nails (2″)
- Pocket hole plugs (pine, stain grade)
- Sandpaper – 80 grit and 150 grit
- Polyurethane
Tools needed
- Kreg 720Pro
- Miter saw
- Table saw
- Clamps
- Finish nail gun
- Orbital sander
- Tape measure
- Staining rags
Step 1: Cut wood
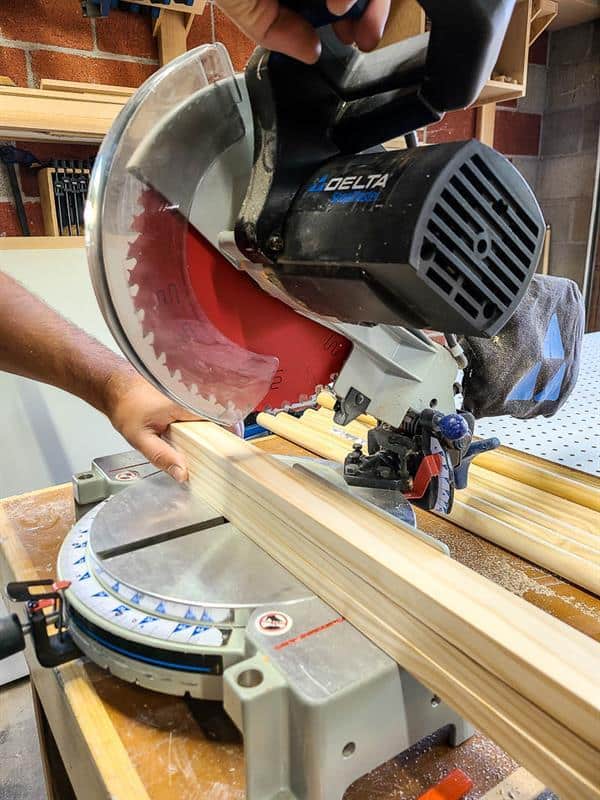
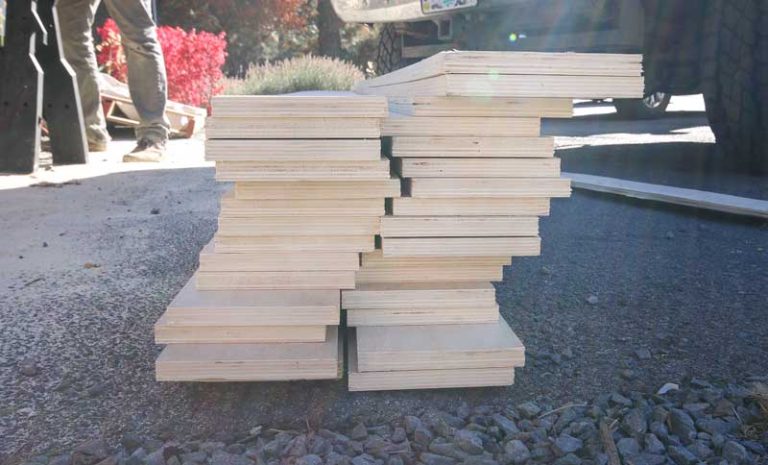
- Use a miter saw to cut the wood to the right size according to the cut list, which you can get here.
- You’ll need three pieces for each shelf:
- 1×3 piece for the back
- 1×3 piece for the bottom
- 1×2 piece for the front side.
- Our shelves are 4 feet wide, perfect for hallway spaces.
Step 2: Drill pocket holes
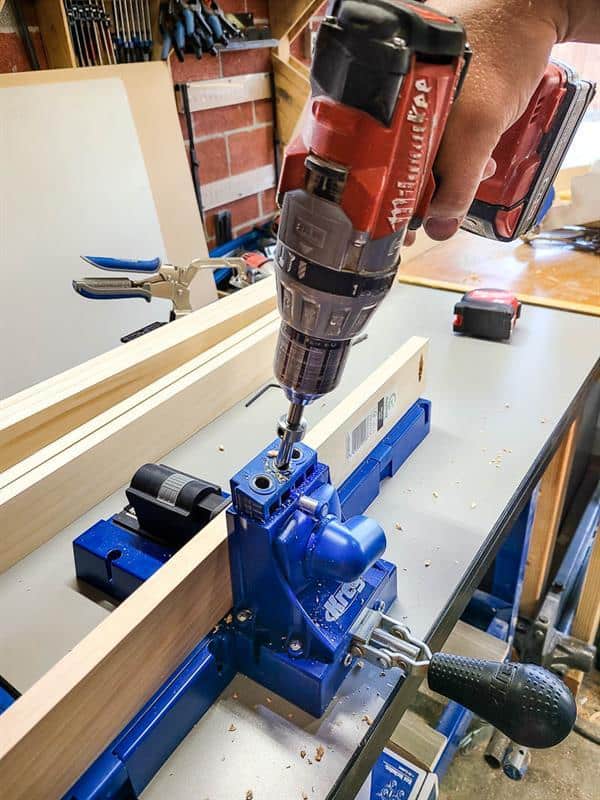
- On the bottom piece of wood (1×3), drill 5 pocket holes using a Kreg pocket hole Jig.
- Space them 1″ from the edges and roughly 8 in-1 foot apart.
Step 3: Attach front and back
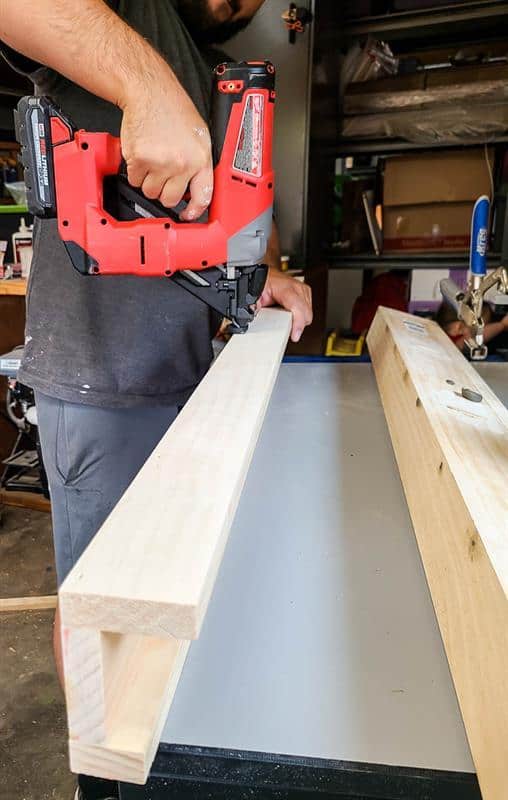
- Use 1 1/4″ pocket hole screws to attach the front piece to the bottom with the pre-drilled pocket holes.
- For the back piece, use wood glue and 2″ finish nails every 5 inches or so.
Step 4: Fill pocket holes
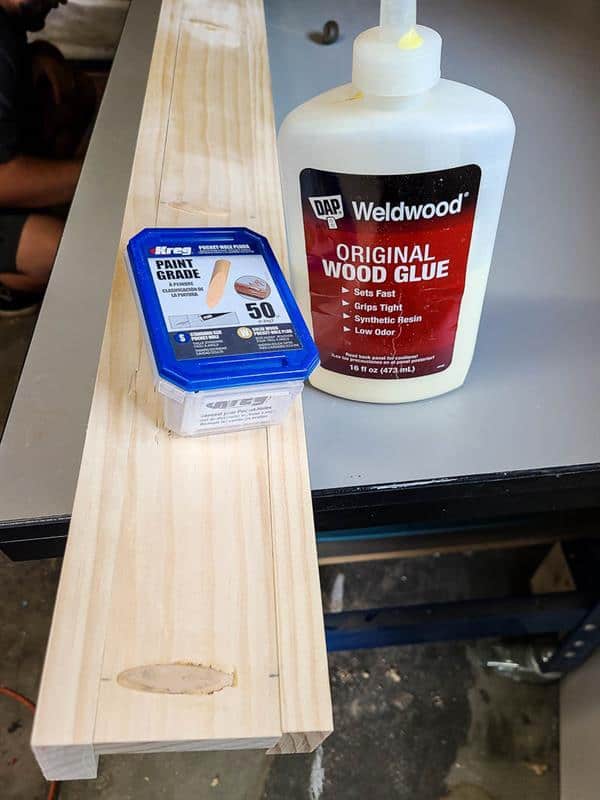
- Fill pocket holes with pocket hole plugs and wood glue for a polished look.
- Wait for the glue to dry before moving on.
Step 5: Sand
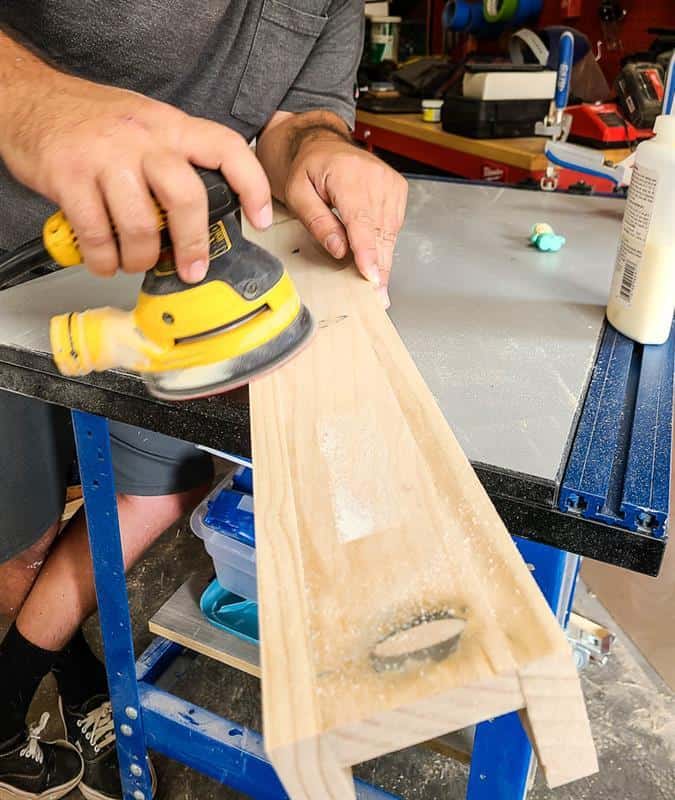
- Sand the entire shelf with an orbital sander:
- Use 80-grit sandpaper for shaping.
- Finish with 150-grit sandpaper for a smooth surface.
Step 6: Stain (or paint)
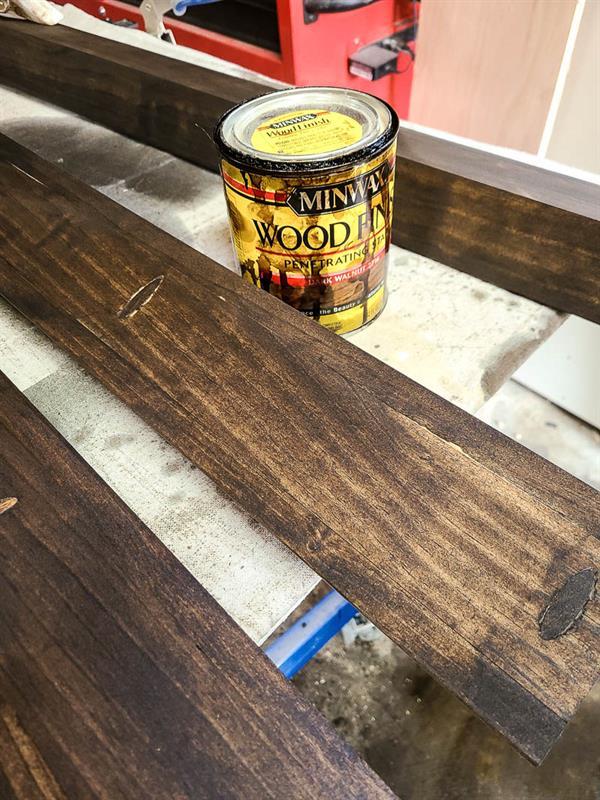
- Apply stain or paint to the entire shelf.
- We used Dark Walnut wood stain by Minwax.
Step 7: Seal
- Once the stain has dried, apply polyurethane over the entire shelf.
- If you painted the shelf, use polycrylic to prevent yellowing.
Step 8: Hang on the wall
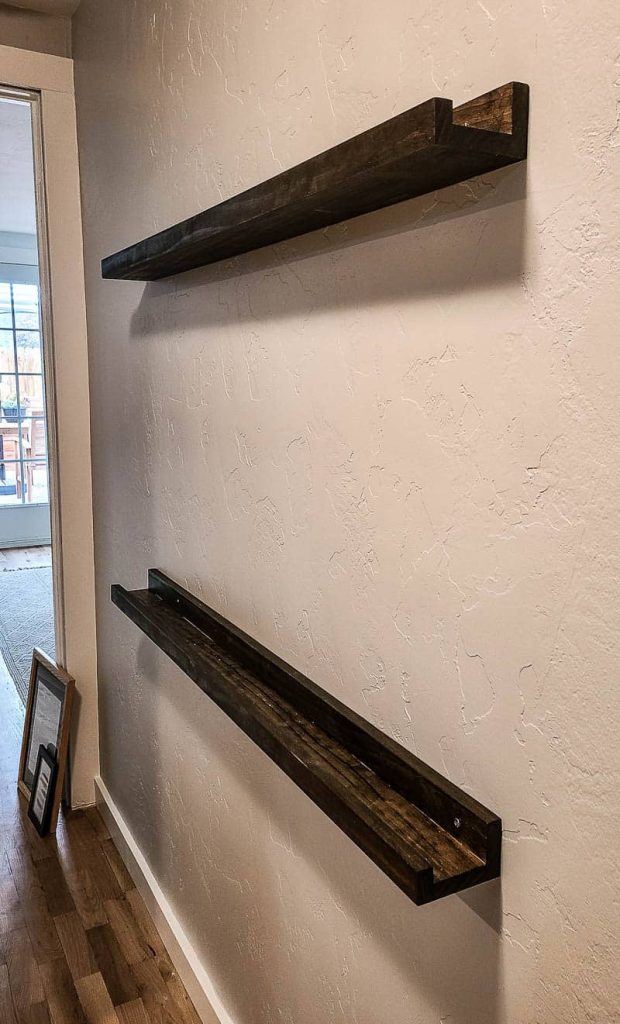
- Use a stud finder to find the stud locations in your wall
- We drilled right through the back piece on the shelf with construction screws to attach it to the wall. The screws are covered by the art, so no worries there.
Reveal
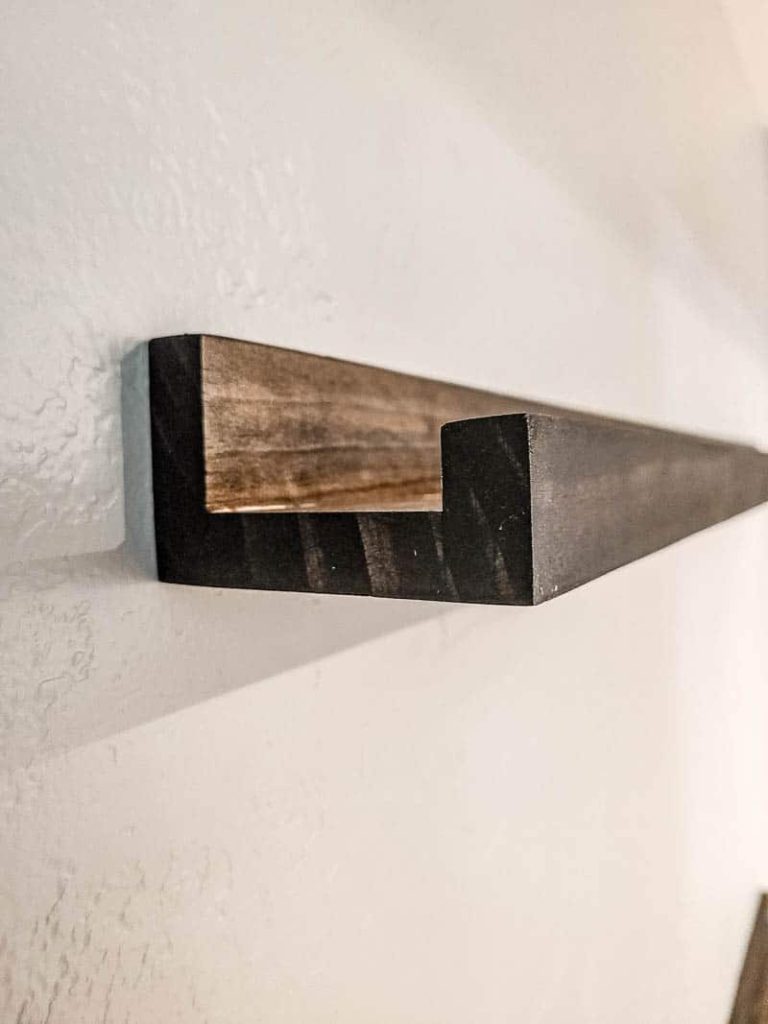
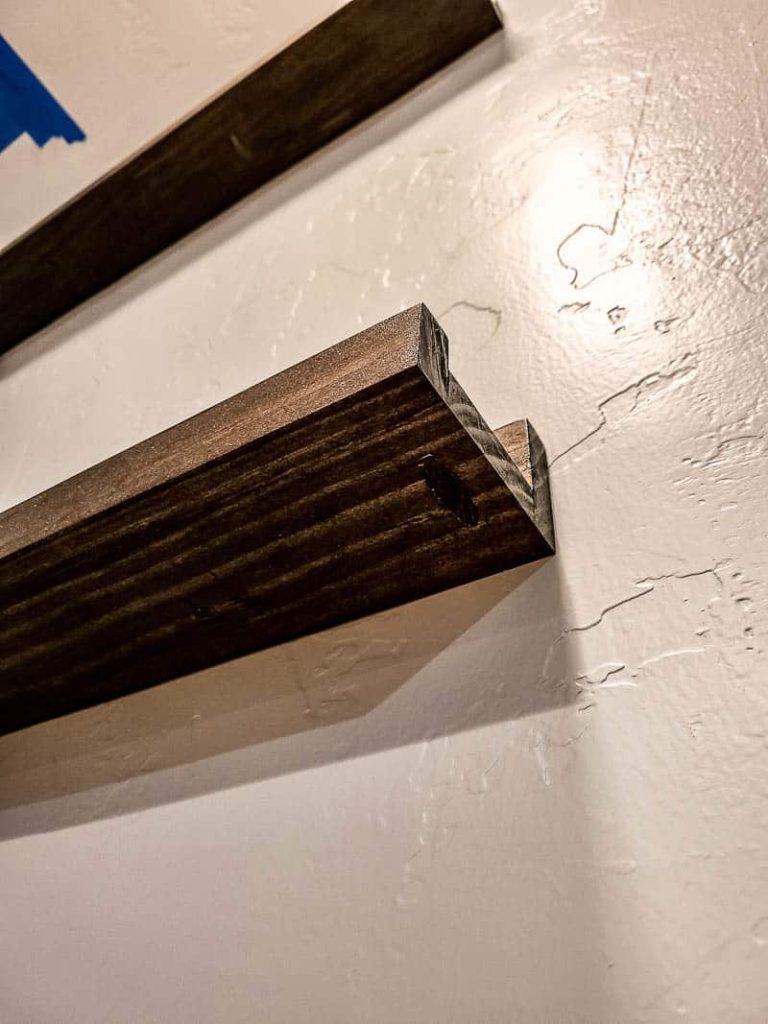
Cost to build picture ledge shelves
One of my favorite things about the picture ledge shelves is how dang cheap you’re able to build them for.
Here’s a summary of the supplies needed and the cost.
Note: these costs are, of course, subject to change and may be different in your region.
- (1) – 1×3 select pine board – 8ft – $9.48
- (1) – 1×2 select pine board – 8ft – $6.15
- Already had these supplies & tools on hand:
- Orbital Sander + 80 & 150 grit sandpaper
- Wood glue
- Kreg K5 pocket hole system
- 1 1/4″ pocket hole screws – need 5 per shelf
- Pocket hole plugs – need 5 per shelf
- 2″ finish nails – need approximately 12 per shelf
- Stain – See more about Dark Walnut stain here
- Polyurethane – If you’re trying to decide whether to use polyurethane vs polycrylic for your project, check out this article with an overview of each.
- Staining Rag
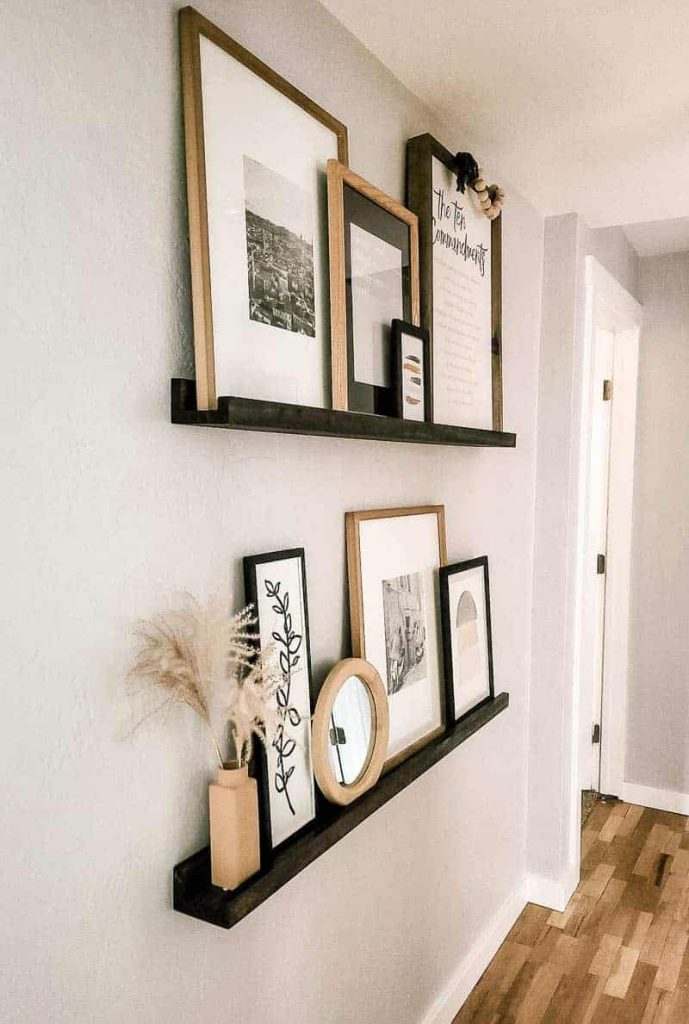
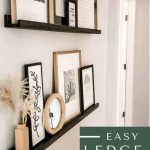
Picture ledge shelf decor
Now obviously styling the picture ledge shelves was my favorite part!
I was able to upcycle several thrift store frames to make art that really fits our style and home better on a major budget! They were SO fun!
- Learn How to Paint a Vase with Baking Soda and Paint Technique
- Learn how to make this Easy DIY Boho Wall Decor with Thrift Store Frame and Watercolor
- Learn how to make the Boho Floral Line Art
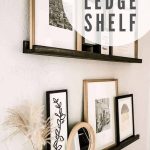
How do you like the shelves all styled up and pretty?
So pretty, right?
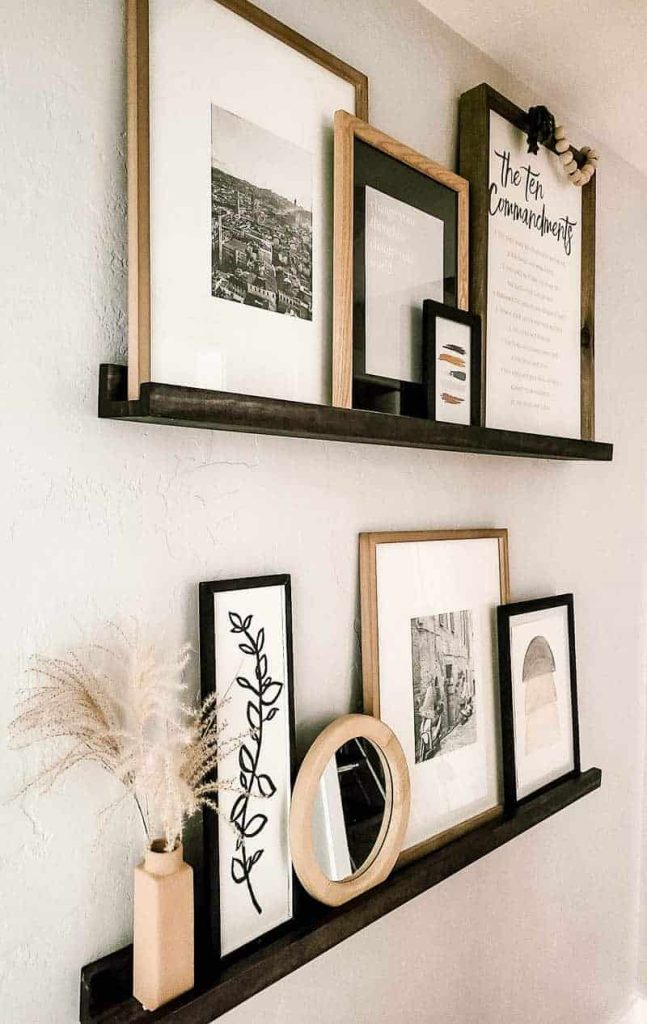
We had so much for working with our friends over at Kreg to bring you the tutorial and free woodworking plans. I hope you feel inspired and motivated to tackle the easy DIY project now!
Don’t forget to go grab the free woodworking plans and check out the full tutorial at KregTool.com.



I think I’m going to enjoy your website.
🙂 welcome!
Where can I find the “Ten Commandments” pic on your picture ledge tutorial?
I got it at Hobby Lobby a couple of years ago. It doesn’t look like it is sold anymore though. Here’s something similar on Etsy: https://www.etsy.com/listing/778783090/ten-commandments-wall-art-10?
I love it! What is the wall height and length from floor to first shelf and length between shelves?
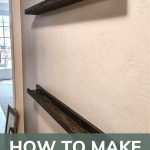
The wall height (floor to ceiling) 88 inches. The bottom shelf sits 32″ from the floor and there is 26″ between the shelves.
Hiii! Love this shelf! What color stain did you use for this shelf?? I love it
We used Dark Walnut stain on the shelves. You can learn more about that stain color here: https://www.makingmanzanita.com/minwax-dark-walnut-stain/
How did you get the pictures to stay? Did you have to hang them? I can’t get my frames to overlap like yours!
We added command picture hanging strips behind them and where they overlap.
How long are your shelves?
They are 48″. You can download the free woodworking plans with all the measurements here: https://learn.kregtool.com/plans/picture-ledge-shelves/
Love it! It looks sooo good
Great job