DIY Mudroom Lockers With Doors

Do you need extra storage in your home and place to put all the shoes, jackets and backpacks? Learn how to build your DIY mudroom lockers with doors in this step by step video tutorial !
Thank you to DAP Products for sponsoring this DIY mudroom lockers project! All opinions are entirely my own. This post also contains affiliate links, but nothing that I wouldn’t recommend wholeheartedly. Read my full disclosure here.
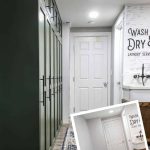
I’m so excited about today’s reveal of our DIY mudroom lockers with doors! It’s been a long time coming and we’re so excited to show you how to build your mudroom lockers! Let’s start by taking a look at where we started!
BEFORE PICTURES
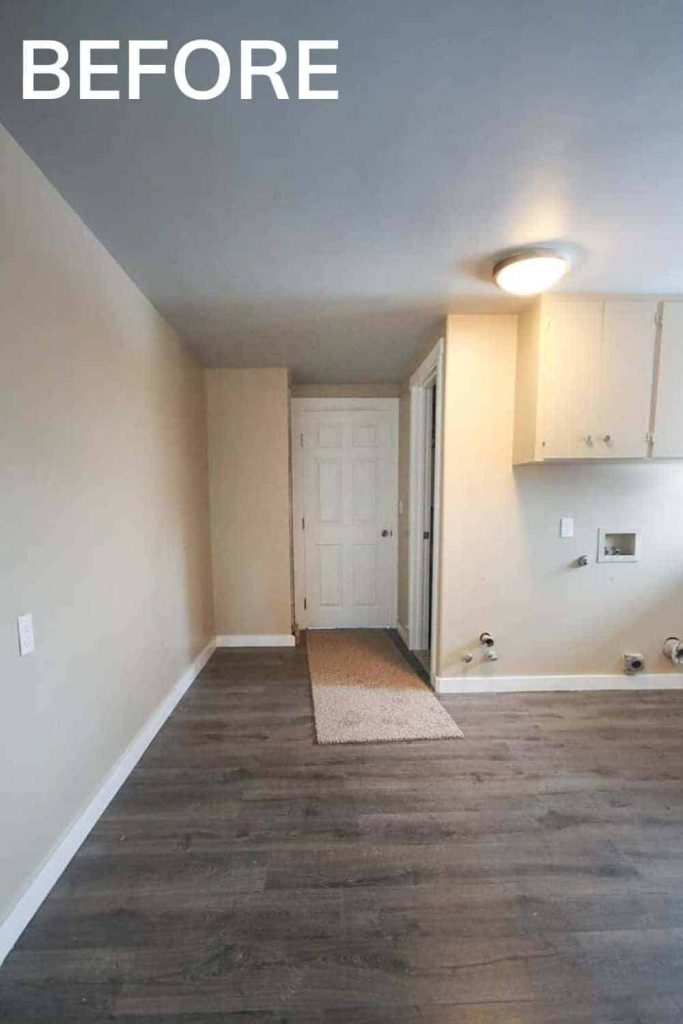
What the laundry room looked like when we moved in
If we’re going to go back and show before pictures, let’s go ALLLLLL the way back. This was taken right before we moved into this house a couple of years ago (see the full home tour at move-in here)
From the first time that we looked at this house, I saw the big blank wall and instantly pictured built in mudroom locker cabinets and storage. We knew we would eventually add these.
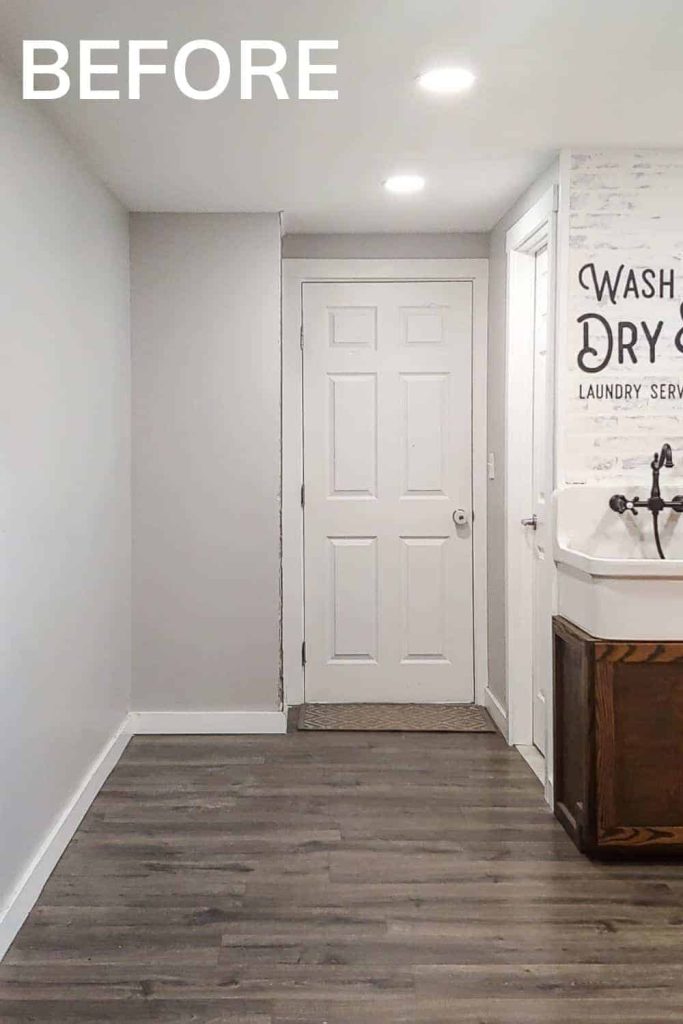
What we’ve done so far in the laundry room
Fast forward a couple of years and we’ve done a lot of work in the laundry room area with these projects:
- Painted the room this color (bye bye tan…)
- Added in these can lights when we painted
- Read all about our design plans for the space
- Hear my thoughts on what you should consider when renovating a laundry room
- Learn how to install a german schmear faux brick wall
- And how to make pipe shelving
- And how to build a farmhouse sink cabinet (and folding counter)
- And how to make wall stencils…
We sorta fixed our storage issue when we added this small modern farmhouse entryway to our living room, but it definitely wasn’t enough storage for all the jackets, backpacks and shoes.
So the laundry room come a LONG ways already, but those mudroom cabinets that I’ve always imagined were still missing.
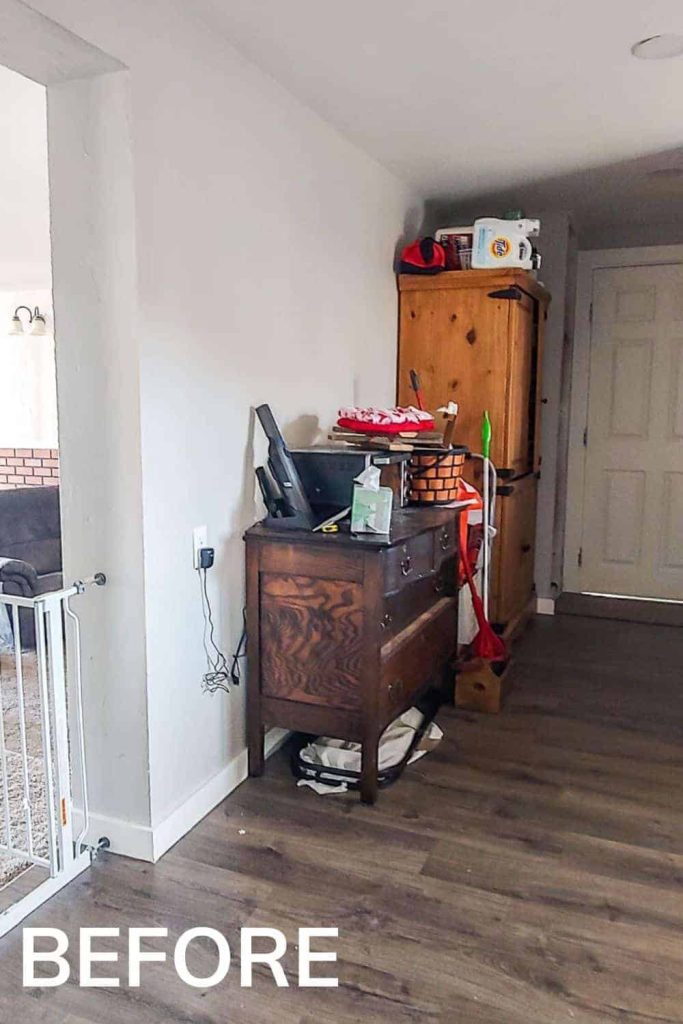
And let’s be honest here… We REALLY needed that storage space because THIS is what that big empty wall ended up looking like after a while! Ugh, the clutter.
DIY mudroom lockers – with or without doors?
We debated a while about building mudroom lockers with doors or without them. And because of all of this clutter, I opted for doors! Even though it definitely made the build more complicated, I think it’s well worth it!
Inspiration for lockers without doors (which are all so beautiful):
- Obsessed with these entryway lockers from Clark & Aldine with the shiplap backs!
- This one is gorgeous with the seating area and basket storage (and this locker is custom made by CMP Furniture on Etsy, which is a great option if you don’t want to go the DIY route).
Inspiration for mudroom lockers with doors (which is the choice we ended up making):
- This actually is a pantry, not lockers, but you can see how the shaker style design from The Vintage Rug Shop definitely inspired our door design!
- Loved this gorgeous design from Lily Pad Cottage with the open baskets on the bottom & the doors covering the locker part.
- Love the numbered doors on these ones from Tara Thueson. So cute, right?
Related – Check out more DIY mudroom ideas here!
DIY Mudroom Lockers: Step-by-Step Tutorial
Now since this is such a big and kinda complicated woodworking build, we also added in a video tutorial, which is sometimes easier to follow along with instead of pictures.
Video Tutorial
If you love DIY videos, don’t forget to subscribe to our YouTube channel!
Materials needed:
- DAP Plastic Wood X wood filler
- Weldwood wood glue
- DAP Alex Flex caulk
- Plywood
- 1 1/2″ Oak trim
- 1/4″ plywood (for doors)
- 1/2″ MDF (for doors)
- Wood shims
- Trim
- 150 grit sandpaper
- #9 2 1/2″ construction screws
- #8 1 1/2″ Trim head star head screws
- 1 1/2″ Finish nails
- Primer
- Paint
- Hinges
- Painter’s tape
- Cabinet hardware – small size and large size
- Hooks
Tools needed:
- Table saw
- Miter saw
- Orbital sander
- Impact driver
- Drill
- Clamps
- Kreg pocket hole jig 320
- Clamp Table and Steel Stand
- Paint sprayer or paint roller and tray
- Level
- Measuring tape
- Finish nail gun
- Air compressor
Step 1. Cut plywood to size.
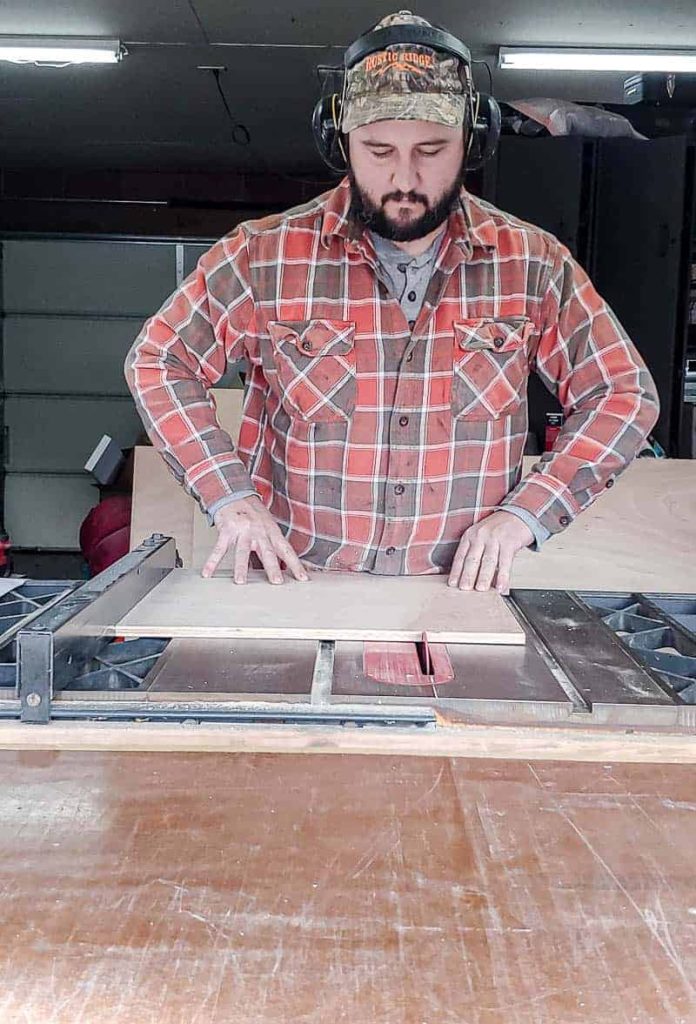
Cut your plywood down to size with a table saw.
Step 2. Lightly sand.
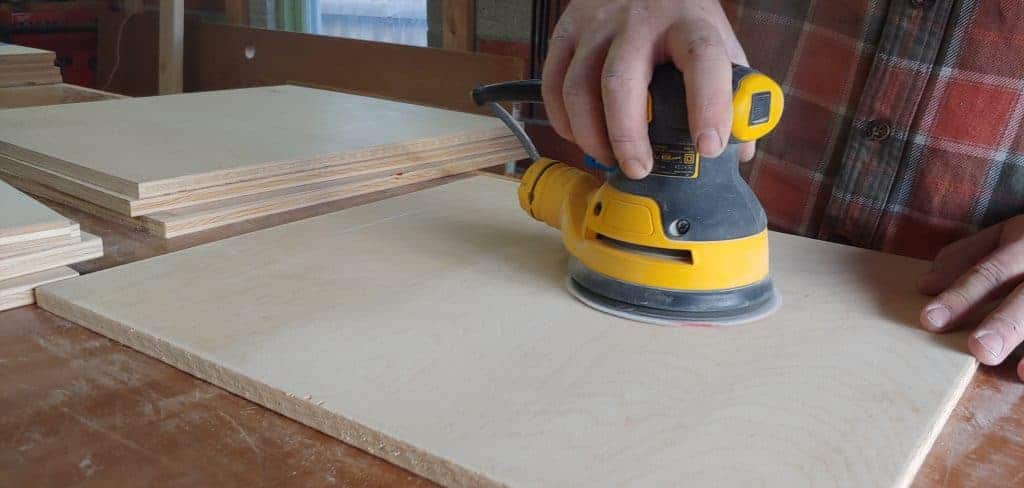
Lightly sand all plywood with an orbital sander and 150 grit sandpaper.
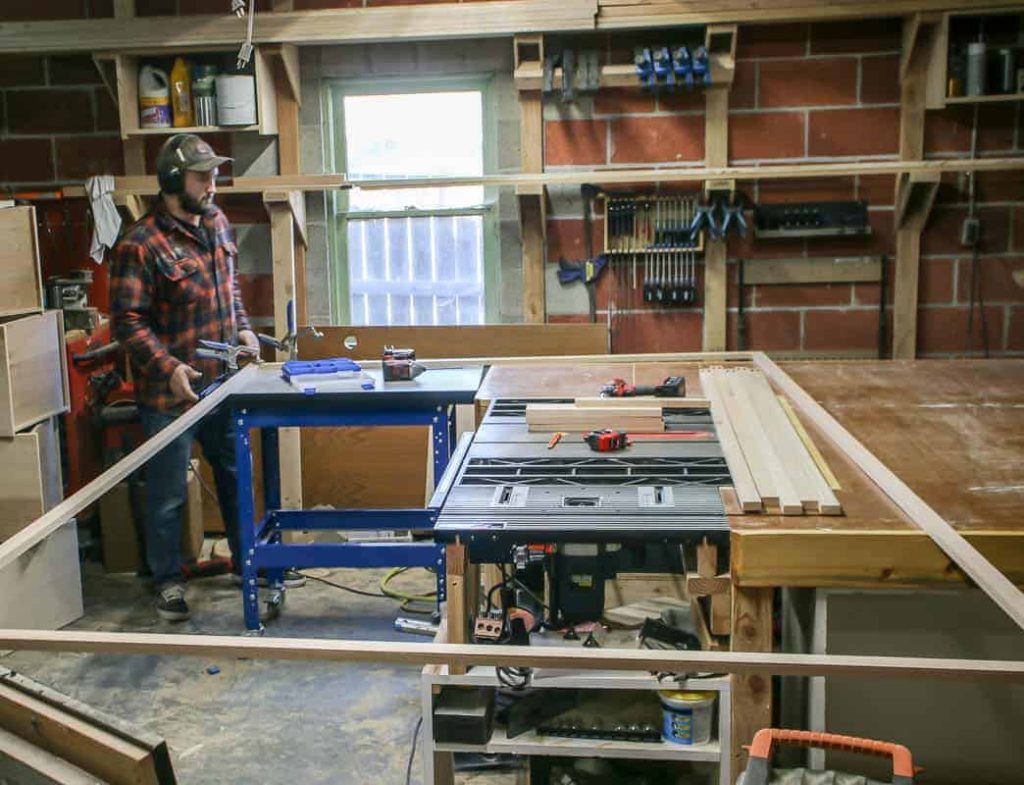
Step 3. Assemble cabinets.
Assemble cabinets and shelves as much as much possible in your work area (that’s the shop part of our garage) and then bring indoors where the DIY mudroom lockers will be located to finish assembling.
Be sure to pre-drill any and all screw holes when dealing with plywood to prevent the layers of the plywood from separating. It’s also best to countersink all of your screws in the plywood as well.
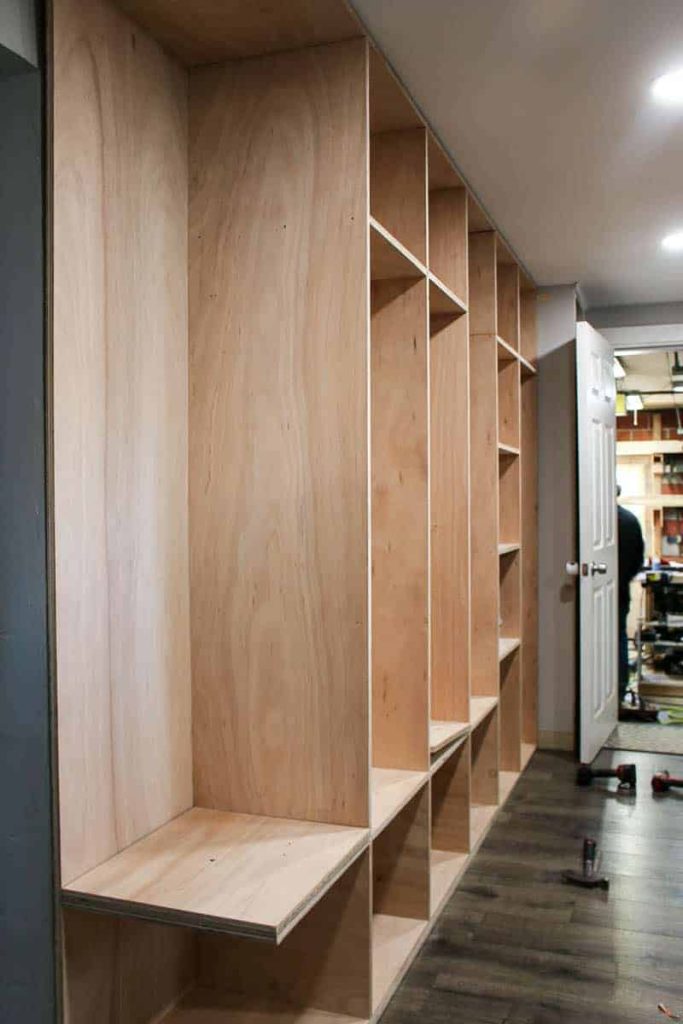
We built our mudroom cabinets in 3 separate pieces, the lower lockers on left, the lower cabinet shelf below lockers (for the shoe baskets) and the full length cabinets on right.
Keep in mind the width and heights of any doors you will need to go through to make sure all pieces fit and you have ample room to rotate and stand up larger pieces. You’ll want to assemble any full length cabinet in place. We ended up cutting the top off to get ours in because we assembled it beforehand and then couldn’t get it through the door.
Remember that if there are any edges of the mudroom lockers that are exposed (instead of against a wall, like our left edge), you want that to be a full panel without a joint.
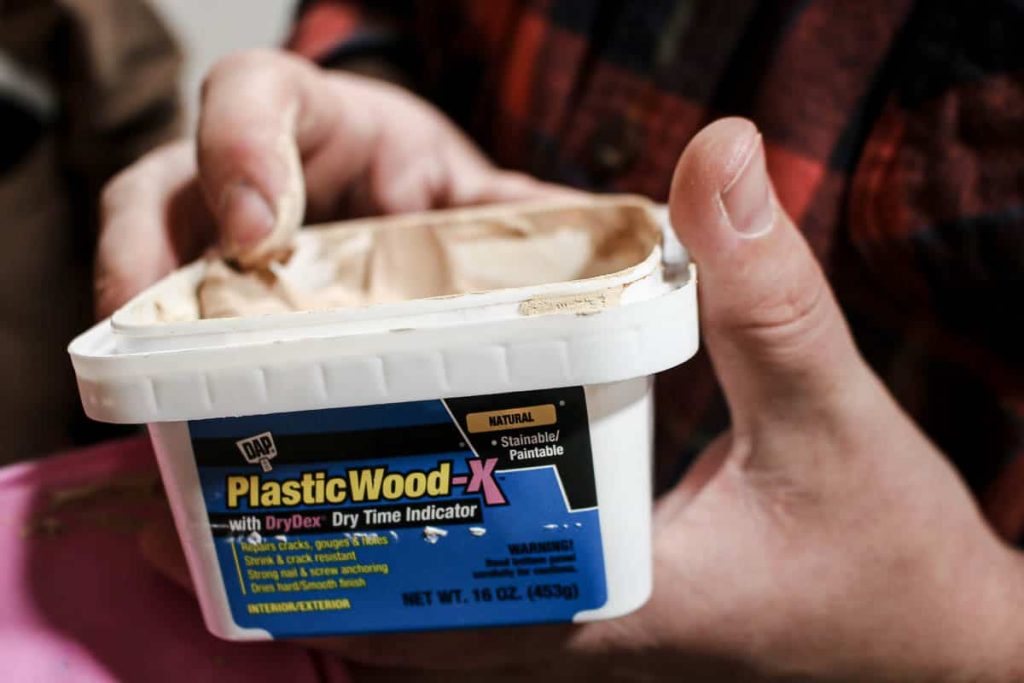
Step 4. Fill screw holes.
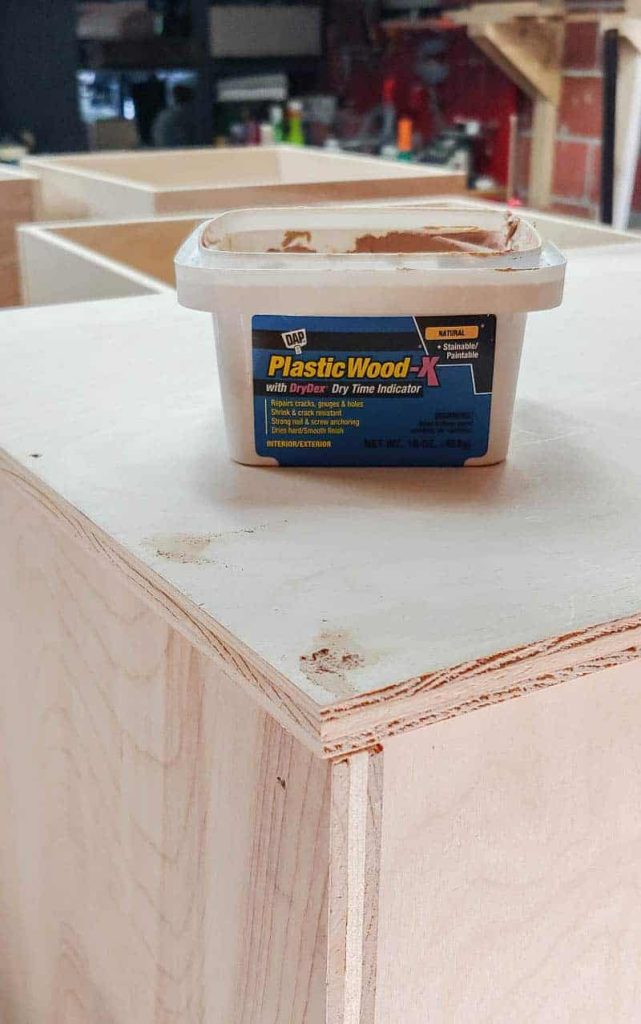
Using DAP Plastic Wood X, fill all screw holes and sand smooth with 150 grit sandpaper.
Step 5. Bring cabinets inside & assemble further.
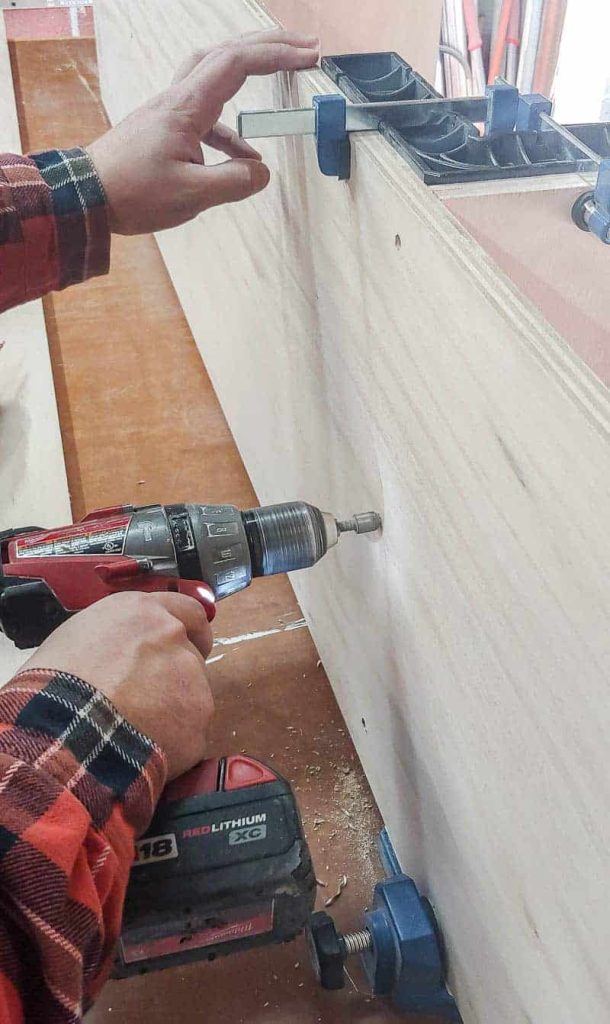
Once all three pieces of the mudroom lockers are brought inside, you can attach them together.
To attach the pieces together, we drilled angeled pilot holes in the back of the cabinet and secured with the 1 1/2″ star drive trim screws.
Step 6. Add backs to cabinets.

Next, add plywood back panels to the backside of the cabinets with wood glue and 1 1/2″ finish nails. Pre-drill your holes before you put the screws.
Step 7. Secure cabinet to wall.
Next, you can secure them to the wall.
If the walls or flooring is not level, you may need to use wood shims to ensure they are level.
Use 2 1/2″ construction screws to secure the lockers into place on the walls where the studs are located.
We also added some trim, like this, to the top and bottom where the cabinet meets the ceiling and the floor for a finished look.
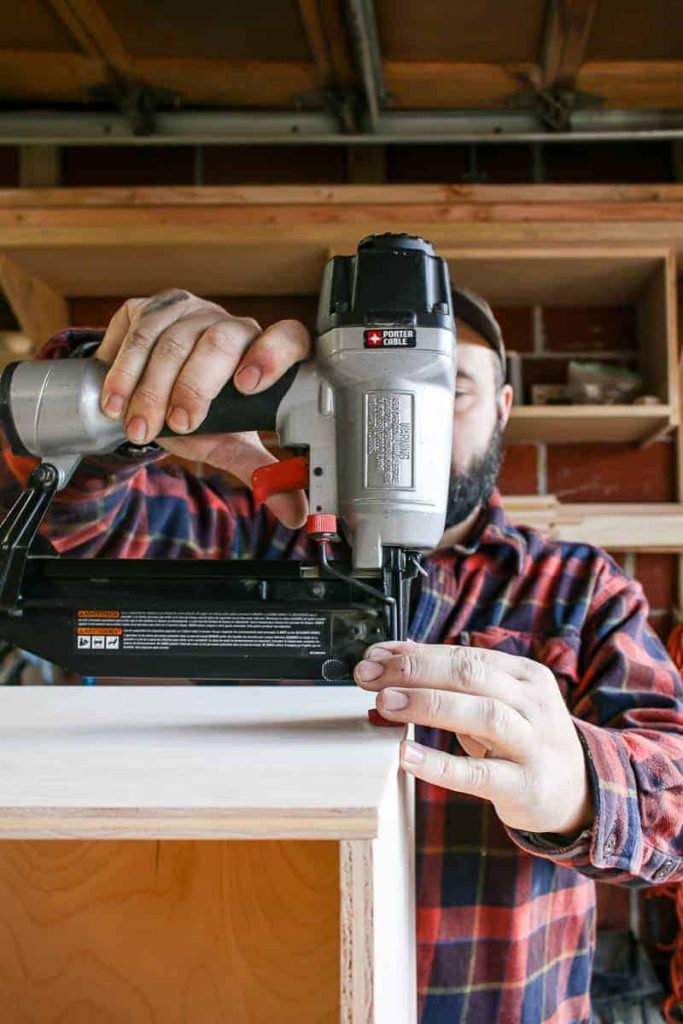
Step 8. Build and add face frame.

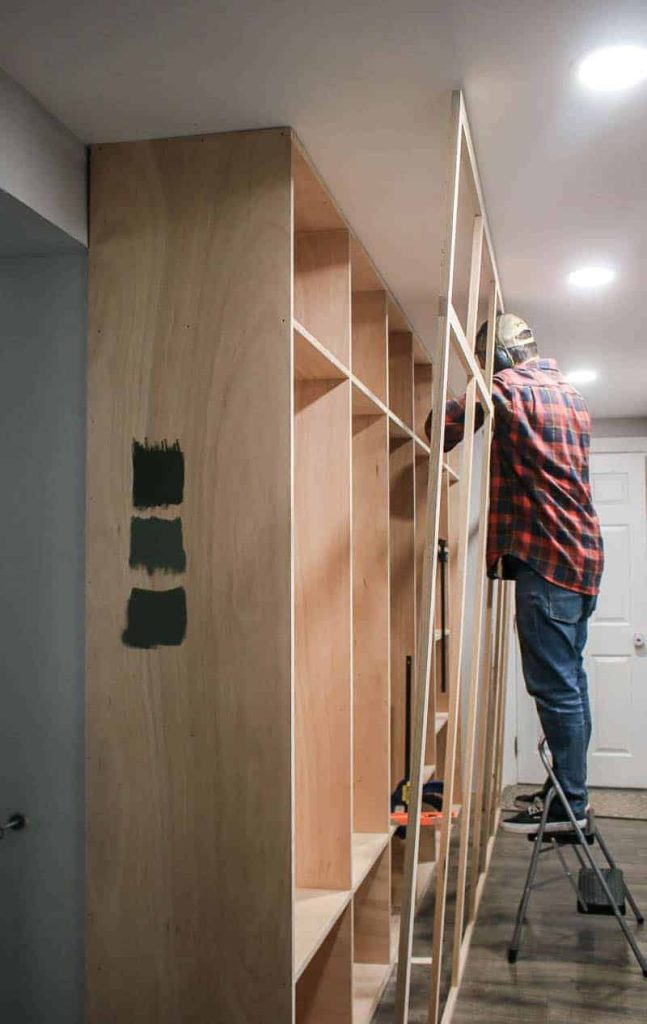
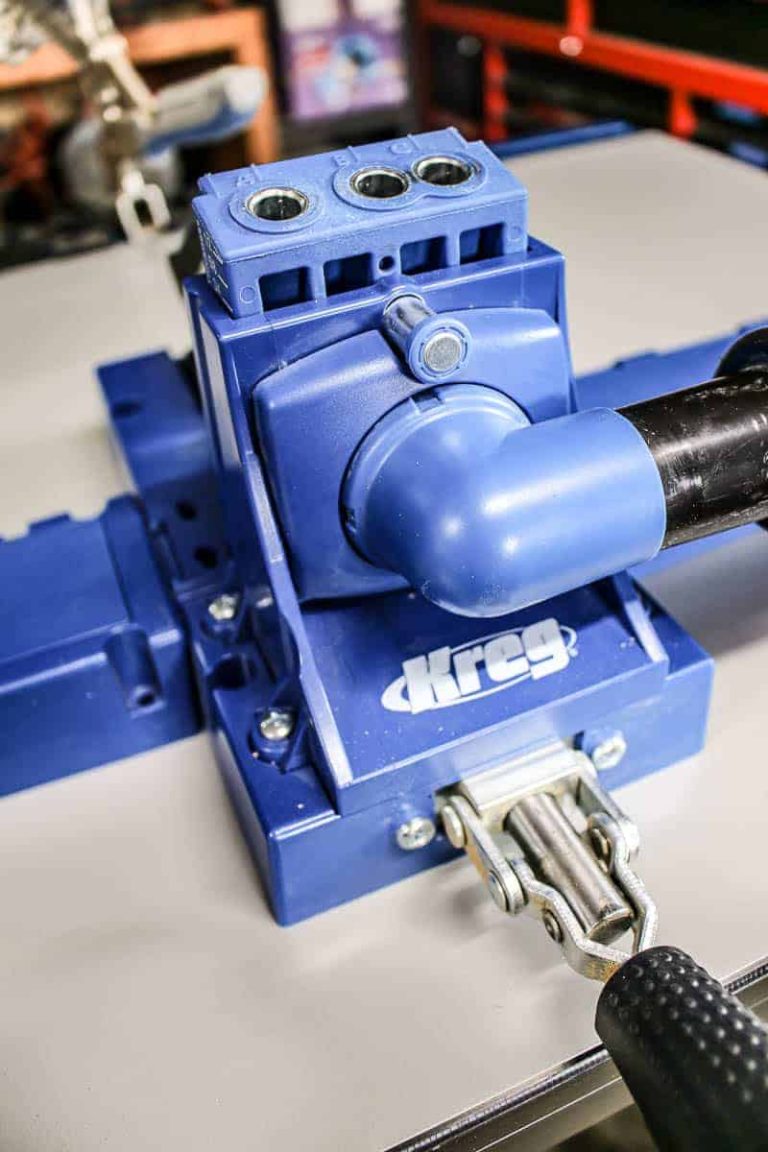
Using 1 1/2″ oak trim, cut your face frame pieces to length using the miter saw. Drill pocket holes using a Kreg jig at all joints and assemble on a flat surface. We used our clamp table and stand to clamp down the face frame pieces at 90 degree angles with the ends extending onto our workbench since it was so large.
Bring the face frame inside and apply 1 1/2″ finish nails to attach to the front of the mudroom lockers.
Step 9. Fill nail holes.
Using DAP Plastic Wood X, fill all nail holes on the face frame and where the cabinets are secured to the walls. Next sand smooth with 150 grit sandpaper.
Step 10. Caulk all corners and edges.
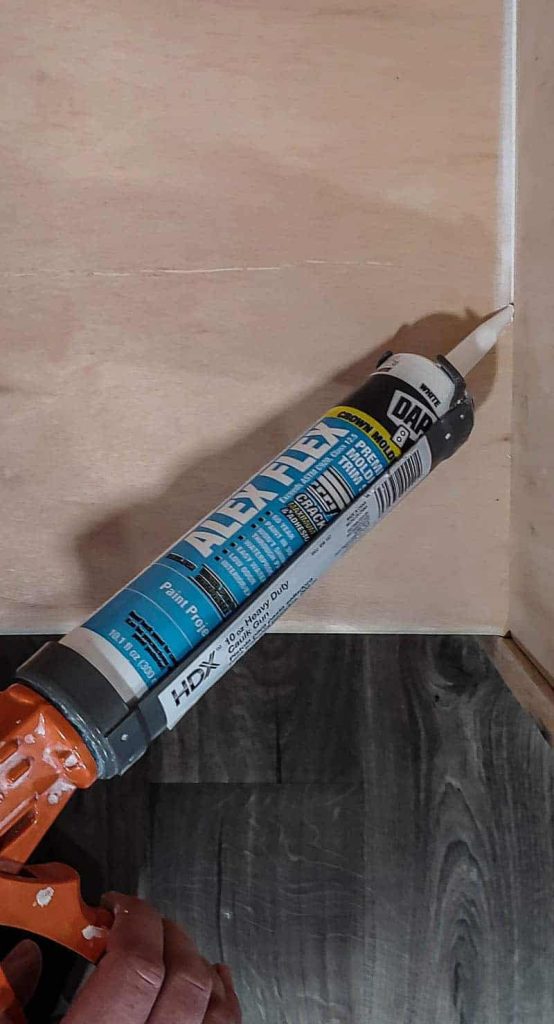
To begin preparing the lockers for paint, apply Alex Flex caulk to all corners and edges. This gives you a nice and finished look and makes any gaps at the joints disappear.
If you’re confused about what type of caulk to use and how to apply it – check out our full article of caulking tips and tricks!
Step 11. Build doors.
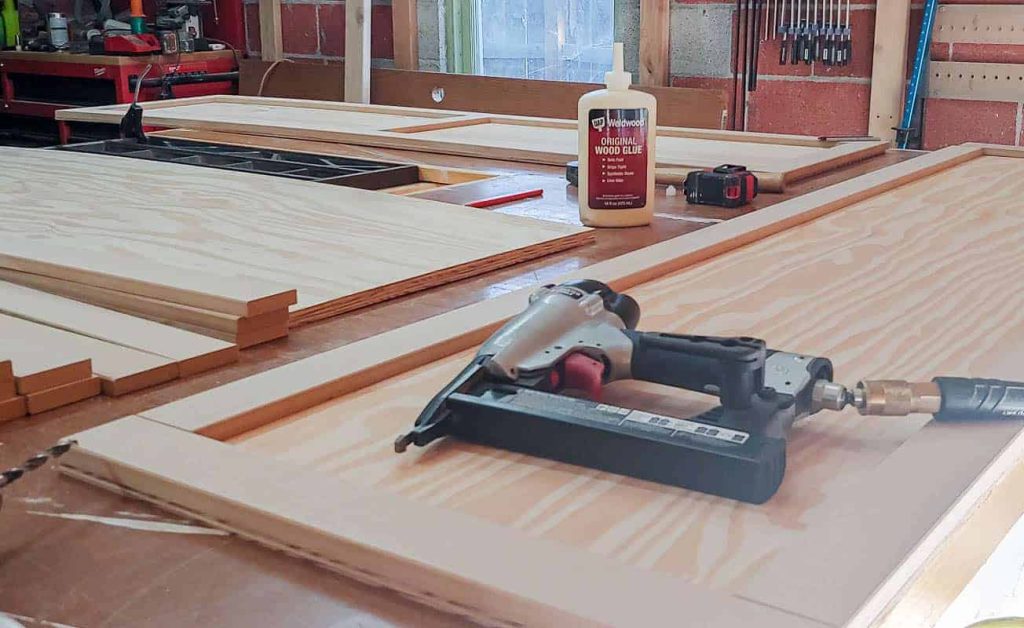
For the mudroom locker doors, we used 1/4″ inch plywood with pieces of 1/2″ MDF cut down to 1 1/2″ wide added to the front to add dimension. We added trim around the edges and one piece of trim in the middle of the taller doors. The top shelf cabinets on the very top have their own doors.
- Cut the plywood & MDF sheets to size with the table saw.
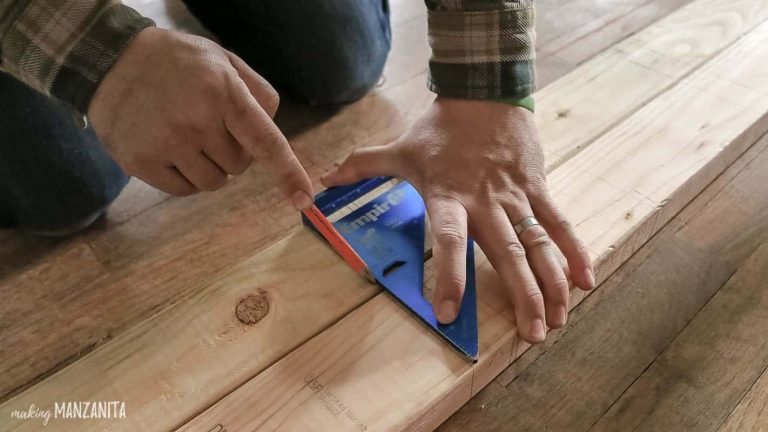
- Cut the MDF trim to length with the miter saw.
- Chamfer (or sand) edges of MDF trim for a finished look.
- Attach trim to plywood with wood glue and nails from the backside.
- Fill all nail holes and imperfections with DAP Plastic Wood X and sand smooth.
- Apply DAP Alex Flex caulk to any corners and edges of the doors for a finished look.
Yes, we know this isn’t the “right” way to build doors, but it is much simpler and less expensive than building inset panel doors (like we did on this farmhouse sink cabinet)
Step 12. Prime cabinets & doors.
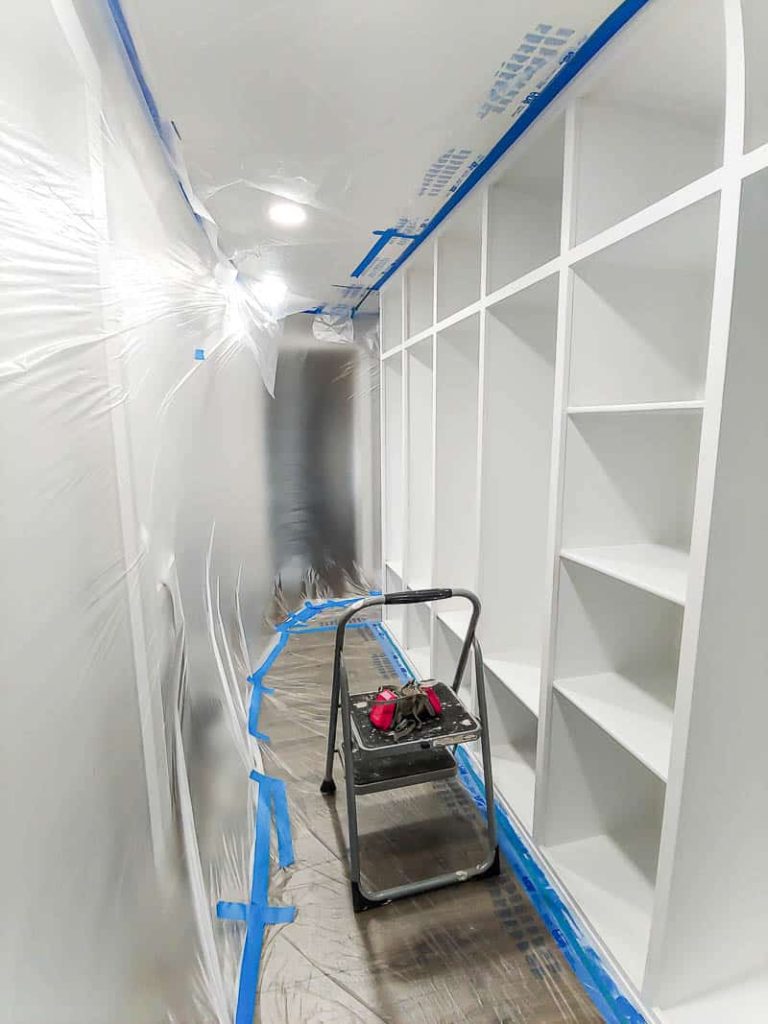
We did two coats of this primer applied to the cabinets and doors before painting.
Step 13. Paint cabinets & doors.
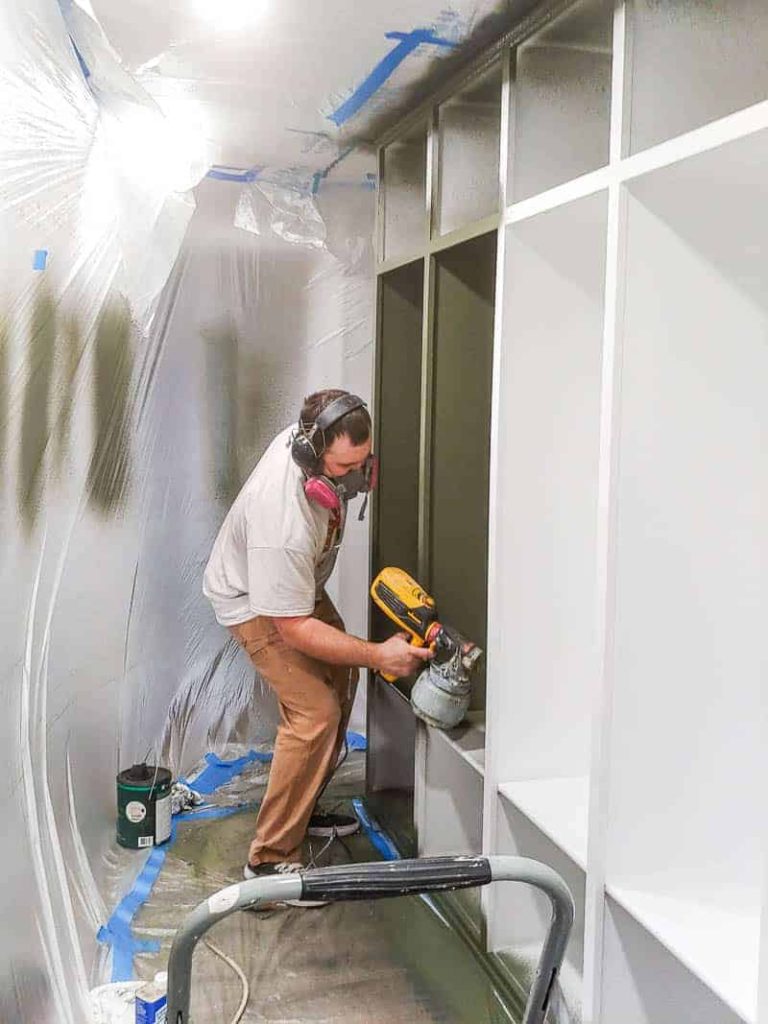
I absolutely LOVE the color we chose on the lockers. We applied 3 coats of paint to all surfaces of the cabinets (and the doors). The doors were painted out in our garage.
Interested in learning more about how to use a paint sprayer – check out this post!
Wait until the paint is fully cured before moving on.
Step 14. Add doors to DIY mudroom lockers.
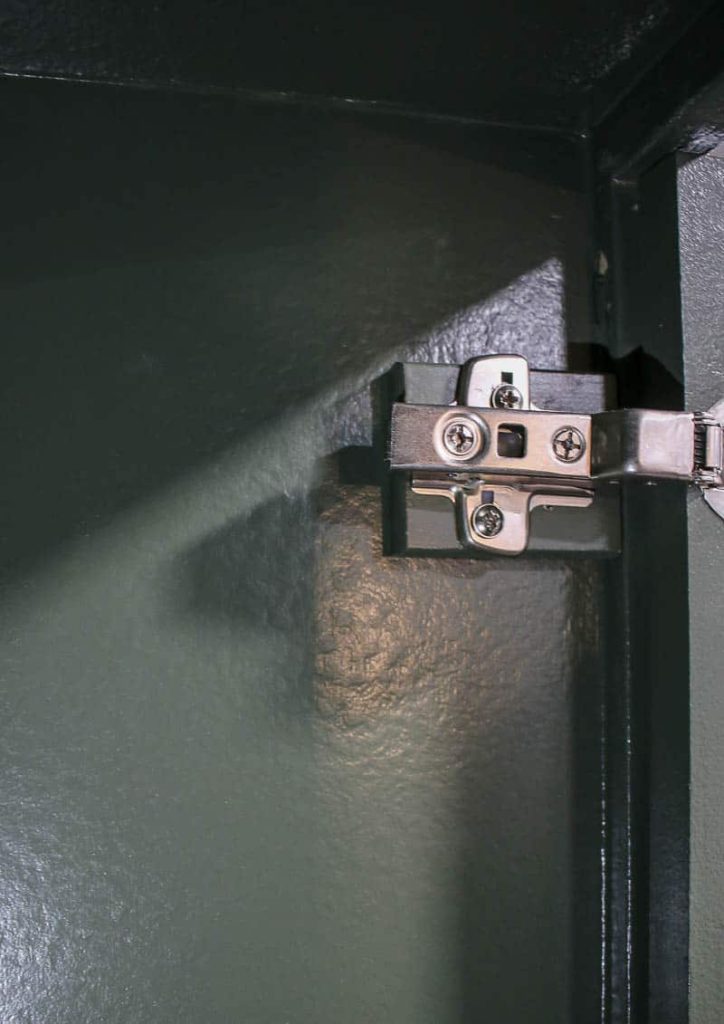
You’ll see in the video tutorial that these hinges that we decided to use required the addition of some spacers.
Logan had originally started building the mudroom lockers with different hinges in mind. We recommend figuring what type of hinges you want to use before you start building. Most hinges require very specific designs. However, if you make a simple mistake, like we did, you can add spacers and make adjustments to finish the project.
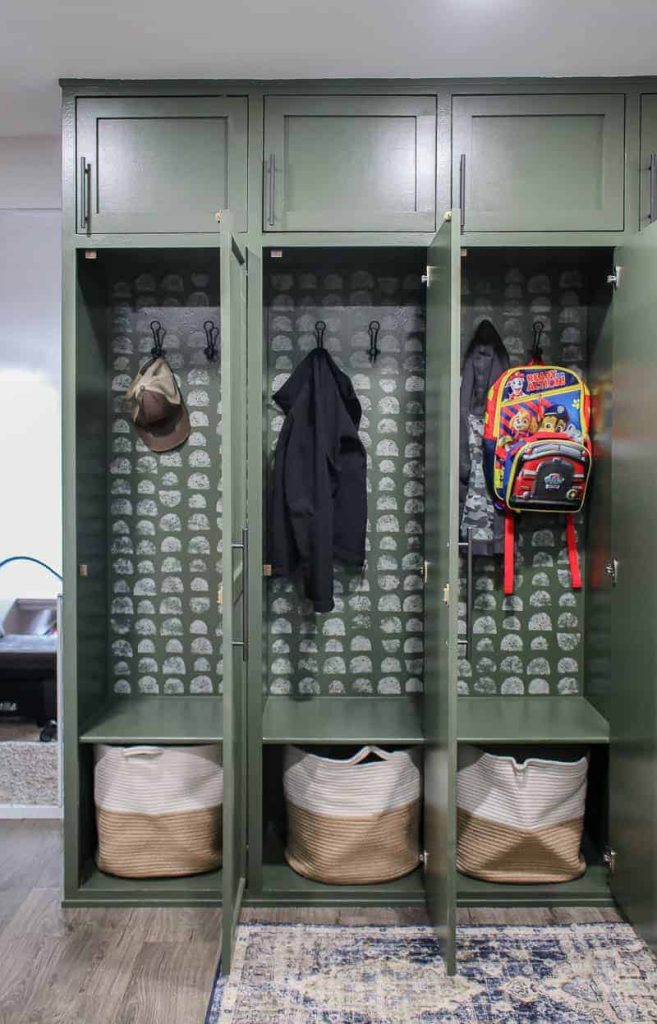
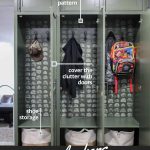
Step 15. Sponge paint the back your DIY mudroom lockers for some added interest (optional).
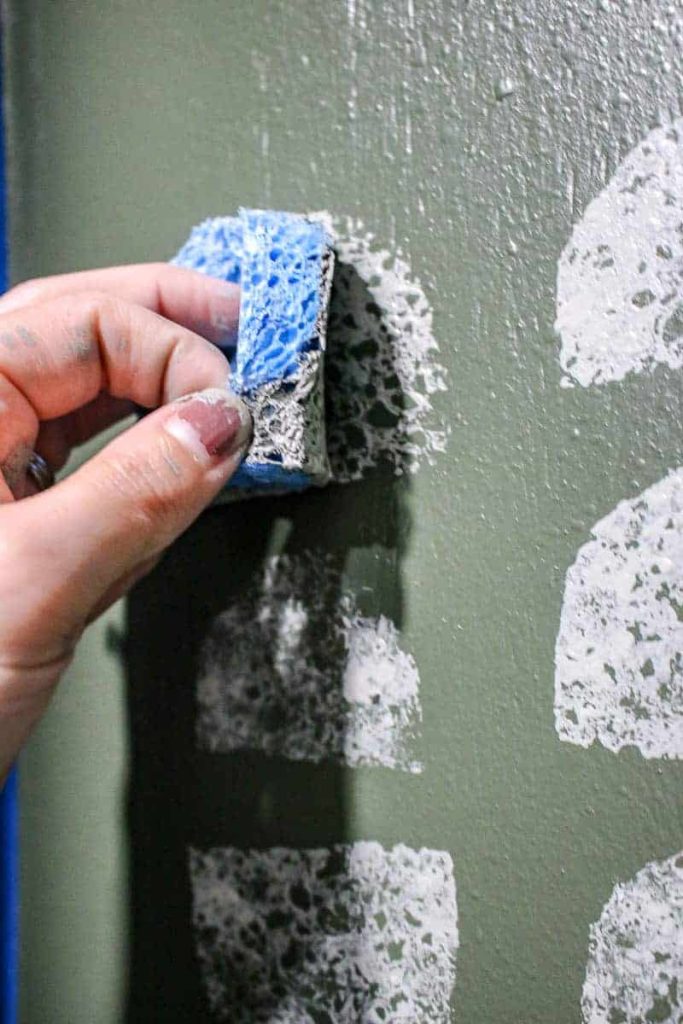
This part is totally optional, but I decided to sponge paint a fun design in the back of mudroom lockers for a little visual interest. Here’s the full tutorial for how to sponge paint a design like this!!
Step 16. Add hardware.
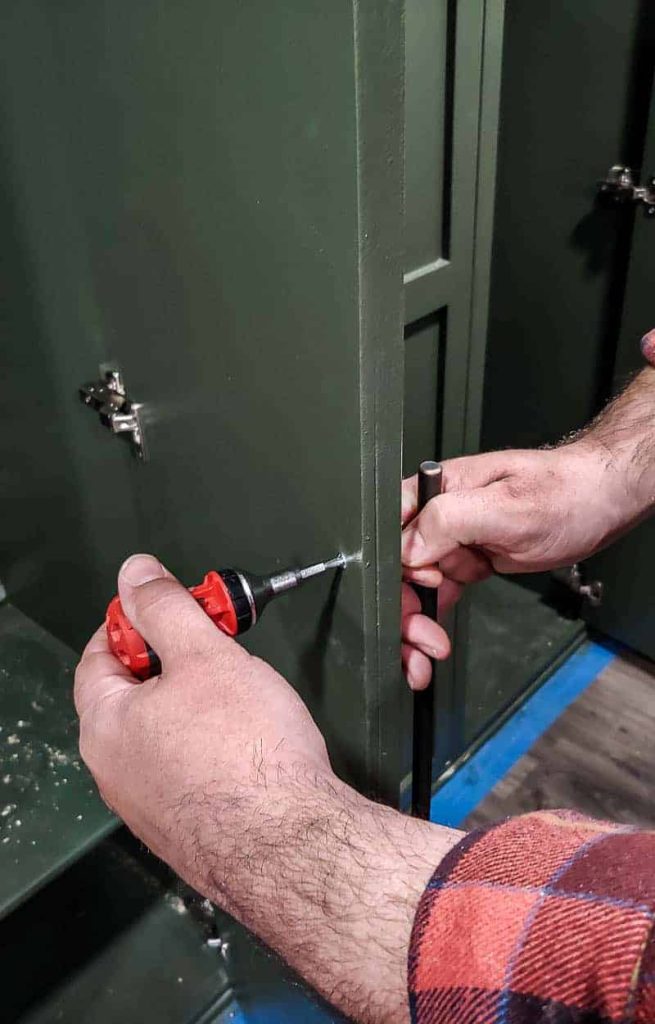
Your final step is to add hardware to the front of your doors & hooks inside the lockers. We love the look of this hardware, which also matches the cabinet hardware in our kitchen and in our master bathroom.
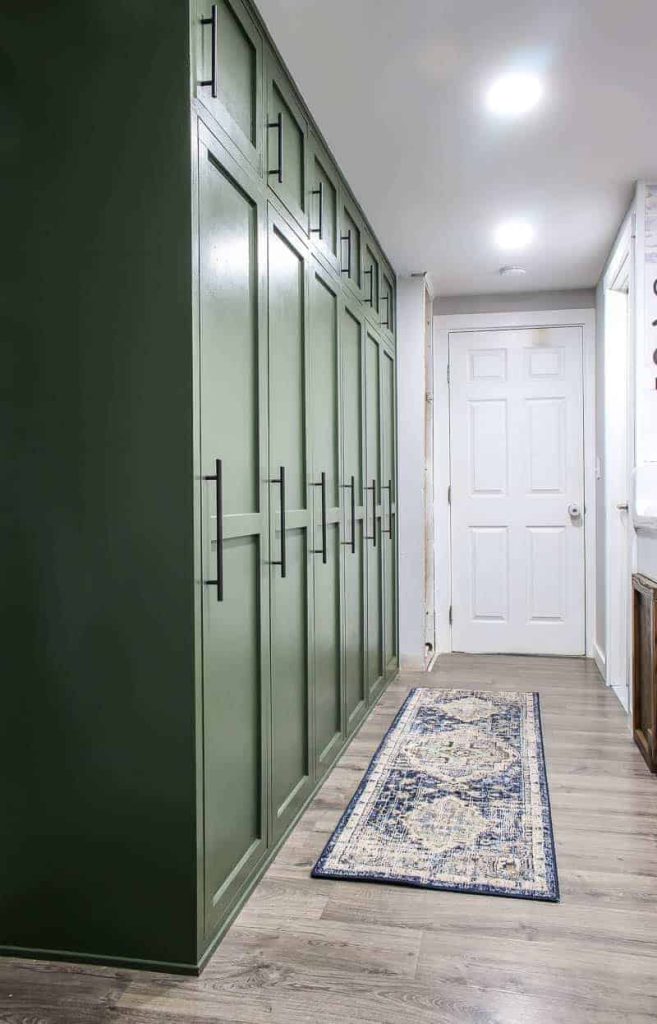
And there’s she is!!! This massive undertaking that has literally taken us MONTHS to wrap up with no childcare and stay at home orders during COVID! Whew…. I’m SO happy to finally be done.
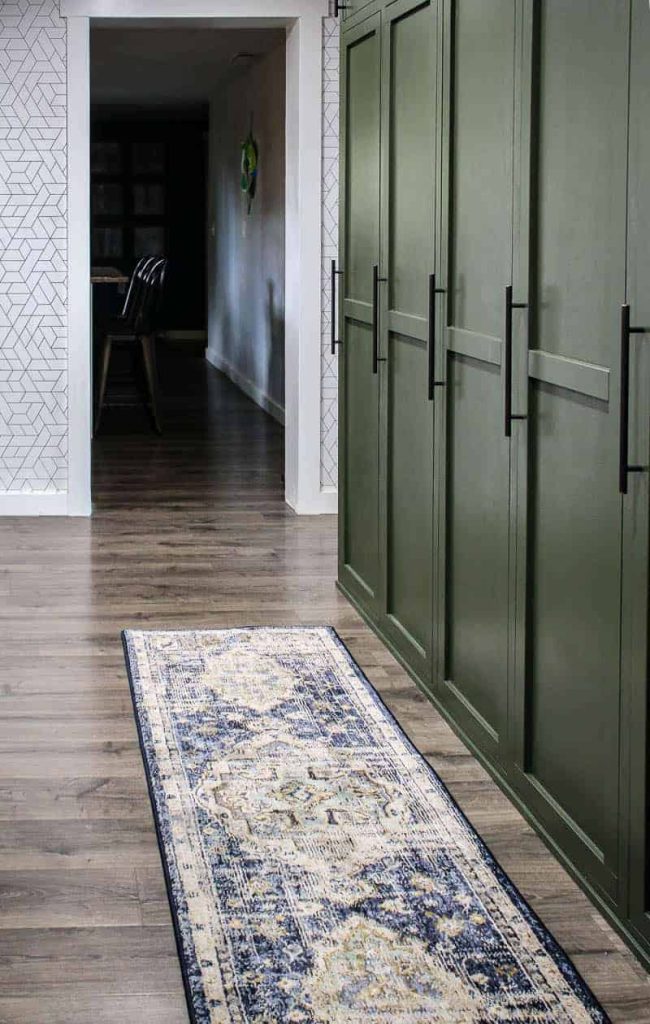
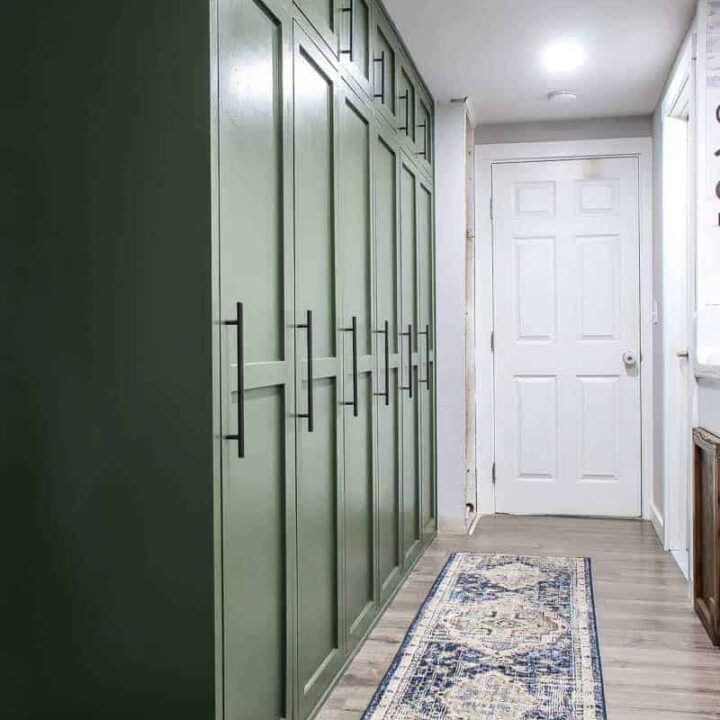
The runner rug was the perfect finishing touch to go in front of the lockers. Read more about how we chose the rug and see our other favorite boho runner rugs here!
And goodness gracious, the DIY mudroom lockers with doors look great, right?!
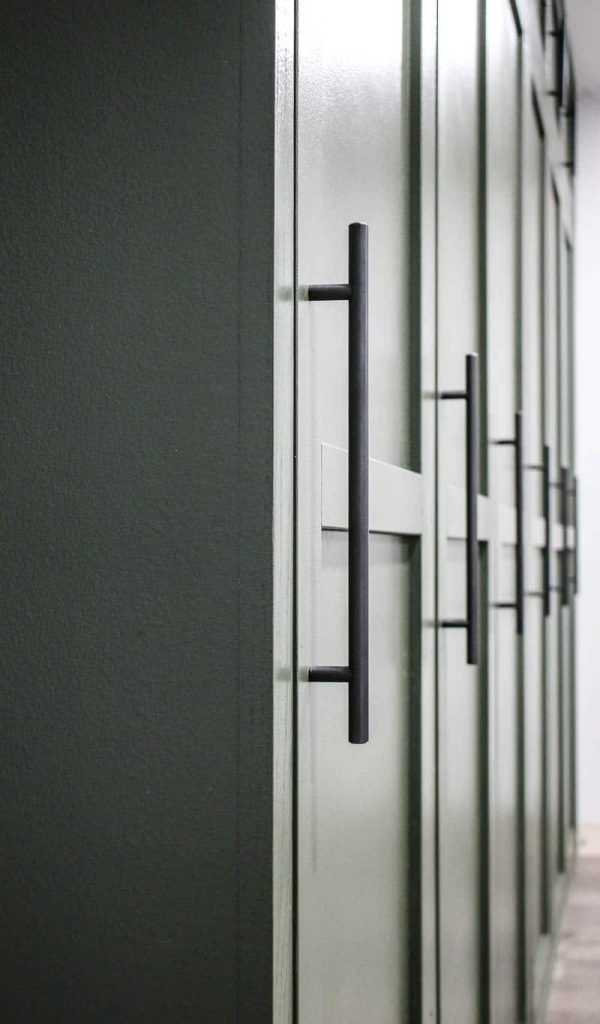
Even down to the small details like the modern hardware, trim on the doors and that perfect dark olive green color….I’m in LOVE.
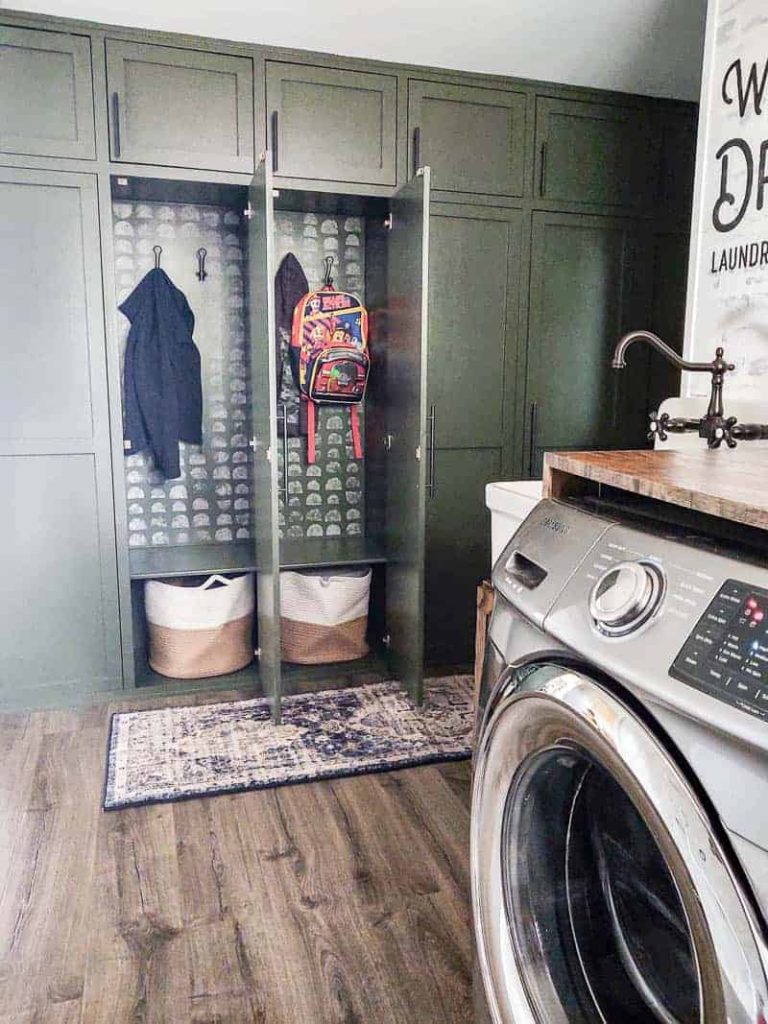
And finally there’s a space (with plenty of room) for storing backpacks, the jackets, the shoes….the never ending shoes…
I think one of the best parts is that we built the mudroom lockers with DOORS…so I don’t have to look at the clutter and the mess.
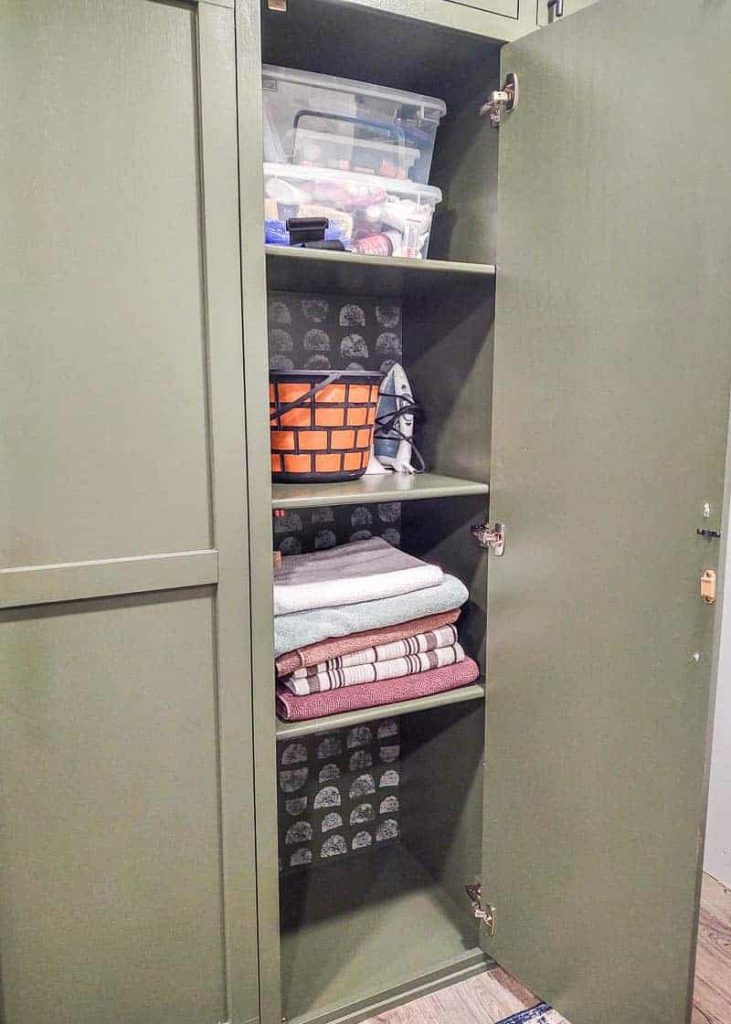
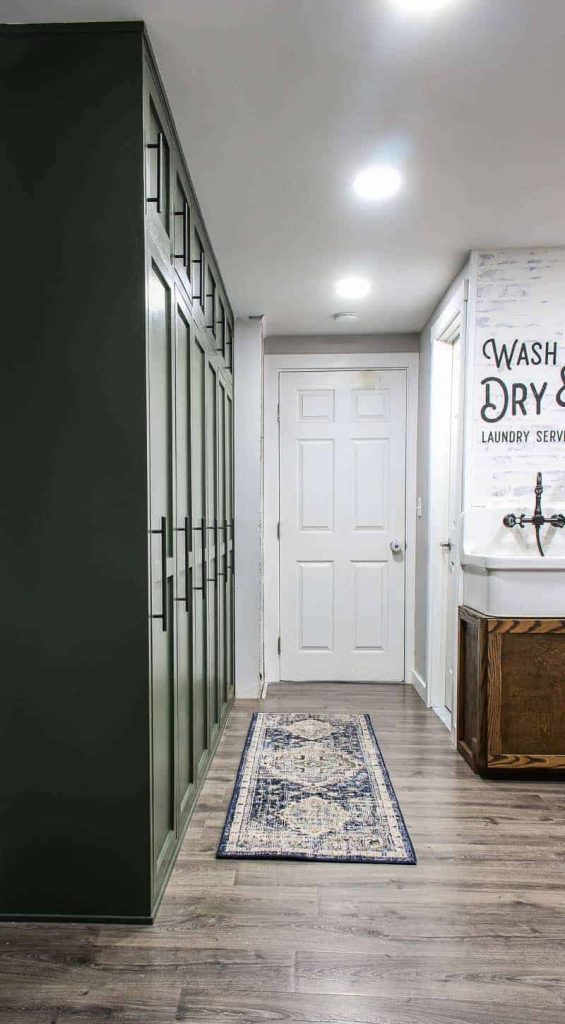
And just LOOK at all of this glorious storage space, something that our house was seriously lacking! We even dedicated an entire cabinet space to holding and organizing our cleaning supplies (check that out here)!
These baskets are just the perfect size for the space and are a great spot to wrangle up all those shoes.
Now before we go let’s taken another look back and the before and afters!
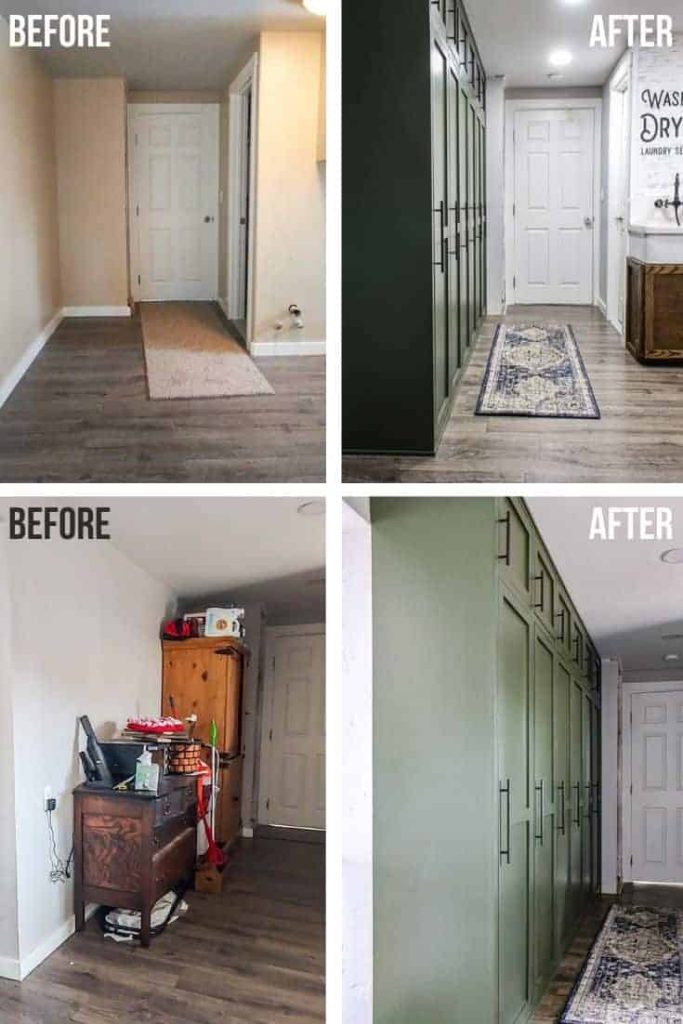
Although it took us a while to complete this big woodworking project, I’m SO glad we decided to build these DIY mudroom lockers. The extra storage is so needed and I love how they turned out!
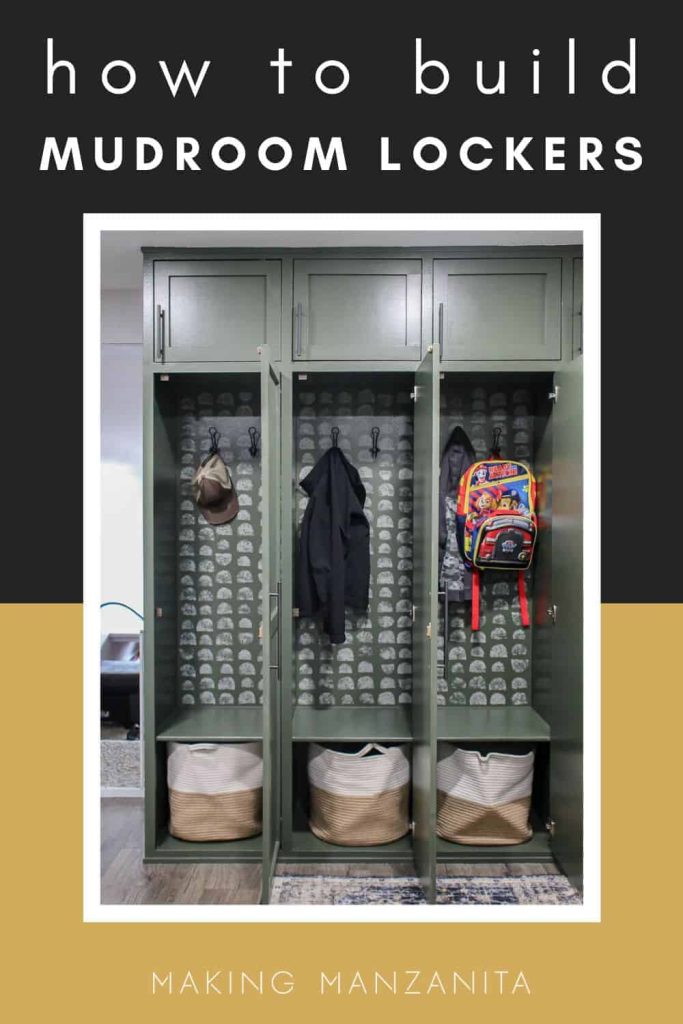
How To Build DIY Mudroom Lockers With Doors
Materials
- DAP Plastic Wood X wood filler
- Weldwood wood glue
- DAP Alex Flex caulk
- Plywood
- 1 1/2" Oak Trim
- 1/4" Plywood (for doors)
- 1/2" MDF (for doors)
- Wood shims
- Trim
- 150 grit sandpaper
- #9 2 1/2" construction screws
- #8 1 1/2" trim head star head screws
- 1 1/2" finish nails
- Primer
- Paint
- Hinges
- Painter's tape
- Cabinet hardware - small
- Cabinet hardware - large
- Hooks
Tools
- Table saw
- Miter saw
- Orbital sander
- Impact driver
- Drill
- Clamps
- Kreg pocket hole 320
- Clamp table & steel stand
- Paint sprayer (or roller & tray)
- Level
- Measuring tape
- Finish nail gun
- Air compressor
Instructions
- Cut plywood down to size with table saw.
- Lightly sand with 150 grit sandpaper.
- Assemble cabinets.
- Fill screw holes with DAP Plastic Wood X wood filler. Sand smooth.
- Bring cabinets inside and assemble further.
- Add plywood back panels.
- Secure mudroom lockers to the wall with 2 1/2" construction screws where stud are located.
- Build and add face frame with 1 1/2" oak trim.
- Fill nail holes with DAP Plastic Wood X wood filler. Sand smooth.
- Caulk all corners and edges with DAP Alex Flex caulk.
- Build doors. (Cut plywood and MDF, chamfer or sand edges, attach MDF trim to plywood with wood glue and nails from backside, fill nails holes and sand smooth, apply caulk to corners and edges)
- Prime cabinet and doors (2 coats).
- Paint mudroom lockers & doors (3 coats).
- Hang doors.
- Sponge paint back of lockers - optional - see full tutorial here!
- Add hardware.

Love this! Do you mind sharing the total cost of the project?
I think our cost was roughly $1000-$1250 – but it is definitely highly dependent on tools and supplies you already have on hand & the size of your unit.
What color is this paint?
This paint color is Black Bamboo by Behr.
It looks so good!!!!
Thanks! 🙂
Do you have building plans or measurements for this? Beautiful!!
We don’t have the plans available for this, but the rough dimensions are roughly 10 feet wide and 88 inches tall (floor to ceiling) and 18″ deep.
What size and type nails did you use on the doors? How are the doors holding up? Feeling inspired but your simple DIY shaker door!
A couple of years later, the doors are holding up fine. In hindsight, we probably wouldn’t have used MDF for the trim so it would be more rigid in the longer run. However, it was a huge cost savings. We used glue and 1/2″ finish nails.
What is the height of the center section of your cabinets where you hang the jackets?
The top of that section is exactly 6 feet from the ground.
This is beautiful! What is the dimension of each locker? Thanks!
Hi there, the lockers were designed to fit our existing wall so measurements may vary. Each locker is approximately 19 1/4″ wide, 17 1/4″ deep and 69 1/2″ tall (for the bottom section/door).
Beautiful! Is there a software you used to create and generate the cut list?