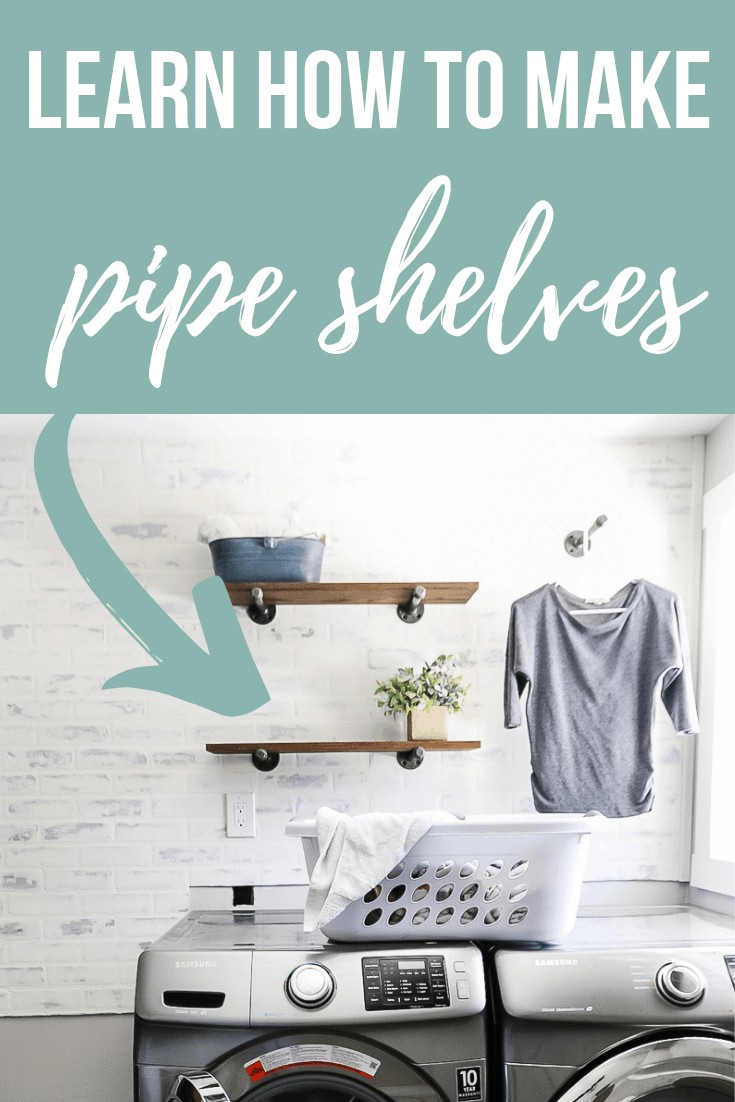
How To Build Pipe Shelves: Laundry Room Shelving

Complete with a farmhouse-style faux brick wall in our laundry room, our latest renovation project is coming along! Today we’re sharing how we built the fun pipe shelves in a video tutorial.
Spoiler alert: they are pretty much the easiest DIY shelf EVER! So even if you don’t have much DIY experience or tools, you can totally do this.
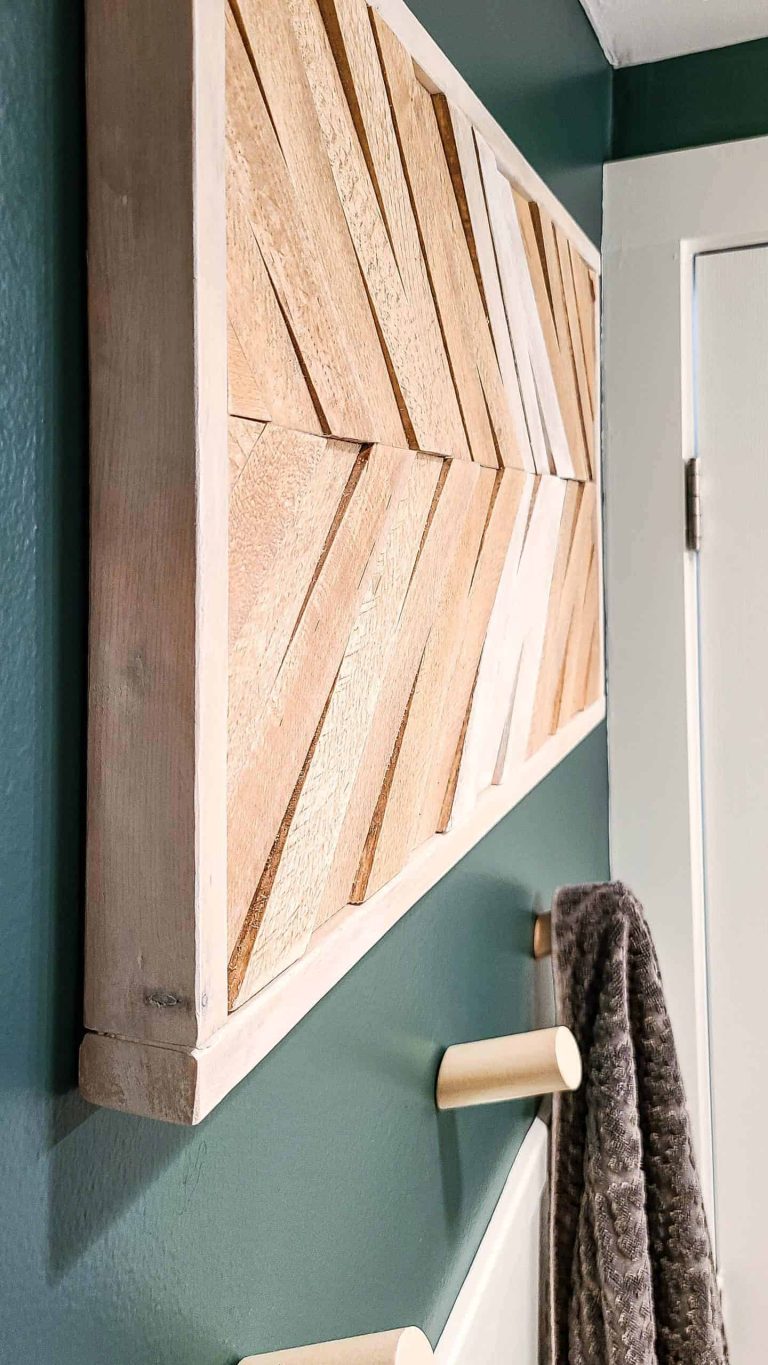
I love how the pipe shelves turned out!
I’m so excited to get started on “Phase 2” of the renovation – which includes a farmhouse sink cabinet, folding counter, and stenciled design on the wall. If you want to see more details about our plan, check out this post for all the details.
Want to see more of our laundry room makeover?
- Modern Farmhouse Laundry Room Design & Decor Ideas
- Easy German Schmear Tutorial On A Faux Brick Wall
- How To Build Pipe Shelves: Laundry Room Shelving
- How To Make Wall Stencils
- Farmhouse Sink Cabinet For Laundry Room (With Free Plans!)
- DIY Mudroom Lockers With Doors
- Modern Sponge Painting | Semi Circle Pattern in Back of Locker Cabinets
- 18 Modern Boho Runner Rugs
- Home Command Center for Busy Family That’s Customizable and Gorgeous
- How To Organize Cleaning Supplies | 15+ Clever Ideas
Pipe Shelves – Video Tutorial
If you love DIY videos, be sure to subscribe to our YouTube channel!
This laundry room shelving post contains affiliate links, but nothing that I wouldn’t wholeheartedly recommend anyway! Read my full disclosure here.
How to Make Industrial Style Pipe Shelves
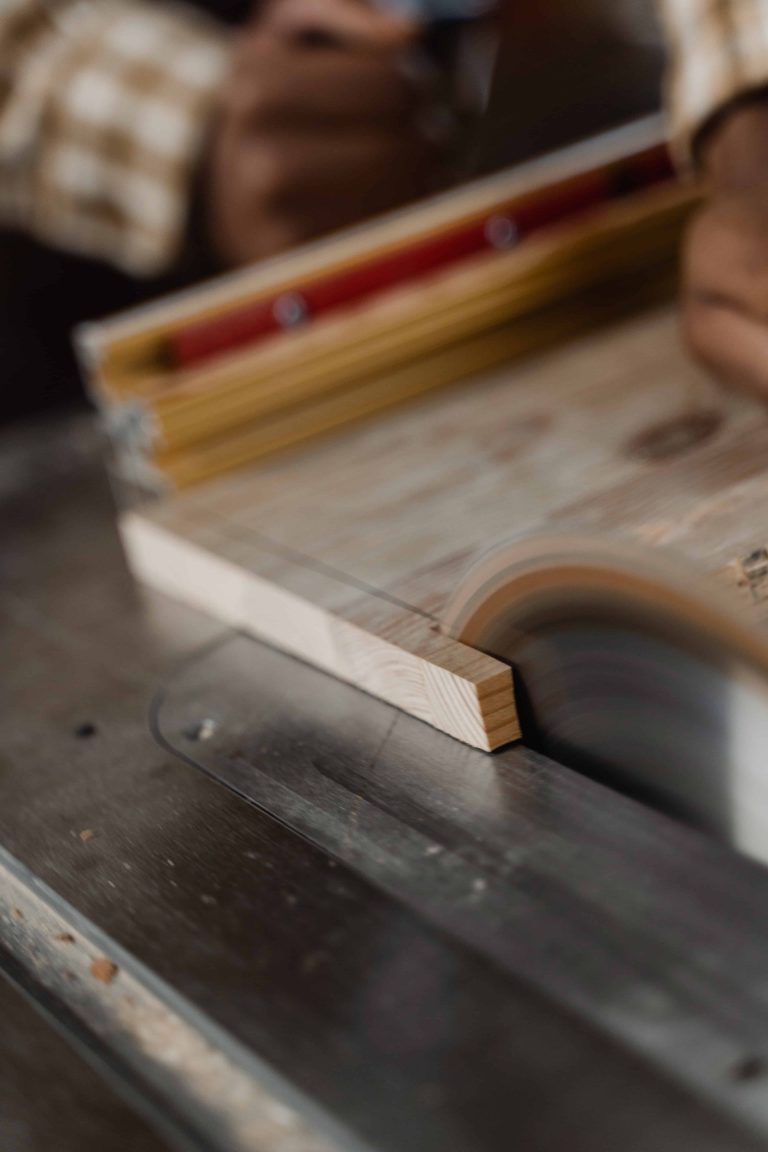
Step 1. Cut wood to size.
Our shelves are about 28 inches wide, so we just cut two pieces of wood down to size.
The pipe we purchased to make the bracket was 8 inches, so we were sure to buy 1 x 8 (which means the wood is actually 7 1/4″ deep…learn more about confusing lumber dimensions here) wood so it fits nicely on top of the pipe. That means the shelves are 8 inches deep, which is the perfect size for laundry room shelving.
Step 2. Chamfer edges.
For the edges of the shelves, we chamfered them with a chamfer bit on the router table.
If don’t have a router, no worries. You can achieve the pretty much same thing by simply sanding the edges by hand. The goal here is to just make the corners not as harsh.
Step 3. Sand wood.
Next, give the wood shelf a light sanding. I used our orbital sander, but you could do this by hand pretty easily too.
Step 4. Stain wood.
After sanding, wipe everything off and get some stain on that wood.
Every time I stain wood, I end up with stain ALL over my hands, but Logan never does! I asked him to show us how he folds up the staining rag and attaches a clip. Be sure to watch the video so you can see how he stains so nice and clean!
For staining, we used 2 coats of this stain and wiped everything clean when finished.
Step 5. Seal wood.
Once the stain has fully dried (check packaging), you can seal the wood. We used this to seal it.
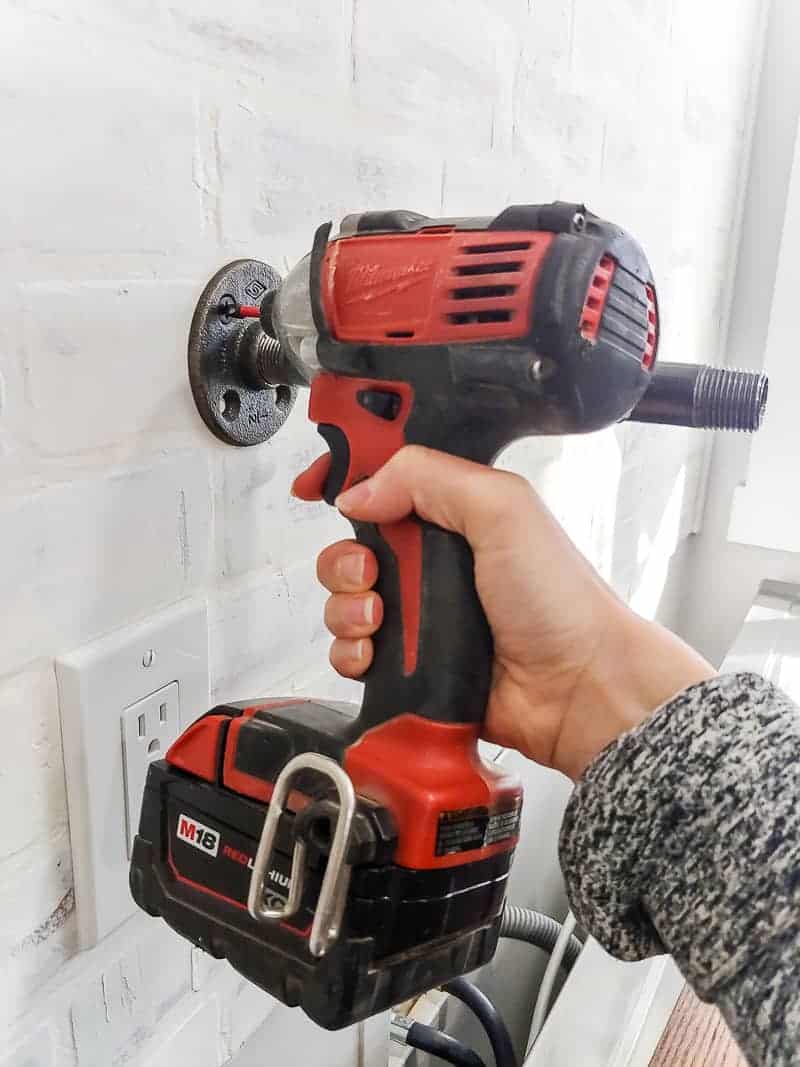
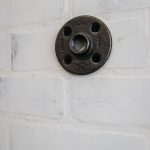
Step 6. Add 1st pipe shelf bracket.
Now it is time to these pipe shelves up on the wall. First, find a stud in your wall. Ideally, both brackets would be in studs.
We spaced our brackets out exactly 16 inches so they both were able to be drilled into studs. This was perfect for our shelf, which is 28 wide – so the wood overhangs about 6 inches on each side of the bracket.
Once you find the stud in your wall, you can attach the flange by drilling into the wall with these screws.
We found it easiest to hold the flange in place, mark the holes, remove the flange to drill pilot holes, and then add the flange back to screw it into place.
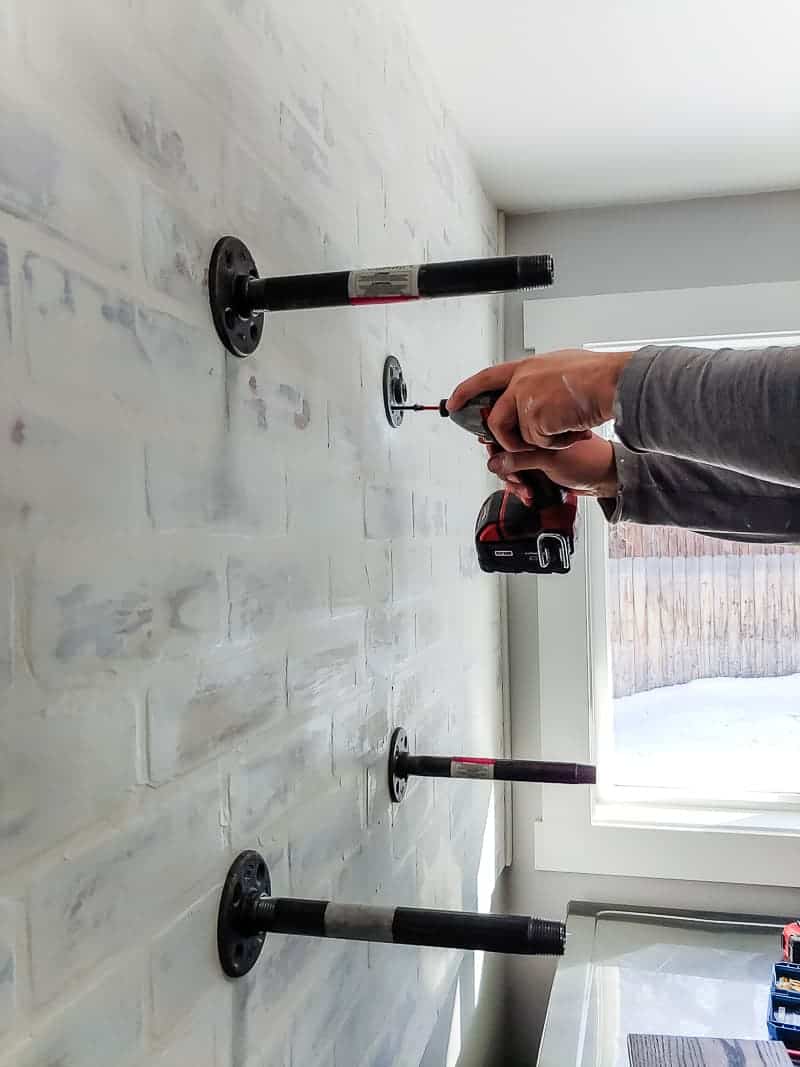
Step 7. Add other pipe brackets to wall.
Once you have the first pipe bracket into the wall, use a level to make sure your other bracket is lined up correctly. You may need two people for this part.
Step 8. Set your wood on top.
This part should need too much instruction. You really just put the wood on top of the pipe shelf brackets and voila! If you wanted to attach the shelf better to the bracket, you could add some clamps, but we found it wasn’t necessary for our laundry room shelving.
Step 9. Decorate and smile!
Get those shelves decorated and filled up and then step back, pat yourself on the freakin’ back and smile! You did it!
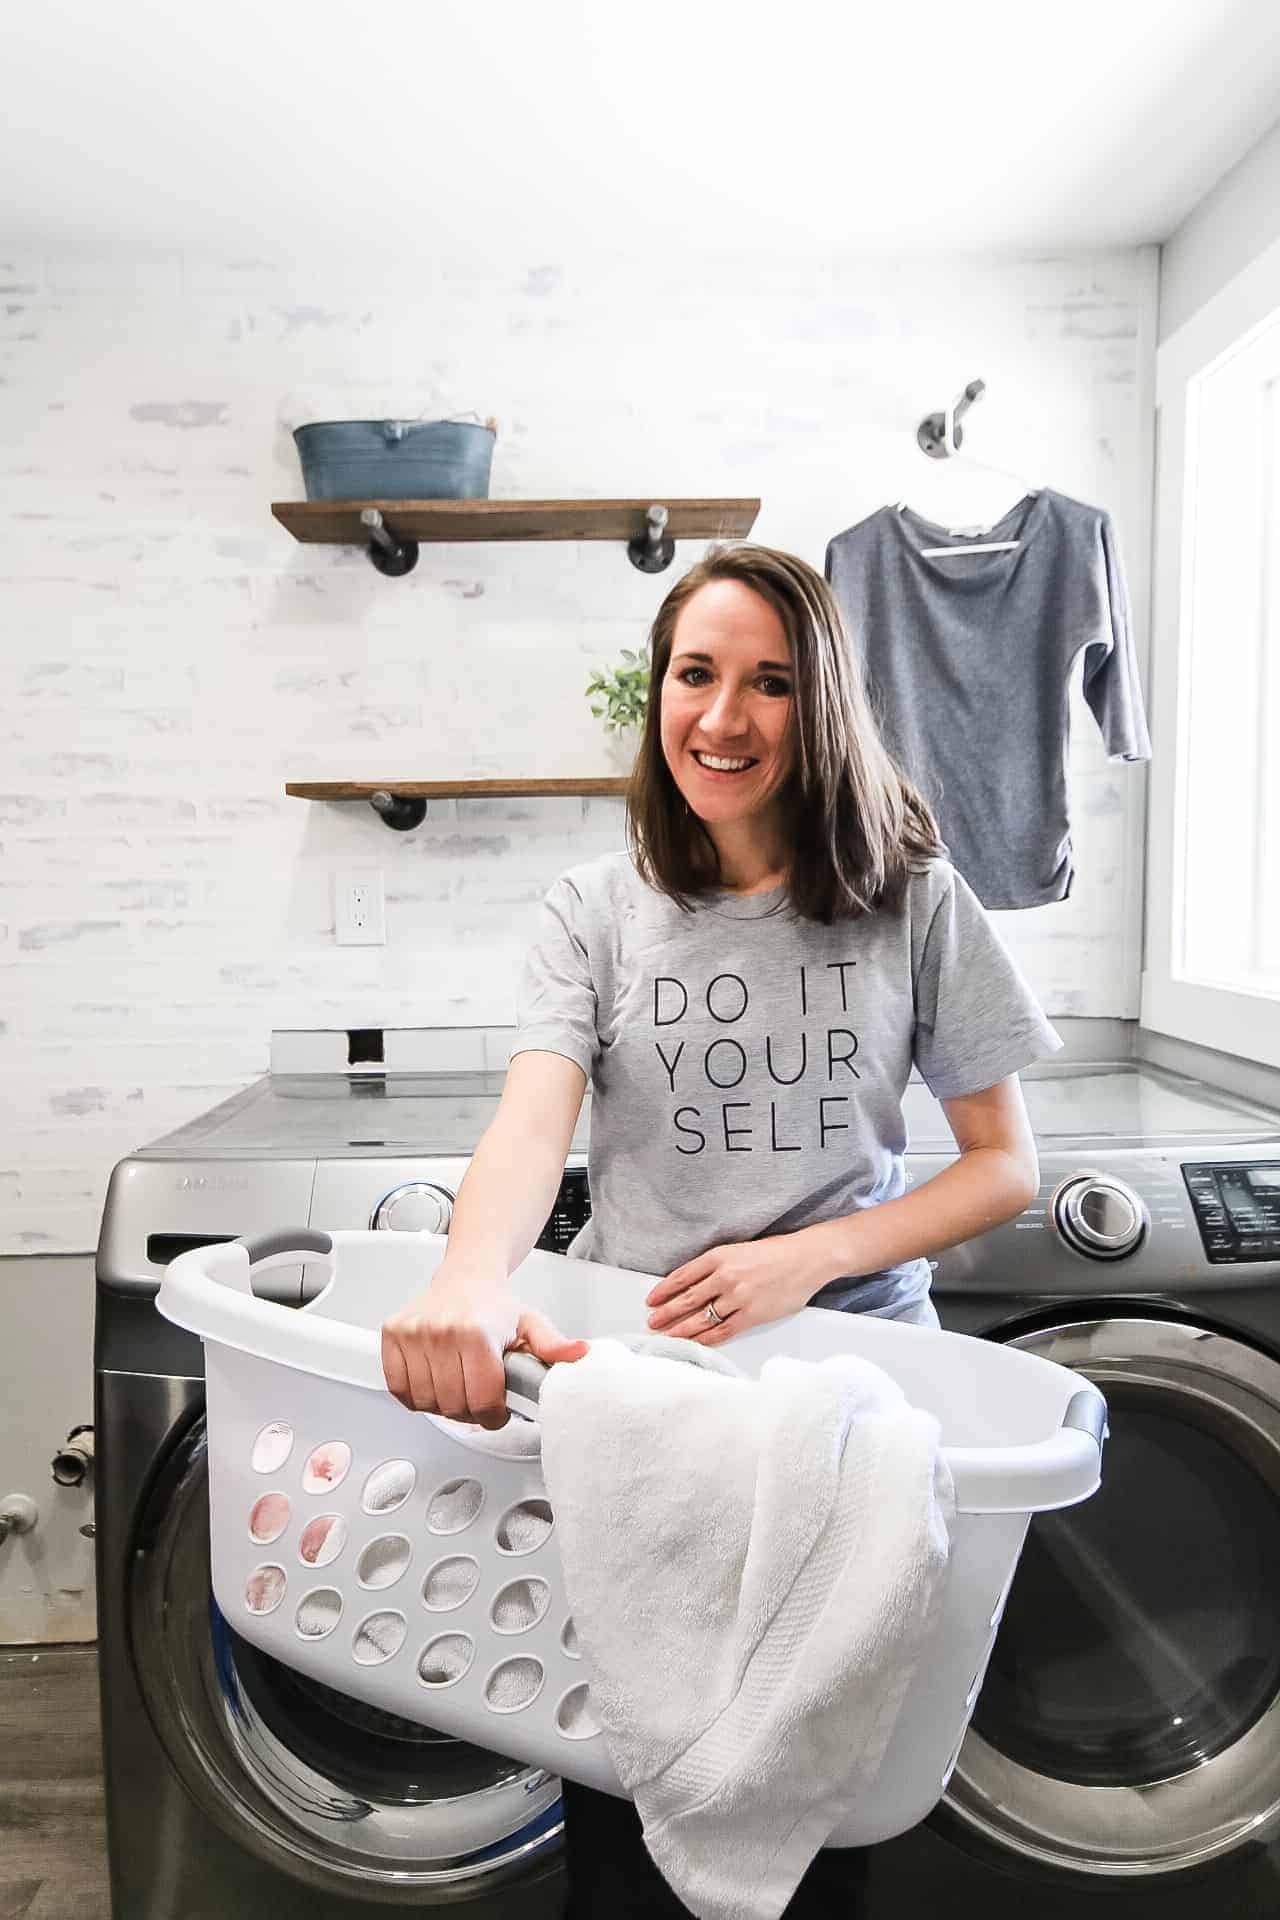
I love how the pipe shelves turned out! Don’t you?
They could be used for so many things other than laundry room shelving…..wouldn’t they look cute above a toilet in the bathroom? Or even as an inexpensive open shelving option in a kitchen!?
The options are endless for these pipe shelves.
When I say “inexpensive” pipe shelves, you’re probably thinking – “What does she mean? How much do these cost?” Right?!
Well, here’s the full price list for ya. Keep in mind prices may vary over time or based on your location, but here’s what it cost us to build these cheap pipe shelves. We got our supplies at Home Depot, but I found later that I was able to find the supplies a little more affordable on Amazon, so I’m linking to the cheaper option for ya when possible!
Price list for pipe shelves
- Wood – 5 feet of 1×8 Red Oak @ 6.82/foot = $34.10
- 1/2″ Flange – Qty 4 @ 4.84/each = $19.36
- 1/2″ Pipe at 8 inches – Qty 4 @ 3.98/each = $15.92
- 1/2″ Cap – Qty 4 @ 1.75 = $7.00
- Wood Screws = $2.24
- Already had sealer, sander & sandpaper, stain, miter saw, chamfer bit w/ router
- TOTAL COSTS FOR 2 PIPE SHELVES = $76.38 ($38.19 per shelf)
- The supplies for each bracket (flange, pipe & cap — not including wood) was $10.57
Where would you put pipe shelves in your house?
Let us know in the comment below!!
Related – Want more shelving tutorials?
- How To Build Bathroom Floating Shelves
- How To Decorate Shelves
- DIY Entry Shelf & Hooks
- Modern DIY Shelves for $25
- Picture Ledge DIY + Free Woodworking Plans!

How To Build Pipe Shelves
Want to learn how to build easy pipe shelves?! They are pretty much the easiest DIY shelf EVER! So even if you don’t have much DIY experience or tools, you can totally do this.
Tools
- Sander
- Miter Saw
- Drill
- Chamfer Bit w/ Router
Instructions
- Cut wood to size.
- Chamfer edges.
- Sand wood.
- Stain wood.
- Seal wood.
- Add 1st pipe shelf bracket.
- Add other pipe brackets to wall.
- Set your wood on top.
- Decorate and smile!