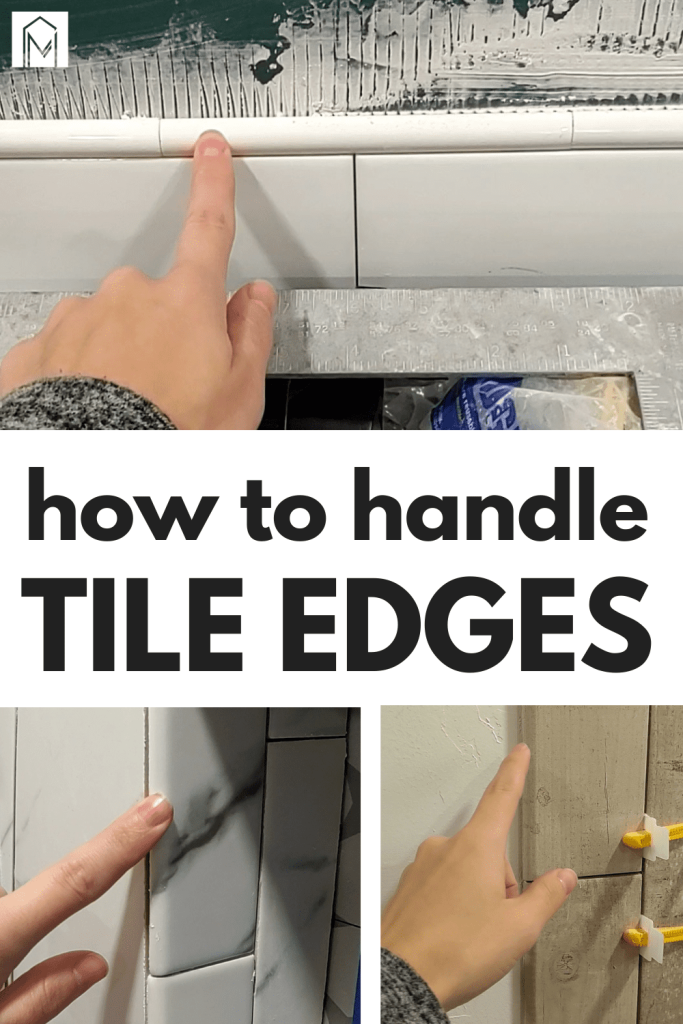
Transitioning Tile Edge Trim After Tiling
Have you ever reached the end of installing tile for a backsplash or shower and thought “now what?”
Transitioning tile edges is a critical task when finishing a tiling project. Without the finishing touches, your hard work will look sloppy and last about half as long as it should.
Before you begin any tile installation project, you first should consider how you will transition the tile edges. Whether you are transitioning from a shower to a regular wall, from one shape of tile to another, or rounding the corner of a wall, planning your tile edge transitions is a critical step to the success of your tile project.
Table of Contents
We actually ran into all three of those scenarios in our modern bathroom renovation as we installed the shower niche, tiled inside of a window sill, and wrapped tile around the outside wall of the shower.
Tile Edge Transitions Video
Unfortunately, the tile we selected was not available in bullnose, which is the ideal solution for transitioning tile, so we had to improvise. You can see how we worked around the awkward transitions of our bathroom renovation in the video.
If you love DIY videos, be sure to subscribe to our YouTube channel so you don’t miss the next one!
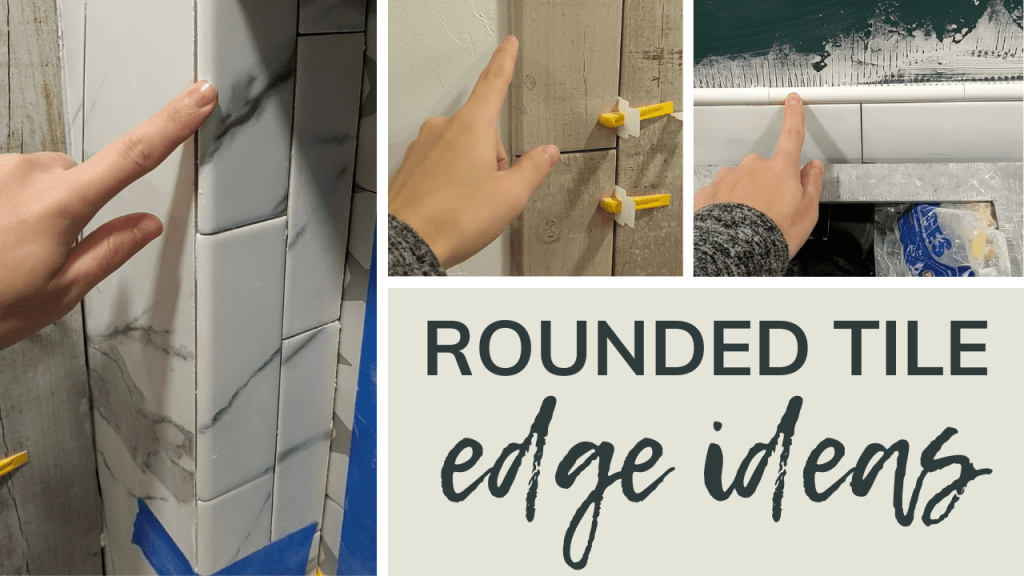
Options for Transitioning Tile Edges
Sometimes, the type of tile you select may not have a bullnose or edge piece option. This is common problem DIYers run into during tiling projects, but there are a few workarounds.
Here are a few different options on how to transition exposed tile edges for a finished, professional look.
Bullnose Tile Trim
Using a bullnose tile is the ideal solution for wrapping around a wall or corner. This particular style is flat, like a regular tile, with a rounded edge on one side. These edge pieces eliminate raw tile edges and sharp angles.
Generally speaking, bullnose tiles are available in rectangular and square, as well as corner shapes, which have two rounded edges instead of one.
Bullnose Tile Trim on Shower Niche Edge (alternative way)
So we’ve actually used bullnose tile trim on shower niches a couple of different ways. We’ve used it on the inside edge of the niche (as shown above with the Carrera marble).
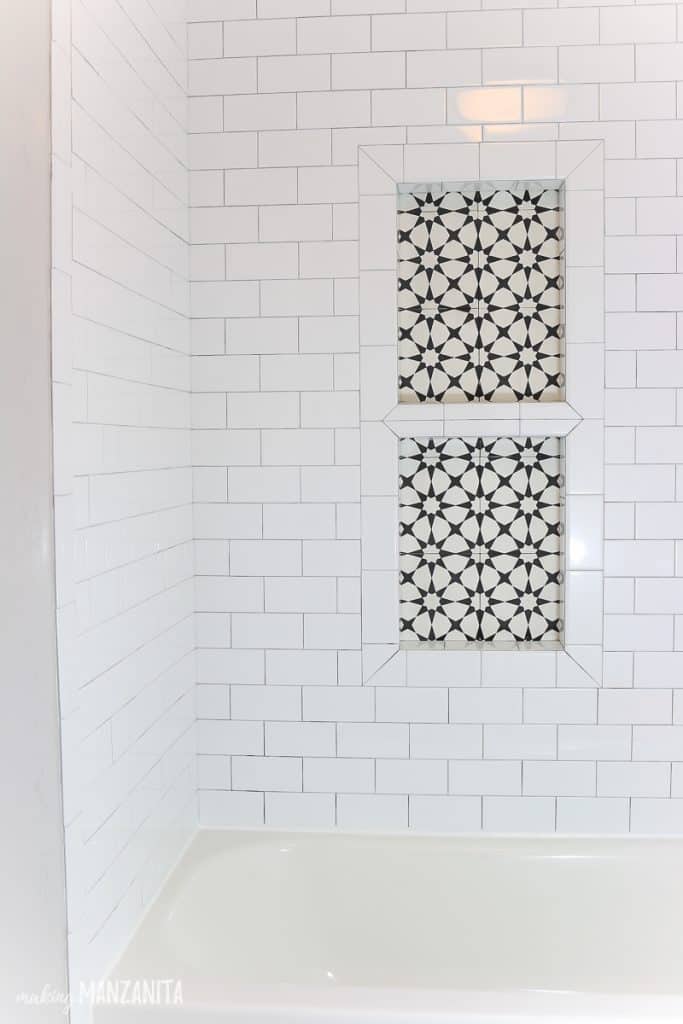
We’ve also used the bullnose on the flat face of the shower with the rounded edge facing the shower niche instead. This way we were able to create a “picture frame border” with mitered corners to really let the shower niche stand out as the star of the show.
Check out other shower niche installation tips here (which include several other ideas for how to handle tile edges around shower niches).
Jolly Pieces vs. Pencil Tile Trim
Jolly pieces and pencil trim are very similar to each other and look much like a quarter-round piece. These long, narrow pieces are most commonly used to frame shower niches or finish corners.
We used this pencil tile trim at the top edge of our subway tile backsplash behind the vanity sinks in our bathroom and it worked great.
The main difference between jolly pieces and pencil trim pieces is the shape of the edges.
- Pencil trim has rounded and finished edges, which is great for a border or a break in the tile as the edges are exposed. Most often, pencil trim is used to create a border at the end of mosaic tiles.
- Jolly pieces are similar to pencil trim except that the edges are raw and squared-off, instead of round and smooth.
Find a Similar Tile Style
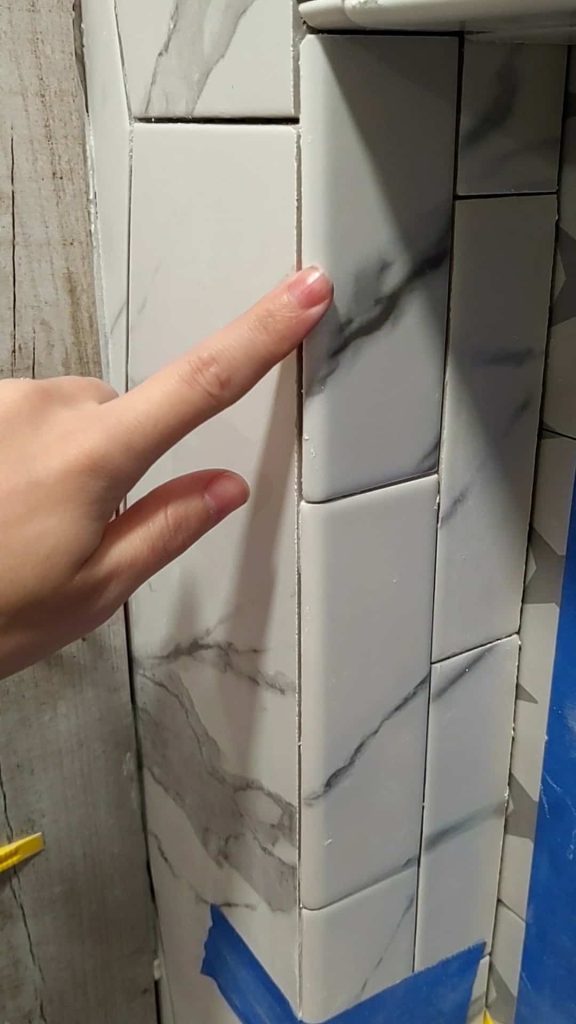
If your tile selection is unavailable in bullnose, you can get creative and find a similar style of tile. We did this with the Carerra marble in our shower niche and on the shower wall. The Carrera marble that we found available in bullnose was an almost exact match for the large marble hexagon tiles so it worked out well.
If you have chosen a simple style, like subway tile or plain tile, this should be an easy fix. It’s likely you won’t be able to see the difference once the project is completed.
Finish Tile Edges with Caulk
Finishing the edges with caulk and opting out of using a tile trim piece is a cheap and easy option, but it’s not the prettiest.
This option is best for tiles that already have a finished appearance like mosaics, tumbled stone, glass, and some porcelain tiles. It is not recommended for regular tiles that need a transition as they will appear rough and unfinished.
While it does provide a waterproof seal (which is important), it leaves the tiles with a sharp, squared edge that can snag clothing and scratch anyone who brushes against the corner. This is a big safety issue for any application. Plus, it just won’t look as neat and finished as with a trim piece.
Make Your Own Bullnose
If bullnose is unavailable, you can make your own rounded bullnose tile piece. This is probably the riskiest and most complicated option. I recommend exploring the other options before attempting this task.
If you choose this option, you will need a wet saw fitted with a bullnose blade to grind down and shape the tile edges. Then, you’ll finish it with an angle grinder and polishing pad to even out all of the edges.
Finishing a tiling project the correct way is just as important as applying a sealant to a painting project. Using either bullnose tile, jolly or pencil trim at the tile transitions you’ll be able to get a professional look to your tile projects!
What’s another way you’ve handled tile edge trim after tiling?
Let us know in the comments below!
Related – Want to see more articles about tile?
- 5 Different Types of Tile Explained
- How To Tile A Bathroom Floor
- How To Paint Tile Floor (With Stenciling)
- DIY Hamper With Tile Inlay
- Everything You Need To Know About Large Format Tile
- Removing Tile Floor Tips and Tricks
- What To Do With Leftover Tiles | DIY Tray With Leftover Cement Tile
- Why You Shouldn’t Buy A Cheap Tile Saw
- How To Install Subway Tile Backsplash
- Tile Removal: Kitchen Backsplash
- How To Make Marble Coasters With Leftover Tiles
- Shower Tile Installation Tips & Tricks
- 9 Modern Farmhouse Tile Ideas & Inspiration
- Shower Niche Installation Tips (& Why You Need A Prefab Shower Niche)
- Lash Tile Leveling System: Overview and Review
- How To Remove Grout Haze From Tile (The Easy Way)
- How To Grout Tile: Guide for Beginners
- How To Seal Grout: A Beginner’s Guide
- How To Cut Cement Backer Board
- How To Install Durock and HardieBacker Cement Boards: For Beginners
- HardieBacker vs Durock Comparison: What’s The Difference