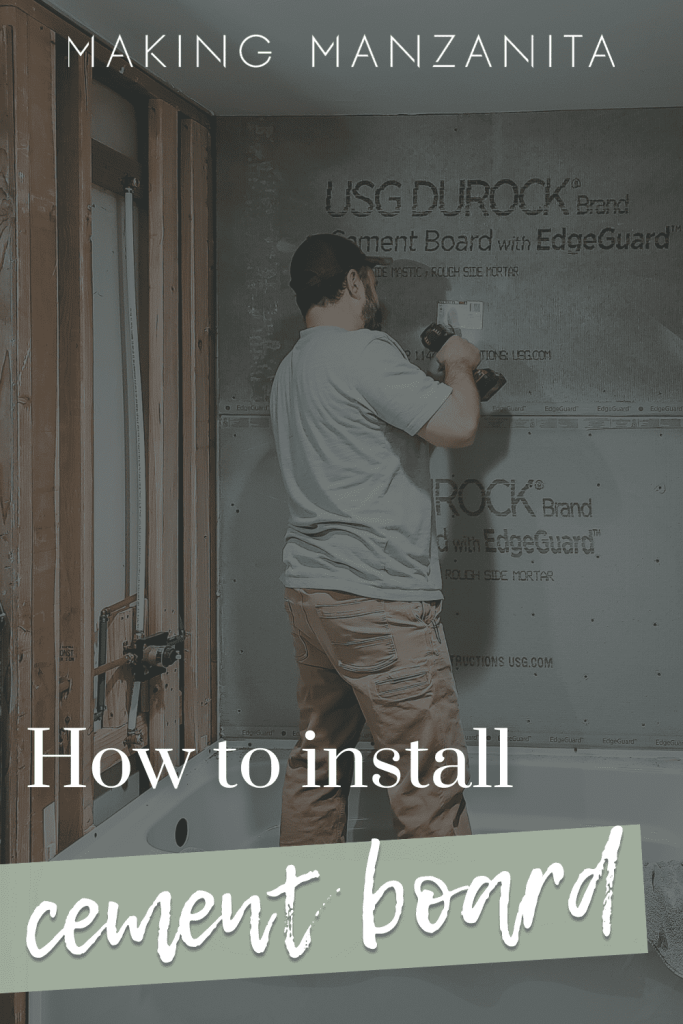
How To Install Durock and HardieBacker Cement Boards: For Beginners

There are a few things you need to know before you install cement boards for the first time. Learn how to install cement boards on walls, on the floor, in a shower, and around a bathtub with these beginner-friendly step-by-step guides. You don't want to miss this how to install Durock guide for beginners.
If you’ve never tiled before, chances are that you’ve also never installed cement backer board, like Durock before. In today’s guide, we’re going to teach you what you need to know about cement boards and how to install them.
You’ll learn the difference between two popular cement boards – Durock and HardieBacker and how to install them on different surfaces, like the wall, floor, in a shower, and around a bathtub.
This guide for how to install Durock contains affiliate links, but nothing that I wouldn’t recommend wholeheartedly. Read my full disclosure here.
UPDATE: WonderBoard was discontinued by Custom Building Products in 2022, shortly after writing this blog post. The blog post has been updated comparing Durock to another popular cement board product, HardieBacker.
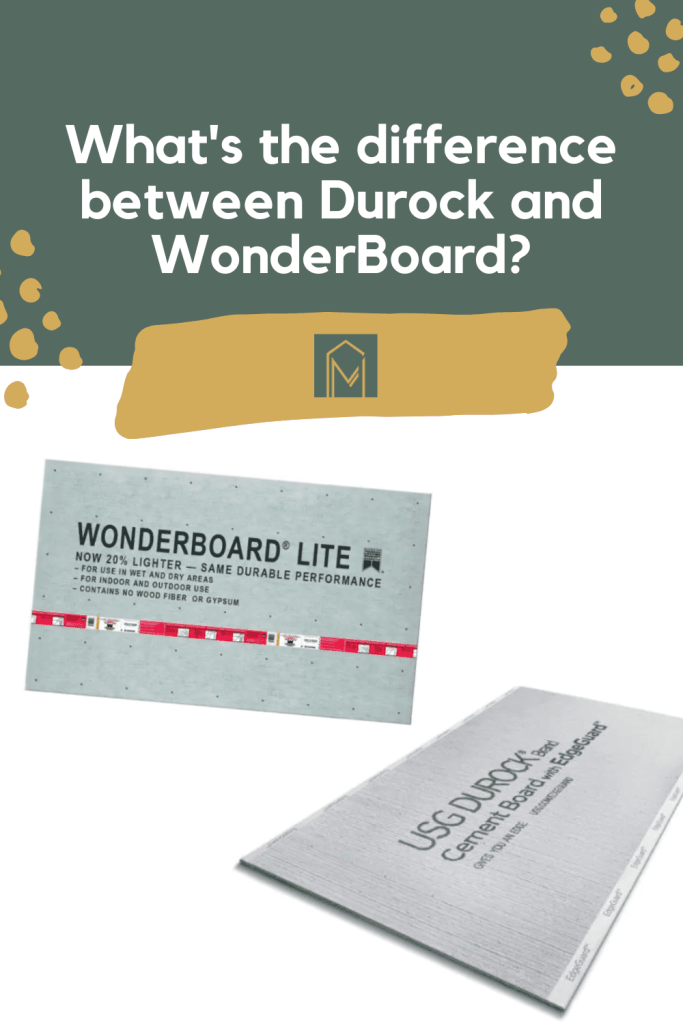
What’s the difference between Durock and HardieBacker cement boards?
You can see here that I’ve titled the name of today’s article “How to Install Durock and HardieBacker” and that is because the installation process is virtually the same whether you’re using Durock or HardieBacker.
There are a few key differences between Durock and HardieBacker – but overall they are pretty minimal.
HardieBacker overview
Hardie Backer boards are sold by James Hardie, a reputable brand. The James Hardie company is most widely known for its Hardie Board siding, which is a horizontal lap siding used for exterior use. Unlike HardieBacker, which is simply used as a tile underlayment that needs to be covered, Hardie Board is a product that is installed on the exterior and does not need to be covered (just painted). It is made to look like wood once finished.
You may see Hardiebacker mistakingly misspelled as Hardibacker, but the correct spelling is HardieBacker with the E included, as in James Hardies’ last name.
HardieBacker is a cement backer board that is made by James Hardie. It can be used as a base for tiling projects on walls, floors, and countertops. HardieBacker is made with 90% Portland cement and sand with no fillers or other abrasive aggregates.
Durock overview
Durock cement boards are made by United States Gypsum (USG), another very reputable brand that is most known for its famous product SheetRock.
Durock is made with Portland cement, aggregate, and glass-fiber mesh.
Key differences and similarities
They are pretty similar in price but differ based on where you buy them. For example, Durock selling for roughly $2.10 more per 1/2″ sheet at The Home Depot, and HardieBacker selling for $6.00 more per 1/2″ sheet at Lowe’s at the time of writing. Both are sold at The Home Depot and Lowe’s.
HardieBacker is much lighter than Durock because there isn’t any glass mesh in it (like Durock has), which also makes it easier to cut and clean up. However, because Durck has fiberglass mesh and other aggregates it makes it last longer and slightly more durable.
HardieBacker is the only type of cement board that has a grid pattern (E-Z Grid), which can make cutting a bit easier, but there are no promises that the line you need to cut will fall on one of the grid lines.
HardieBacker has higher flexural strength, which means that it can withstand heavier loads.
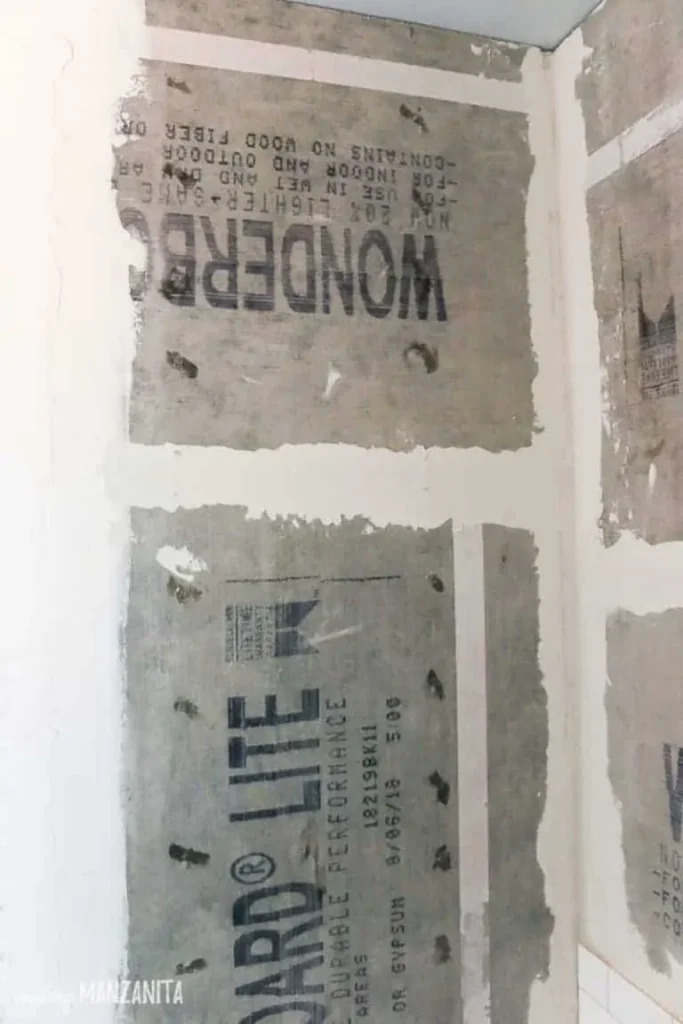
In today’s article, we’re mostly showing pictures of Durock, but there are a few times when you’ll see photos installing WonderBoard. WonderBoard is a product that was very similar to Durock that was made by Custom Building Products but has since been discontinued.
Please keep in mind that the process of how to install Durock and how to install HardieBacker is basically the same.
Read more about the differences between Durock and HardieBacker here!
What you’ll need when installing Durock cement boards:
- 1/4″ Durock Cement Board (to use on floors)
- 1/2″ Durock Cement Board (to use on the walls)
- Backer Board Scoring Knife (or utility knife)
- FibaTape Cement Board Tape
- 1 1/4″ Rock-On Cement Board Screws (for wall installation)
- 1 5/8″ Rock-On Cement Board Screws (for floor installation)
- 4′ straight edge
- Tape measure
How To Install Durock On Floor
If you are going to be installing tile floors, you need to start with a nice flat surface of tile underlayment. Cement backer boards, like Durock and HardieBacker, are just one of the many options you have for tile underlayment, but they are the most common.
If you have concrete subfloors that are in great shape (no cracks and very flat), you can install the tile directly over the concrete. We were fortunate enough to be able to do this in our living room when we installed this large format tile in our entryway.
The options for tile underlayments for flooring are:
- Concrete backer board, like Durock or HardieBacker
- Foam backers, like Schluter Systems (a bit more expensive, but lighter and easier to work with)
- Uncoupling membranes
- Crack isolation membranes
- Trowelable or pourable underlayment
- Plywood
This is a great article if you want to learn more about the different options for tile underlayment, listed above.
What thickness cement boards should you use on the floor?
You’ll know that Durock and James Hardie sell sheets in both 1/4″ or 1/2″ thicknesses. For flooring, you can use either the 1/4″ or 1/2″ thickness, but we typically go with 1/4″ because it is slightly cheaper.
However, you must use 1/2″ sheets for the walls and can’t use 1/4″. The extra thickness is needed for the walls because you’ll be spanning the wall studs and don’t have the extra support of the subflooring like you do when you’re installing the boards on the floor.
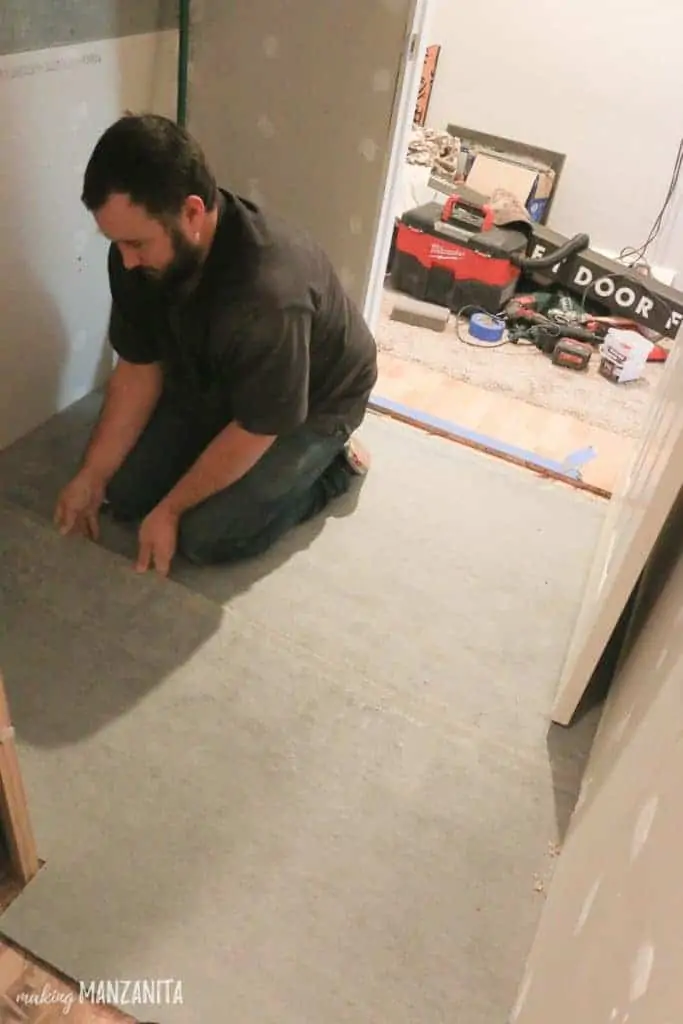
Steps for Installing Durock on Floors
- Step 1: Level and patch the floor, if needed, to get perfectly level with no voids.
- Step 2: Cut the Durock sheets with the scoring knife or utility knife to fit into your space. When laying out the Durock, stagger joints in a brick pattern to ensure no four corners meet.
- Step 3: Lay down 1/4″ Durock cement board sheets leaving 1/4″ between the wall and the Durock. Dry fit and cut all panels before mixing tile mortar.
- Step 4: Add a bed of tile mortar to the subflooring with a v-notched trowel and comb it out in straight, parallel rows. Lay down cement boards over mortar, one at a time.
- Step 4: Screw using 1 1/4″ Backer On Screws every 8 inches around the edge of the board and in the middle. Start your first cement board screw within 1/2” – 2 1/2” from the edge of the backer board.
- Step 5: Fill seams with more tile mortar and press Fibatape joint tape over it. Flatten with a flat trowel or putty knife. Let it dry completely before adding the tile floor.
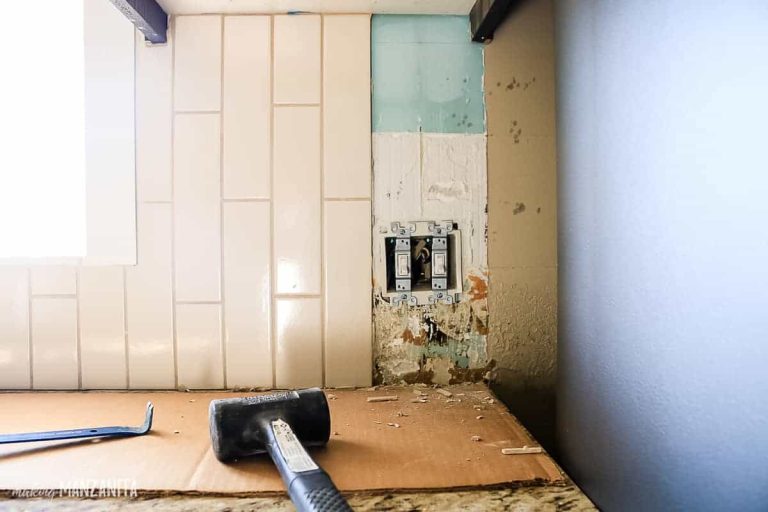
How To Install Durock Cement Board on Walls (non-shower installations)
Outside of the shower and bath installations that need to be waterproofed, there are a few reasons why you may want to install Durock boards to the walls.
Whether you are adding a tile backsplash behind a vanity or for a kitchen backsplash or you’re simply choosing to tile an entire wall as an accent wall, the process of installing Durock on the walls is pretty straightforward.
If you’re installing the cement boards in a shower or around a bathtub, scroll down a bit to the next section of this tutorial because that process is a little different.
What thickness cement board sheets do you use on the walls?
As mentioned above, you need to use 1/2″ thick sheets of Durock or HardieBacker when installing on the walls. You can not use 1/4″ sheets for wall installation.
Because you don’t have the added stability of the subflooring, you need the extra thickness to support the tile on the walls and span the spaces between the wall studs.

Steps for Installing Durock on the Walls
- Step 1: Ensure there are studs every 16″ on center in the wall for the Durock boards to attach to.
- Step 2: Cut 1/2″ Durock with the scoring knife (or utility knife) and stagger joints in a brick pattern so no four corners meet.
- Step 3: If the tile is not going from floor to ceiling (like if you’re adding tile above a vanity), mark a level line where you want the tile to start on the wall.
- Step 4: Place the 1/2″ Durock on your level line and attach using 1 5/8″ Rock-On Screws on the studs every 16″ on center and space screws vertically every 8″ inches up and down the wall. Start your first cement board screw within 1/2” – 2 1/2” from the edge of the backer board.
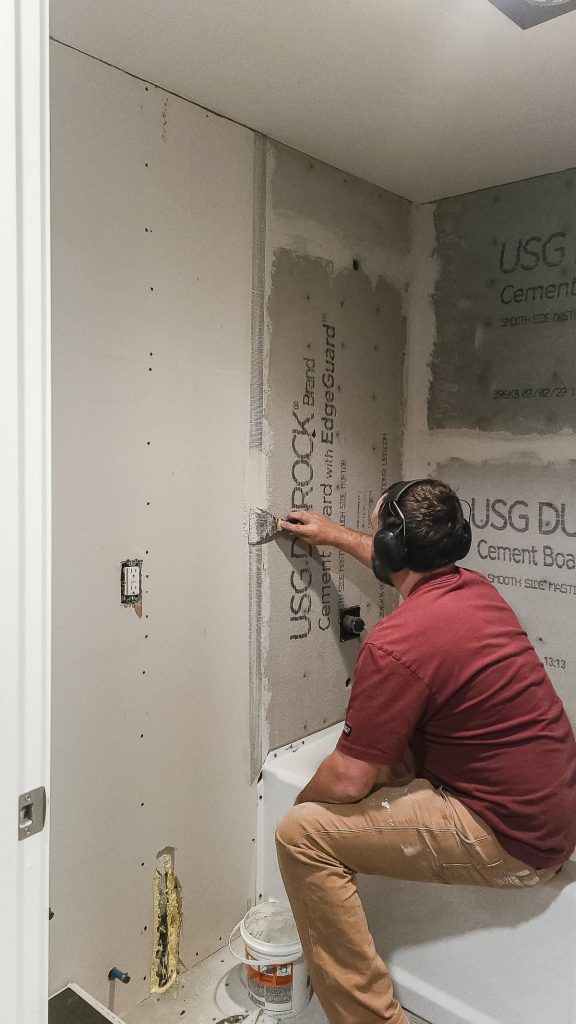
- Step 5: Fill the seams in between cement boards with mortar and Fibatape Joint Tape and flatten with a putty knife or flat-edge trowel. Let the seams dry completely before tiling.
How to Install Durock In Shower and/or Around A Tub
What thickness cement board sheets do you use on the shower or bathtub walls?
Just like when installing cement board on walls outside of the shower, you need to use 1/2″ thick sheets of Durock or HardieBacker when installing on the shower walls or around a bathtub. You can not use 1/4″ sheets for wall installation.
Because you don’t have the added stability of the subflooring, you need the extra thickness to support the tile on the walls and span the spaces between the wall studs.
What do you need to do in a shower to waterproof your Durock cement boards?
Cement boards, like Durock and HardieBacker, are water-resistant…but they are not waterproof. When you are using cement backer boards in a shower, around a bathtub, or really anywhere that is going to get wet, you need to think about waterproofing.
There seem to be a million different ways to waterproof your shower (in fact, we wrote a whole post about waterproofing your shower here during one of our previous bathroom renovations).
So we’ll try to keep this as simple as possible. Always do what your manufacturer’s instructions say to correctly waterproof your DIY shower. It’s really that simple, guys.
Since this article is specific to Durock, let’s stay focused on that product. Start by looking up manufacturer instructions when working with products for the first time. You can usually find detailed instructions in something called a Technical Data Sheet (or TDS), which can be found on the manufacturer’s website. Sometimes they are also called Installation Guides.
According to Durock’s Installation Guide, they want you to use either a Waterproofing Membrane (which is basically plastic sheeting installed behind your backer boards on the wall studs) or a Liquid Waterproofing Membrane (which is rolled onto the boards after you install).
Custom Building Products also makes a liquid waterproofing membrane called RedGard that we’ve used in the past.
We’ve done both methods of waterproofing in a shower (plastic sheeting or vapor barrier behind boards and RedGard over top) and we prefer RedGard.
With the plastic sheeting, you have the screw in the boards when installing, which essentially breaks the seal of the plastic sheeting behind it. As we mentioned in this post, you should also cover all screw holes with 100% silicone.
The RedGard (or another liquid membrane) simplifies the process a bit and creates a smooth waterproof barrier on everything in the shower. Honestly, either way, works for waterproofing your backer boards – just do your research and make a decision about what works best for you!
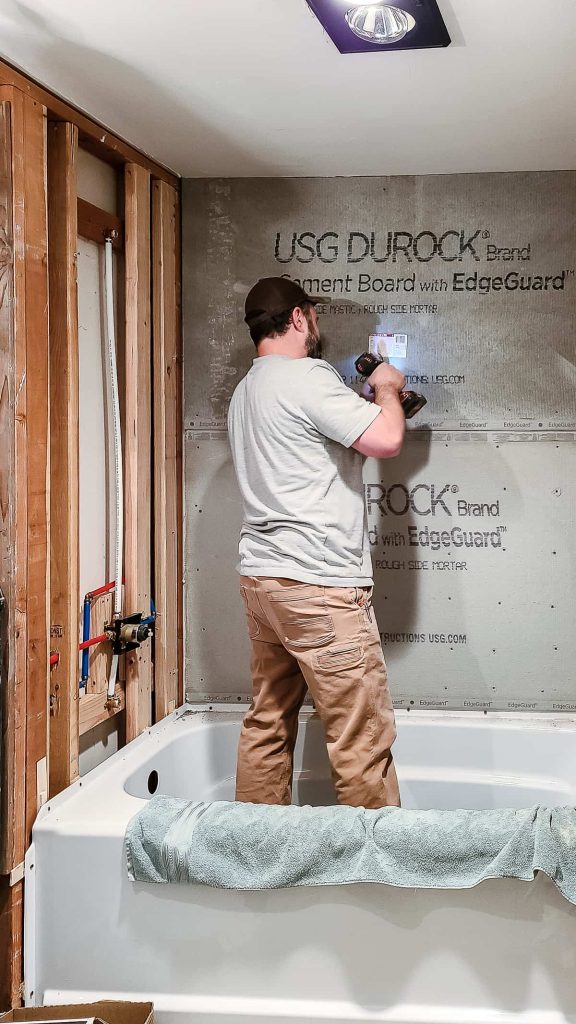
Steps for installing Durock in a shower or around a bathtub:
- Step 1a (Bathtubs): Make sure your bathtub is completely level and properly installed before attaching Durock. Set the Durock on top of the flange. This allows water to still drip into the tub while making tub replacement in the future possible.
- Step 1b (Showers): If installing a shower, start with your shower base or shower pan. We recommend using a pre-made shower pan because they are a pain to create yourself.
- Step 2: Next, prepare your walls and make sure you have studs 16″ on center to attach Durock. If you’re using the plastic sheeting method of waterproofing, add that now to your studs.
- Step 3: Start on the back wall of the shower or bathtub and attach your Durock and keep it level. Full sheets will fit on the back wall. Use 1 5/8″ Rock-On Screws and space them 8″ inches along the studs. Start your first cement board screw within 1/2” – 2 1/2” from the edge of the backer board.
- Step 4: Move on to installing the side walls of the shower. We prefer to use full sheets with a small piece on top. This avoids having too many seams in one spot on your corners and saves you from buying an extra sheet. Attach the Durock, in the same manner, you did on the back wall.
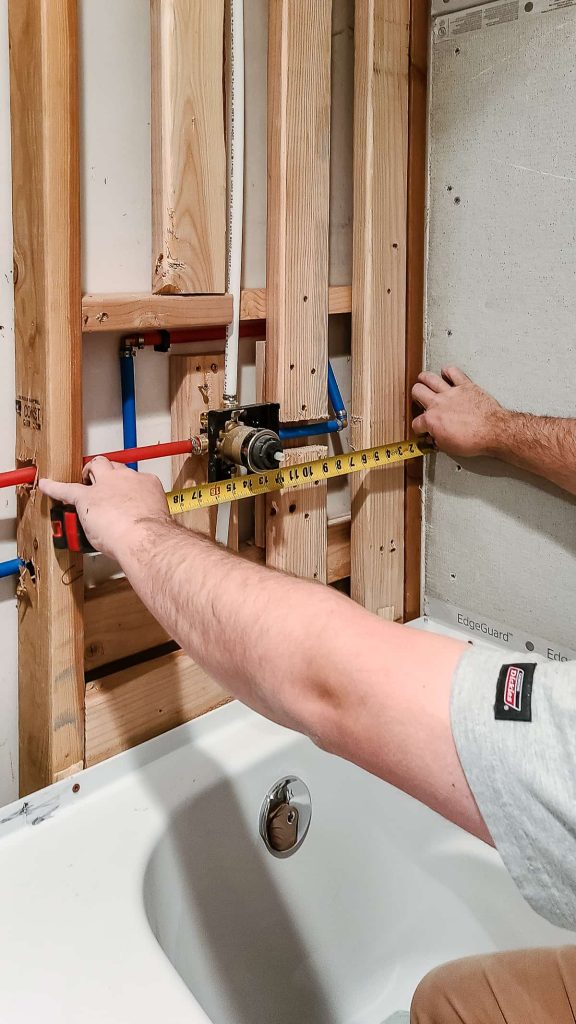
- Step 5: To cut out the holes for your shower head, tub spout, and/or handle, carefully measure the distance from the corner with a tape measure. Cut the holes in the Durock with a utility knife before installing it.
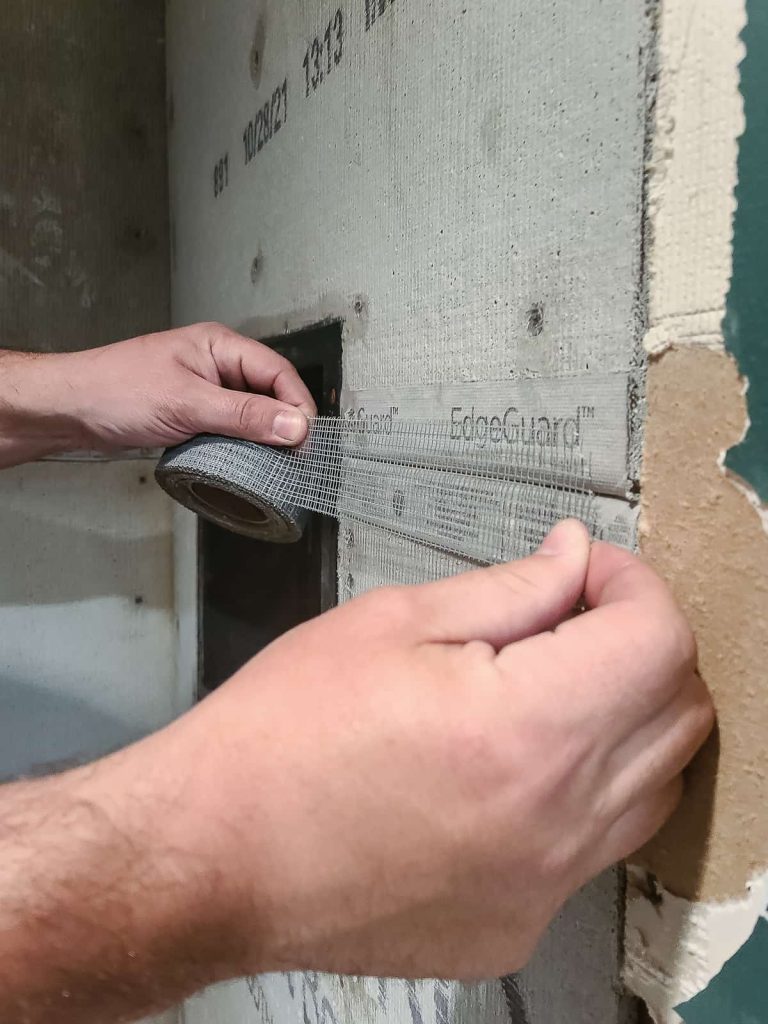
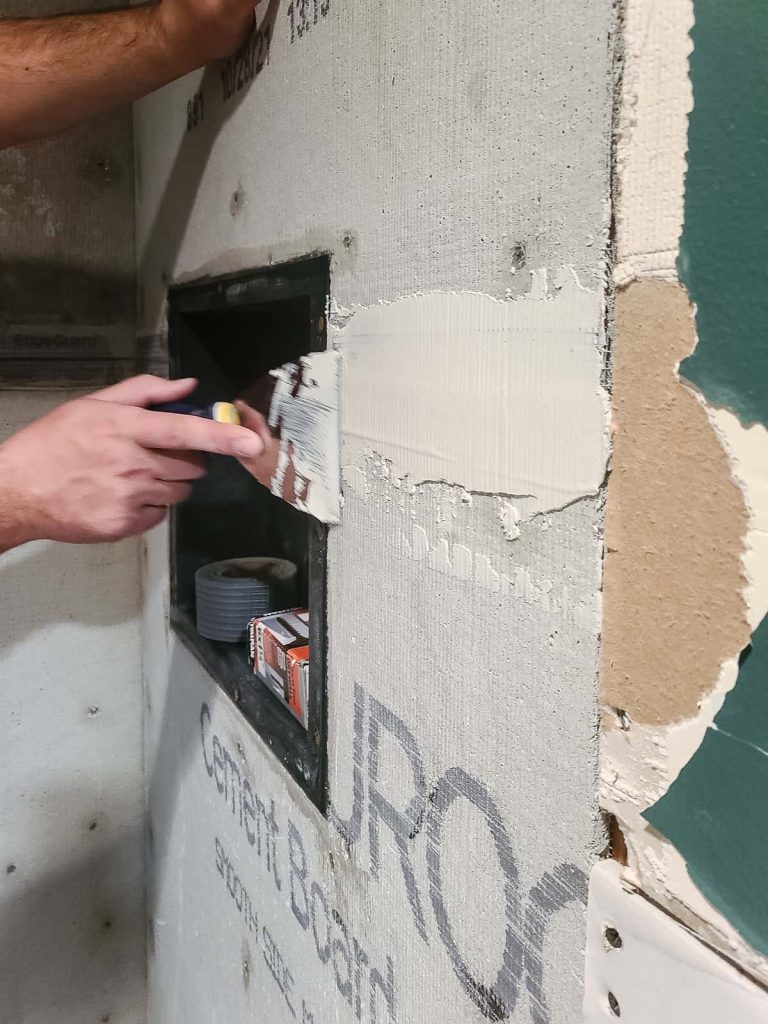
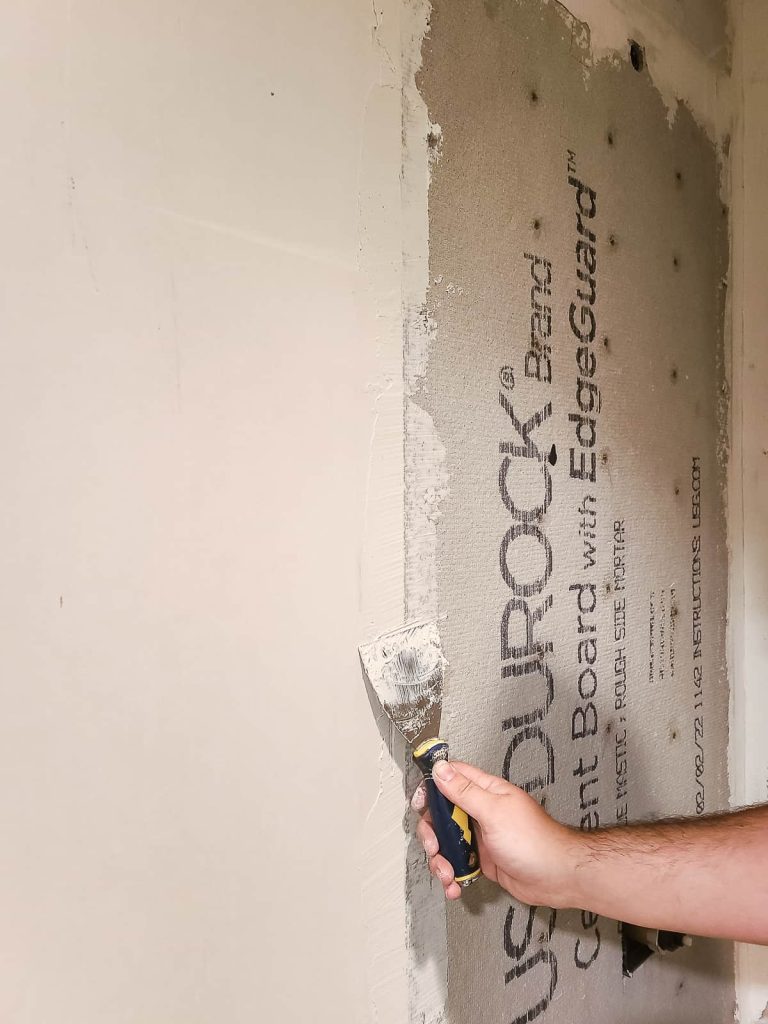
- Step 6: Fill seams with FibaTape and mortar using a putty knife or flat-edge trowel. Let the seams dry completely before moving on.
- Step 7: If using the liquid membrane method of waterproofing, roll that over your Durock now. If you used the plastic sheeting method of waterproofing, cover all screw holes with 100% silicone.
Durock cement board FAQs
What are cement backer boards?
A cement backer board serves as a base layer to go behind the tile. It has no organic materials; therefore, it is not prone to mold, rot, shrinkage, or decomposition due to moisture. Tile can be directly applied to the backboard for a durable and stable structure.
What’s the difference between the smooth and rough sides of the Durock cement boards?
It doesn’t really matter which side of the Durock faces out, but if you want to get technical…the smooth side is for mastic or tile adhesive applications as it increases adhesive coverage. The rougher side is for applying tile mortar because it enhances bonding and prevents tile slippage.
What is the best way to cut Durock?
The best way to cut Durock is to use the straight edge and scoring knife or utility knife. After you score one side you can easily bend the sheet on the scored line and it will cut on the score line. Then use a utility knife to cut the netting and clean the cut after. Learn more about how to cut cement backer board here!
Do you tape Durock seams?
Yes, the seams by nature are a weak point that you need to tape and fill with mortar to do. This helps give more structure and forces any water to ride down the front of the Durock down instead of leaking through seams to the walls.
How do you seal Durock seams and holes?
We seal the Durock seams using FibaTape and mortar to pre-patch before adding tile. For holes from the Rock-On screws, we use 100% silicone. Put a little on top and spread the silicone around the hole to ensure the seal.
Can I use standard screws when installing cement board?
No, you have to use either the Rock-On screws or Backer-On Screws, specifically made for cement board or roofing nails. You do not want the screws or nails to rot/rust and compromise your tile job.
What’s the difference between the rock-on and backer-on screws?
Both screws are made by ITW Construction and are made for cement boards. Rock-On Screws are designed to attach fiberglass-reinforced cement boards (like Durock, whereas the Backer-On Screws should be used when working with fiber-based cement boards (like HardieBacker). Rock-On has fine threads and Backer-On has coarse threads.
How often do you screw cement board down?
Screws must be spaced out every 8″ to ensure a good bond to the base structure. When doing walls every 16″ on center is allowed because the Durock is 1/2″, instead of 1/4″. This provides more rigidity to ensure your tile doesn’t flex on the span between studs.
How many screws do I need per sheet of Durock?
You will need anywhere from 28 to 32 screws per sheet of Durock on the floor or 16 to 20 screws per sheet of Durock on the wall.
How long should cement board screws be?
1/4″ Durock cement board needs 1 1/4″ screws and 1/2″ Durock cement board needs 1 5/8″ screws.
Does Durock cement board need waterproofing?
Durock cement board doesn’t need waterproofing in dry tile applications that won’t be getting wet. However, when using Durock in showers or bathtub situations, you want waterproof the cement boards.
There are two ways to do this. First, you can put a layer of plastic sheeting behind the cement board on the studs and follow up with 100% over screw holes. Alternatively, you can choose to paint two layers of RedGard waterproofing membrane on top of the cement board before tiling.
Do you need to seal Durock?
You need to seal the seams on the Durock cement board during installation but the cement board itself does not need to be sealed to protect it from moisture unless you are installing in a shower or area that will be getting wet.
Is Durock waterproof?
Cement backer boards, like Durock and HardieBacker, are not waterproof, but they are water-resistant. This means that they don’t swell up when they get wet. When used in a shower or bathtub setting, they still need to be waterproofed appropriately.
If you’re planning on doing your own tile DIY project, you’re definitely going to need to know how to install Durock cement boards. Whether you are installing Durock on walls, on the floor, in a shower, or around a tub, there are several things you need to know!
Follow these simple step-by-step guides the next time you need to install cement boards during your renovations.
Do you have any other questions about cement boards, like Durock and HardieBacker?
Let us know in the comments below!
Related – Want to see more articles about tile?
- 5 Different Types of Tile Explained
- How To Tile A Bathroom Floor
- How To Paint Tile Floor (With Stenciling)
- DIY Hamper With Tile Inlay
- Everything You Need To Know About Large Format Tile
- Removing Tile Floor Tips and Tricks
- What To Do With Leftover Tiles | DIY Tray With Leftover Cement Tile
- Why You Shouldn’t Buy A Cheap Tile Saw
- How To Install Subway Tile Backsplash
- Tile Removal: Kitchen Backsplash
- How To Make Marble Coasters With Leftover Tiles
- Shower Tile Installation Tips & Tricks
- 9 Modern Farmhouse Tile Ideas & Inspiration
- Shower Niche Installation Tips (& Why You Need A Prefab Shower Niche)
- Lash Tile Leveling System: Overview and Review
- How To Remove Grout Haze From Tile (The Easy Way)
- How To Grout Tile: Guide for Beginners
- How To Seal Grout: A Beginner’s Guide
- How To Cut Cement Backer Board
- How To Install Durock and HardieBacker Cement Boards: For Beginners
- HardieBacker vs Durock Comparison: What’s The Difference