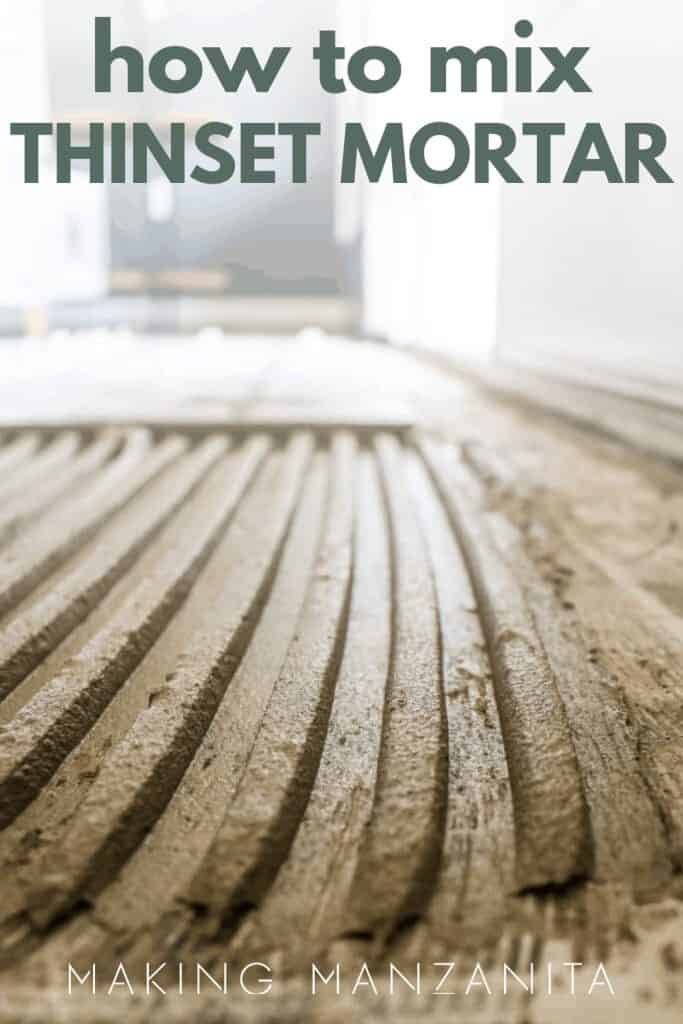
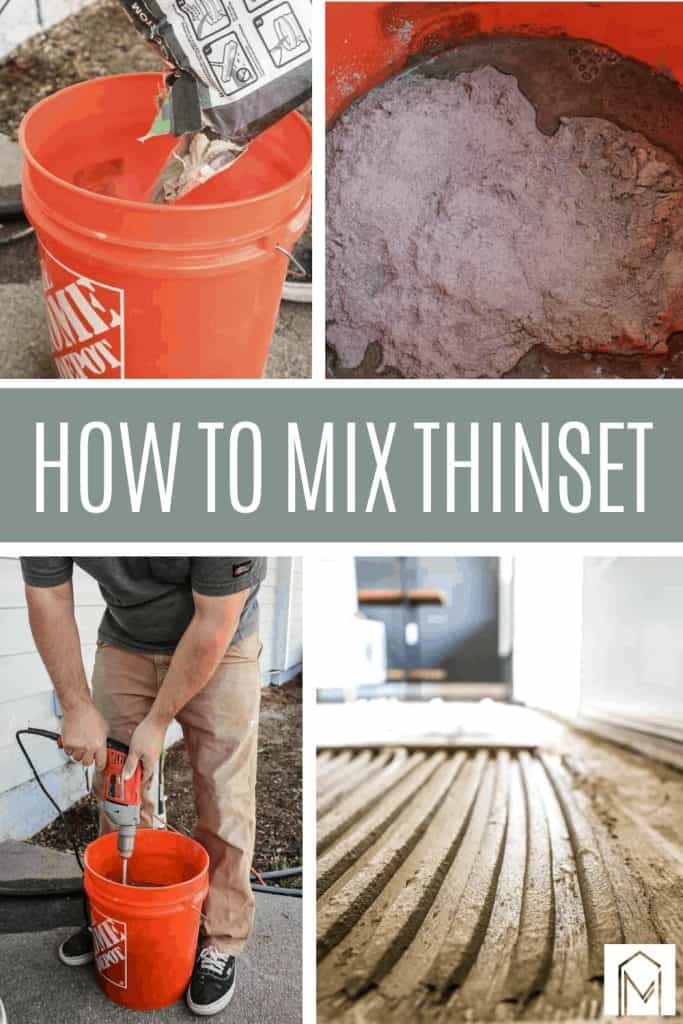
How To Mix Thinset Mortar for Tile | 6 Beginner Tips Before You Start
Getting ready to tile for the first time and wondering how to mix thinset mortar for tile? This step-by-step tutorial will walk you through the whole process and give you helpful tips for beginners.
Before you begin your tile project, the first crucial step is mixing your thinset up to the right consistency. The process of how to mix thinset mortar for tile can feel overwhelming to a beginner. So today we’re breaking it all down!
In this article, we’ll cover frequently asked questions about mixing thinset, show you the whole process of how to mix thinset in video and picture format, and lastly share 6 helpful tips for beginners.
If you’ve never mixed thinset mortar before, you’re in the right place! Have no fear. Let’s dive in.
Table of Contents
This how to mix thinset mortar for tile tutorial contains affiliate links, but nothing that I wouldn’t recommend wholeheartedly. Read my full disclosure here.
FAQs about mixing thinset
What is thinset?
Thinset, sometimes called “mortar” or “thinset mortar”, is a setting material to attach tile or stone to a surface. This adhesive material is made from Portland cement and fine sand. Some types of thinset also have polymers or other ingredients added to help make the thinset more workable and stronger.
Is there a difference between mortar and thinset?
Great question! It can be pretty confusing because many people use the term thinset and mortar interchangeably.
- Mortar is a bonding materials to attach tile, stone, bricks and more to another surface. There are several types of mortar used for different applications.
- Thinset is just one type of mortar. So although mortar and thinset are used interchangeably, thinset is really a type of mortar.
How long will thinset last after mixing?
Thinset will start to set up fairly quickly after mixing, so you should only mix up what you can use within 20 minutes or so. The exact length of how long thinset will last after mixing varies based on your conditions, but typical no longer than 1 hour.
What happens if you put too much water in thinset?
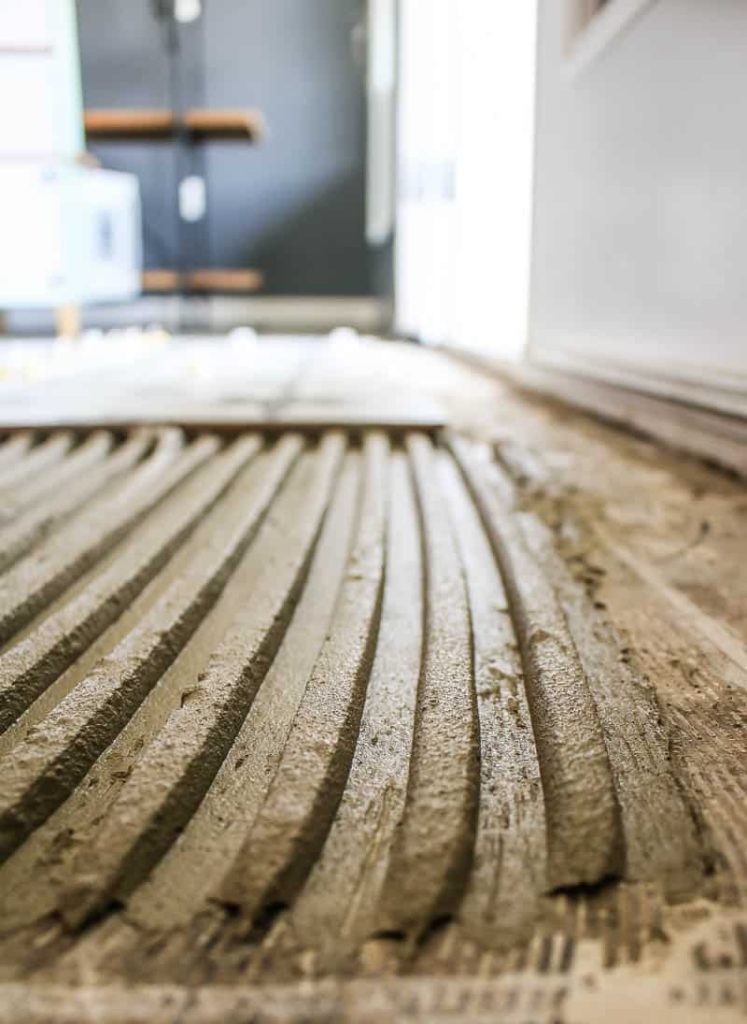
If thinset has too much water in the mixture, it will be too thin and squish up in between the tiles when they are laid into place. It will also not hold the notched ridges when applied with the trowel. Thinset that has too much water will be runny and droop off of the wall and cause the tiles to sag instead of hold in place.
What happens if you don’t put enough water in thinset?
If thinset doesn’t have enough water it won’t stick to the surface or smooth out to an even layer. Thinset with not enough water will harden quickly, be clumpy and won’t hold the tiles into place.
How To Mix Thinset Mortar for Tile – Video Tutorial
If you love DIY videos, be sure to subscribe to our YouTube channel!
How To Mix Thinset – Step-by-Step Instructions
Supplies
- 5 gallon bucket
- Power drill (plug in, not battery powered)
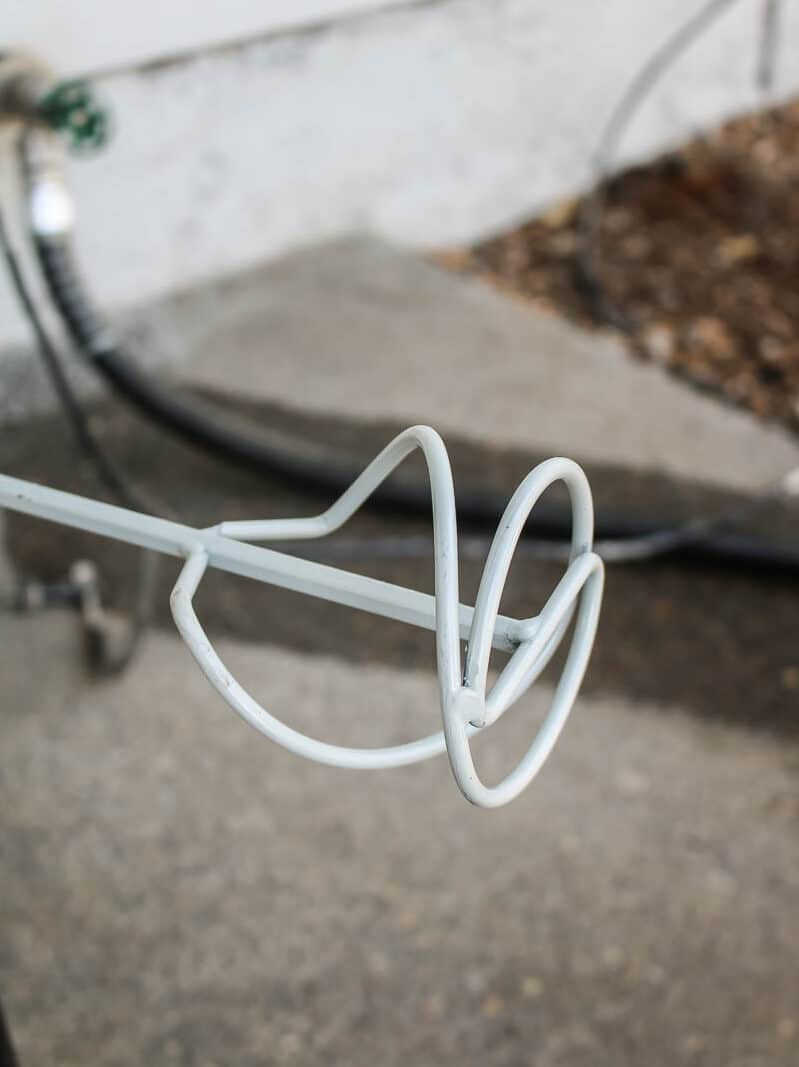
- Mixing paddle
- Thinset mortar (be sure to get the right kind for your tile & application)
- Water source (outside hose works great)
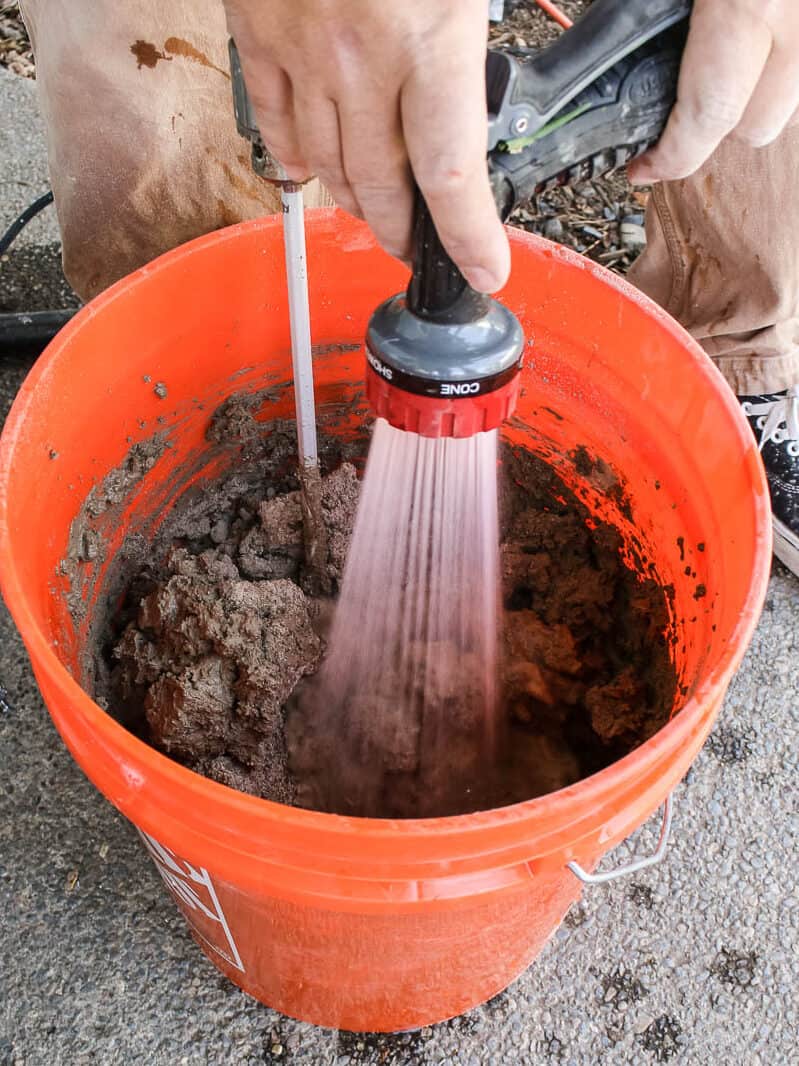
Step 1. Measure out the water and put it in bucket.
Because thinset hardens quickly you never want to mix up more than you can use within 20-30 minutes, so never mix up a whole bag of thinset at one time.
The ratio of water to thinset on the back of your bag will likely be for the whole bag of thinset, so you’ll need to do some quick math to figure out how much water to use to make a smaller batch.
For example, our instructions said to use 5-6 quarts of water for the entire 50 lb bag. We decided to mix up roughly half of the bag of thinset so we started with 3 quarts of water in the bucket (6 divided by 2 equals 3). To mix up 1/4 of the bag, we’d use 1.5 quarts (6 divided by 4 is 1.5).
You should always use cool water to mix thinset. Warm water will speed up the chemical reaction of the thinset faster than it needs to be.
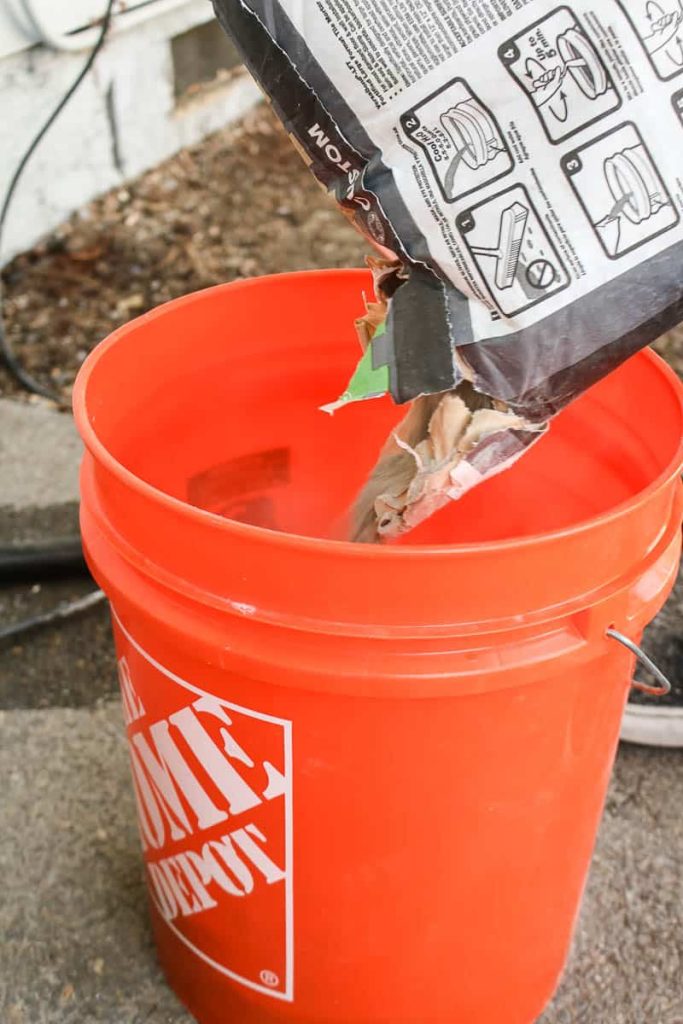

Step 2. Add thin-set mortar powder from the bag.
Depending on how much thinset you’re planning to mix up at once, pour that amount from the bag into the bucket with the water. It doesn’t have to be exact here, it’s ok to estimate.
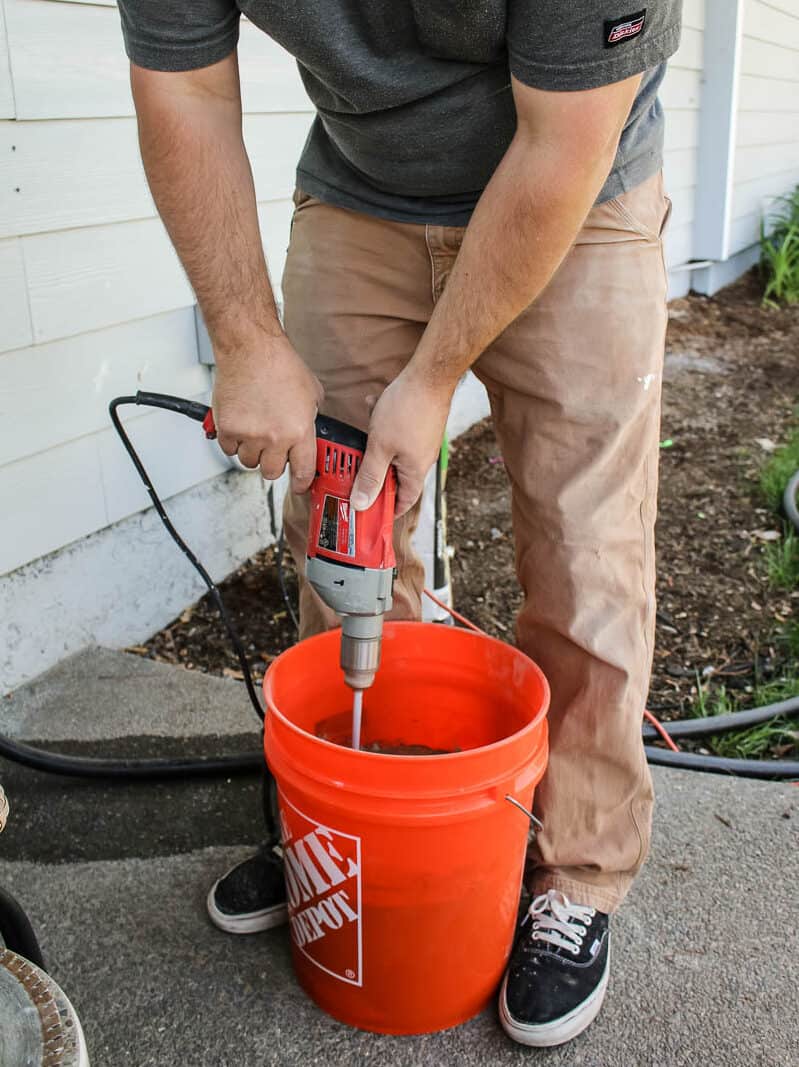
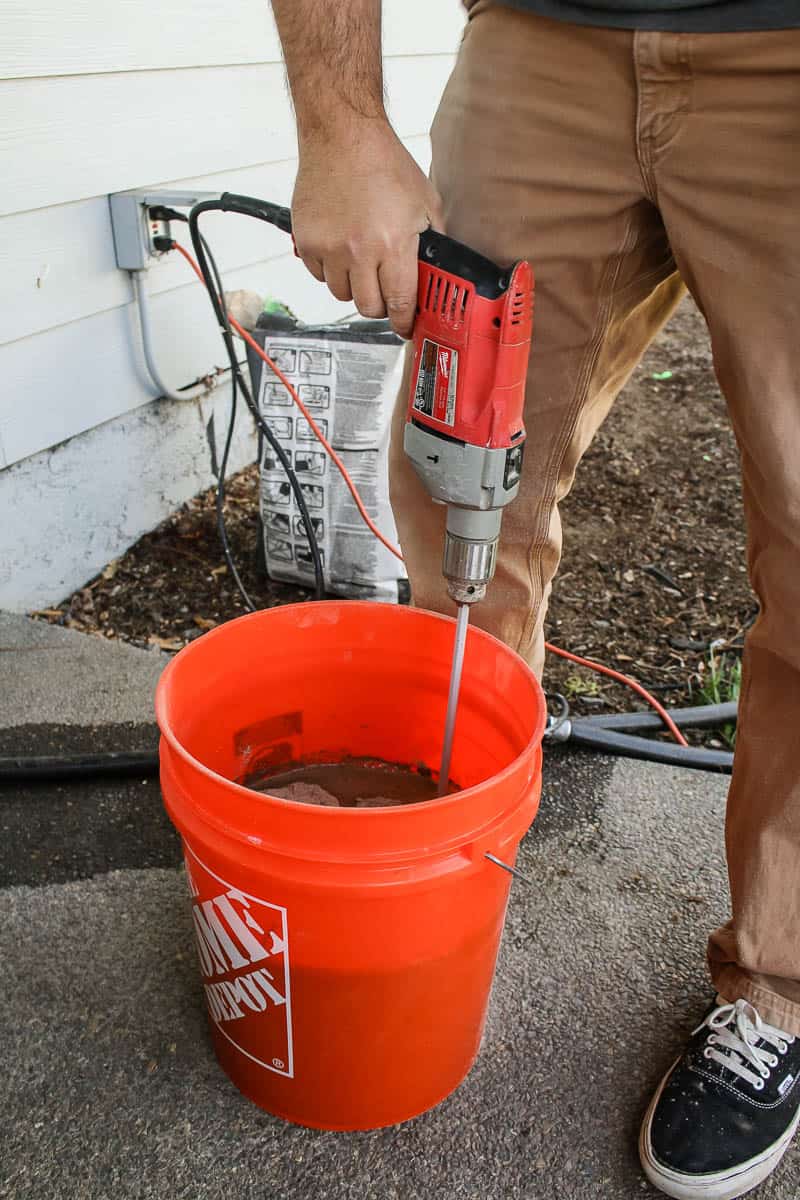
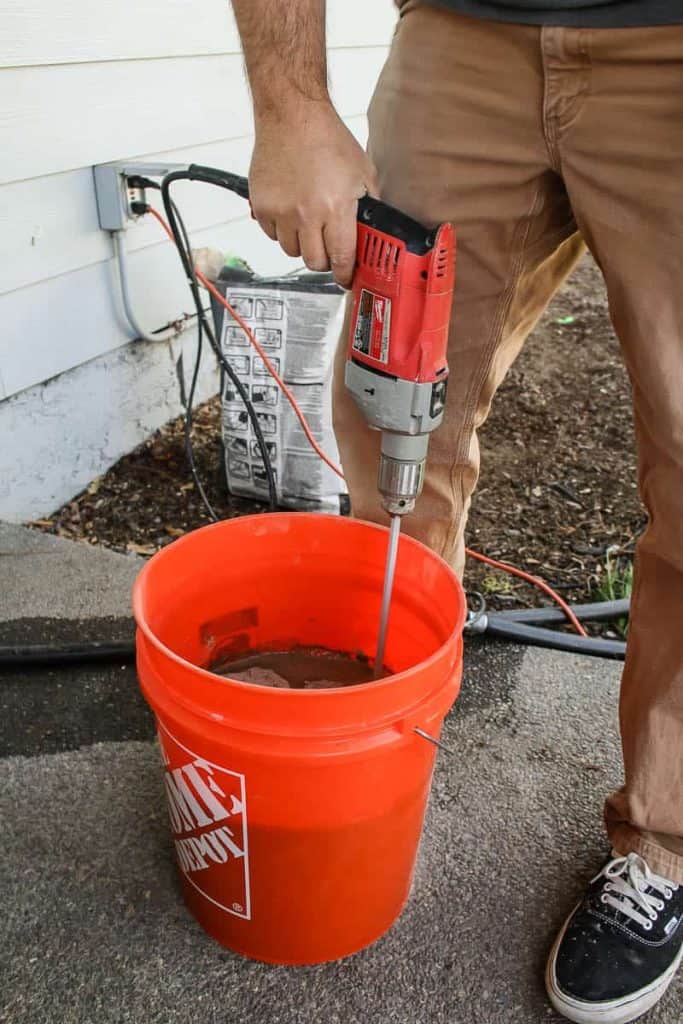
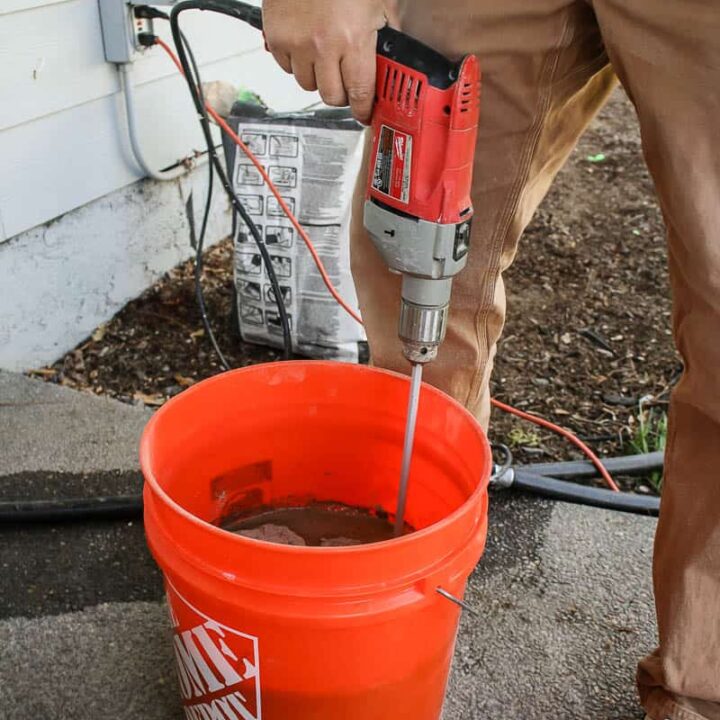
Step 3. Mix water and thinset together.
Using a corded 1/2″ drill with a mixing attachment, mix the water and thinset powder together at a low-speed setting. Continue mixing and moving the drill up and down throughout the bucket to get all of the pockets of thinset.
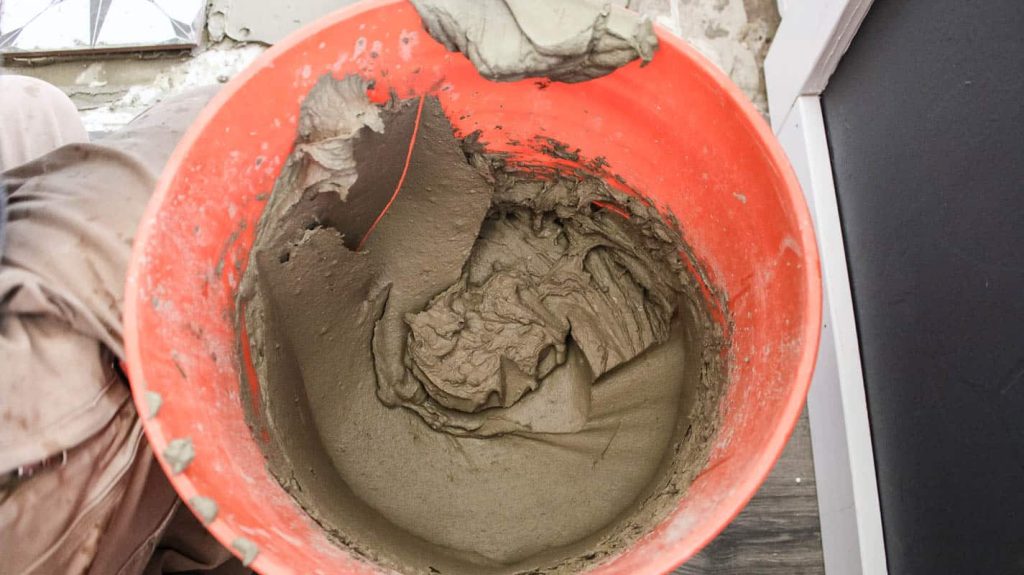
If needed, add more water to get the thinset mixture to a consistency similar to that of creamy peanut butter.
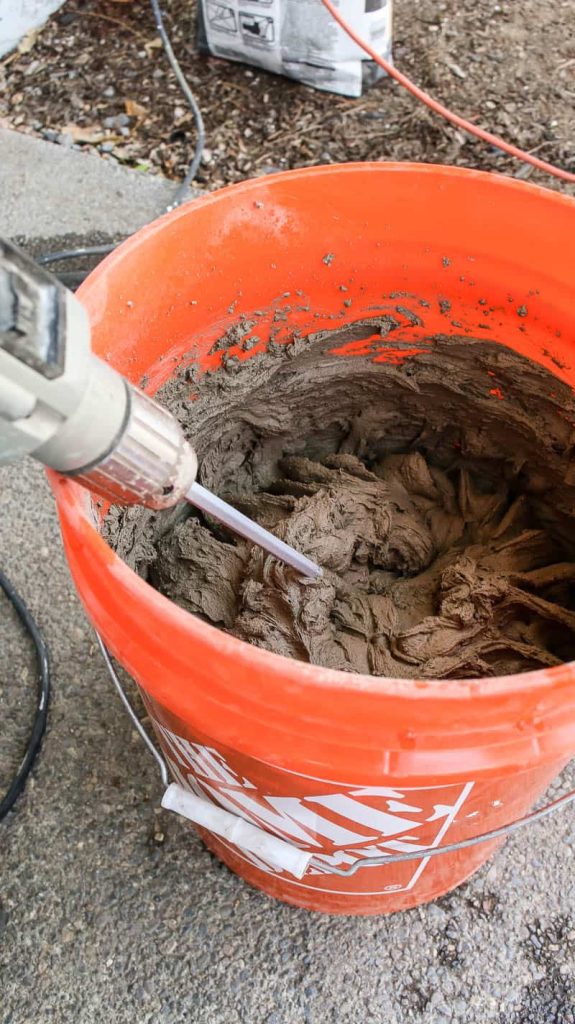
Step 4. Let thinset set (or slake).
Once mixed, let the thinset slake (which is a fancy word for don’t touch it) for 5-10 minutes.
Step 5. Mix one more time after the thinset has rested.
Once your timer goes off, the rest is over and it’s time to get to work! Stir it up one more time and it’s ready to use.
Feel free to mix again if needed while you’re tiling, but don’t add more water.
What do I do with extra unused mortar?
Unused mortar should be scraped into a spare bucket and allowed to harden. The bucket can be thrown in the trash (or taken directly to the dump). If you want to try to reuse the bucket, you could use a hammer and chisel to break the mortar up and remove from bucket. However, we find this is usually more trouble than it is worth and the buckets are fairly cheap.
6 Beginner Tips Before You Start Mixing Thinset for Tile
Tip 1. Make sure you’re using the right thinset mortar for your tile
There are so many different kinds of thinset depending on your type of tile, method of application, size of tile, and more. Read up before you buy to make sure you are using the right thinset for your job.
For our tile entryway, we were using a large format tile (which is anything where one side is more than 15″) so we used a tile made specifically for large format tile.
Tip 2. Water first, thinset 2nd
Always put the water in the bucket first and then add the thinset powder before mixing. If you add the thinset to the bucket first, you may have trouble with clumps of powder getting stuck in the corners of the bucket.
Tip 3. Never add more water after you’ve let mortar set
Mortar hardening up in the bucket before you’re done using it? Don’t even think about adding more water to the thinset! The thinset won’t be as strong if you add water after it has been mixed.
Tip 4. Pay close attention to your thinset mortar’s instructions on the bag
Every manufacturer and type of thinset will have slightly different instructions, so may close attention to the instructions on your bag – specifically the water/thinset ratio and mixing and rest times.
Tip 5. Never mix a whole bag of thinset at once
Don’t make the rookie mistake of mixing up the whole 50-pound bag of thinset and then only being able to use half of it before it starts hardening up! Only mix up the amount that you can use in 20 minutes or so.
If you’re a beginner, you’ll likely be working a little slower as you get the hang of things. So stay on the conservative side and mix up less than you think you’ll need.
Tip 6. Don’t use a battery-operated drill to mix up mortar
If all you have is a battery-operated drill, don’t try to use it to mix up mortar. It will likely very quickly burn out the motor because cordless drills simply aren’t powerful enough to stir thinset.
You’ll need a drill with corded power and it is preferred if it has a variable speed setting so you can mix the thinset at a slower speed. We use this drill to mix mortar and it works great.
There you have it! Everything you need to know about mixing up your first batch of thinset for tile! This first important step of tiling doesn’t have to be overwhelming as a beginner.
Armed with the knowledge you learned in this article and first and foremost always reading and following the manufacturer’s instructions, you’ll be on your way to mixing mortar like a pro!
Do you have any other questions about thinset or tiling?
Let us know in the comments below!
How To Mix Thinset Mortar for Tile
Getting ready to tile for the first time and wondering how to mix thinset mortar for tile? This step-by-step tutorial will walk you through the whole process.
Materials
- Thinset mortar
- Water
Tools
- 5 gallon bucket
- Power drill (plug in, not battery powered)
- Mixing puddle
Instructions
- Measure out water and put in bucket.
- Add thinset mortar powder from bag to the bucket.
- Mix water and thinset together with 1/2" corded drill and mixing attachment.
- Let thinset set (or slake) for 5-10 minutes.
- Mix one more time after thinset has rested.
Notes
- Tip 1. Make sure you’re using the right thinset mortar for your tile.
- Tip 2. Water first, thinset 2nd
- Tip 3. Never add more water after you’ve let mortar set
- Tip 4. Pay close attention to your thinset mortar’s instructions on bag
- Tip 5. Never mix a whole bag of thinset at once
- Tip 6. Don’t use a battery operated drill to mix up mortar
Related – Want to see more articles about tile?
- 5 Different Types of Tile Explained
- How To Tile A Bathroom Floor
- How To Paint Tile Floor (With Stenciling)
- DIY Hamper With Tile Inlay
- Everything You Need To Know About Large Format Tile
- Removing Tile Floor Tips and Tricks
- What To Do With Leftover Tiles | DIY Tray With Leftover Cement Tile
- Why You Shouldn’t Buy A Cheap Tile Saw
- How To Install Subway Tile Backsplash
- Tile Removal: Kitchen Backsplash
- How To Make Marble Coasters With Leftover Tiles
- Shower Tile Installation Tips & Tricks
- 9 Modern Farmhouse Tile Ideas & Inspiration
- Shower Niche Installation Tips (& Why You Need A Prefab Shower Niche)
- Lash Tile Leveling System: Overview and Review
- How To Remove Grout Haze From Tile (The Easy Way)
- How To Grout Tile: Guide for Beginners
- How To Seal Grout: A Beginner’s Guide
- How To Cut Cement Backer Board
- How To Install Durock and HardieBacker Cement Boards: For Beginners
- HardieBacker vs Durock Comparison: What’s The Difference


Great tips in this post! I especially appreciate the emphasis on mixing to the right consistency. I’ve struggled with thinset in past projects, so I can’t wait to try your recommendations. Thanks for sharing!