How To Demo A Bathroom (Removing Tile Floor Tips and Tricks)

If you’re hopping over here from the Jeffrey Court website (or if you’re new here) – welcome! Making Manzanita is all about making your house a home you love. My hubby and I (with our two small kiddos in tow) are renovating our 2nd fixer upper. We love teaching our readers everything we learn along the way. Our style is modern farmhouse with some major boho vibes, which you’ll see reflected in this bathroom renovation. Enjoy!
This post and the Renovation Challenge is sponsored by Jeffrey Court. All opinions are entirely my own and do not reflect that of Jeffrey Court. This post also contains affiliate links, but nothing that I wouldn’t recommend wholeheartedly. Read my full disclosure here.
Well….here we are again.
Attempting to renovate an entire bathroom in just six weeks.
Last time we did this, we said….never again. (Check out our modern farmhouse bathroom that we did last year in 6 weeks)
But, ya know what, after the renovation dust settles….you forget the stress, the never-ending trips back and forth to Home Depot, the late nights, the endless pizza dinners and the TV babysitter.
So, we decided to do it again….but this time the stakes are high. We are so honored to be invited to participate in Jeffrey Court’s Renovation Challenge, along with 10 other bloggers and designers, to makeover a room in our house…and the winner is going to get FIVE FREAKING THOUSAND DOLLARS!
Here’s a little more about what you can expect over the next 6 weeks:
- Each Wednesday (starting today 10/1) we will be publishing a blog post showing our weekly process and giving you some valuable tips and tricks!
- For daily updates, be sure you’re following us on Instagram and Facebook where we will be sharing Stories throughout the process.
- If you’d rather watch things on video all at once…don’t worry I’ve got you covered too! In each weekly blog post (and over on our YouTube channel) we will be sharing a compiled “Behind The Scenes” video so can you watch all the fun videos for the week in 10 minutes or less. It’s like HGTV, but total real life. We’re sharing all of our mistakes, missteps and challenges along the way.
…So, with a little skin in the game, some friendly competition, and an amazing brand partnership – we are doing it again.
Want to catch up and see more about our master bathroom renovation?
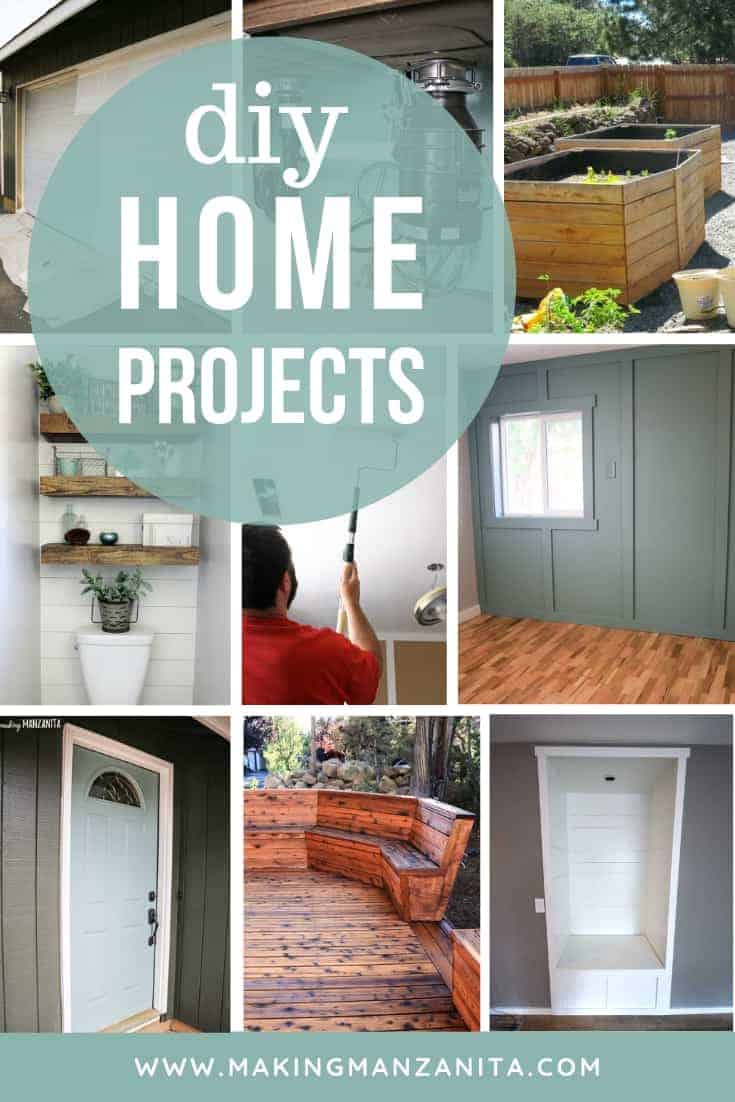
- Week 1: How to Demo A Bathroom
- Week 2: Modern Bathroom Design Plans
- Week 3: Everything You Need To Know About Large Format Tile
- Week 4: Can An Ensuite Bathroom Add Value To Your Home?
- Week 5: How To Build A Barn Door
- Week 6: The BIG Reveal
- DIY Hamper with Tile
- Bathroom Renovation Cost (Our REAL Numbers!)
- DIY Shower Guide: Everything You Need To Know
Our Master Bathroom Renovation: Before Pictures
Before we jump into everything else we have planned for today, let’s start by taking a look at the before pictures of the bathroom right when we moved in.
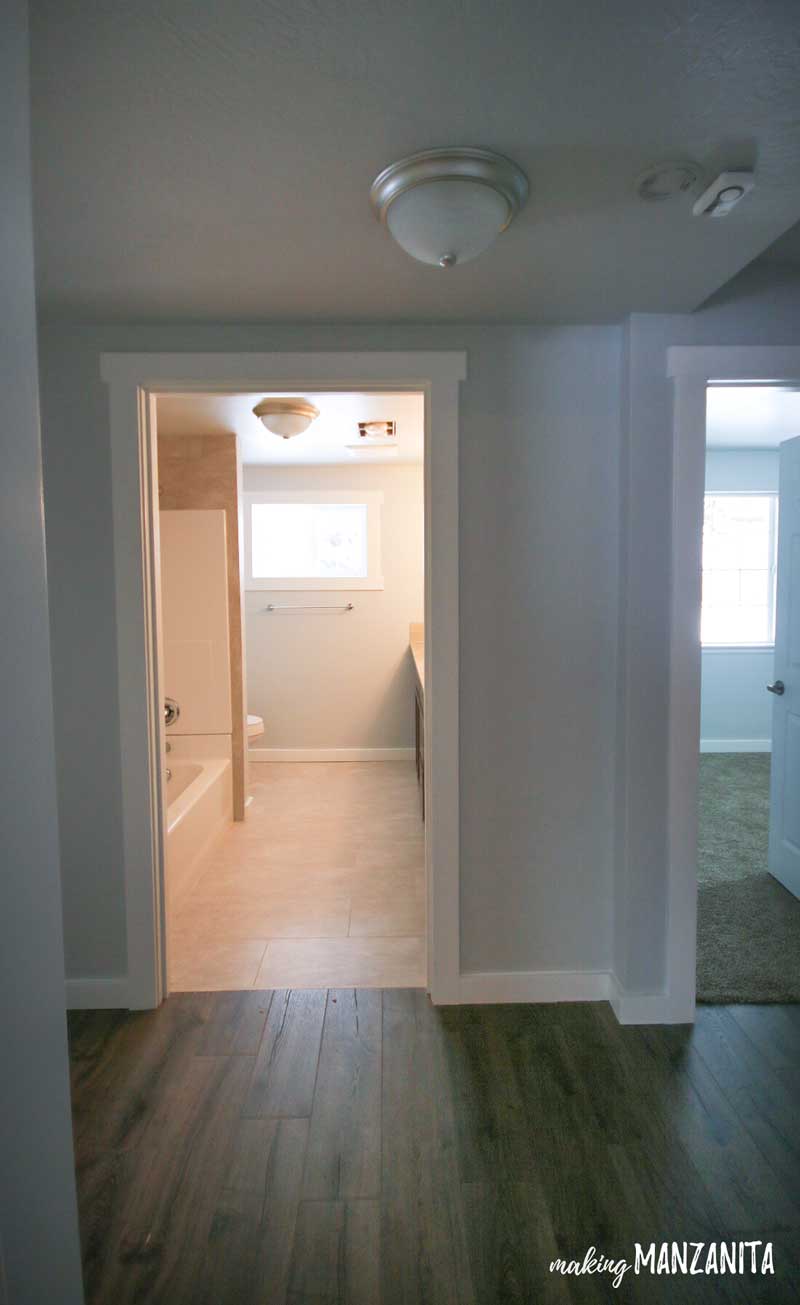
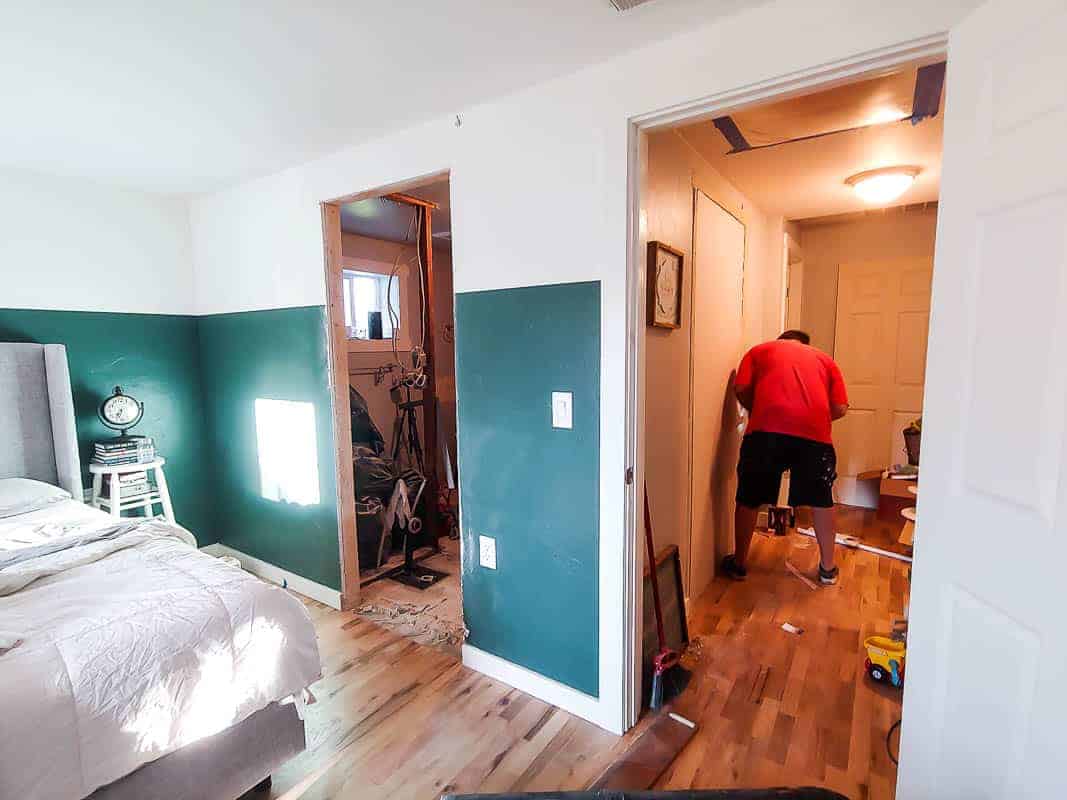
You can see that the original layout of this bathroom was to access from the hallway. This was before we had added another bathroom to this part of the house, so this was the main bathroom shared by the family.
Since we’ve added a bathroom for the kids, we can now close off access from the hallway and open it up to the master bedroom – creating an ensuite!
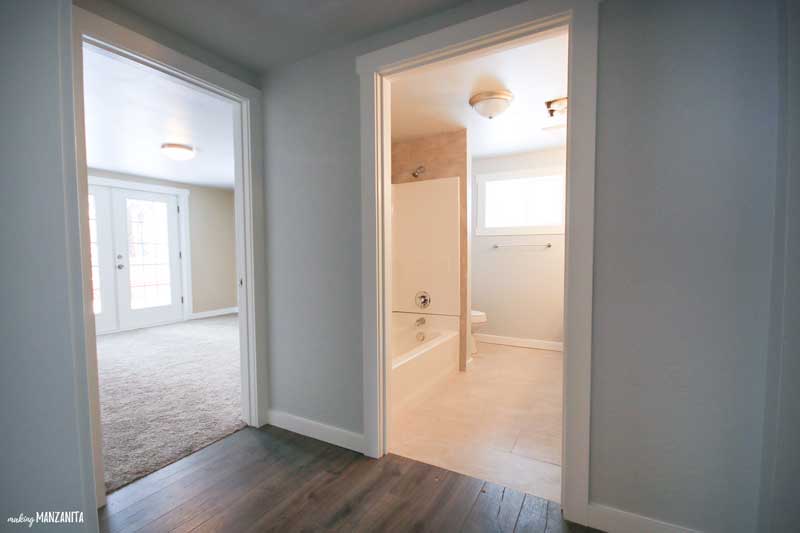
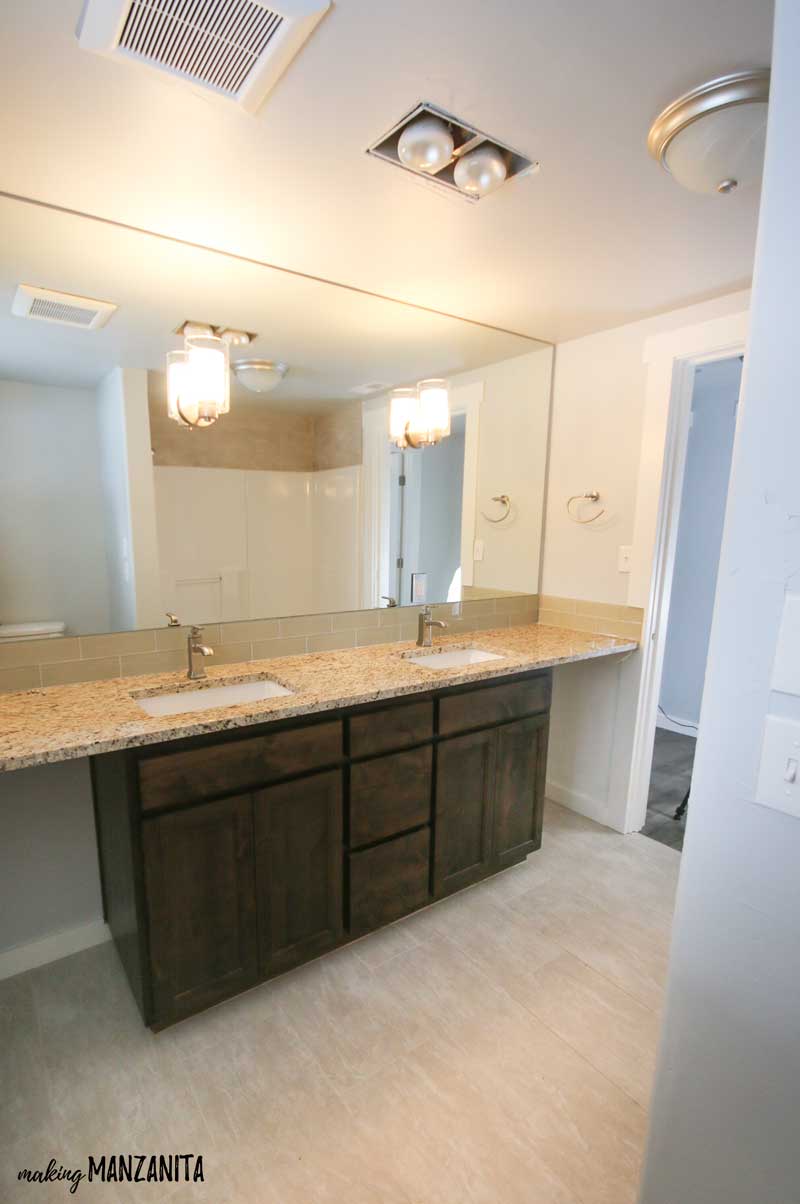
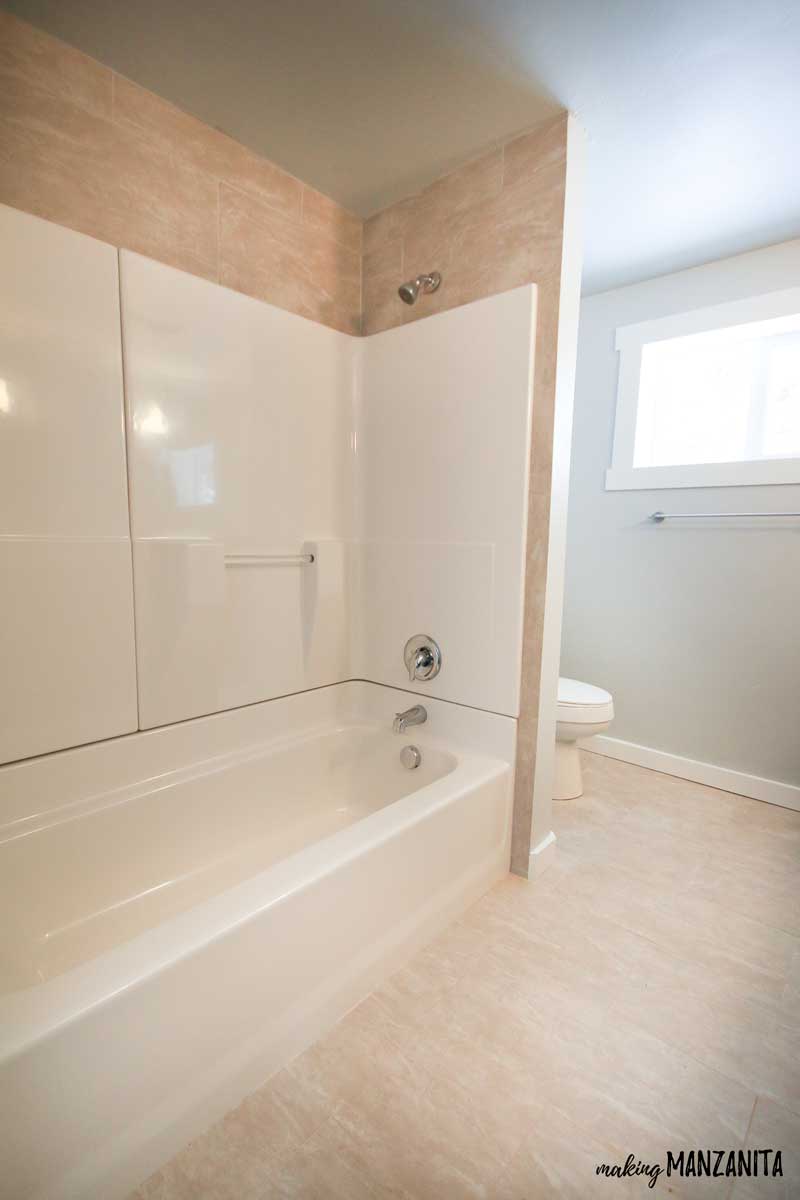
Ok…so it isn’t super our style. But it’s not HORRIBLE. We weren’t in a huge hurry to do the bathroom…until this happened.
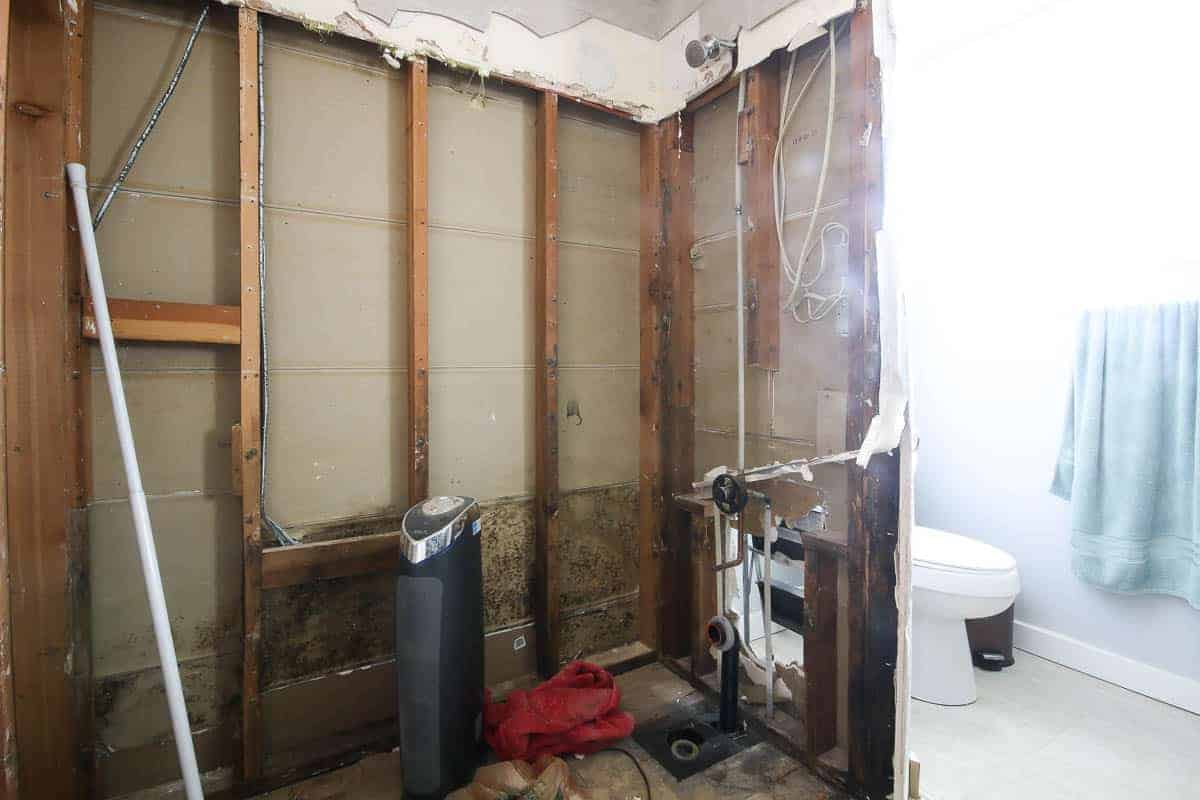
We found a leak behind the bath a few months ago…so we ripped it out and decided that the bathroom needed to move up a bit on our priority list.
But….here’s the deal.
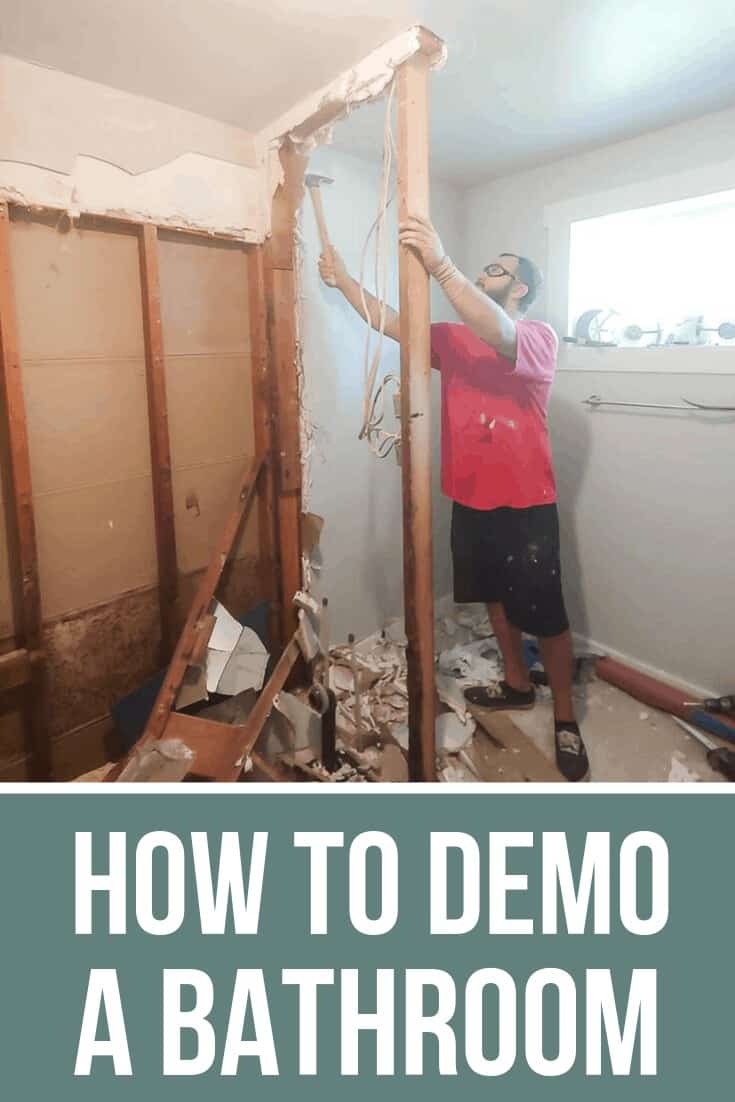
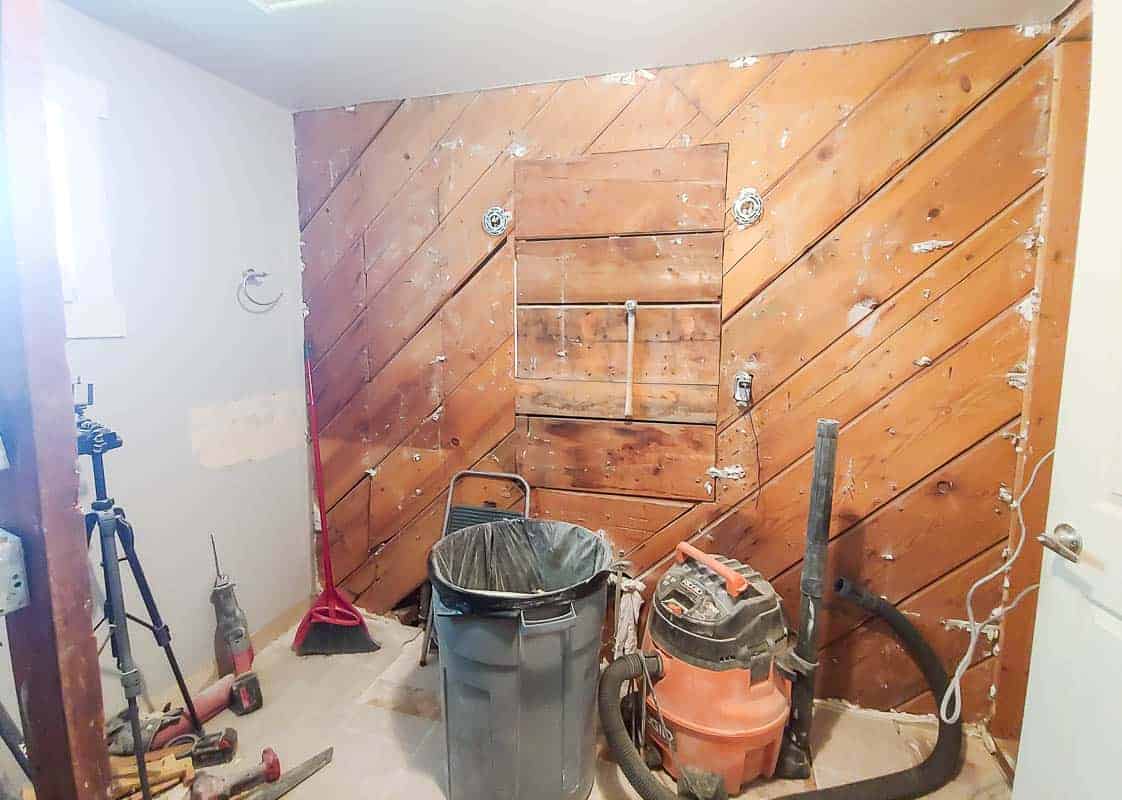
Today is your first weekly update and in this post, we’re going to be showing you how to demo a bathroom and specifically some tips and tricks for removing tile floor.
Before we jump into the tutorial, let’s start with a fun video! We are so excited to be taking you behind the scenes during this renovation with weekly videos. In this first video, you’re in for it!
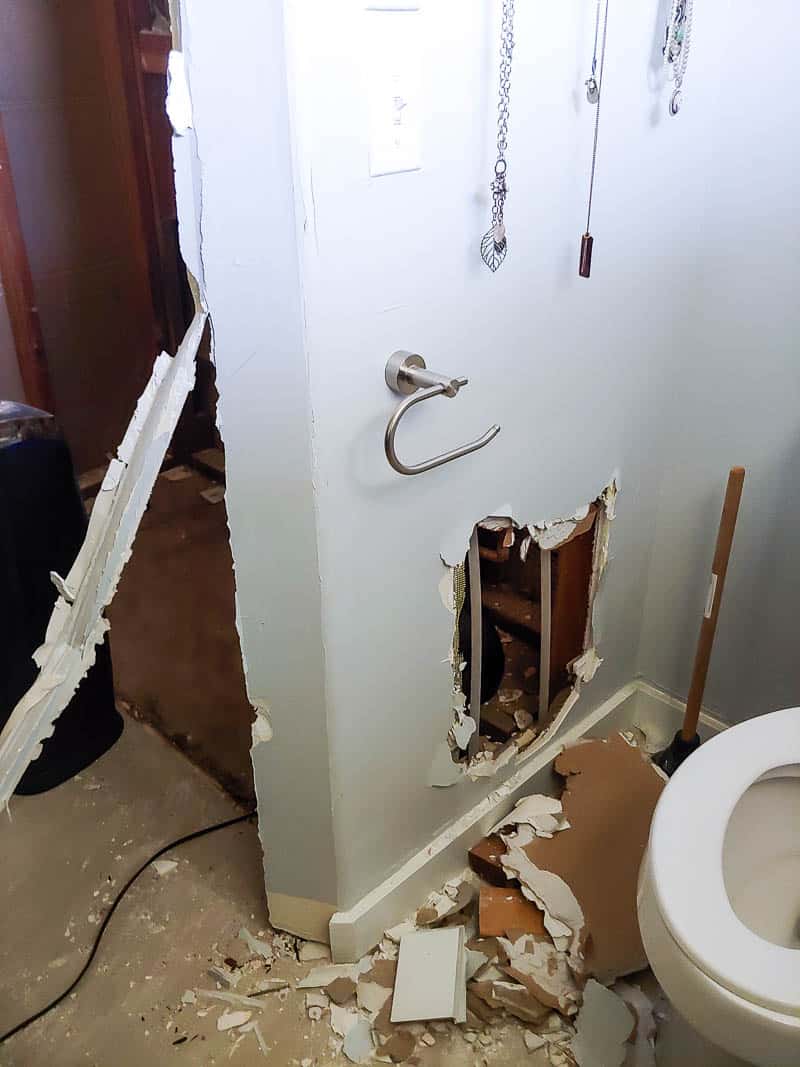
You’ll see how Day 1 of demo ended with a trip to Urgent Care (yes, we caught the whole thing on camera), what we broke during demo that we were trying to salvage, and you’ll see walls come down and the whole bathroom get torn apart down to the studs.
If you love DIY videos, be sure you are subscribed to our YouTube channel!
So…there you have it. You saw it yourself….I think our post should probably be titled How NOT to Demo A Bathroom because clearly it shouldn’t end with a trip to Urgent Care, right?!
Let’s jump right in.
How to Demo a Bathroom + Remove Old Tile: Step by Step Tutorial
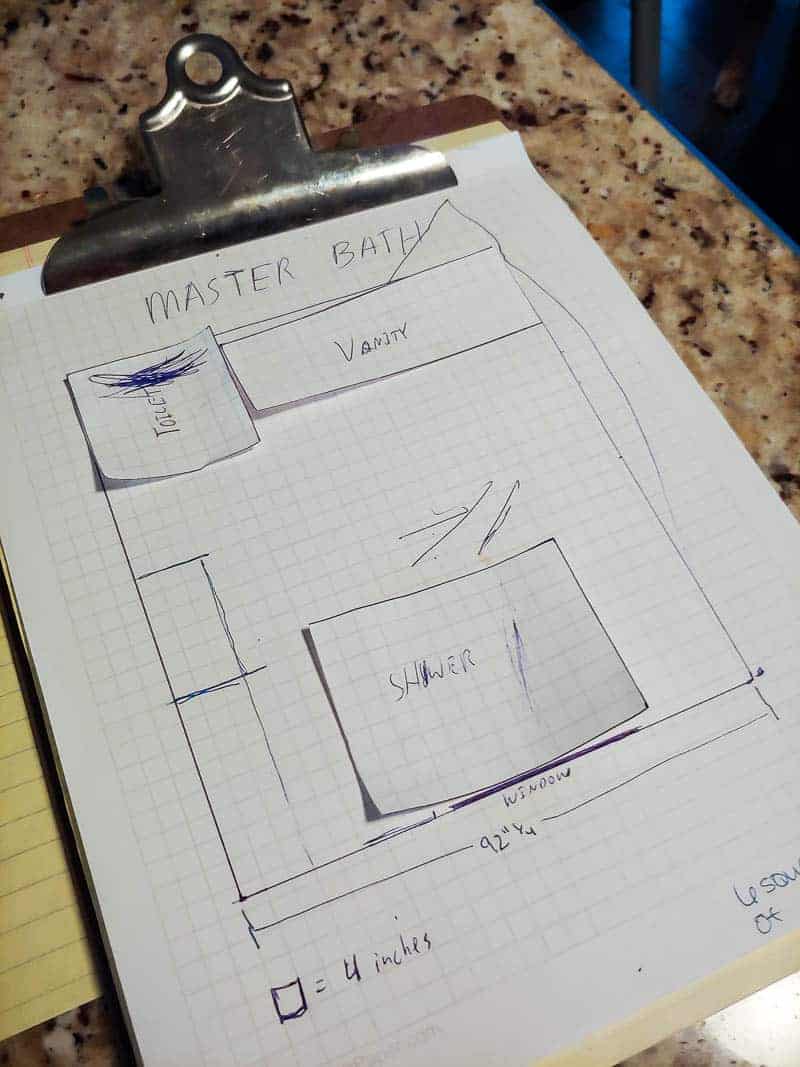
1. Start with a solid plan.
Let’s start by saying….before you even start thinking about taking a sledgehammer to your bathroom, you should have a plan.
Ours isn’t super fancy. For starters, it has toddler scribbles on it. We took measurements and then drew everything out on graph paper. Did A LOT of research and came up with a design.
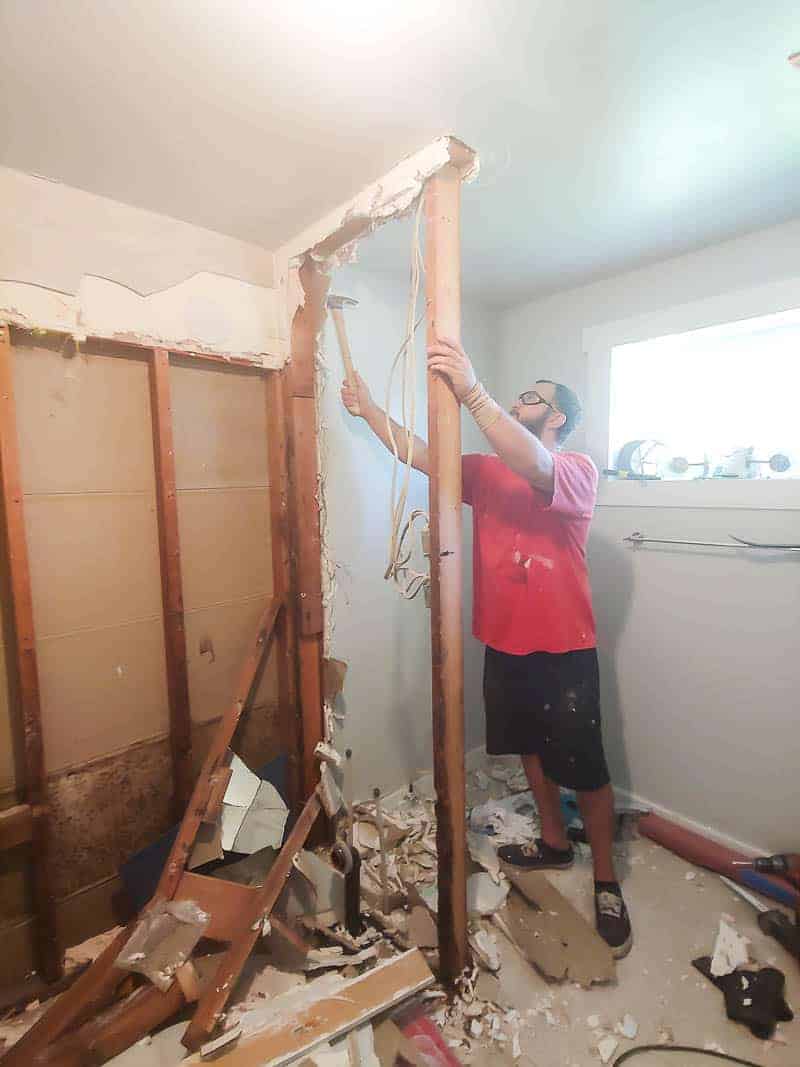
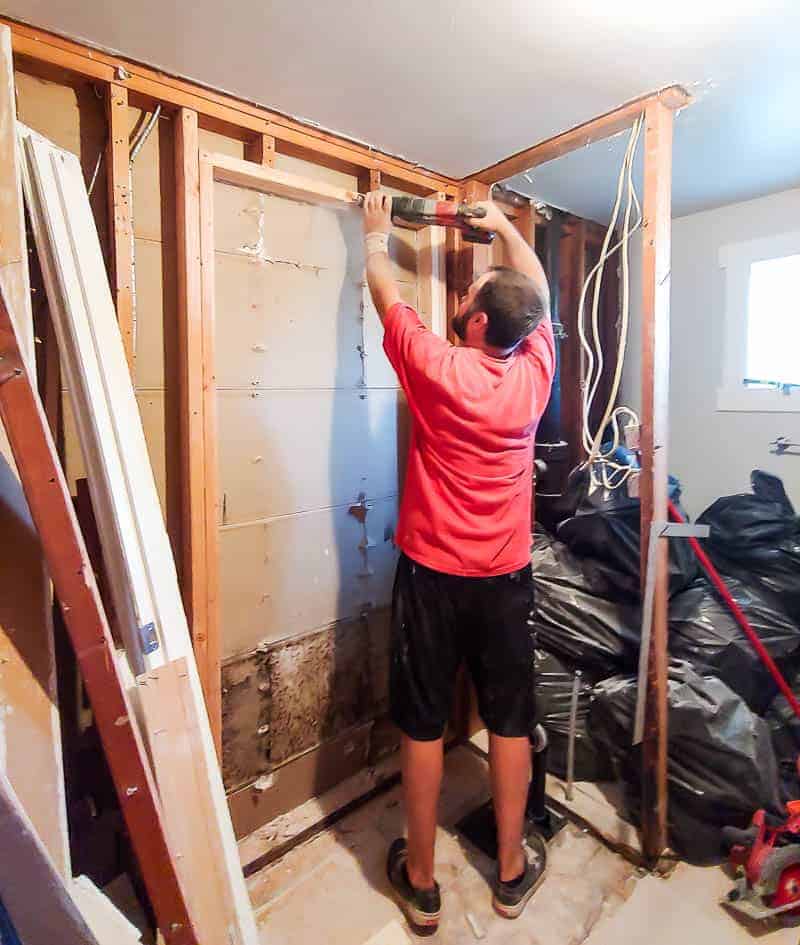
We knew to make this bathroom design come to life, we needed to take the whole bathroom down to the studs and reconfigure everything.
Now, let’s start by saying…For us…this is our life. We aren’t afraid of redoing all the plumbing. Running all new electrical, etc. So we really shot for the moon on this design (click here to see the full design plans including renderings).
If you’re a beginning DIYer, reconfiguring a bathroom is no easy task. You can either try to keep the layout of the bathroom fairly consistent or pull in some help from a contractor, plumber and/or electrician.
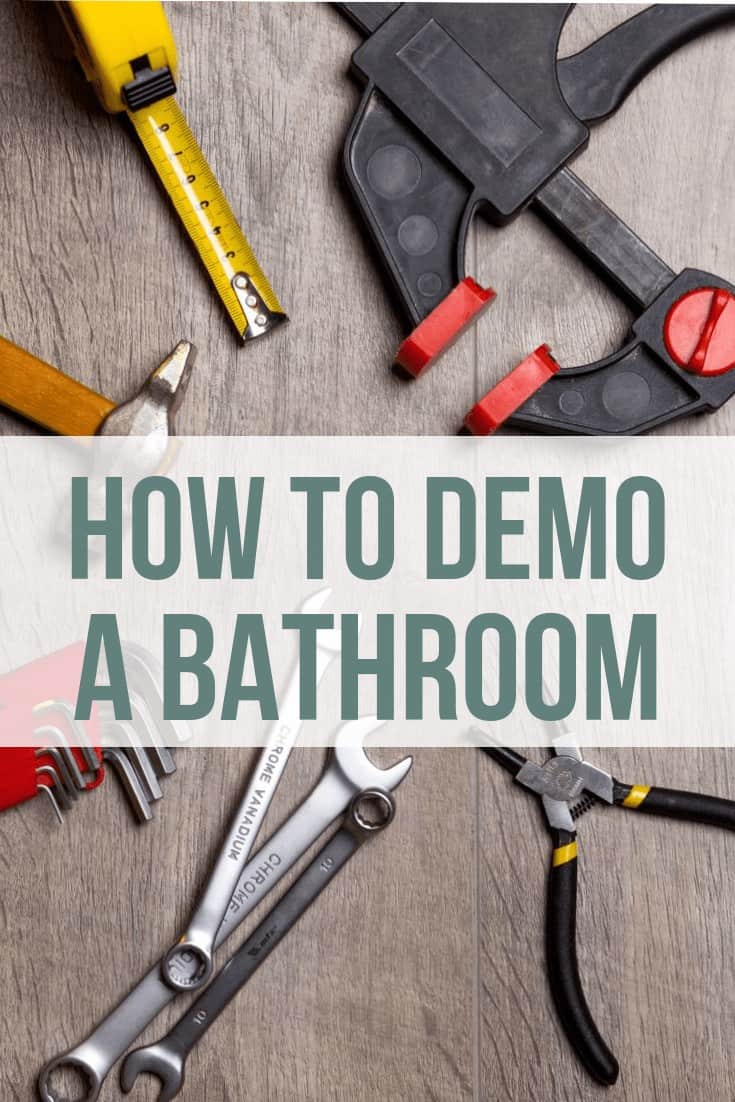
What supplies do you need to demo a bathroom?
Now when you have your plan in place and it is demo day, here’s what you need!
- Crow Bar / Wonder Bar
- Hammer
- Sledge Hammer
- Screw Driver
- Sawzall / Reciprocating Saw
- Circular Saw
- Safety Glasses (preferably on your eyes, not on top of your head – see video above for reference)
- Work Gloves
- Long Sleeves (preferably tough fabric like a flannel)
- Close-toed Shoes or Work Boots
- Trash Bin with LOTS of Heavy Duty Trash Bags
- Furniture Dolly (helpful for moving big things like vanities)
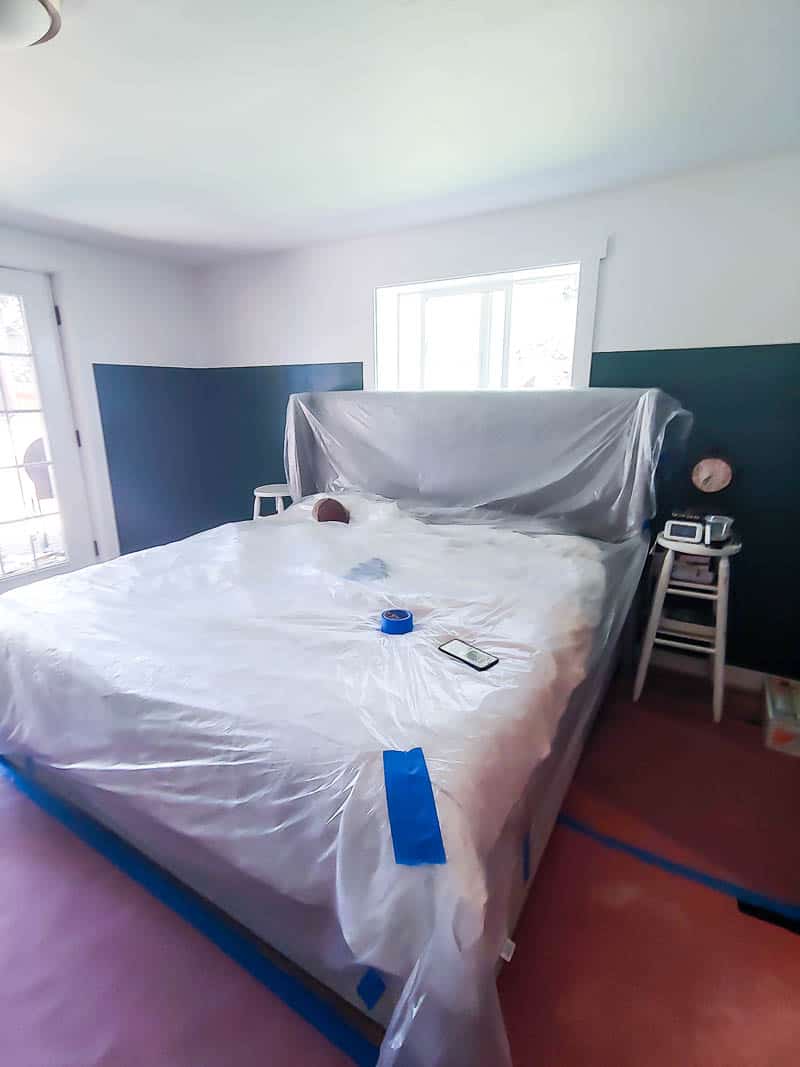
- Red Rosin Heavy Weight Paper (for covering any areas outside of the bathroom that you want to keep protected)
- Plastic Sheathing (great for covering things from dust, we put one over our bed in the adjoining room)
- Zip Wall (this is great for covering any openings to keep dust out of adjoining rooms, you can see it in the video)
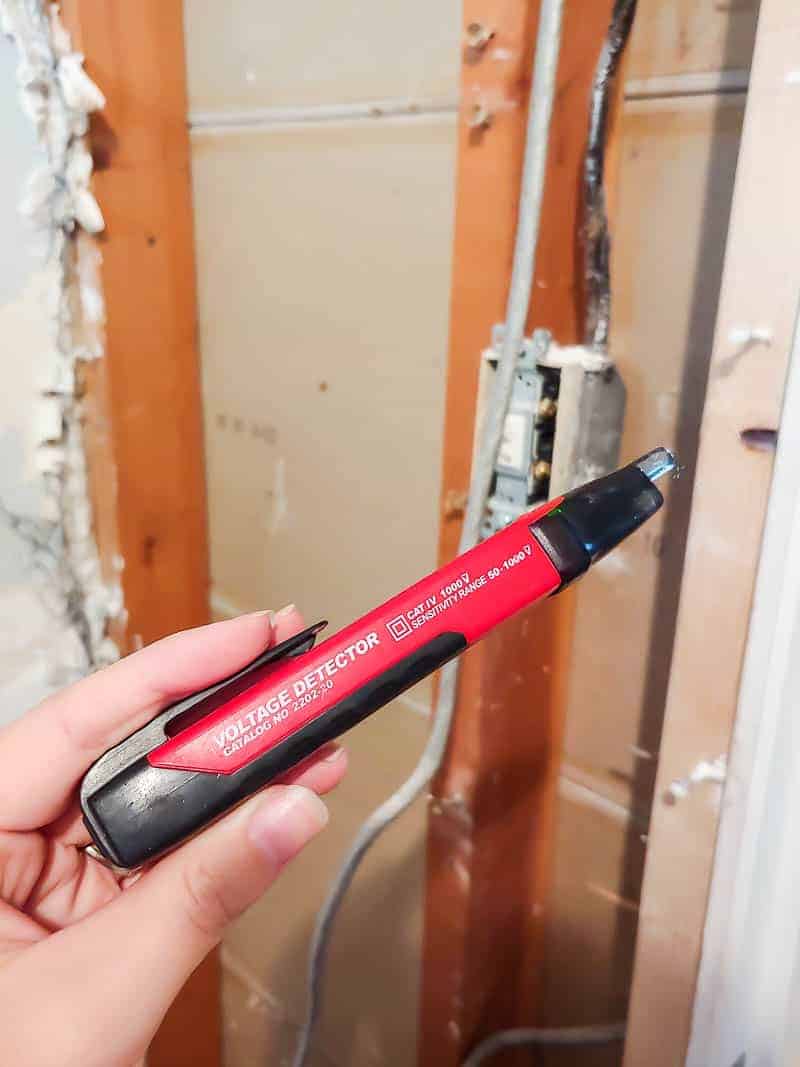
- Voltage Detector
What is the best order in which to demo bathroom elements?
Now the order that you do your bathroom demo is entirely personal preference and will depend on what you are needing to remove in your bathroom demo…but here’s the order that we did for ours (which we were taking down to the studs)
- Protect anything that is not getting removed (in our case….that was literally NOTHING)
- Remove sink faucets & drains
- Attempt to remove sinks from countertop (see video above for our epic fail of this)
- Break vanity countertop into smaller pieces for removal
- Remove vanity from bathroom
- Remove vanity lights
- Remove mirror (hopefully this doesn’t end badly for you too…see video for what NOT to do on this)
- Remove toilet – this is a great guide on how to remove a toilet if you’ve never done it before
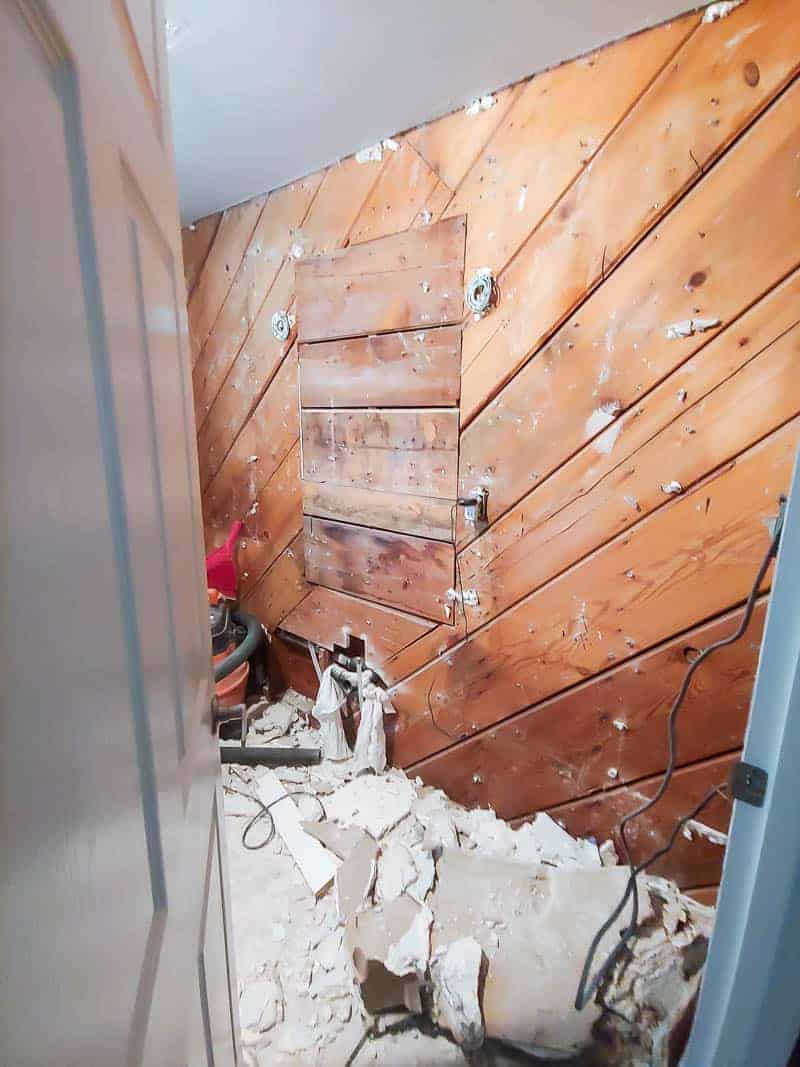
- Take down all drywall or wall surfaces
- Remove tile floors (more on that below)
- Remove subfloor
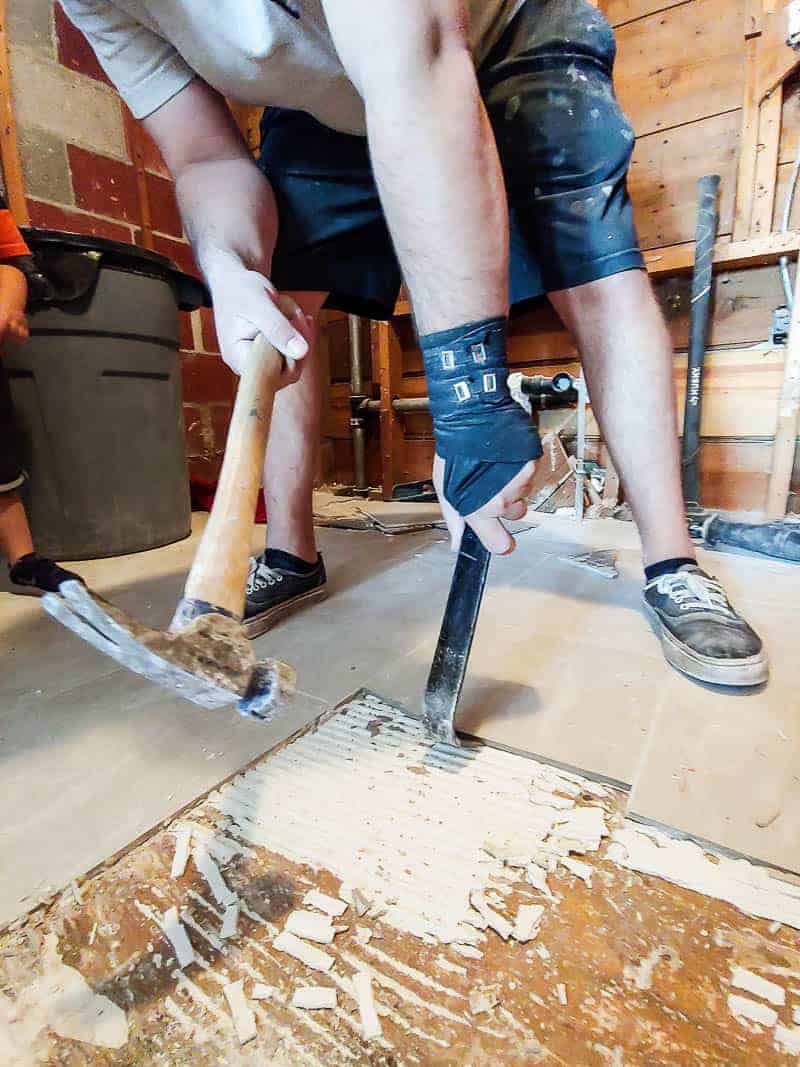
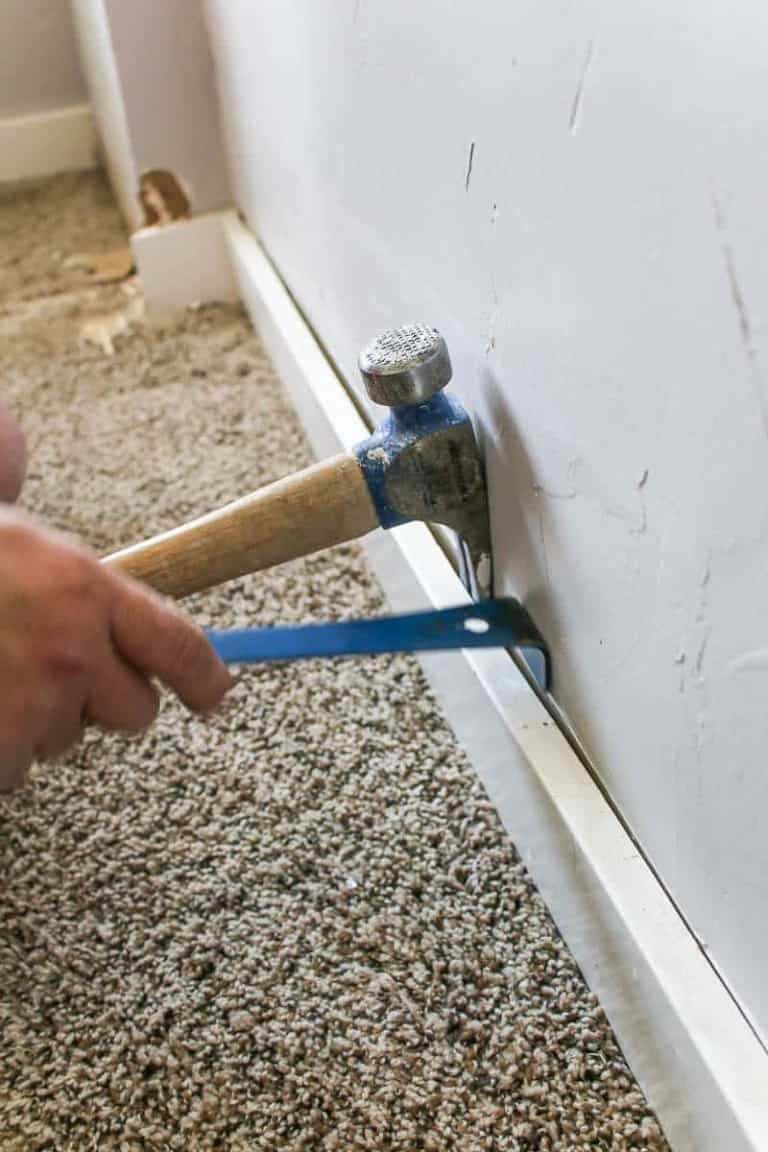
Bathroom Demo Tip: How to Remove a Tile Floor
Now, we’ve got a whole post on how to remove tile backsplash, so you can refer to that for even more tips on tile removal. This process of removing tile floor is actually pretty similar to removing tile backsplash.
When you are removing tile floor, the first tile is the hardest. If you aren’t demoing the entire bathroom like us, it helps to remove even just a small section of baseboards so that you can see an edge of the tile floor. If it isn’t possible to get to a tile edge, you can start by simply breaking the first one up with a hammer.
Once you get one out, it is easier to work with crowbar and hammer to pry off more floor tile.
The tile will generally “pop up” if you can get behind it from the edge with your wonder bar and hammer.
Although it is harder with large format tile like we have, it’s best if you can get the tile pieces off in whole. This just saves a lot of time on the cleaning end. And there will be a lot fewer jagged edges that can cut you very easily (and we seriously needed to avoid any more stitches during this bathroom demo).
For those stubborn pieces of floor tile that aren’t coming up, it really is just hammering and prying up until it comes off…but that IS why they call it sweat equity.
What do you do after removing the bathroom tile floor?
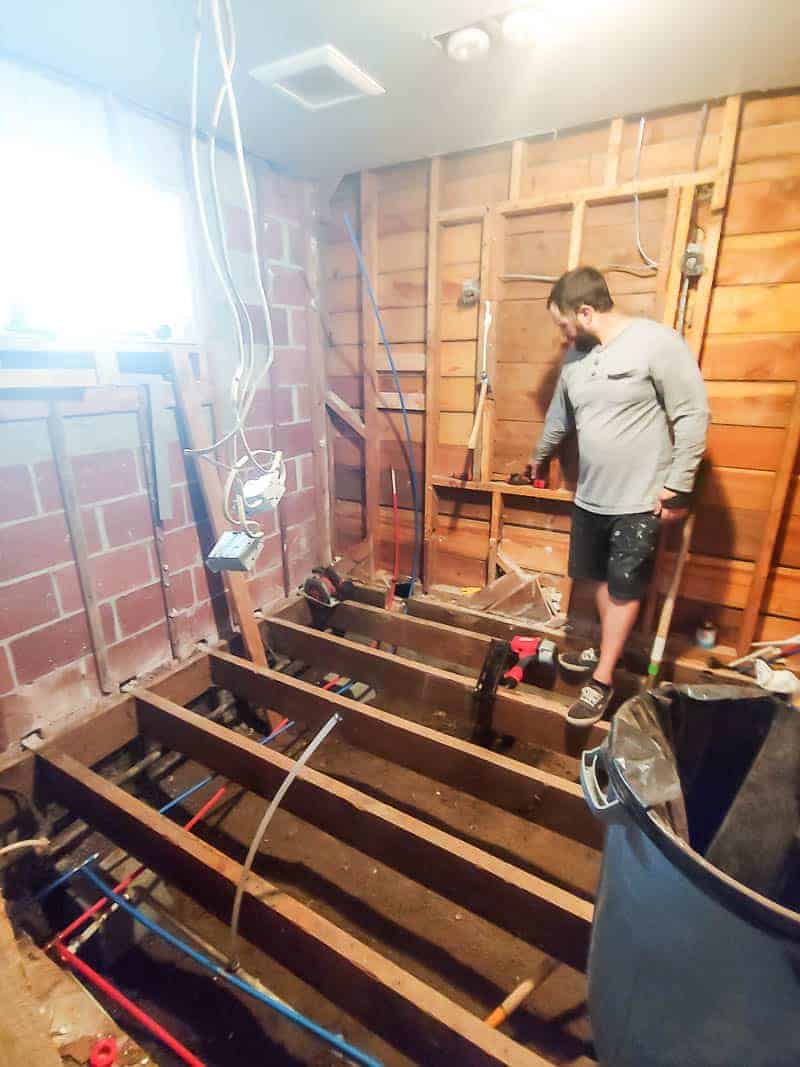
In some cases, it makes sense to remove the subfloor of your bathroom as well. We opted to do remove our subflooring because we need to run all new rough-in plumbing for the shower drains, toilet, and sinks. This is 100 times easier to do with an open floor rather than crawl under the house.
If you decide not to remove your subfloor after removing tile floor, your next step would be to clean the subfloor and make sure it is perfectly flat and free of any nails or staples. You want a nice clean surface to attach your cement backer board to for tiling your floors.
What progress did we make this week in our bathroom renovation?
Well, as you heard in the video, we wanted to get all demo, framing, rough-in plumbing and electrical done this week. It was a pretty tall ask to begin with.
There were SEVERAL things that came up this week that slowed us down, so we are a little bit behind at the end of Week 1.
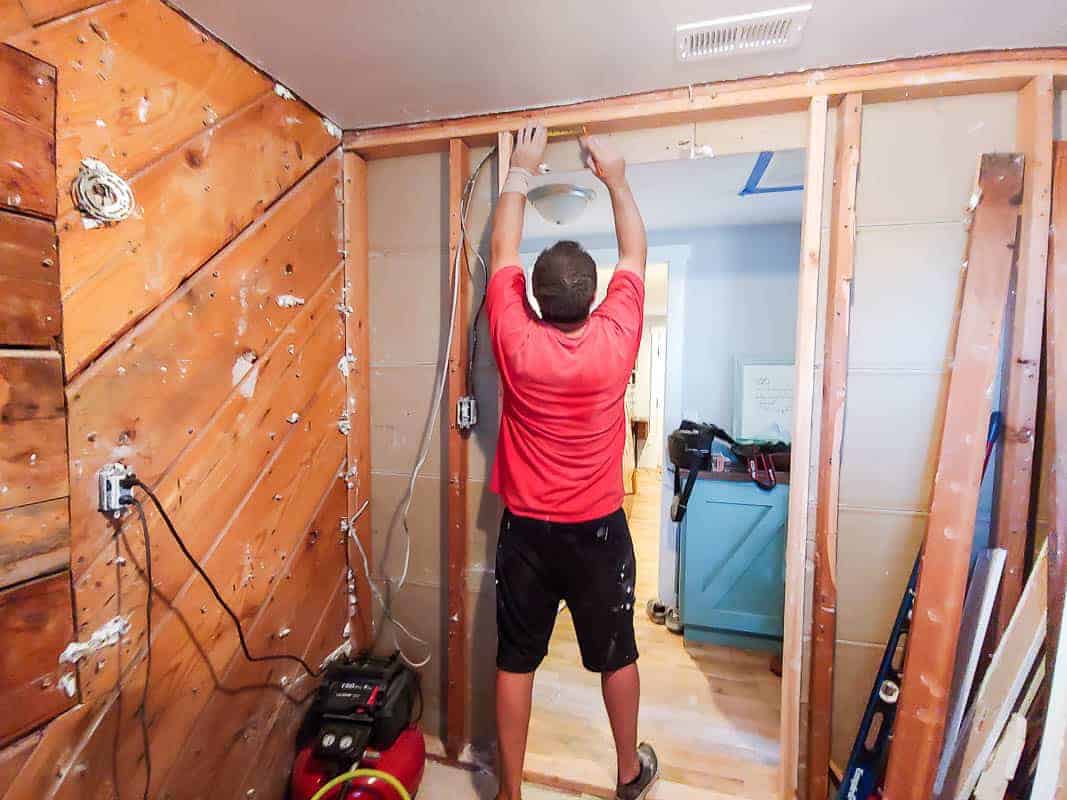
We made it through all demo and framing, but the rough-in plumbing is still in progress. We’re hoping to wrap that up pretty quickly and then add in a new subfloor. This is an absolute must because we have the countertop company coming by later this week to do the measuring and the vanity needs to be in place for that.
Over the next week, we hope to finish rough-in plumbing, add new subflooring, run new electrical and start the shower pan. Cross your fingers that we can catch up this week and get back on track.
If you’re curious about everything that we are tackling in this bathroom renovation, you can follow along with us! Our entire to-do list is below. Whew…it’s a little overwhelming just looking at it!

Check out how the other participants in the Jeffrey Court Renovation Challenge did here during week 1!
UPDATE: We’re all done with the bathroom now, check out how it turned out here!
Project list for our bathroom renovation:
Demo entire bathroomCover up doorway to hallwayOpen new doorway to master bedroom- Rough in new plumbing (toilet, showers, sinks) – in process
- Add new subflooring
- Create shower pan
- Add recessed lighting
- Add new vanity light electrical
- Add bathroom exhaust fan
- Install insulation
- Add sheet rock
- Tape and texture drywall
- Paint walls
- Tile shower walls
- Install shower niches with accent tiles
- Tile around window and in windowsill
- Tile floor
- Install new toilet
- Relocate vanity
- Install new countertop
- Tile backsplash on vanity
- Install fixed shower door panels
- Install shower heads
- Build DIY laundry hamper
- Install floating shelves
- Build DIY barn door
- Install vanity lights
- Install trim and baseboards
- Install bathroom accessories
- Hang shelf for mirrors
- Hang mirrors
- Decorate!