DIY Scuttle Hole Cover for Attic Access

Thank you to DAP for sponsoring this Scuttle Hole Cover tutorial! All opinions are entirely my own. This post also contains affiliate links, but nothing that I wouldn’t recommend wholeheartedly. Read my full disclosure here.
When we moved into this house, there were a few weird things we noticed when we started renovating. One of those was the fact that there was no attic access in the house (only through the garage, which is far away from the bedrooms). I assume there was attic access at some point, but it must have been unintentionally covered up during the last renovation.
But throughout our renovation there have been several times we need to access the attic – for instance, to install or move light fixtures or check the rafters above the ceiling like when we were installing this shiplap ceiling.
So eventually we cut a scuttle hole in the ceiling to access the attic.
Table of Contents
What’s a scuttle hole in a house?
A scuttle hole (may also be called an attic hatch) is a simple way to access the attic space using a removable portion of the ceiling.
Rather than an attic door with a pull-down ladder, you simply push up on the scuttle hole cover and move it aside to access the attic space. Scuttle holes are typically used in homes where you don’t need to access the attic often.
If you had a finished attic or accessed it frequently, you would want to install an attic ladder instead.
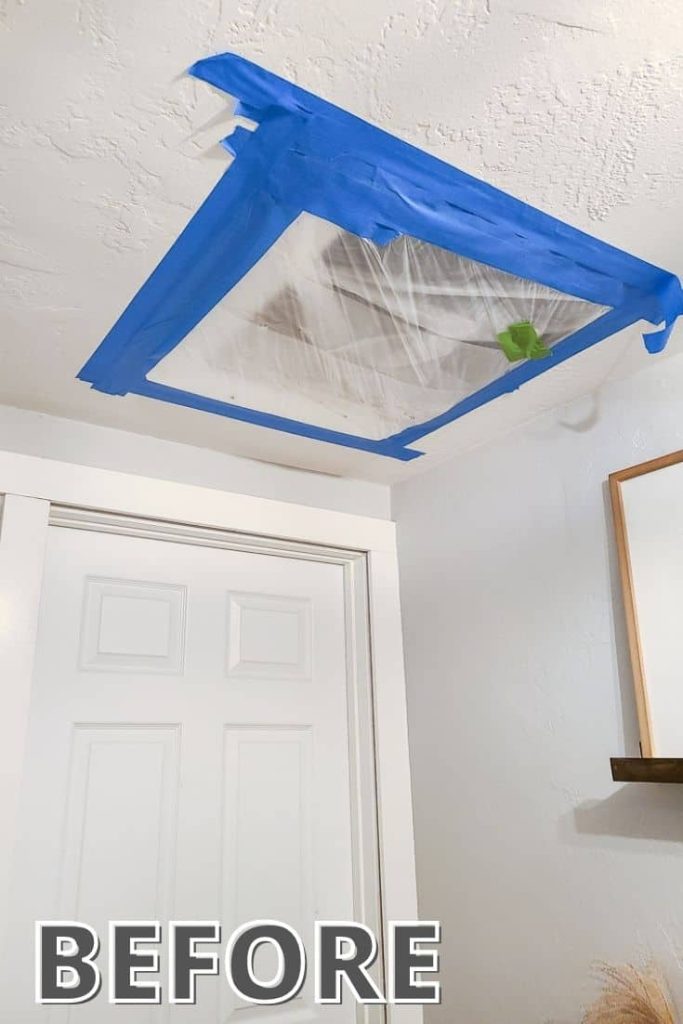
Once the scuttle hole was cut in the ceiling, we did what a lot of homeowners do…we got lazy. We put up some plastic sheeting and attached it with painter’s tape. Eventually…someday we would get around making it look pretty with a DIY scuttle hole cover.
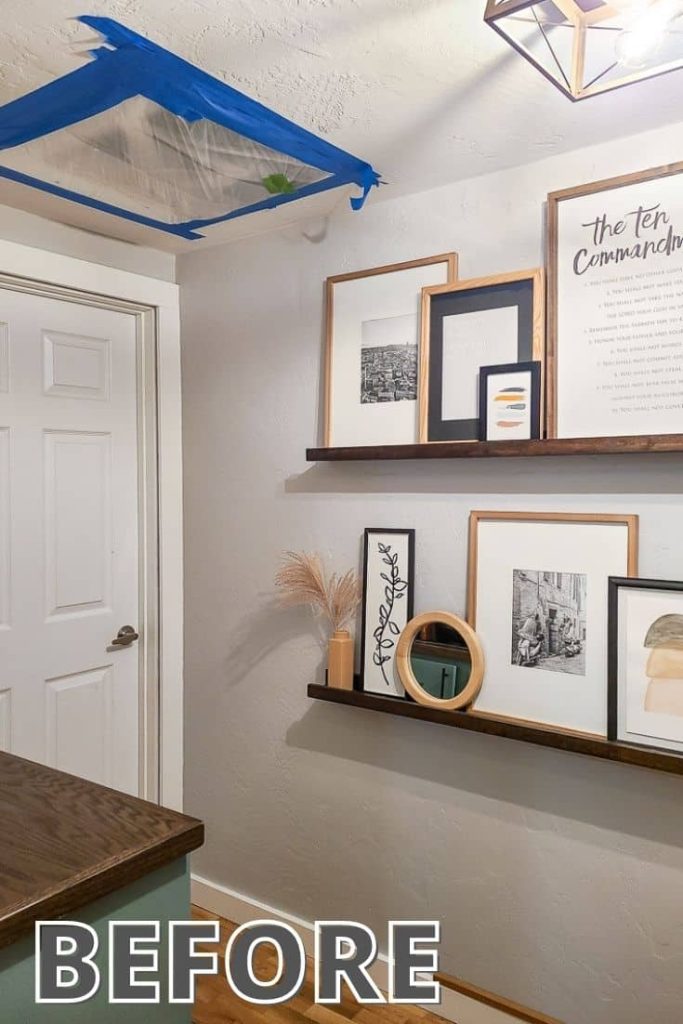
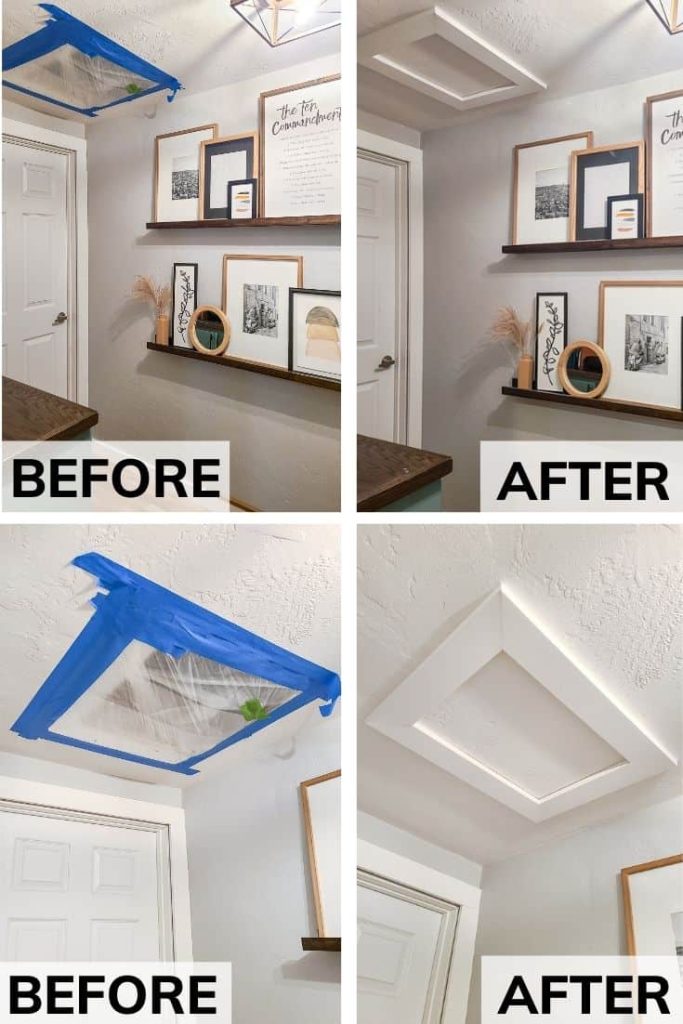
Before pictures
Just take a look at these before pictures! It stayed like this for WAY longer than I’d like to admit.
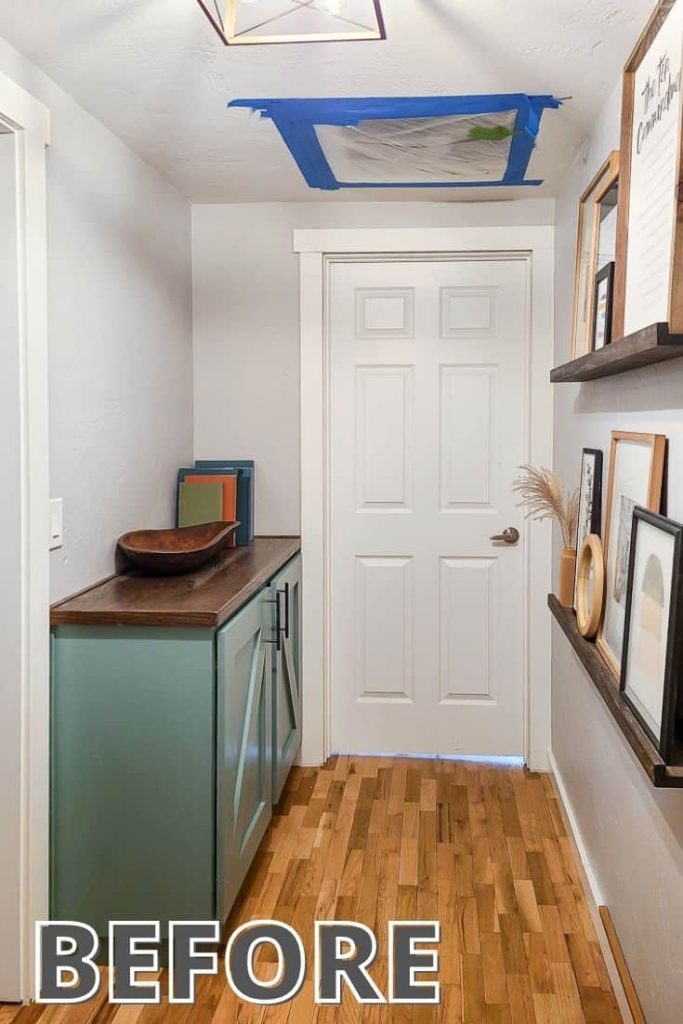
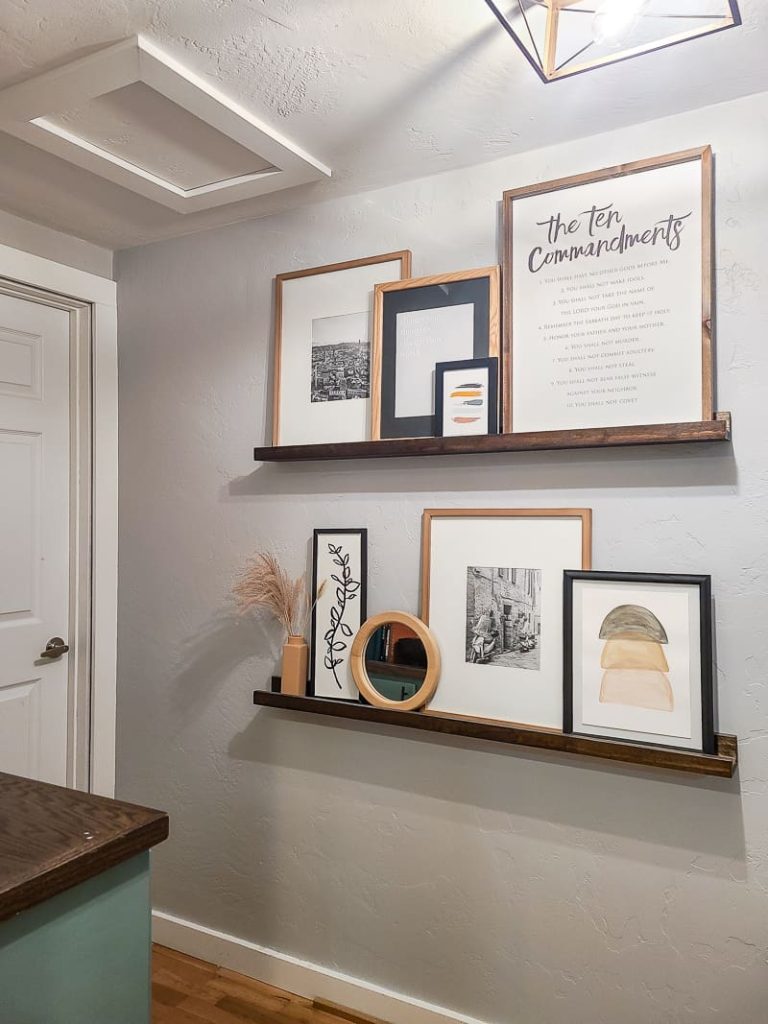
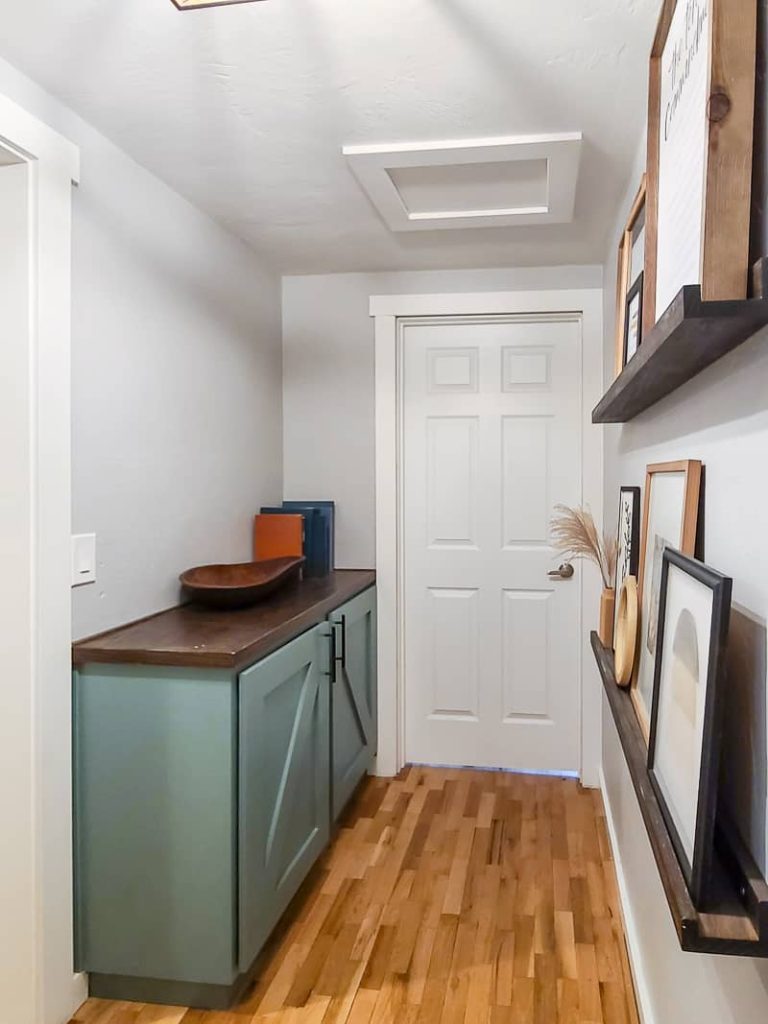
Even after we built this pretty hallway cabinet and added the picture ledge shelves and decorated them….we just kept ignoring the big hole in the ceiling.
How to build a DIY scuttle hole cover for attic access: step-by-step tutorial
Since we’re done renovating and in the process of converting our home to a short-term rental, now was the perfect time to tackle this simple project.
Supplies need for scuttle hole cover:
- Sawzaw or hack saw
- Stud finder
- Primed MDF trim
- Miter saw
- Tape measure
- Finish nail gun
- 2″ finish nails
- Piece of drywall roughly the same size as your scuttle hole opening (or keep the piece of drywall you cut out)
- Joint compound
- Drywall knife
- Putty knife
- DAP DryDex Spackling
- Sanding block
- DAP Alex Flex Premium Molding & Trim Acrylic Latex Siliconized Sealant
- Caulk gun
- Utility knife
- Primer
- Ceiling paint
- Paint brush
Step 1. Cut scuttle hole in ceiling
If it’s not already done, cut a hole in your ceiling for the scuttle hole access point using either a hack saw or sawzaw. We recommend checking the ceiling first with a stud finder to hopefully avoid the roof rafters or ceiling joists above the drywall.
Your scuttle hole should fit in between two ceiling joists and be large enough for you to get through.
For the location of the scuttle hole, it is typically in a closet or hallway. Also, keep in mind the height of the attic area where you make the hole. For instance, near an exterior wall will not be tall enough. That is why a hallway usually works well because they are typically in the middle of the home, and therefore, the tallest part of the roof pitch.

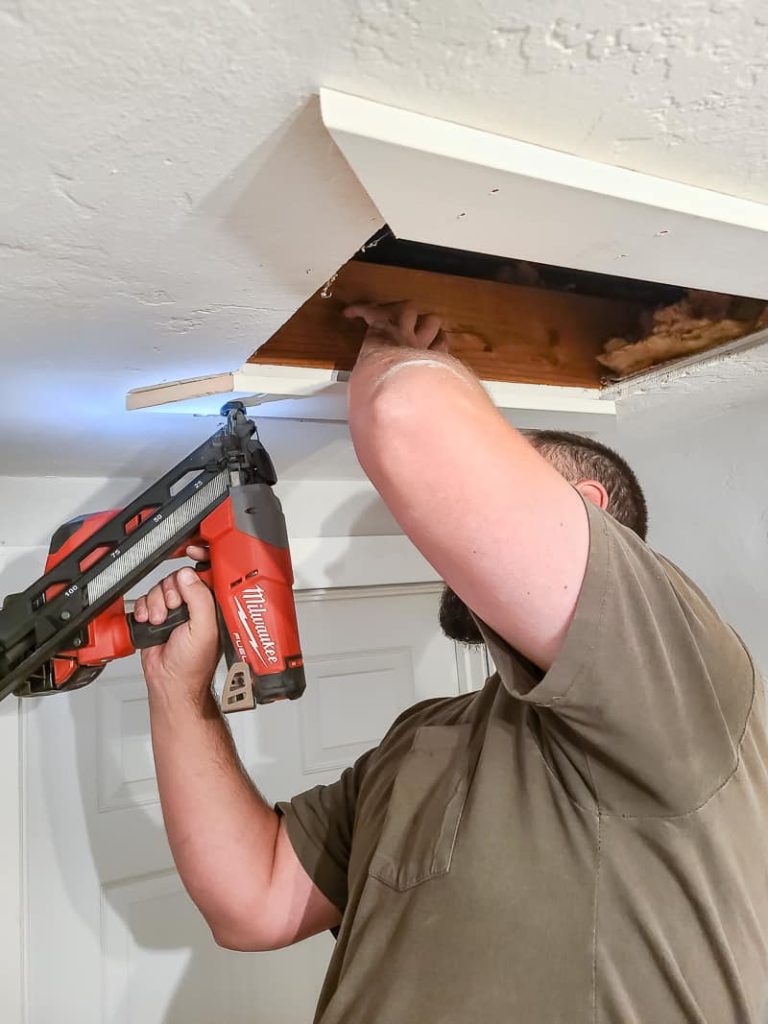
Step 2. Frame out edge of attic access hole
Using trim (we used 1×4 MDF pre-primed trim), create a frame around the edge of the access hole. We mitered the corners to be 45-degree angles for a professional look.
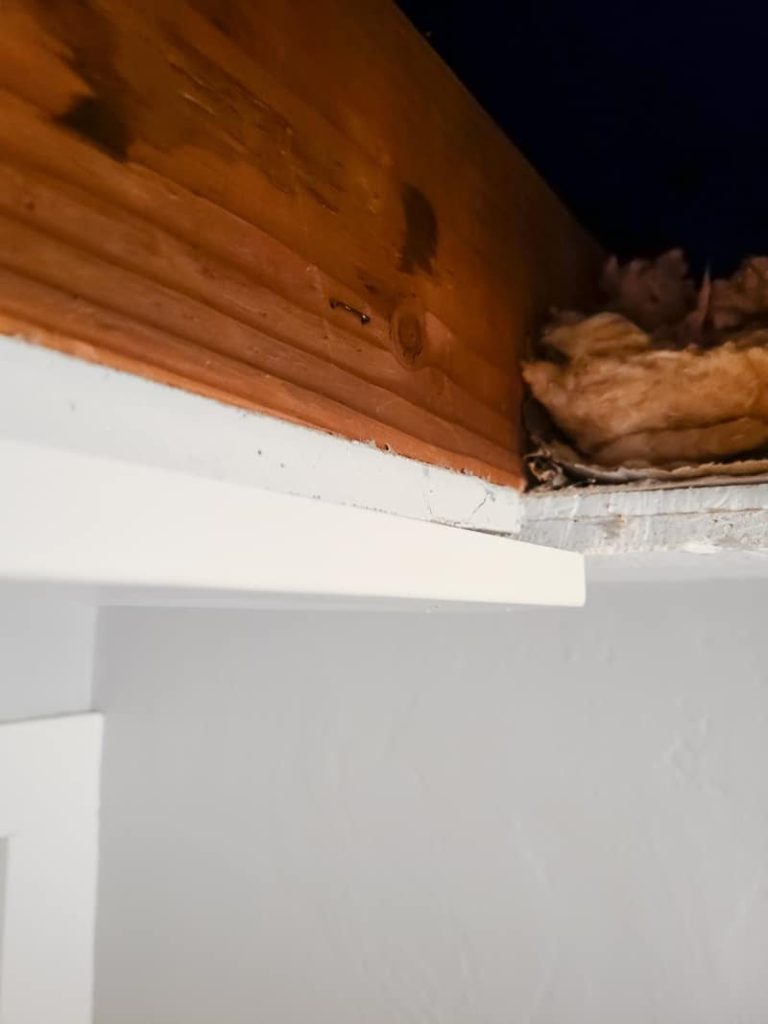
Rather than having the inside edge of the trim be flush with the opening, install the trim pieces so they have about a 1″ lip around the edge of the hole. This is where the removable panel for the scuttle hole cover will sit.
Install the frame to the ceiling using a finish nail gun and 2″ finish nails.
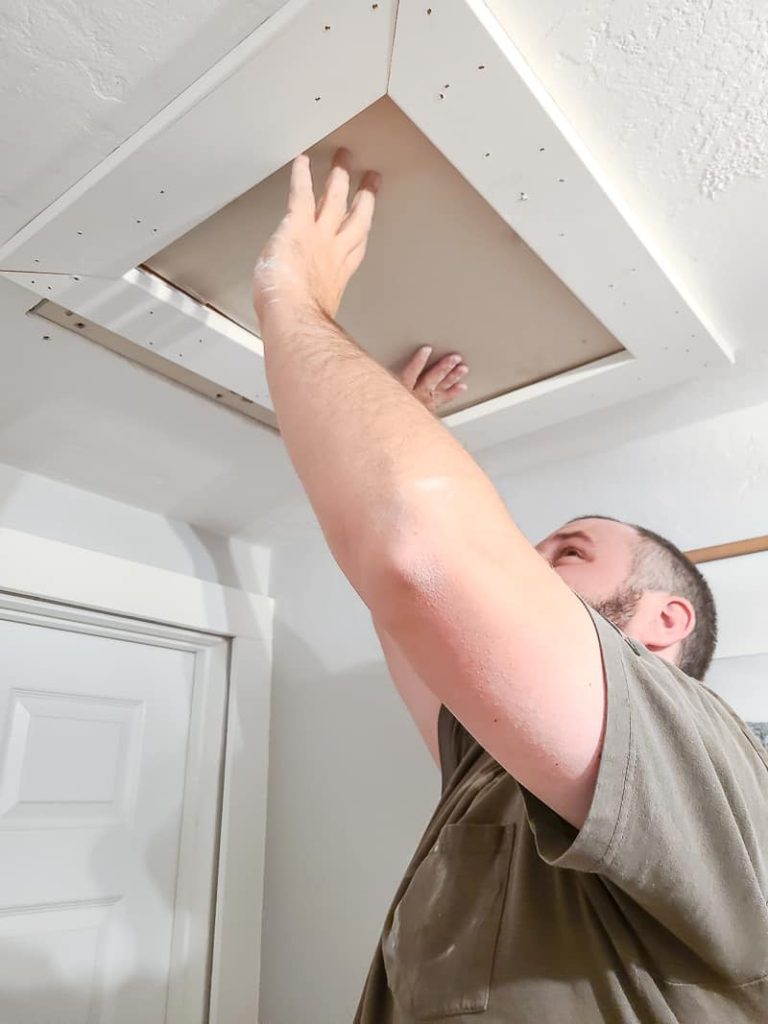
Step 3. Cut new drywall panel for attic access hole
For the panel to cover the scuttle hole, you can either use the same drywall panel you cut out in Step 1 or create something new. We didn’t have the piece of drywall anymore, so we needed to start from scratch.
We cut out a piece of drywall that was slightly smaller than the attic access hole.
Next, we brought it inside and did a dry fit to make sure it was the perfect fit. The panel should fit in the hole and rest on the top edge of the frame that you added in Step 2.
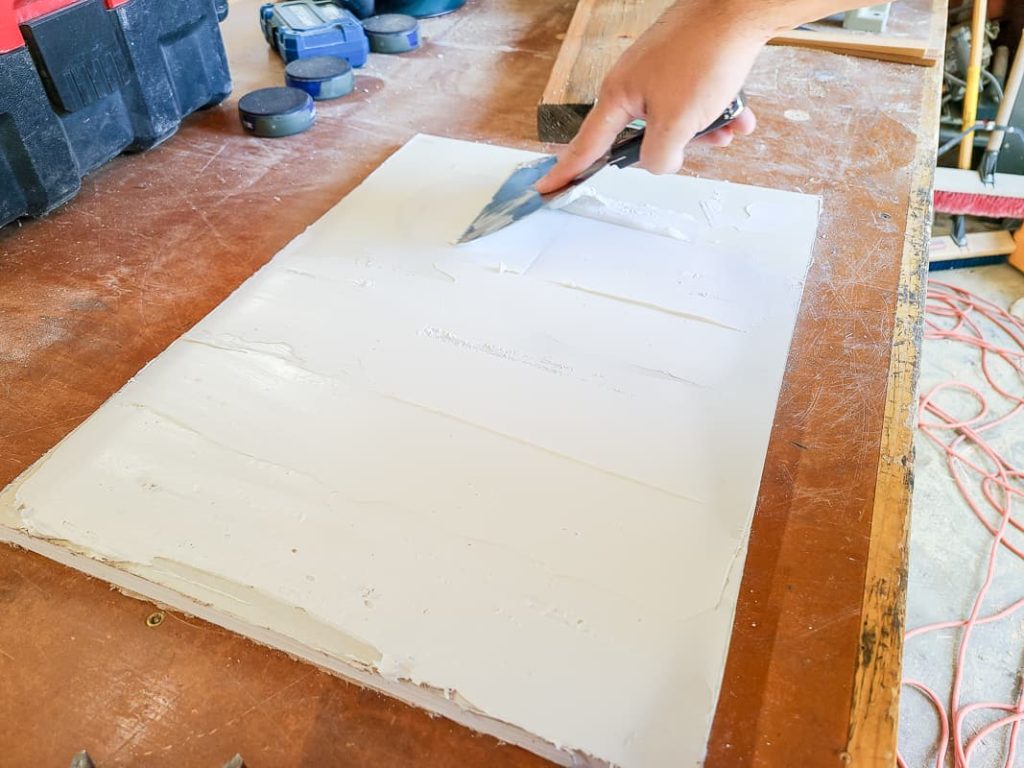
Once we knew it was the right fit, we added the joint compound to the drywall panel trying to match the skip trowel texture we have everywhere in our house. Let the joint compound dry fully.
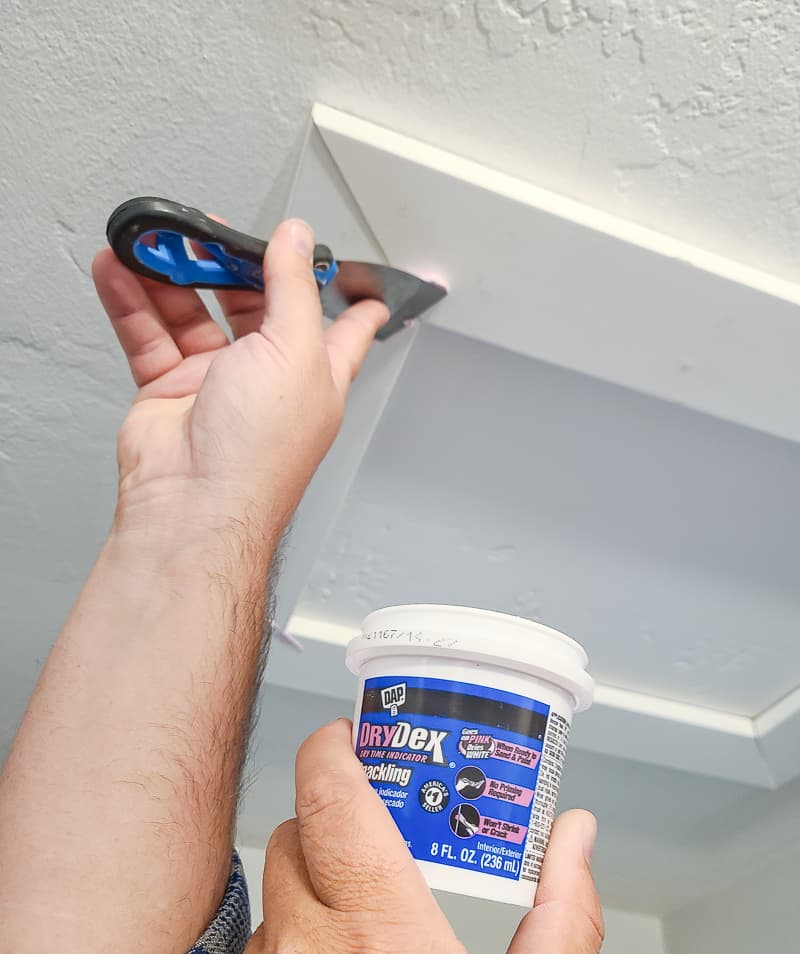
Step 4. Fill nail holes
While the joint compound is drying on the drywall panel, you can patch the nail holes and joints in the mitered corners on the trim. We used DAP’s DryDex spackle applied smoothly with a putty knife. I love that this spackling starts pink and turns white when it is dry.
Once dry, sand smooth with a sanding block. Wipe clean with a slightly damp rag to remove sanding dust.
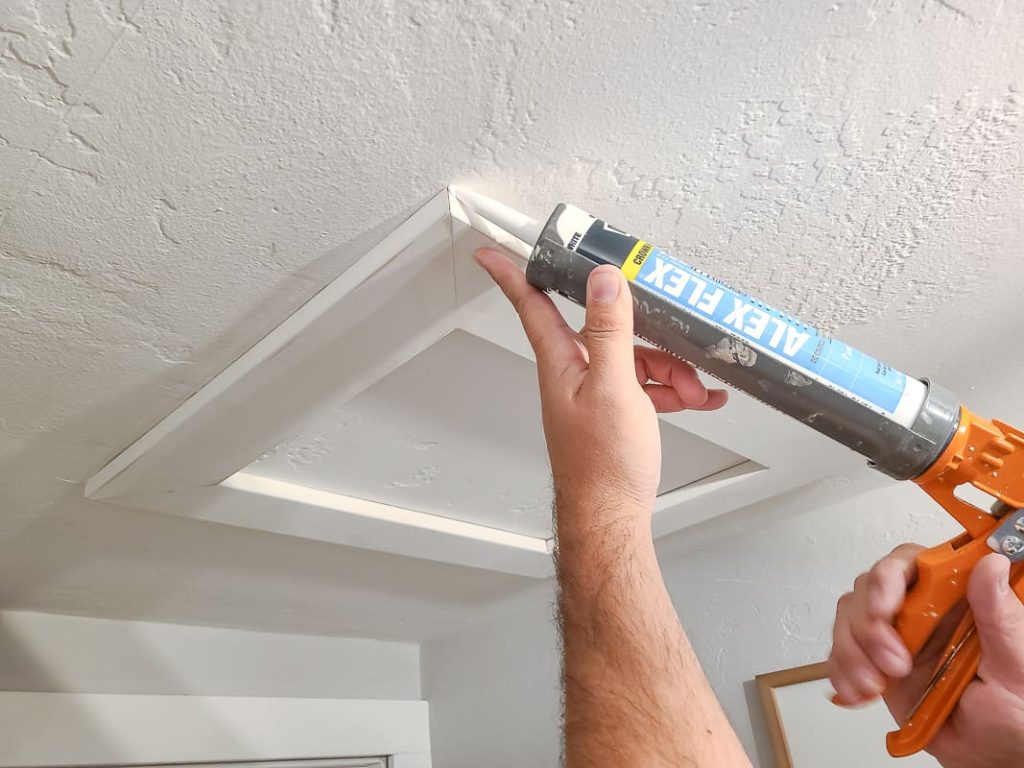
Step 5. Caulk edges of framing
Next, caulk the edges of the framing where it meets the ceiling with DAP’s Alex Flex caulk. This gives it a professional finish and removes any gaps or imperfections.
Simply cut a 45-degree angle on the tip of the caulk, load it in your caulking gun and add a thin bead into the joint. Immediately run your finger over the bead of caulking to smooth. Be sure to check out all our caulking tips and tricks!
Step 6. Prime and paint
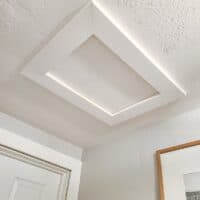
Lastly, prime the panel and trim with primer and follow up with ceiling paint.
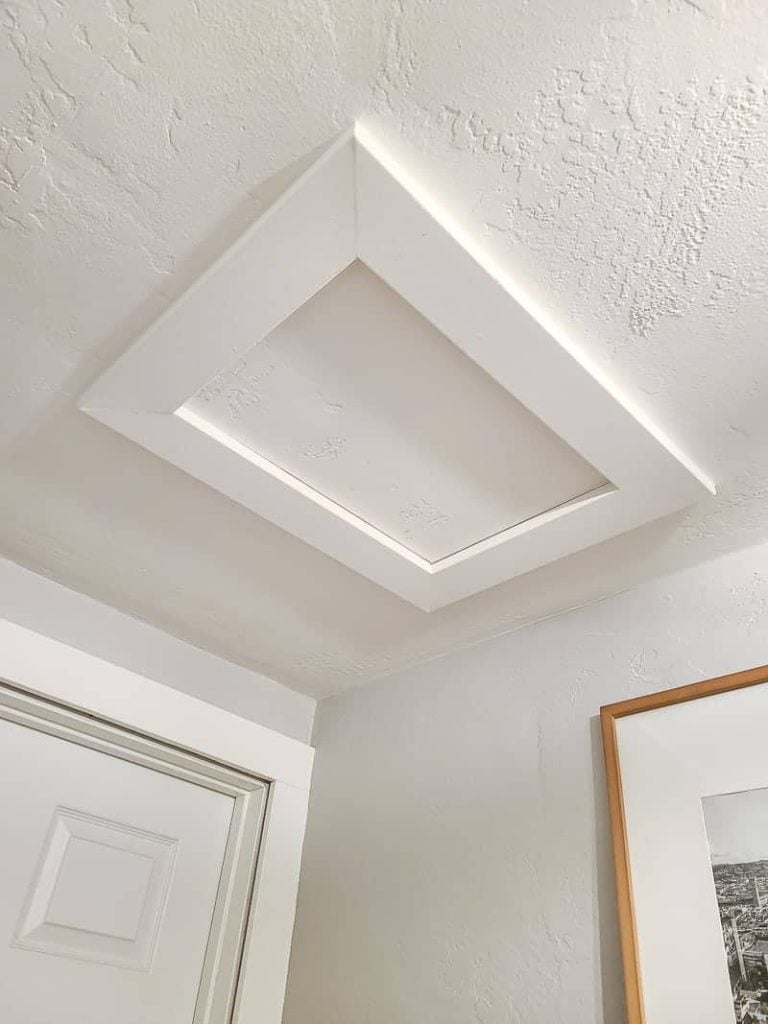
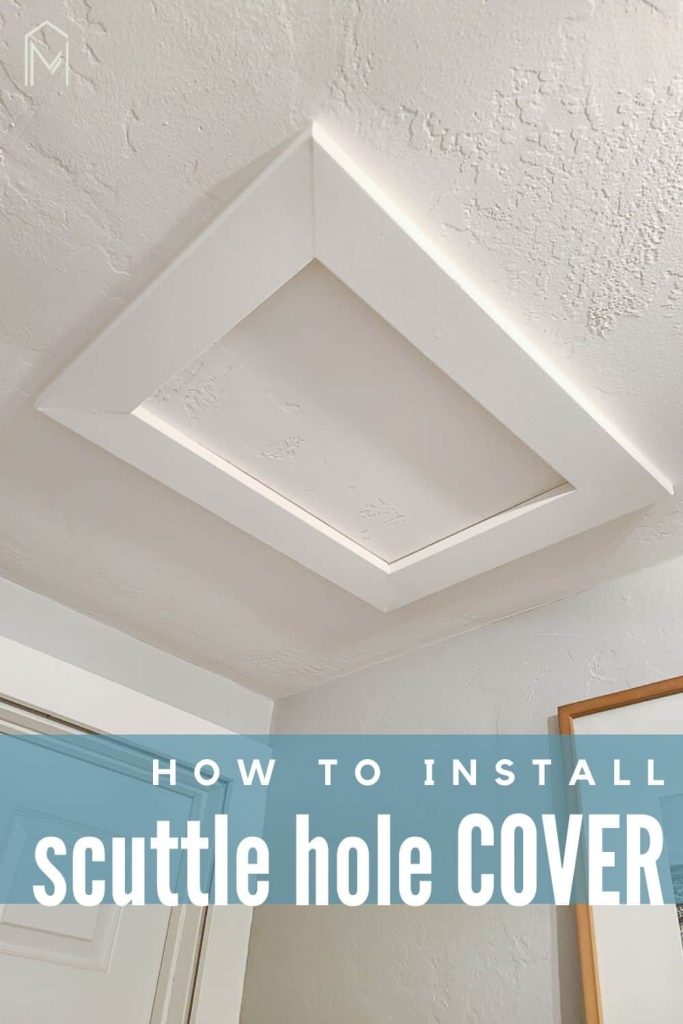
As soon as we finished this simple DIY project, we were asking ourselves why we waited so long to finish this up! It looks so much better in the hallway now, don’t you think?
WAYYYY better than the piece of plastic taped up to the ceiling, right? Haha!
There are several ways you can insulate the attic access hole if you wanted to go further. We’re probably going to add a small piece of insulation to the top of the panel if we notice any drafts or heat/chill at the location of the hole.
This is a quick and easy project that any homeowner can take on on a weekend. We hope you enjoyed this step-by-step process of how to create a scuttle hole cover for your attic access.
Do you have any other questions?
Let us know in the comments below!
DIY Scuttle Hole Cover For Attic Access
How to build a scuttle hole cover for your access to your attic. It's an easy DIY that any homeowner can do.
Materials
- Sawzaw or hack saw
- Stud finder
- Primed MDF trim
- Miter saw
- Tape measure
- Finish nail gun
- 2″ finish nails
- Piece of drywall roughly the same size as your scuttle hole opening (or keep the piece of drywall you cut out)
- Joint compound
- Drywall knife
- Putty knife
- DAP DryDex Spackling
- Sanding block
- DAP Alex Flex Premium Molding & Trim Acrylic Latex Siliconized Sealant
- Caulk gun
- Utility knife
- Primer
- Ceiling paint
- Paint brush
Instructions
- Cut scuttle hole in ceiling using a sawzaw. It should fit in between two ceiling joists.
- Frame out the edge of attic access hole using 1x4 MDF pre-primed trim.
- Cut new drywall panel for attic access hole and install.
- Fill nail holes in trim using DryDex spackle.Once the spackle is dry, sand smooth and wipe clean with a slightly damp rag.
- Caulk the edges of the framing.
- Prime and paint.

Tip for getting the framing to line up well around the scuttle hole. Use quick grip clamps, one per side. Once you have the alignment how you want it, use your nail gun to nail it in place. By using the clamps, you don’t have to rip out a bunch of nails just because you didn’t get everything aligned perfectly the first go. Not that I have had that happen to me or anything…I just find it easier to get the layout right before fixing anything in place. Clamps help with that better than any kind of funky jig I could think of. 😉
Thanks for sharing that helpful tip!
So that was the original location of the hole, never repaired?
When we moved into this house, the only spot to access the attic was in the garage on the opposite side of the house as this attic access that we added.