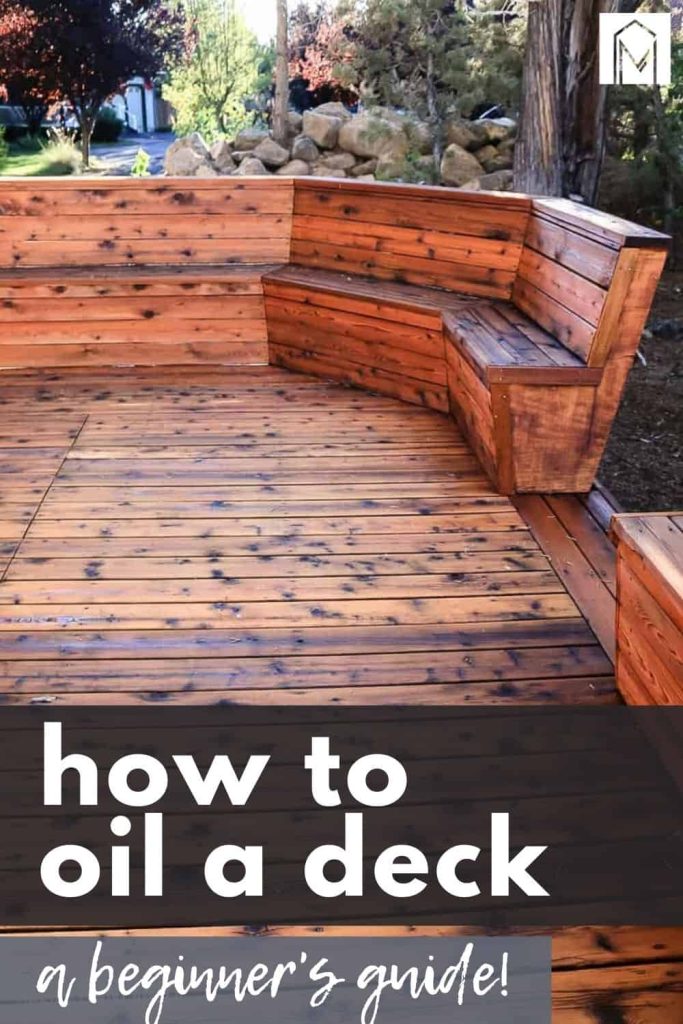
How to oil a deck (2 Methods Explained)

Finishing (or refinishing) your deck is an important step to ensure that your deck (and hard work) will last for years.
Oiling a deck is different from using a surface laying stain or paint. Oiling a deck will enhance and nourish the natural color of the wood while staining or painting will change the color and appearance.
Decking oil is used to protect the wood from weathering and UV exposure. Leaving a wooden deck untreated will result in cracking, fading, splintering, and weathering as it is exposed to the elements. Just like with other home improvement projects, regular maintenance is required to keep your deck looking fresh. We recommend a regular application of deck oil about once per year, no matter what method you choose.
Table of Contents

This oil a deck tutorial contains affiliate links, but nothing that I wouldn’t wholeheartedly recommend anyway! Read my full disclosure here.
How to Apply Decking Oil
Most decking oils are easy to apply and provide a beautiful finish.
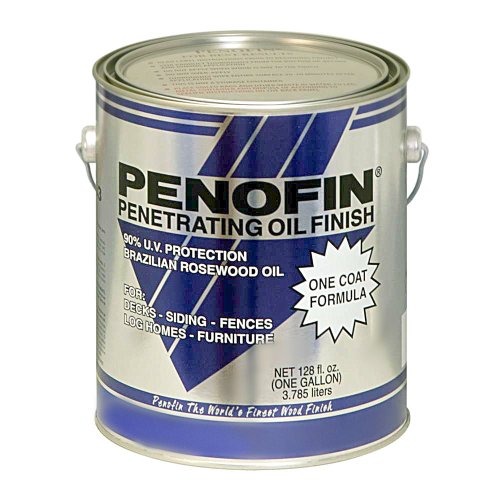
For both methods you see here, we used Penofin Blue Label Brazilian Rosewood Oil Finish in Redwood Color and the result was beautiful every time!
The best deck sealer is going to depend heavily on the current age, condition of your deck, and how much work you are willing to put in prepping the deck.
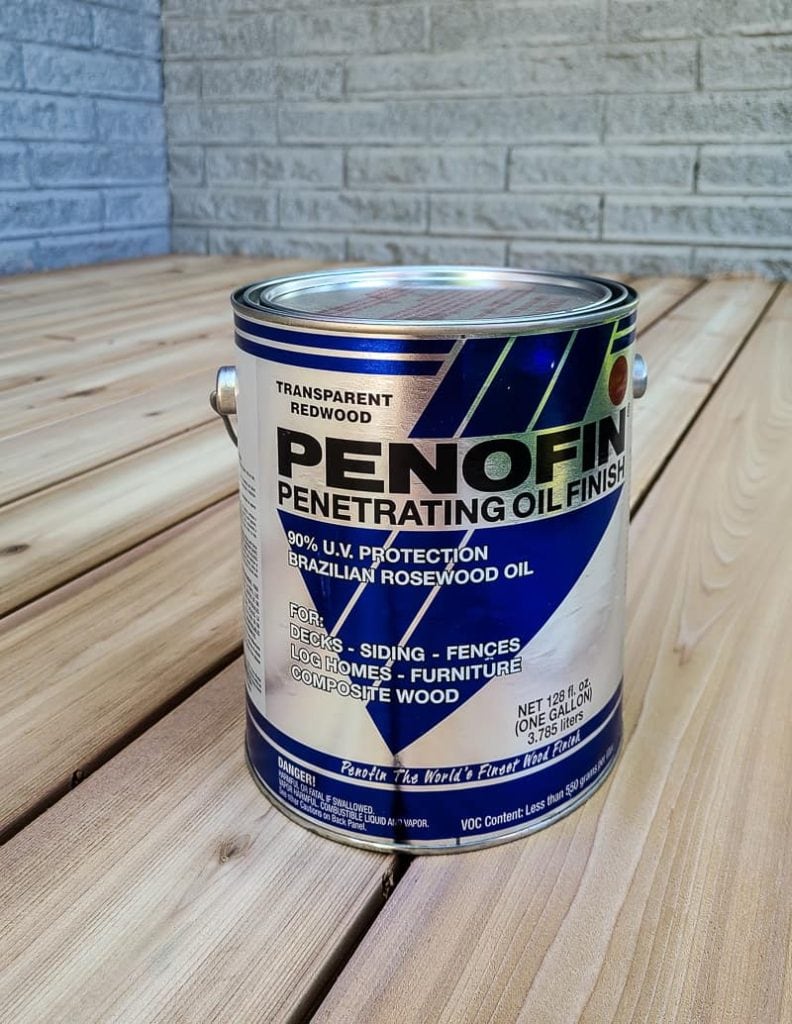
If your deck is brand new or if you sanded down your deck, a penetrating oil-based stain is going to be your best bet. We did lots of research and landed on Penofin for our decking (read more about the Penofin sealer here). We used this product for applying the decking oil with a sprayer and with an applicator pad.
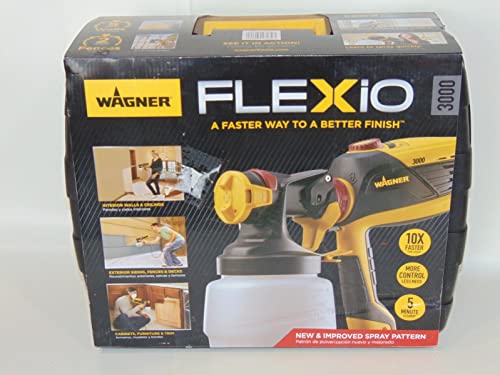
After both methods were complete, I found that applying oil with a paint sprayer was the most time-efficient and easiest method. We used our Wagner FLEXiO 3000 sprayer to get the job done and it did not disappoint!
We can’t emphasize enough how important it is to properly clean your deck before oiling. If you skip this step, your product won’t last as long and it won’t penetrate correctly.
Method 1: How to Oil a Deck with a Sprayer
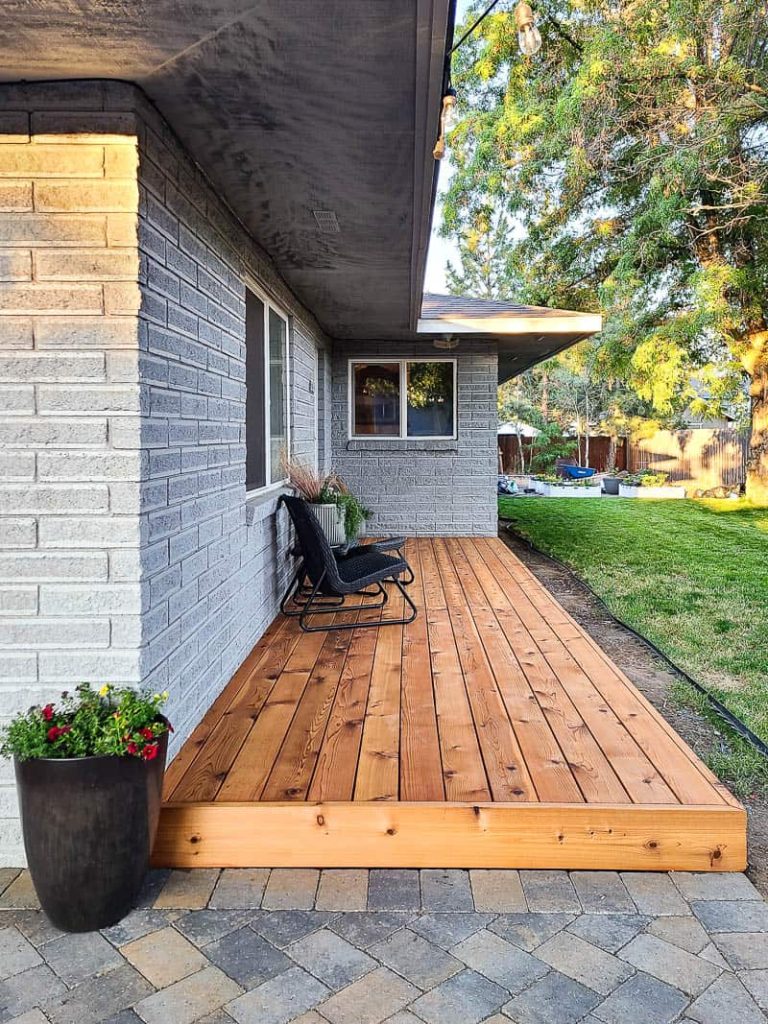
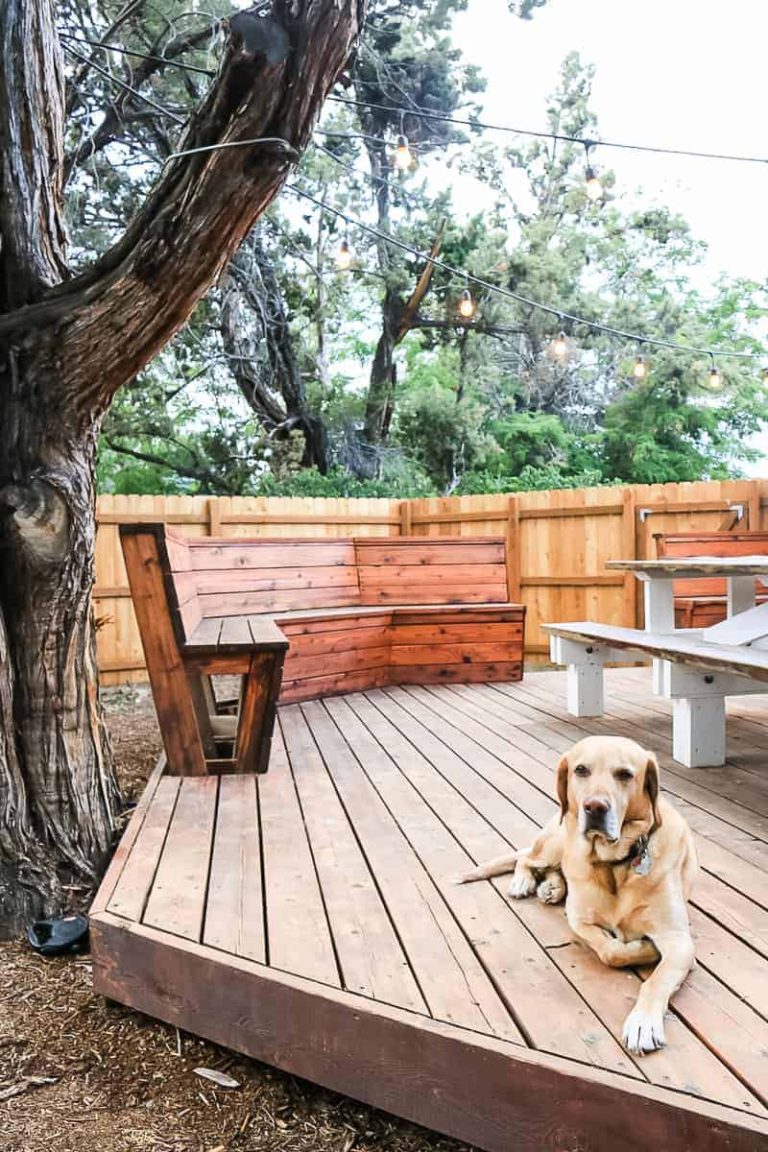
We used this method on a freshly built deck, so the wood was brand new.
This was the 2nd time I’d used the sprayer with a stain/oil type product rather than paint. I also used it to stain this DIY firewood rack. But, this was the first time I had used it with an oil-based product versus a water-based product. The main difference is that you must clean everything with mineral spirits when working with oil-based products, rather than soapy water clean up using water-based products.
If you love DIY videos, be sure to subscribe to our YouTube channel here!
Supplies needed to apply deck oil with a sprayer:
- Wagner FLEXiO 3000 Paint Sprayer
- Penofin Deck Oil
- Oil Brush
- Plastic Sheeting
- Rags
- Gloves
- Mask
- Safety Glasses
- Lacquer Thinner or Mineral Spirits
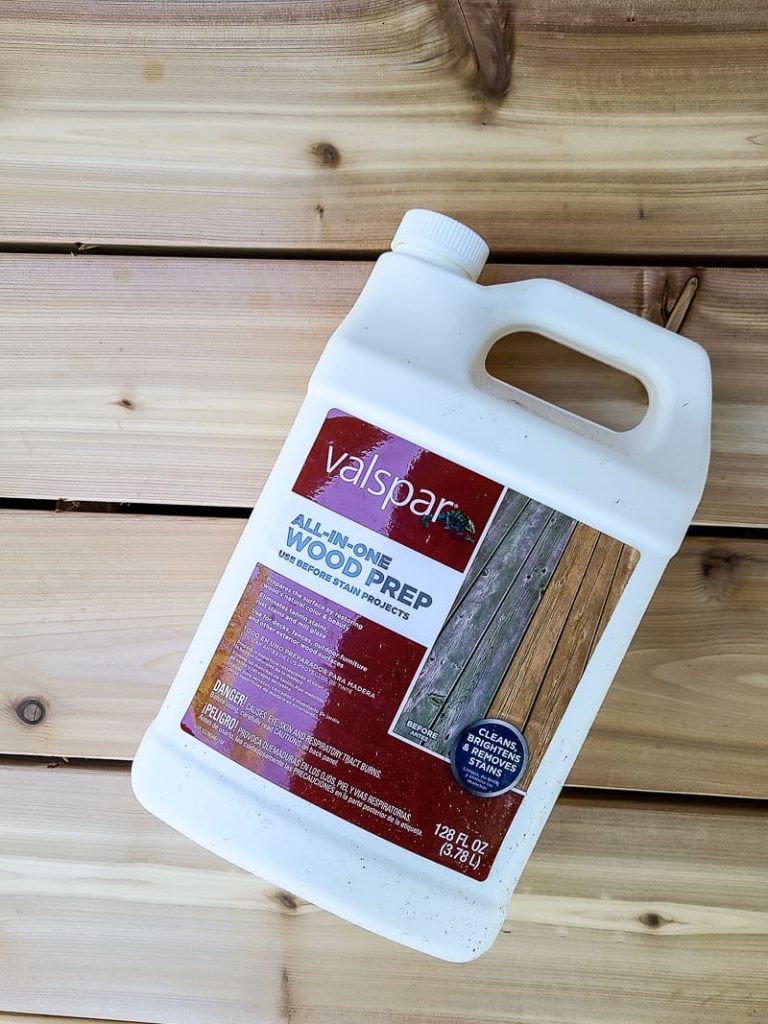
- Wood Prep (Deck Cleaner with Wood Brightener)
Steps to oil a deck with a sprayer
Step 1: Prep the wood
Use deck cleaner and wood brightener to prepare the wood deck. Follow the manufacturer’s instructions on the products you purchased. As mentioned before, do not skip this step!
Even though our deck was brand new, the wood had a “mill glaze” over it from the lumber mill, so this was a really crucial step in preparing for oiling. It’s time-consuming but important so the oil can absorb into the wood.
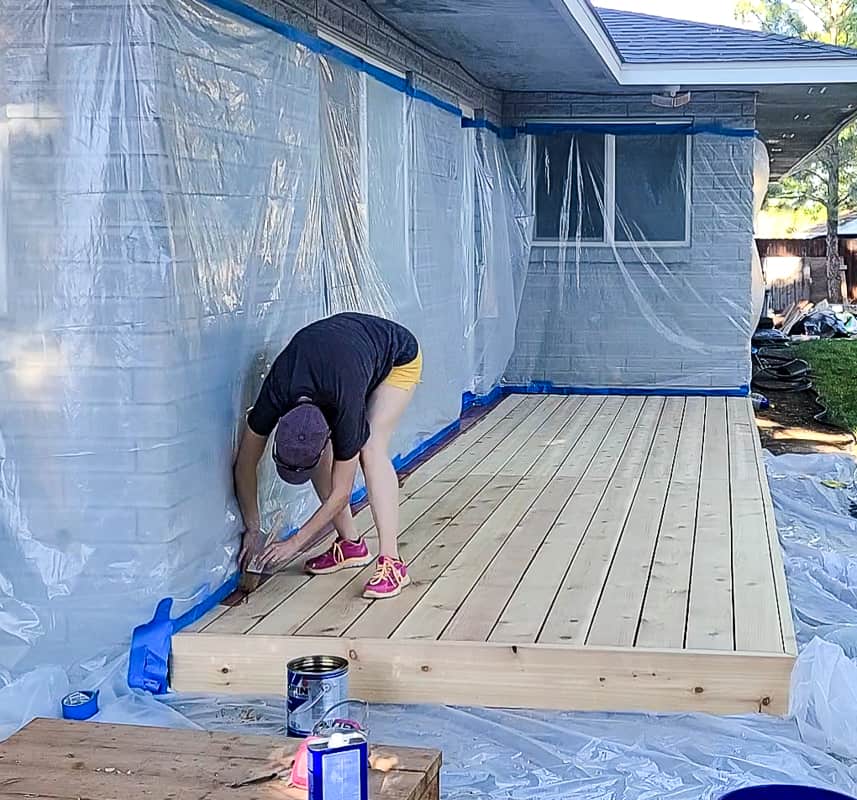
Step 2: Protect the work area.
Just like any other paint job, take the necessary steps to protect other parts of your home, furniture, and walls with plastic sheeting.
Our exterior walls are a rough-textured brick, so we had a difficult time getting the painter’s tape to stay in place and hold up the plastic sheeting.
Instead of risking any overspray on the brick, I decided to use a brush to “cut in” around the edges where the wall met the deck.
Make sure you use plastic sheeting to cover all areas that might be in the path of potential overspray.
Step 3: Prepare the paint sprayer.
Now, it’s time to get the paint sprayer ready! First things first, check the filters on the side to be sure they do not need changing before you begin spraying. If you need help doing this, we have a tutorial to help you change the filters.
Start by configuring the material settings, air power settings, and the spray width on the unit. Because of the shape of our deck, I used the side-to-side spray option on the sprayer.
If you will be pointing the machine downward (like I did) make sure the paint tube that connects to the nozzle is pointed forward so it can distribute the contents of the canister evenly. If you are oiling a deck that is already installed, this will most likely be the option you choose.
Now, open up the oil can and stir well. Then, pour it into the machine’s canister.
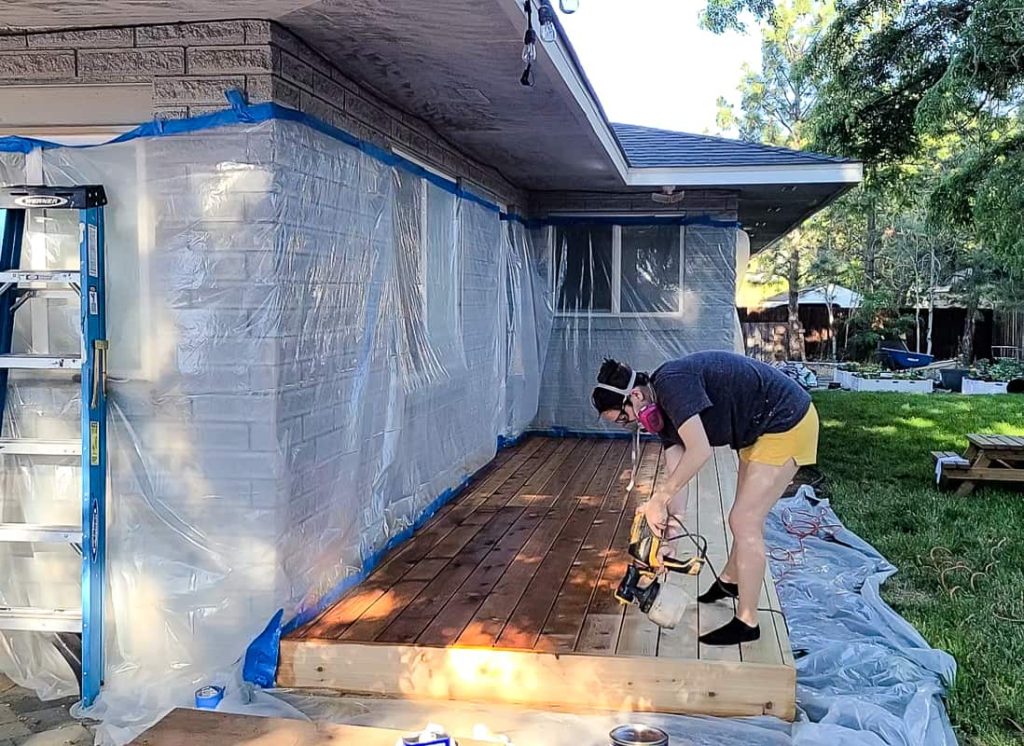
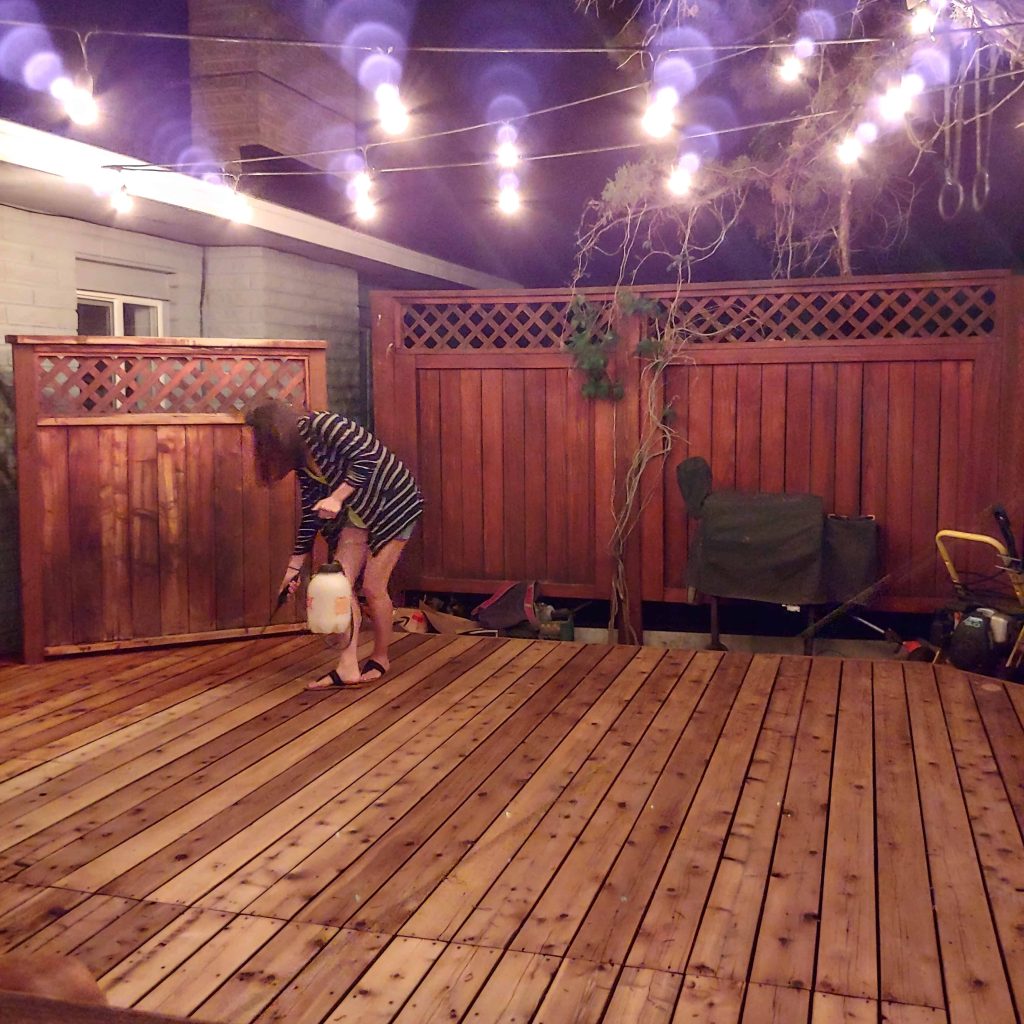
Step 4: Begin spraying
Going row by row, spray the deck oil in a thin layer. Be sure to read the manufacturer’s instructions for the oil, so you know how long it needs to absorb before wiping away the excess.
For this reason, work in smaller batches and spray only what you can manage to reach and wipe clean. Only allow the oil to sit on the surface for the recommended amount of time.
Also, make sure you aren’t applying the oil in the direct sun as it will dry faster and will affect the end result. If the oil sits for too long or dries, it will gum up on the surface and it is hard to remove if that happens.
After the deck is completely oiled and wiped, assess to see if you need a second coat or not. Give your deck a full 24 hours to dry before you make the call.
Keep in mind that the oil will darken as it ages, so the second coat might be best for another weekend project.
Step 5. Clean sprayer.
After your deck is complete and drying, you will need to clean the machine.
Initially, I was concerned that the cleaning process for an oil-based spray would be an inconvenient hassle, but it was as easy as the painting itself.
Using mineral spirits or lacquer, fill the canister about a quarter of the way full and spray into an empty paint bucket or metal container. Then, using a Scotch sponge, wipe all other pieces and tools down with lacquer thinner.
Method 2: How to Oil a Deck with Applicator Pad
We used this method when we restored our wooden deck.
Supplies needed to apply deck oil with an applicator pad
Steps to oil a deck with an applicator pad
Step 1: Clean the deck.
If you are starting from scratch with this method, follow along with the detailed cleaning and oiling process for restoring a deck with old paint, sealant, or other material.
- Sand down previous paint, stain or finish, if needed. Alternatively you could use a stripper to remove the old finish.
- Use a pressure washer with a wide-angle tip, followed up by wood cleaner applied with garden sprayer and use a scrub brush. Hose off cleaner when finished.
- Repeat with a wood brightener next. Apply with a garden sprayer, let sit and scrub in with a deck brush. Hose off brightener when finished.
It is very important that your deck is clean before you begin applying oil. This creates a clean slate for the decking oil to absorb. You will repeat the cleaning process multiple times, but trust me, it’s well worth your time, and the result will be outstanding.
Each clean step is incredibly important as the products all work together.
- The sander (or stripper) gets the previous finish off.
- The pressure washer and wood cleaner get rid of any mildew, stains, and dirt.
- The wood brightener further cleans brightens the wood and balances your deck chemically.
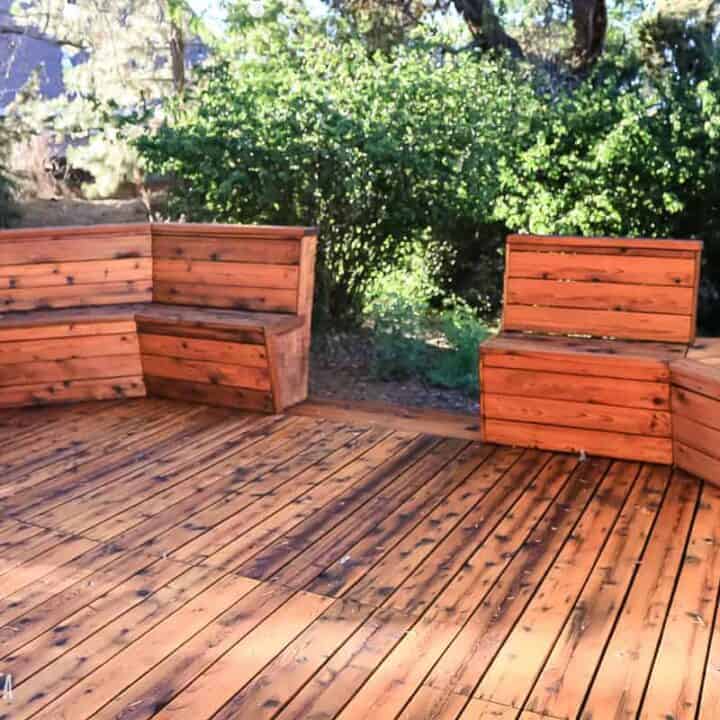
We also used a wood brightener for this method as well. It makes a huge difference when you are trying to restore a deck and give it life again.
Our wood deck looked nearly brand new when we were done cleaning and applying the wood brightener!
After you’re done cleaning, it’s important that you let it dry fully before applying deck oil. Remember that oil and water don’t mix well!
So how do you tell if your deck is dry enough to apply a sealer? Well, an easy way is to pour a couple of tablespoons of water in an inconspicuous part of your decking. If your deck absorbs the water within 8-10 seconds, you can get ready to move on to oiling. Anything longer than that and you should wait a while before testing again until it absorbs quickly enough.
Step 2: Apply the deck oil.
Once your deck is dry enough, begin applying the oil in thin coats.
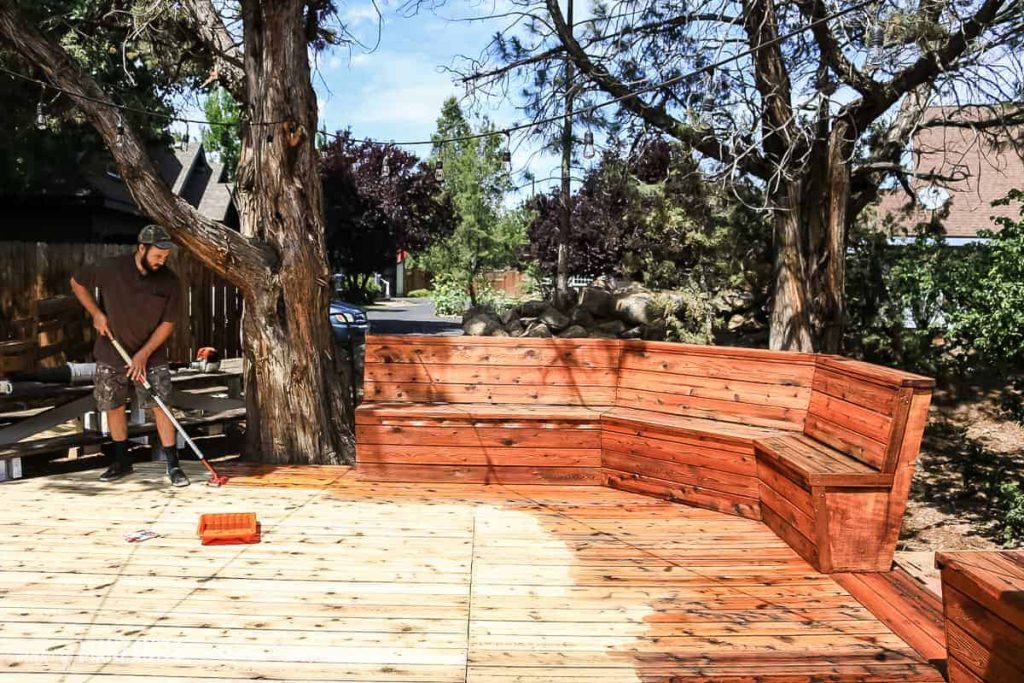
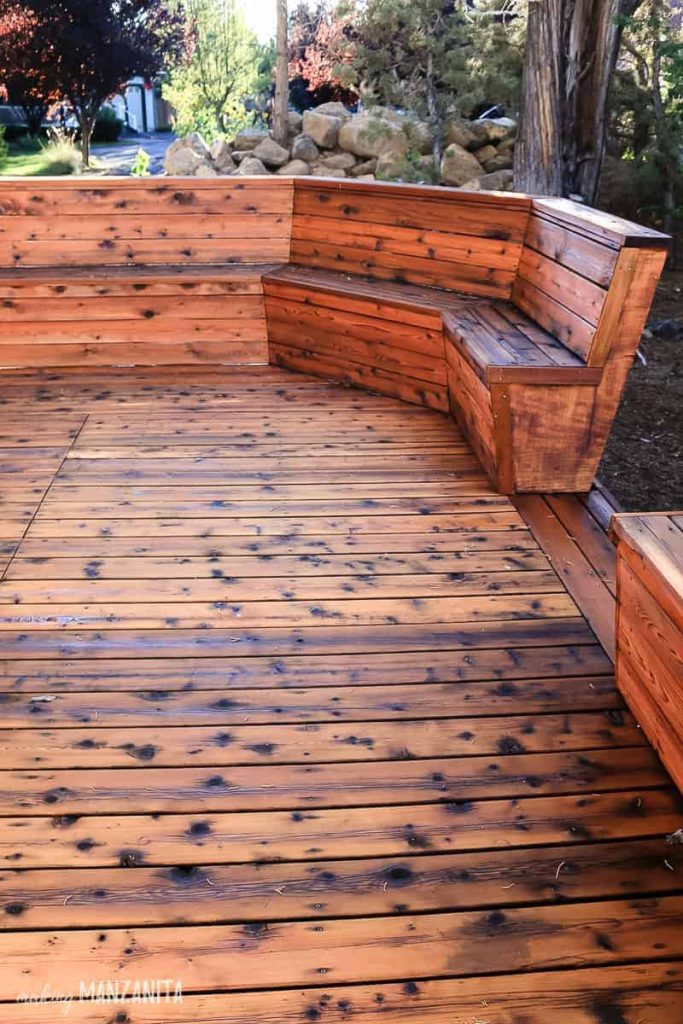
Since we had benches made out of the same decking material, I used a stain brush to get into the areas where the applicator pad wouldn’t reach.
If you have similar areas, make sure you start there first and work your way down to the floor of the deck.
Then, we finished off the deck by applying the oil with the applicator pad on a pole. The decking really started to come to life with the oil.
We did a total of two coats allowing it to dry completely in between. After one year, the color and wood was still holding up so well!
Future deck oil maintenece
In order to maintain the same result, it’s recommended to apply a new round of oil once a year. The great thing about using oil for decks is that you do not have to sand down in the future (like you do if you stain or paint). It’s as simple as cleaning and putting on a new layer of oil.
Whichever method you chose to oil your deck, you’ll be happy with the results. It is considered a pretty time-consuming project, but it is so worth it when you see how beautiful the finish is when you’re done.
What questions do you have about oiling a deck?
Leave them in the comments below.
How to Oil a Deck
Learn how to oil your deck to help keep it from cracking, fading, splintering, and weathering as it is exposed to the elements.
Materials
- Wagner FLEXiO 3000 Paint Sprayer
- Penofin Deck Oil
- Oil Brush
- Plastic Sheeting
- Rags
- Gloves
- Mask
- Safety Glasses
- Lacquer Thinner or Mineral Spirits
- Wood Prep (Deck Cleaner with Wood Brightener)
Supplies for Oiling Deck With an Applicator
Instructions
- Use deck cleaner and wood brightener to prepare the wood deck. This step is time-consuming but important so the wood will be able to absorb the oil.
- Take the necessary steps to protect other parts of your home, furniture, and walls with plastic sheeting.
- Set up your paint sprayer.
- Going row by row, spray the deck oil in a thin layer. Apply according to the manufacturer's instructions.
- Apply a second coat if needed after allowing it to dry for 24 hours
- Clean your deck. Sand down the previous stain if needed, use wood cleaner and scrub brush then rinse with garden hose.
- Repeat step 1 with wood brightener.
- Allow to dry completely before applying deck oil.
- Apply deck oil using the applicator pad. Apply two coats if needed, allow to dry completely between coats.
Oiling your deck with an applicator pad (method 2)
Recommended Products
As an Amazon Associate and member of other affiliate programs, I earn from qualifying purchases.


Does Penofin have a strong odor ?
It does have a smell because it is an oil-based product. It goes away within 2-3 days.
What color stain is that?
For both methods you see here, we used Penofin Blue Label Brazilian Rosewood Oil Finish in Redwood Color and the result was beautiful every time!