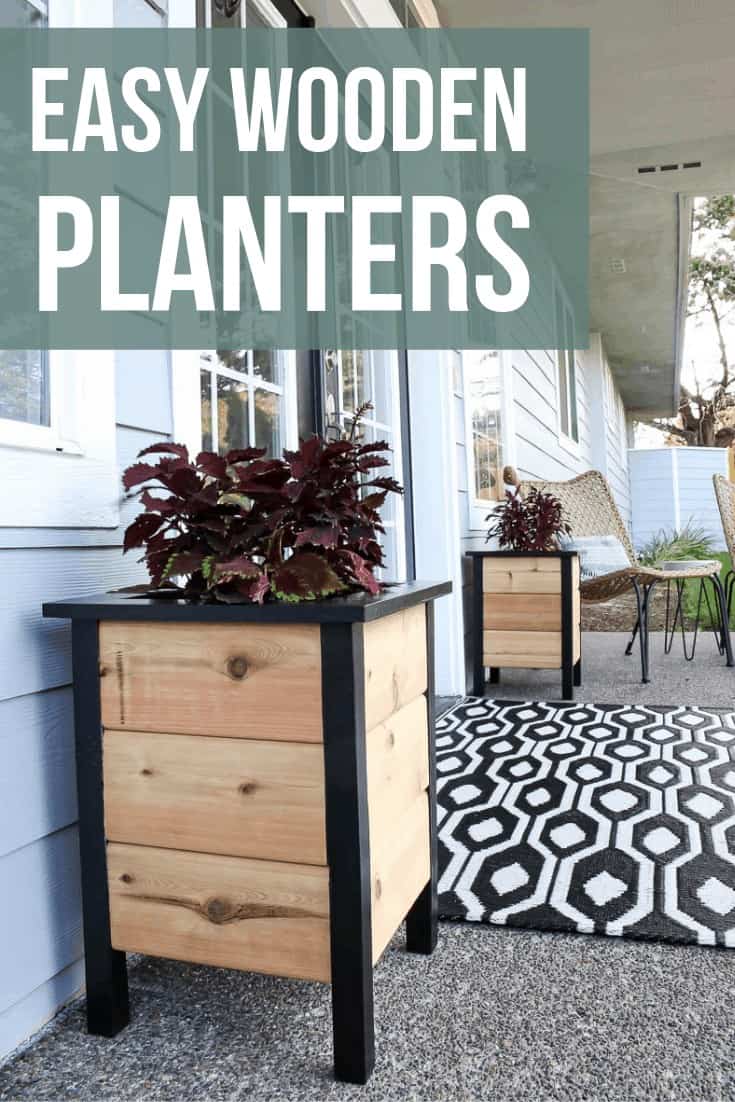
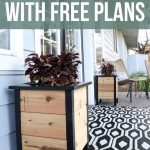
DIY Planter Box Plans For Front Porch

Want to add some life to your front porch? Download these easy DIY planter box plans and learn how to build these modern farmhouse planters.
Thank you to Kreg for sponsoring these planter box plans! All opinions are entirely my own. This post also contains affiliate links, but nothing that I wouldn’t recommend wholeheartedly. Read my full disclosure here.
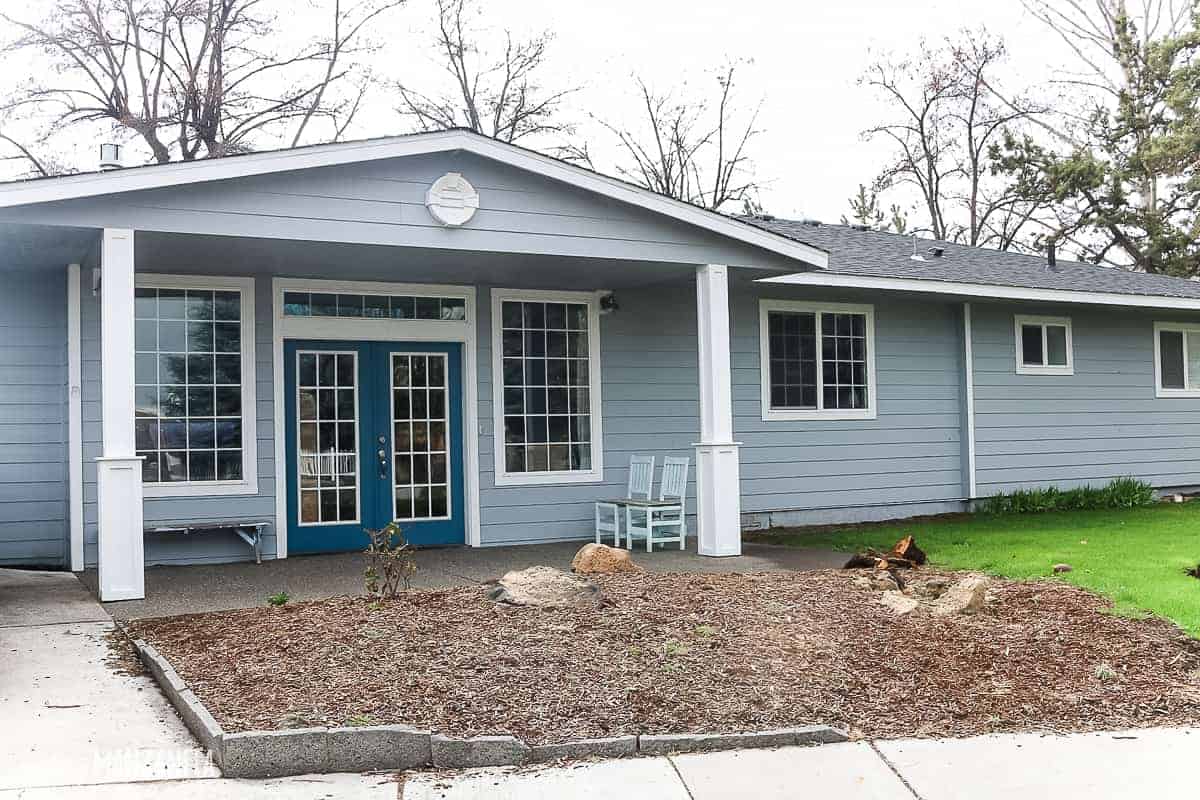
The Process of Decorating Our Home’s Front Porch
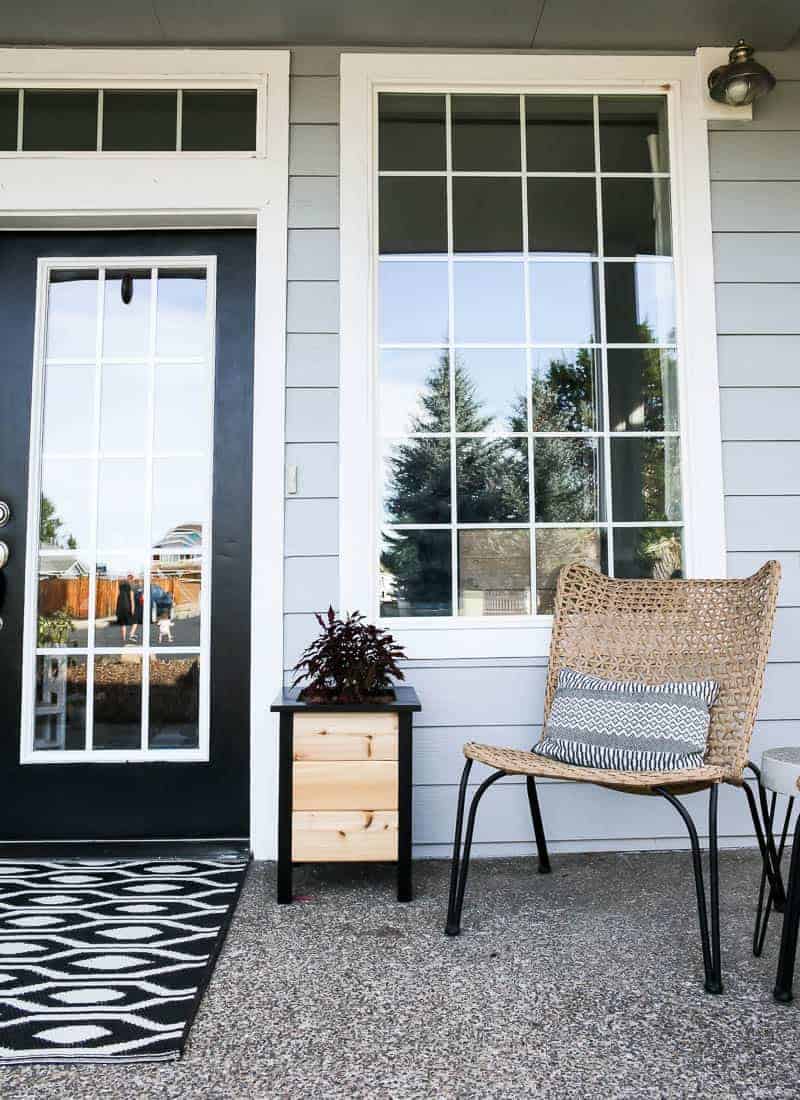
Our porch has come a long way this summer. Remember when it looked like this at the beginning of the summer?
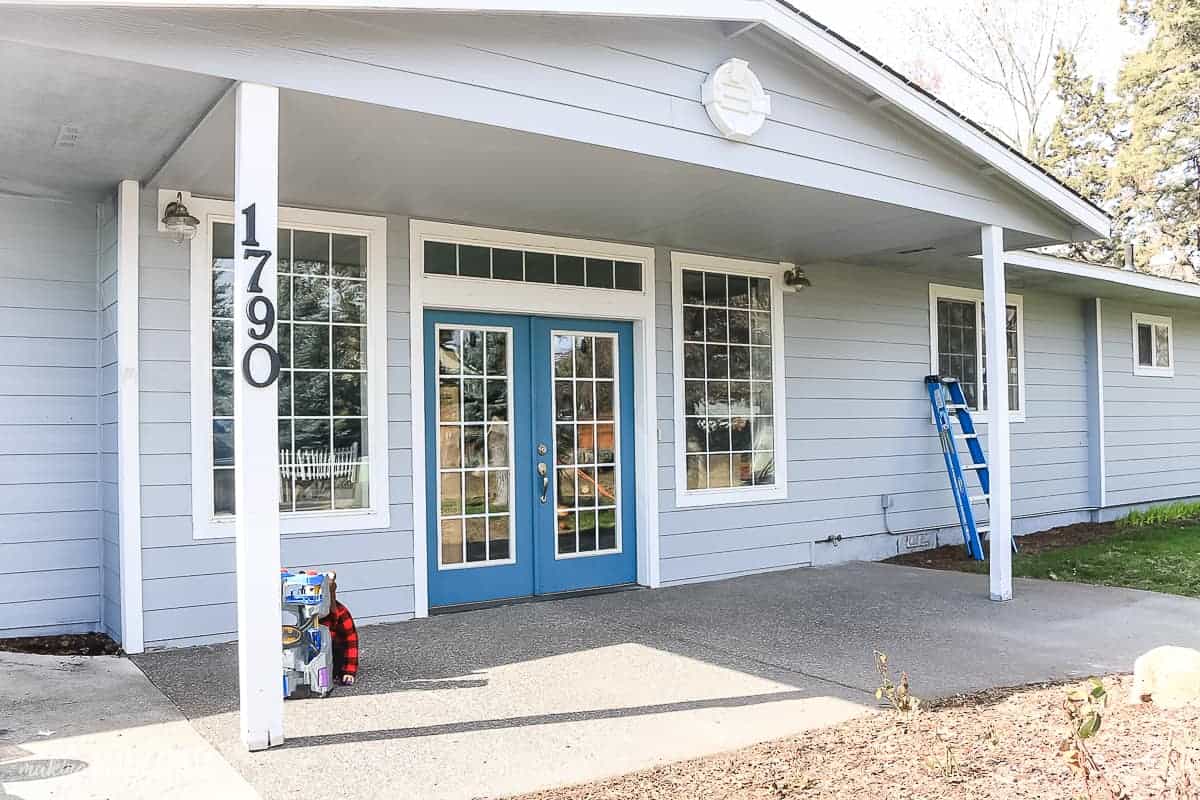
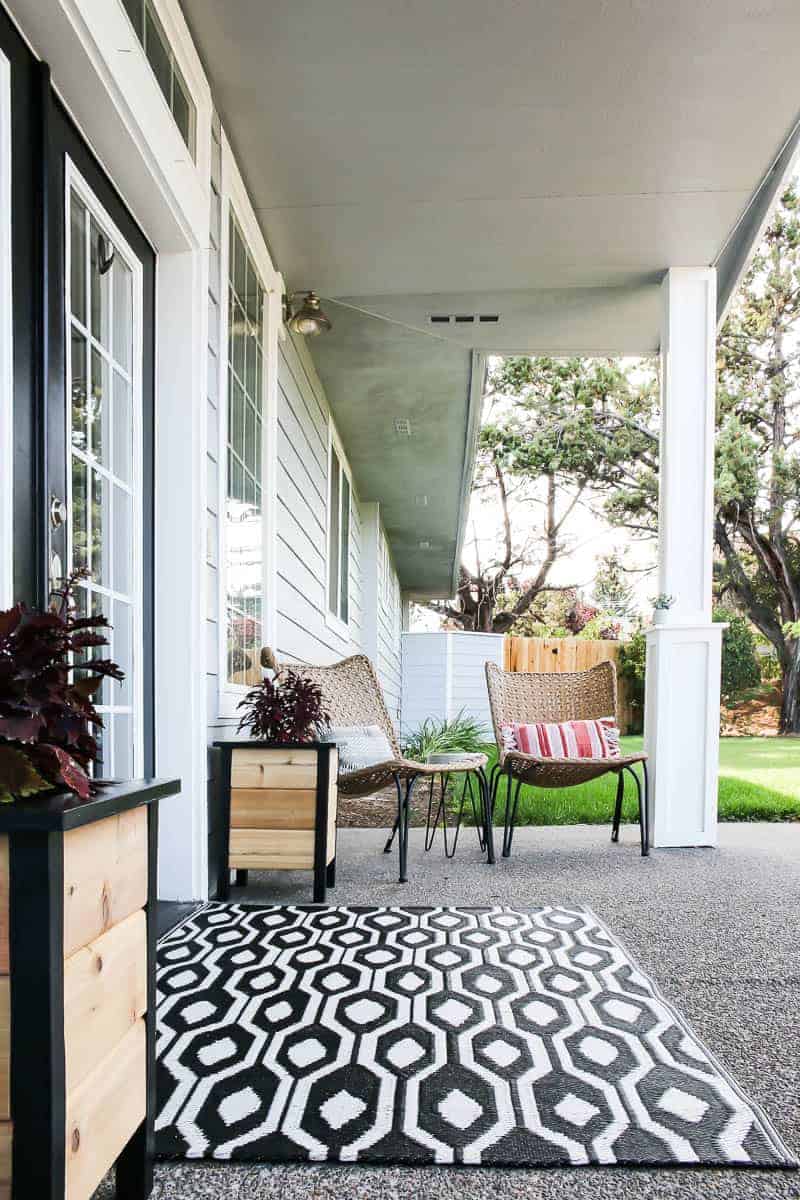
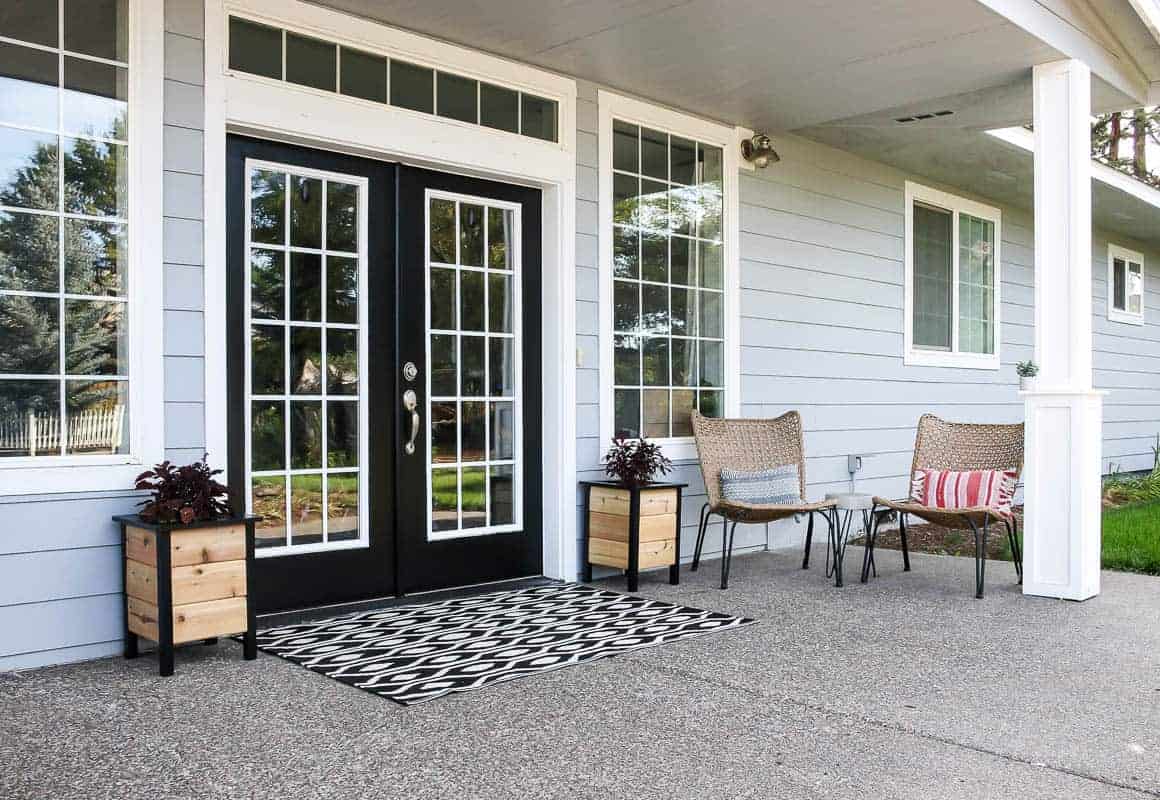
Well, the porch post makeover made a huge difference in the curb appeal! What a fun project that was! It is a great way to add more character to the front porch (or any outdoor space with posts).
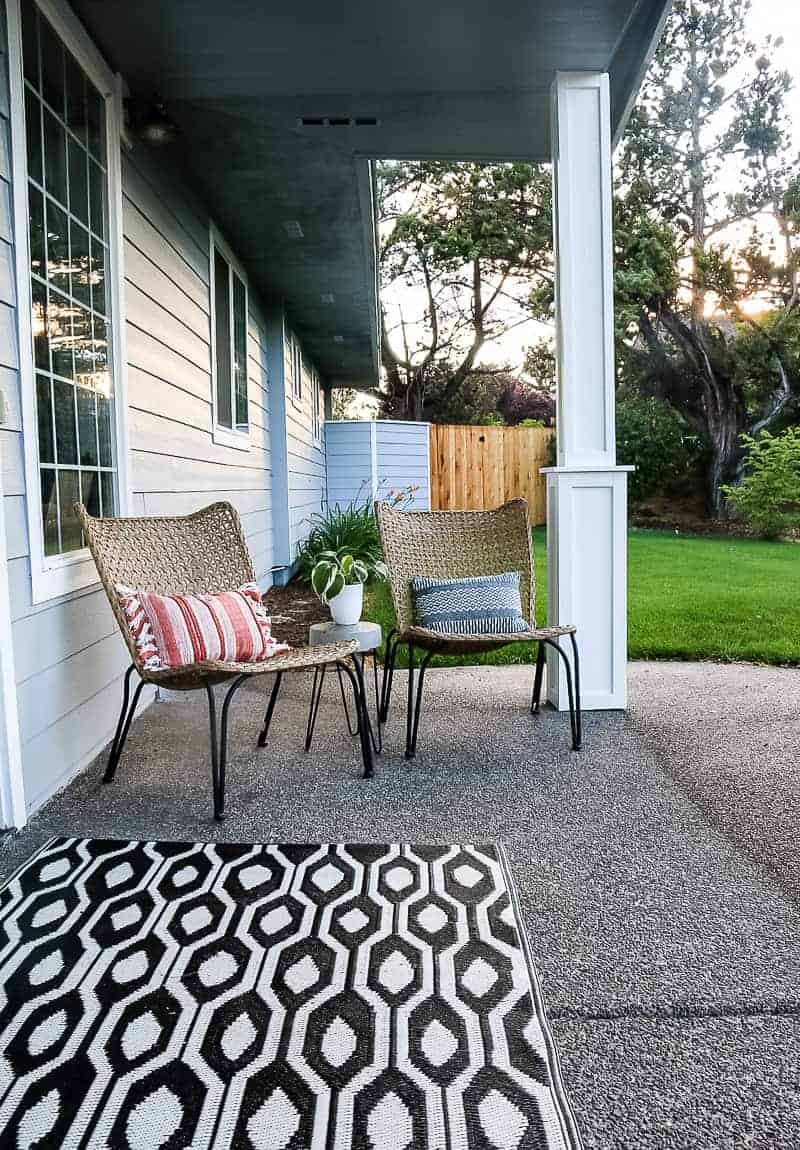
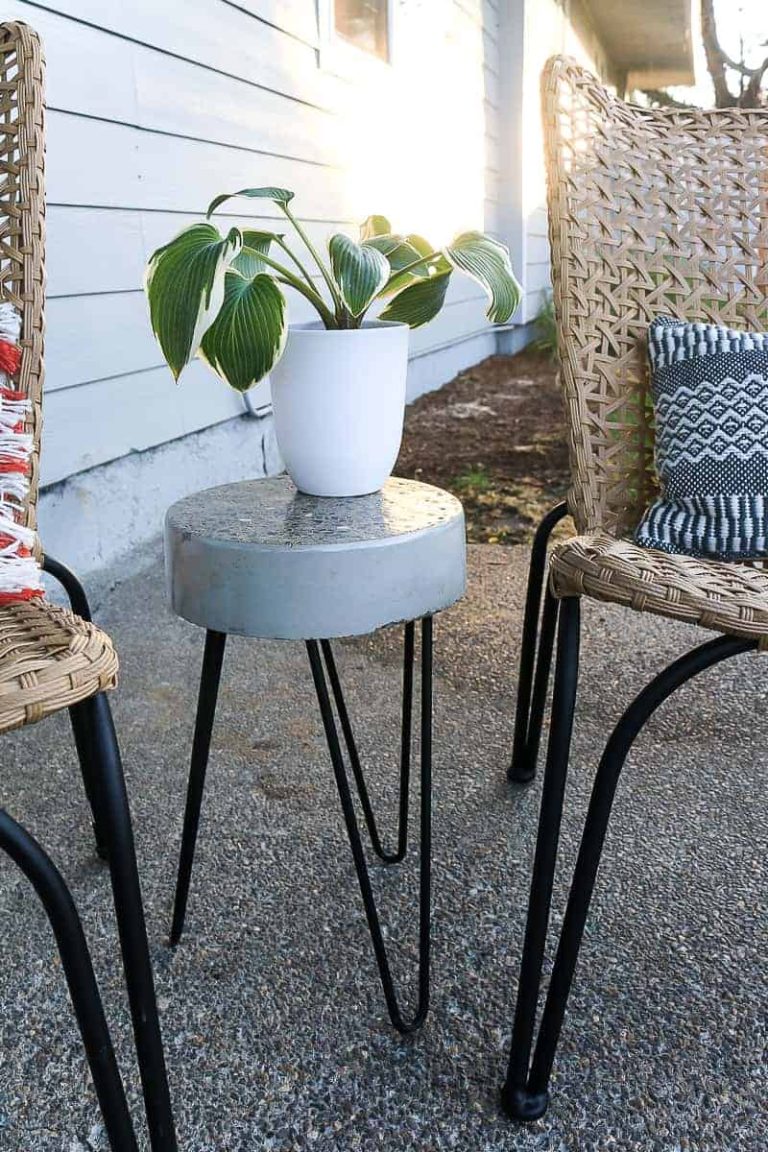
Then we got some cute new furniture to go alongside our DIY concrete side table (which was a great project too)!
Now that we are at the end of the summer, we decided it was time to add just one more outdoor project to really round out this front porch.
What we needed was to add a little more life to the front porch….
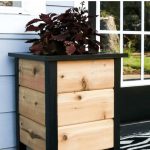
…Enter the DIY Planter Boxes!
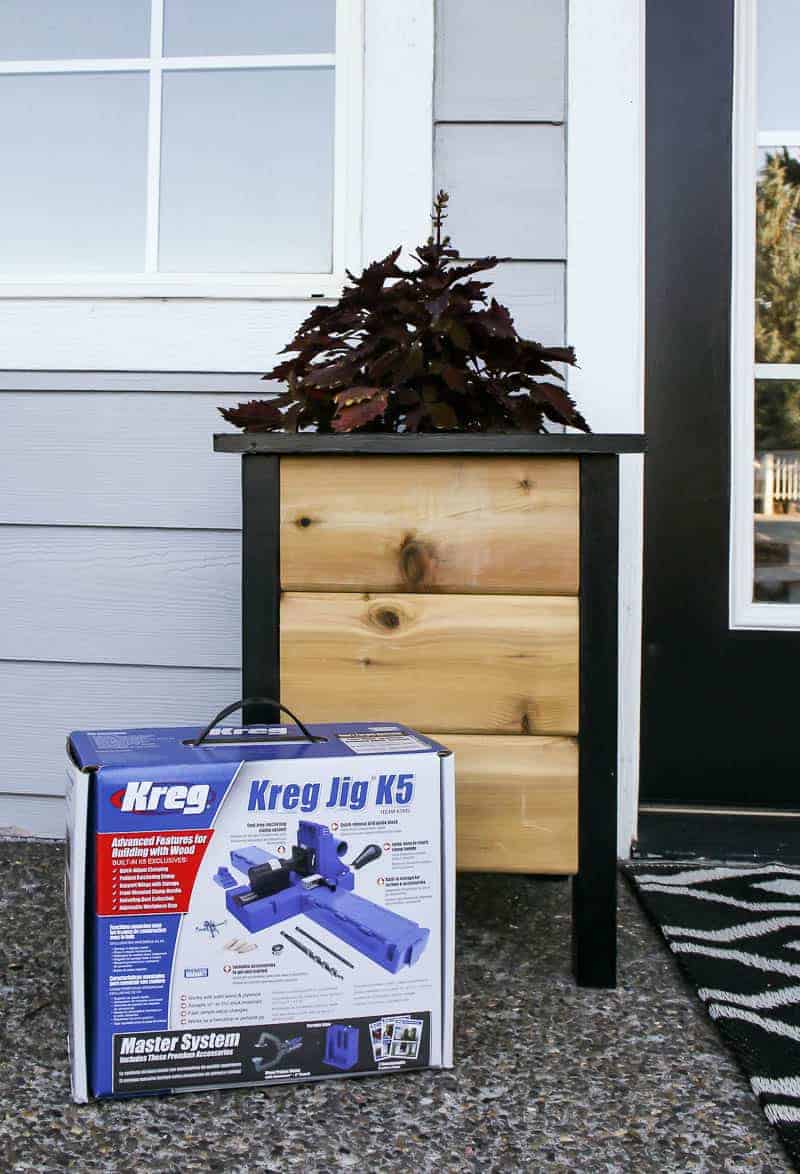
We teamed up with Kreg to create these planter box plans, which are available today over on KregTool.com
Kreg’s website is full of easy-to-follow woodworking plans that are all available for free! I’m sure you are going to find so much inspiration while you are there. Beginning woodworkers and experienced woodworkers alike always love a free plan, right?
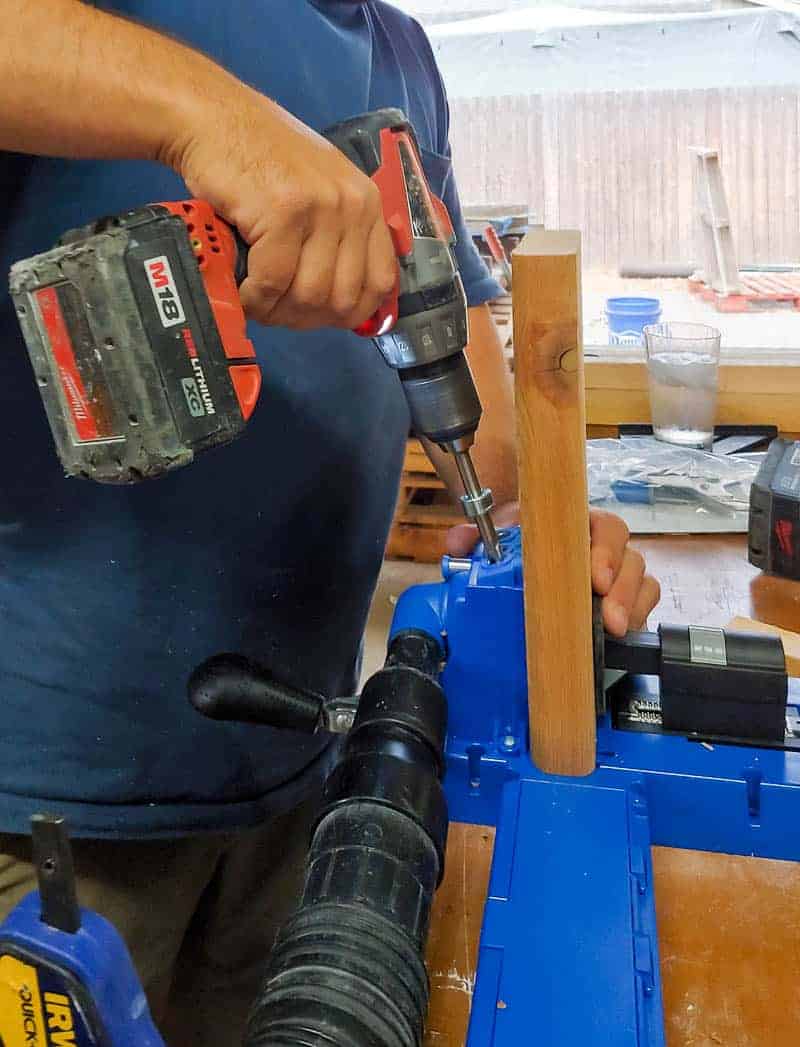
This was the first time we were using our new Kreg K5 Master System, which we used to create the pocket holes for the joinery.
It was SO easy to use and made putting these planters together a complete breeze. Click here to learn how to set up your pocket hole jig and use it (video tutorial included!)
UPDATE: In 2021 Kreg replaced the K5 Pocket Hole system with the Kreg 720 Pro. Check out our guide all about the new Kreg 720Pro to learn more.
DIY Planter Boxes – Detailed Instructions
Wood products needed (to make one planter box):
- 1×4 Board, 96″ long
- 2×6 Board, 96″ long & 120″ long
- 2×2 Board, 96″ long (we used these ones called cedar square balusters at Home Depot)
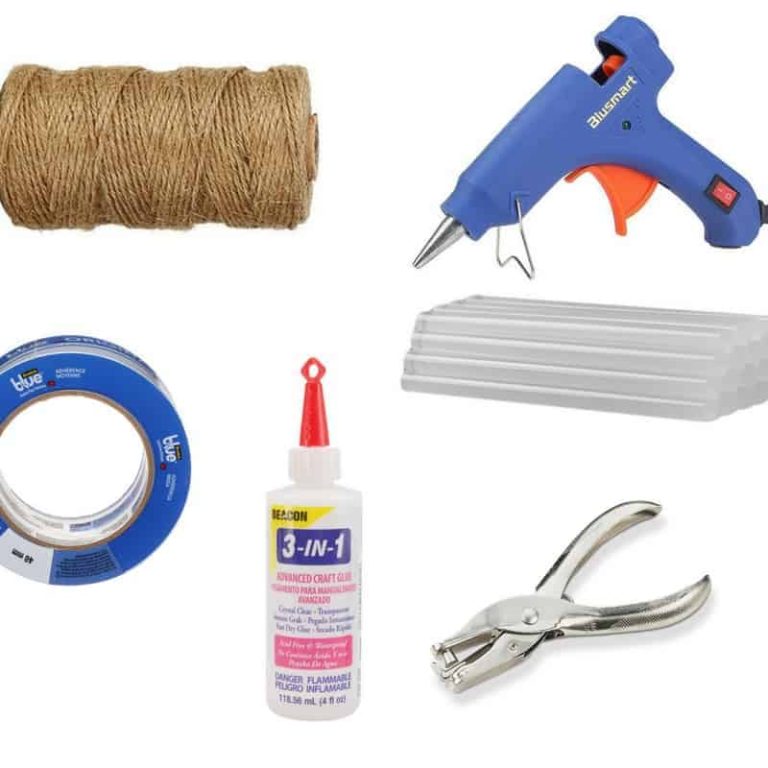
Supplies needed:
- Kreg Blue-Kote Pocket Screws (1 1/2″)
- Black Exterior Paint
- Plastic Wood X Wood Filler
- Sandpaper
- Staples or nails
Tools needed:
- Kreg 720Pro Pocket Hole Jig
- Miter saw
- Table saw (optional)
- Tape measure
- Clamps
- Impact driver
- Power drill
- Stapler or nail gun
- Air compressor (if needed for your stapler or nail gun)
- Orbital sander
Step 1: Cut Wood
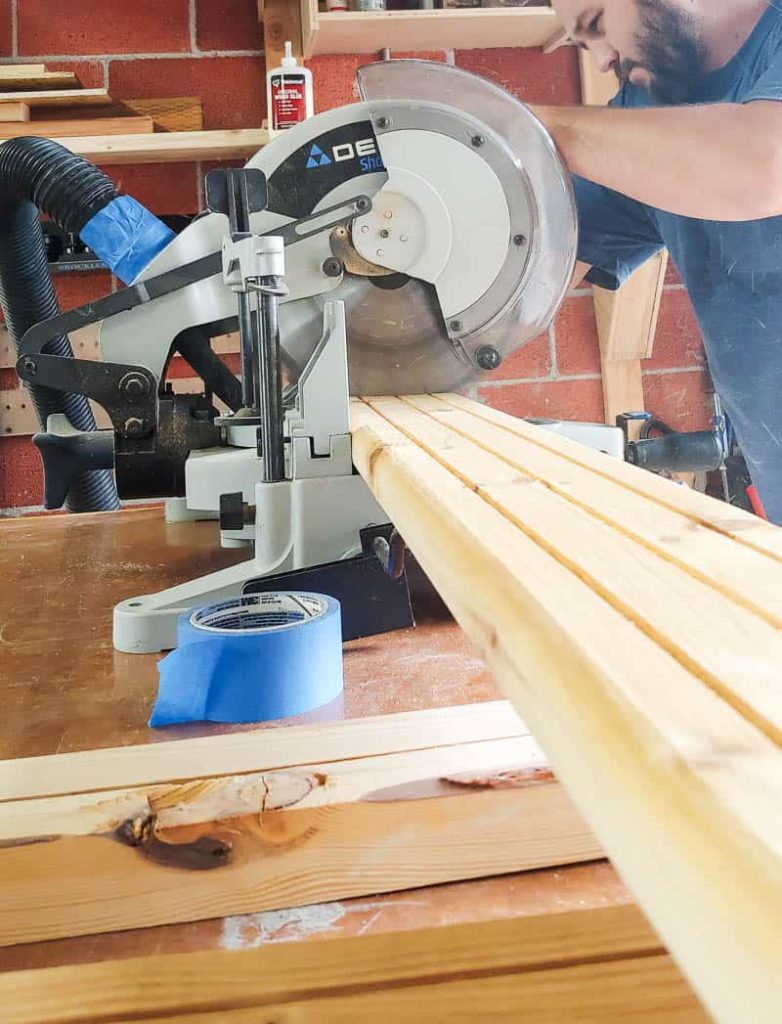
- Use a miter saw to cut the wood to size. This is a great project for someone with a beginner skill level because it only requires mostly straight cuts.
- We also ripped 1 inch off of the 1×4 wood with the table saw to make it 3″ for the top trim piece. Alternatively, you could leave it 1×4, you’ll just have a bit more overhang on your planter.
- We did use 45-degree angle cuts on the top trim pieces, but since it is painted, you could probably use straight cuts with a butt joint if you wanted.
- You can get the free plans and the cut list with all dimensions here.
Step 2: Sand
- Sand wood for painting with orbital sander using 80-grit then 150-grit sandpaper.
Step 3: Drill Pocket Holes

- Use the Kreg Jig system to drill pocket holes.
- Drill 2 pocket holes on each side piece’s edges. to attach them to the legs.
- Since we’re using pocket hole joinery here, no need to use pilot holes or wood glue!
Step 4: Paint Legs and Top Pieces (optional)
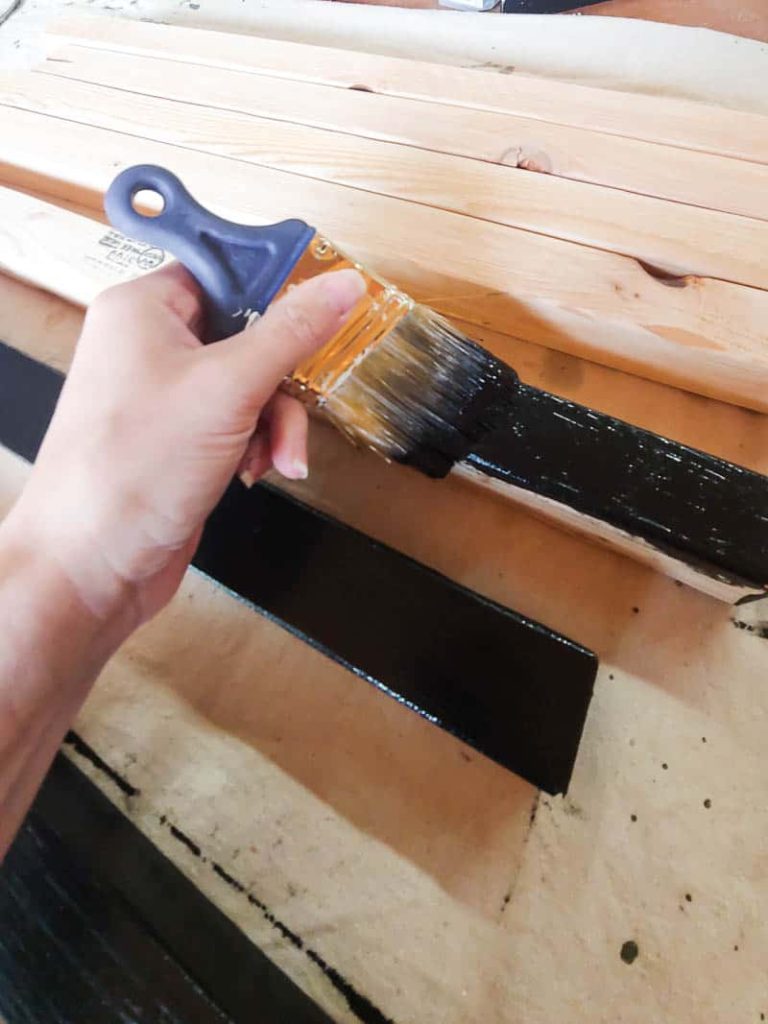
- If you want your modern planter box to look like ours, you should paint the legs and top before assembly.
- Note: We were using cedar planks (which is a great type of wood to use outdoors), so we opted to leave it unstained or unsealed so that it can age naturally outdoors. If you wanted to add wood stain or sealer to yours, you would want to do that before assembly preferably.
Step 5: Assemble Sides
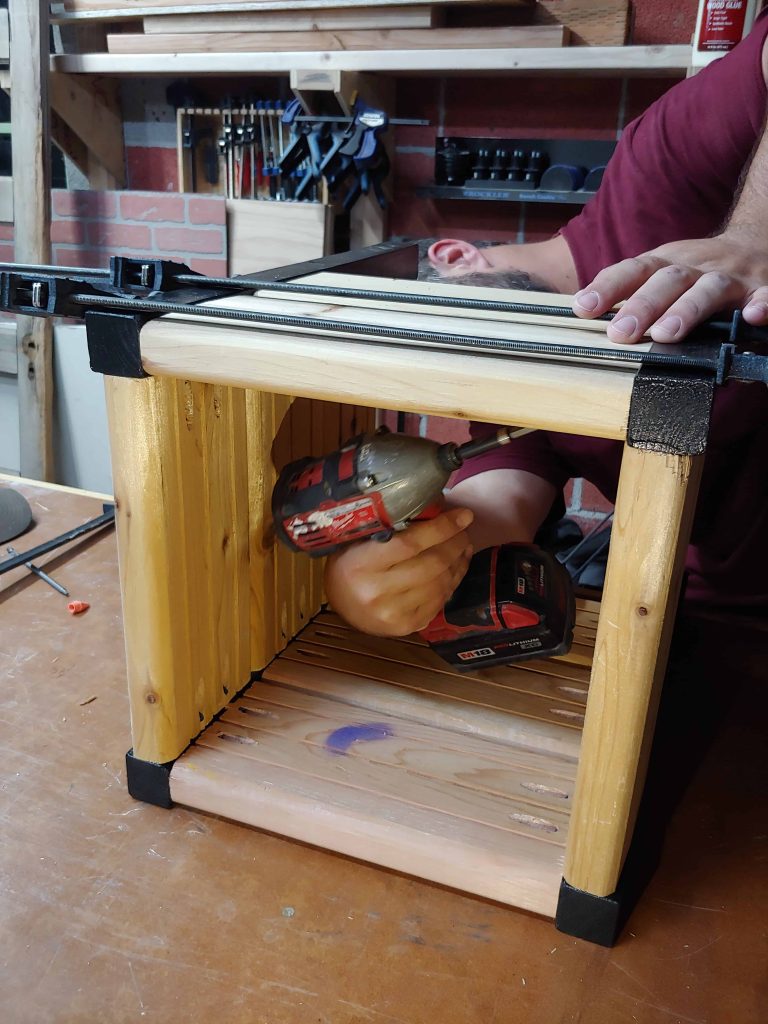
- Connect sides to legs, forming a box.
Step 6: Add Top Trim
- Use cedar for trim, and cut at 45-degree angles.
- Connect the 4 pieces together like a frame with pocket holes underneath in each corner underneath.
- Attach trim from the top with a staple gun or a nail gun.
- Fill holes with wood filler, and sand, and add another coat of black paint.
Step 7: Add Slats
- Attach 1-inch cedar slats 11 inches from the top for the planter pot to sit on. We just used small wood scraps for these pieces and used a nail gun at an angle to attach them from the inside.
- These slats at the bottom of the planter box make it easy to swap the potted plants out seasonally.
- There’s also plenty of drainage for water to pour out the bottom in between the slats when you water the plants (so no need to worry about drainage holes on this planter).
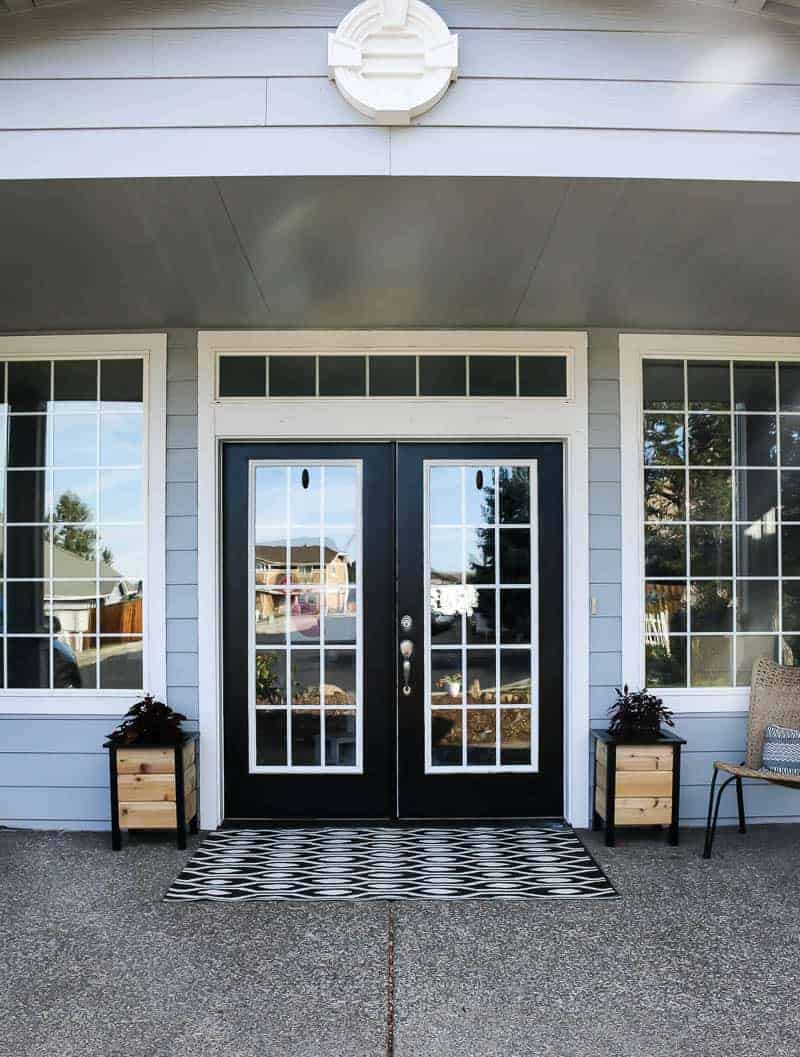
This DIY planter project was the first thing we ever made with pocket hole joinery and it was so easy! It’s a great easy weekend project that only uses simple tools. I love the modern look of the black paint with the contrast of the light wood.
…where’s the actual planter in these DIY planter boxes?
Now, these aren’t the typical planter boxes that you fill directly with dirt. I guess you could add a bottom to them if you wanted to.
If you did that, you would definitely want to make sure to protect the wood with a piece of landscape fabric or plastic though because the wet dirt would rot it eventually.
But I designed these DIY planter box plans so that you could easily place in grow pots and switch them out whenever you need to…seasonally or if…..er…ya know, the plants die. (I’ve been known to kill a plant or two around here).
It’s the perfect project if you swap out your potted plants frequently.
Guys….can you see it with me here? Mini Christmas trees in these planter boxes in a few months?! Gah, can’t freakin’ wait. (UPDATE: Check out the front porch all decked out for the holidays!)
It’s going to be so easy to just drop the new plants in the boxes whenever I want.
We saved a ton of money on the wood for these planters, here’s how:
Now friends….let me let you in on a little secret here. Because I KNOW you guys love saving money as much as I do.
We got the wood for the sides of the planter boxes for 70% off…. which means we saved a whopping $53.
Wanna know how? Well, of course, you do!
We got the cedar wood for the sides of the boxes in the cull lumber section at Home Depot, which is one of my favorite tips for finding cheap lumber!
Cull lumber are pieces that are damaged, so they are heavily discounted. Some of the damage can be severe, but sometimes it’s just a small scrape or split that you can easily work around.
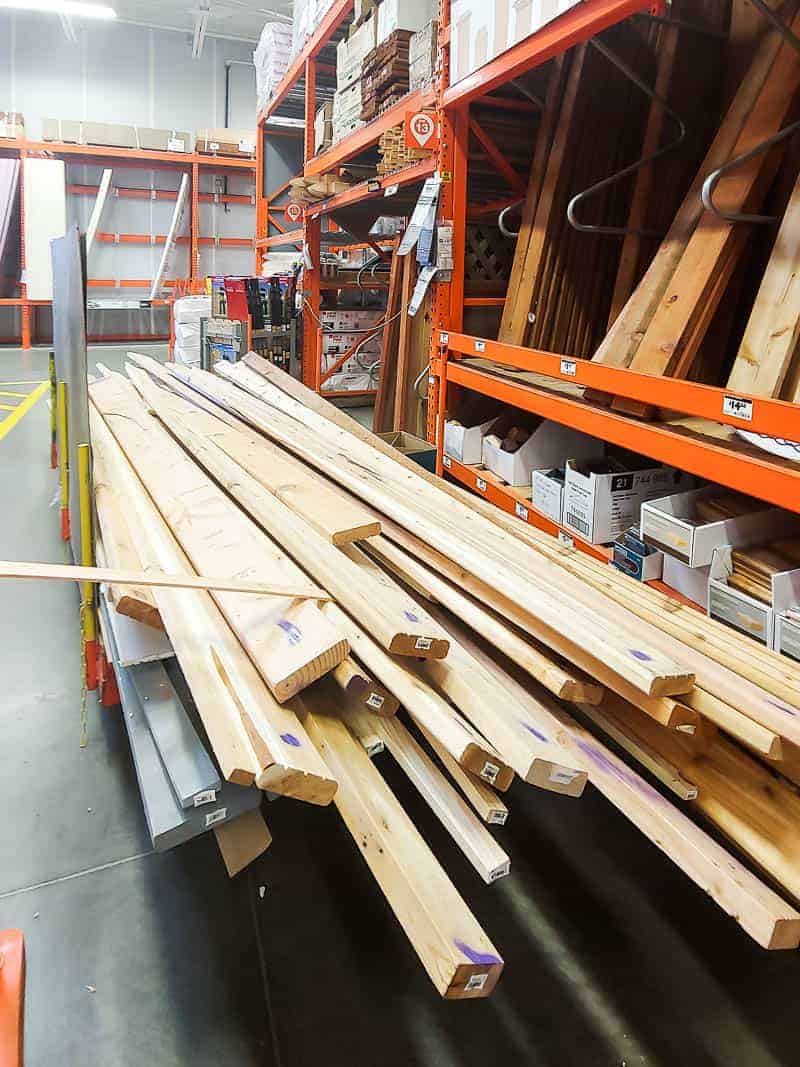
Moral of the story = it is ALWAYS worth checking out the cull lumber section for your woodworking projects.
Especially the small woodworking projects because it is pretty easy to work around damage or even warped pieces when you cut the pieces of wood smaller.
Learn more lumber buying tips in this guide!
For the sides of the planters, we needed the boards to be cut to 11 inches – so it was pretty easy to work around the damages on the cedar pieces and definitely worth the savings!
Because we only need small pieces for this raised planter box, that also means that you could use scrap wood if you have a decent pile! Check out more scrap wood project ideas here!
And speaking of costs, I know you guys are wondering what building these DIY planter boxes costs, so I summed everything up below. Remember that costs are subject to change over time and may be different in your area.
We originally built these in 2019 and the cost was roughly $35/planter but I’ve updated the costs below in 2024 – which are reflected below.
Product Cost for DIY Planter Boxes:
- 4 inch cedar boards (qty 2 @ $10.43) – $20.86
- We ended up ripping an inch off of these to make 3-inch wide boards for the tops of the planters, that’s why you don’t see the 4-inch cedar boards used in the planter
- 2×2 cedar square end baluster – (qty 4 @ $4.98) – $19.92
- 6 inch premium kerf back radius cedar (qty 3 @ $27.28, discounted at 70% off from the cull lumber section) – $24.55
- Kreg rust-resistant screws – $9.99
- Exterior paint, 1 quart – $16.98
- We had a lot leftover, I was even able to paint our front door with it too!
- Sandpaper, sander, paint brush, Kreg Jig, miter saw, drill, wood filler – already had these on hand
TOTAL COST $92.30 (so they were about $46.15 per planter)
Ok, are you guys ready to build these planters?? We’ve done the hard part for you and created detailed drawings with all of the measurements.
Then all you need to get is the wood and a few materials and gather your basic tools and you’ll be ready to build this DIY project!
You can get the downloadable plans by visiting Kreg’s website here.

Further Reading: More Articles & Projects About Outdoor DIYs
- DIY Wooden Planters: 21+ Creative Ideas
- 10+ Modern Farmhouse Planters Under $50 You’ve Gotta Have
- DIY Build for Outdoor Vertical Garden Pots (With Free Plans)
- Renter Friendly Garden: How to Make a Vertical Garden with a Pallet
- DIY Cedar Raised Garden Beds | Cheap and Easy Waist High Garden Plans
- Painted Mailbox Ideas: 15 Unique and Colorful DIY Designs
- Easy DIY Grill Utensil Holder With Free Woodworking Plans
- DIY Firewood Rack with Roof (FREE Woodworking Plans!)
- How To Make a Wooden Gate for Your Fence
- How to Build a Wood Fence In Your Backyard
- Our Backyard Makeover Before and After Pictures
- How To Build A Fire Pit With Pavers
- How To Build A Paver Patio with Fire Pit
- DIY Kids Picnic Table Plans (Build for Less Than $100)
- How To Make Stamped Garden Stepping Stones
- DIY Planter Box For Front Porch
- Simple Front Yard Landscaping and Curb Appeal Ideas
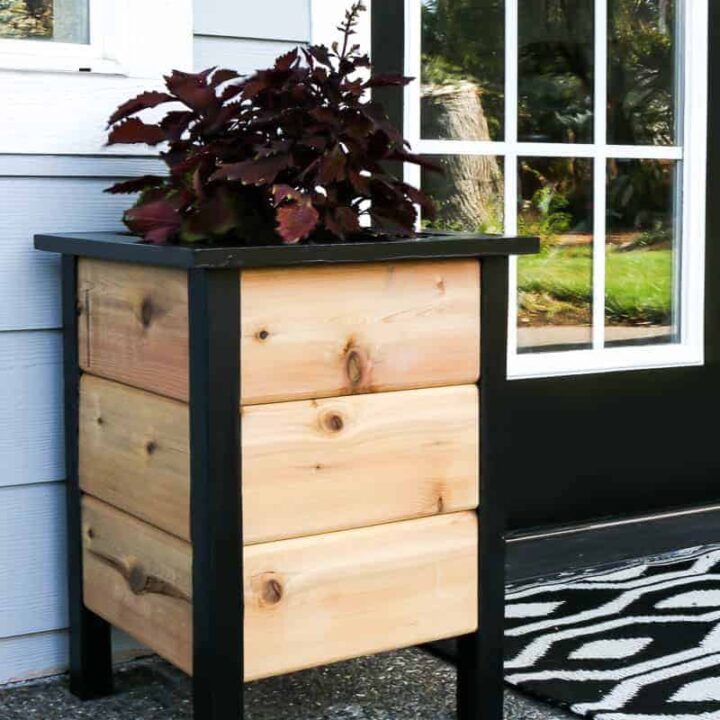
How To Build DIY Planter Boxes
Want to add potted plants to your front porch? Build these easy DIY planter boxes!
Materials
Tools
- Kreg 720Pro Pocket Hole Jig
- Miter saw
- Table saw (optional)
- Tape measure
- Clamps
- Impact driver
- Power drill
- Stapler or nail gun
- Air compressor (if needed for your stapler or nail gun)
- Orbital sander
Instructions
- Cut wood according to woodworking plans, which you can download here
- Sand wood
- Drill pocket holes
- Paint legs and top pieces (optional)
- Attach sides to leg pieces
- Add top trim
- Add slats inside planter box
Related – Projects that use a pocket hole jig
- Kid’s Cabin Bed
- Table Top
- Planter Box for Front Porch
- Outdoor Plant Wall
- Farmhouse Sink Cabinet
- Mudroom Lockers
- DIY Desk Calendar & Wooden Pencil Holder
- DIY Dress Up Storage for Kids
- Picture Ledge DIY
- DIY Firewood Rack with Roof
- DIY Cane Headboard
- Boho Nightstand with Cane
- DIY Behind the Couch Table with Outlet
- DIY Headphone Stand
- DIY Cookbook Stand
- Easy DIY Grill Utensil Holder
- DIY Deck Box for Outdoor Toys
- DIY Towel Rack Made With One Board
- DIY Tool Organizer for Kreg Tool Stand
- DIY Mail and Key Holder
- DIY Step Stool for Toddler
- DIY Trash Can
- DIY Spice Rack
- DIY Book Holder
- Easy DIY Magazine Shelf
- DIY Clamp Rack
- DIY Chicknic Table
- DIY Bike Rack
- Small Bookshelf
- DIY Laptop Tray


These are really pretty! They really stand out on your porch.
Thanks Michelle!
I really like the look of the planter boxes using clear coat and black trim. BTW, where did you purchase your cute chairs?
Connie – thanks! Those are from Walmart, last season. They are the Better Homes and Garden line and I found them in stores…maybe they will come back this season! 🙂
Where can I get the instructions for the planter box? Thanks
Here’s the full tutorial and woodworking plans: https://learn.kregtool.com/plans/planter-boxes/
Just push the “download” button at the top of that to download the plans as a PDF.