DIY Desk Calendar & Wooden Pencil Holder (with Free Woodworking Plans)
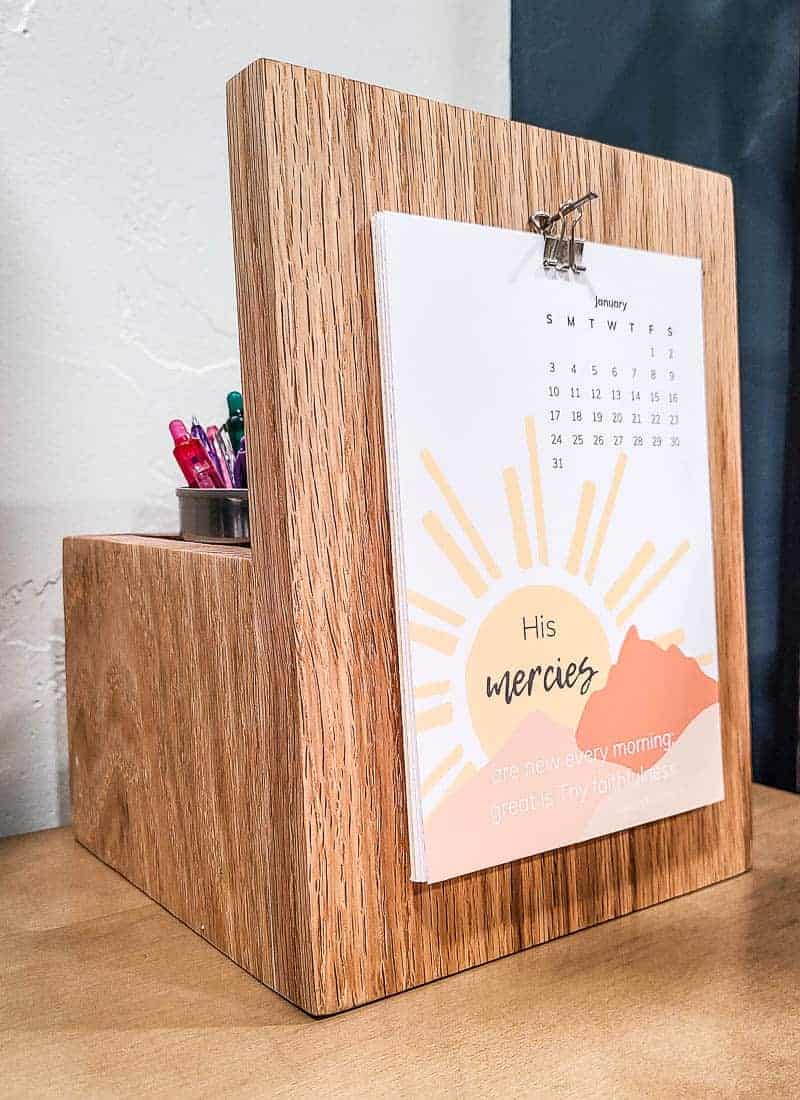
Looking for a fun DIY wooden Christmas gift that will work for just about anyone?! This DIY desk calendar and wooden pencil holder is perfect! The best part is that we're giving away the free woodworking plans for this DIY table calendar holder!
Thank you to Kreg for sponsoring this DIY desk calendar and wooden pencil holder project! All opinions are entirely my own. This post also contains affiliate links, but nothing that I wouldn’t recommend wholeheartedly. Read my full disclosure here.
Today we’re sharing a super fun and simple woodworking project with you that is great for beginners. And the best part is that it makes a GREAT Christmas gift idea for just about anyone!
I’m sure I’m not the only one – but calendars are a great go-to holiday gift. Christmas is at the end of the year, so everyone is in need of a new calendar for the new year, right?!
I created a printable calendar for 2024 with some inspirational and encouraging bible verses. This calendar is available for download in our Etsy shop here!
Kreg K5 Pocket Hole Master System
We, of course, incorporated pocket hole joinery into this DIY desk calendar, which is definitely one of the easiest ways to join wood in woodworking projects. We have Kreg’s K5 Master System and LOVE it. It’s our favorite hidden weapon for beginning woodworkers!
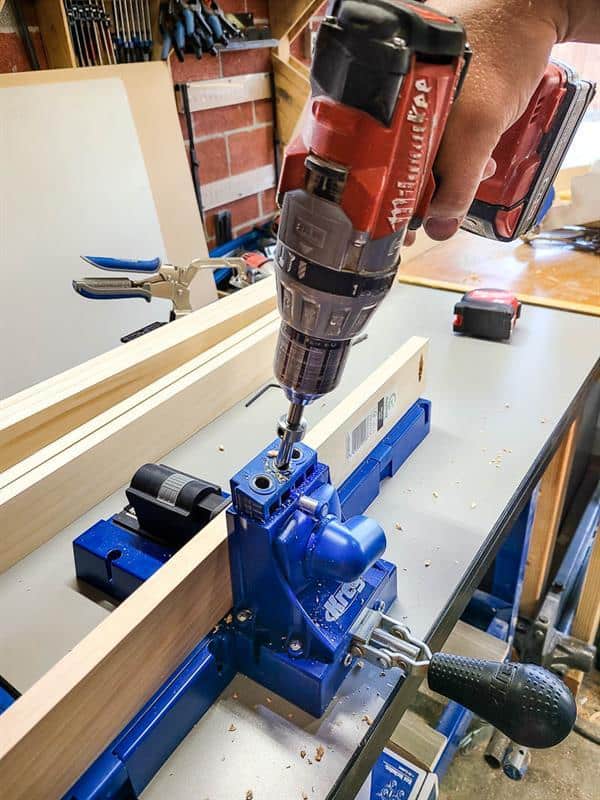
Want to learn more? I wrote a super detailed guide & created a video all about how to set up your Kreg K5 Pocket Hole and use it, so be sure to check that out too!
UPDATE: In 2021, Kreg replaced the K5 Pocket Hole system with the Kreg 720 Pro. Check out our guide all about the new Kreg 720Pro to learn more.
For this very DIY calendar, we teamed up with our friends at Kreg again to create the plans and share them online for free, which are now available on KregTool.com!
If you’re wondering, Kreg’s website is chocked full of so many easy-to-follow FREE woodworking plans! I promise that you are going to find so much inspiration while you’re there!
How To Build a DIY Desk Calendar
One of my favorite things about this cute desk calendar holder is how dang cheap you’re able to build it for. The only thing we needed to buy was the wood – we didn’t need much of it.
Supplies needed:
- 1×8 wood panel – we used Oak and needed about 2 linear feet
- Orbital Sander + 80 & 150 grit sandpaper
- Miter saw – you’ll need a double-bevel compound miter saw for the angled cuts
- Clamps
- Drill
- Wood glue
- Kreg 720Pro pocket hole jig
- 1 1/4″ pocket hole screws – need 4 total
- Brad Nailer (learn the difference between a finish nailer vs brad nail here)
- 1 1/4″ brad nails – need approximately 4
- Stain
- Polyurethane – If you’re trying to decide whether to use polyurethane vs polycrylic for your project, check out this article with an overview of each.
- Staining Rag
- Printable 5×7 calendar – you can grab this one here!
Step 1. Cut the wood.
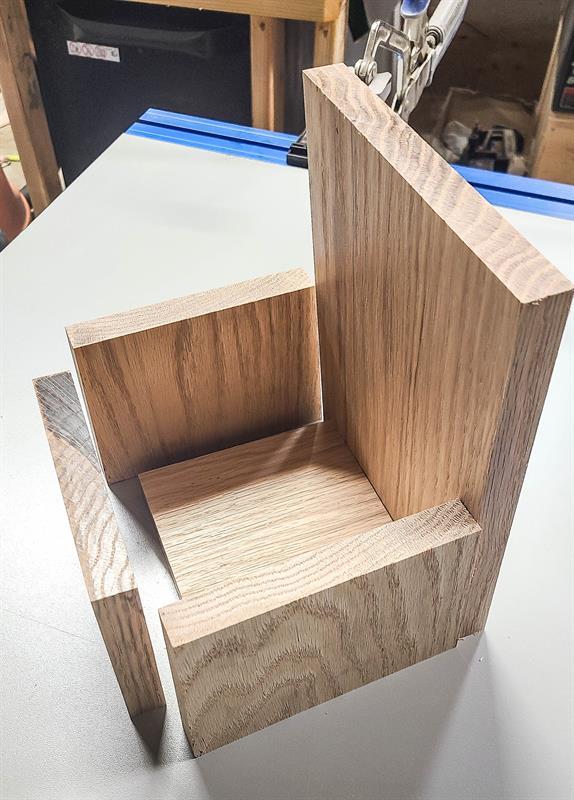
- Follow the woodworking plans (which you can download here) to cut the wood to the required dimensions.
- Utilize a double-bevel compound miter saw for angled cuts.
Step 2. Drill pocket holes.
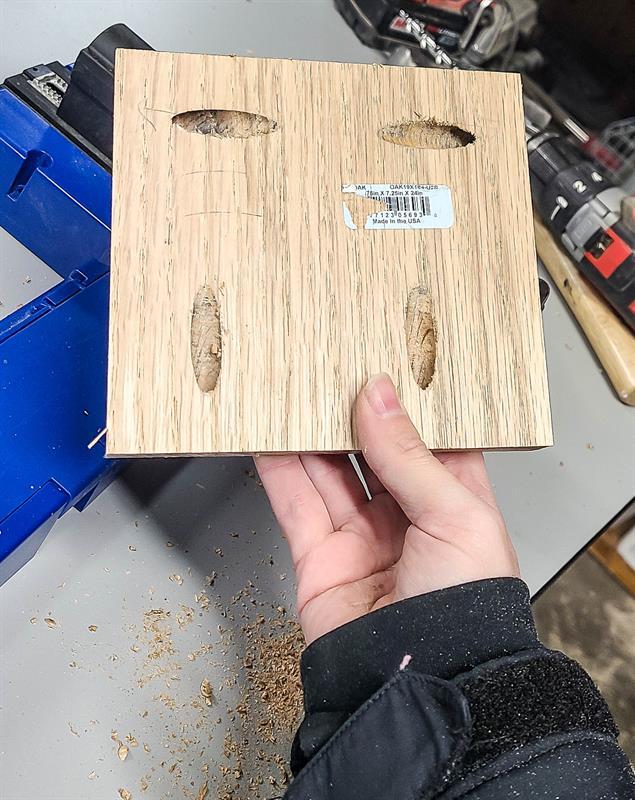
- Use a Kreg pocket hole jig to drill four pocket holes on the bottom panel as outlined in the plans.
- Drill two holes towards the front and one on each side towards the sides.
Step 3. Assemble.
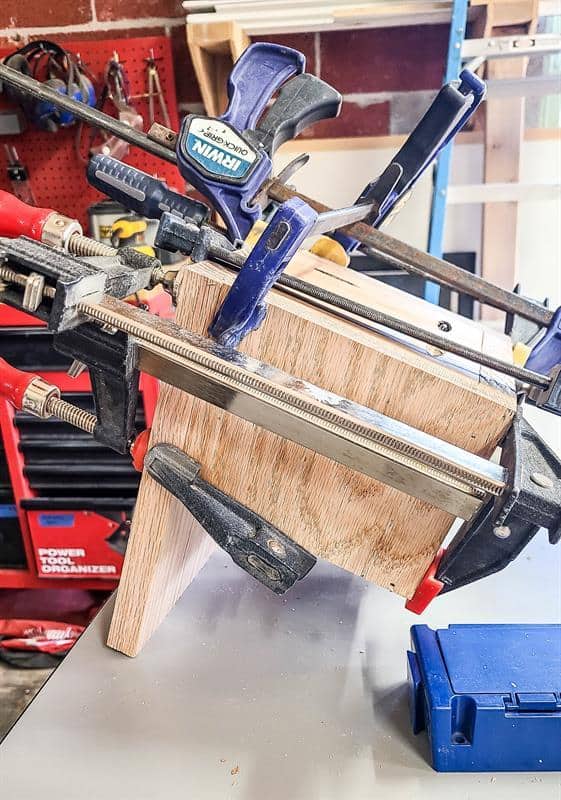
- Begin by attaching the sides to the back panel using wood glue and 1 1/4″ brad nails.
- Secure the bottom panel by screwing it into place at the pocket hole locations.
- Lastly, affix the front panel with wood glue and allow it to dry while clamped.
Step 4. Sand.
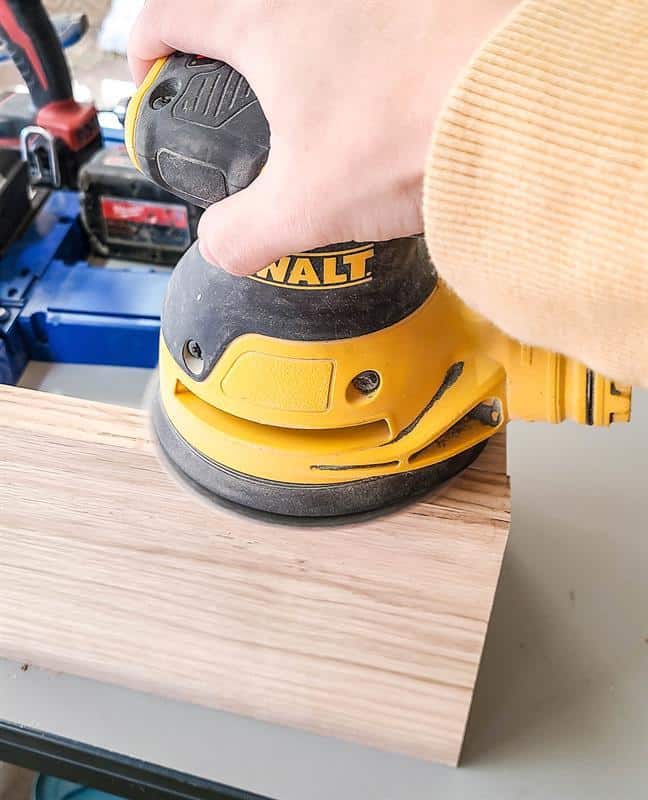
- Thoroughly sand all surfaces using an orbital sander, starting with 80-grit sandpaper and progressing to 150-grit for a smooth finish.
Step 5. Fill nail holes.
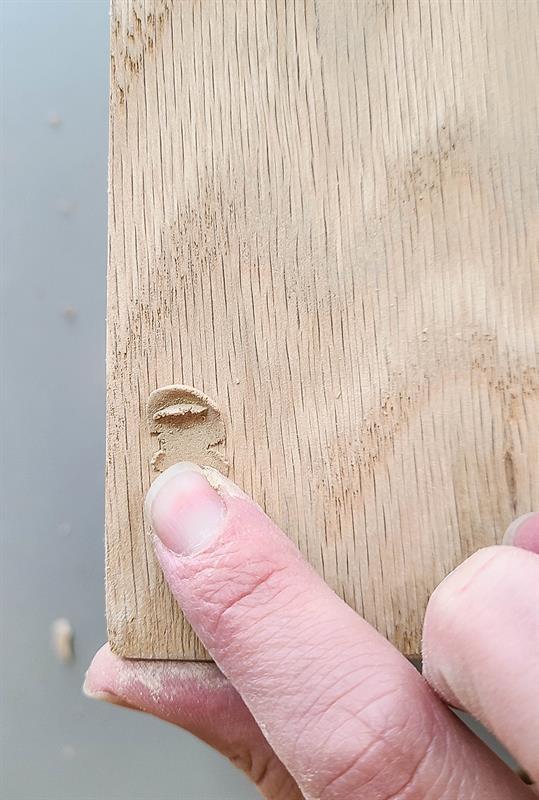
- Fill any nail holes and gaps at the joints with wood filler or putty.
- Once dry, sand smooth again using 150-grit sandpaper.
Step 6. Stain and seal.
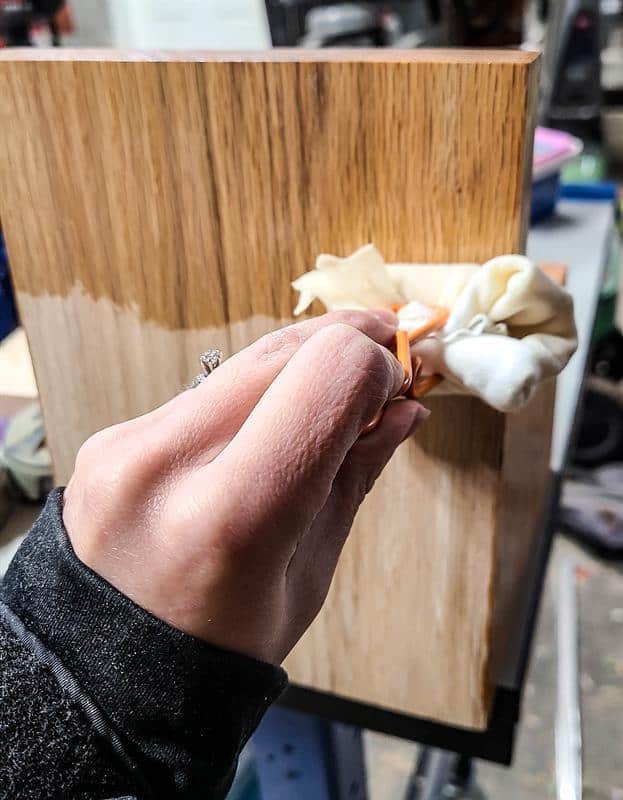
- Clean surfaces and apply a generous layer of stain. We used Natural wood stain.
- Once the stain is dry, seal the wood with polyurethane.
Step 7. Attach nail for the clip.
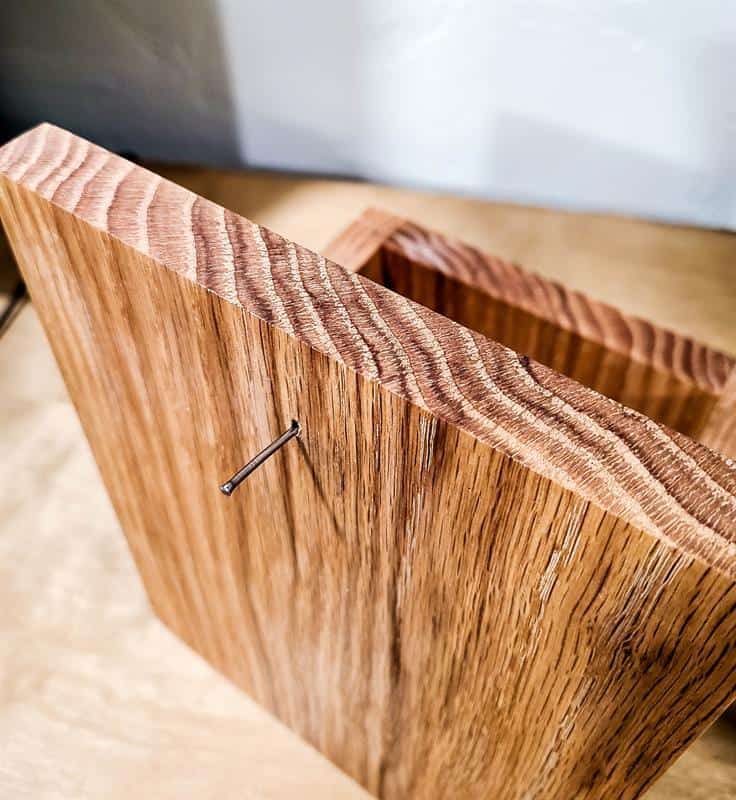
- Install a small finish nail on the front to accommodate a binder clip for hanging your calendar.
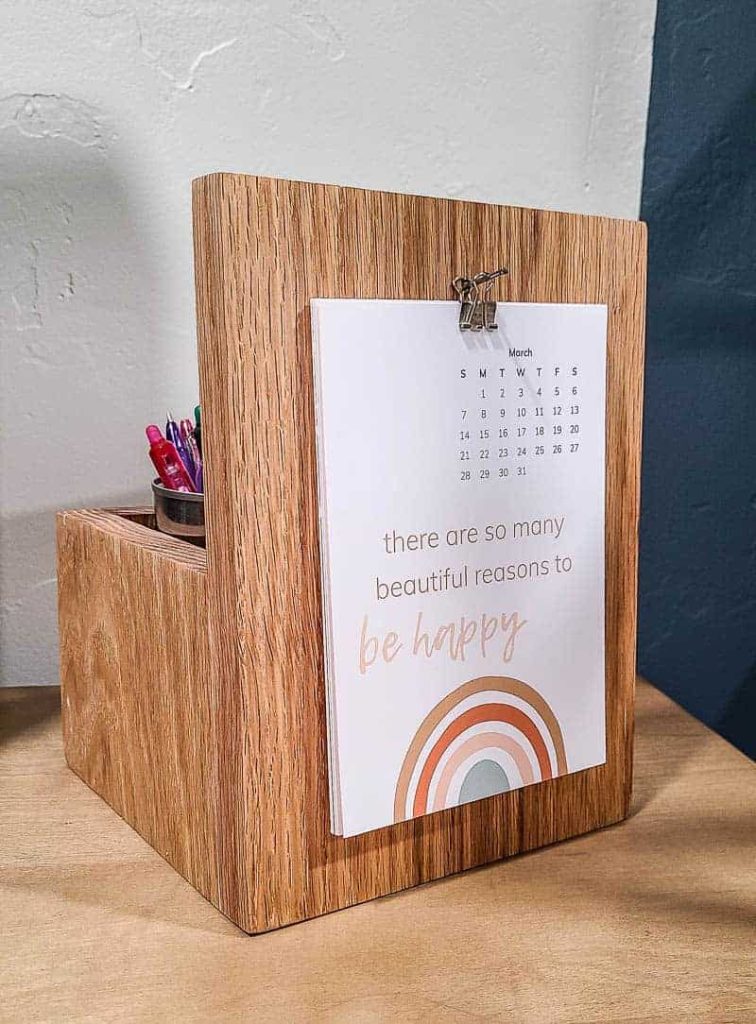
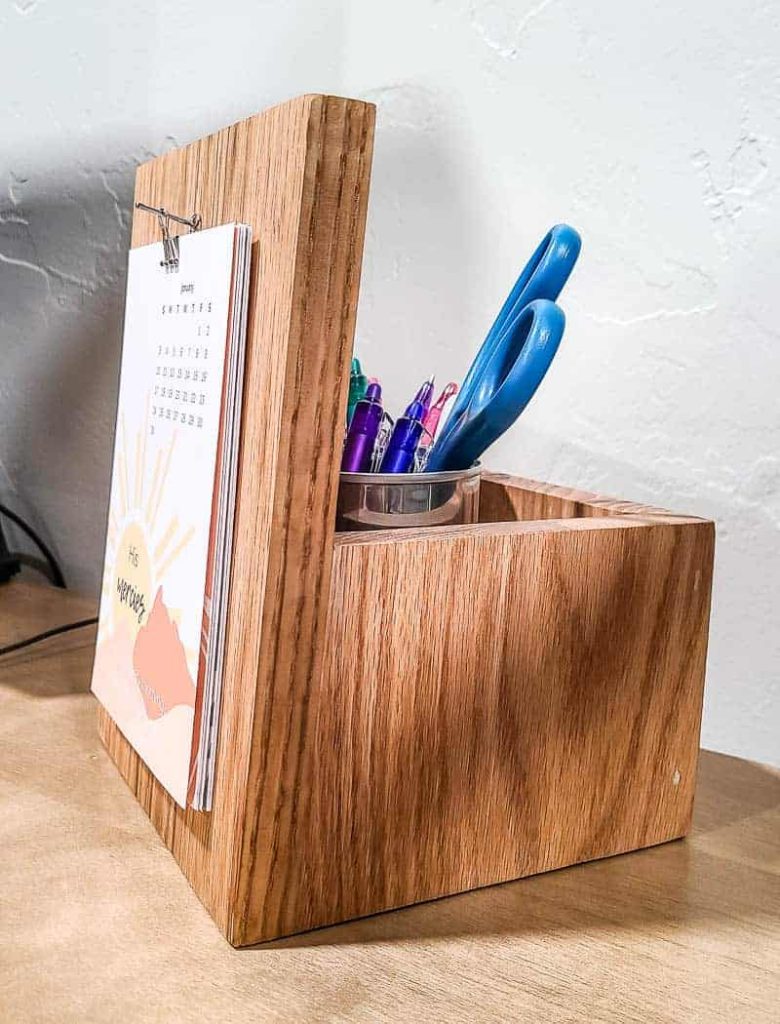
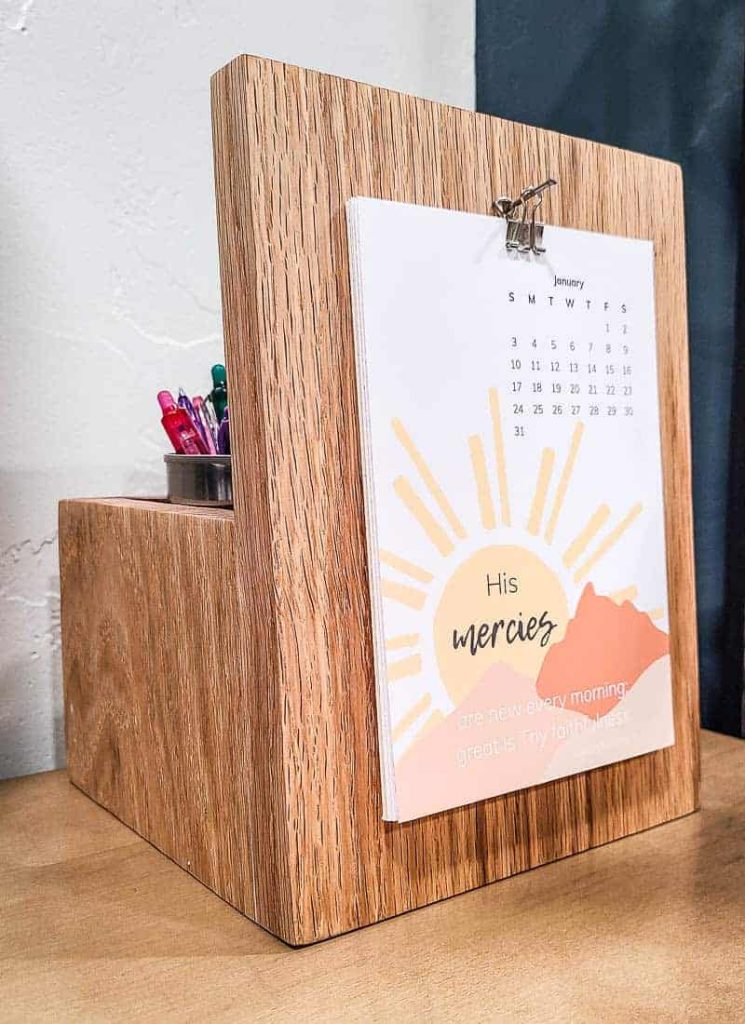
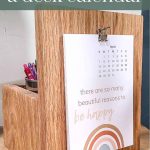
So stinkin’ cute, right?
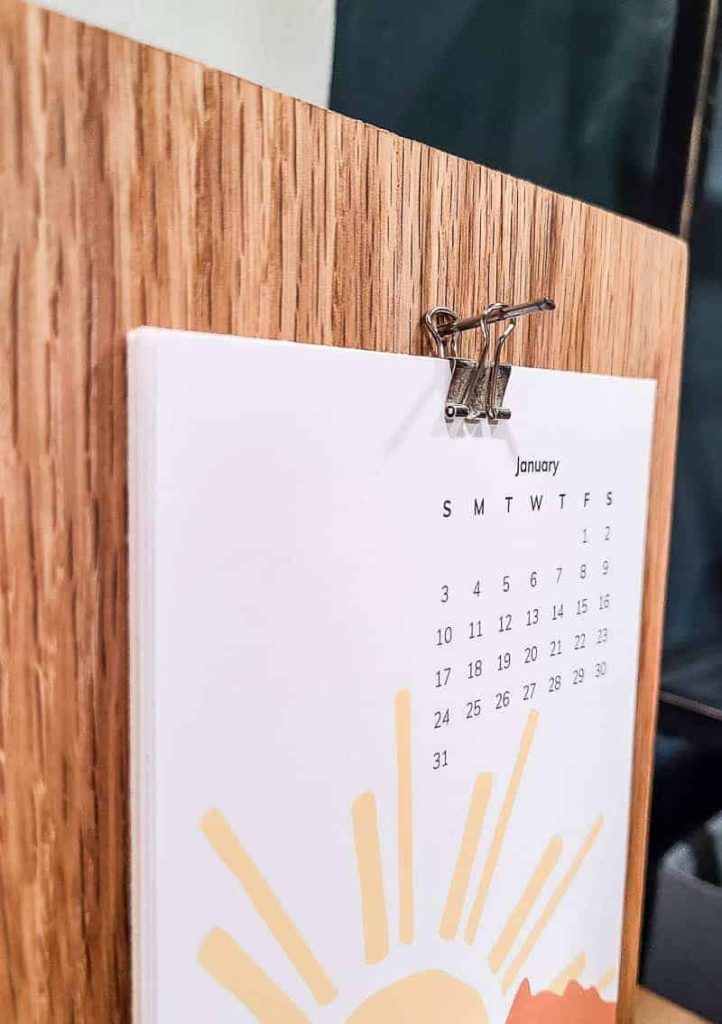
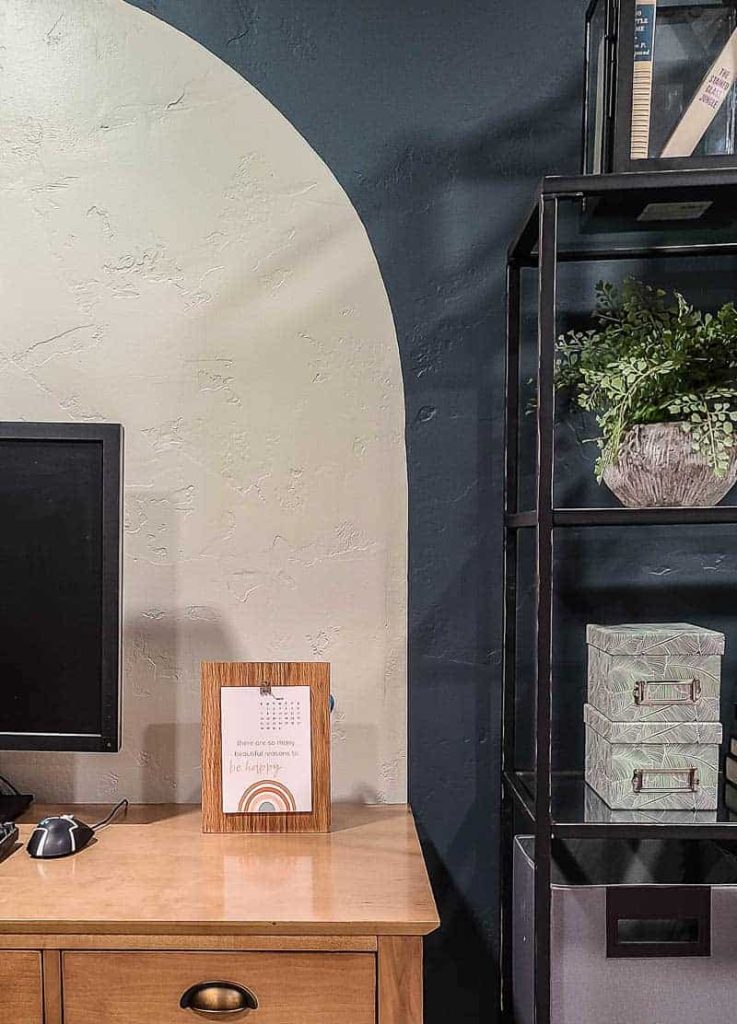
I know the person that we’re giving this to for Christmas is going to love it, but I’ll definitely be sad to see it go. But ya know, those are the best kinda DIY Christmas gifts – right?
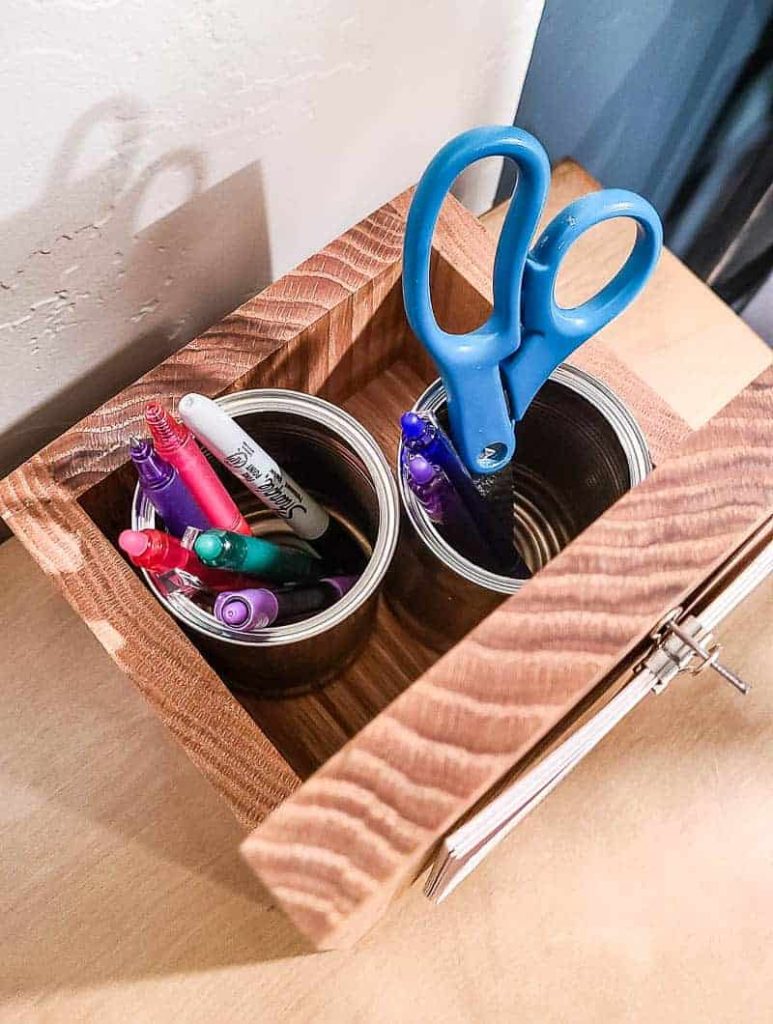
For the back of the calendar, I created a box that could be used for all sorts of things! You could put a faux plant in here, a desk lamp, or do what we did – put some cans in for a pencil holder. Works great on a desk for a versatile organizer.
We wanted the back to stay open so the person we’re giving this to for Christmas could put whatever they wanted in it. If you knew that you wanted to use it for a wooden pencil holder, you could add in some wooden divider pieces in the back.
We had so much for working with our friends over at Kreg to bring you the free woodworking plans.
I hope you feel inspired and motivated to tackle this easy DIY project now! It’s just in time for DIY Christmas gifts!
Don’t forget to go grab the free woodworking plans here.
Related – Projects that use a pocket hole jig
- Kid’s Cabin Bed
- Table Top
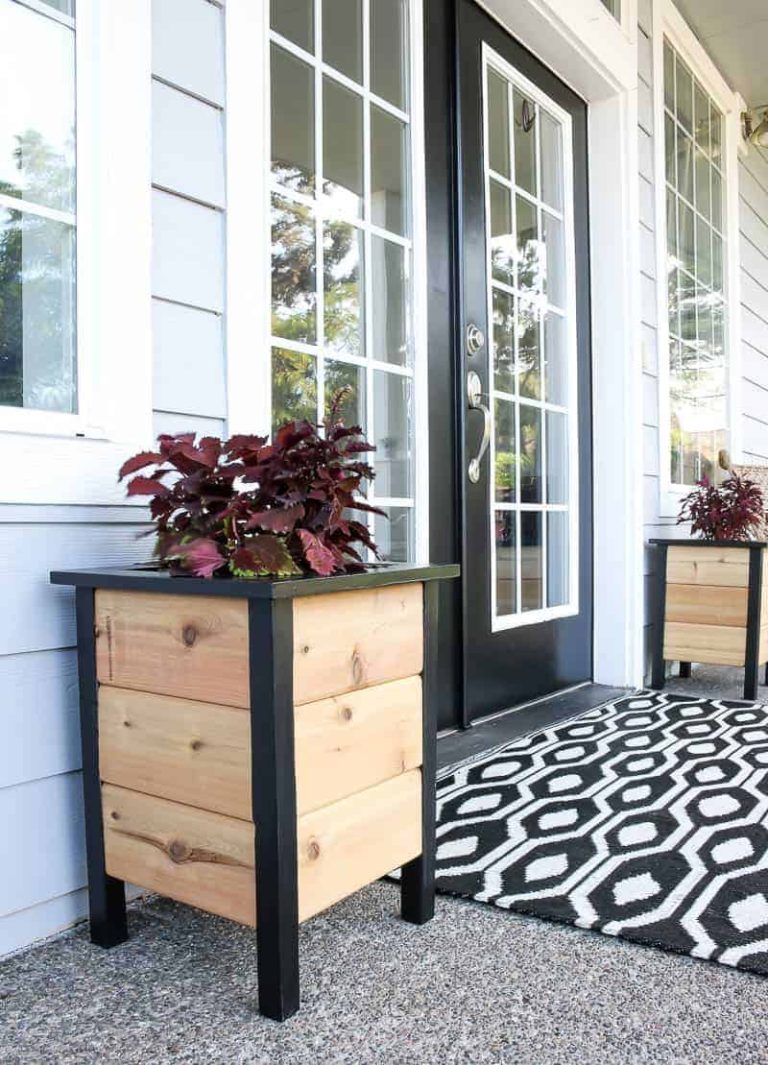
- Planter Box for Front Porch
- Outdoor Plant Wall
- Farmhouse Sink Cabinet
- Mudroom Lockers
- DIY Desk Calendar & Wooden Pencil Holder
- DIY Dress Up Storage for Kids
- Picture Ledge DIY
- DIY Firewood Rack with Roof
- DIY Cane Headboard
- Boho Nightstand with Cane
- DIY Behind the Couch Table with Outlet
- DIY Headphone Stand
- DIY Cookbook Stand
- Easy DIY Grill Utensil Holder
- DIY Deck Box for Outdoor Toys
- DIY Towel Rack Made With One Board
- DIY Tool Organizer for Kreg Tool Stand
- DIY Mail and Key Holder
- DIY Step Stool for Toddler
- DIY Trash Can
- DIY Spice Rack
- DIY Book Holder
- Easy DIY Magazine Shelf
- DIY Clamp Rack
- DIY Chicknic Table
- DIY Bike Rack
- Small Bookshelf
- DIY Laptop Tray




I love this diy idea. Very pretty.
Happy holidays!
Thanks! 🙂