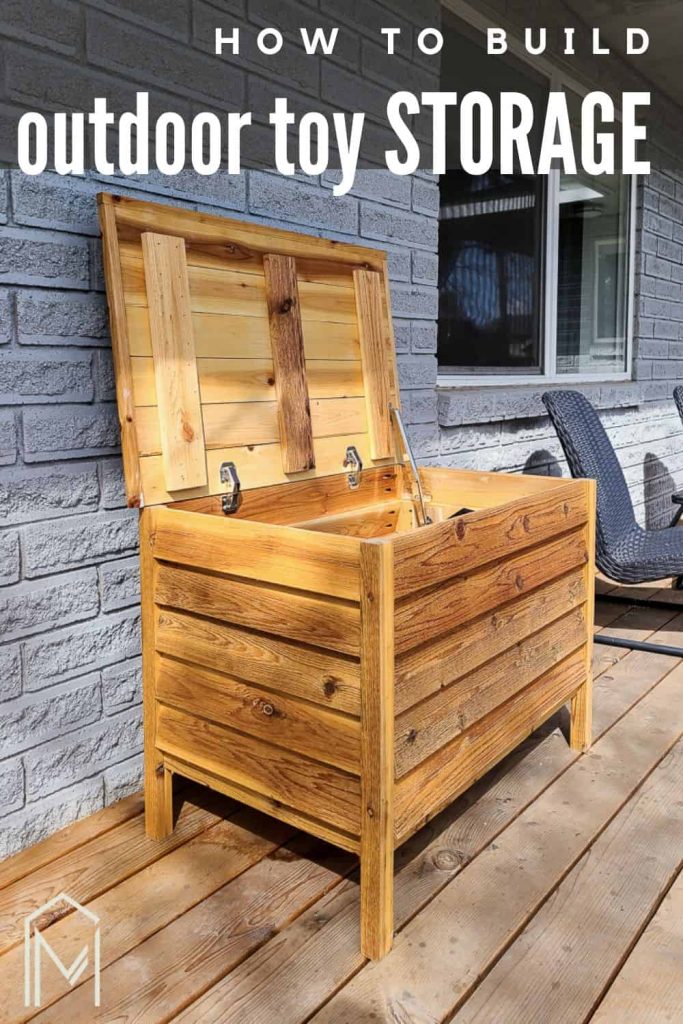
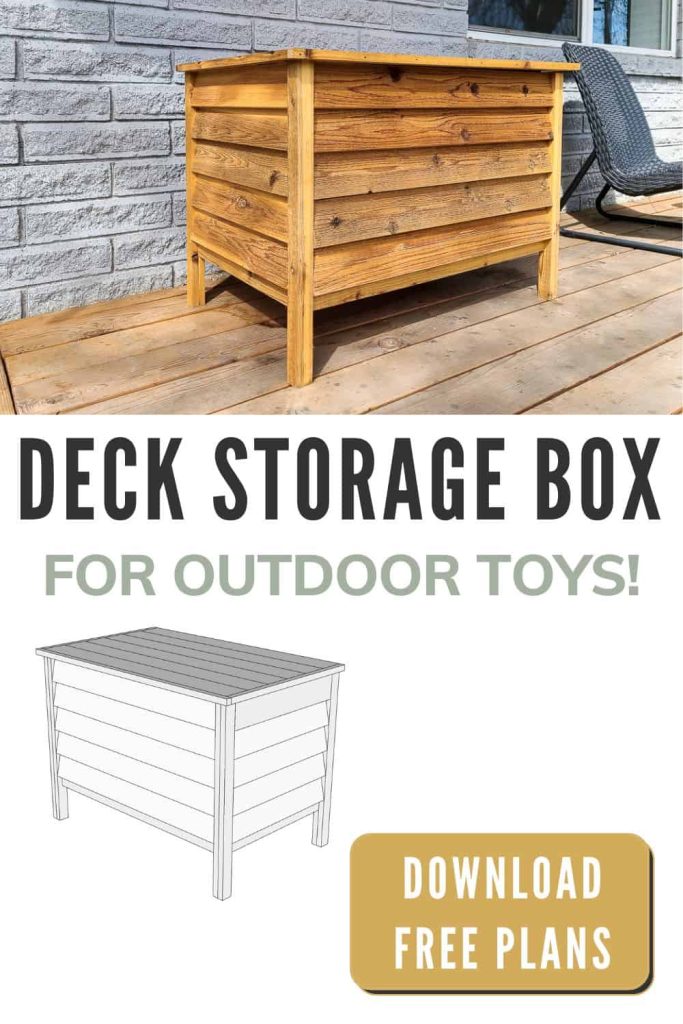
DIY Deck Box for Outdoor Toys (With Free Plans)

Is your backyard drowning in kid's toys tossed all over the lawn? Does your backyard feel cluttered and messy? You need an outdoor toy storage box! Download our free deck box plans & learn how to build this outdoor storage box with our tutorial!
Thank you to Kreg for this DIY deck box project! All opinions are entirely my own. This post also contains affiliate links, but nothing that I wouldn’t recommend wholeheartedly. Read my full disclosure here.
I don’t know about you, but our kids have accumulated their fair share of outdoor toys as they’ve gotten older. Whether it is random soccer balls, baseball bats, or water toys, they love playing outside!
Since we finished our backyard makeover, we’ve done everything we can to encourage outdoor play! We planted grass seed, put in an outdoor chalkboard, installed a playground with rubber mulch, created a garden, and added a paver patio and firepit so Mom and Dad have somewhere to sit and watch the littles!
But the random outdoor toys were starting to get a little messy. Because we didn’t have a good place to store them, they never ended up being put away when we were finished playing.
Enter the DIY deck box!
Today we’re sharing the solution to your outdoor toy problem! Download our free deck box plans and follow along with our tutorial to build an outdoor storage box to get your backyard more organized!
Table of Contents
Kreg 720PRO Pocket Hole Jig
If you’ve been following Making Manzanita for a bit, you know that we are big fans of the Kreg pocket hole system.
We built tons of projects using our original K5 Pocket Hole Jig, we even have a super detailed guide and video about how to use it that you can check out here.
In 2021, Kreg released brand new pocket hole systems that replaced the K4 and K5, and the upgrades are pretty awesome.
The new 720PRO (which we were using for this DIY outdoor toy storage box) and the 520PRO (which replaced the smaller K4 system) were improved a ton, the most noticeable change being that they are easier to set up and use – score.
My favorite new feature of 720PRO and 520PRO is the clamp that you don’t have to adjust anymore. You should clamp it down and it automatically adjusts to match the thickness of your wood, so cool, right?
Pocket hole joinery is definitely one of the easiest ways to join wood in woodworking projects. It’s our favorite hidden weapon for beginning woodworkers!
Want to learn more? I wrote a super detailed guide & created a video all about how to set up your Kreg 720PRO Pocket Hole and use it, so be sure to check that out too!
We teamed up with our friends Kreg again for these DIY deck box woodworking plans and we are sharing them online for free, which are now available on KregTool.com!
Kreg’s website is chocked full of so many easy-to-follow FREE woodworking plans! I promise that you are going to find so much inspiration while you’re there! It is a goldmine!
What type of wood to use for outdoor projects (like this wooden deck storage box)
For outdoor woodworking projects, like this DIY deck box or raised garden beds and planter boxes, we typically recommend using cedar wood.
Cedar wood is a soft wood with a straight grain and a light scent. Cedar is a sturdy wood that can handle moist environments without rotting which makes it great for outdoor woodworking projects.
The cool part about cedar is that it is naturally resistant to rot from direct contact with the ground. This is why you see cedar used for so many outdoor projects like garden beds, patios, wood fences, and outdoor furniture, like this kid’s picnic table.
It’s also easy to find at home improvement stores and is moderately priced.
Further Reading: Read more about different types of wood in this article.
DIY deck box for outdoor toys: video tutorial
If you love DIY videos, be sure to subscribe to our YouTube channel!
DIY deck box: step-by-step instructions
Wood products needed:
Supplies needed:
- 1 1/4″ pocket hole screws (blue-kote)
- 1 1/4″ finish nails
- 80- and 150-grit sandpaper
- Boiled linseed oil
- Paintbrush
- Wood glue
- 2 cabinet hinges
- 2 gas strut soft close support hinges
Tools needed:
- Kreg 720Pro pocket hole jig
- Miter saw
- Table saw
- Tape measure
- Drill
- Impact driver
- Orbital sander
- Clamps
- Finish nailer
- Multi-tool or jigsaw
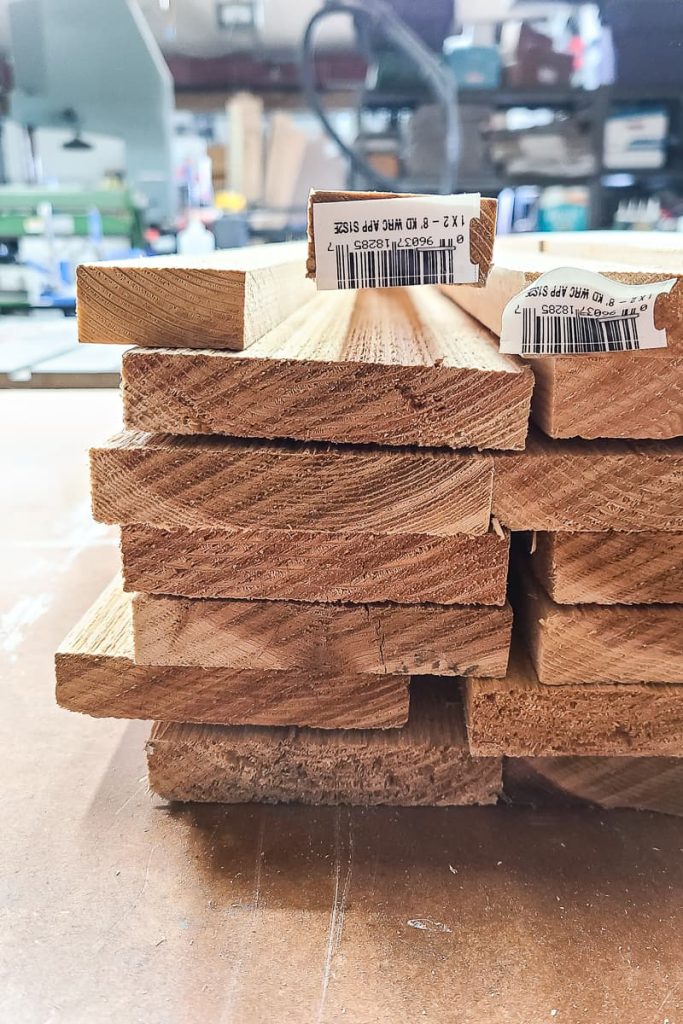
Step 1. Cut wood
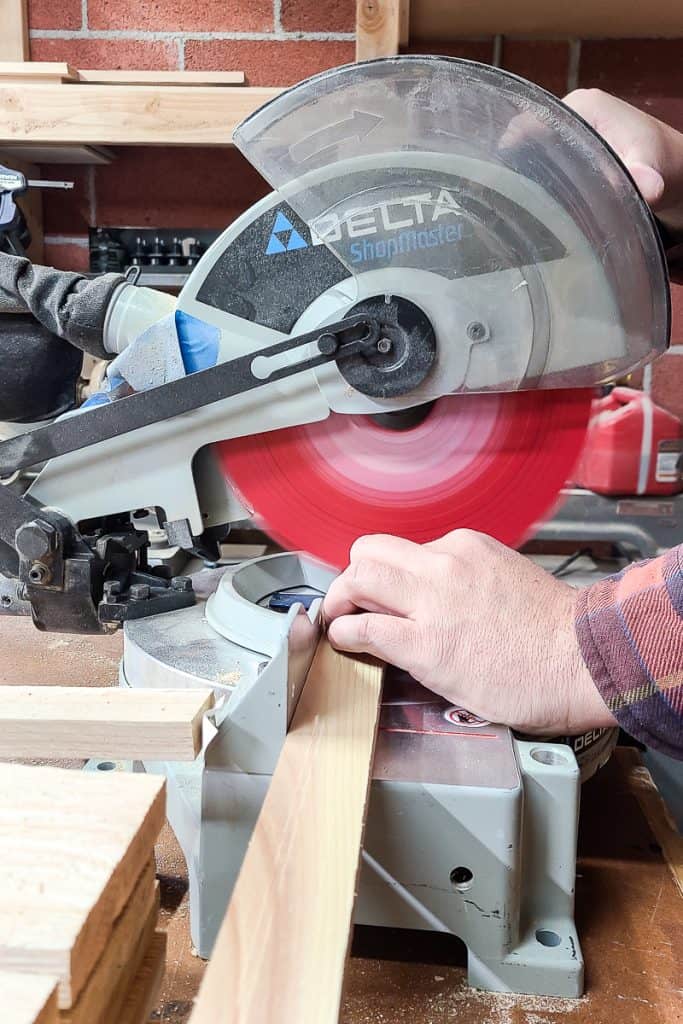
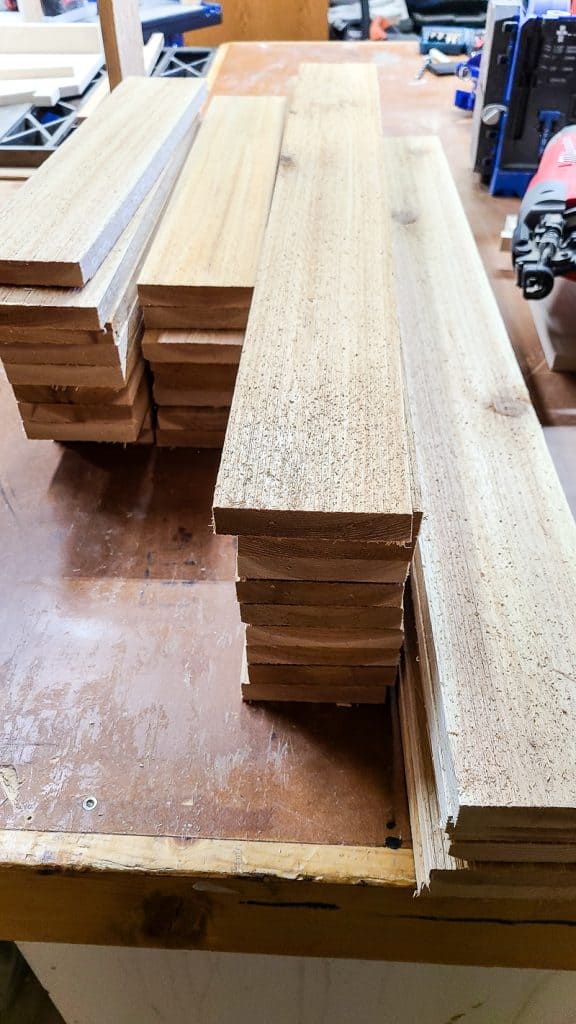
- Cut wood according to the woodworking plans (which can be downloaded here) using a miter saw and table saw.
- Select flat and straight sections of 1×2 cedar for laminating legs.
- Use a table saw to create ¾” x ¾” trim.
- Lightly sand the wood with 150-grit sandpaper to remove loose pieces.
Step 2: Laminate legs
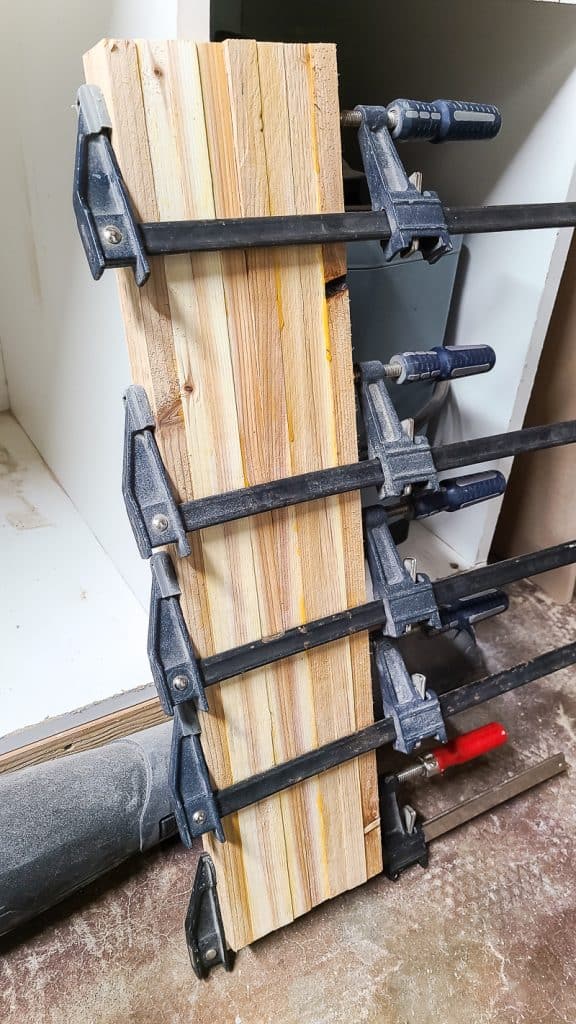
- Glue two pieces of wood together for each leg and clamp together.
- Allow legs to dry while preparing other wood pieces.
Step 3. Drill pocket holes
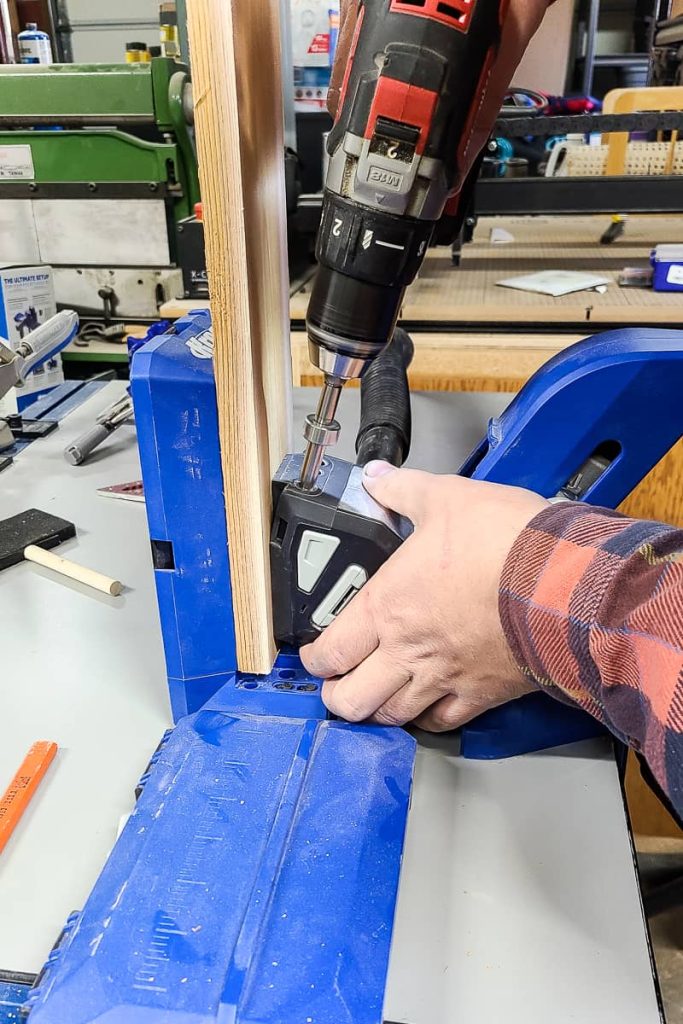
- Follow plans to drill pocket holes in the correct locations.
- Make sure the smooth side of the cedar is facing out.
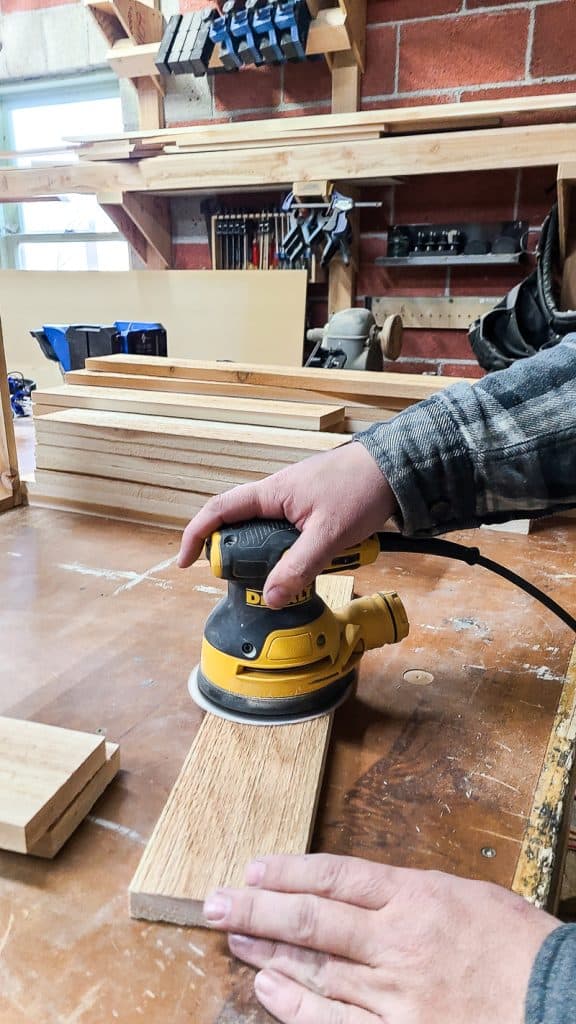
Step 4. Sand legs
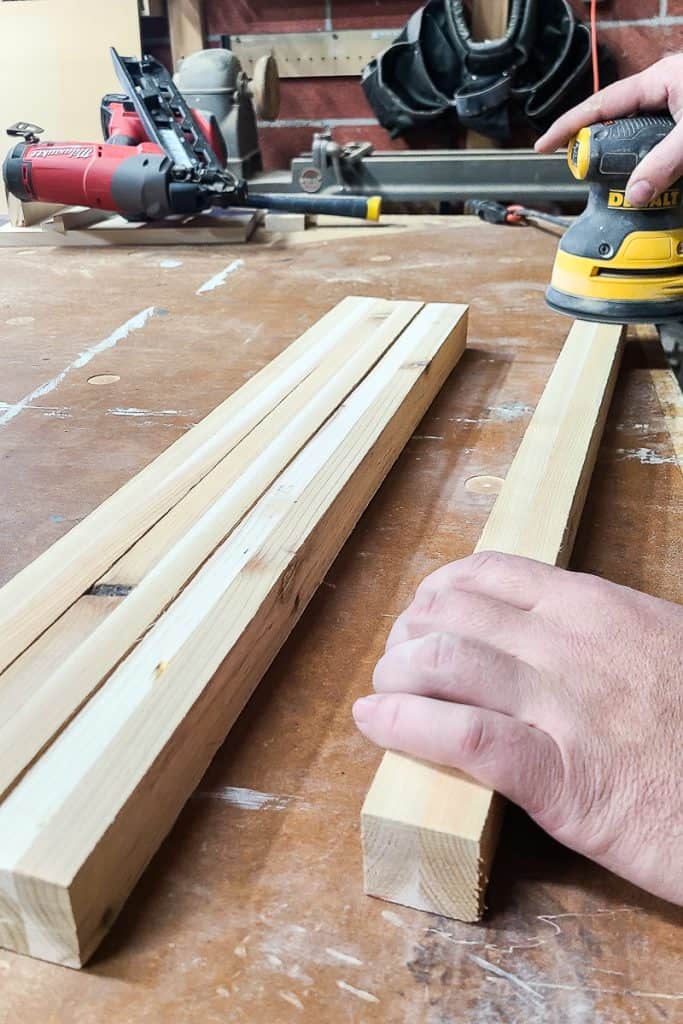
- Once dry, sand legs with an orbital sander and 80 grit sandpaper, then with 150 grit until smooth.
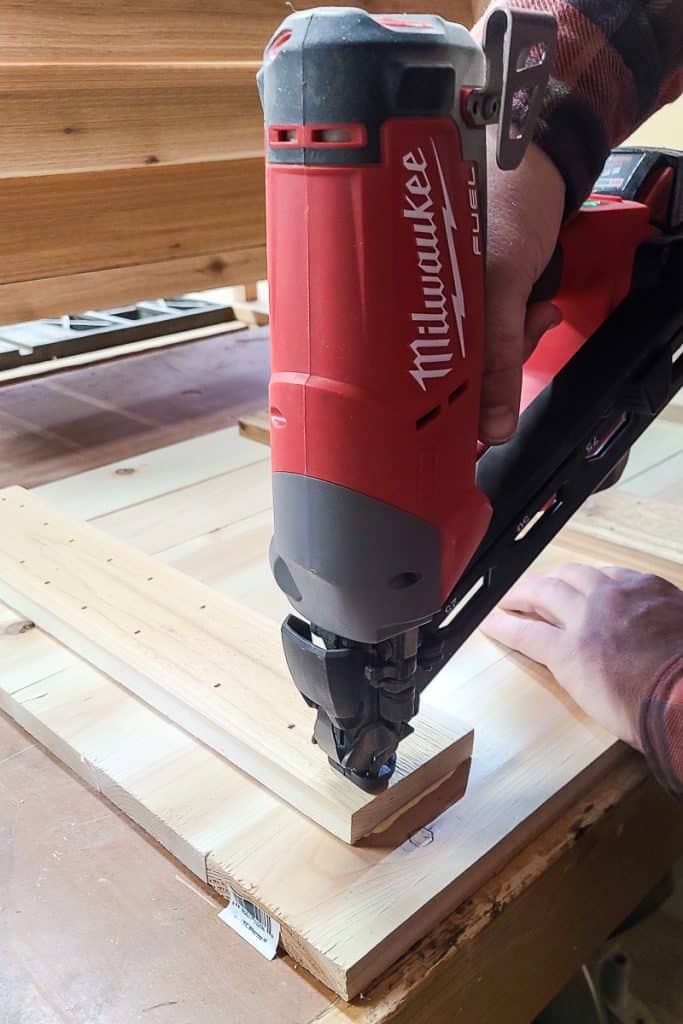
Step 5. Assemble base
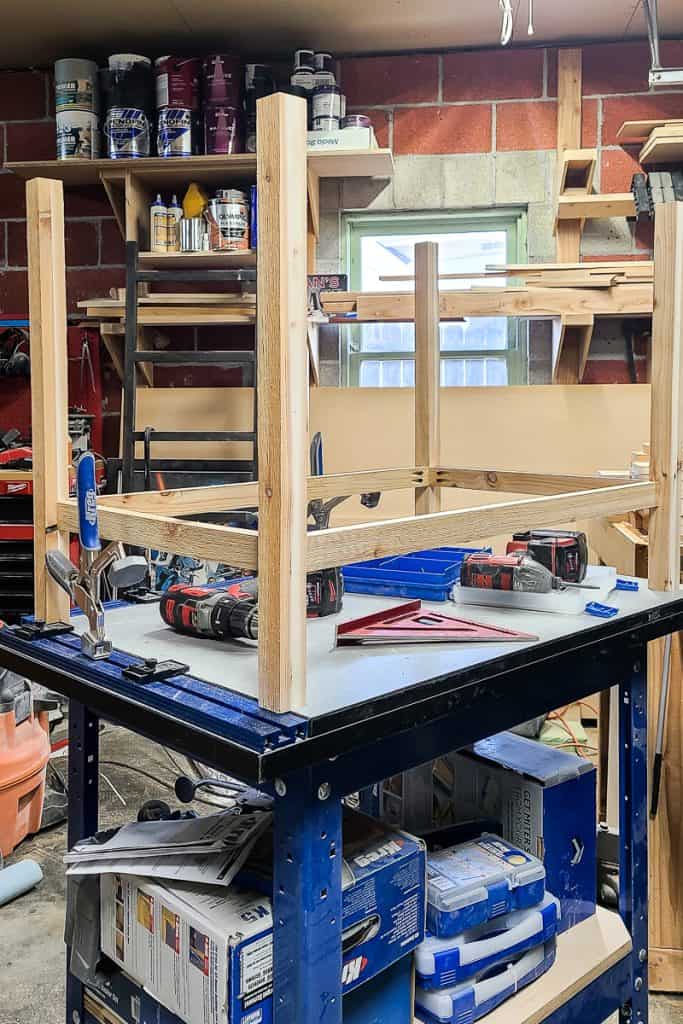
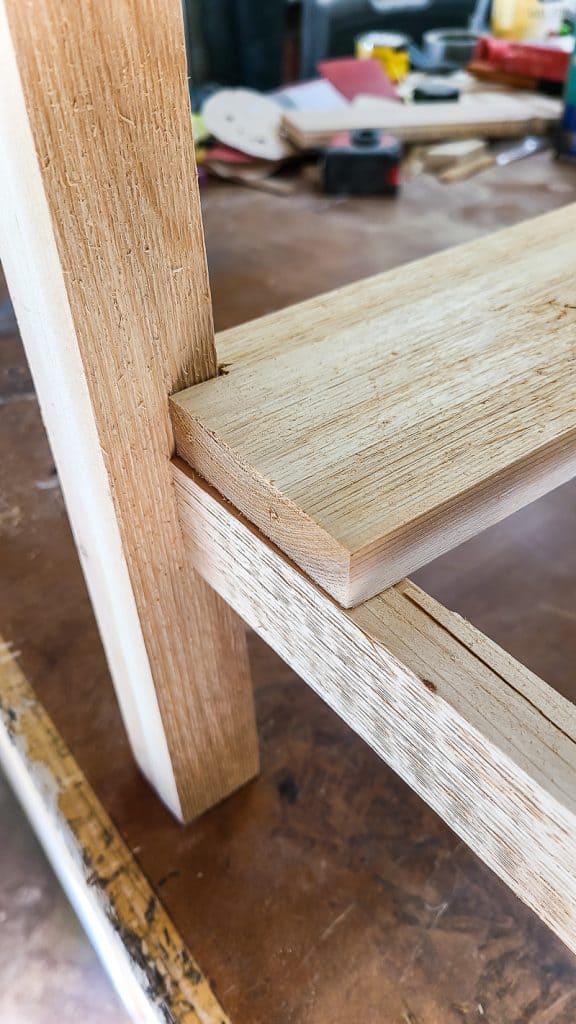
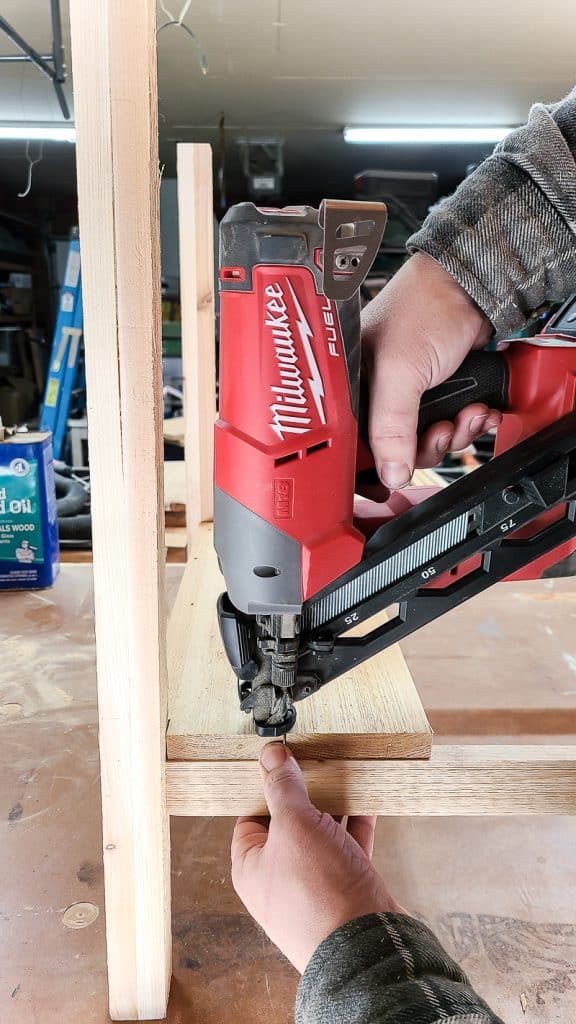
- Attach the base supports to the legs using the pre-drilled pocket holes.
- Add bottom slats using a finish nail gun.
- Use Multi-Tool or Jigsaw to notch end pieces around the legs.
Step 6. Attach side planks
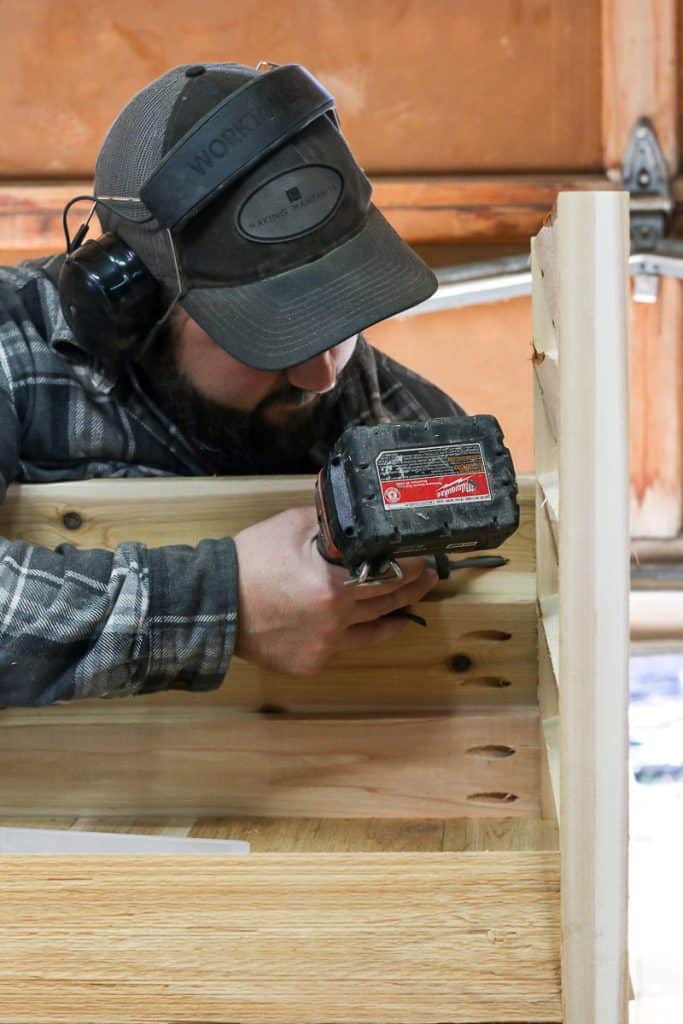
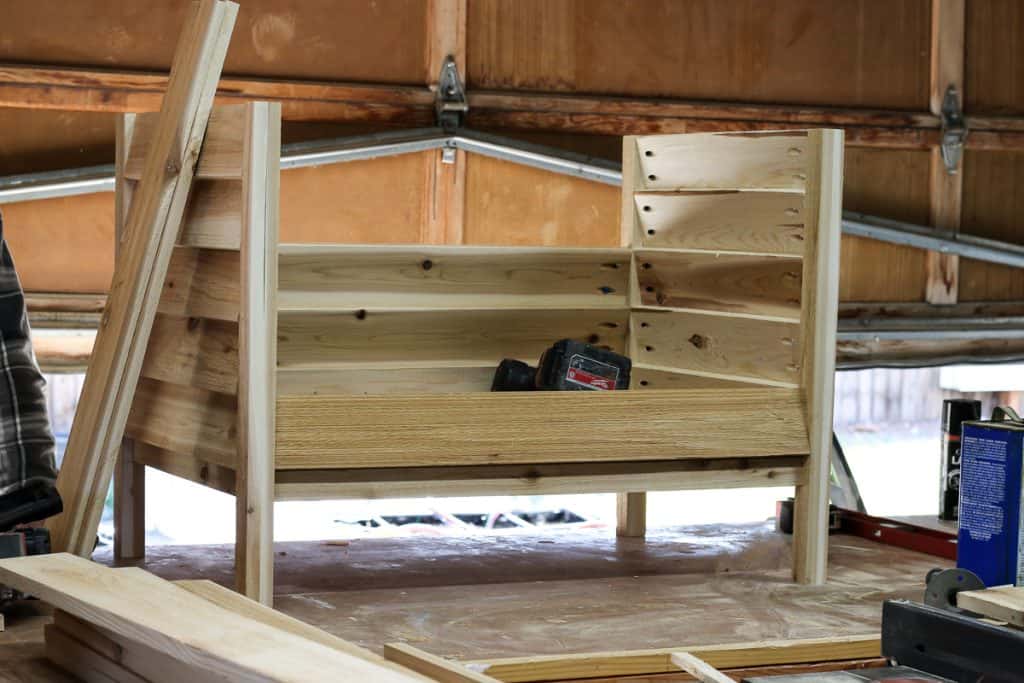
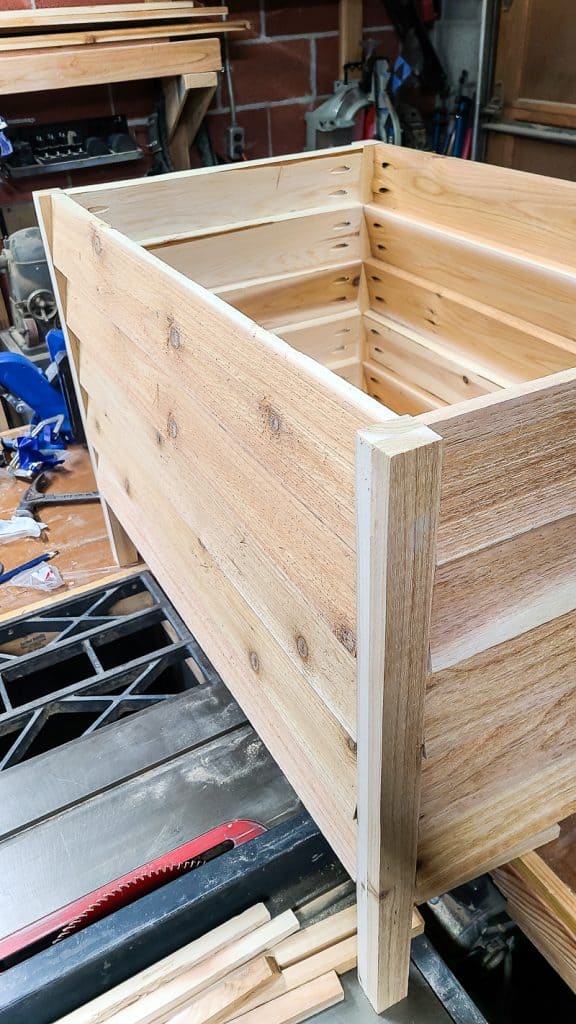
- Start by securing short side planks to the base using pocket holes.
- Then move on to attach long side planks.
- Start from the bottom and work your way up, slanting the planks from the inside to the outside edge of the legs.
Step 7. Assemble lid
- Attach lid supports and slats using glue and finish nails.
- Reinforce with additional nails for sturdiness.
- Attach the lid’s long side trim piece to the lid, but not the sides. They will be put on at the end of the build.
Step 8. Install hinges

- Dry fit the lid onto the box before moving on.
- Install hinges according to the manufacturer’s instructions.
- We used hidden spring cabinet hinges paired with a soft close gas strut hinge so that it doesn’t slam shut on anyone’s little fingers.
Step 9. Let it dry out (optional)
- We recommend allowing toy storage to dry for a few days before attaching the final trim pieces. Cedar wood tends to dry out and shrink, so that is why we recommend this.
- Alternatively, attach trim pieces immediately if skipping the drying step.
- If you want it to dry out first, let it dry for a few days, and then attach side trim pieces to the edge of the lid.
Step 10. Finish
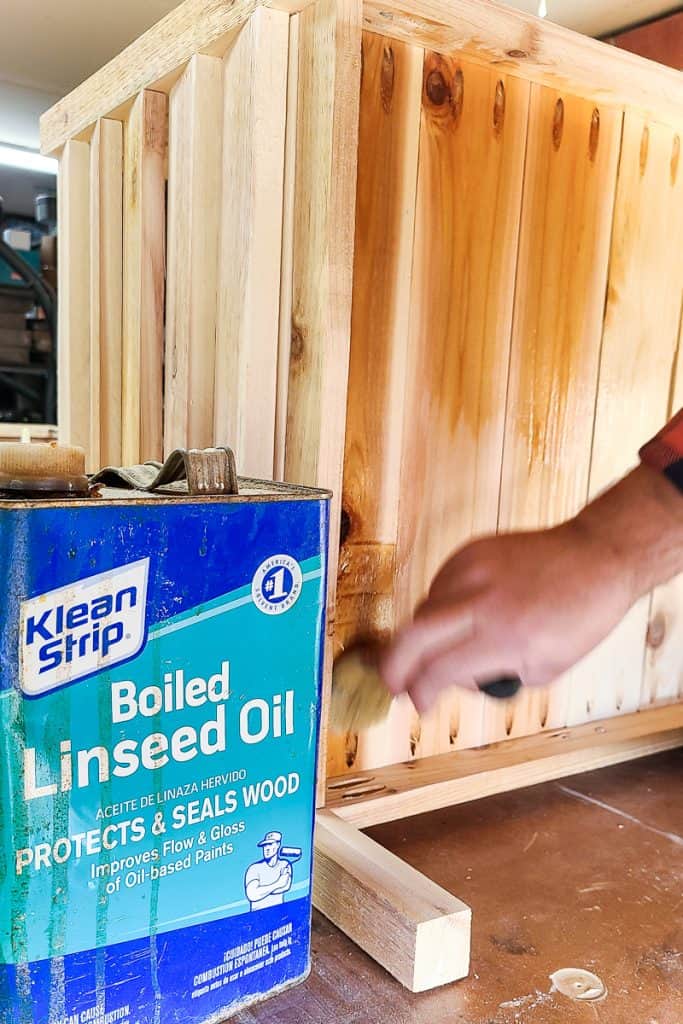
- Stain, seal, or paint the storage box as desired.
- We used linseed oil for a natural finish.
- Let the finish dry completely before filling.
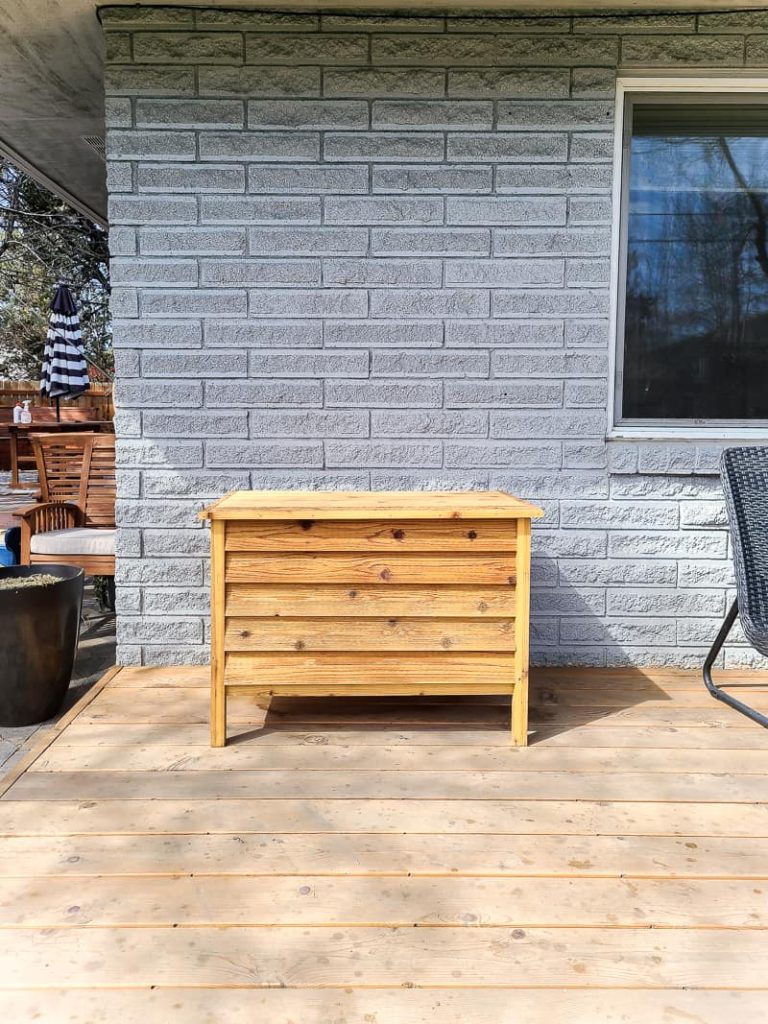
Ready to see how the DIY deck box turned out?
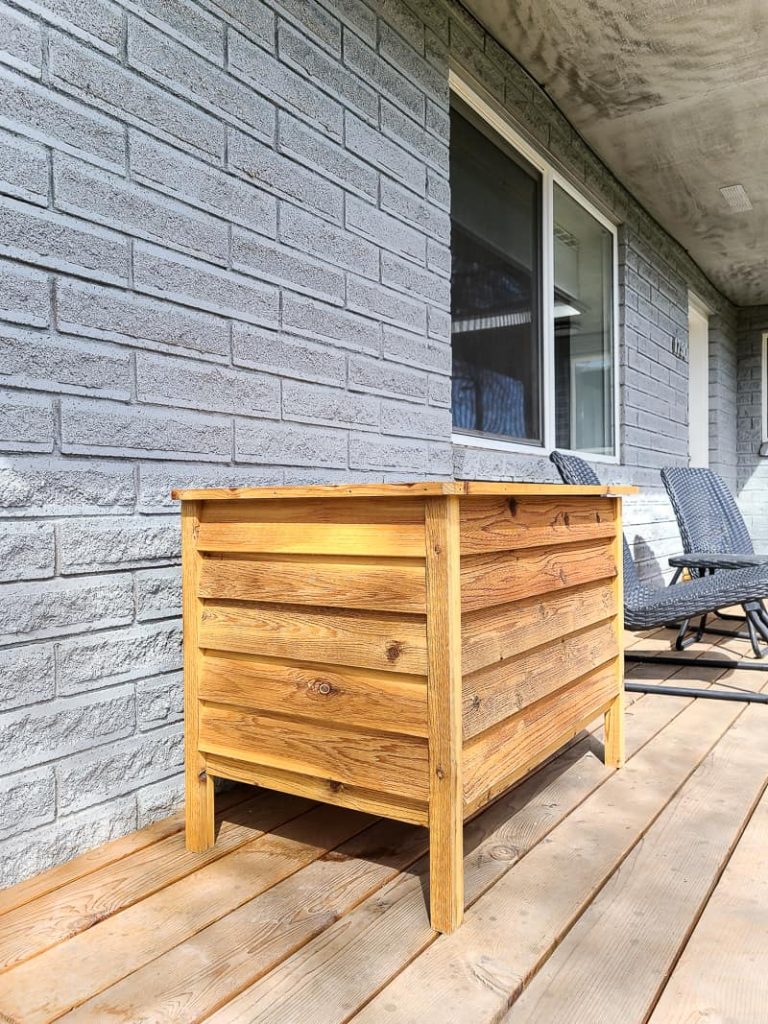
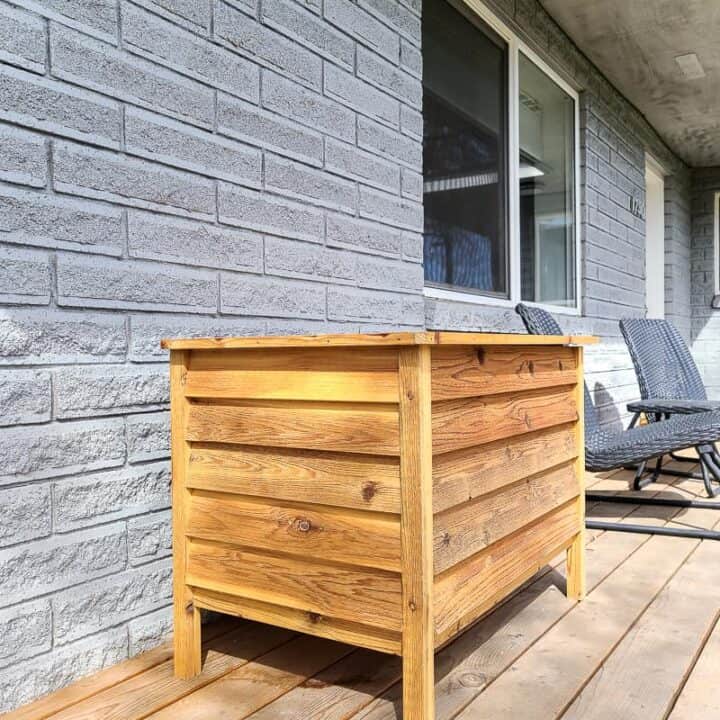
Doesn’t the DIY deck box look great??? It’s perfect on our back deck!
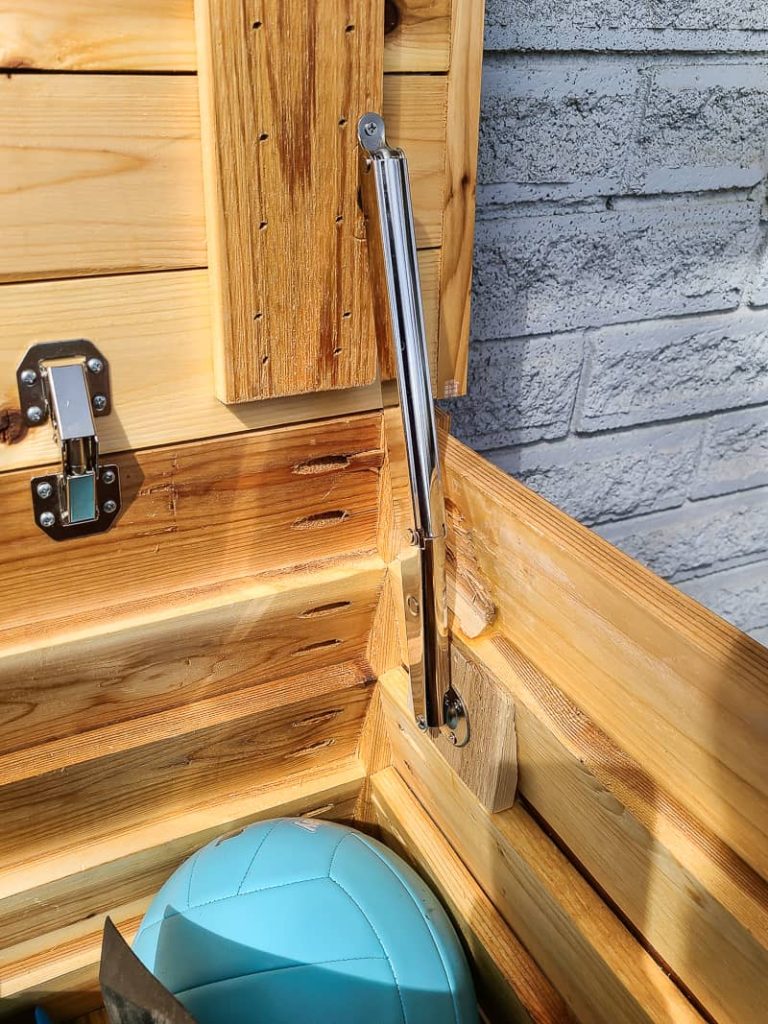
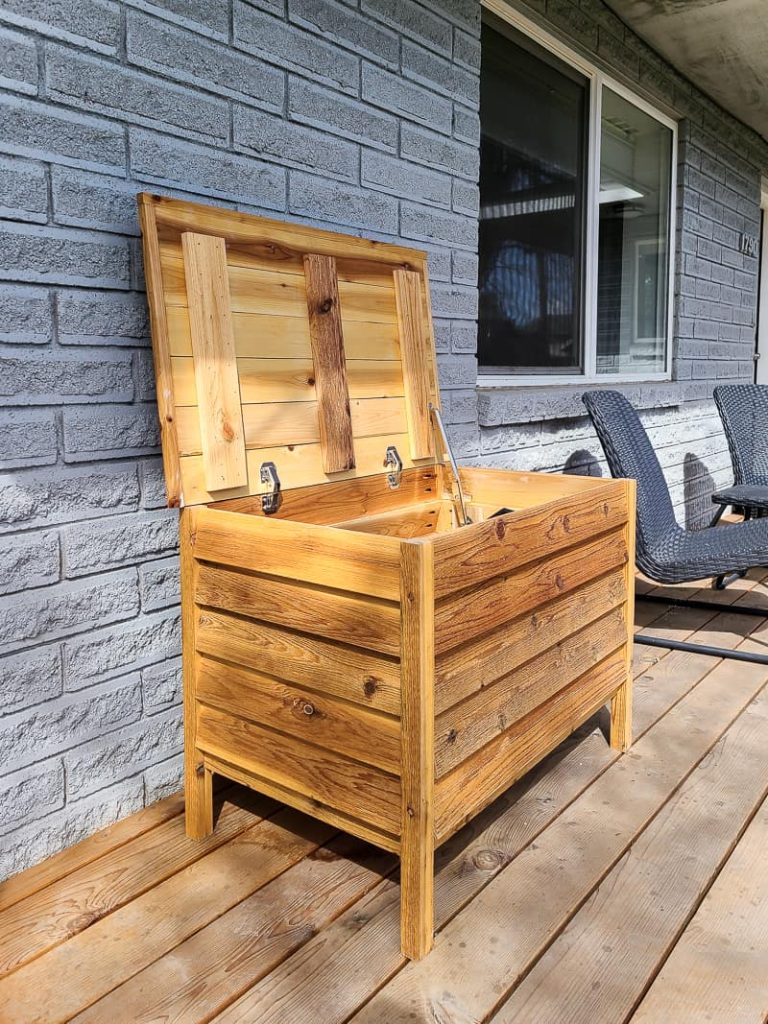
We decided to add gas struts to make the lid of the deck box soft-close. I was just imagining the little one’s fingers getting slammed, so this was a necessary addition for the peace of mind!

And just look at how much it holds! I was shocked that we barely halfway filled the outdoor storage box once we added all of our toys.
Because we used cedar wood and sealed it with boiled linseed oil, it will stay protected for years to come. As a naturally moisture-resistant wood, cedar was the best option for this outdoor box. Combined with the deep penetrating protection of the boiled linseed oil, it will protect the wood from both sun and water.
As I’m sure you know, the cost of building materials and wood is soaring right now. But we were still able to build this DIY deck box at a modest price, I think.
DIY Deck Box Cost Breakdown
Note: these costs are, of course, subject to change and may be different in your region. The prices reflect the amount at the time of purchase for us.
- ¾” x 3 1/2” x 8’ Cedar – $7.59 x Qty 12 = $91.08
- ¾” x 1 1/2” x 8’ Cedar – $5.74 x Qty 4 = $22.96
- Hinges = $6.98
- Soft Close = $39.99
**Already on hand: Blue-Kote Kreg 1 1/4″ screws, 1 1/4″ finish nails, boiled linseed oil, paintbrush, 80 & 150 grit sandpaper, wood glue, and all tools required, like the Kreg Pocket-Hole Jig 720Pro**
Total Cost of Deck Storage Box – $161.01
If you want to build this easy DIY deck storage box, we’ve done all the hard work for you! All you need to do is hop over Kreg’s website and get the free plans.
At the bottom of the tutorial on Kreg’s website, you’ll also see a link to download the woodworking plans (for free) to get all of the detailed measurements and a cut list!
Would you love a deck storage box like this in your backyard?
Let us know in the comments below!
DIY Deck Box for Outdoor Toys
Is your backyard drowning in kid's toys tossed all over the lawn? Does your backyard feel cluttered and messy? You need an outdoor toy storage box! Download our free deck box plans & learn how to build this outdoor storage box with our tutorial!
Materials
- ¾” x 3 1/2” x 8’ Cedar
- ¾” x 1 1/2” x 8’ Cedar
- (1 ¼”) - Blue-Kote
- 1 ¼” Finish Nail
- 180 Grit Sandpaper
- 150 Grit Sandpaper
- Boiled Linseed Oil
- Paint Brush
- Wood Glue
- Cabinet Hinges
- Gas Strut Soft Close Support Hinges
Tools
- Kreg Pocket-Hole Jig® 720PRO
- Miter Saw
- Table saw
- Tape Measure
- Drill
- Impact Driver
- Orbital sander
- Clamps
- Finish nailer
- Multi-Tool/Jig Saw
Instructions
- Cut your wood according to the visual cut list and sand with 150 grit sandpaper.
- Glue the pieces together for the legs. Doing this first will give it time to dry while you prep the rest of the wood.
- Drill pocket holes as shown in the plans.
- Once the legs are dry ( a couple of hours) sand with 80 grit sandpaper followed by 150 grit sandpaper.
- Assemble the base by first attaching the supports to the legs.
- Attach side planks to the base.
- Assemble the lid.
- Dry fit the lid so you know where to drill the holes for the hinges. Install the hinges.
- Allow to sit outside for a few days so the cedar will dry and shrink before attaching the final trim pieces to the lid.
- Paint or stain, then seal.
Related – Projects that use a pocket hole jig
- Kid’s Cabin Bed
- Table Top
- Planter Box for Front Porch
- Outdoor Plant Wall
- Farmhouse Sink Cabinet
- Mudroom Lockers
- DIY Desk Calendar & Wooden Pencil Holder
- DIY Dress Up Storage for Kids
- Picture Ledge DIY
- DIY Firewood Rack with Roof
- DIY Cane Headboard
- Boho Nightstand with Cane
- DIY Behind the Couch Table with Outlet
- DIY Headphone Stand
- DIY Cookbook Stand
- Easy DIY Grill Utensil Holder
- DIY Deck Box for Outdoor Toys
- DIY Towel Rack Made With One Board
- DIY Tool Organizer for Kreg Tool Stand
- DIY Mail and Key Holder
- DIY Step Stool for Toddler
- DIY Trash Can
- DIY Spice Rack
- DIY Book Holder
- Easy DIY Magazine Shelf
- DIY Clamp Rack
- DIY Chicknic Table
- DIY Bike Rack
- Small Bookshelf
- DIY Laptop Tray