DIY Donut Stand | Perfect Display for a Donut Bar at Parties and Events
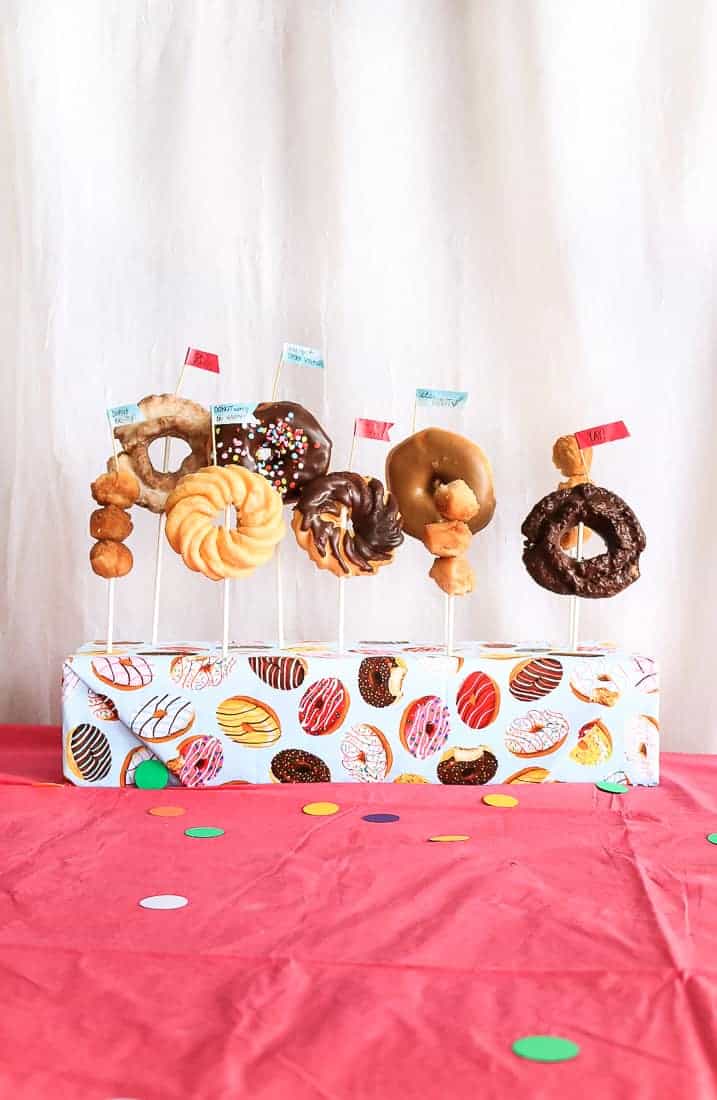
Learn how to make a colorful DIY donut stand for your next donut themed party! It's the perfect creative way to display donuts on a donut bar at parties and events, like weddings, bridal showers and baby showers.
If you want to incorporate donuts into your baby shower food or as a special treat at a wedding, you’re probably wondering how to display the donuts so they look look but are also easy for your guests to grab.
Today I’m sharing a very easy solution for this donut display problem – a DIY donut stand!
Although our DIY donut stand is relatively small because we were hosting a small donut themed baby shower with a donuts and diapers theme, you can adjust this tutorial to create a donut stand in whatever size you want.
I got the inspiration for this DIY donut stand from way back when I planned the woodland baby shower food at this baby shower. We created something similar to display our s’more on a stick with a foam block and covered it with moss (instead of the fabric like I used on this DIY donut display).

Ready to learn how to make this super cute DIY donut display??
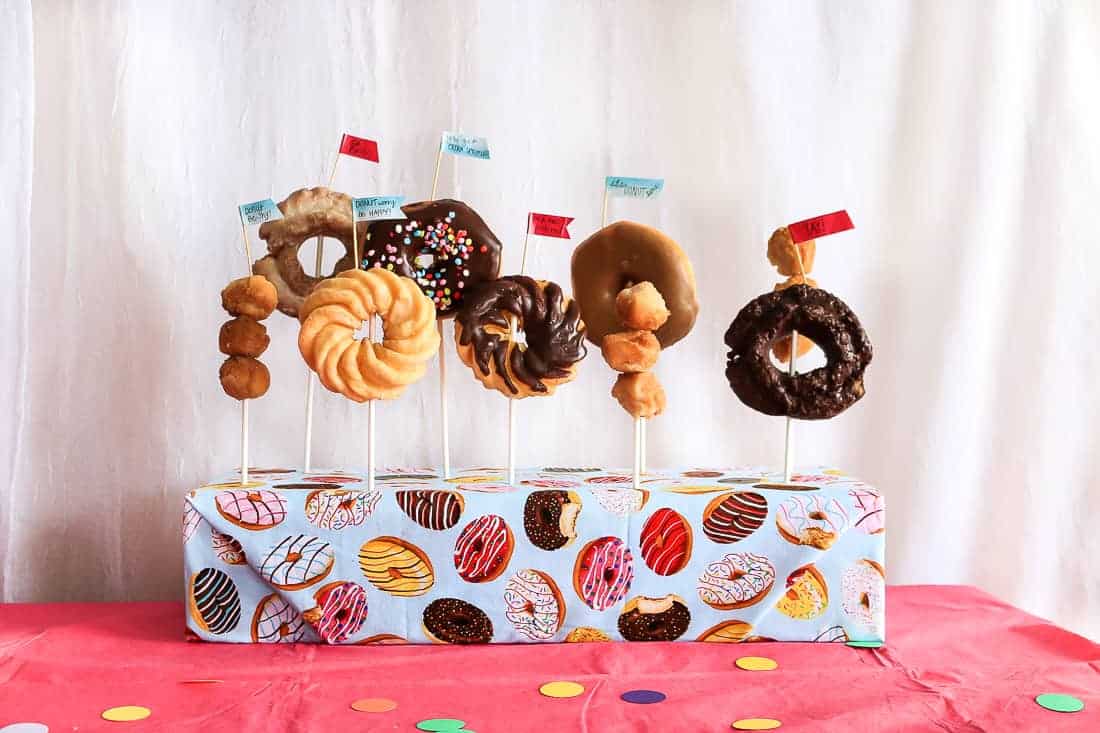
Materials for the DIY donut stand:
- Styrofoam Block
- Knife
- Hot Glue Gun
- Hot Glue Sticks
- Sharpie
- Donut Patterned Fabric (similar options)
- Scissors
- Xacto Knife
- Candy Sticks
- Donuts
- Optional: Washi Tape & Toothpicks (to make the flags)
Step 1: Cut foam block for base of donut stand.
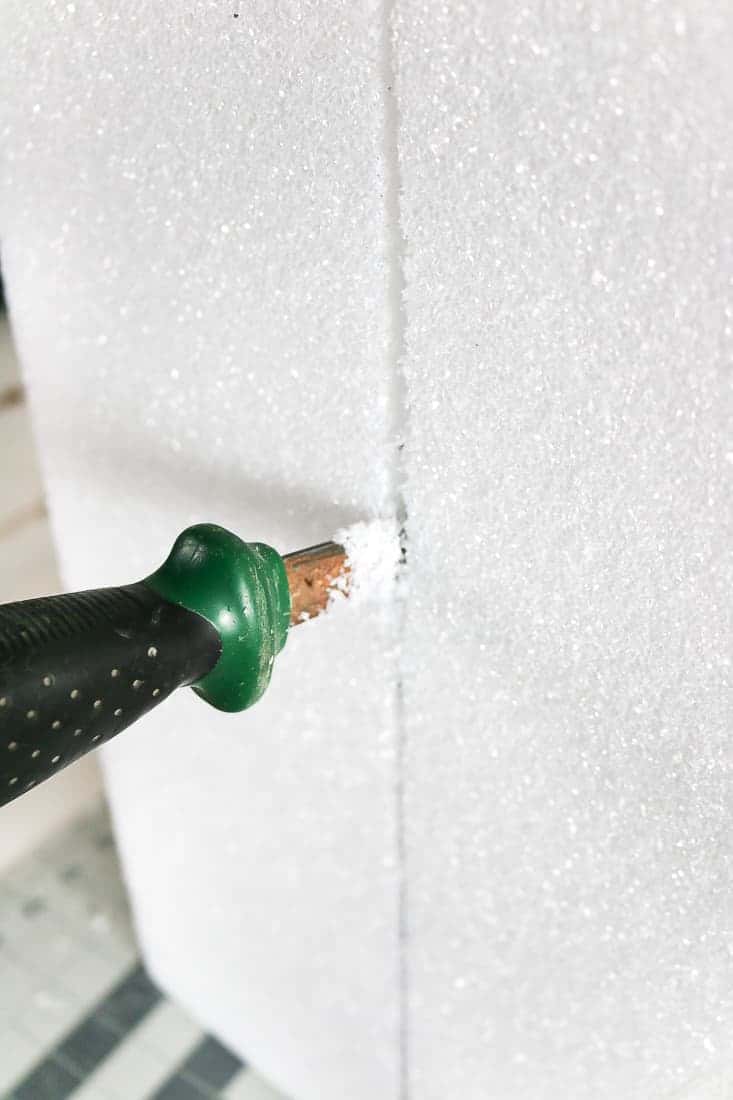
Depending on what size foam block you find, this step may not be necessary. I purchased a square block, cut it in half and hot glued it stacked together for a more rectangle shaped thick foam block.
I used a simply serrated knife to the cut the styrofoam block and it worked great. It was pretty messy though – so be sure to down a bag or some paper for easy clean up.
Step 2: Wrap foam block with donut patterned fabric.
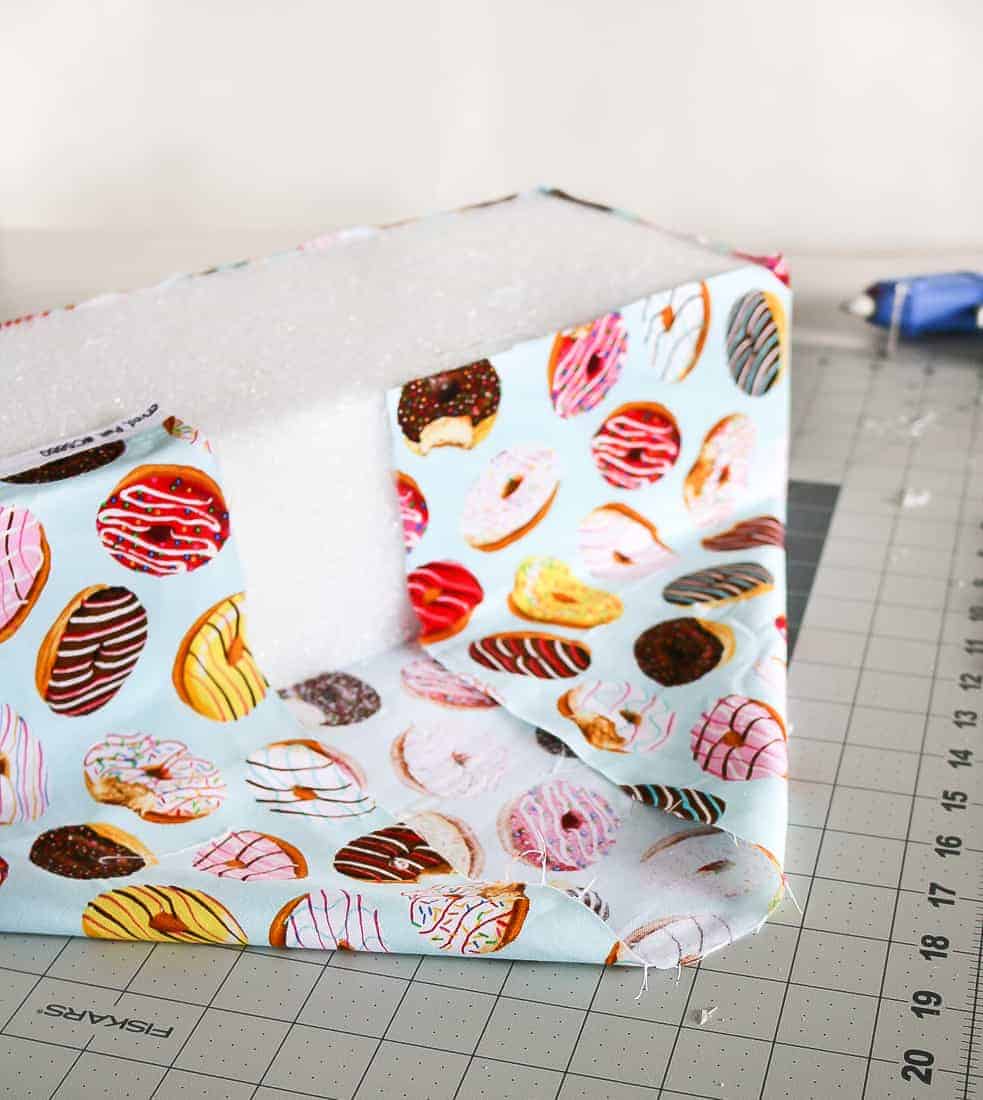
Wrap the donut patterned fabric around the styrofoam block and use a simple triangle fold on the corners, just like you would use if you were wrapping a present. Secure the fabric to the foam block with hot glue.
Step 3. Make X’s for donut sticks.
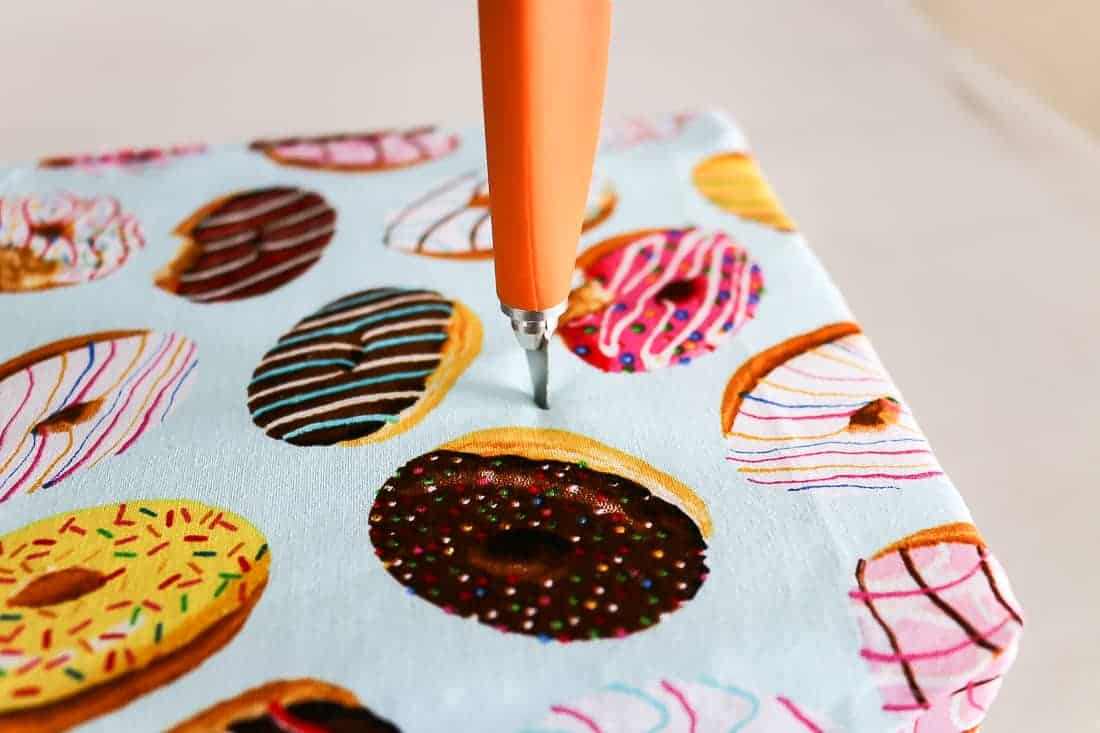
Make small x’s using an xacto knife in the fabric where you want the sticks for the donuts to go. Make as many x’s as you want, but keep in mind that the donuts will need to have enough room around the donut so they don’t bump into each other.
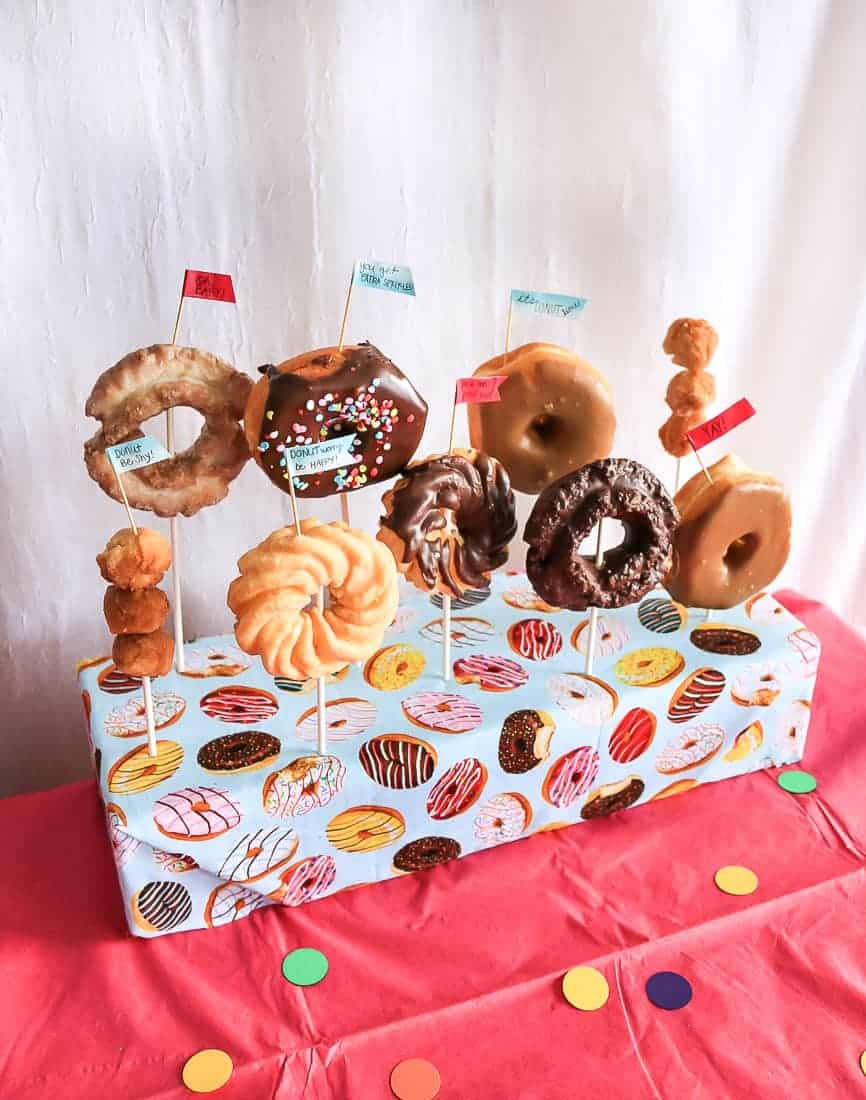
Step 4: Add donuts on the DIY donut stand.
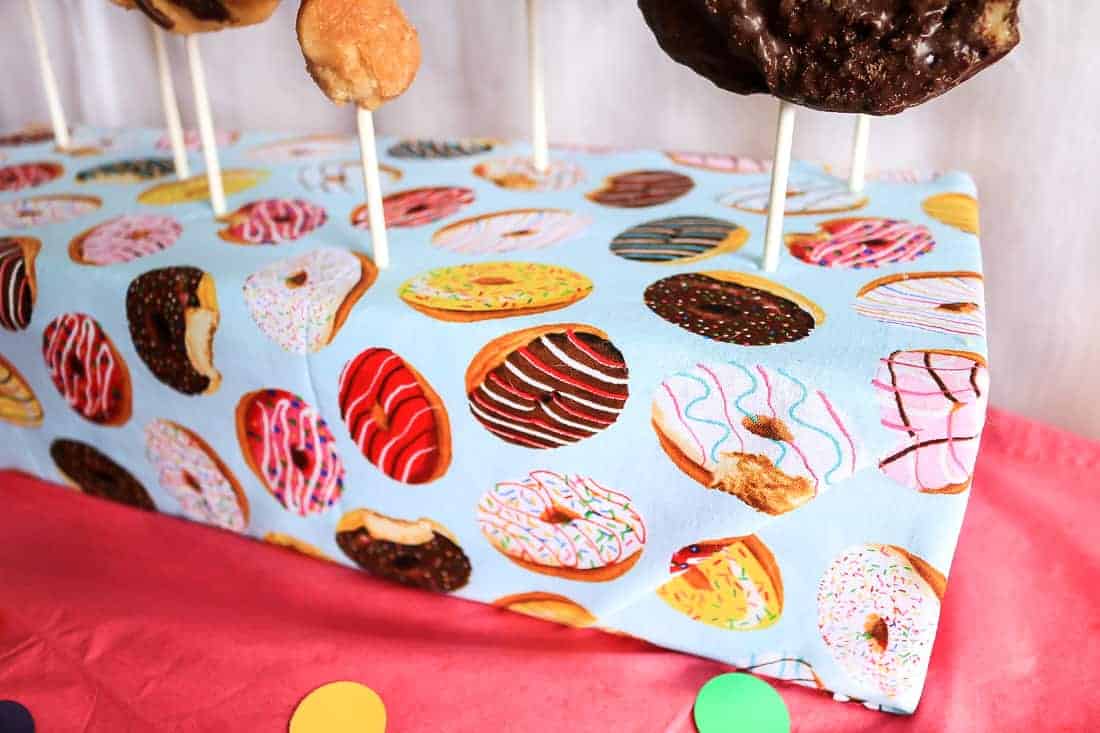
Put your donuts on the candy sticks and then place them in the holes on the block.
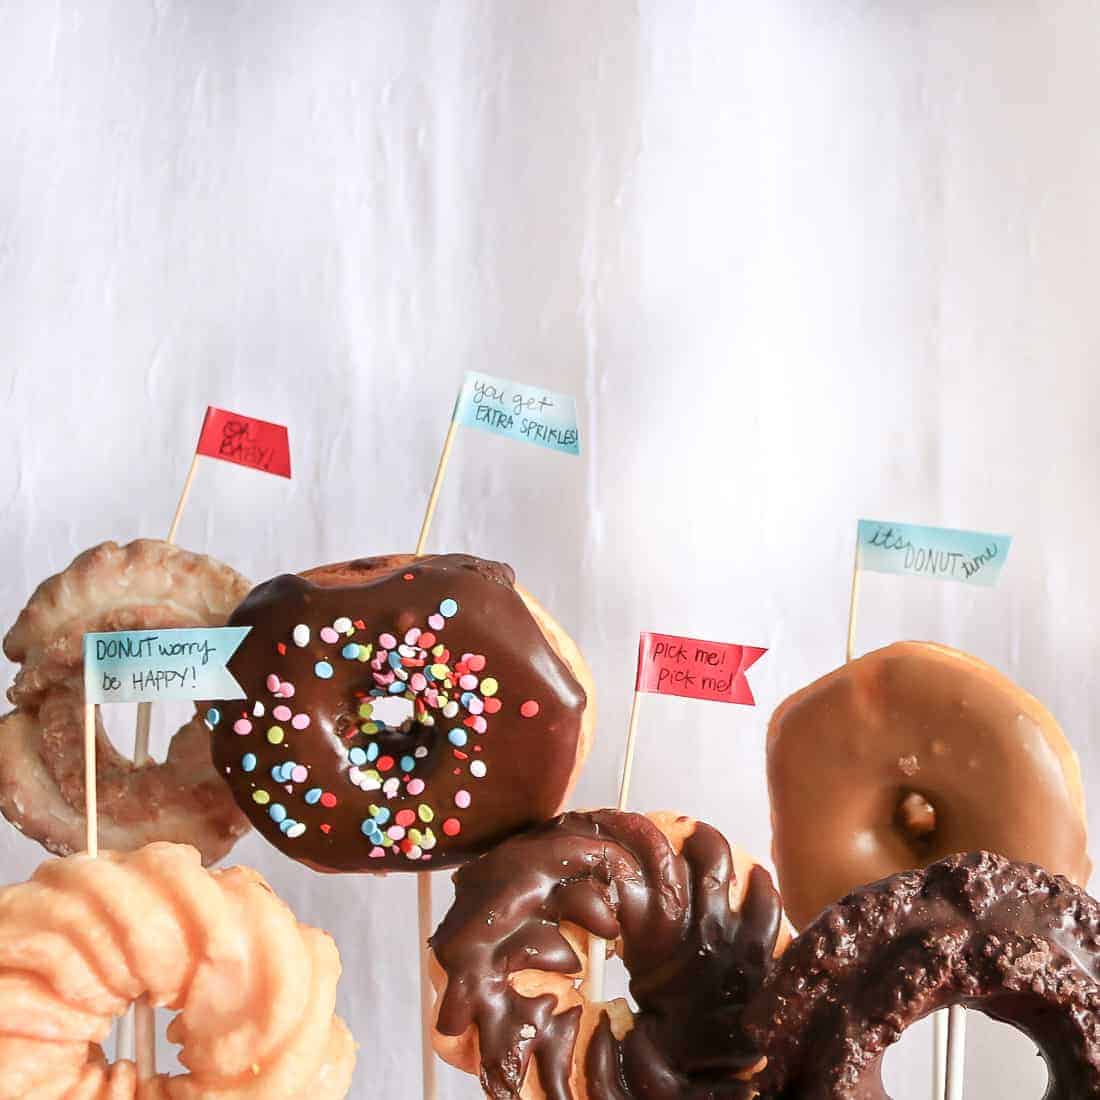
To add even more color and character to you donut display, you can create these fun donut flags with washi tape and toothpicks! Are they fun?!
On this little donut flags I wrote these fun sayings:
- DONUT worry, be HAPPY!
- Pick me! Pick me!
- It’s DONUT time
- OH Baby!
- You get extra sprinkles
- DONUT be shy!
- Yay!
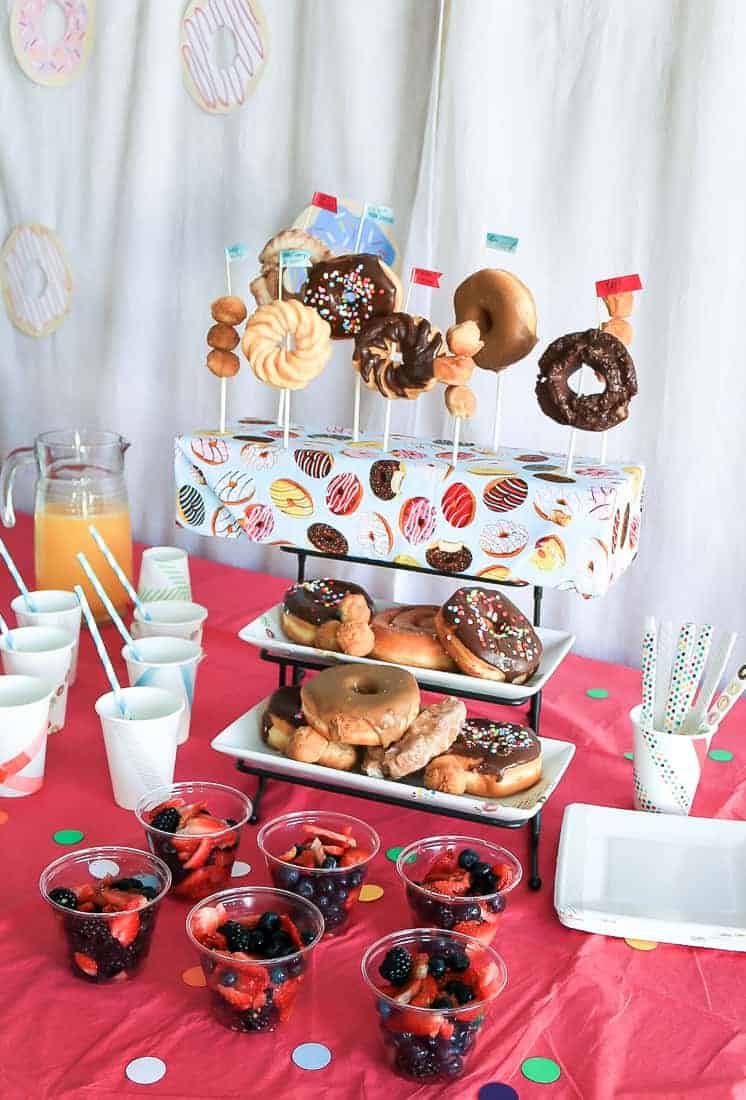
The donuts look irresistible on this DIY donut stand. This donut display will be the talk of your next party!
Need more baby shower ideas?
- Best Etsy Baby Shower Gifts
- 10 Rustic Baby Shower Invitations
- DIY Lullaby Baby Shower Gift Wrap
- Rustic Woodland Baby Shower Food and Decorations
- Moss Banner for Rustic Woodland Baby Shower
- Baby Shower Name Tag
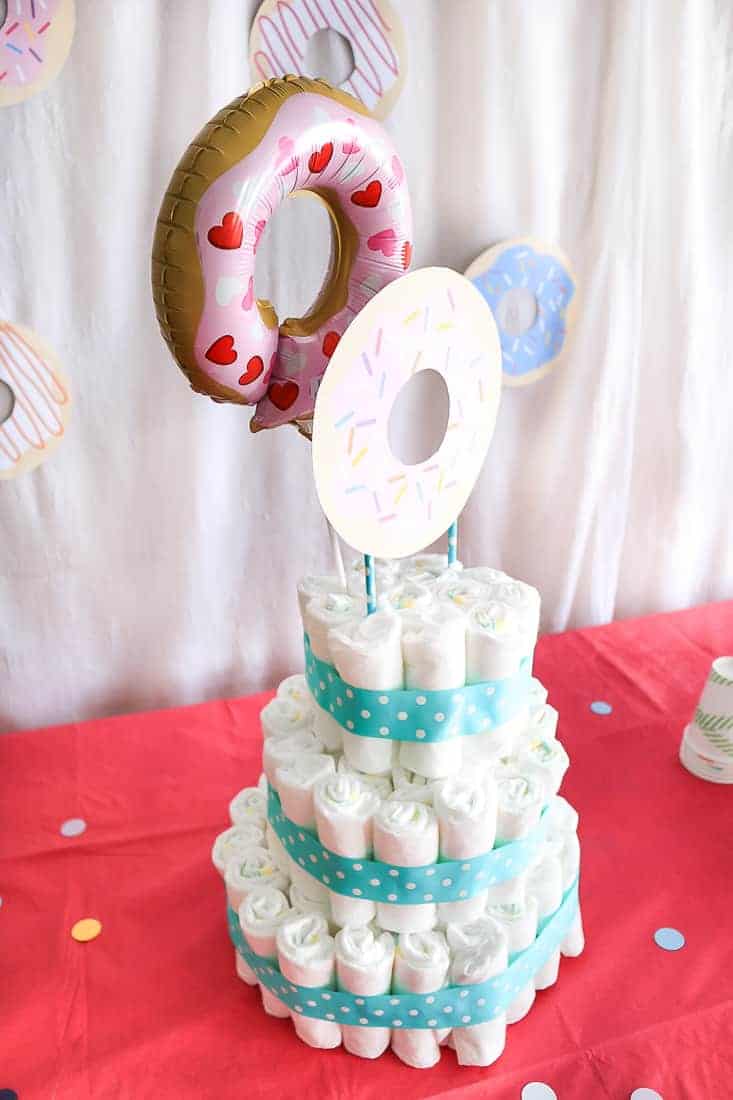
- Baby Diaper Cake Tutorial For Diaper Shower
- Donut Themed Baby Sprinkle Shower (and Free Printable Donuts)
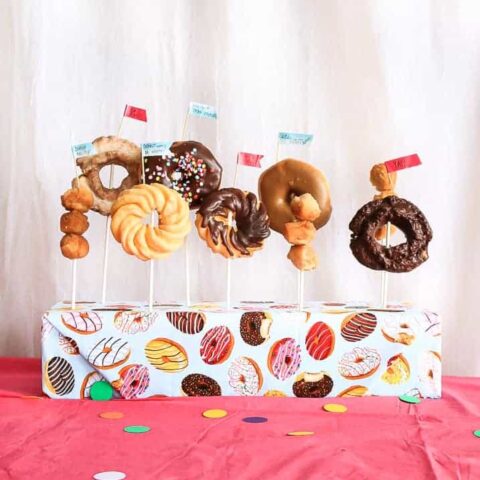
How To Make A DIY Donut Stand
Learn how to make a colorful DIY donut stand for your next donut-themed party! It's the perfect creative way to display donuts on a donut bar.
Materials
- Styrofoam Block
- Hot Glue Sticks
- Donut Patterned Fabric
- Candy Sticks
- Douts
- Washi Tape (optional)
- Toothpicks (optional)
Tools
- Knife
- Hot Glue Gun
- Scissors
- Sharpie
- Xacto Knife
Instructions
- Cut foam block for base of donut stand.
- Wrap foam block with donut patterned fabric.
- Make X's for donut sticks.
- Add donuts to DIY donut stand.
- Optional: Add mini flags with toothpicks and washi tape.

