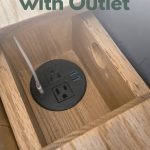
DIY Behind the Couch Table with Outlet (Free Woodworking Plans!)

Are you looking for a way to charge your devices while sitting on the couch and a convenient place to put drinks? Why not build a DIY behind the couch table? We incorporated a hidden recessed outlet into the table. The best part? We are giving away the free woodworking plans so you can build a skinny sofa table just like this for your living room!
Thank you to Kreg for this DIY behind the couch table project! All opinions are entirely my own. This post also contains affiliate links, but nothing that I wouldn’t recommend wholeheartedly. Read my full disclosure here.
So here’s what happens almost every single night. We put the kiddos to get and then Logan and I head to the couch for some relaxing TV time before heading off to bed ourselves.
Inevitably, I usually grab a big glass of ice water because I never drink enough water during the day and I grab my laptop for some fun Pinterest scrolling or some late-night blog work.
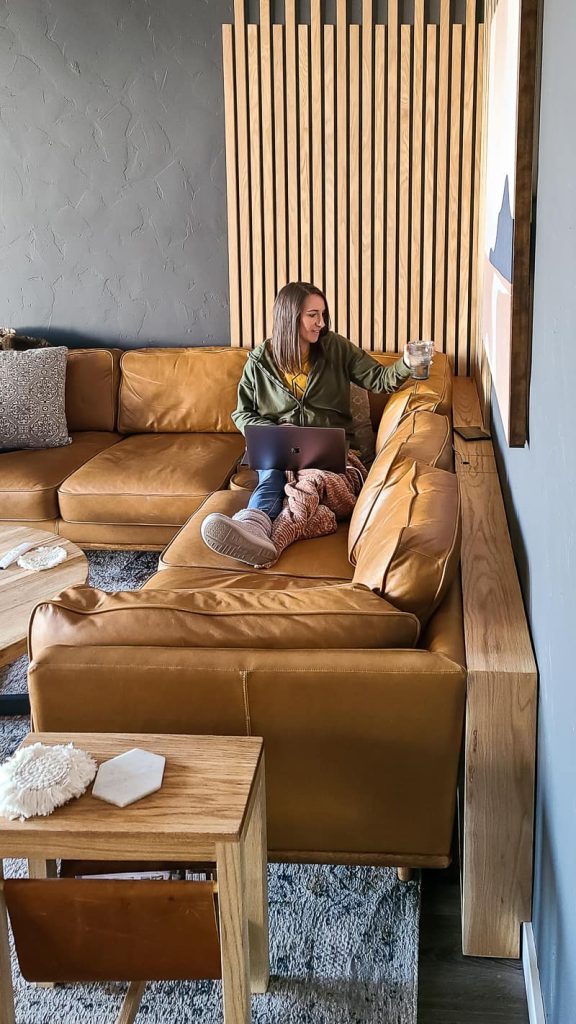
I take my usual spot in the corner of our sectional in our modern boho living room, get cozied up with a soft blanket, and open up my laptop.
At some point pretty quickly after I get all cozy, two things usually happen…
- I get thirsty and want a big gulp of that ice water but it seems like it is miles away on the coffee table and I can’t reach it without getting out from under the warm blanket and moving my laptop.
- My laptop starts to die and I need to plug it in, which requires running the cord under the couch and over Logan and around myself to the left side of my laptop.
These two things, while seemingly small…very first-world problems, frustrate me every night. There’s got to be a better way.
So we got to work brainstorming and came up with building a small and skinny table to go behind the couch along the wall that has an outlet for charging devices.
Genius, right?!
Table of Contents

Kreg’s 720PRO Pocket Hole Jig
If you’ve been around awhile, you know that we are big fans of the Kreg pocket hole system. We’ve built so many projects using our original K5 Pocket Hole Jig, we even have a super detailed guide and video about how to use it that you can check out here.
But in 2021 Kreg released brand new pocket hole systems that are replacing the K4 and K5, and the upgrades are pretty freakin’ awesome.
The new 720PRO (which we were using for this DIY behind the couch table) and the 520PRO (which replaced the smaller K4 system) were improved a ton, the most noticeable change being that they are easier to set up and use – score.
My favorite new feature of 720PRO and 520PRO is the clamp that you don’t have to adjust anymore. You should clamp it down and it automatically adjusts to match the thickness of your wood, so cool, right?
Pocket hole joinery is definitely one of the easiest ways to join wood in woodworking projects. It’s our favorite hidden weapon for beginning woodworkers!
Want to learn more? I wrote a super detailed guide & created a video all about how to set up your Kreg 720PRO Pocket Hole and use it, so be sure to check that out too!
We teamed up with our friends Kreg again for these skinny sofa table plans and we are sharing them online for free, which are now available on KregTool.com!
Kreg’s website is chocked full of so many easy-to-follow FREE woodworking plans! I promise that you are going to find so much inspiration while you’re there! It is a goldmine!
DIY Sofa Table with Power: Video Tutorial
If you love DIY videos, be sure to subscribe to our YouTube channel!
Behind The Sofa Table: Step-by-Step Instructions
Wood products needed:
- Two 1×6 Oak Boards, 8′ long
- One 1×6 Oak Board, 10′ long
Supplies needed:
- 1 1/4″ pocket hole screws, zinc
- 80-grit and 150-grit sandpaper
- Spray polyurethane
- Recessed power outlet
- Wood filler
- 1 1/2″ finish nails
- Wood glue
Tools needed:
- Kreg 720Pro pocket hole screws
- Bevel miter saw
- Circular saw
- Table saw
- Drill
- Impact driver
- Orbital sander
- Finish nail gun
- Clamps
- 1 1/4″ hole saw
- 3 1/4″ hole saw
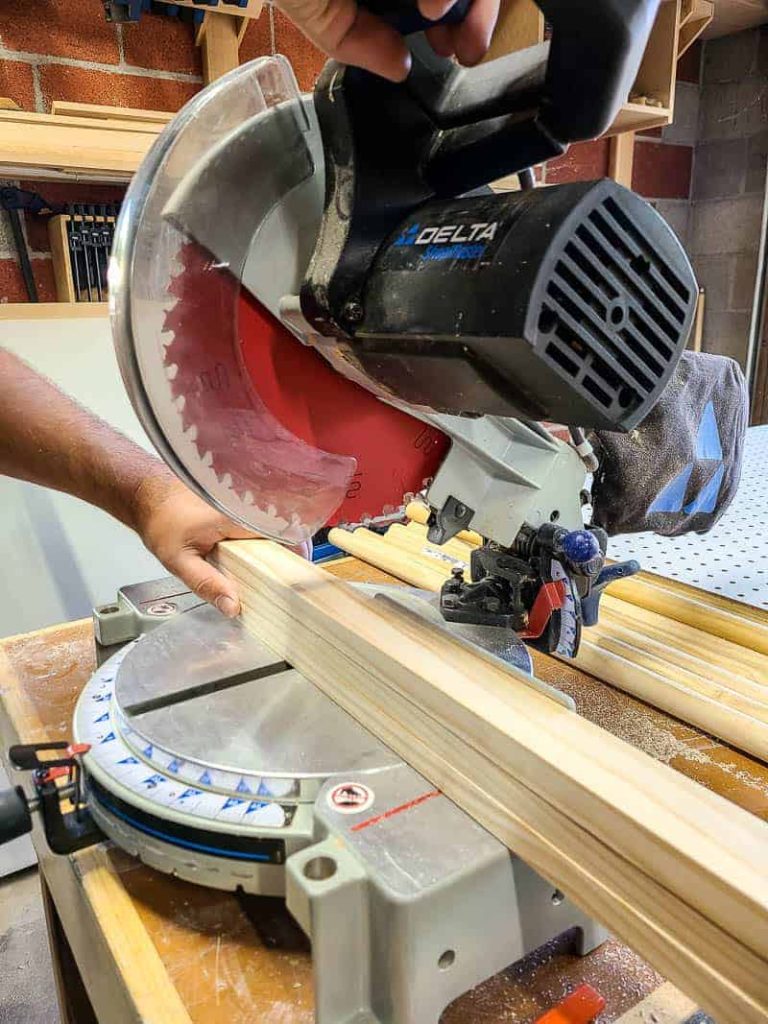
Step 1. Cut wood
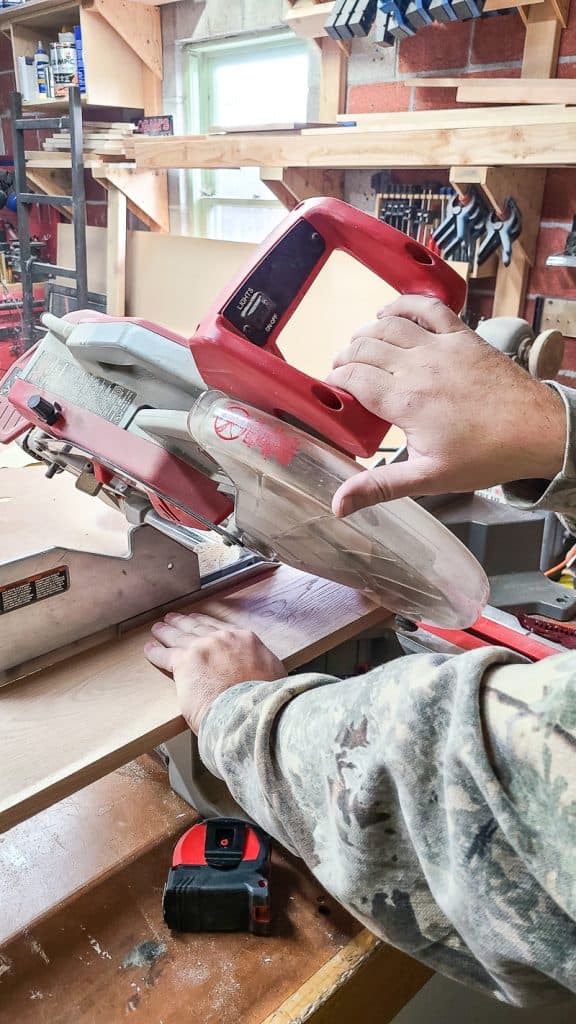
- Follow the visual cut list in the woodworking plans (which can be downloaded here) using a miter saw.
- Use a bevel miter saw for the bevel cuts.
- For notching the table bottom to fit it around baseboards (if desired), use a Circular Saw or Jigsaw.
- Lightly sand all pieces with an orbital sander using 80-grit, then 150-grit sandpaper.
Step 2. Make corner supports

- Build four corner supports using wood glue and 1 ½” finish nails.
- Later in Step 5, you’ll place the large corner supports on top inside corners and small ones on bottom inside corners of the sofa table.
- Set aside once assembled.
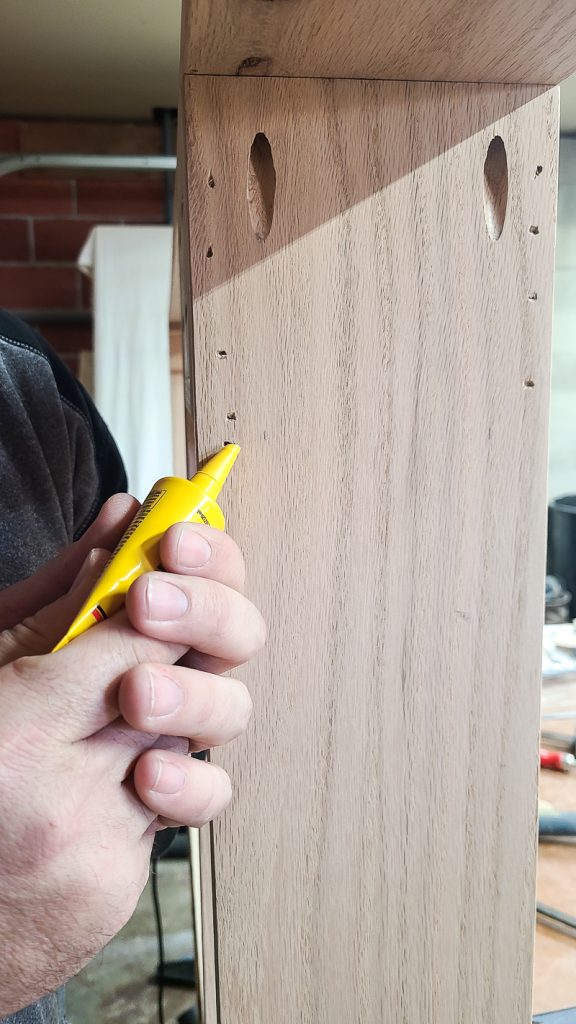
Step 3. Drill pocket holes
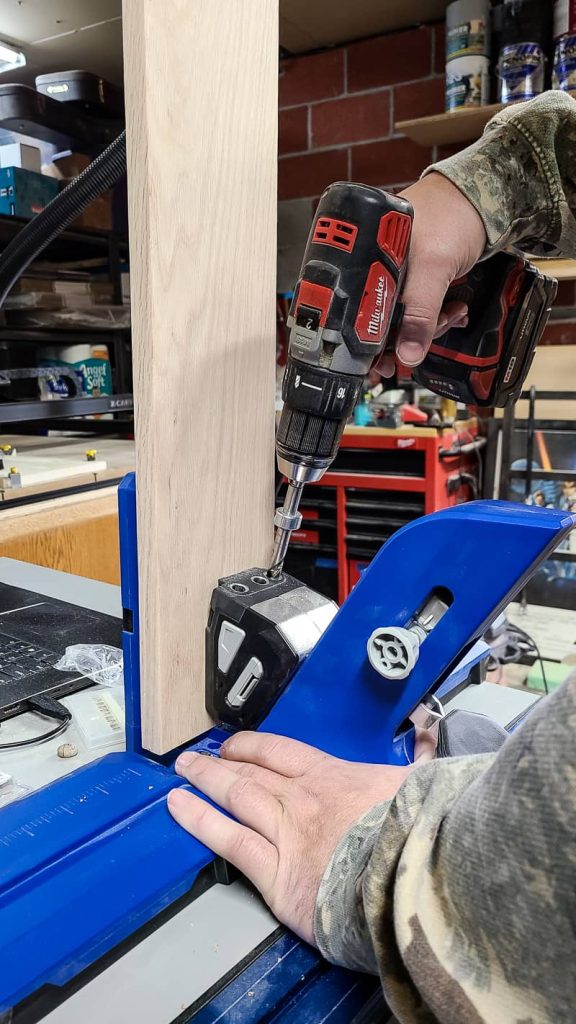
- Drill pocket holes according to the woodworking plans.
- We used the 720 Pro.
Step 4. Make a box for the outlet
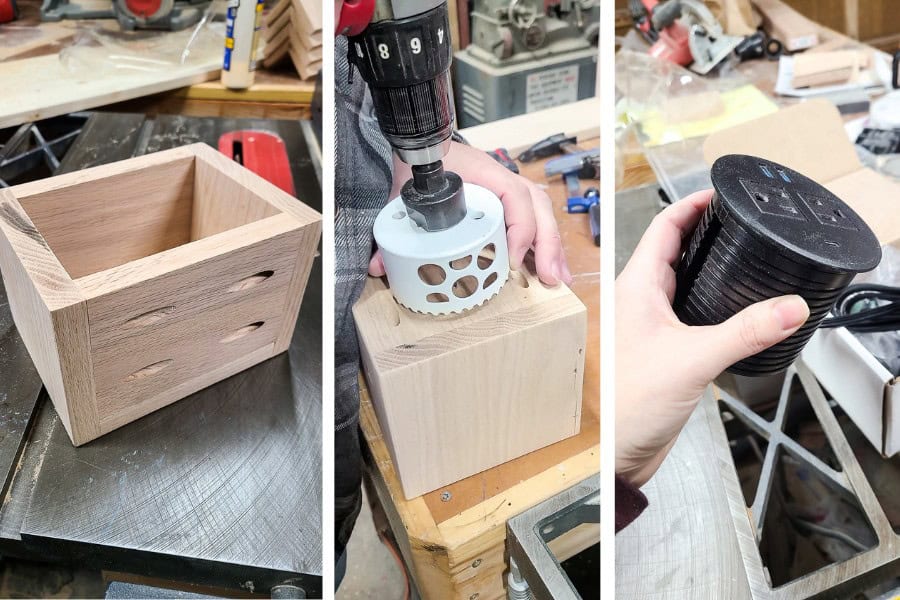
- Assemble the small box for the outlet with pocket hole joinery.
- Use a 3 ¼” hole saw to drill a hole in the box bottom for the recessed outlet.
- Attach the small box to the two vertical pieces with pocket holes.
Step 5. Assemble
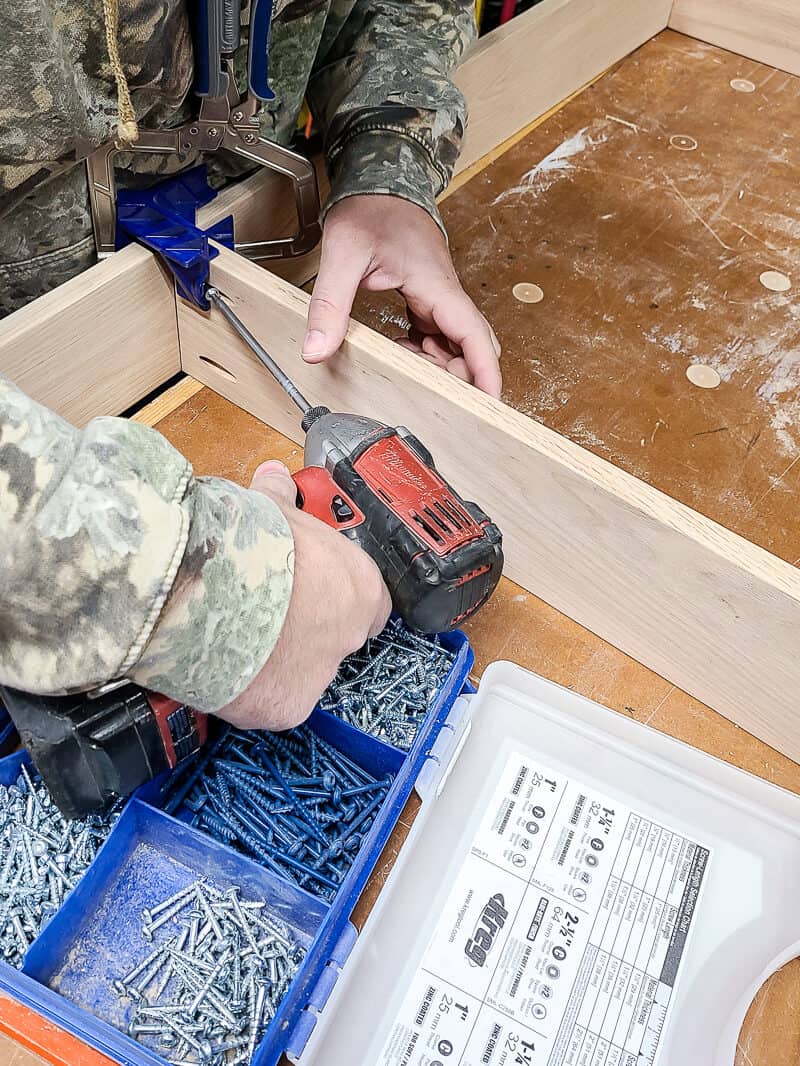
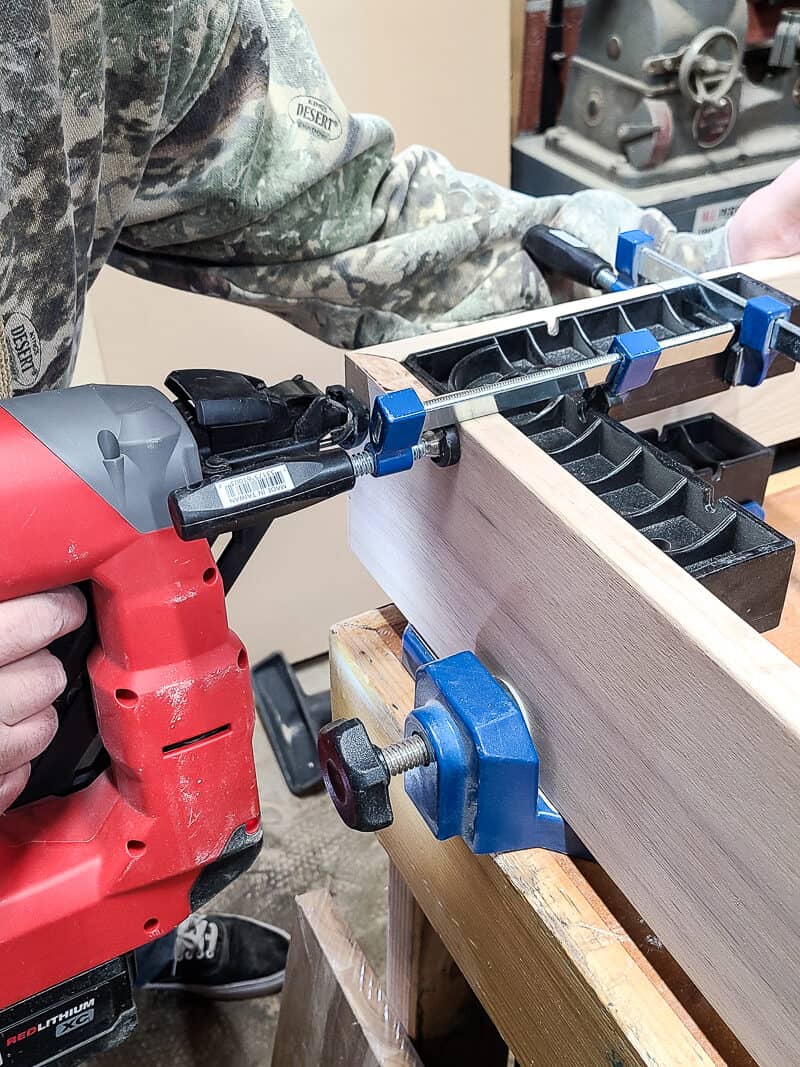
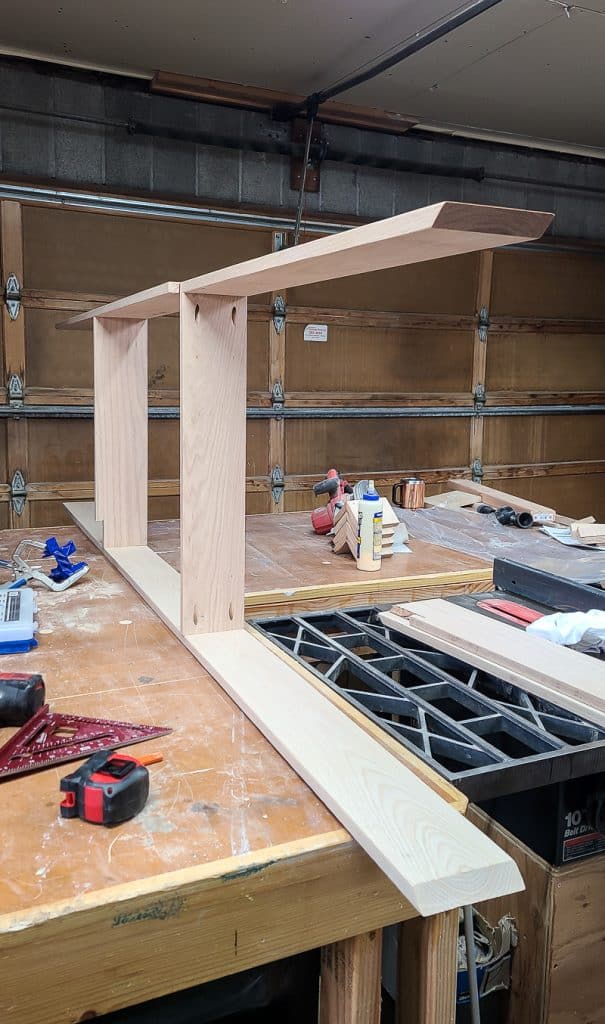
- Assemble the sofa table with 1 ¼” pocket hole screws.
- Begin with inside vertical pieces & small box, attaching them to the top and bottom panels.
- Then, add the vertical end pieces and secure with 1 ½” finish nails.
- Make sure everything is nice and square before attaching; consider using corner clamps for alignment while assembling.
- Install the small outlet box in the middle between the inside vertical pieces, attaching it with finish nails.
- Finally, add the corner supports you made in Step 3 in all four corners with finish nails.
Step 6. Fill holes and sand
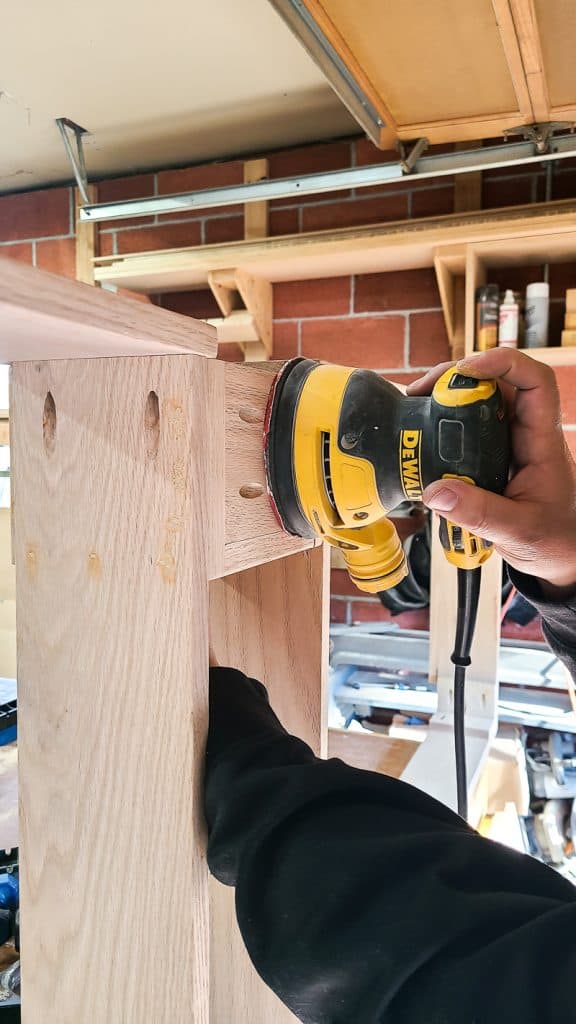
- Fill all nail holes with stainable wood filler and let dry.
- Sand smooth with 150-grit sandpaper and an orbital sander.
- Wipe away sanding dust thoroughly.
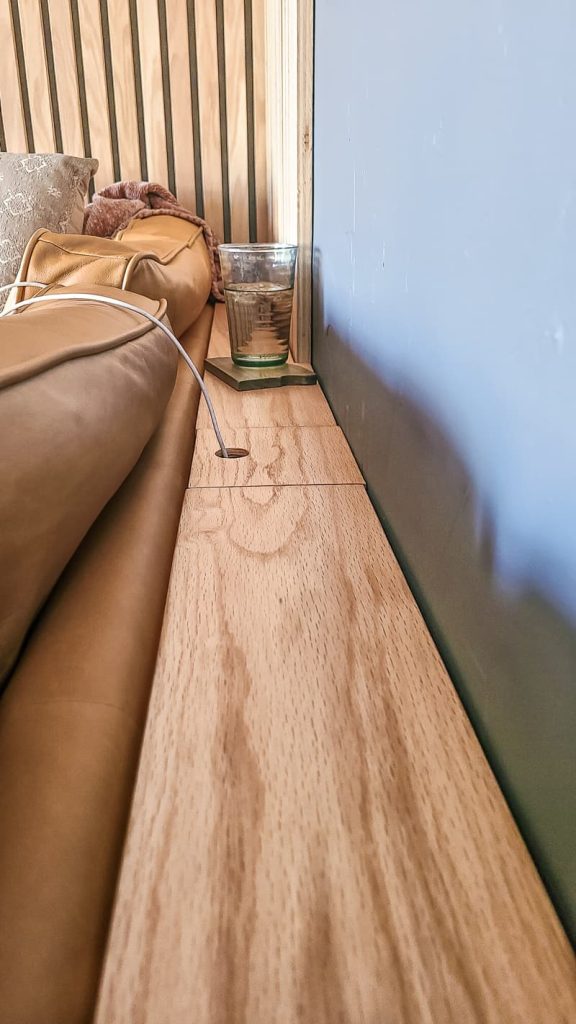
Step 7. Drill hole on lid
- Use a 1 ¼” hole saw to make a hole in the lid for cord access.
Step 8. Stain, seal, or paint

- Apply stain/finish or paint as desired.
- We simply added a spray polyurethane for a natural wood finish on ours.
- Let dry.
Step 9. Add recessed outlet box
- Place the outlet into the hole in the bottom of the box and secure it with the ring on the bottom.
- Then plug it into the wall to bring the power into the sofa table.
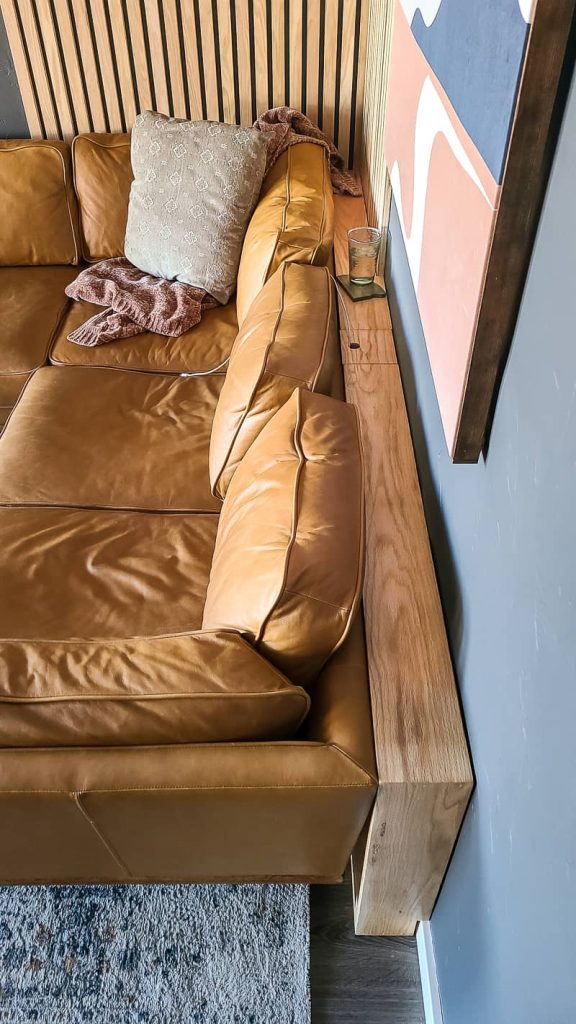
Behind the Couch Table: Reveal

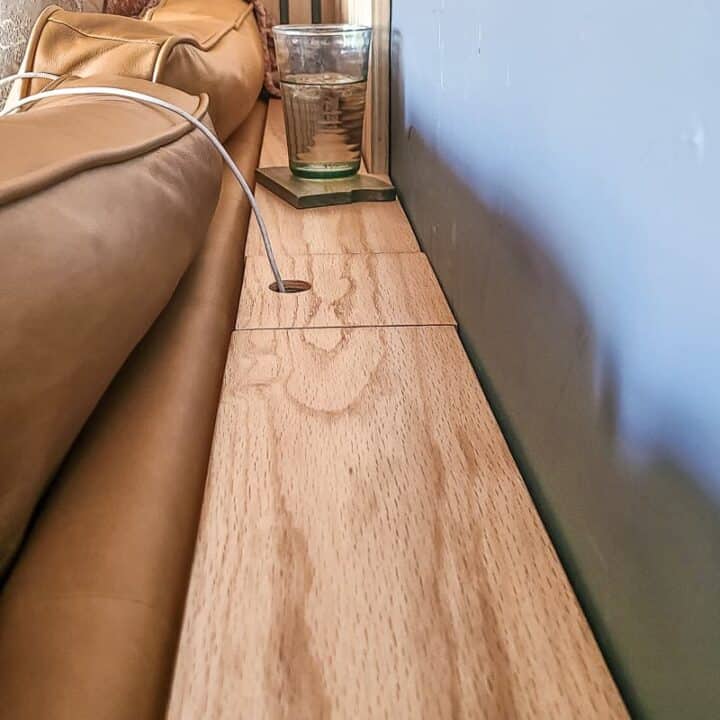
Isn’t it just perfect?! I love the way it fits right around our baseboards and DIY slat wall so that it can be flush with the wall. Otherwise, we would constantly have small things fall behind the table, don’t you agree?
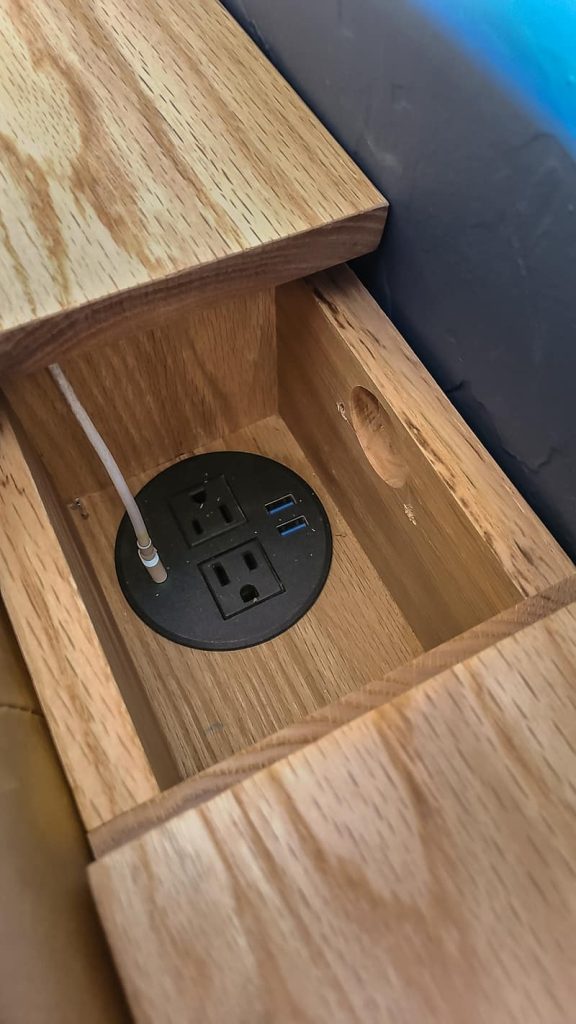
Definitely, the coolest part about the behind the sofa table is the small hidden box with the recessed outlet. Now I can easily sit in the corner of the sectional and still have my laptop or other devices charging while I relax. No more running the cords under the couch in a surge protector and over Logan just to charge my laptop!
Not only am I able to charge my devices, but now I have a convenient place to put my water cups and coffee mugs while I’m sitting on the couch. The coffee table is great, but not close enough to where I can stay cozy under my blanket and grab my cup to take a sip.
The cups on the coffee table, also, inevitably end up getting knocked over from the kids playing or the dog’s wagging tail – so this keeps the cups away from the chaos!
If you’re wondering how much it cost to build this sofa table, say no more. I’ve broken it all down for you. Even with the rising cost of lumber and the fact that we used real hardwood (Oak to be specific on the type of wood), it was a fairly affordable DIY project.
If we would have purchased a skinny sofa table new (like this one), it would have been a little cheaper, of course.
However, it would have been made from cheap materials, not be as sturdy, and definitely wouldn’t have been custom made to fit our wall and baseboards (providing a flush table with the wall).
DIY Behind the Couch Table Cost Breakdown
Note: these costs are, of course, subject to change and may be different in your region.
Wood Products Needed
Materials Needed
- Stainable wood filler = $8.98
- Spray polyurethane = $8.48
- Recessed power outlet = $26.99
**Already on hand: 80 & 150 grit sandpaper, 1 1/2″ finish nails, 1 1/4″ pocket hole screws, and all tools required, like the Kreg Pocket-Hole Jig 720Pro **
Total Cost of Behind Sofa Table – $236.59
We are SO happy with how our couch table turned out and it solves a pain point for me that bugged me almost every day – so that’s a WIN for sure.
Would you build this behind the couch table for your living room?
Let us know in the comments below!
Behind the Couch Table with Outlet
How to build a behind the couch table with an outlet.
Materials
- ¾” x 5 ½” Oak, Approximately 26 linear feet
- Stainable wood filler
- Spray polyurethane
- Recessed power outlet
- Box Of 1 ¼” Kreg Pocket Hole Screws (See Tools List)
- 80 Grit Sandpaper
- 150 Grit Sandpaper
- Spray Polyurethane
- Recessed Power Outlet
- Wood Filler
- Box Of 1 ½” Finish Nails
- Wood Glue
Tools
- Kreg Pocket-Hole Jig 720Pro
- Bevel Miter Saw
- Circular saw
- Table saw
- Tape measure
- Drill
- Orbital sander
- Finish nail gun
- Clamps
- 3 1/4" Hole Saw
Instructions
- Cut the wood according to the cut list in the plans.
- Assemble the 4 corner supports with a little bit of wood glue and 1 ½” finish nails.
- Drill pocket holes as shown in the woodworking plans.
- Assemble small box with pocket hole joinery.
- Assemble the sofa table with the pocket holes and 1 ¼” inch pocket hole screws.
- Fill all nail holes with stainable wood filler, let dry, then sand smooth.
- Using 1 ¼” hole saw make a hole in the lid for the box.
- Seal with stain/finish or paint of your choice.
- Add outlet into the hole in the bottom of the box and thread on the ring on the bottom to secure.
Recommended Products
As an Amazon Associate and member of other affiliate programs, I earn from qualifying purchases.

Related – Projects that use a pocket hole jig
- Kid’s Cabin Bed
- Table Top
- Planter Box for Front Porch
- Outdoor Plant Wall
- Farmhouse Sink Cabinet
- Mudroom Lockers
- DIY Desk Calendar & Wooden Pencil Holder
- DIY Dress Up Storage for Kids
- Picture Ledge DIY
- DIY Firewood Rack with Roof
- DIY Cane Headboard
- Boho Nightstand with Cane
- DIY Behind the Couch Table with Outlet
- DIY Headphone Stand
- DIY Cookbook Stand
- Easy DIY Grill Utensil Holder
- DIY Deck Box for Outdoor Toys
- DIY Towel Rack Made With One Board
- DIY Tool Organizer for Kreg Tool Stand
- DIY Mail and Key Holder
- DIY Step Stool for Toddler
- DIY Trash Can
- DIY Spice Rack
- DIY Book Holder
- Easy DIY Magazine Shelf
- DIY Clamp Rack
- DIY Chicknic Table
- DIY Bike Rack
- Small Bookshelf
- DIY Laptop Tray


What did you finish yours with?
We finished it with a spray polyurethane.
Wanted to say thank you for sharing this project because I was searching Pinterest for a charging station/table for behind my couch. I’m almost done with mine and can’t wait to use it. I definitely has differences but the inspiration is spot on!
So glad you were able to find some inspiration. We’re still loving the couch table! In fact, I’m using it right now as I sit on the sofa and drink my coffee 🙂
Just what I was looking for, thanks! I think I’ll split the cord cover in two around the hole so that my oversized chargers can also be used without having to make an enormous hole for them to fit
Great plan!
Just what I was looking for, thanks! I think I’ll split the cord cover in two around the hole so that my oversized chargers can also be used without having to make an enormous hole for them to fit
Great plan!