How To Paint Mason Jars

Do you have a few mason jars sitting around your house? Maybe they are being used as a vase for some flowers right now or possibly drinking glasses (that’s what we do in our house).
I am going to show you how to paint mason jars and when we’re done you’ll feel confident about how to transform a plain mason jar into a colorful piece of decor with just some simple craft paint!
This guide on how to paint mason jars contains affiliate links, but nothing that I wouldn’t wholeheartedly recommend anyway! Read my full disclosure here.
How To Paint Mason Jars: Step-by-Step Instructions
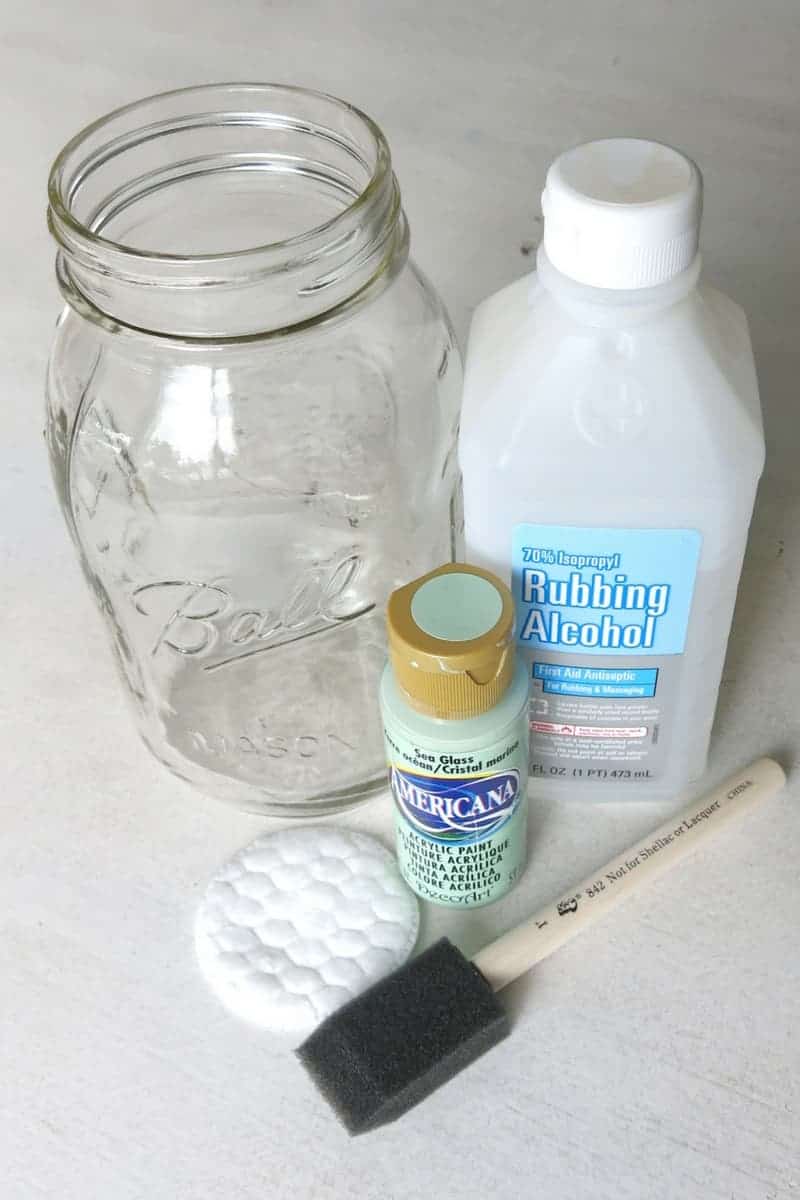
Supplies needed:
Step 1. Clean your mason jar with rubbing alcohol.
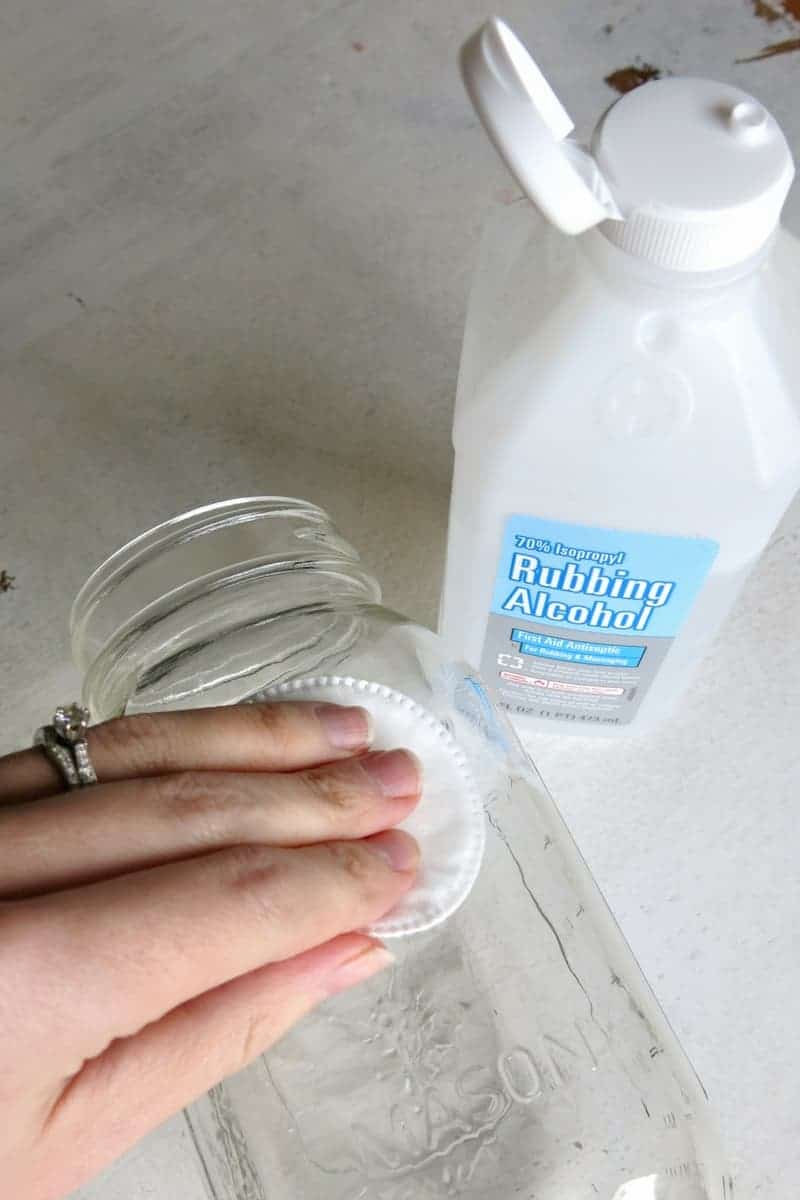
I just use a cotton pad to spread rubbing alcohol all over the mason jar. This will remove any oils or other grim and help the paint to adhere.
You only need to clean the outside of the mason jar with rubbing alcohol.
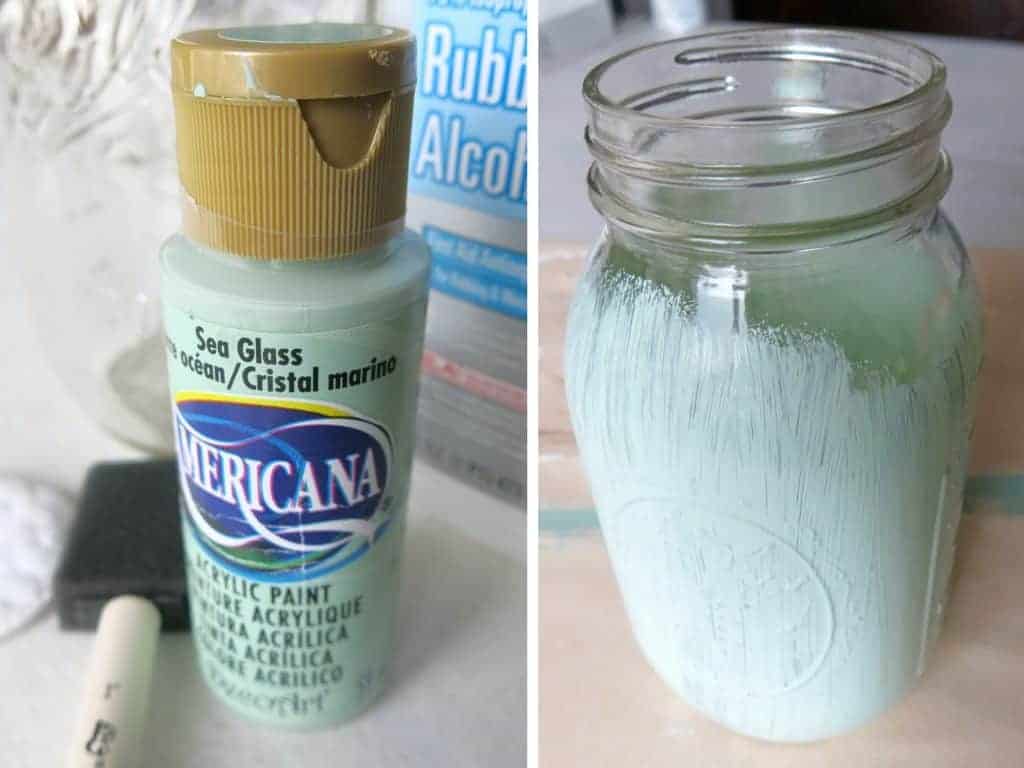
Step 2. Paint mason jar.
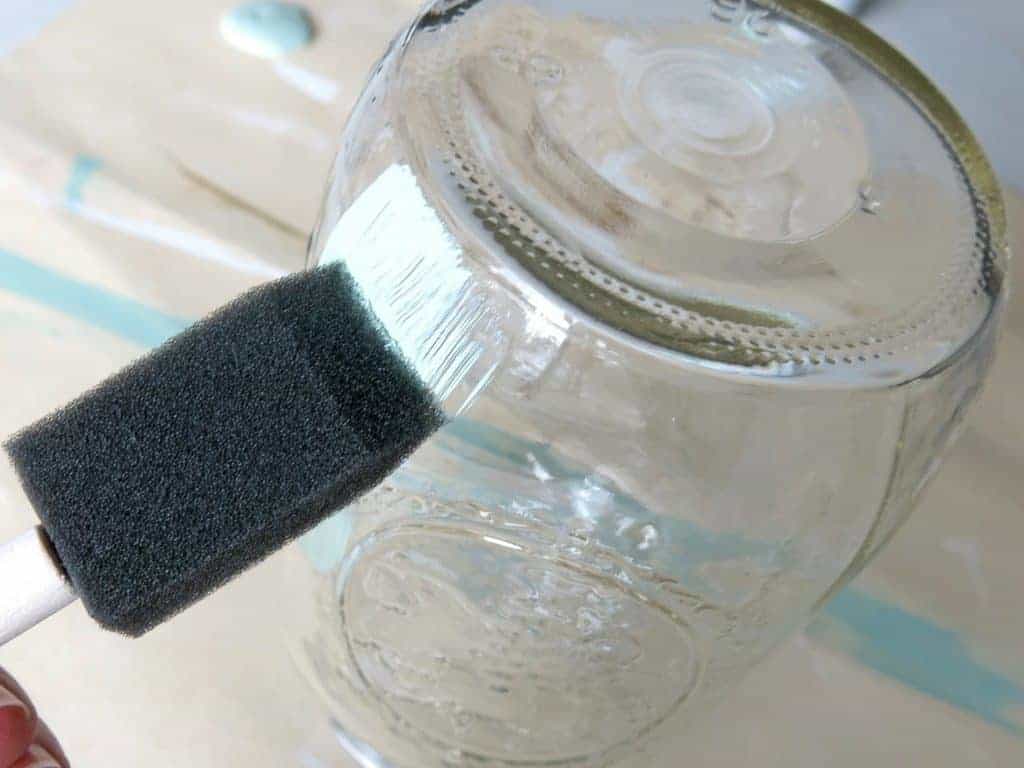
Yep, it’s really that simple.
I usually do three coats of acrylic craft paint using a foam brush.
You may need more or less paint depending on your paint color and preferences. Be sure to let the paint fully dry in between coats.
Another tip: don’t do a lot of back-and-forth brushing or you’ll notice the paint start to peel off of the mason jar. Just get the paint on there with the foam brush and don’t do much else. Just let it dry rather than going back and forth with the brush.
Step 3. Continue adding more coats of paint
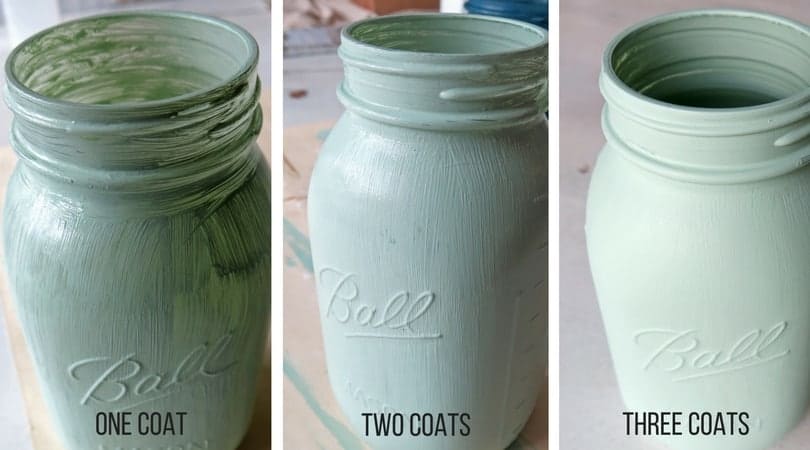
I included this picture above so you don’t give up if you get one coat on! Yes, it’s probably going to look horrible for AT LEAST the first two coats (as seen above). Depending on your paint color, you may even need more than 3 coats.
Can you use another type of paint?
I’ve always used acrylic craft paint to paint mason jars. I know others that have used chalk paint too, but craft paint is much more affordable so I’ll stick with it because it works great.
Step 3. Distress the mason jar.
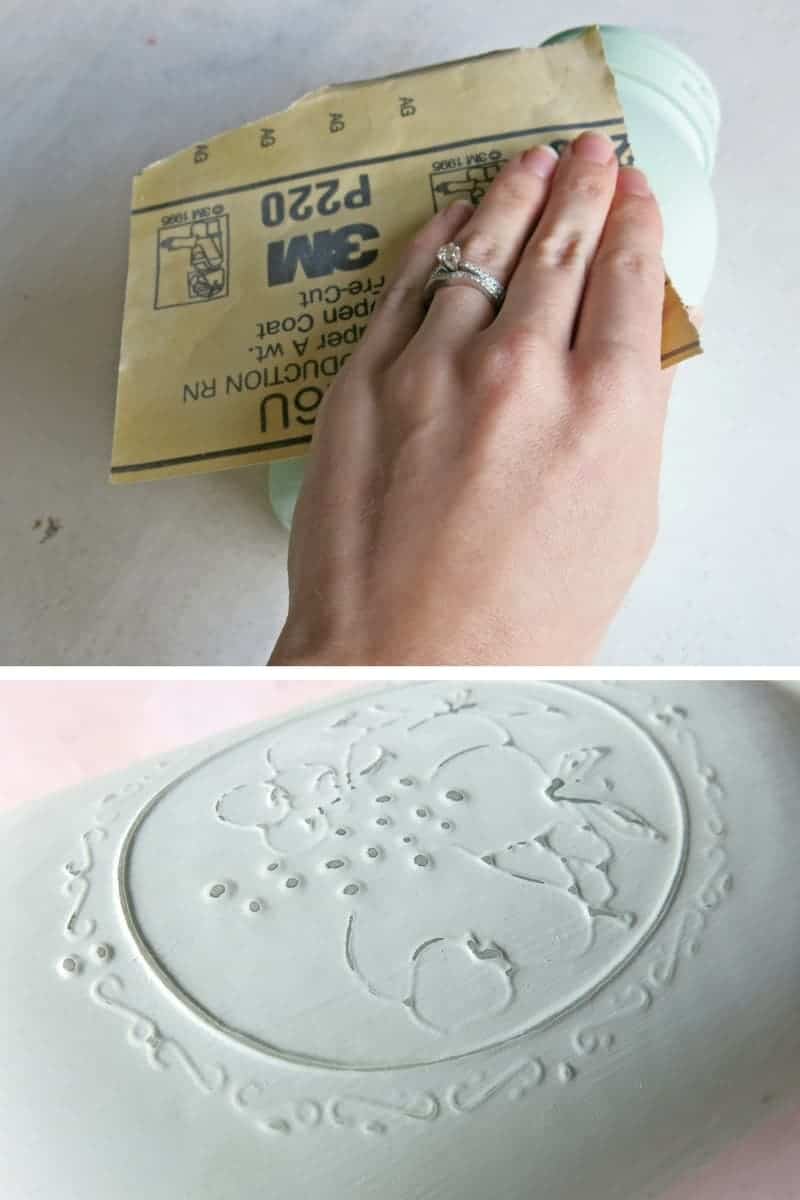
I use a fine 220 grit sandpaper and focus the raised areas of text and design on the mason jar. I love the look of the distressed painted mason jar!
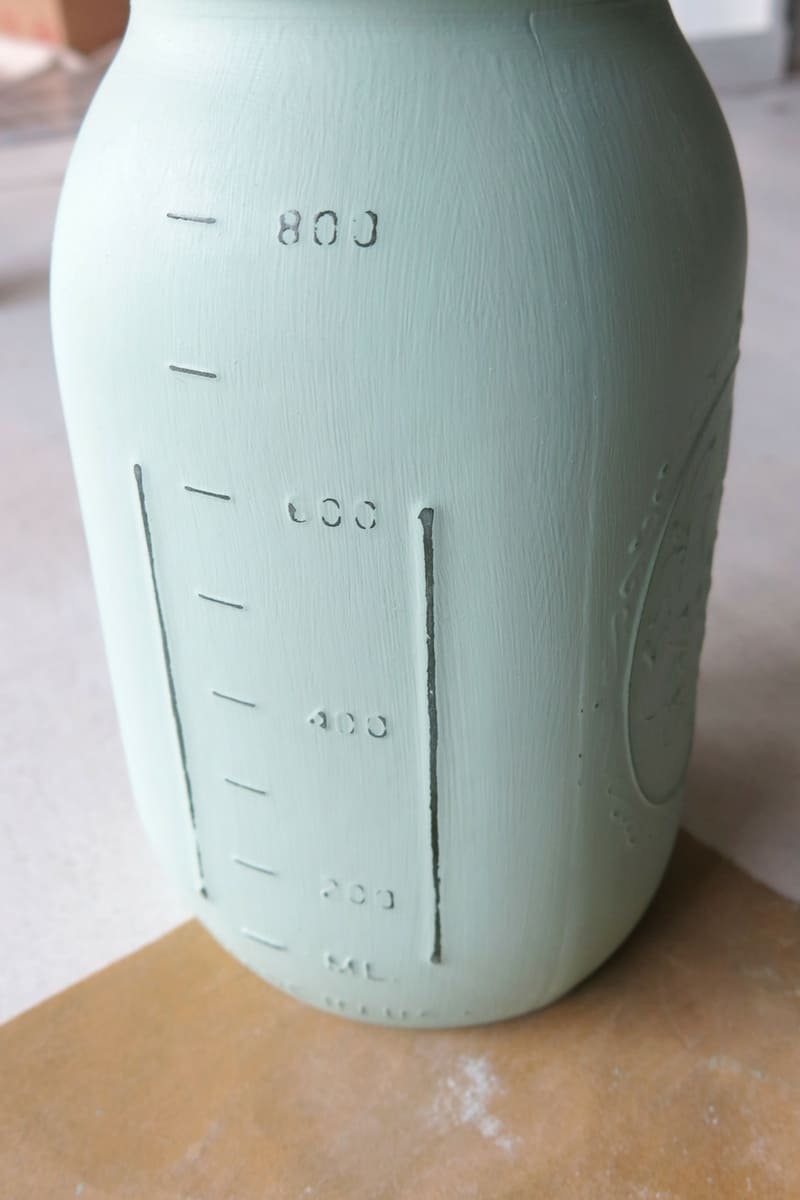
Step 4. Enjoy your painted mason jars!
You can use the painted mason jars for so many uses around your house!
Ways to use painted mason jars around your house
Here are some ideas on ways to use painted mason jars in your home:
- Vase for fresh or faux flowers
- Kitchen utensil holder
- Succulent planter
- Start your own indoor herb garden in mason jars
- Attach them to a wall or wood sign for the wall
- Soap dispenser
- Hold your craft supplies
- Hold doggie treats
- Bathroom storage
- Make a lamp
- Mason jar tissue holder
- Make a candle
- Office organization
- Start a piggy bank for a rainy day fund
Painting mason jars can be pretty addicting! It is such a simple way to create a unique piece of decor for your home…I actually could have probably just summed this whole guide on how to paint mason jars to three words: clean, paint, distress!
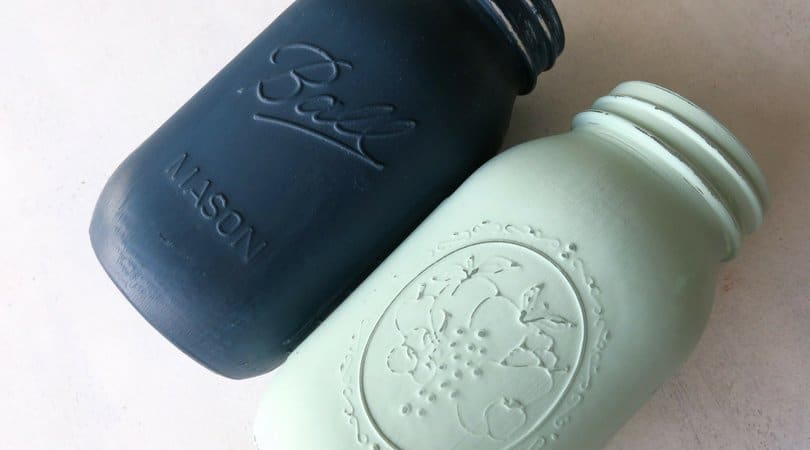
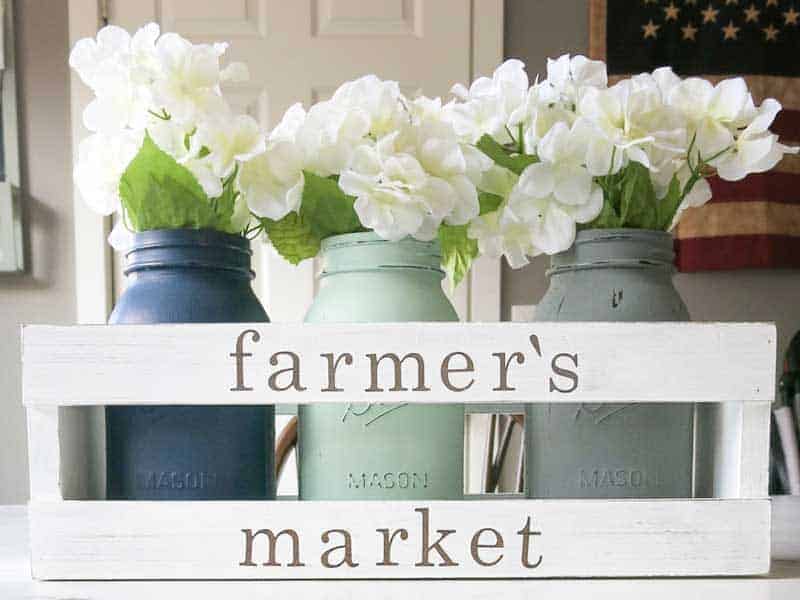
It was fun to choose some colorful spring tones for these ones to brighten things up around our house.

I ended up using these painted mason jars in an adorable little farmhouse crate and used it as a centerpiece. Check out the full tutorial for this farmhouse style crate centerpiece here!
Related – Other DIY Projects using just supplies I already had on hand (you probably do too!):
- Cardboard Roll Mini Album
- Family Picture Book for Baby
- Pallet Wood Side Table With Rustic Style
- Clothespin Magnets with Washi Tape
If you love painting projects like these painted mason jars, be sure to check out these other DIY projects with paint:




I love to use mason jars for everything! I have not painted one with chalky paint yet (only spray paint) so I like how you showed the coverage for the different coats.
I need to try spray painting them too! 🙂
That looks like fun I’m going too lots tena from Akron ohio
I love all things mason jar!! You shared so many great ideas & tips for painting. Love the colors you used!
Thanks a bunch Michelle! I’m so glad it’s finally time for the bright colors of Spring.
I love the look of painted mason jars. I didn’t realize the jar should be cleaned with alcohol so I appreciate the tutorial. Now I am ready to give it a try.
Thanks Debra! 🙂 Let me know if you try it out!
Wait, are there people out there who DON’T have mason jars laying around? I definitely do, but I still haven’t painted them. Now I have ideas!
Thanks Megan! I know – Mason jars are such a staple in our home. I actually had to steal these bigs ones from our kitchen – they are our “I’m really thirsty” cups. Hehe!
Your mason jars turned out super cute. They will make super cute spring displays.
Thanks! I’m so happy Spring is finally here!
Love the distressed look and the colour you chose! Very sweet indeed 🙂
Thanks Sam! 🙂
I love the colors you chose! This would look great in my bathroom, the colors are exactly what I need. Thanks for the tutorial, I’ll have to give it a try with my abundant mason jars.
Thanks Molly! You’ll have to let me know how it goes. These would be perfect for bathroom organization.
I use a Matte spray varnish to seal the jars… It protects jars from chipping..
Great idea!! 🙂 Thanks for sharing.
Can they be used for beverages after painting
No I would not recommend them for food or beverages, just decor.
I love this! I was looking to do this for some of my centerpieces for our wedding, and the darker blue looks like it matches my “marine” muted navy color. Do you remember what color blue it was? Their website has a few that it might be, maybe True Blue. I am going to stop into Michaels this week 🙂
Hi there Brittany! This sounds like such a fun centerpiece for a wedding. The color is shade 403 “Navy Blue” by Folk Art. I did buy it a while ago so I sure hope they still sell it! Best of luck to you 🙂
Since I don’t like spraying, I paint a coat of Decoart matte varnish on mine to keep them from chipping. I love using Mason jars. Thanks for reminding me.
I like the 3 coats too. Nice work.
From Borden, Indiana.
I followed the directions and when I used the sandpaper it left the surrounding areas I sanded look really bad. they turned out light in color. I might take a small brush and paint over the light areas because it’s noticeable 🙁 Not sure if I’m using too heavy of a sandpaper grit but I’m sure upset after distressing them. Any tips on how to fix it??
Once they are distressed, the paint is removed in some areas, so yes you would be able to see through the glass as shown in my photos. I’m not exactly sure what you mean by it turned light, but maybe the color turned lighter due to sanding dust? Maybe try taking a very lightly damp paper towel and wiping it clean to get the dusk off. Don’t press too hard to remove the paint too. Let me know or maybe attache a picture so I can see what you mean.
thank you for your great instructions. I have tried to paint the jars but the paint tended not to stick. No I know why. I” start cleaning them with the rubbing alcohol
Diane, that’s so frustrating! I find that I have troubles if I use paint other than the cheap acrylic craft paint or if I brush too much back and forth. Also wait for it to completely dry before doing another coat. Usually it takes me 3-4 coats.
I’m in Gresham Oregon..
How fast would the paint dry between coats? looking to do this for a craft class with a group.
Hard to tell without knowing exactly what kind of paint you are using, but if you do acrylic craft paint like I do, probably 20 minutes or so. Bet you could use a hair dryer to speed it up?
I love the way these look. Unfortunately, I have made several attempts with acrylic paint and when I go to put on the next coat, the previous coat wipes off in globs (I’ve waited hours to dry and used a hair dryer). Not sure where my error is!
That’s so frustrating! Be sure you have the glass cleaned well with rubbing alcohol before starting, use a foam brush, and don’t brush back and forth a lot. Just brush once instead of going back and forth. That seems to help me!
So a varnish is better to use as a sealent if you intend to use the jars in bathroom?
I would probably recommend a spray acrylic sealer like this: https://amzn.to/2tk2fTN. If you do try a varnish though, be sure to test it on a small area first to make sure it doesn’t yellow the paint.
I tried to paint two jars and both just peeled right off, I did do the alcohol first,, Now I have seen some that says to bake them. Is that with just chalk paint or can I aith acrylic paint? Was wanting to make Christmas presents, I dont now see that happrning,,
So sorry that happened to you! I haven’t had any troubles with my painted mason jars with this method. I’ve never tried the baking method or painting with chalk paint. I’ve only ever used to acrylic craft paint as mentioned. I have seen other tutorials using spray paint and/or swirling paint on the inside of the mason jar (rather than painting the outside). Maybe one of those other methods may work better for you. Sorry for the frustrations!
Quick question can you put food in the food in the
Jars? Make them into canisters for flour sugar or other things? And do you recommend a clear coat of varnish spray for chipping?
Since these are not sealed, I wouldn’t recommend putting food in them. Although I’m not sure if it is technically “food safe” this is the sealant spray that I normally use for other projects: https://amzn.to/2Jcqnjb
Wow this is amazing information about the paint mason jars thanks sharing this article
So glad I found this! I’m 2 coats in and couldn’t figure out why the previous layer was peeling- turns out I was doing back and forth. Will persevere! hi
Do you think modge podge matte sealer would work painted on? or def a spray?
Mod Podge could possibly work to seal it, but you may run into the paint coming up as you brush it on…that’s why I’d recommend a sealer. But let us know if you do try it so we can learn how it went.
Hello there
Not sure if you can help me. I hope so! If I’m using acrylic paint do I need to get acrylic sealer? Also I seen on Pinterest a long time ago of items I needed to paint mason jars and it said I needed an matte acrylic paint and a metallic acrylic paint why do I need both?
Thank you for your help and time!
Hi there, I never use a sealer, just the paint and it seems to work just fine for decorative purposes.
Sounds great! Thank you! Do you know the difference between a acrylic matte paint and a acrylic metallic paint?
Matte paint will have a flat or dull finish to it and metallic will have shiny glittery finish.
Thank you so much for all your help and time! 😃