DIY Reclaimed Wood Bed
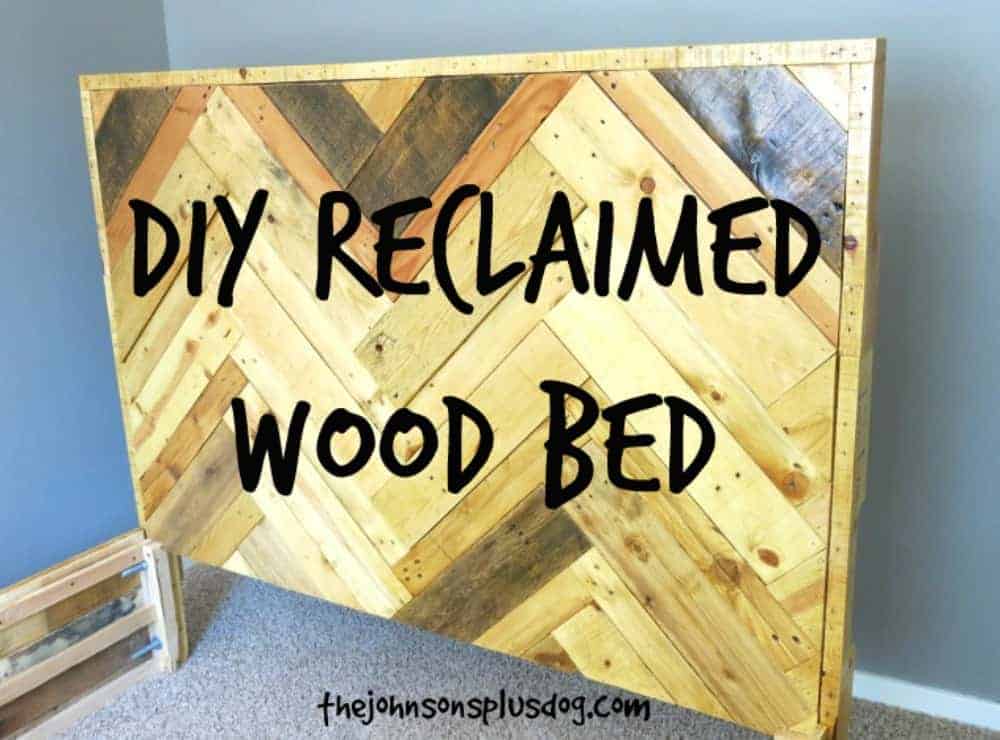
I’m so excited to share our DIY Reclaimed Wood Bed with you today.
This is an older project – something that Logan built over a year ago. When we were setting up the bed in our new master bedroom in the new house (check out the pre-reno tour here!), I decided to snap a few photos to share with you.
This post is not a detailed tutorial (because I didn’t take any photos when he was actually building it!). Any handy man (or woman!) should be able to take a good look at the photos and recreate it.
This post contains affiliate links, but nothing that I wouldn’t wholeheartedly recommend anyway! Read my full disclosure here.

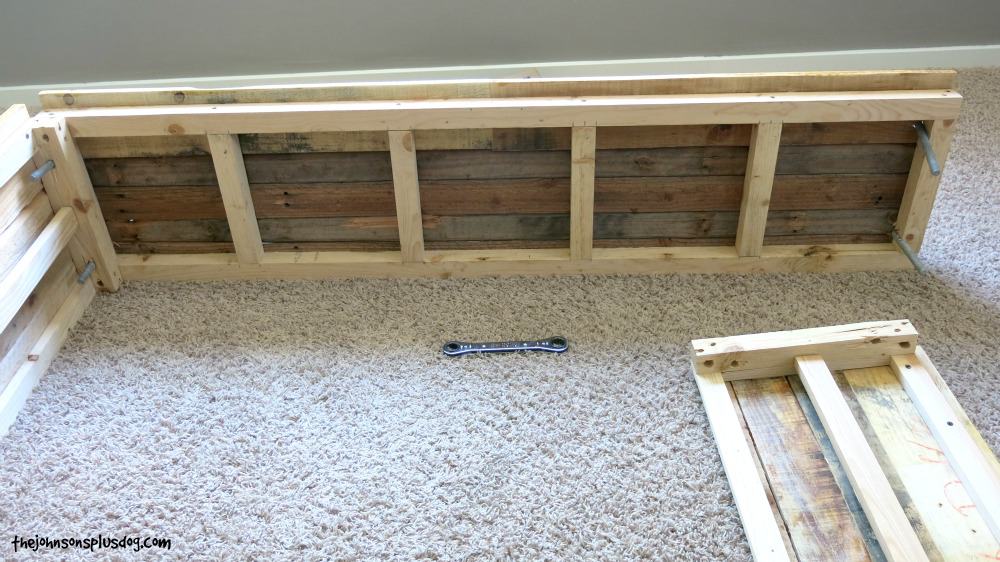
The base of the bed is three parts essentially – 2 side rails and the foot. The 2 side rails and foot are basic boxes with vertical supports.
To get the basic measurements, he started by measuring our mattress. You can also check this out for typical mattress sizes.
We used reclaimed wood (mostly pallet and some other types of reclaimed wood for variety in size and color) on the exterior of the base.
If you’re having trouble finding some pallets to rip apart, did you know that Home Depot sells reclaimed wood!? Check it out here. And it may be totally worth it because those pallets are NOT FUN to take apart.
Almost everything you can see when looking at the exterior of the bed is reclaimed wood and everything on the inside (what mostly holds it together) is new wood.
We used 2×2 and 1×2 furring strips for the inside structure of the bed. We opted for this because many times you’ll discover the reclaimed wood is warped, damaged, or not as strong as you’d like it to be… but give it a break, it’s had a long life already!
It’s important to note that the reclaimed wood comes up a little higher than the side rails & foot, creating about a 2-inch lip. This helps prevent the mattress from sliding around.
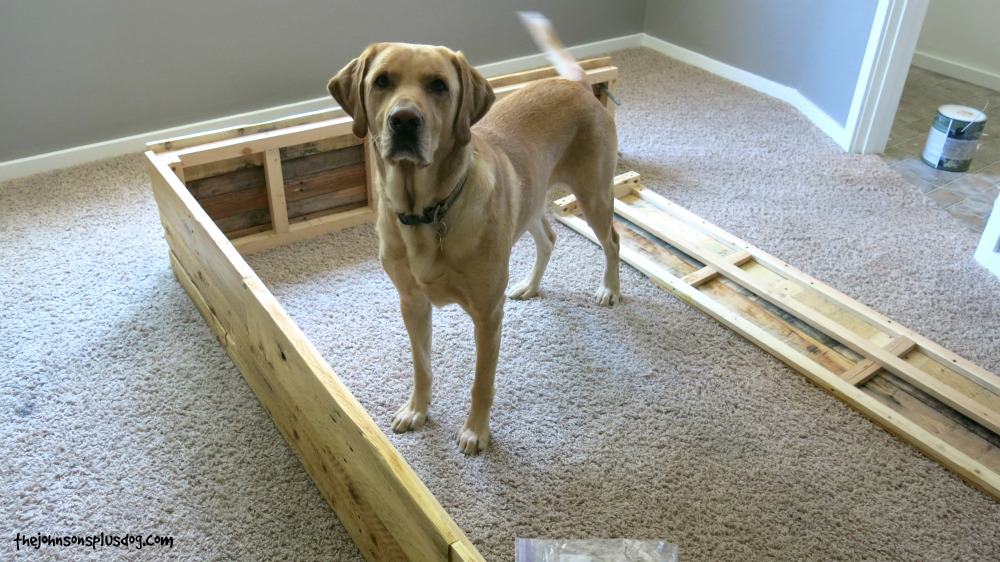
You can see Gannon was, as always, a big helper!


Each corner is joined with two large bolts.
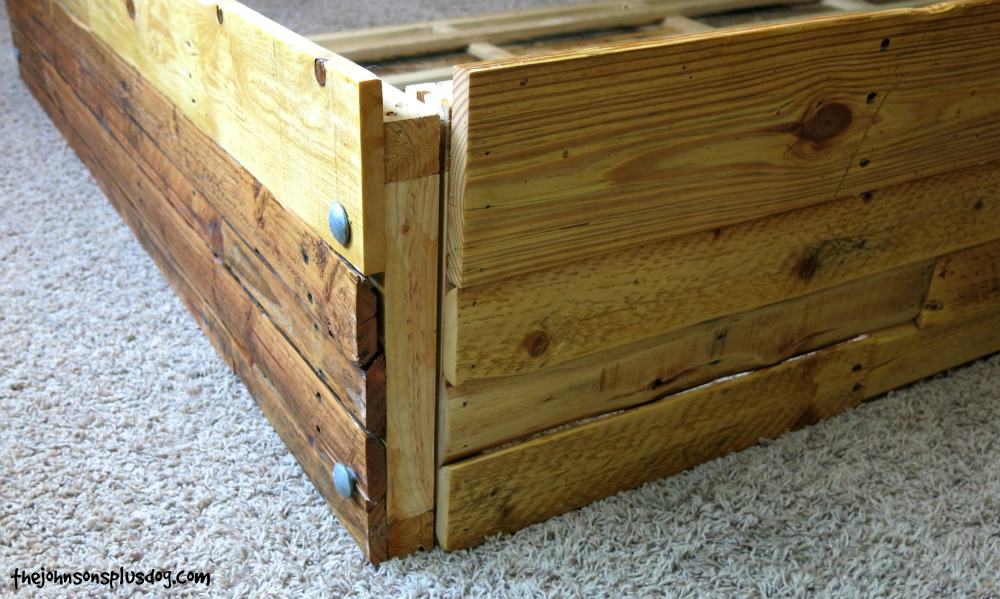
Here’s an exterior view of the corner joints. Still on the “Honey-Do” list is adding a trim post there. 🙂

Each bolt is secured with a washer and nut.
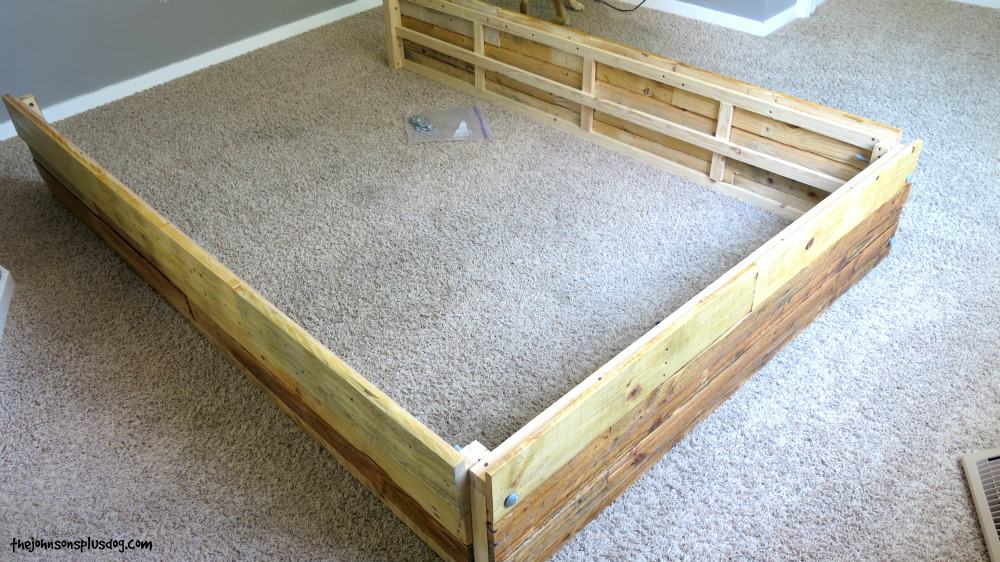
Here’s a look at the entire base.
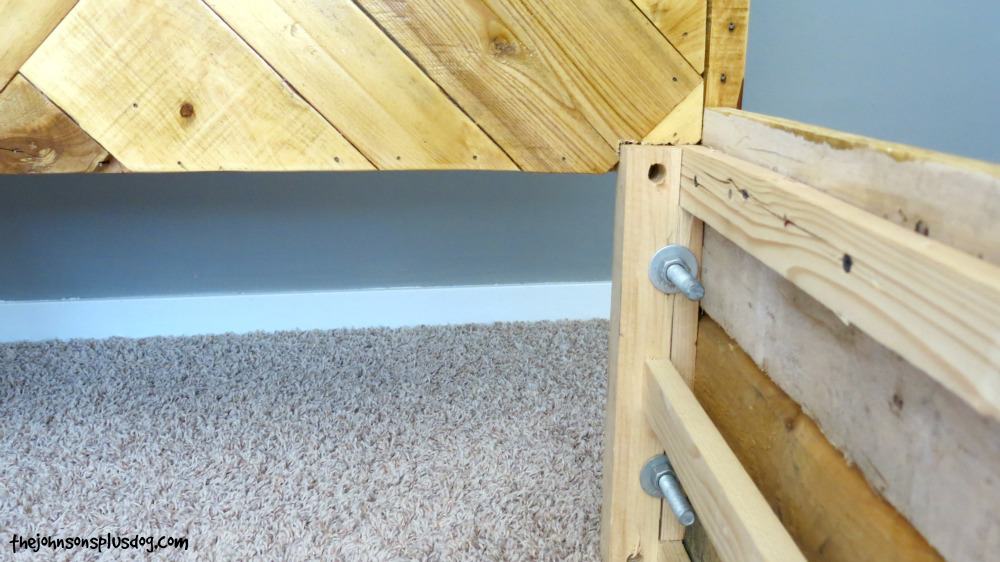
The rails attach to the headboard in the same fashion. Speaking of that headboard…..
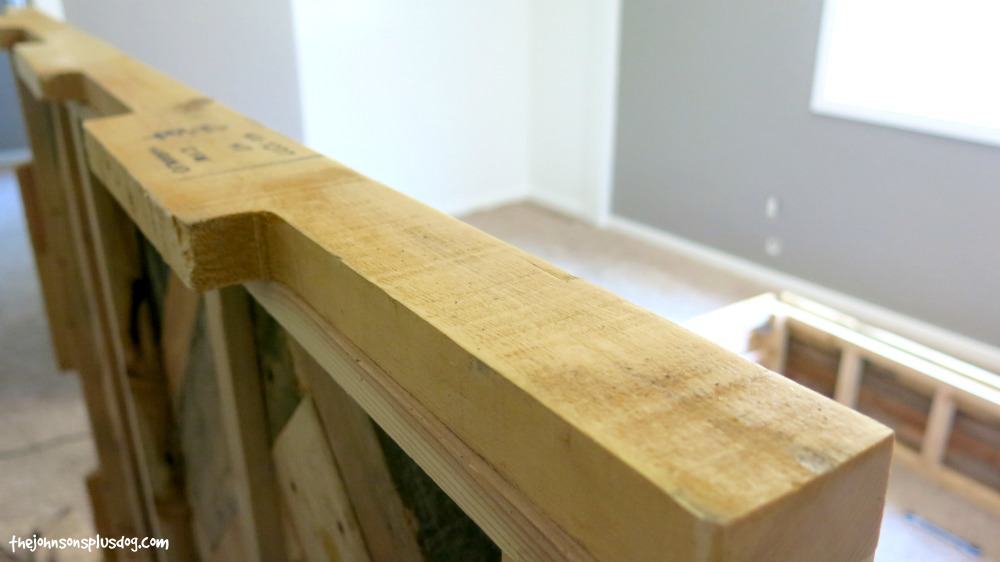
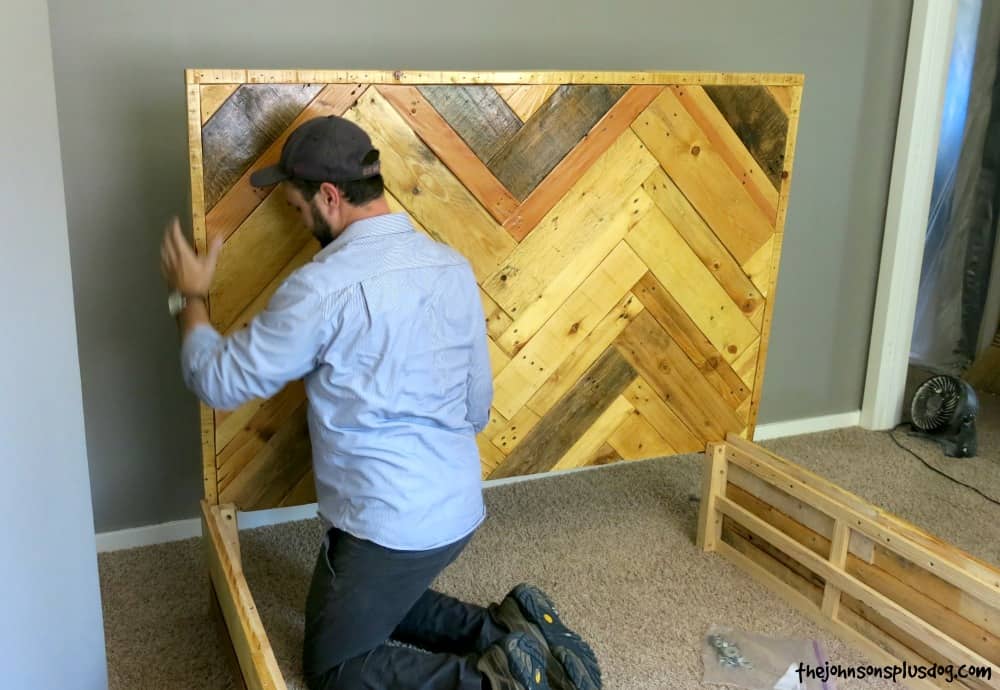
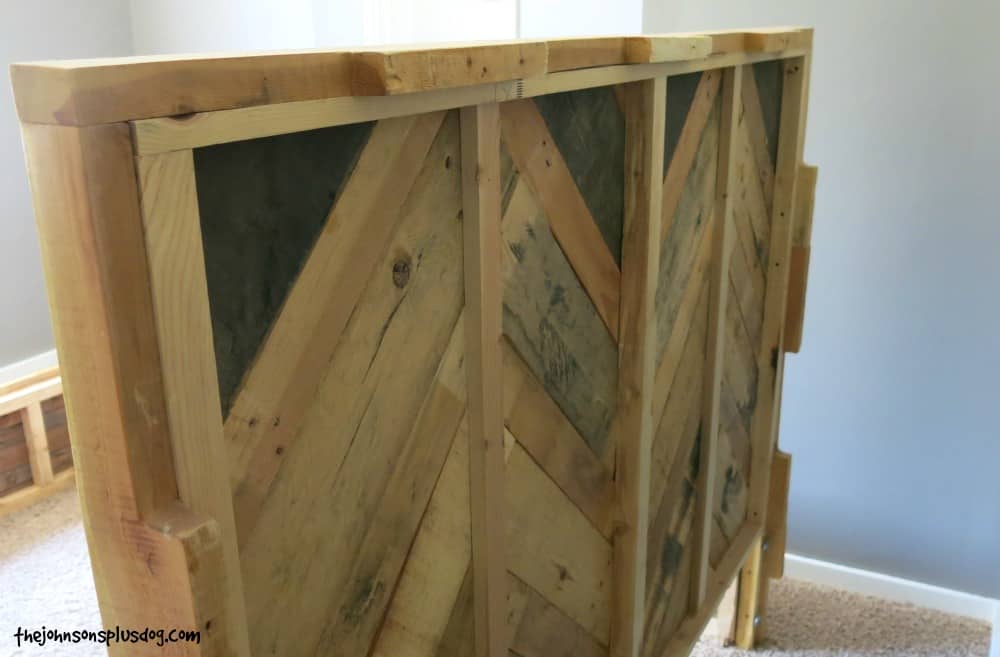
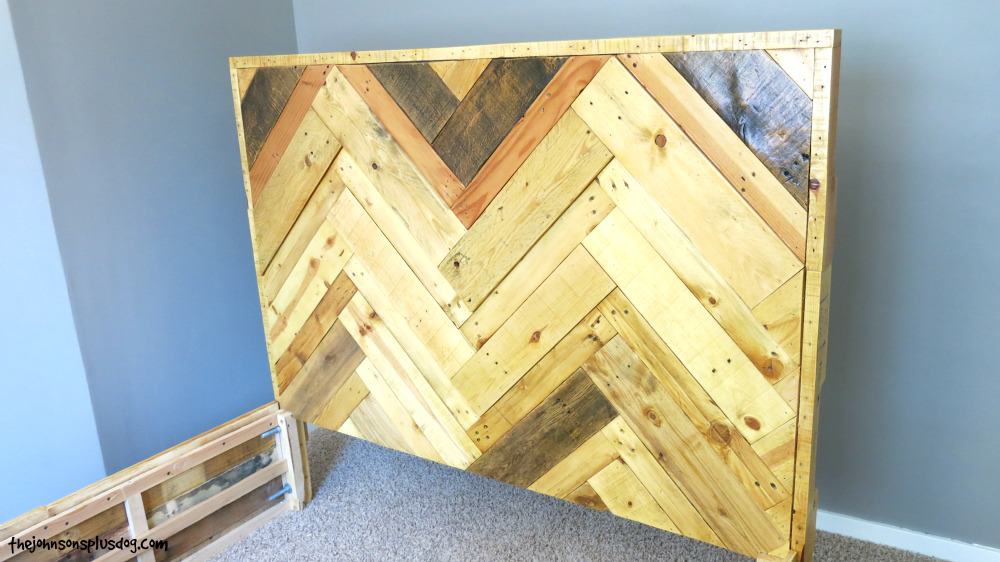
Here’s a view of the back of the headboard. The same concept as the base, the basic structure of the headboard is made with new wood and the exterior shell is reclaimed pallet wood.
I was pretty adamant on a herringbone pattern to add some character. Also, love that some of the pieces are darker and different heights.
Once the headboard was assembled it was sanded well, cleaned, and has many coats of polyurethane. If you’re trying to decide whether to use polyurethane vs polycrylic for your project, check out this article with an overview of each.
It’s nice and smooth, regardless of using reclaimed wood. We didn’t want to worry about getting a splinter when we leaned against the headboard.
Now that mattress doesn’t just float… let’s talk about the support system in the middle of the bed.
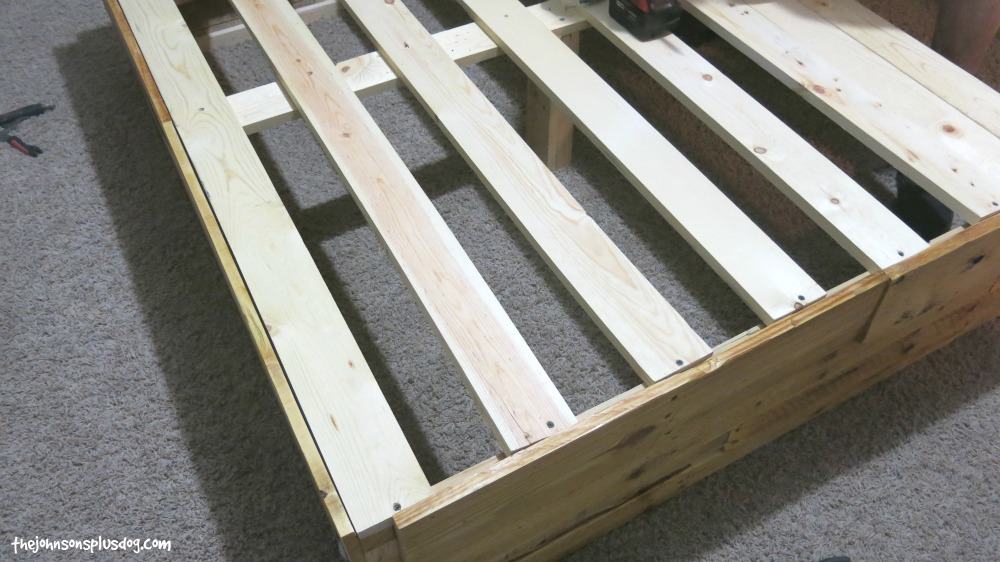
The middle support system is made of entirely new wood. There’s a beam going down the middle of the bed with a support post in the center.
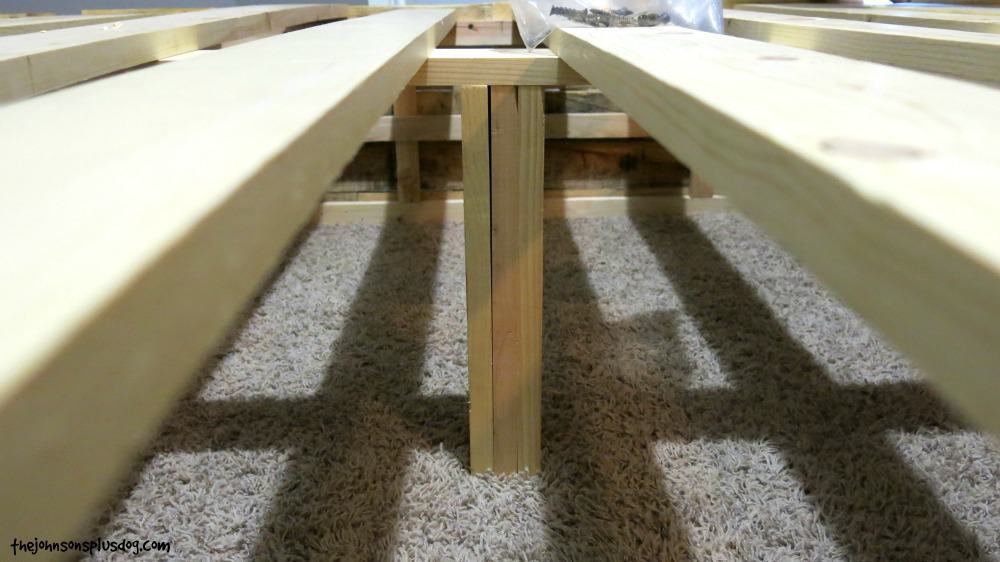
Then, there are multiple wood slats going across the bed for additional support.
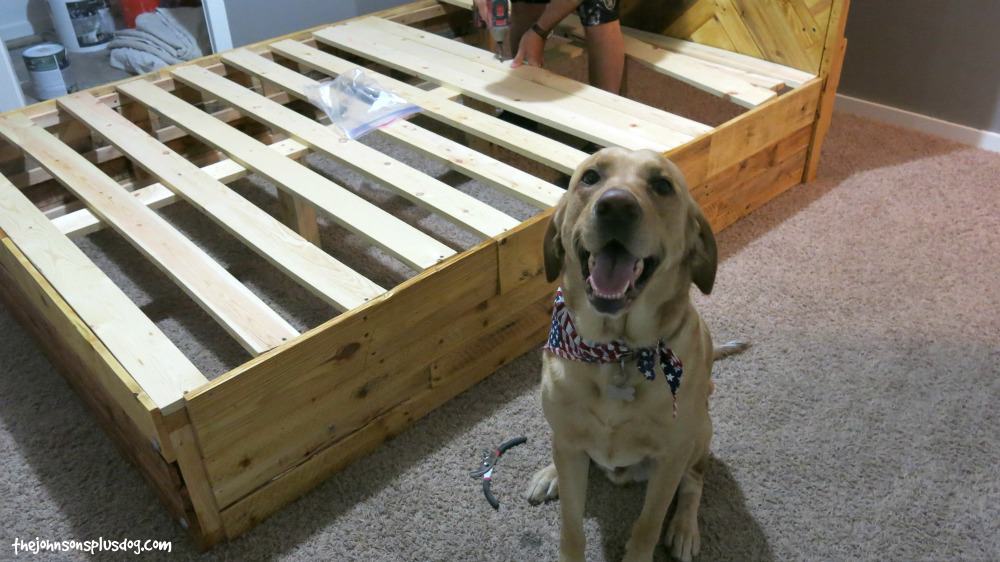
Gannon is VERY proud of himself for helping Dad build this bed.
When Logan first told me that he wanted to make our bed after we moved to Oregon, I looked at him like he was crazy. I said… “I know I trust you making furniture for around the house… but OUR BED?! You can’t just make a bed.” Boy, was I wrong. We’ve been sleeping on the bed for over a year now and it’s endured one move. It’s super strong and I love that no one else in the world has our bed. It was made with love and that’s just the best part of all DIY projects, right?
To finish things off, I was dreaming of a fluffy white down comforter to pair with this so the wood really stands out all on its own. We ended up getting this one and I love it!!! This one is also another great option!
Has anyone else out there built a bed? Are you going to try out this DIY Reclaimed Wood Bed? What about some fun pallet furniture projects? Let’s see them!
Here are some other fun projects we’ve made with pallet wood and reclaimed wood.

What a great project! I love your helper too. Puppy and kitty helpers are the best!
Thanks for linking up for Friday Favorites. I’m featuring you this week!
Thanks! Our doggy always seems to think he did the whole thing when I whip out the camera – never seen a prouder face.
Wow. This is beautiful! We have a bed from West Elm (called “Alexa” or something similar, I think) and it looks a lot like this. Yours is so much better though because that great husband of yours made it! I’m totally with you on not having pics of some projects in progress. Not everything can be a photo opp all the time. I have several past projects I made before I started my blog that I plan to eventually feature without any in-progress photos. 🙂
Thanks for stopping by Jess. Ya I thought the bed was just too awesome not to share 🙂
Great job. This project (and others that I have seen on Hometalk) have renewed the realization that I don’t have to find everything in a store; it might be possible to build it myself, and in that way even have things that the store-bought price tag would have made impossible. I do have one burning question: what breed is your dog? Thanks.
Thanks for your comment Patricia! That’s the wonderful thing about DIY! Like I said, I thought my hubby was CRAZY when he said he wanted to build our bed. But we spent next to nothing on it and would have never been able to afford something like this from a store. I love that it’s unique and no one else in the world has it. Gannon, our doggy is a white lab, but he’s got a pretty dark coat. As you can see, he loves “helping” out with our projects around the house.