Pre Renovation Home Tour
Here’s a peek into our first fixer upper and our first home before we made any renovations!
The last couple weeks I’ve been sharing about the home buying process, including why we made the decision to buy a house. Well, we made it. We closed escrow on our little fixer upper in April and immediately got to work. I tried to grab as many photos as I could before we started ripping things apart, but a lot of these photos are from when we were touring the house or are directly from the listing. In fact, by the time I got off work and down to the new house the day we closed escrow, Logan had already removed every door in the house and tore down a set of cabinets in the kitchen. That boy was eager to get working!
All that to say, sorry for the poor quality – a lot of these were from my iPhone and taken very quickly. Tip to peeps looking for homes, bring a good camera when you tour homes! Also, any furniture you see in the photos is from the old owner, so no harm – no foul if you hate it.
UPDATE: We’ve since moved onto our 2nd fixer upper, click here to see that new home !

I’m soooooo excited to finally share with you the pre renovation home tour and show you the place we’re calling home now. We have SO many dreams, hopes and wishes for the home. We’ve now been at this renovation for about 4 months and it slowly feels like we’re making progress, but it is SO slow moving. Partly because we’ve been traveling a ton this summer (summertime always has a way of catching up with you, doesn’t it?). We’ve dealt with delays due to all things from sore muscles, getting sick, getting hurt, being indecisive, spending way too much time weed whacking and we even threw a little Walt Disney World trip in there. Although it feels like nothing is changing around here, it’s awesome to look through these pre-renovation photos with you and realized all that HAS changed. It’s just the encouragement I needed today.
So, guys…

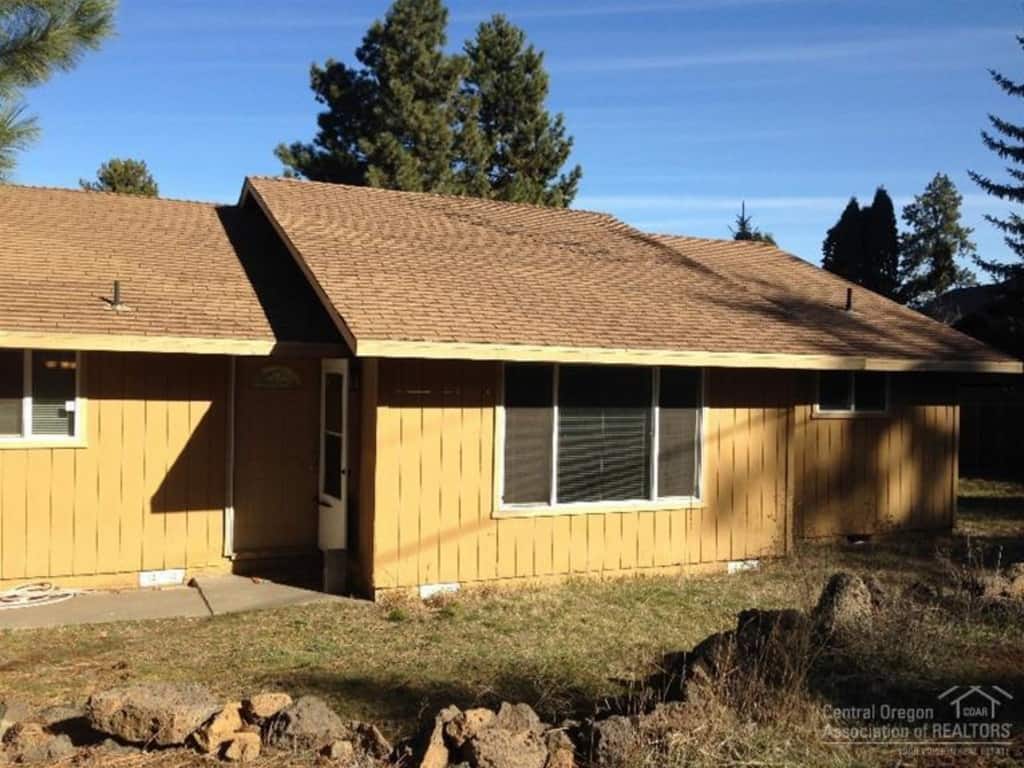
Front of the house
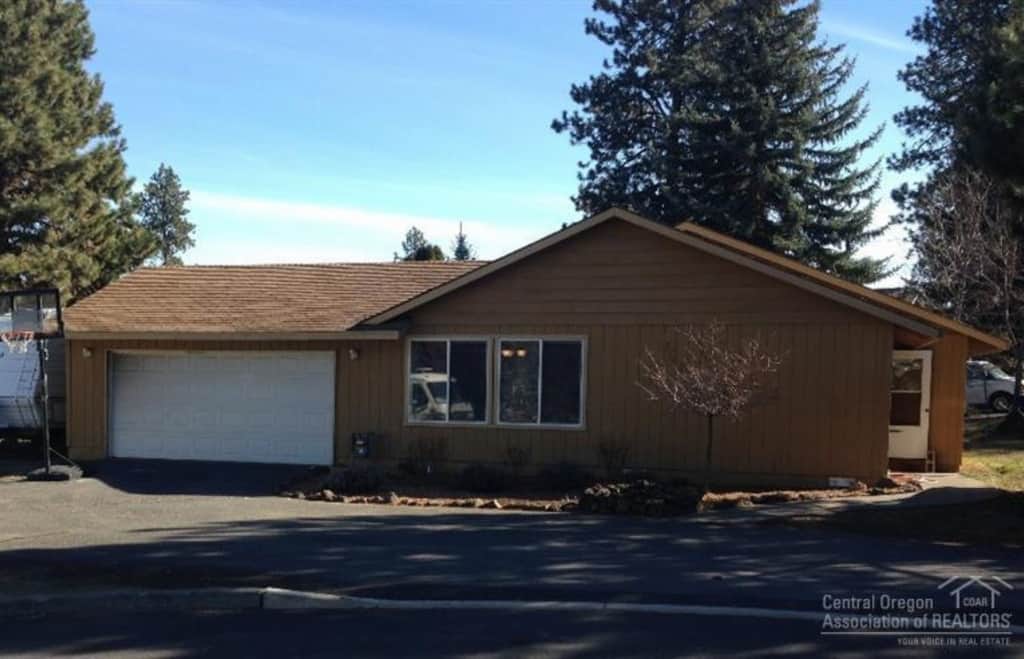
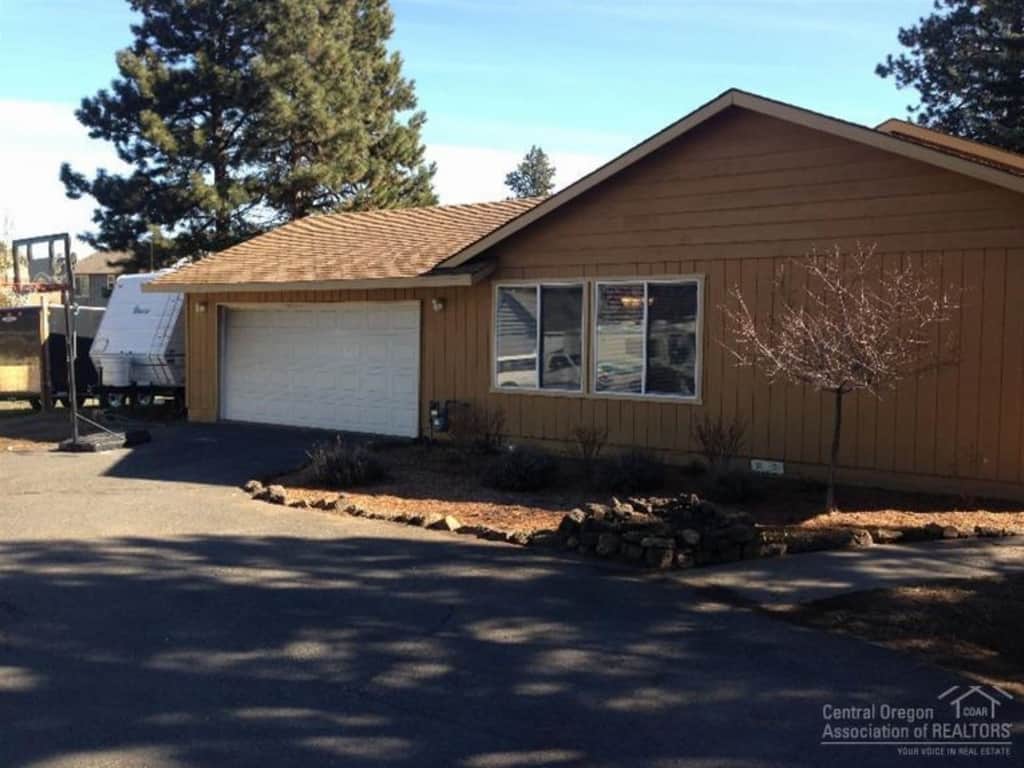
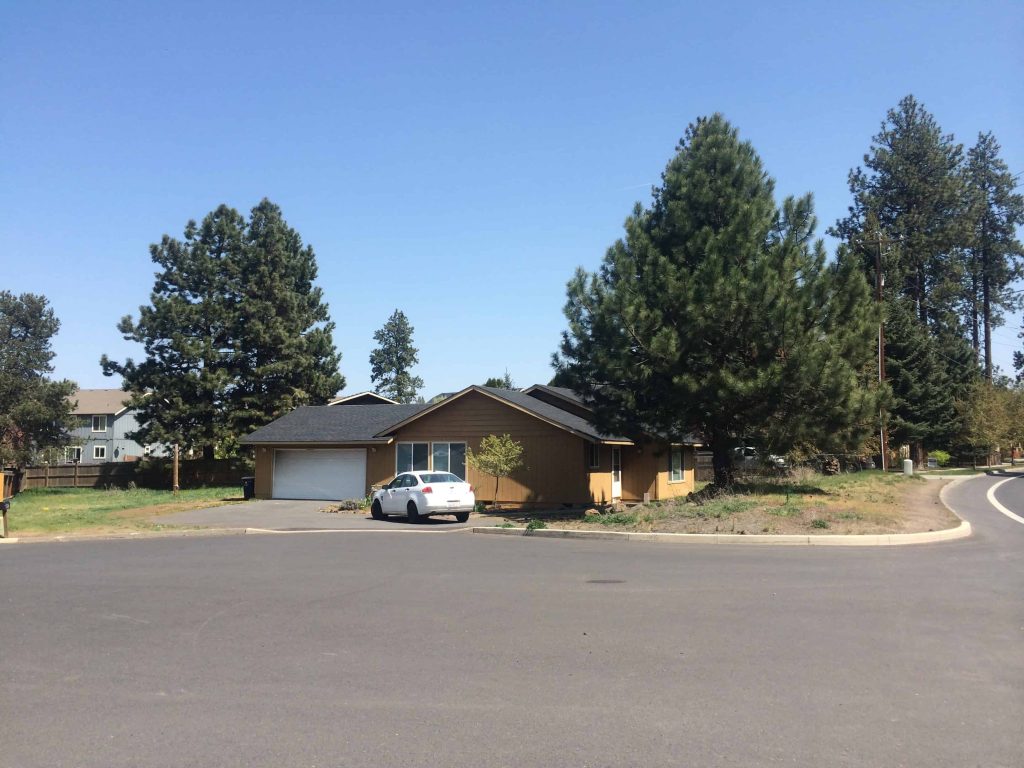
Notice the new pretty black roof in the last photo? It was obvious that the roof needed to be replaced and we wrote this into our offer. The Seller agreed to replace the roof during the closing process. Read more about the entire home buying process here. Cheer for new roofs!
Entryway
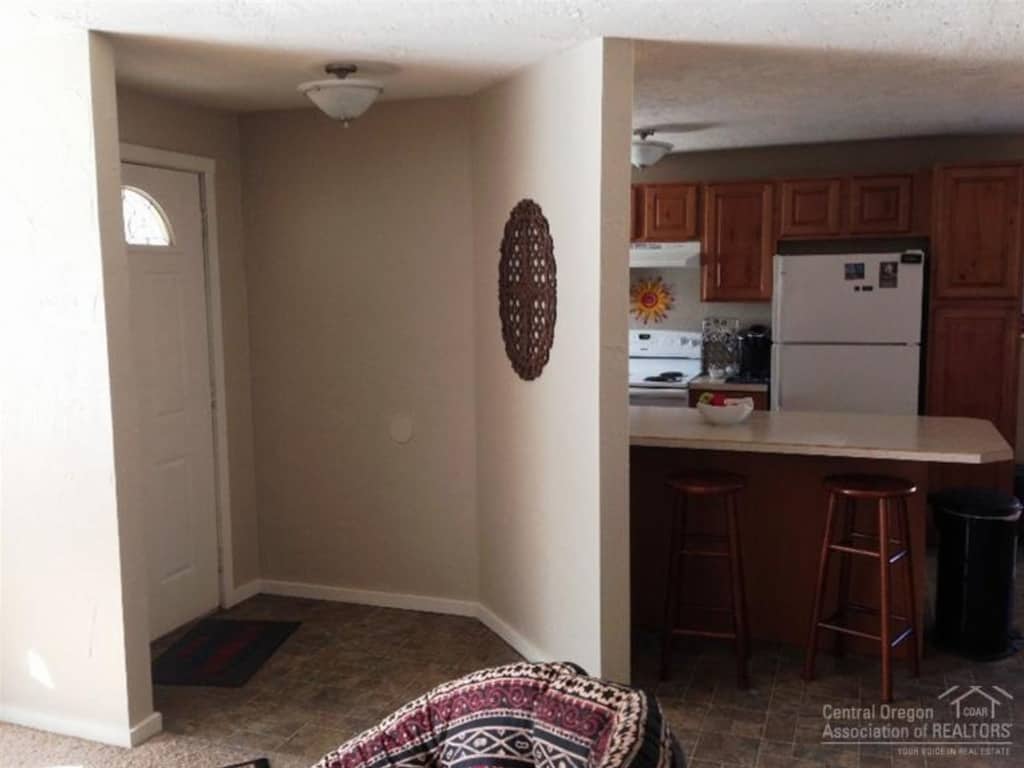
The front door opened up to a diagonal half wall. To the right was the large living room with an awesome huge window and to the left is the kitchen.
Living Room
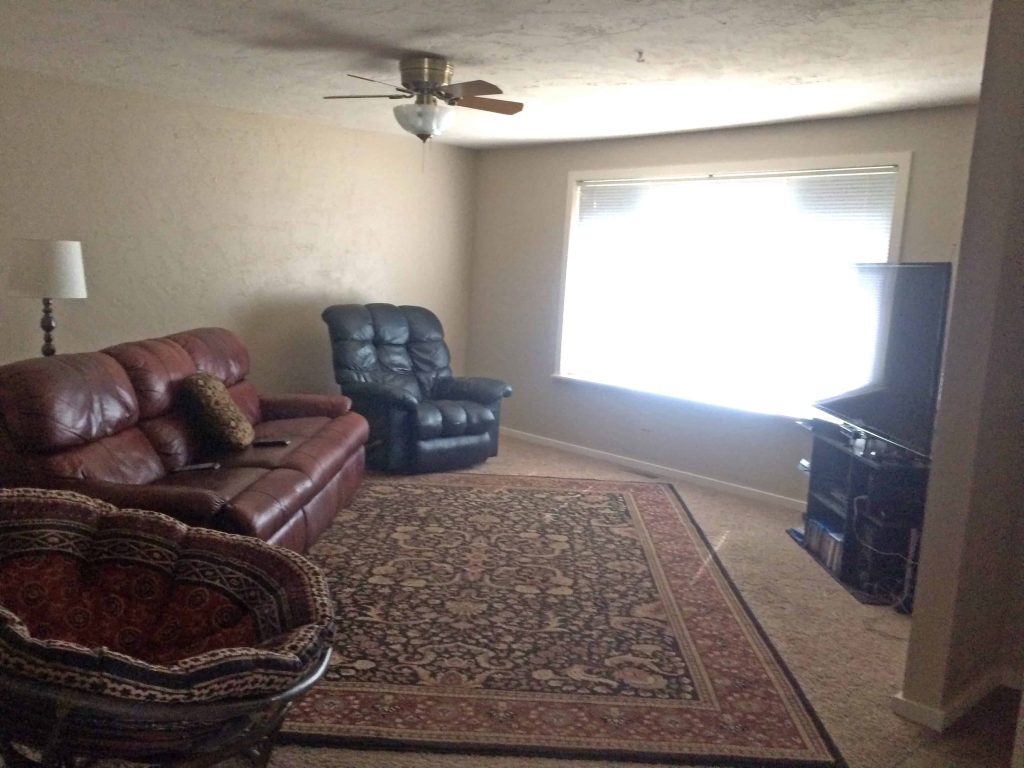
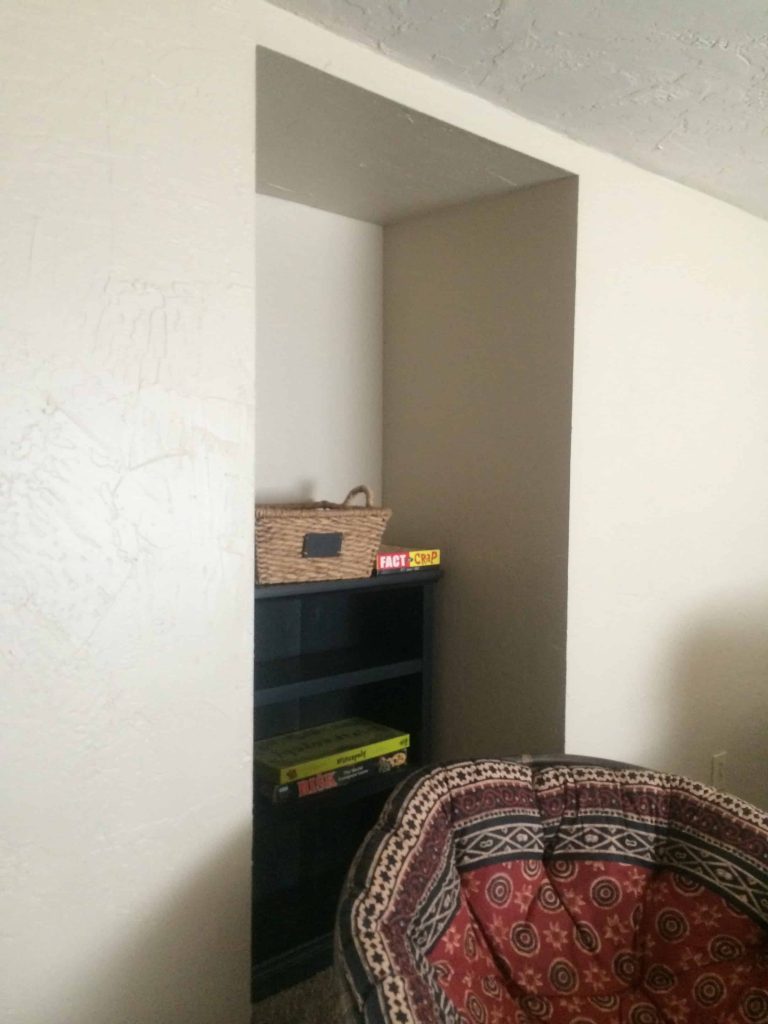
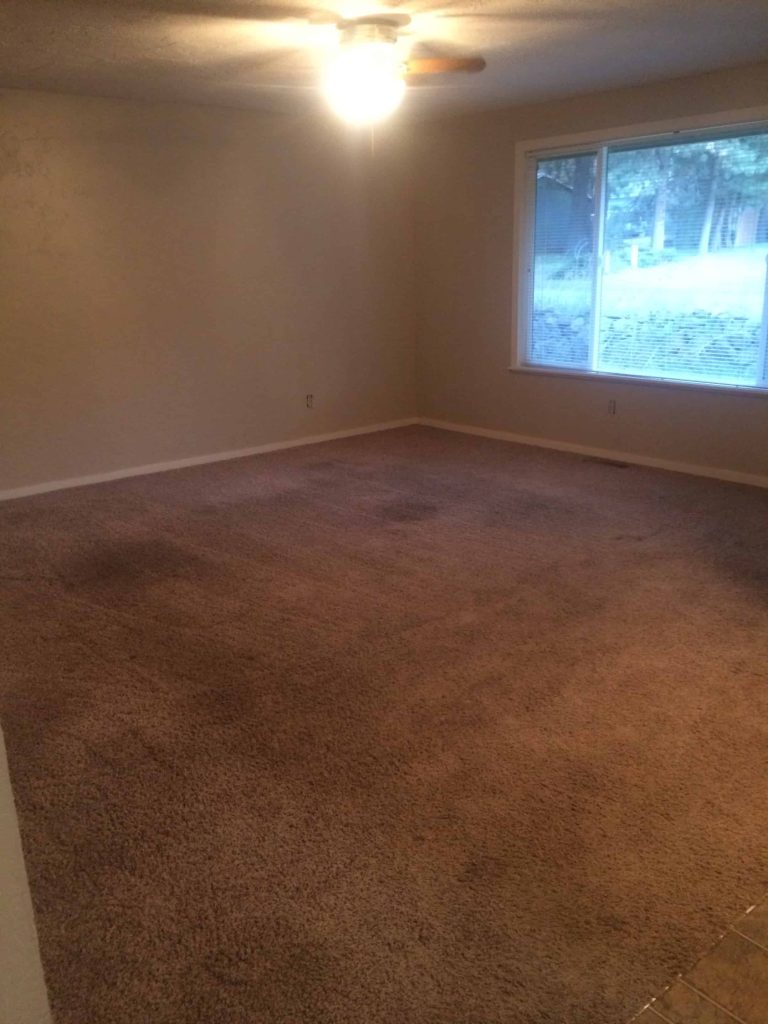
We love that the living room is big and is opens to the entryway and kitchen. The weird little “cubby” you see pictured in the living room was where a fireplace used to be that was removed some years ago. Eventually we may decide to add one again.
Kitchen
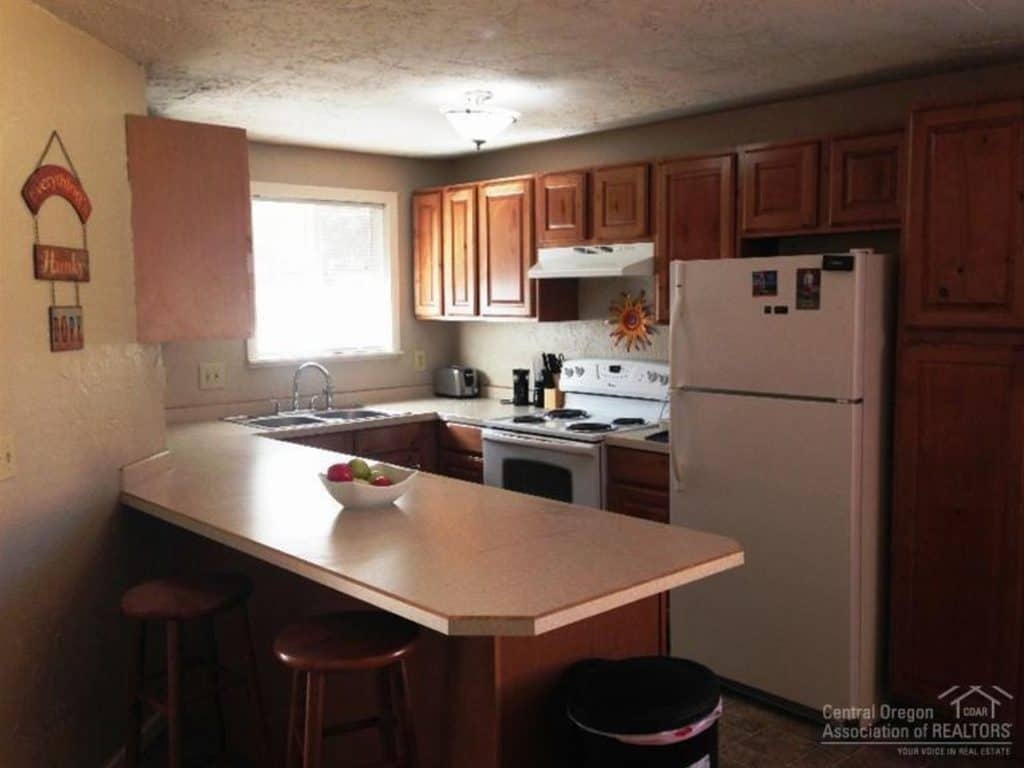
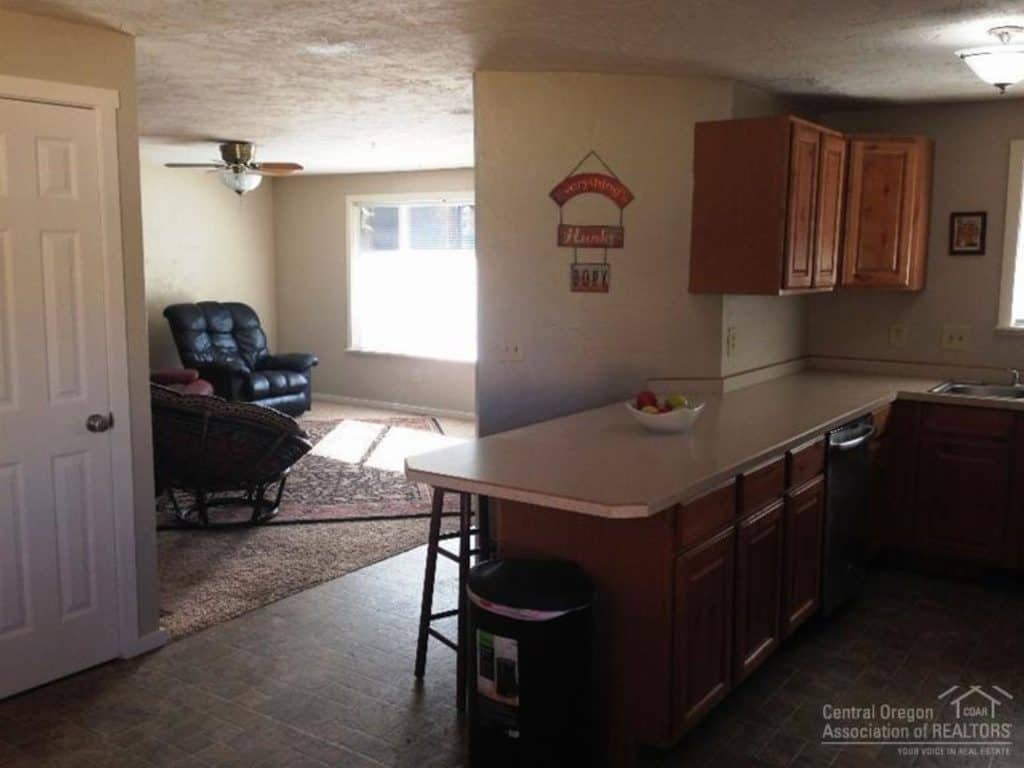
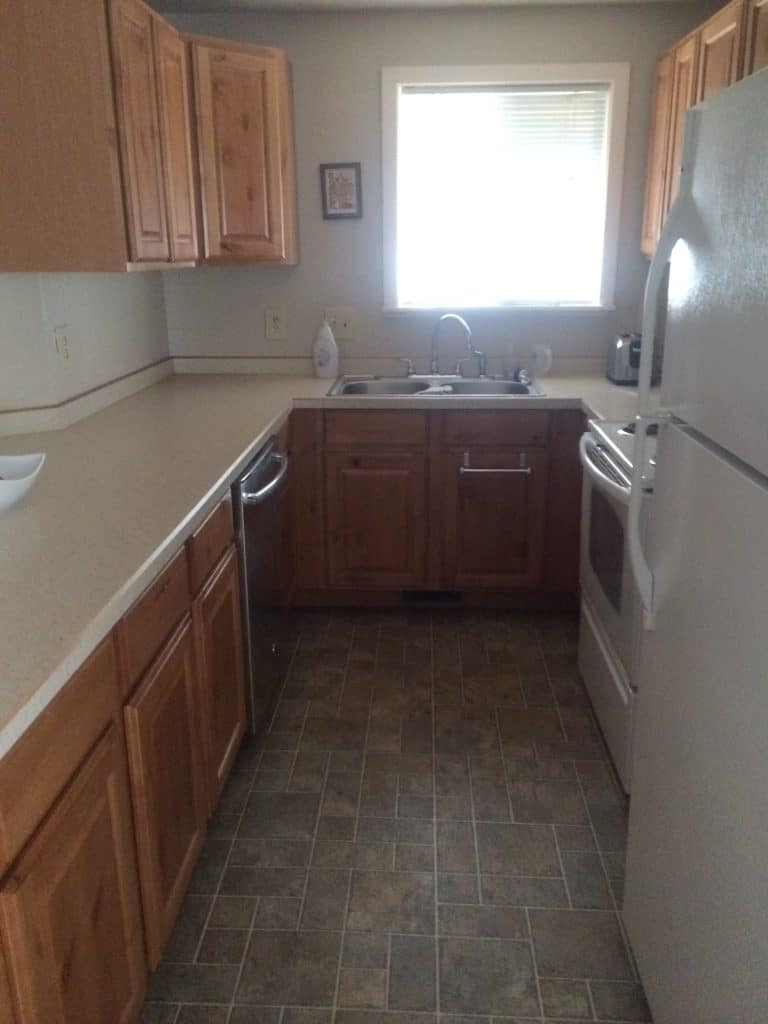
For being an old 70’s fixer upper, the kitchen was in decent shape. Cabinets are nearly spotless. Appliances all in decent shape. Countertops are a bit bland and not necessarily my style, but they are in great shape, so they will certainly work for now! Kitchens can be EXPENSIVE to renovate, so we were stoked to see that there wasn’t much that needed to be done in here. The only thing I could see us doing sooner rather than later is replacing the sink.
Dining Room
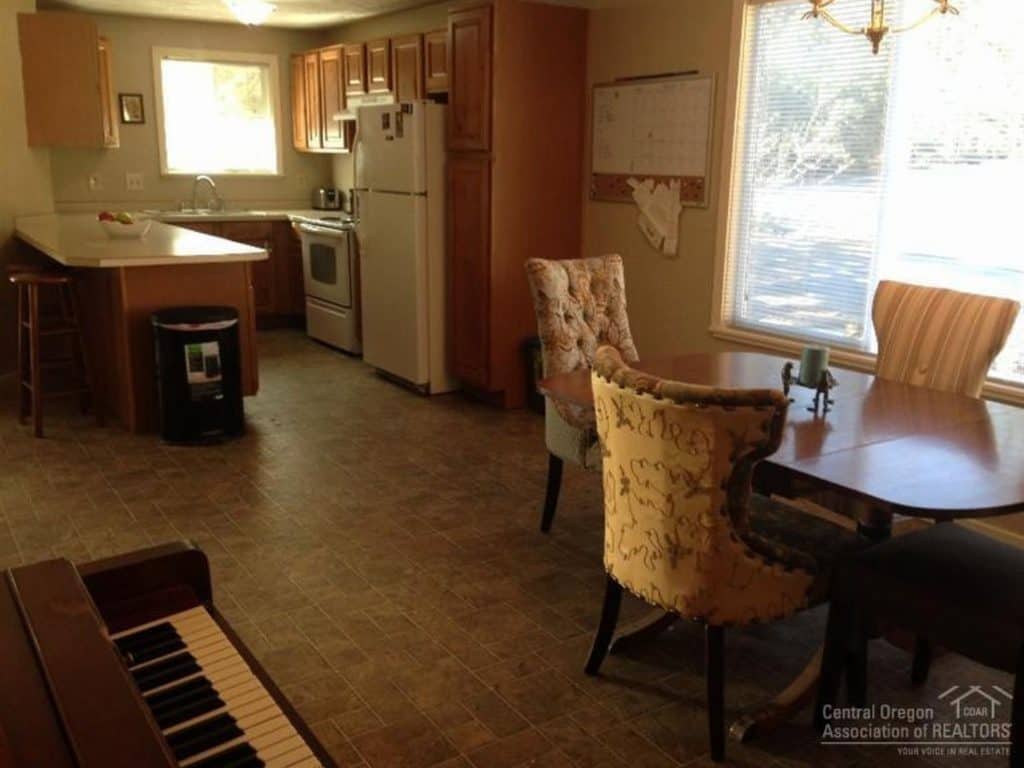
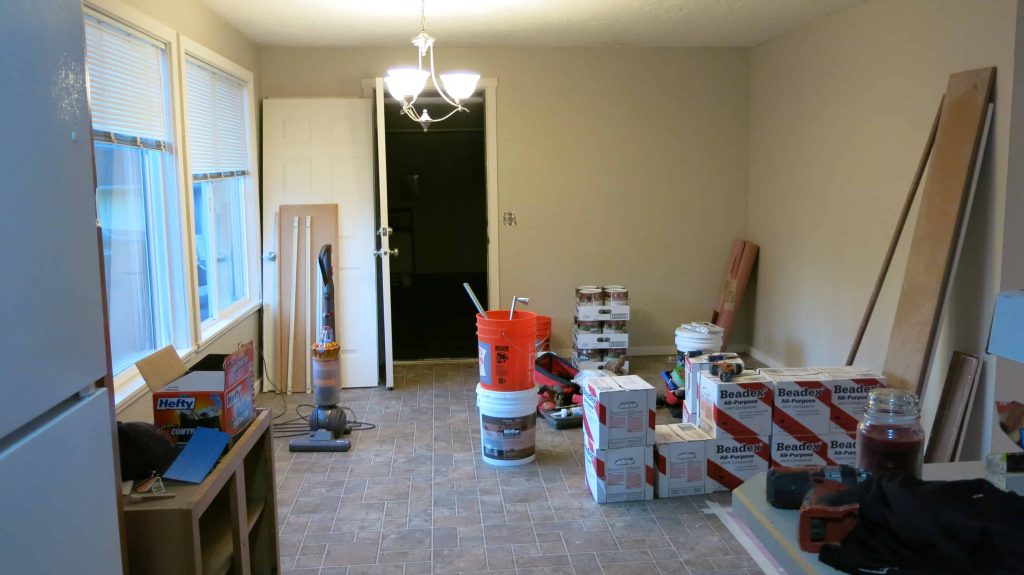
The kitchen opens up directly into the dining area, which has a door to garage (and provides the only access to the backyard – seriously, have you ever been in a house that doesn’t have a door to the backyard – so strange!)
To all those who have lived through a renovation, you’ll appreciate this photo.
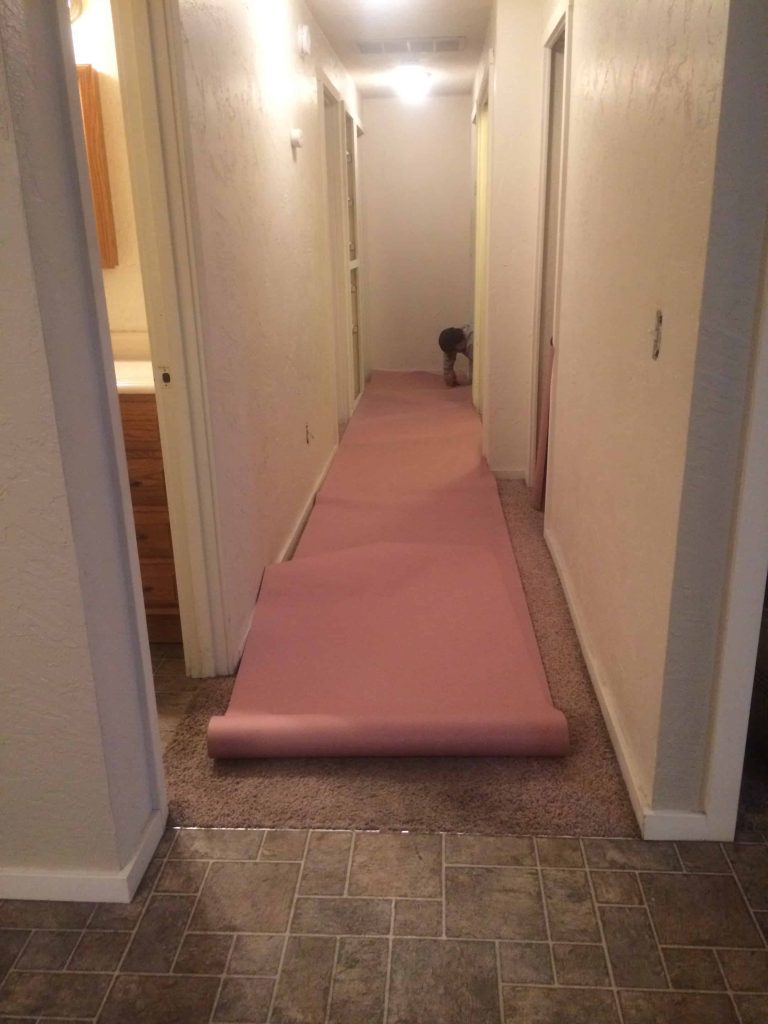
Hallway
If you look at the photo above (you know, that one of all the junk!), if you turn to your right, you’ll be walking down the hallway. This is the only photo I have of the hallway before things started getting crazy around here!
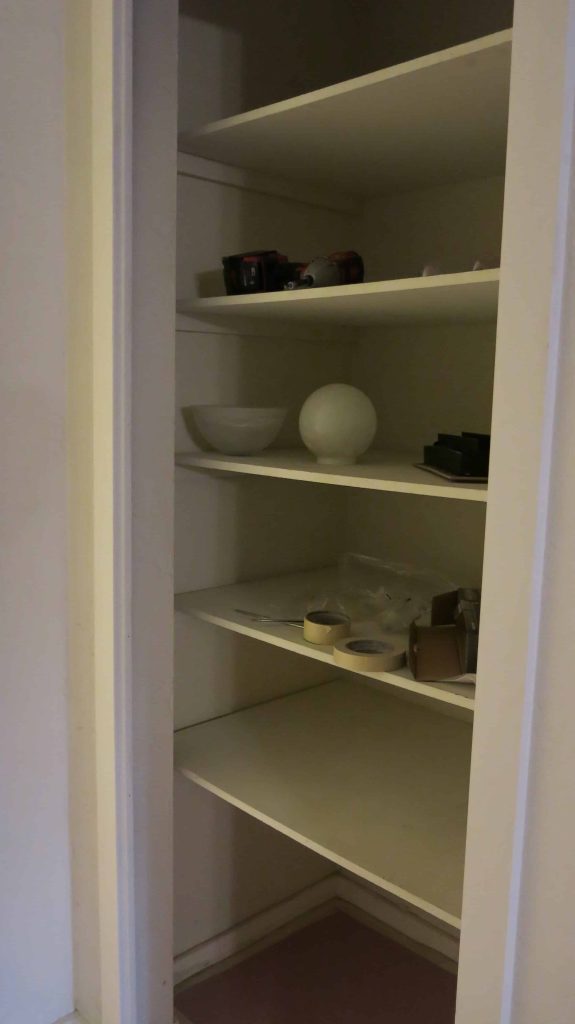
I was excited about the couple sets of hallway cabinets for storage.
Front Bathroom
As you start walking down the hallway, you’ll first approach the front bathroom. First door on your left.
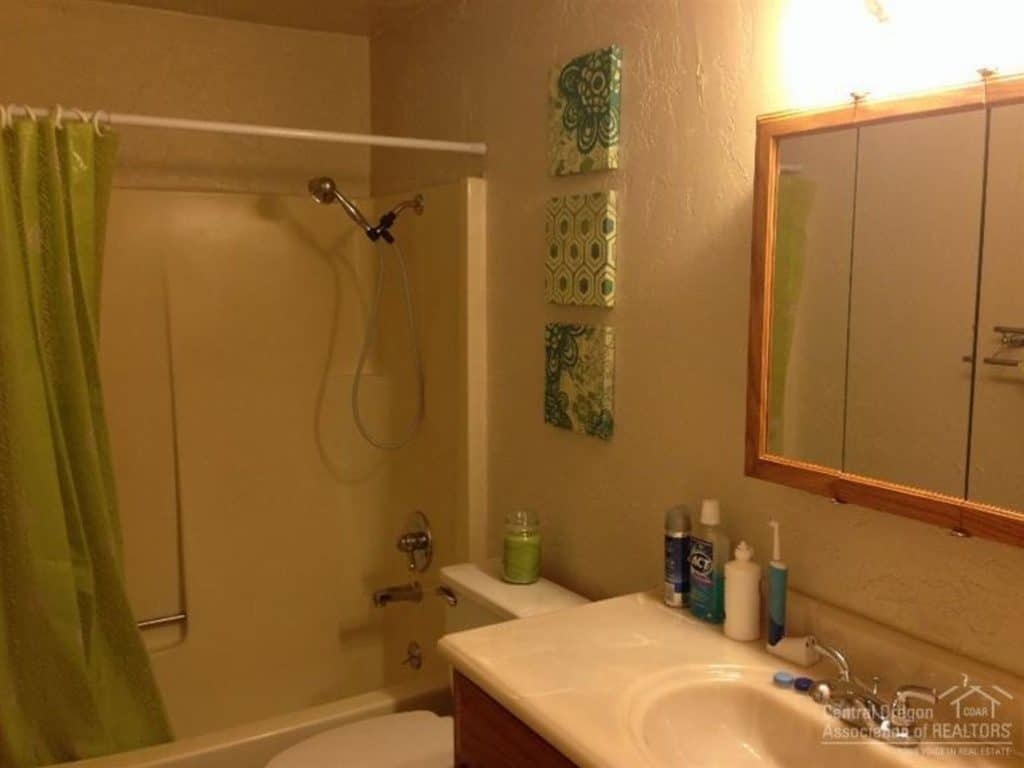

We were pleased that the vanity is good shape and will work for now.
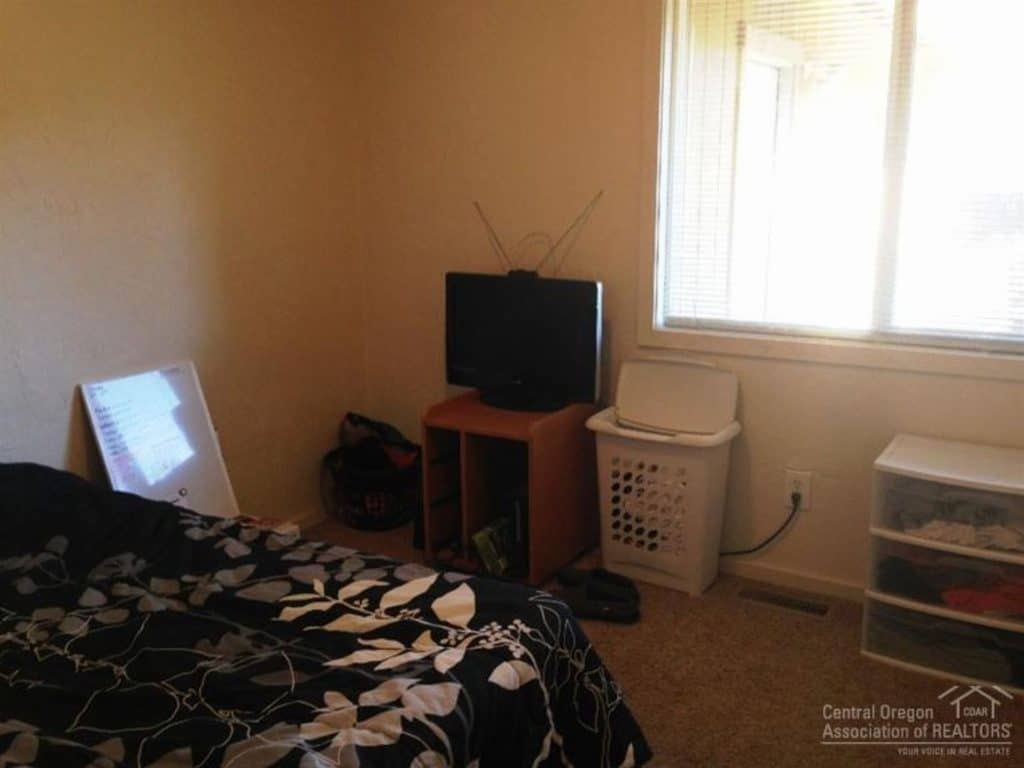
Front Bedroom (Office)
This is the only photo I have of the front bedroom because we had to start renovating in there immediately! We had about 2 weeks of overlap until we needed to move in and I needed to have a move-in ready office because I work from home. UPDATE: Check out the full room reveal for this room, which is now my modern marble & gold home office.
Back Bedroom
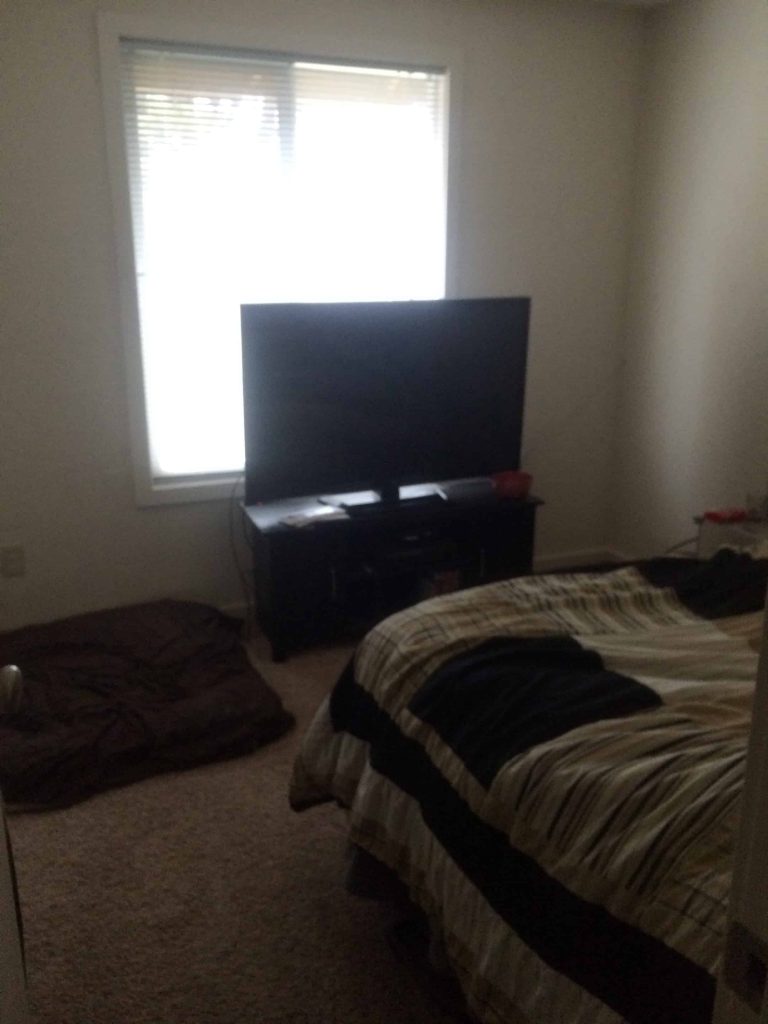
This bedroom is essentially the same as the front bedroom but flip flopped. UPDATE: Check out the full room reveal for this room, which is now our son’s rustic woodland nursery.
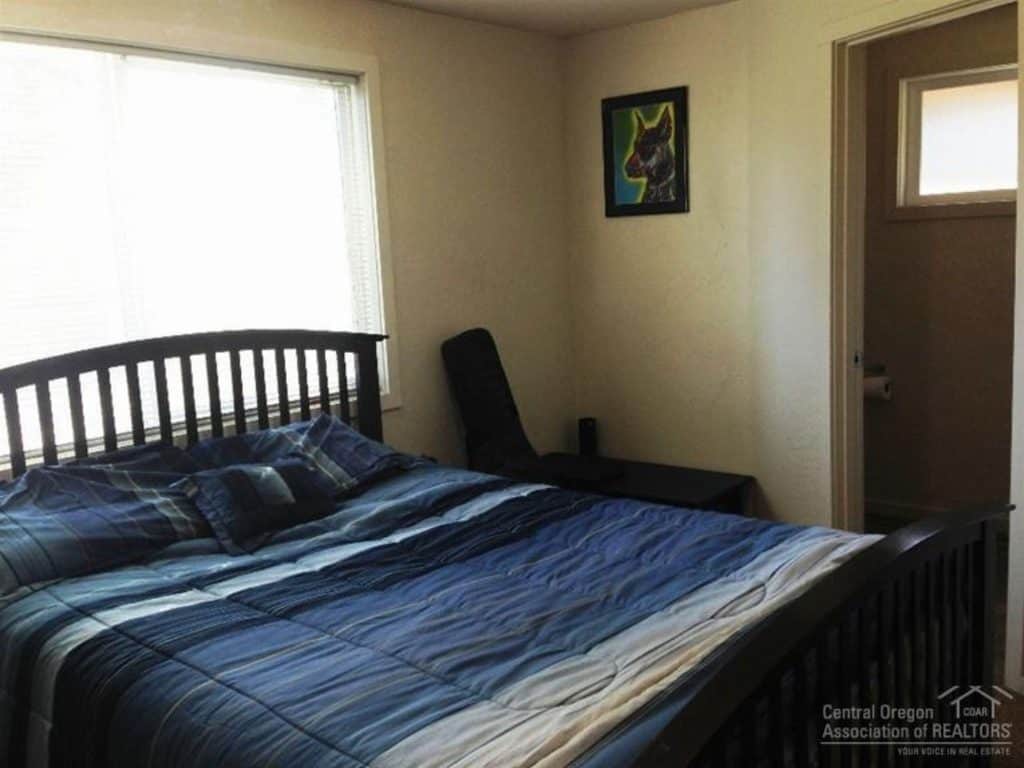
Master Bedroom
This room has sooo many weird angles. The door on the other side of the bed shown here leads to a uber small bathroom (more to come on that next).
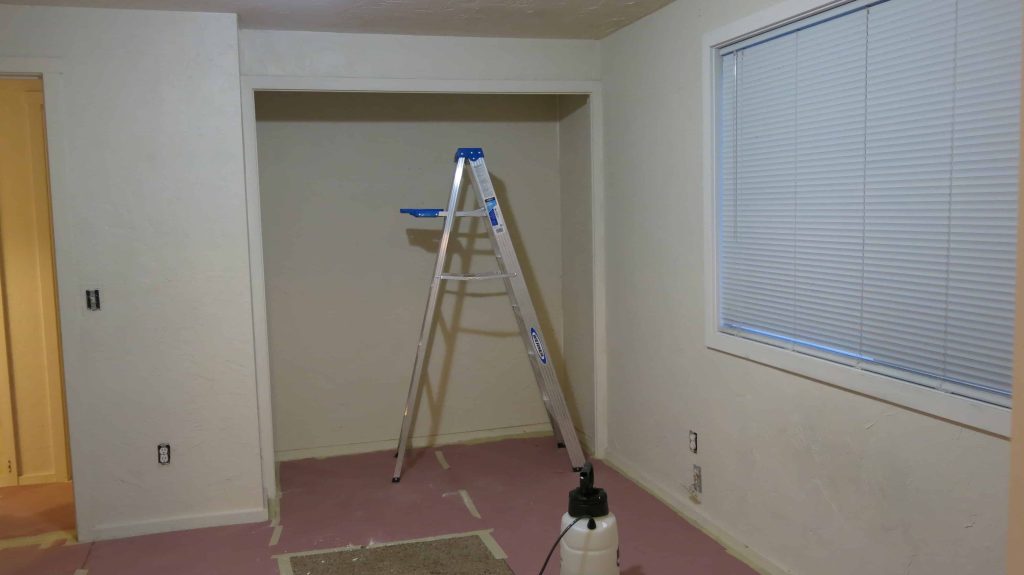
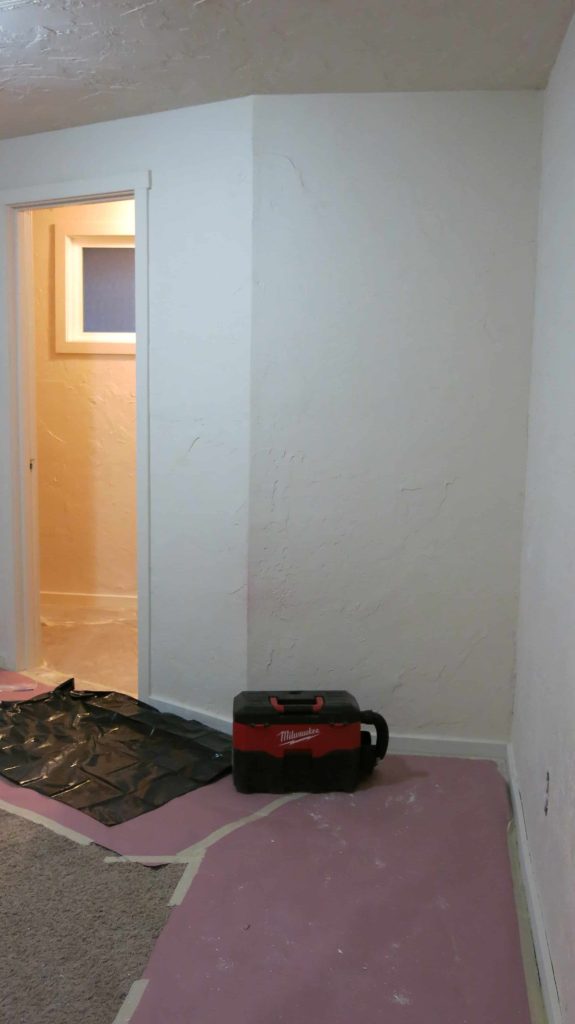
Master Bathroom
Smakward… it’s the perfect new word to describe this master bathroom. A subtle blend of all things SMALL and AWKWARD. Update: Check out our farmhouse master bathroom reveal!
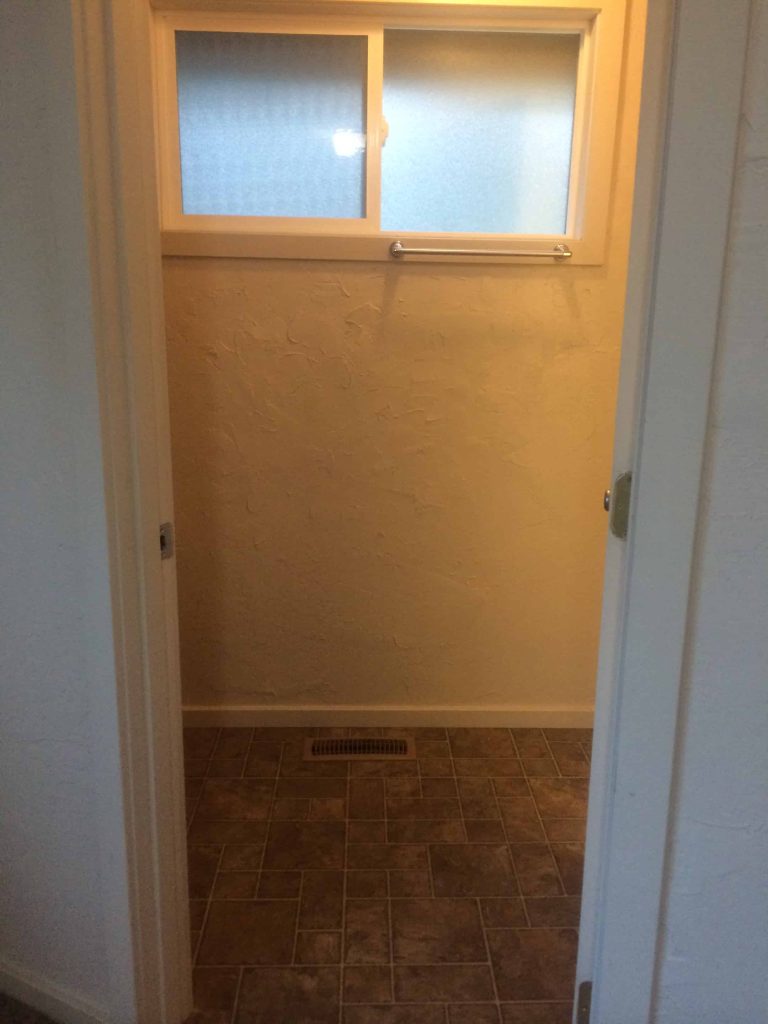
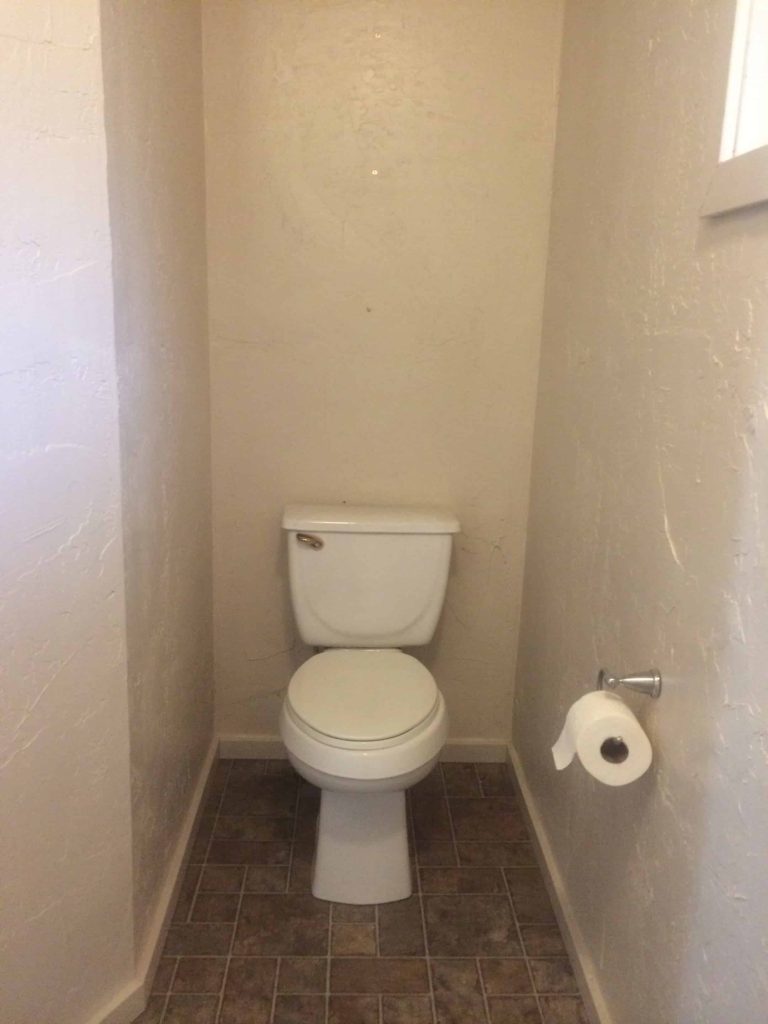
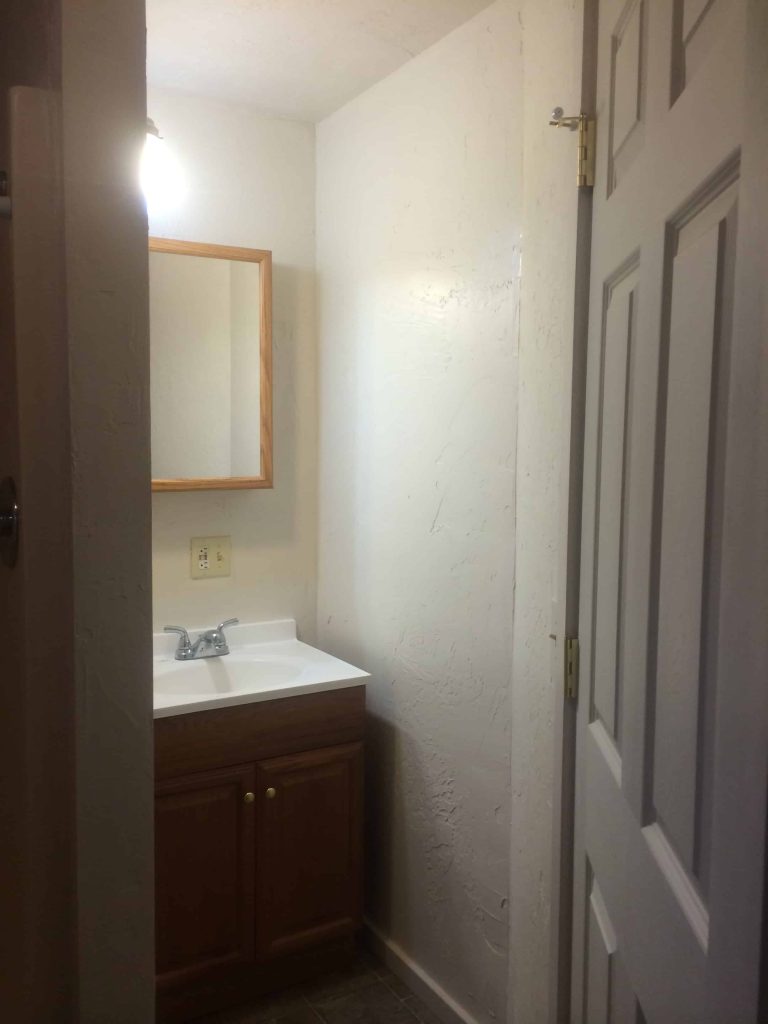
View from the bedroom, to the left is the toilet and to the right is the small, oops I mean stall, shower and vanity sink.
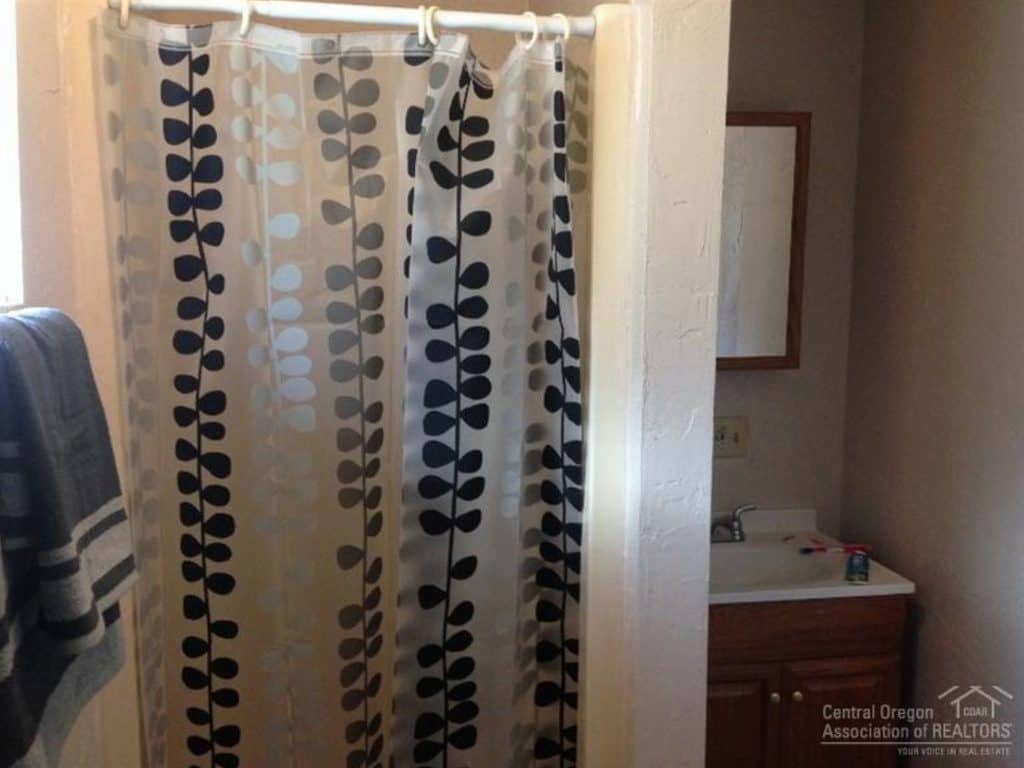
We almost immediately removed most of the doors in the house when we started renovating, so we haven’t had a door on the master bathroom for months while we’re working on it. As I look at this picture, I’m suddenly realizing that to get to the sink you’ll have to walk in and pretty much close the door. Goodness. We already thought about doing a pocket door or a sliding barn door, but the walls are angled on both sides of the door, so that’s just not going to work. I’ll be brainstorming about that! I have some ideas.
UPDATE: Check out updates for our farmhouse style master bathroom renovation: Faux Shiplap Wall | How To Build Floating Shelves | Farmhouse Master Bathroom Reveal
Backyard
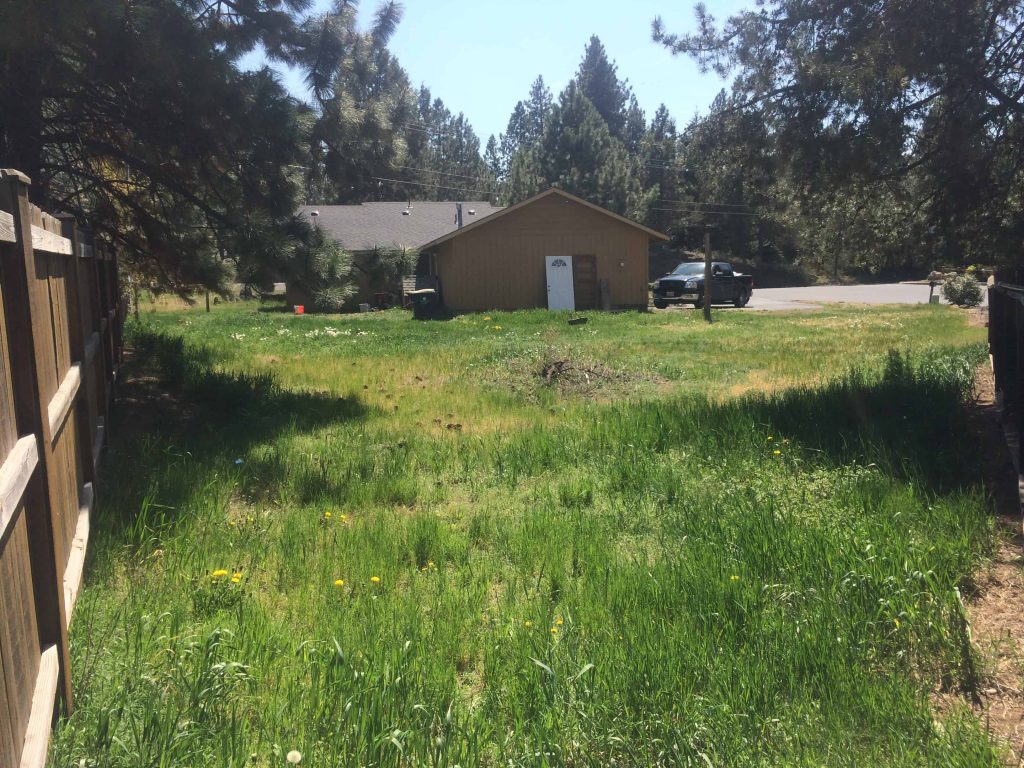
Now this backyard doesn’t look like much, but this was probably the selling point of the house for us. It is unheard of to find a yard this large, in town and in our price range. We’re outside people and, of course, our dog Gannon loves being outside. Yes, it is going to take a TON of work to make it awesome. But we can’t wait to have fun backyard with all sorts of goodness. Check out some of our plans for our backyard here.
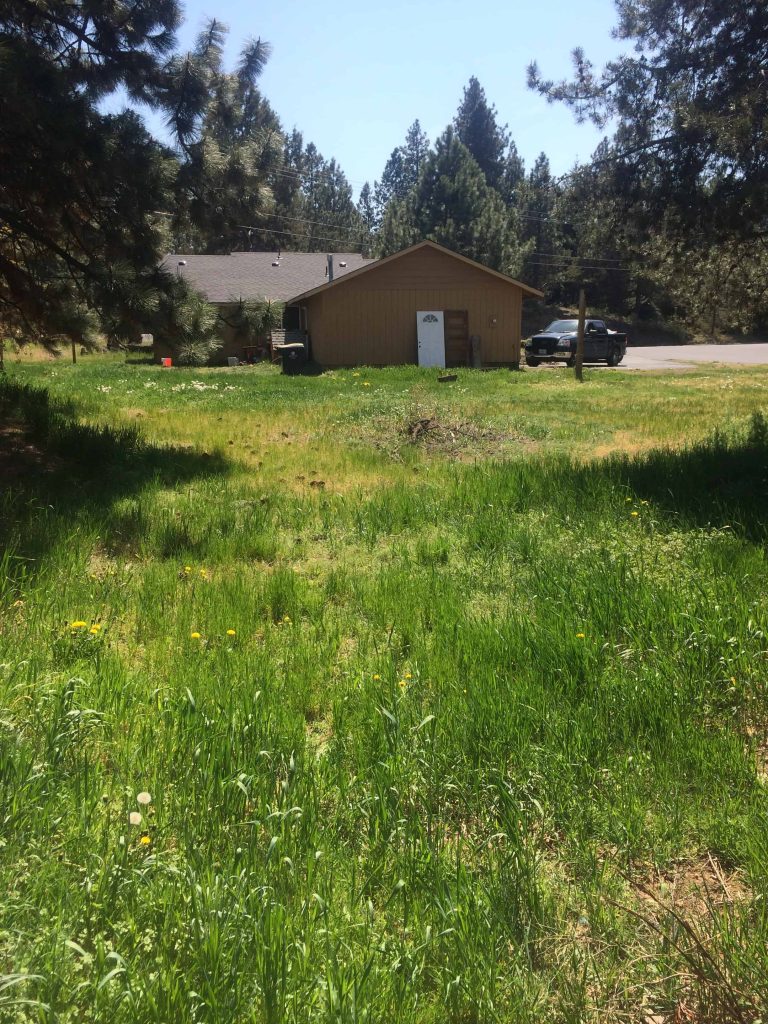
The backyard is kind of in the shape of a big triangle and this is the tip of it. The far back corner of the yard and looking towards our house. We were fortunate that the neighbors and surrounding neighborhoods had fences that enclosed the back sides of our lot. So, we just needed to worry about fencing the front and the street side (the other side of the house).
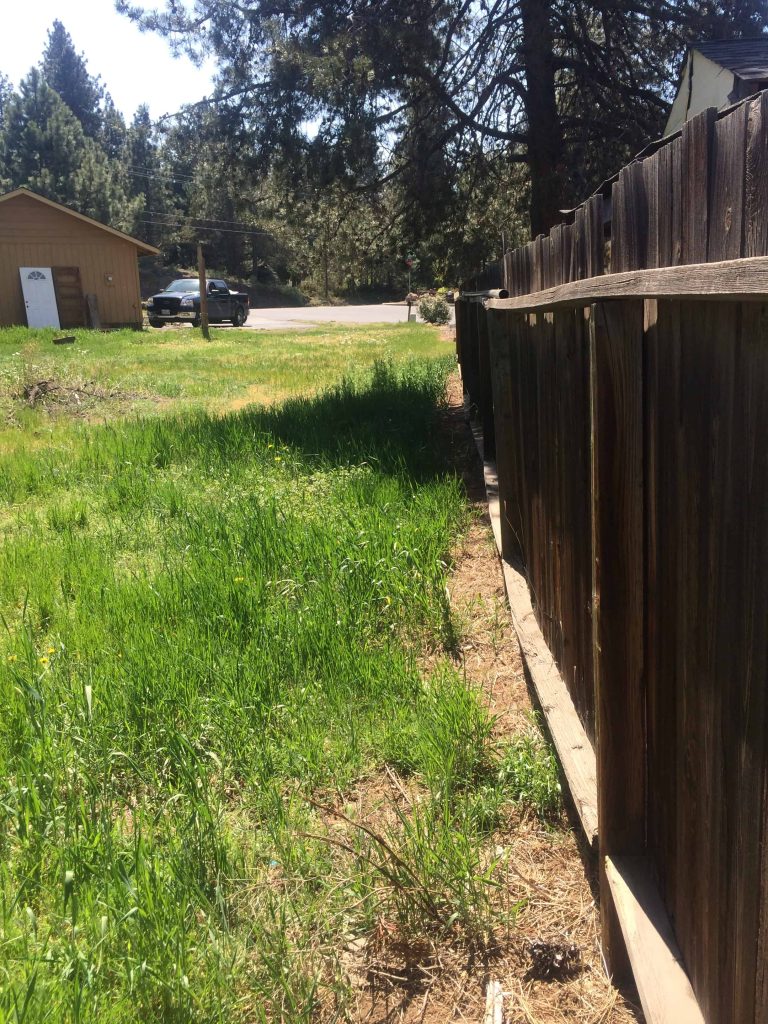
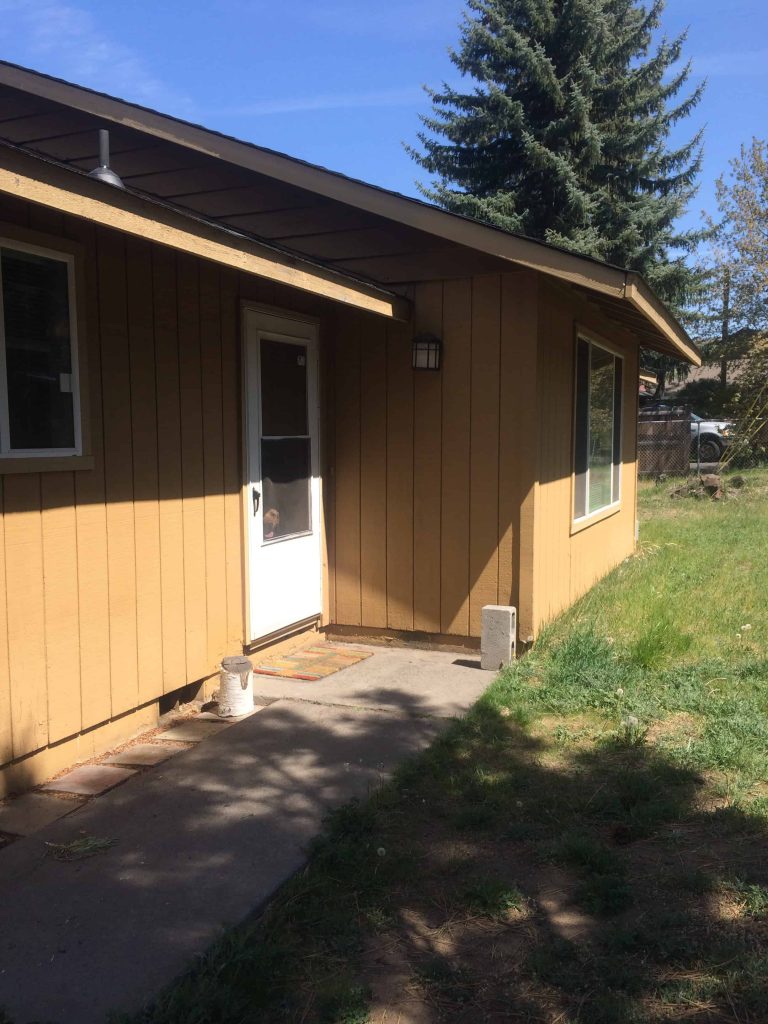
This is the front door again, so you can see the “side yard” we’re working with. The side yard wraps around the back of the house and eventually leads to the larger backyard area. UPDATE: Check out the raised garden beds we added here.
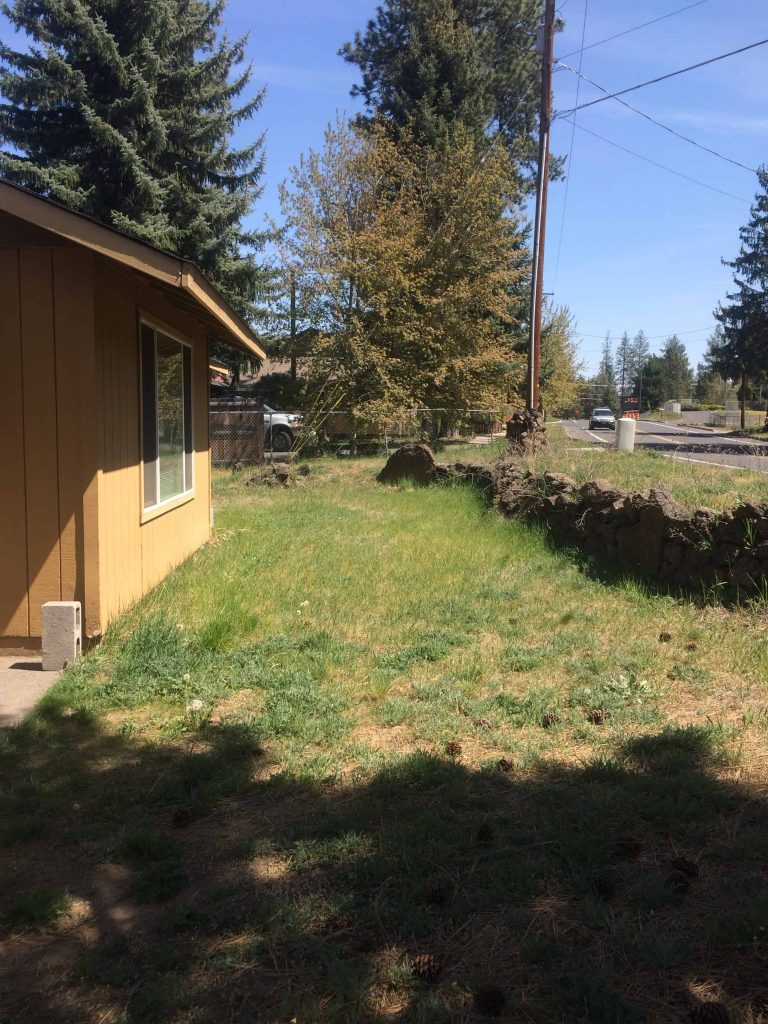
This side yard has an existing retaining wall that steps up the street level.
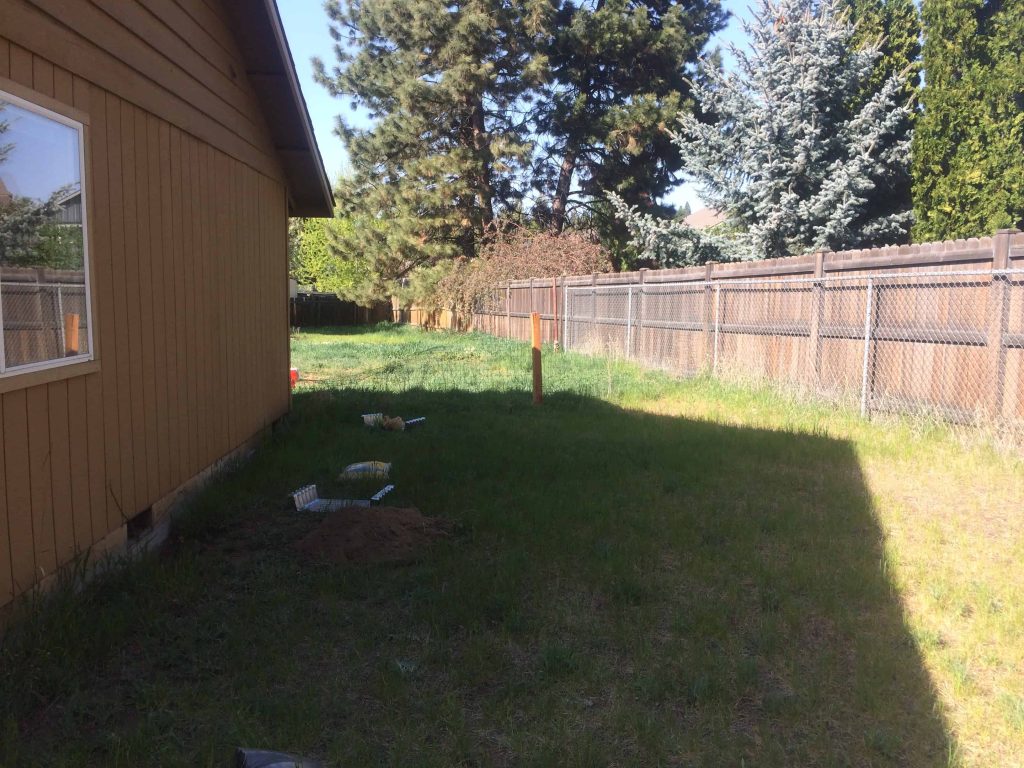
If you were to keep walking from the front door and through the side yard this is where it wraps around the back of the house and leads to the larger backyard. We have a temporary fence up there to keep Gannon put until we get the fence up on the street side of the lot (probably Spring of next year).
So, there she is! Our little piece of the pie.
You may be thinking… “what in the heck are they doing now that they are still sleeping in the living room after 4 months of home ownership?!”… Along with all of the reasons excuses I listed earlier, we are undertaking a huge project of home renovation… SKIM COATING. Usually when I tell people that, their next question is “what is skim coating??” I’m going to post a lot more about the skim coating process later, but the short explanation we’re covering up the horrible thick texture with dry wall mud / joint compound and making the walls smooth throughout the entire house. Given how thick and splotchy our texture is, it is taking many many layers until we get smooth surface and then lots of sanding and finally painting. Long process, but I think in the long run we’ll appreciate the refreshed look. That is the one thing we hated about the house when we were touring.
What else do we have on our to do list? Well, the list literally grows every day and every time I go onto Pinterest and get some crazy idea. 🙂
For now, here’s our hit list (not including landscaping or backyard dreams, more to come on that later):
- Skim coat the entire interior
- Paint the entire interior
- Knock down awkward diagonal wall in entryway to open up kitchen
- Replace light fixtures
- Replace hardware
- Replace light switch plates and rework electrical as needed
- Replace blinds
- Remove some kitchen cabinets and add alternate storage
- Paint exterior – next year
- Replace flooring – someday
- Possibly add french doors off the living room to the side yard – someday
- Do some renovating in the master bathroom – someday
Hope you enjoyed our pre renovation home tour. Can’t wait to share this process with you!!
UPDATE: Check out our finished before & afters for this renovation:
- Our First Fixer Upper: House Makeover (Exterior Picture Tour)
- Our First Fixer Upper: Before and After Home Renovations (Picture Tour)

Ready for more? Read up on the rest of our home buying process posts:





Love it, what a great spot!! Can’t wait to see what you do with it and eventually visit : ) So happy for you guys!
Cute house! 🙂 I’m excited to see the “after pics!” And I love the outside space. I am glad you are writing a blog so I can be updated on your life 🙂 Miss you guys! + gannon
xx
cp
Thanks pate! I can’t wait until you can come visit someday! Gannon says he misses you too 😉
That looks like a LOT OF WORK. But you were never afraid of hard work…and I know Logan is the same way. If I may, I’d like to give some advice. As one who has done a ton of “large projects”…I have some experience and hopefully some wisdom that may help.
-Make sure to enjoy the process as much as the finished product.
-Don’t get overwhelmed by looking at the forest, just take one tree at a time.
-Work at your own pace…not what you think others may expect.
-You have a tendency to “get stressed”…don’t….
-Use this project to grow closer to Logan and strengthen your common interests instead of just being “busy”.
-Don’t feel like you have to “win every battle” (and there will be many)…every once in a while, give in and let Logan win one…
-Build memories into the project…
Thanks pops! Can’t wait for you to come up and see it!
It’s great to see your before pics! I know how it feels like the progress is so slow sometimes but when you look back you can see you’ve come a long way. I need to do a before post like this on our home too. It really is motivating!
It’s so exciting to buy a house. There are so many possibilities. Great yard, too! Thanks for sharing with us at Merry Monday:-)
I cannot wait to see what all you do with the place…so exciting. Thanks for sharing and co-hosting at the #HomeMattersParty – you’re lovely! 🙂
~Lorelai
Life With Lorelai