First Time Home Buying Process For First-Time Home Buyers (+ Free Printable Checklist)

Being a first time home buyer going through the home buying process can be a very overwhelming experience. Not only is buying a home the largest purchase you’ve ever made, but the whole home buying process is so foreign.
The home buying process even comes with its own language (like escrow, pre-qual, and counter). Have no fear!
For this summary of the home buying process for first time home buyers, we’re going to start at the beginning. So if you’re wondering what the first step in the home buying process is, keep reading!
We’ll walk you through everything from finding a Realtor to celebrating your first night in your home! This is a complete guide of the home buying process for first time home buyers from A to Z.
Table of Contents
- 1. Find a Realtor
- 2. Figure out budget
- 3. Find a Lender
- 4. Determine your must-haves
- 5. Gather loan application documents
- 6. Get pre-qualification letter
- 7. Start touring homes
- 8. Make an offer
- 9. Wait for Seller’s response
- 10. Counter or accept offer
- 11. Apply for loan.
- 12. Open escrow
- 13. Schedule inspections
- 14. Present repair addendum
- 15. Sign all loan documents
- 16. Schedule closing and sign documents
- Related – more articles about home buying
This guide to the home buying process contains affiliate links, but nothing that I wouldn’t wholeheartedly recommend anyway! Read my full disclosure here.
The First Time Home Buyer Checklist from Start to Finish
Step 1: Find a Realtor
If you are stuck wondering how to start the home buying process, searching for a Realtor is the first step of the home buying process. Your Realtor will be by your side through the entire journey of buying your home. If you don’t know any Realtors, it can be a little overwhelming to try to narrow it down.
The single best way to find a Realtor is to ask your friends and family for a referral. It’s especially telling if they have been through the home buying process with this Realtor before. Another good idea is to ask around on local Facebook groups for a recommendation.
It’s a great idea to “interview” a couple of agents to see if you’re compatible to work together. Ask the Realtor if you can first meet and talk things over.
You should get a pretty good idea after meeting in person if that person is going to mesh well with your personalities, move at a pace you’re comfortable with, and if they are someone that you can trust.
One of the most important things is that you feel like your Realtor is willing to move at the same pace you are. As first time home buyers, you will require a little more “handholding” throughout the home buying process.
A good Realtor is willing to take the time to explain the confusing forms you will be signing. They will make sure that you know what steps are next throughout the home buying process.
Step 2: Figure Out Budget: how much do you want to spend on a home?
Before you jump into house hunting, it’s important to know what you can spend on a new home. Otherwise, you’re going to be disappointed that you can’t afford that house full of your “wants”, not your “needs”.
Figuring out how much you can spend on a home can be tricky. You should always start by determining what you are going to be comfortable with spending for a monthly payment.
As a rule of thumb, this is usually no more than 28% of your pre-tax income (but everyone has different comfort levels). Never get into a loan with a mortgage payment that you’re not confident you can pay.
Notice that I don’t start by asking a lender. To be completely honest, I would be very careful asking a lender how much they will lend you.
In many cases, this amount may be more than you’re ready to commit to or more than you’re used to setting aside for your monthly payment.
The last thing you want to do when buying a house is to get in over your head. Just because you can afford $300,000 on paper doesn’t mean you can per month with all the other expenses associated with homeownership.
We knew we were buying a fixer-upper and would be pouring money into renovations. We decided what we were comfortable with and then we went to the lender to confirm we would be able to get a loan for that amount.
Step 3: Find a Lender
Next step, you’ll want to find a lender. It’s a good idea to shop around a bit for a lender.
You want to ask about what kind of loan packages they offer and talk through their process. Just like finding a realtor that fits with your personality, it’s also important that you feel comfortable with your lender.
You want to be able to ask them questions, move at a pace that you’re comfortable with and that you feel like you can trust.
Step 4: Determine Your Home Must-Haves: what do you want in a house (must-have versus would love items)?
After you know how much you’re willing to spend, one of the most helpful things you can do is to start making a list of the items you need and the items you want. Be sure to read my guide on how to choose a home that matches your lifestyle.
Start by making a list of the things you can’t do without. This includes how many bedrooms and bedrooms you need to accommodate your family and an area that you must be in to make it into a certain school district.
Next, you can move into the things that you would love. You’ll want to think about the size of the kitchen, yard/lot size, one story vs two-story, pool, type of exterior, style of home, roof type, nearby shopping, commute to your workplace or school, etc.
If you’re having a tough time on your list, your Realtor can help you prioritize based on your budget. By looping them in on this part of the home buying process, you can make sure that they will show you the homes that will work for you.
It doesn’t do any good to look at a 2 bedroom/1 bathroom if you really need a 4 bedroom/3 bathroom.
Remember that location is VERY important for the future in regards to schools, resale value, amenities nearby. Location is pretty much the only thing you can’t change on the home. There are a lot of wonderful homes that are located in bad areas of town that will likely never get any better.
Realtors who care about their clients and know their city well will help you not choose a home that will neither be unsafe nor have no future resale value.
They are not allowed to discriminate in any way but are also required to give our utmost care to their clients, so they shouldn’t let you make a bad decision.
Step 5: Gather Loan Application Documents
You’ll need to gather a bunch of documents when you go to officially apply for your mortgage. I would recommend starting gathering all of those documents at the start of the home buying process.
I’ve put together a free printable checklist of all the documents that you will likely need to present to your lender to apply for your home’s mortgage. Check them off as you get them gathered up and then go get that mortgage!
Once you sign up for the home buying process checklist, you’ll also get a copy of the document checklist too! Win win.
Step 6: Get a Pre-Qualification Letter from a Lender
A pre-qualification (sometimes called “pre-qual”) letter is basically a note from your lender that says how much they would be comfortable loaning to you.
Nowadays a pre-qual is pretty much a requirement to write an offer. You should have your letter in hand before you even start looking at homes.
Step 7: Start Touring Homes with Your Realtor
Starting to actually tour homes is the fun part of the home buying process!!! We did a lot of our “shopping” online through our Realtor’s Instant Notification program and we could see the homes listed in our area.
In this day and age, a lot of people are doing a lot of their house-hunting online with easy access to the listings through sites like Zillow or Trulia. However, it’s important to remember that you can’t see everything on these sites.
You are generally seeing the best parts of the home on the pretty, staged photos they show. I
‘m more interested in what those photos aren’t showing. You also can’t see the neighborhood, neighbors, floor plan, or any big red flags. These websites also have lag time and sometimes their info is not as up to date as a Realtor can provide.
Don’t forget to keep an eye out for for-sale signs too! When we purchased our 1st fixer-upper, it was one drove by every day. We instantly noticed when the for-sale sign went up.
During the touring process, don’t be in a hurry, and don’t let your Realtor try to talk you into a house you don’t want because they want to make a sale.
In fact, if a Realtor acts like that, talk to them about it. At least give them a chance to change their attitude. If they don’t, go ahead and find another Realtor.
You are the one spending a lot of money, not them and you need to be as sure as possible this is the home you can be happy in for a long time.
After that, let the house “talk” to you. I know that sounds really strange, but most people usually know within a few moments if they like the house or not.
Then on the practical side, make sure it has most of the things on your hit list that you can’t live without.
Step 8: Make an Offer
When we were buying our first home, this was the sort-of scary part of the home buying process for me.
There was SO MUCH up in the air – the uncertainty killed me… and I only had to deal with it over a weekend before we knew we were moving forward.
When you’re writing the offer, be sure you know what all of the different documents mean that you are signing.
If you don’t understand something, ASK. That’s what your Realtor is for. A good Realtor will explain everything in-depth before moving forward.
When you go to make your offer, you will need to have your pre-qualification letter from the lender and a check for the deposit.
Don’t worry though, the check won’t be deposited until you actually open escrow (no fear folks – we’ll talk about what the heck it means to open escrow on the next step).
Before you make the offer, be sure this is the house you want. Once you enter into the agreement, it is a bonafide contract. You can’t just change your mind, you really need to have a valid reason to break the contract.
But don’t forget, you do have an inspection period of usually 17 days or so to withdraw your contract if you find a valid reason during the inspection period.
Just changing your mind is not a valid reason. You have to remember the seller is trusting you to follow through on your end as they have taken their house off the market because you promised to buy it.
What should you ask for on offers?
It entirely depends on the home, buyer, and the market, but usually, you can ask for closing costs, home warranty, septic certification (if the property has a septic tank), escrow fees to be split between buyer and seller.
Also, if there are any specific personal property items that you want they should be included in the offer. Lastly, your Realtor should always ask about the refrigerator, washer, dryer on the contract.
IMPORTANT NOTE: There are specific requirements in each state. For instance in California – a Natural Hazard Report is almost always required. Sometimes you can ask the seller to pay for it. Your Realtor should know what is required for your state – another good reason to use a Realtor.
Step 9: Wait for Seller Response (acceptance or counter offer)
This can feel a bit like a dreaded waiting game. In your offer, you will indicate a deadline for the seller to respond, so at least there is a light at the end of the tunnel!
If the seller accepts your offer, you are off to the races! Woohoo….
If the seller “counters” you (sends you a counteroffer, which just means that there is some more negotiating to do on price or terms) then you will have a specific time that you will have to respond back.
At this point in the home buying process for first-time home buyers, it is important that you know your limits. Don’t get roped into a bidding war. You may find yourself in a place where you are making an offer at a price higher than you are comfortable with.
Step 10: Counter or Accept the Offer
This can go back and forth for a while. Just remember to know your limits and stay grounded.
Step 11: Apply for a Home Loan
As soon as you have an accepted offer, you can go ahead and officially apply for your loan. You can just go back to the lender you got the pre-qualification letter from to apply for your loan (I wrote some tips about choosing a lender here).
Step 12: Open Escrow
Storytime. If you didn’t know, I work in commercial real estate for my “day job”. Someone that I work with shared with me a funny story about his understanding of “opening escrow” that I can’t help but share with you.
He was a young guy working on his first real estate sale as the broker. They found a buyer for the property and his boss told him to open escrow.
He had no idea what that meant, so he headed down to the escrow office and asked for escrow officer. He proceeded to tell him he needed to open escrow.
Meanwhile in his mind, he was literally thinking that he was going down to the office to GO OPEN A DOOR.
He thought it was a ceremonial thing he needed to do. Haha! But, seriously… I had no idea what opening escrow meant for a long time. It’s one of those real estate lingo things.
So what does opening escrow mean anyway?
To simplify:
Opening escrow means starting the closing process on the property.
Once you open escrow, you can start ordering any inspections that you want to have done. You will hand over your deposit money to your escrow company.
The escrow company is a neutral third party that helps facilitate the sale process. At this point, that check you gave the buyer when you wrote your original offer is cashed!
Step 13: Schedule Inspections
The most obvious inspection that buyers will almost always get is the home inspection report. An inspection company will go and look at the house. Then they will give you a detailed report of anything that you should be aware of.
As you know, we were buying a fixer upper. And goodness gracious, I was terrified when I got that home inspection report back. Luckily, I had level-headed Logan to calm me down.
In his career, Logan had been working on messed-up homes for years and knew exactly how to interpret the inspection report. Lucky for me, part of his expertise was estimating costs.
He was able to tell me how much he thought each item would cost to fix ourselves. Once he talked me off the ledge, I was able to think logically about the home inspection report.
In addition to the home inspection report, we also had a septic inspection done.
Inspections are optional (but it may be a requirement for your lender) and the costs of any inspections are typically covered by the buyer.
If you’re looking for more information about home inspections, I love this article about what you should expect from a home inspection.
Step 14: Present Repair Addendum
If there are things that you learned on your home inspection report that you would like the seller to fix before you purchase the home, you will present a repair addendum.
Your Realtor will help you with this and will probably have some great advice for what you should ask for.
When we were purchasing our home, the market was very competitive. We were definitely a bit worried about asking for too much and the seller saying no or getting defensive.
Again, this is a time that I was so lucky for Logan. He went through the home inspection report with a fine-tooth comb.
We figured out what we felt comfortable doing ourselves and what we wanted them to take care of before we purchased the home.
In the end, we didn’t end up asking for much on the repair addendum.
We did find out through our septic inspection that we would have to decommission our septic and get hooked up to our city’s sewer system eventually. This would probably need to happen in the next couple of years due to the deteriorating condition of the septic tank.
We did some research and found out how much that would cost. Then we asked for the seller to reduce the home price by about half of what that is going to cost us.
Along with a couple of other small things, we more-or-less ignored a lot of the things found on our home inspection report. We knew we could fix them ourselves.
Now, I’m not necessarily recommending that you do the same. Everyone is going to have different thoughts on this. Do WHATEVER you feel comfortable with here.
Ensure all repairs have been made by the completion date and await bank’s appraisal.
On your repair addendum, you will indicate a date that you would like all of the repairs to be completed. Ours was a couple of weeks before our scheduled closing date.
During this time, your lender will also order the appraisal.
Step 15: Sign All Loan Documents
When it was time, our lender called us back into their office to sign our final loan documents. Sometimes a few things will change during the closing process that you’ll need to resign.
Be sure to always ask questions if you don’t understand what you are signing.
This signing is just a good warm-up for your hand for all the signatures that will be required next!
Step 16: Schedule Closing/Signing at Escrow Office
On the day of your closing (sometimes the day before), you will go to your Escrow office and sign ALL the remaining documents.
Be sure to grab a cup of coffee first and stretch out that hand! Our stack of paperwork was about 2-3 inches thick.
Both our lender and Realtor came to the signing as well. The Seller had already signed all the documents earlier in the day.
Once the loan is funded, the home is yours!
After all your paperwork is done and filed, your lender will fund the loan. Once you receive the confirmation that your loan is funded, you get the keys!!!
You made it. Congratulations! Now it’s definitely time to celebrate.
Logan and I had pizza and some bubbly on the floor of our new house the first night we had our house.
It was so nice to celebrate together and give ourselves a pat on the back before the moving & renovation madness began.

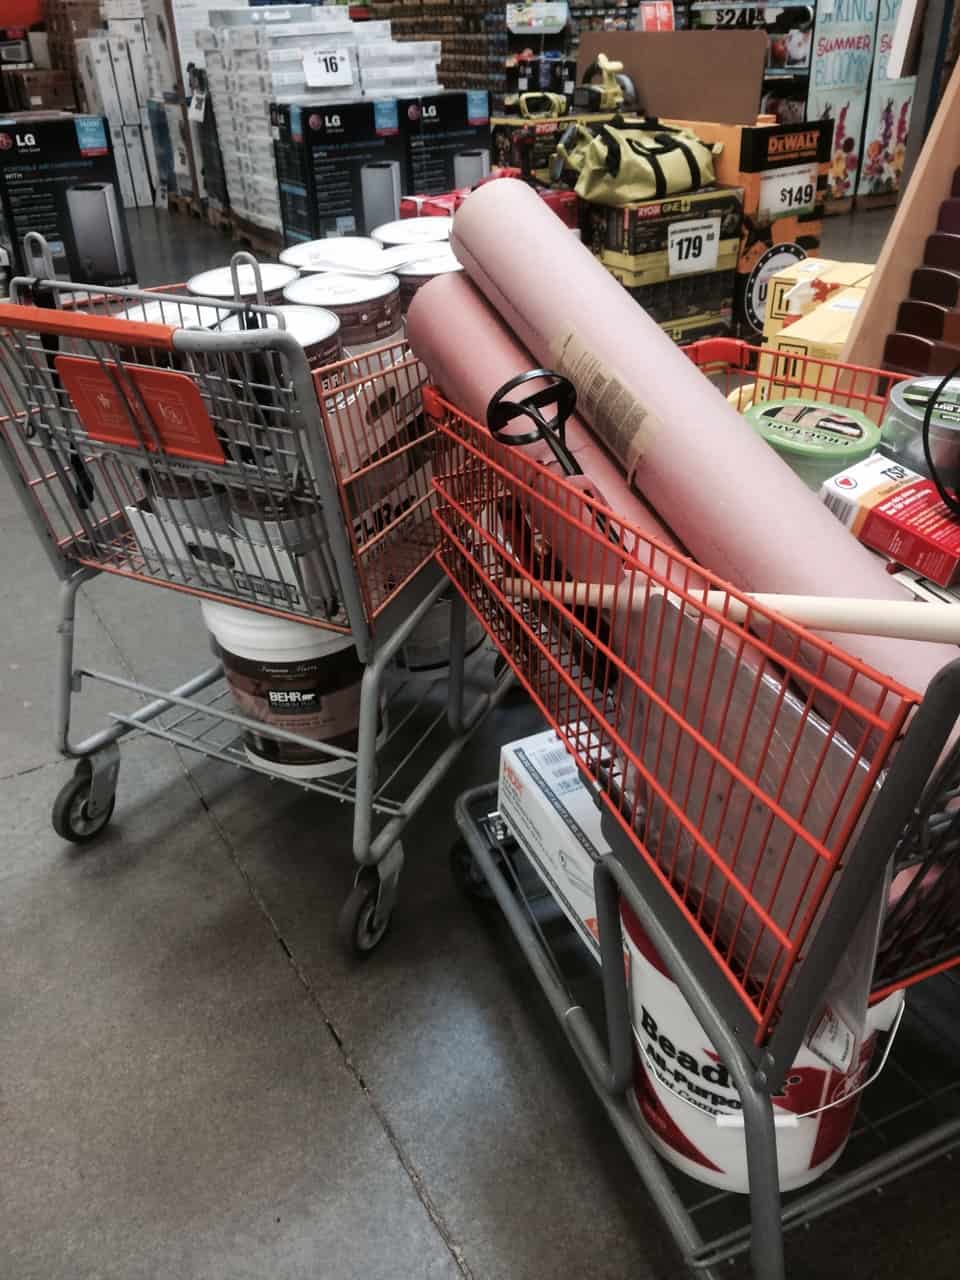
The celebration was quickly followed by a trip (or ten) to Home Depot with multiple carts.
Buying a home for the first time can be scary because it is such a large purchase with an unfamiliar process.
However, the home buying process for first-time home buyers doesn’t need to be overwhelming. Don’t be afraid to ask your Realtor for help and extra explanations along the way.
Do you feel more prepared for the home buying process for first time home buyers? Do you have any other questions???
Let me know in the comments!
Ready for more? Read up on the rest of our home buying process posts:
- 5 Things To Do Before Buying a House
- Pre Renovation Home Tour
- Home Buying Process: How to Find a Home to Match Your Lifestyle
- 8 Myths About Buying A Fixer Upper
- 3 Reasons You Should Buy A Fixer Upper (And 2 Reasons You Shouldn’t)
- Our First Fixer Upper: Before and After Home Renovations (Picture Tour)
- Our First Fixer Upper Exterior Makeover Tour
This article was written with some help from my awesome mother-in-law, Martha Johnson. If you’re looking for an awesome realtor in Bakersfield, CA, you can check her out at:


Great list of helpful tips for buying your first home! Thanks for sharing at the #HomeMattersParty – we hope to see you again next week. 🙂
~Lorelai
Life With Lorelai
The whole part of what you qualify for vs what you want to spend was the biggest thing for us in our new home buy. Lots of great tips here, and so great of you to share with newbie homebuyers! Thanks for linking this to Merry Monday!
These are such great tips! Buying and selling a home is a complicated process and this will be very helpful to a lot of people! Thanks so much for sharing at Share The Wealth Sunday!
xoxo
Lisa
Thanks for taking a look, Lisa! Have a great day!
This is great. I can especially relate to the trip or 10 to Home Depot. Haha
My husband is a realtor, so he would really appreciate this post. Great tips! Also, great co-hosting #HomeMattersParty with you this month!
Although finding your realtor should be at the beginning of the list, I highly recommend going to get pre – qualified first because all a realtor can do for you is refer a lender at that point…. if they show you homes & you can’t get a loan, you have actually wasted their time their gas and their effort. Unless you have signed a contract that you will be paying them a showing fee which is not very common…. they get paid when you close on your home. Realtors are very clutter minded people and are constantly on the go. The assistant picks up all the slack. Be a considerate person and just don’t waste their time, go get pre – qualified first! – The Assistant
Good points Casie! Because we were new to the area, our Realtor helped us find our Lender so that’s why we found a Realtor first. We didn’t start looking at any homes until we had that pre-qualification letter though. Thanks for your comment.