Clothespin Magnets with Washi Tape
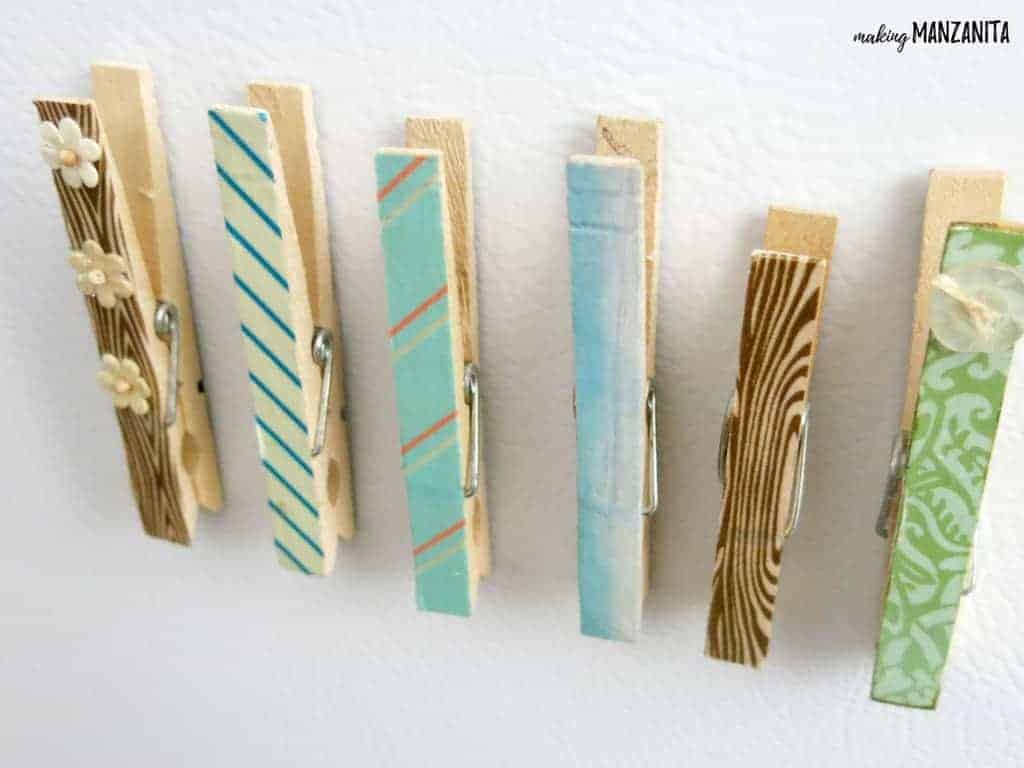
You guys know that I feel strongly that you should definitely make time in your busy life to craft. In fact, I’m convinced that crafting will make you a better mom. Here’s how.
But some weeks are so busy that you just don’t have the time. Am I right?
Well, today’s DIY is for you today, busy lady. I promise that these clothespin magnets with washi tape will only take a few minutes of your time.
You don’t have to spend time driving around buying the supplies for the DIY fridge magnets either; you probably have them all in your crafts supplies (I did!). You may not have that magnet tape lying around, but I got mine at Walmart, so just put it on your grocery shopping list and grab it while you’re out.
Creating time in your life doesn’t have to cost a lot of money or take up hours of your time. A few bucks and a few minutes and you’ll be able to step away from this project and say “I made that”….trust me, that feeling is totes worth it.
How To Make Clothespin Magnets
This clothespin magnets tutorial contains affiliate links, but nothing that I wouldn’t wholeheartedly recommend anyway! Read my full disclosure here.
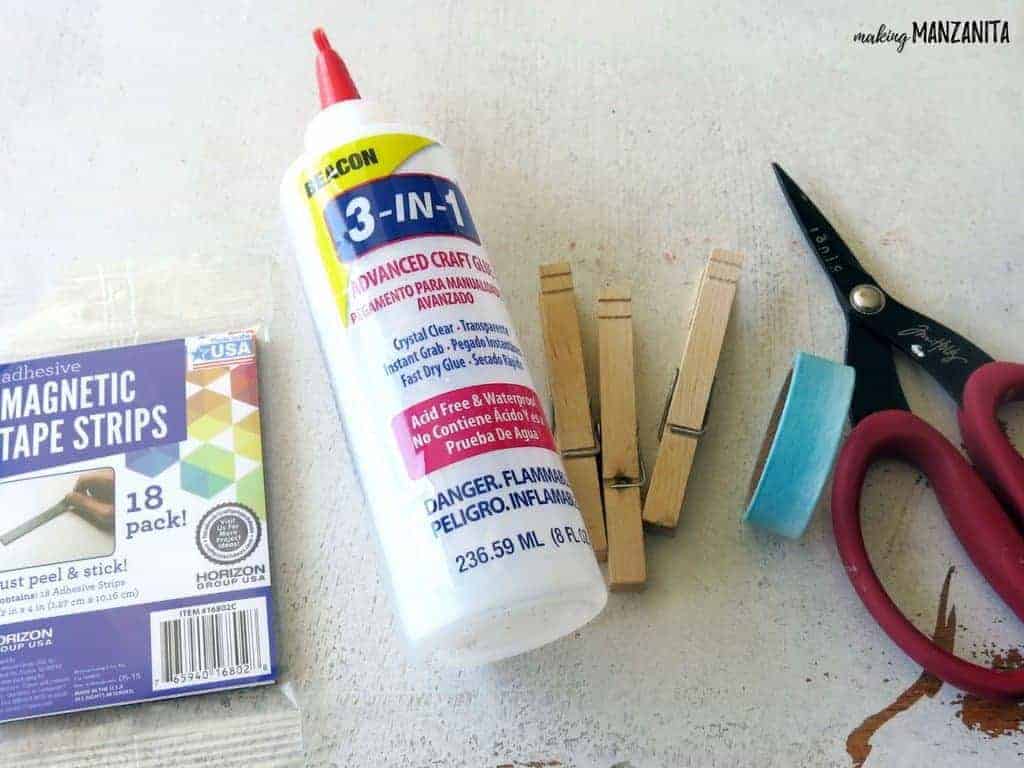
Supplies for clothespin magnets:
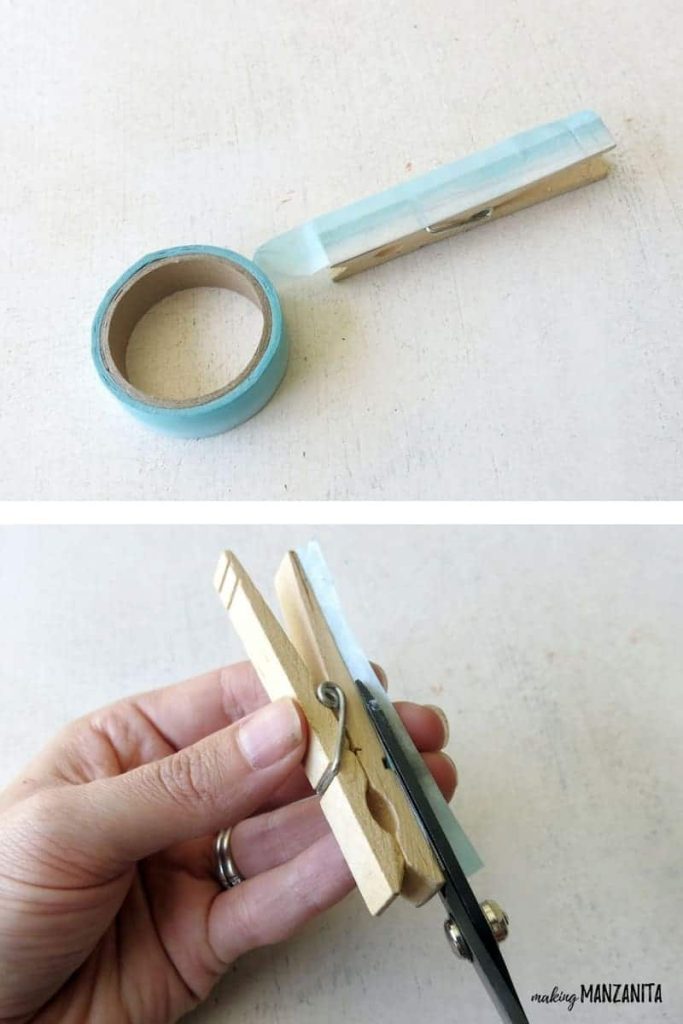
Step 1. Cover the front of the clothespin with washi tape.
Roll the washi tape over the front of the clothespin and cut it down to size.
One thing that I find helpful is to put the excess washi tape on the side of the clothespin WITHOUT the metal overhang. This way, you will have a clean edge to cut the edges of the washi tape without that metal piece getting in the way.
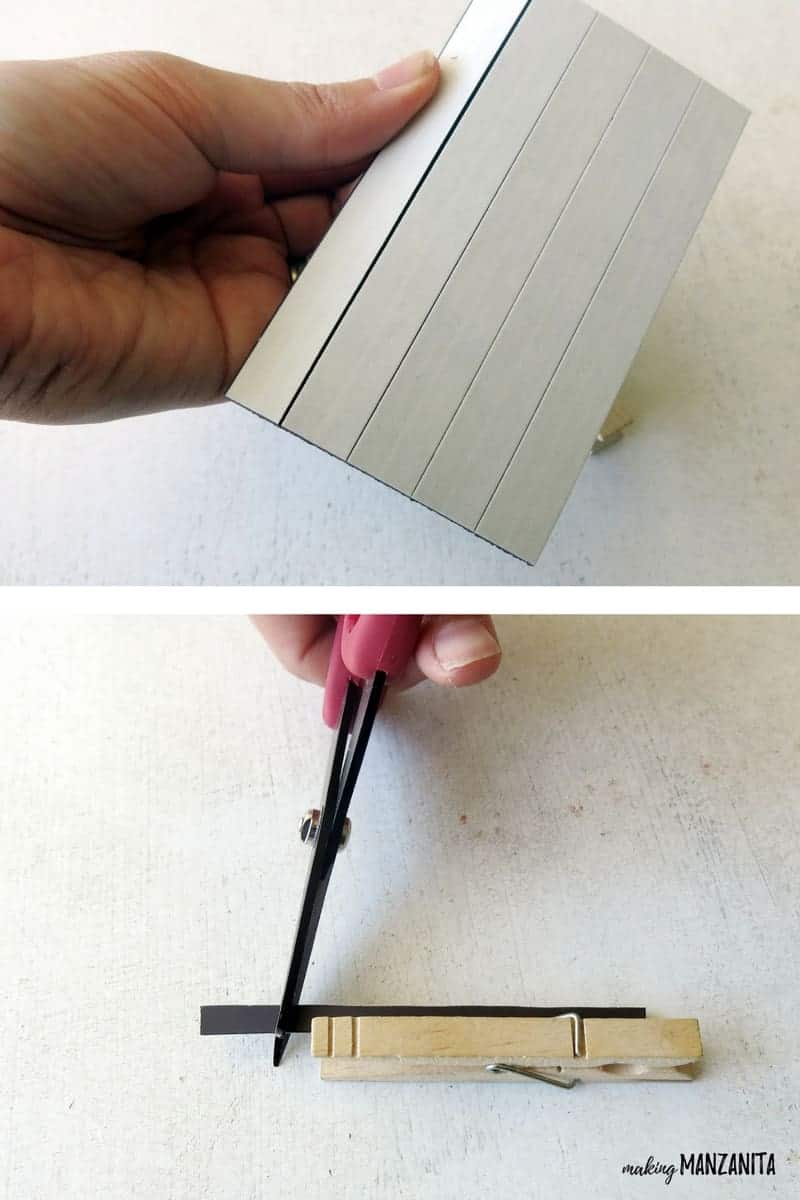
Step 2. Cut & attach magnet tape to the back of clothespins.
Depending on the size of your magnet tape, you’ll need to cut the magnet tape in half down the middle so it’s not too wide for the clothespin.
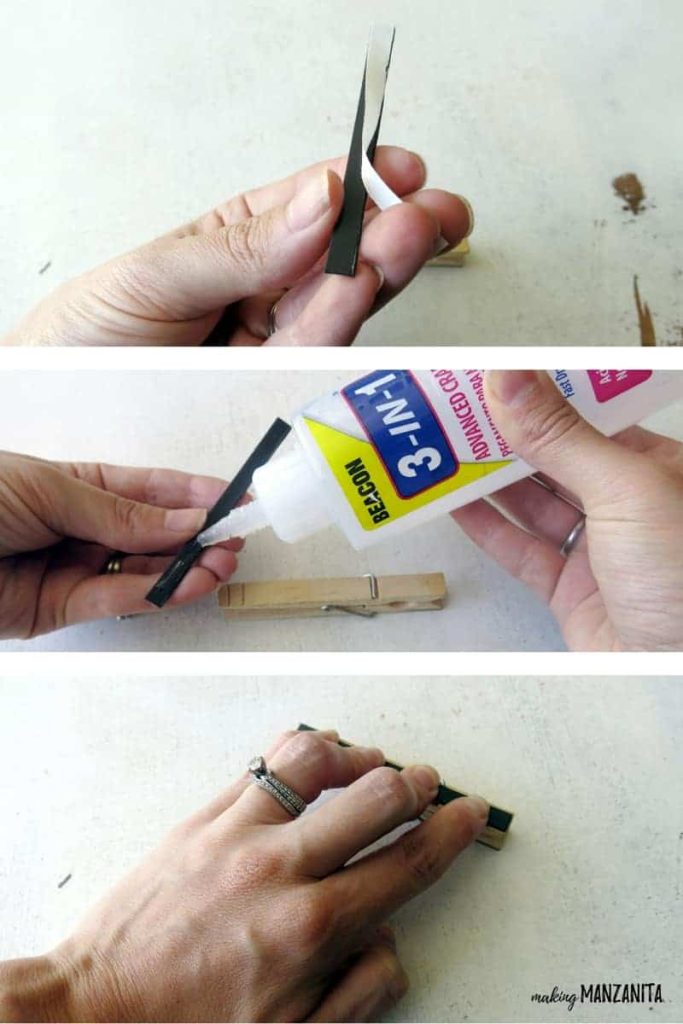
To attach the magnet tape to the clothespin, remove the paper from the back of the magnet tape to reveal the adhesive backing.
Instead of relying on the sticky side to hold to the clothespin (because it doesn’t hold over time…I’ve tried), you definitely want to add a small bead of 3-in-1 glue to the magnet before attaching it to the clothespin.
Press and hold for about 15 seconds for the glue to set.
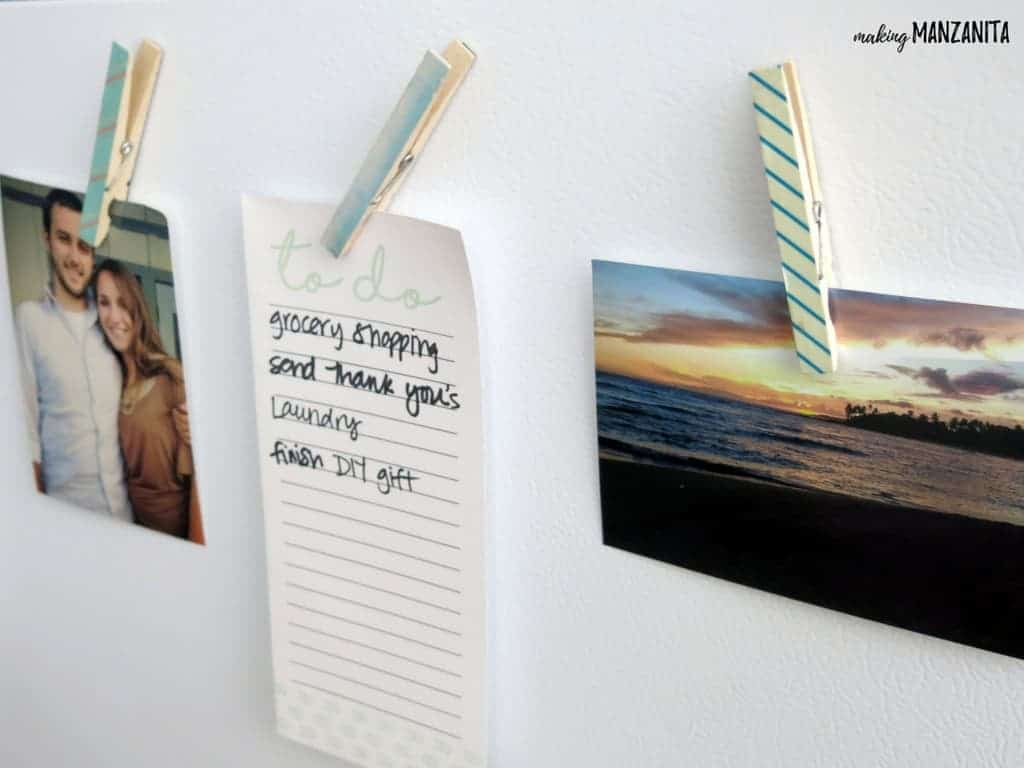
Step 3. Display notes and pictures on your fridge with cute clothespin magnets.
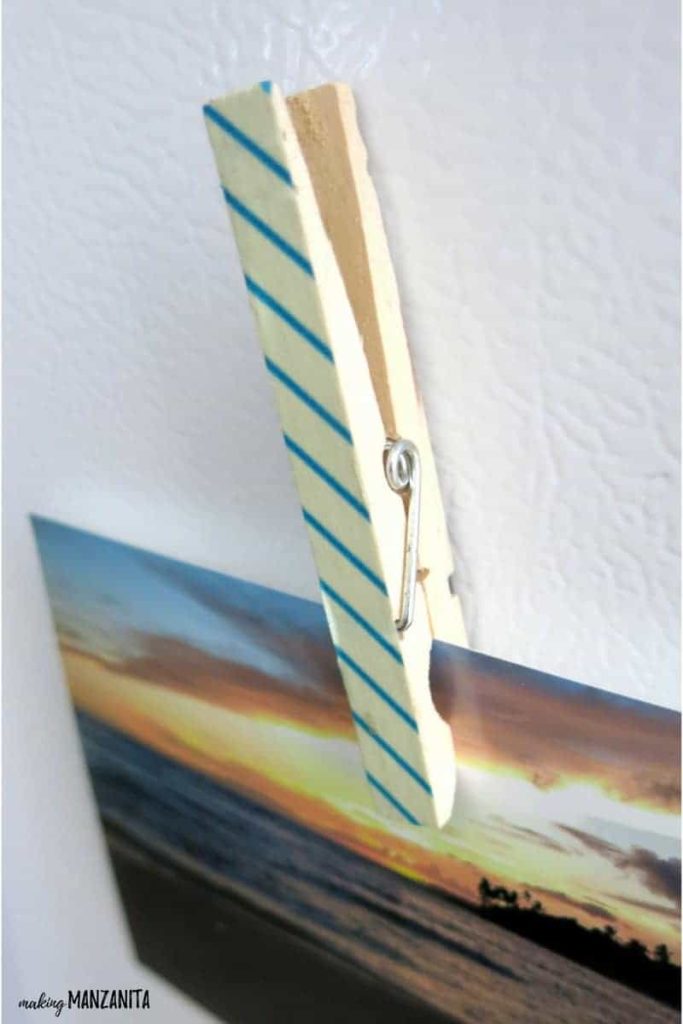
Lastly, all you do is clip your pictures and notes onto the clothespin magnets with washi tape and enjoy!
Seriously, guys, it was THAT easy!
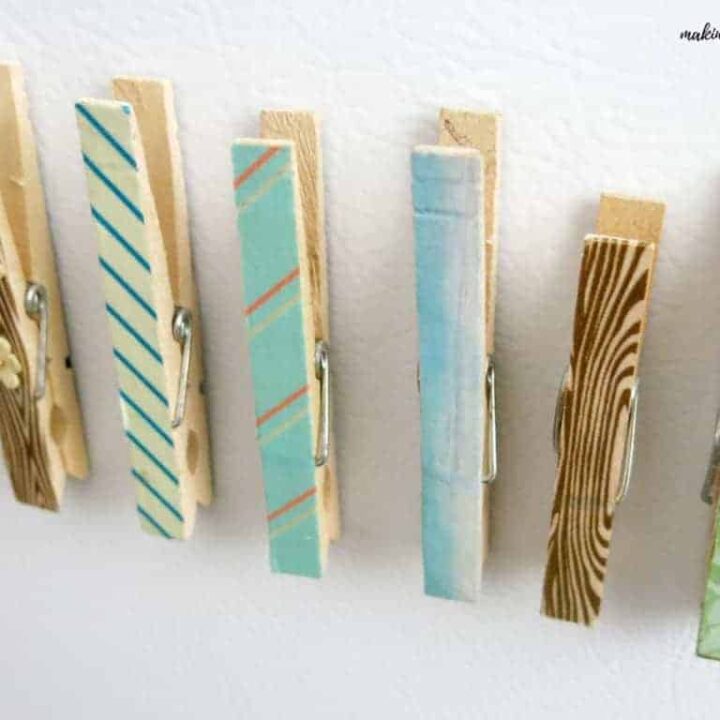
If you want to jazz the magnets made with clothespins up a bit, feel free to add more!
More Fun Ways to Decorate DIY Clothespin Magnets
Here are some creative ideas for things you could add to your clothespin magnets to decorate them more:
- Buttons
- Stickers
- Glitter paint
- Small paper flowers, butterflies or other designs
- Small bows made with twine
- Hand-painted designs
- Labels
- Other scrapbooking embellishments
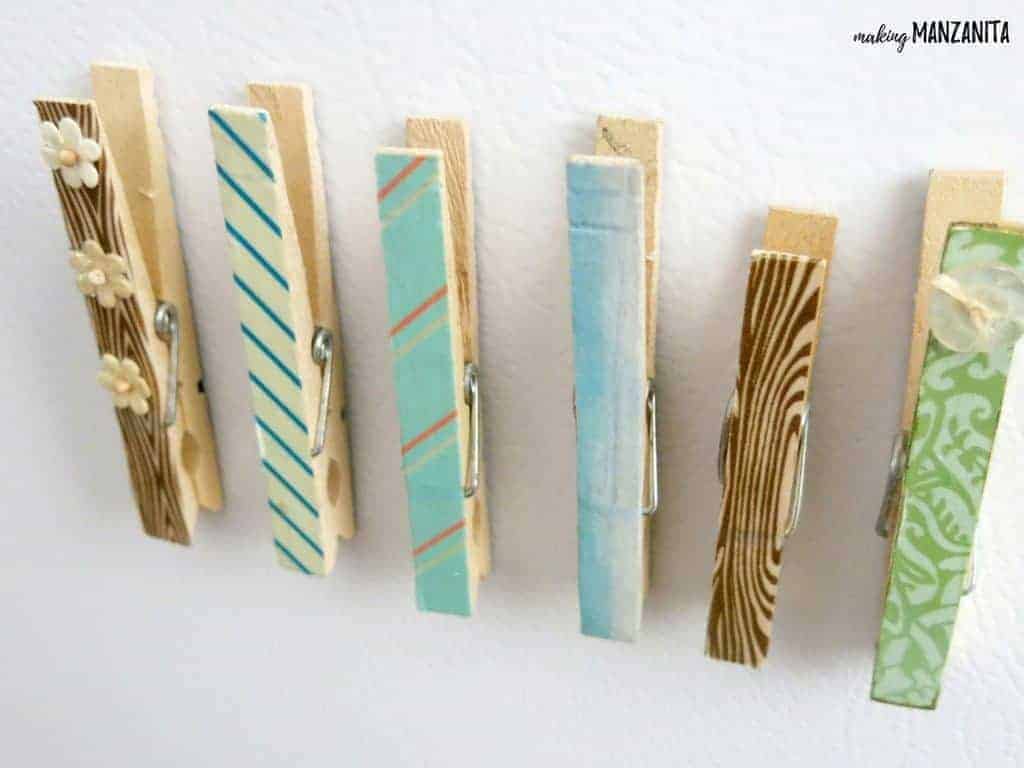
As another alternative to washi tape, you can also use:
- Scrapbook paper attached with Mod Podge
- Patterned napkins attached with Mod Podge
- Ribbon attached to the clothespin with glue
- Chalkboard paint
- Wood stain – probably best to soak the whole clothespin
- Spray paint – here are my favorite spray painting tips
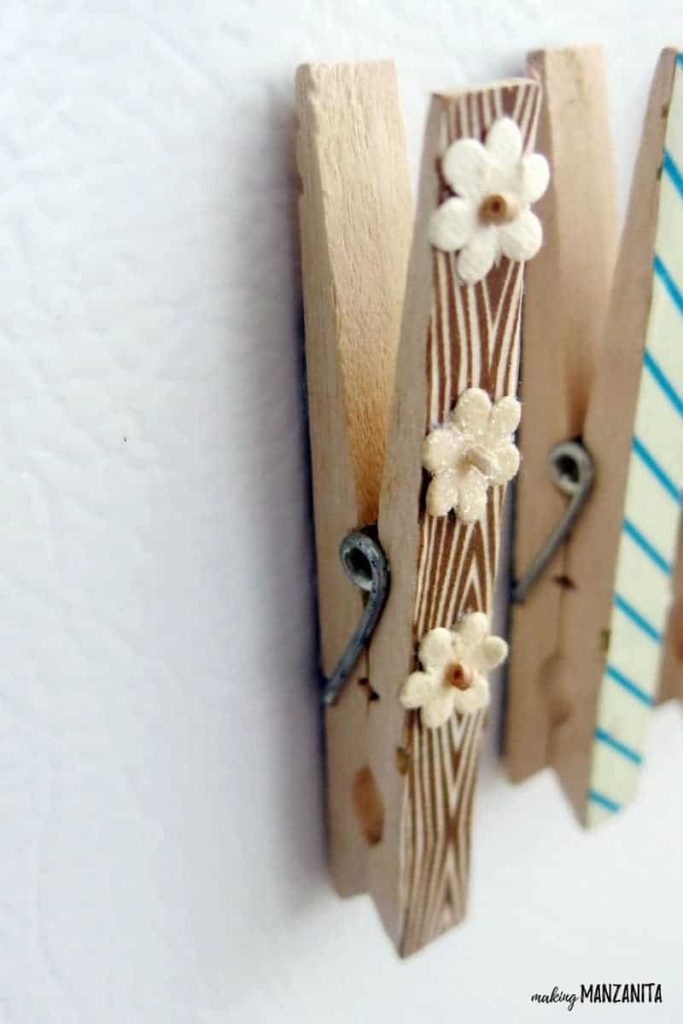
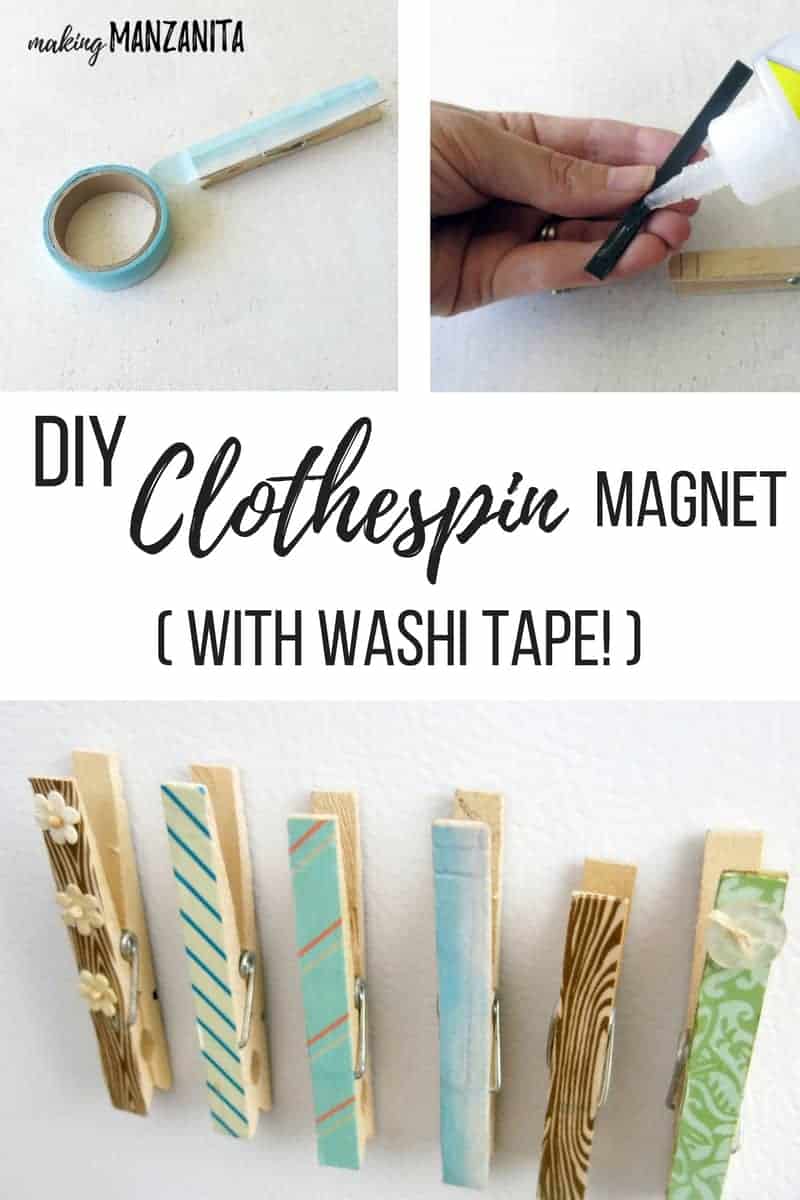
Creating clothespin magnets with washi tape is a simple craft that can be done in a matter of minutes. It’s really that simple..lay on washi tape and glue the magnet tape on the back.
You’ll be able to display your notes and photos on your fridge in a style that is yours. You can customize these DIY fridge magnets any way you’d like.
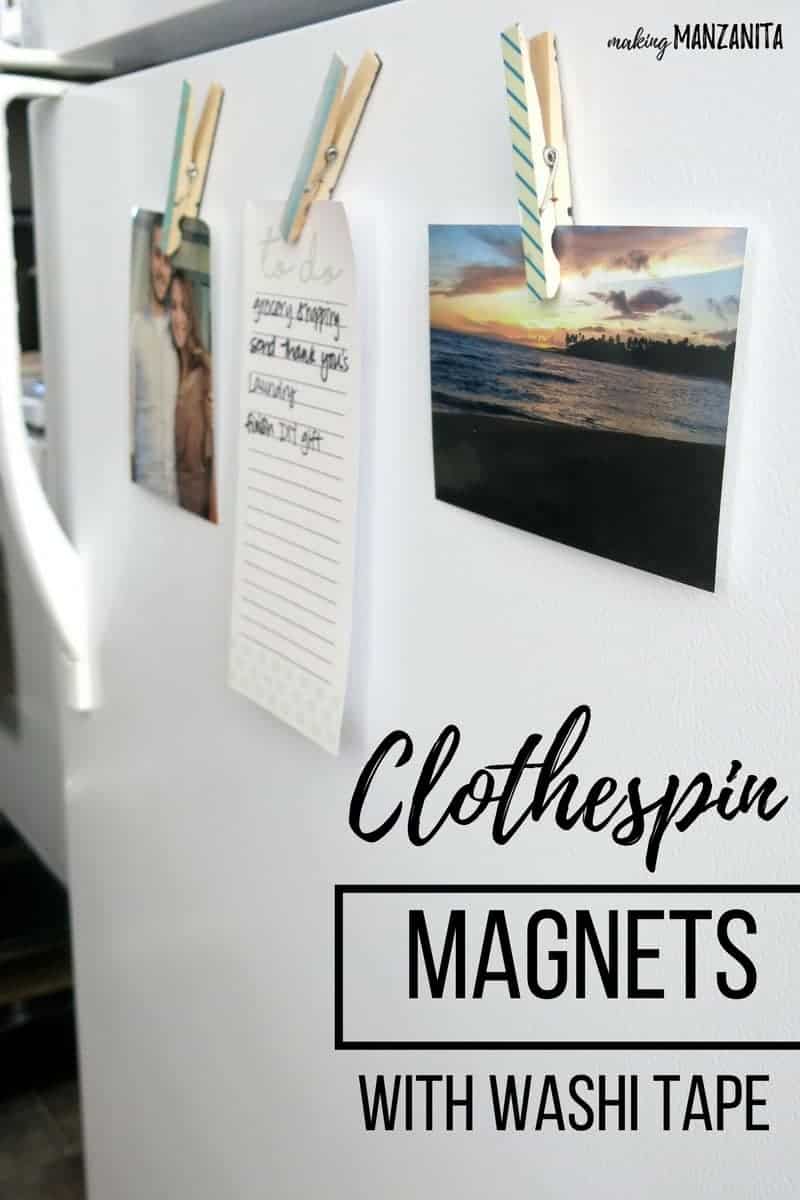
Do you have a few minutes to spare? Creating these clothespin magnets with washi tape only takes a few minutes! Grab a cup of coffee and your supplies and let’s craft!
How to Make Clothespin Magnets
This DIY will only take a couple minutes! Make these clothespin magnets with washi tape to display notes and photos on your fridge.
Materials
- Clothespin
- Washi tape
- Adhesive magnet tape strips
- 3-in-1 glue
Tools
Instructions
- Cover front of clothespin with washi tape.
- Cut & attach magnet tape to back of clothespin.
- Display notes and pictures on your fridge with cute clothespin magnets with washi tape.


I need to make some of these for the side of my filing cabinet. I got it for $10 at a yard sale & there were 2 long magnet strips stuck on the side! I’ve also added flat pushpins to clothespins to use in a cork board. Love the idea of using washi tape {I painted mine!} – less mess!
This is such a cute and handy idea. It makes a plain clothespin look so stylish. What a good idea.
These are so cute, and what I love it that they are simple and practical too. As many variations as there are Washi tapes. Pinned
Such pretty little things! I especially like the extra embellishments. Pinned 🙂
Thanks. I think my favorite thing to add to these is buttons.
I love this – I made a couple of these last summer with my goddaughter and her sister. They didn’t look as neat (little toddler hands lol) but they got creative and stuck washi tape bits all over the clothespin.
This would be so fun to make with kiddos! 🙂
Great idea, and I actually have everything I need to make my own. Thanks for sharing your tutorial. I think my daughter would totally use these in her dorm too. Pinning 🙂
You are right, these would be perfect in a dorm room!
I’m always on board with the quick projects, and especially ones that are also useful! Great idea for a destash craft!
I love making magnets and the clothes pin ones are my favorite. Washi tape comes in so many different patterns and colors and I have a ton of it already. The colors you chose are so pretty and they look better on the fridge than purchased magnets. Nice job.
Thanks so much friend!