Marble Contact Paper Clock
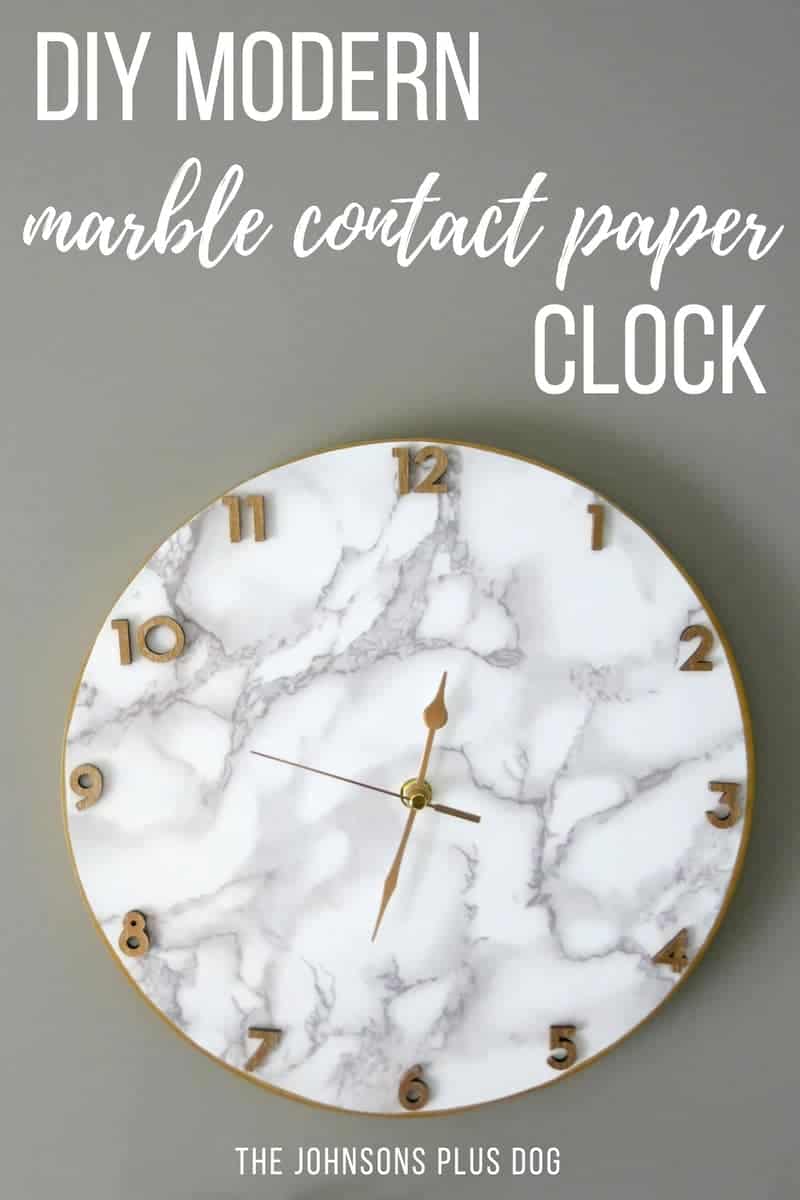
You can create your own marble contact paper clock! There are a number of different DIY clocks you can make with all of the different options of contact paper. You can make a clock that matches your room's decor style.
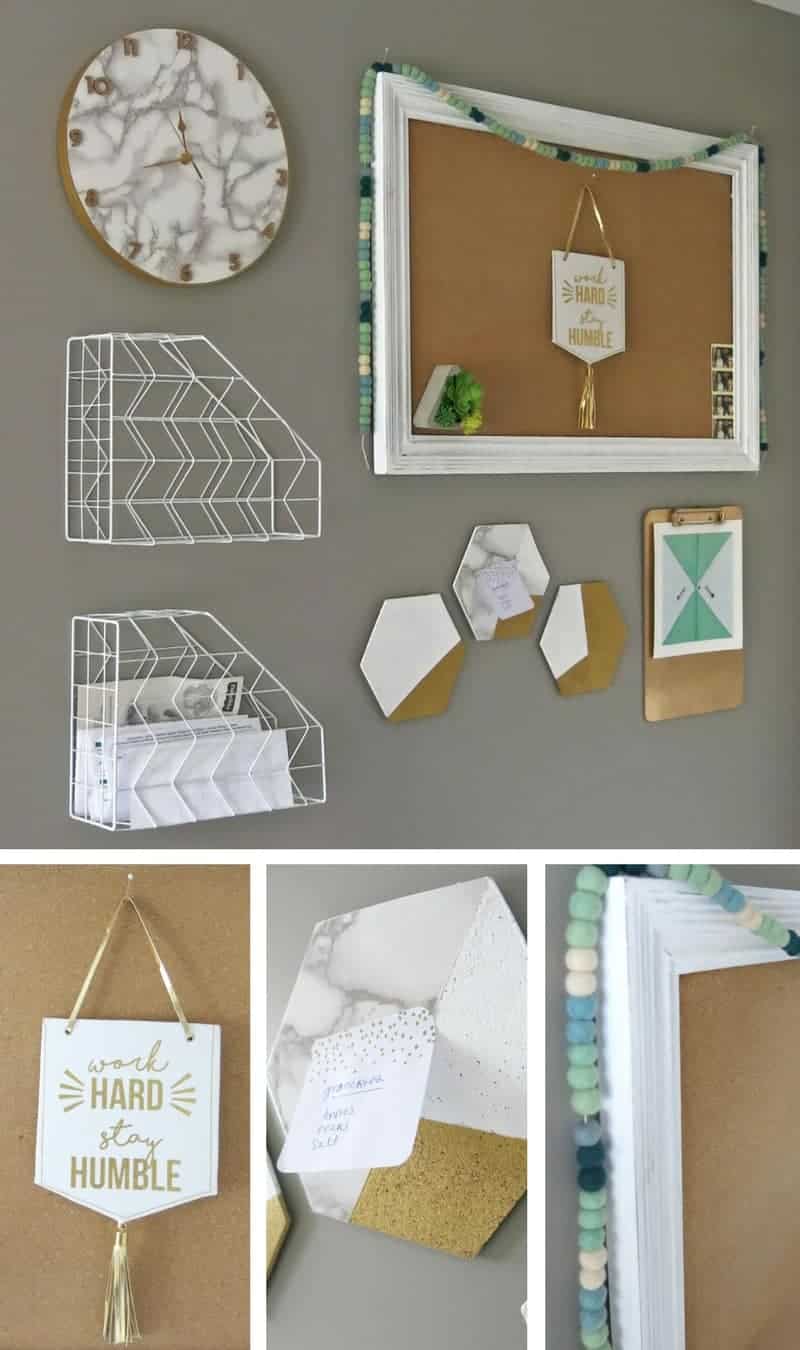
Did you guys see my marble and gold office room reveal last week? I had so much fun putting the room together. Check out the full room reveal here. It’s the perfect mix of glam, gold and girly!
One of my favorite DIYs in the room was the marble contact paper clock. This clock can really be customized for ANY style.
There are so many fun designs of contact paper out there, so if you’re not obsessed with marble like I am – take your pick!
This marble contact paper clock tutorial contains affiliate links, but nothing that I wouldn’t wholeheartedly recommend anyway! Read my full disclosure here.
This marble clock from Target inspired me on this project. I almost purchased this one, but I didn’t like the gold rim around the outside and I wanted the clock to have numbers (am I seriously the only one that has a really hard time telling the time when the clock doesn’t have numbers?!).
Supplies for marble contact paper clock
- Marble contact paper
- Wood round – I used a wood round from a thrift store that only cost me 50 cents, but this wood clock surface would work even better than what I had
- Clock movement kit
- Gold acrylic paint & paintbrush
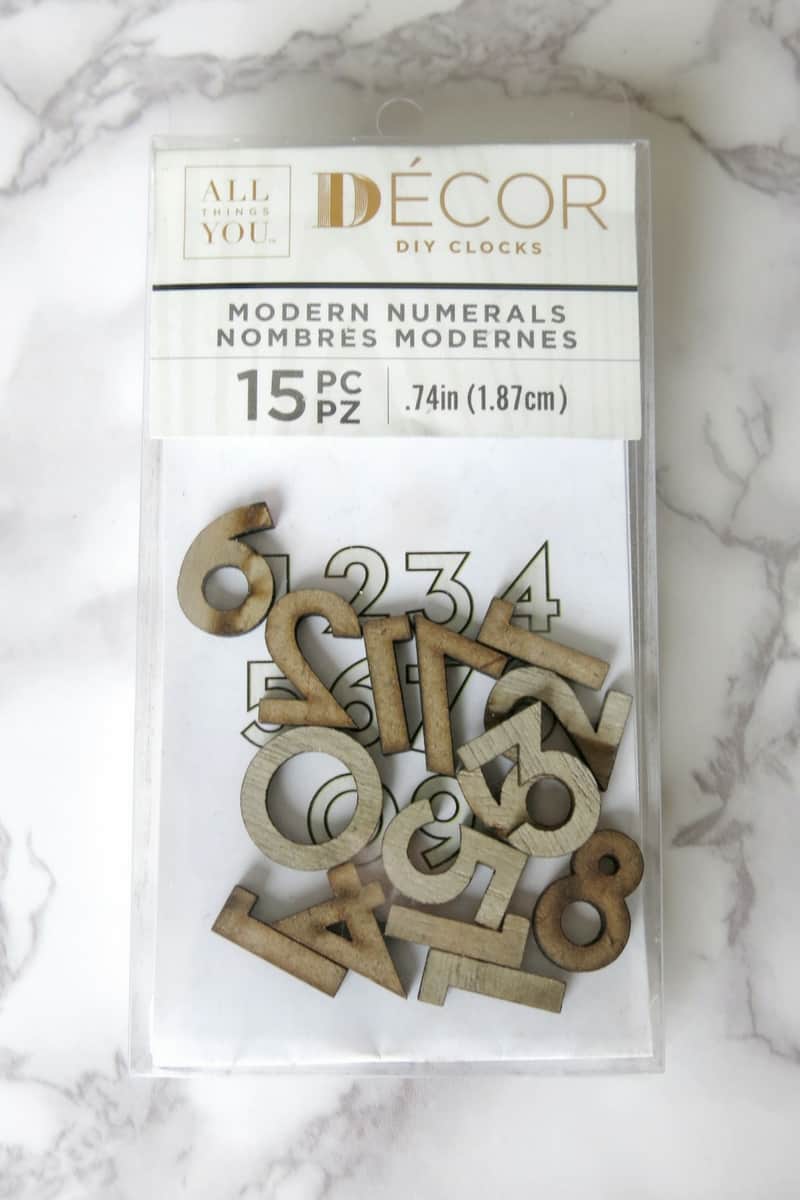
- Clock numbers, similar
- Gold spray paint
- 3-in-1 glue
- String
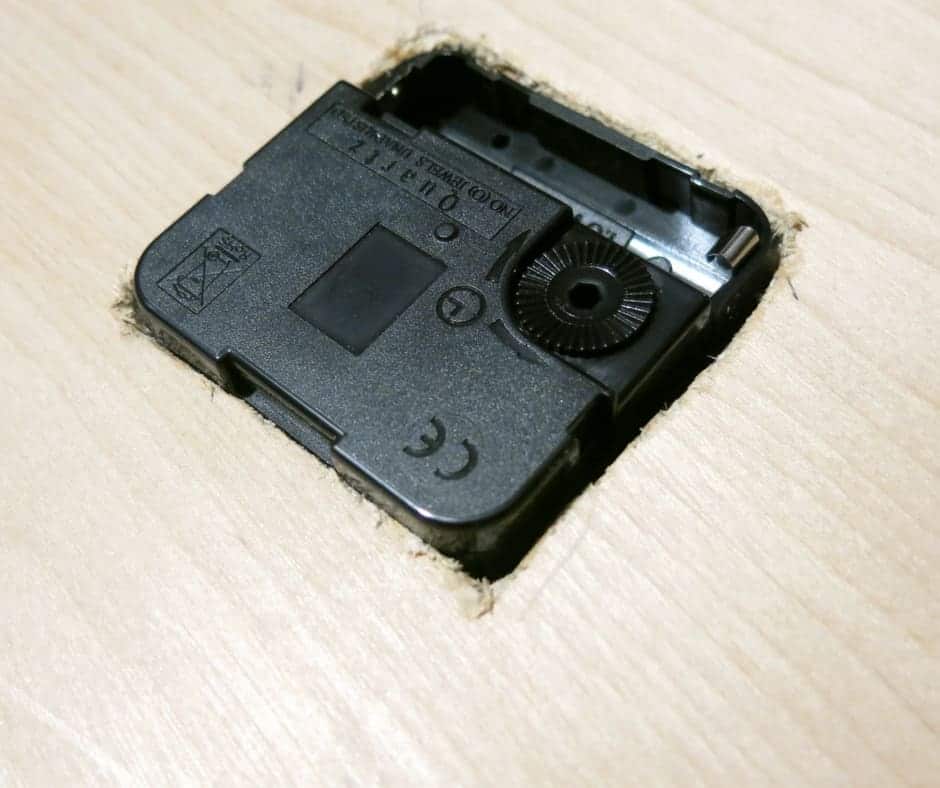
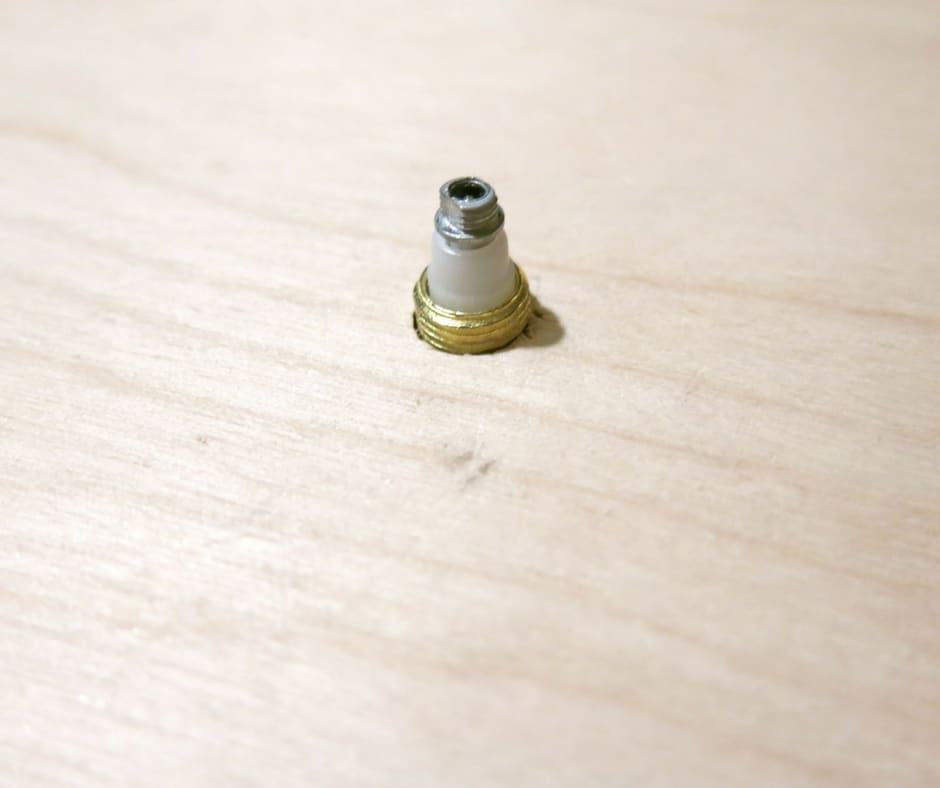

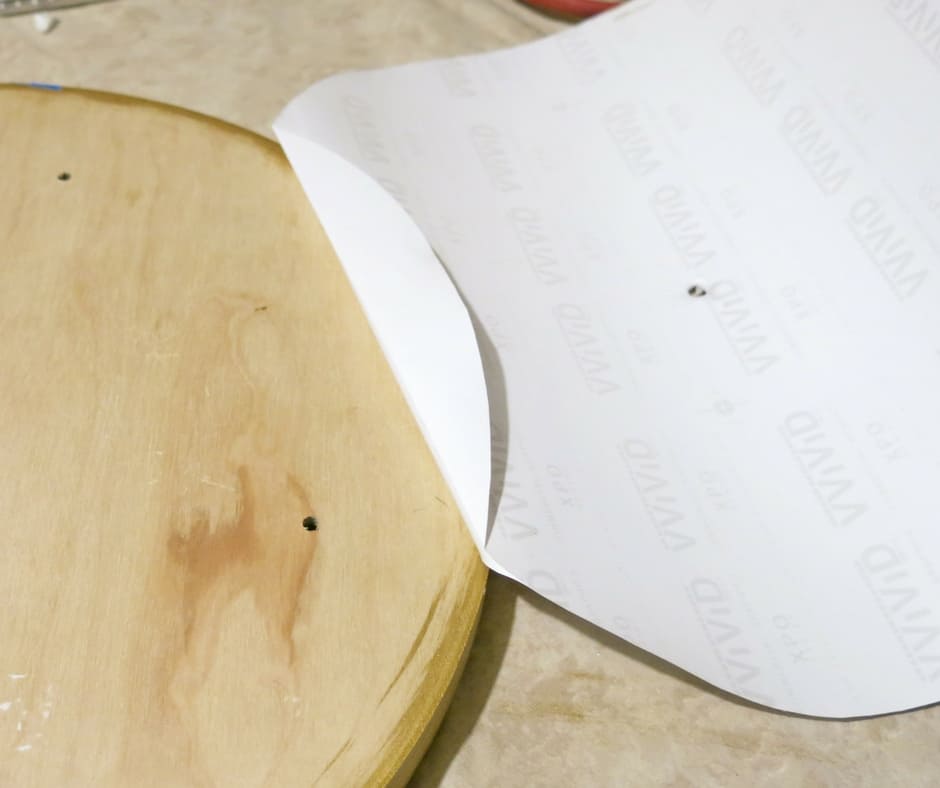
Step 1. Put clock movement kit in wood round.
Now like I mentioned above, I grabbed my wood round at the thrift store and thought I could use it for this marble contact paper clock. I didn’t worry about measuring the depth or anything because I knew Logan would figure out how to make it work, haha.
He ended up chiseling out the back of the round so the movement fit would fit – he’s awesome, isn’t he? If you don’t want to go to all this trouble – just be sure that the depth of the wood you get matches the depth of the clock kit 🙂
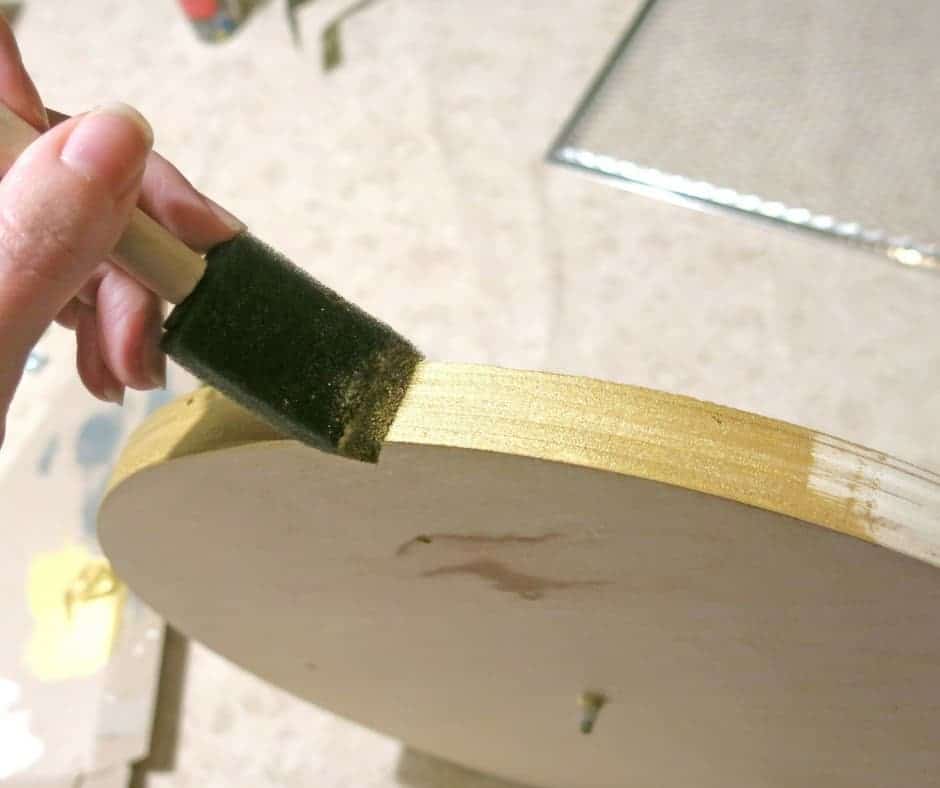
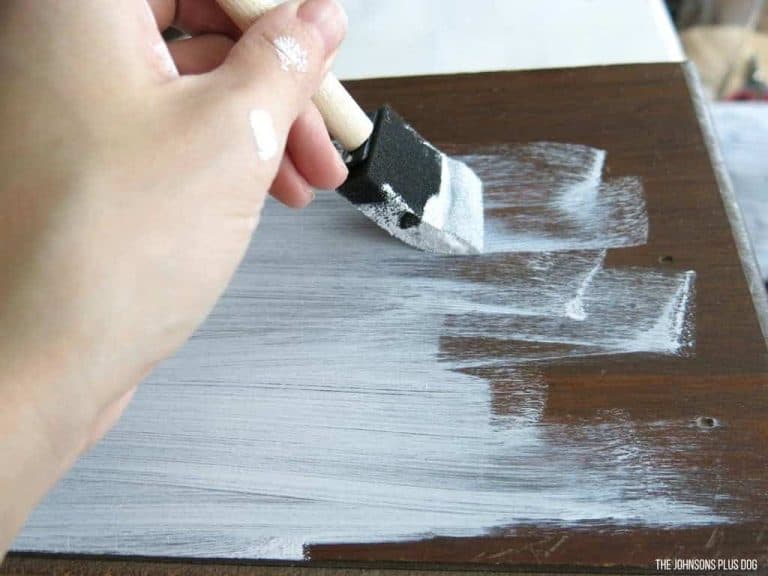
Step 2. Paint the edge of wood round.
I used a foam paintbrush and put on one coat of gold acrylic paint.
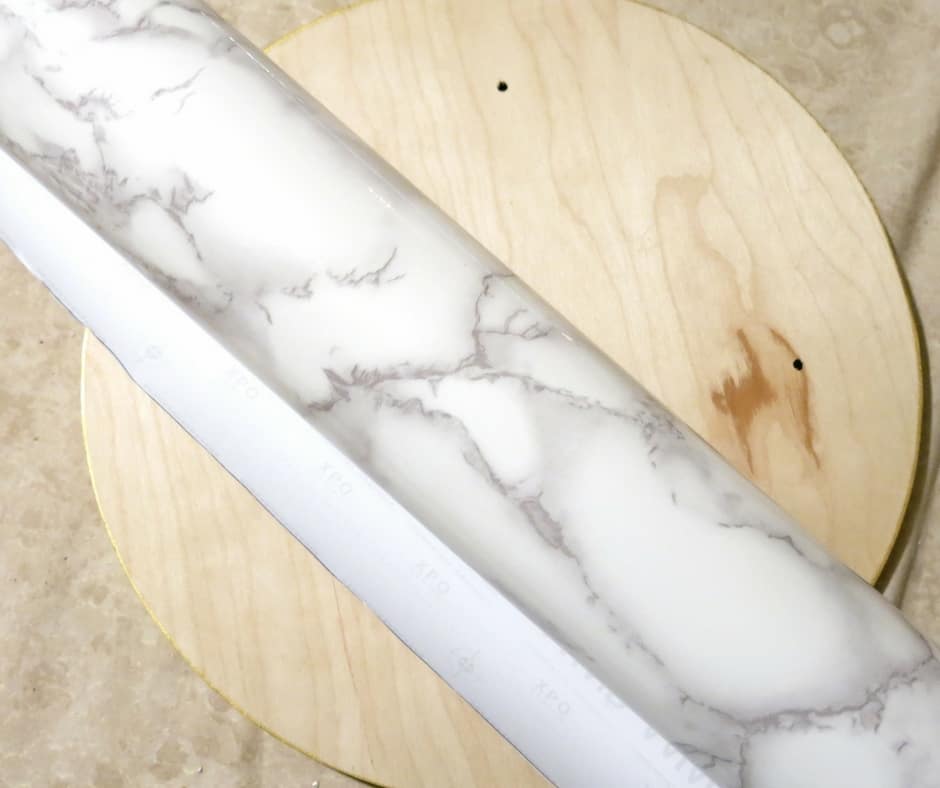
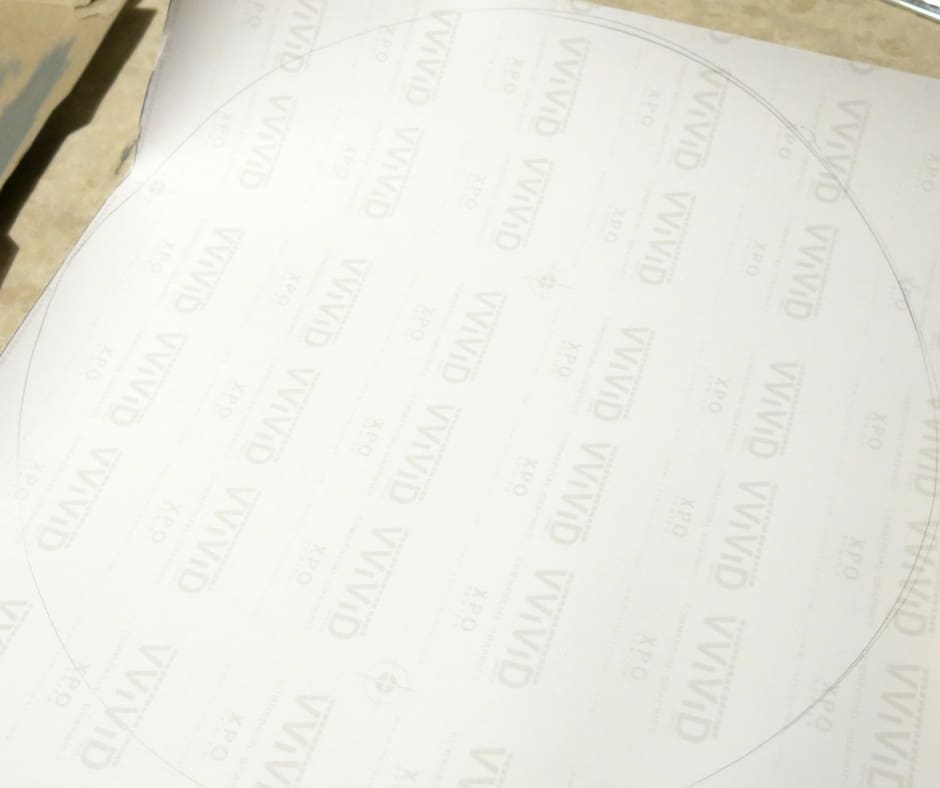
Step 3. Trace wood round on the backing of marble contact paper and cut.
You also want to cut the hole for the clock hands. I did this by making a very small ‘X” with the Xacto knife over the middle prong and then cleaned it up with the Xacto knife more.
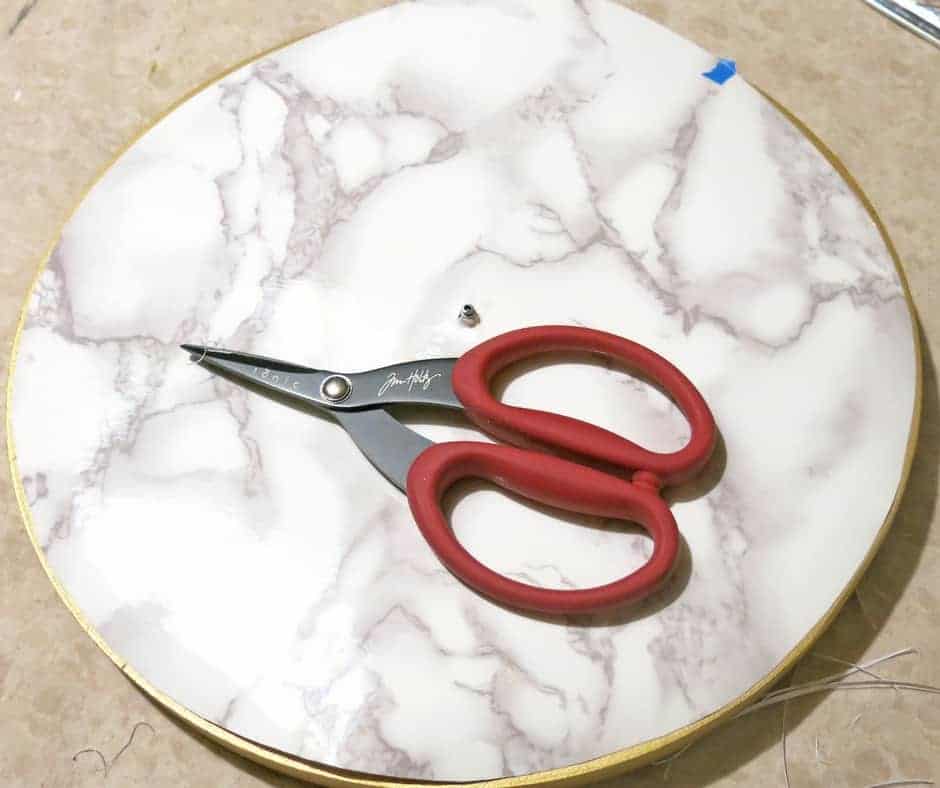
Step 4. Attach marble contact paper to wood round.
Start from one edge and slowly remove the backing while rubbing the contact paper. You can rub out any bubbles as you go.
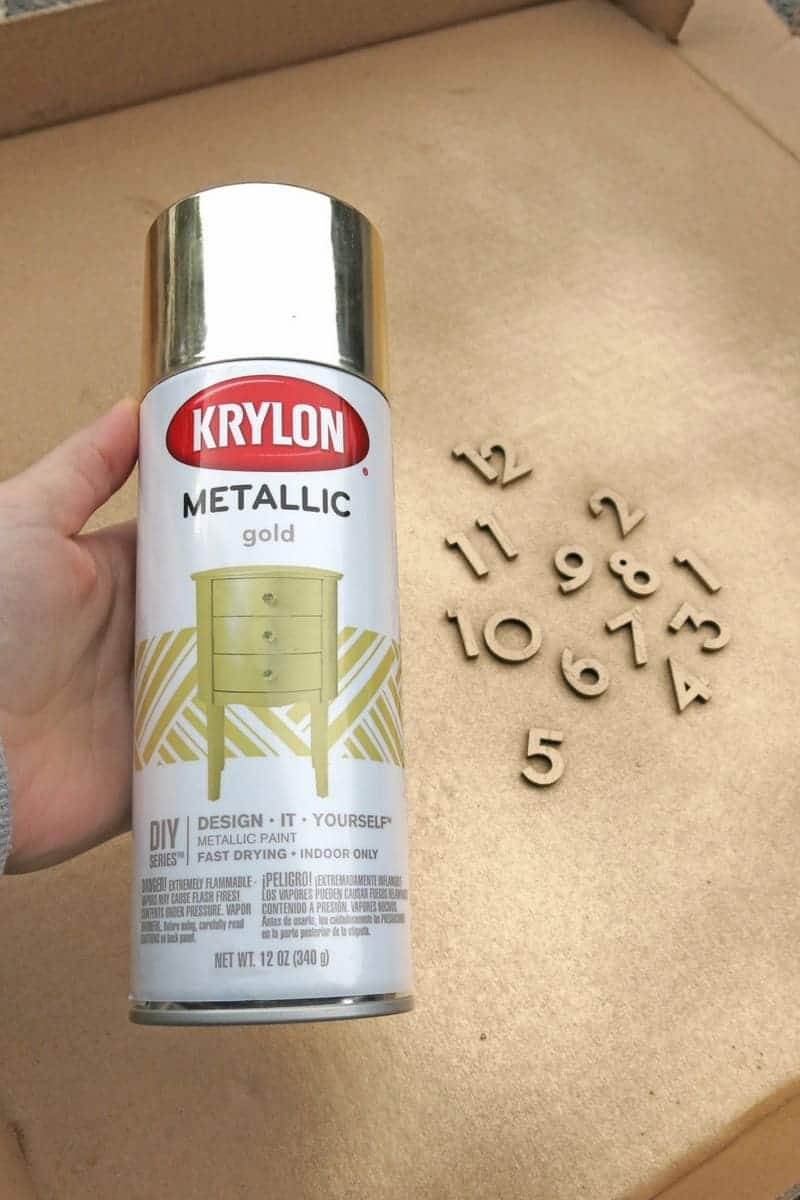
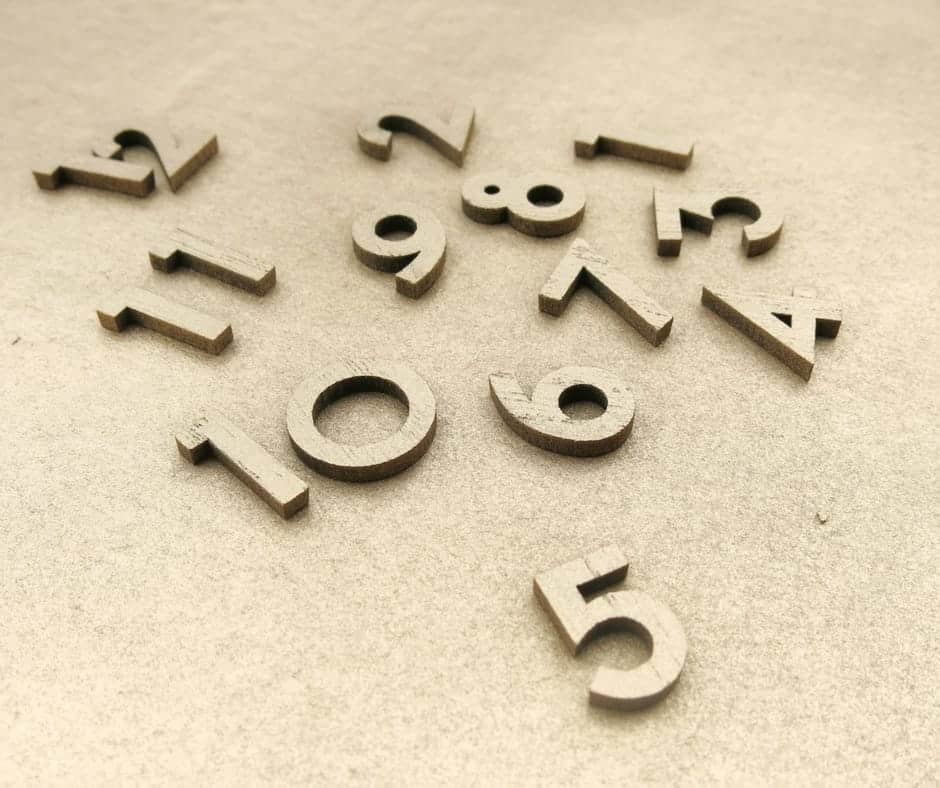
Step 5. Spray paint wood numbers.
I love these modern numbers that I picked up at the craft store. I did about three coats of spray paint.
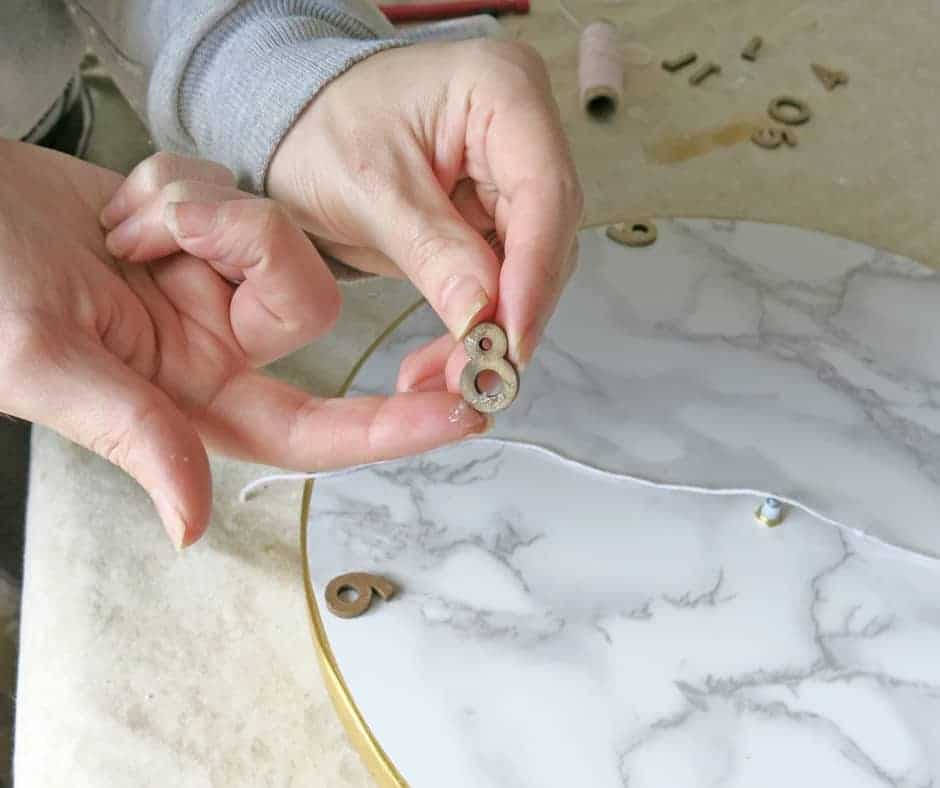
Step 6. Glue on the numbers.
I used my handy 3-in-1 glue for this. The key here was using just a LITTLE bit of glue. As much as I love the 3-in-1 glue, it’s frustrating because it can tend to bubble up and you can sometimes get too much glue on your project.
I avoided this by putting a little dot of glue on my finger and then putting a little bit of glue on the back of the wood numbers.
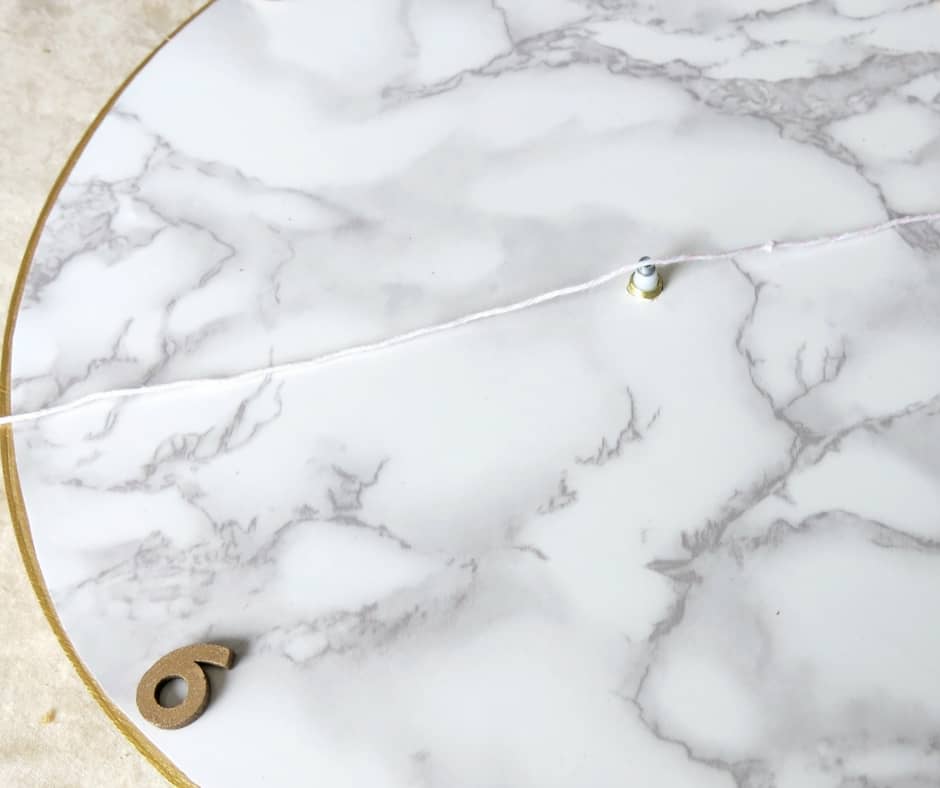
I used a string to line up the numbers. You can really use anything straight – I found the string was able to bend over the middle prong.
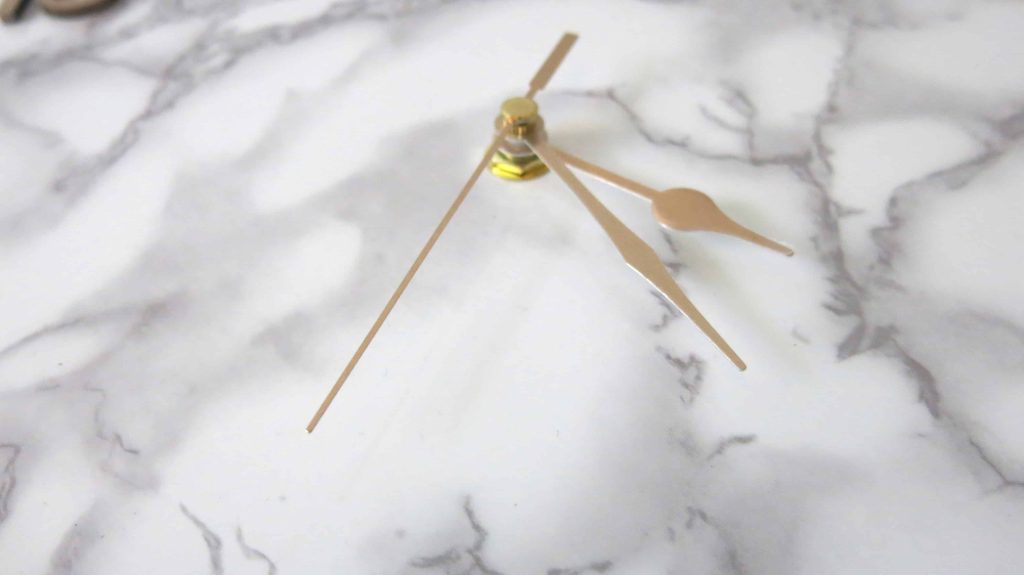
Step 7. Attach clock hands.
Just follow the directions on the package for this. It’s important that you put the clock hands on and all the parts in the right order.
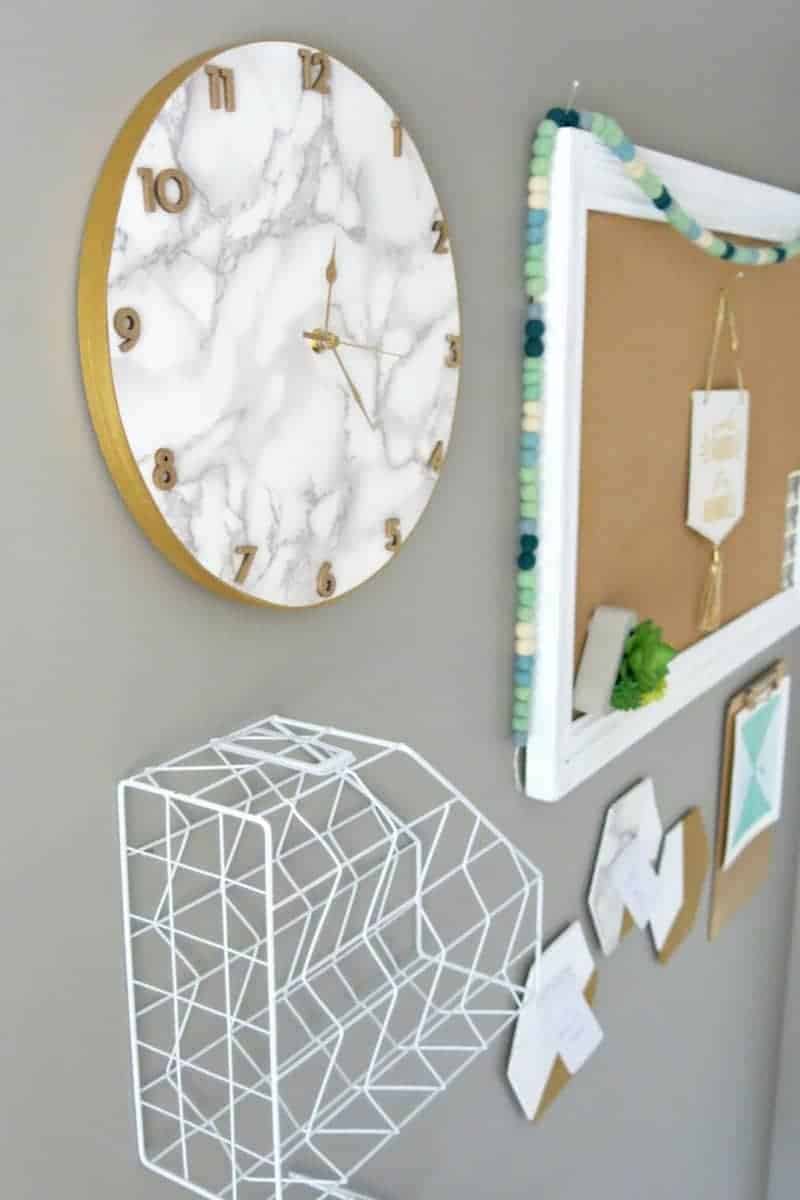
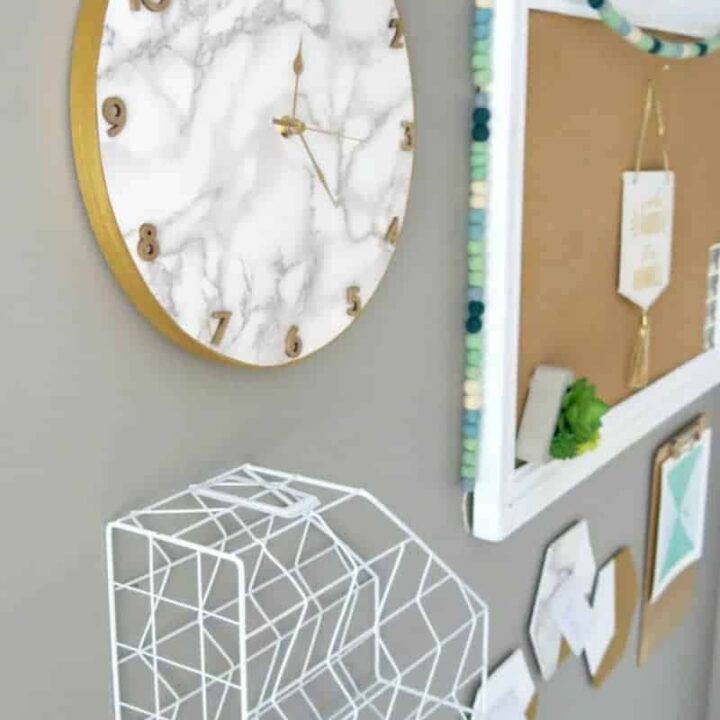
Step 8. Hang the marble contact paper clock on the wall.
We have almost 90% of the things in our house hung with command velcro strips. So I, of course, used one of these to hang the clock up on my marble and gold gallery wall.
I just how it turned out! I could have just purchased the inspiration clock from Target, but my motto is definitely “why buy when you can DIY?” The time that I set aside to work on DIYs is totally me-time and I love that I can get my creative energy out and work with my hands.
I love my version of the marble clock and I love being able to look at it and say “I made that”. Is there anything in your house that you love saying that about too?
Want to see more of our marble & gold home office??
- Marble and Gold Office Decor Inspiration
- Marble and Gold Office Room Reveal
- Painted Marble Decor for Modern Glam Office
- Marble Contact Paper Clock (you are here!)
- Easy DIY Hexagon Cork Memo Boards
How to Make Marble Contact Paper Clock
You can create your your own marble contact paper clock! There are number of different DIY clocks you can make with all of the different options of contact paper. You can make a clock that matches your room’s decor style.
Materials
- Marble contact paper
- Wood round
- Clock movement kit
- Gold acrylic paint
- Clock numbers
- Gold spray paint
- 3-in-1 glue
- String
Tools
- paint brush
Instructions
- Put clock movement kit in wood round.
- Paint edge of wood round.
- Trace wood round on backing of marble contact paper and cut.
- Attach marble contact paper to wood round.
- Spray paint wood numbers.
- Glue on the numbers.
- Attach clock hands.
- Hang marble contact paper clock on the wall.


Muy interesante el reloj y se puede hacer al gusto según el ambiente donde vaya a quedar