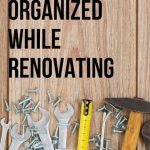
How To Stay Organized While Renovating (+ Free Project Planning Worksheet)
After living through 3 years of continuous renovating in two different homes, it’s safe to say we’ve had to learn a thing or two about staying sane while living in a renovation zone.
Things have definitely been worse….as I think back to memories of sleeping with the mattress on the floor in the living room for about 5 months.
But things have also been better…remembering when everything was unpacked at the old house and decor was actually up on the walls.
This post contains affiliate links, but nothing that I wouldn’t wholeheartedly recommend anyway! Read my full disclosure here.
Right now we’re in a bit of what you could call the messy middle. We have some projects done and prettified…like Quinn’s nursery.
Other projects, like our One Room Challenge bathroom build, are in progress….and boy, is it messy. There are tons of other projects that are years away from completing.
Today I’m sharing a few things that we’ve learned along the way on how to stay organized while renovating. The best part is that I’m also giving you a free project planning worksheet too!
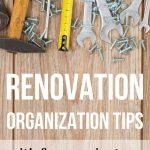
6 Tips to Staying Organized During Home Renovation Projects
1. Keep your workspace as clean as possible during your renovation.
When you’re renovating (especially if you’re on a tight timeline), it can be incredibly frustrating to stop working and take time to clean up your workspace.
But…here’s the thing…I can tell you that based on experience – if you don’t keep your workspace clean, it will be even more frustrating. You’ll be tripping over things. You’ll be making mistakes. You’ll be taking way too much time looking for what you need.
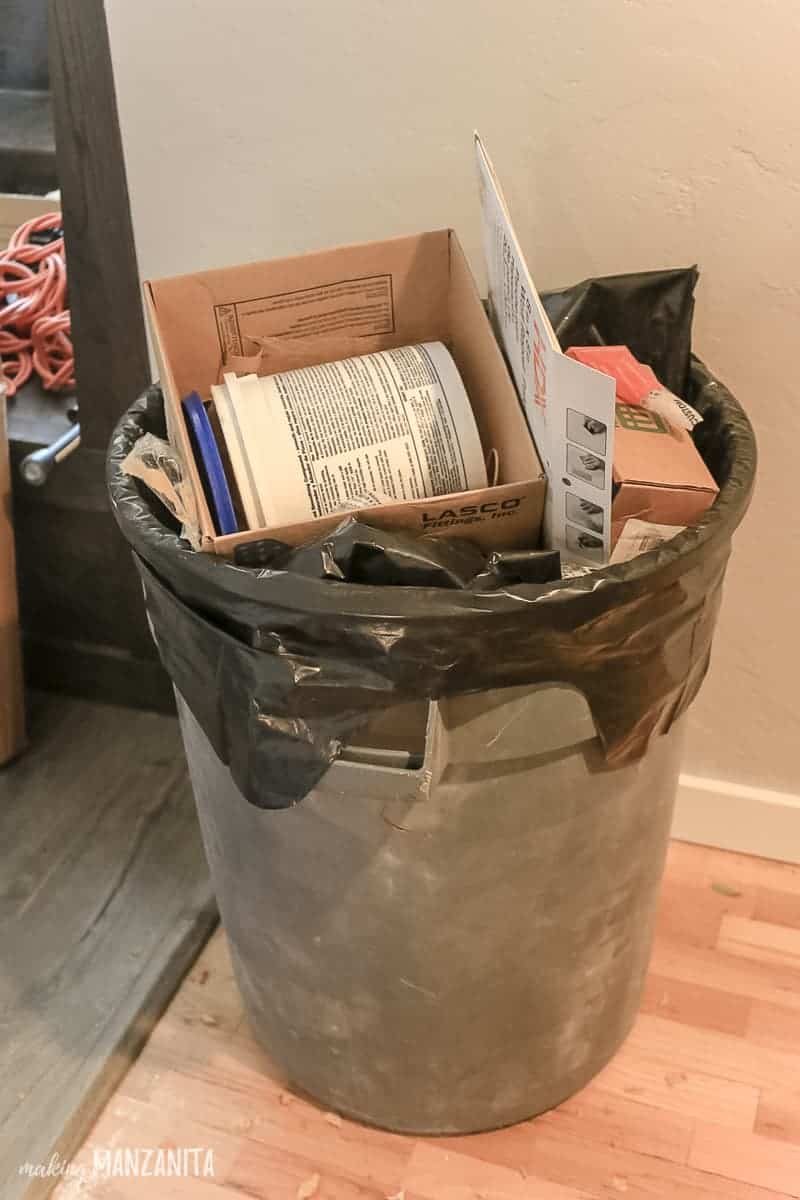
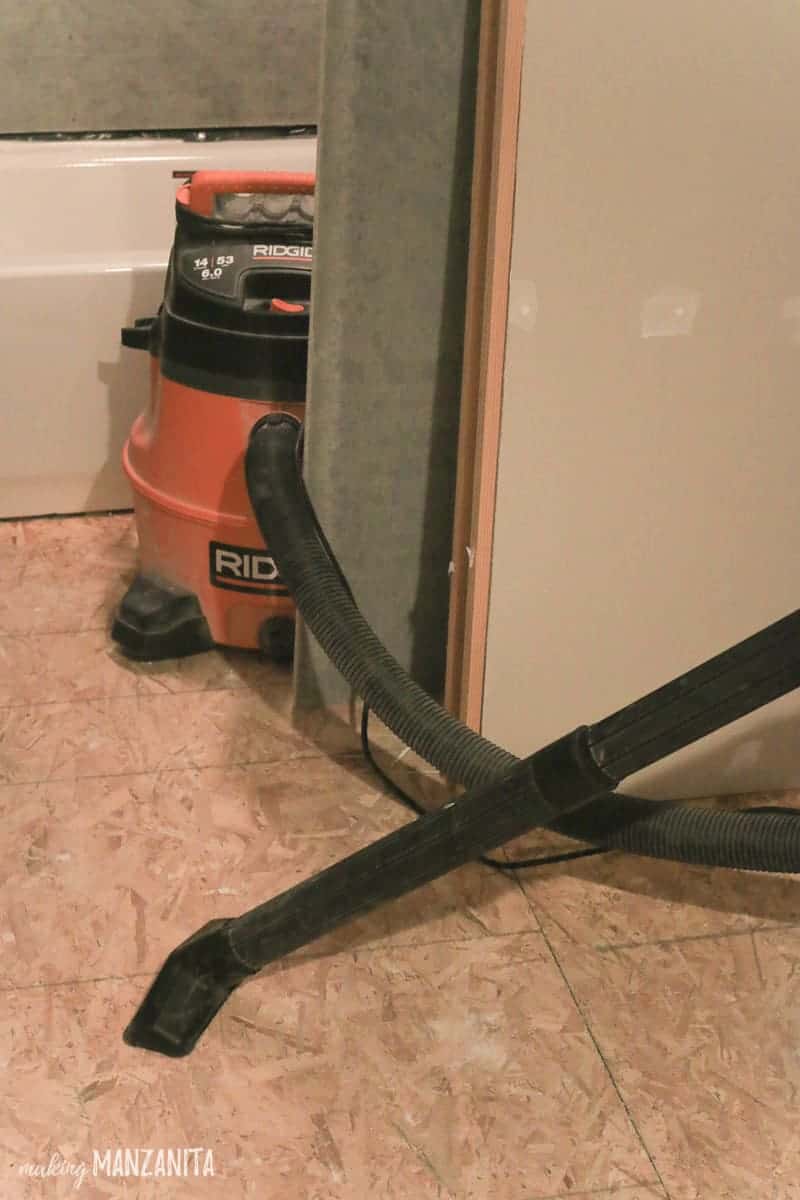
- Keep your shop-vac handy and clean frequently.
- We keep a large trashcan nearby to throw all trash in directly rather than leaving it around the room.
- Clean up before you start a new project and after you finish.
- Keep the door closed to help prevent dust from getting all over the house.
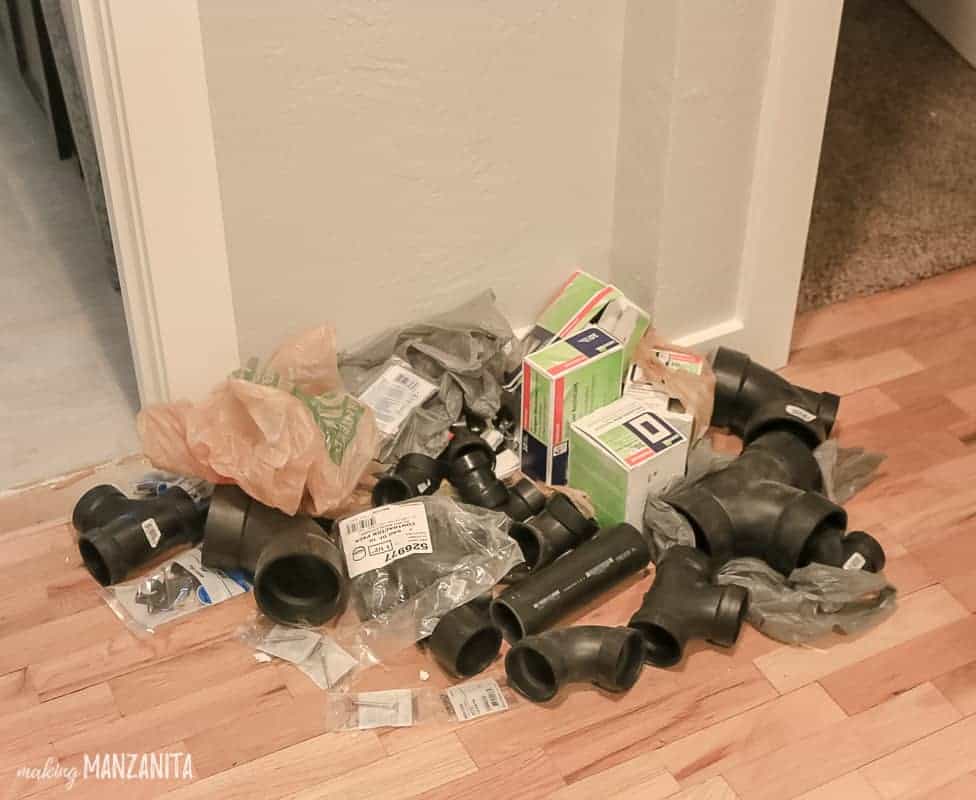
2. Create “zones” for the mess and debris.
Even if you are diligent in keeping your workspace clean while renovating, there will be messes.
There are always piles of supplies and tools that need to be handy when you’re working on projects. The best trick we’ve learned is to create “zones” for the mess.
- Keep like-minded things in cohesive piles (or even boxes if you’re more organized than we are).
- You’ll see in the photo above that we’ve got a corner of our hallway right now that is reserved for plumbing parts.
3. Overcommunicate with your DIY partner.
One survey by Houzz found that 12% of couples consider divorce while going through a home renovation. The stress of a renovation can definitely put strain on a marriage.
Every relationship is different, but with Logan and I – we have to communicate, communicate and communicate even more when we’re stressed and renovating.
- Each of us have different roles, so it’s important to keep each other informed and up to speed of each other’s tasks.
- Speak up if you’re getting overly stressed or frustrated (in a nice way…)…preferably before you start snapping at each other.
- Remember that you’re in this together…you aren’t enemies.
- Work regular date nights into your renovation schedule.
4. Expect hurdles during the renovation project.
One of the more frustrating things you run into while renovating is all of the unexpected hurdles. Even if you have a foolproof plan for your renovation, there will be things that pop up unexpectedly.
So far in this bathroom, countless things have popped up… we uncovered that we had galvanized steel water pipes when we were planning on having copper, the subfloor under the tub was not level, the wall where the tile is going behind the vanity is completely not square…I could go on and on.
- You can’t plan for everything that you’ll run into while renovating.
- It’s important to stay flexible and not get too disappointed when expected hurdles do pop up.

5. Utilize online project management tools.
One of the most important ways to stay organized while renovating is utilizing some sort of project management tool….namely, a calendar.
Now, don’t get me wrong. There’s something great about putting your pen to paper and writing down a list (which is why I created this free project planning worksheet), but when it comes to calendars – I’m all about keeping things online.
Perhaps the best thing about online project management tools is flexibility. As I mentioned in the previous tip, you can always count on unexpected things to come up while renovating.
As things change, you can just drag and drop the tasks to different days and change your timeline.
- Trello – For this bathroom renovation, we’re using Trello as a shared calendar between the two of us. Not long I was using Trello to organize tasks for just about every facet of my life, but I recently found a new system that I love even more.
- AirTable – While I do love me some Trello, I recently discovered AirTable…which is much powerful and diverse. It’s kind of like a mix between Trello and Google Sheets. It was exactly what I needed for my blog and I’m loving it.
6. Have a good project plan for the renovation project.
Of course, if you’re looking for how to stay organized while renovating…it all starts with the plan, right? Now if you’re anything like me, your head may be spinning just thinking about trying to manage a big renovation project. Even the little DIYs can be overwhelming at times.
The thing that we’ve found out after years of renovating homes, countless DIY projects, and a few tight turnarounds thrown in there – it’s all about the renovation plan.
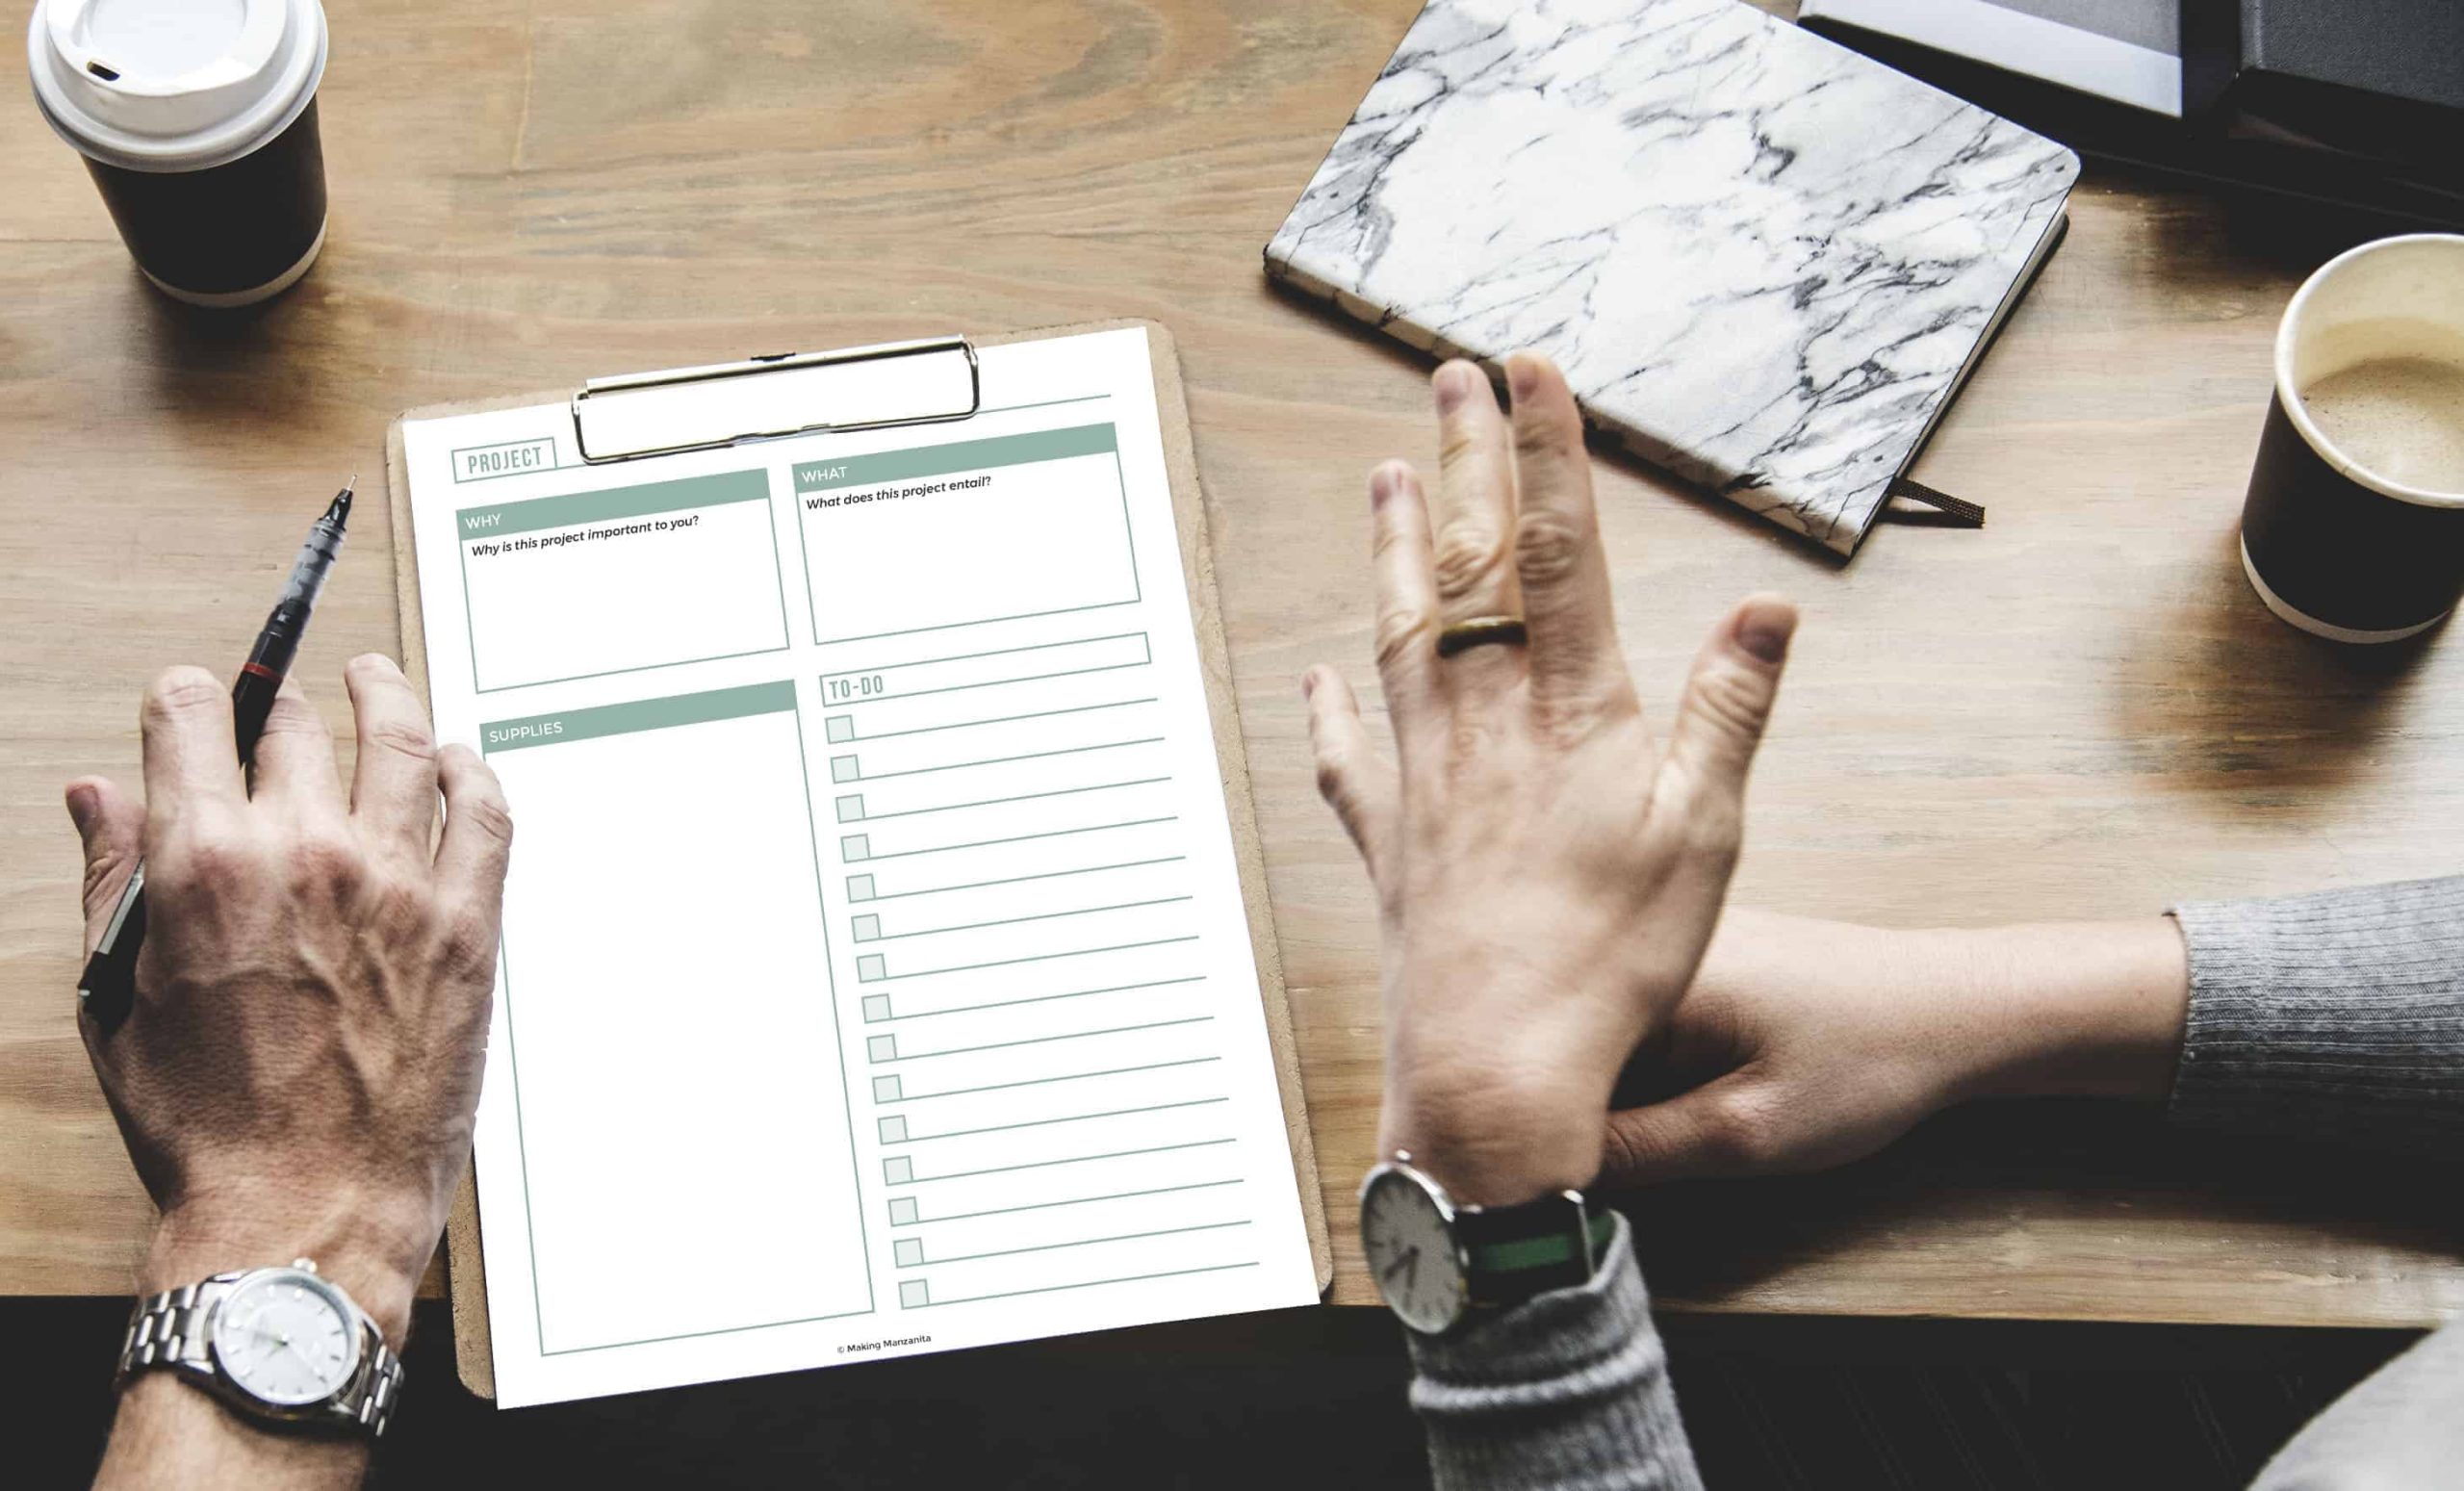
I wanted to create something to help you get started with your plan. You can grab your free project planning worksheet below.
Are you looking for the free project planning worksheet?!
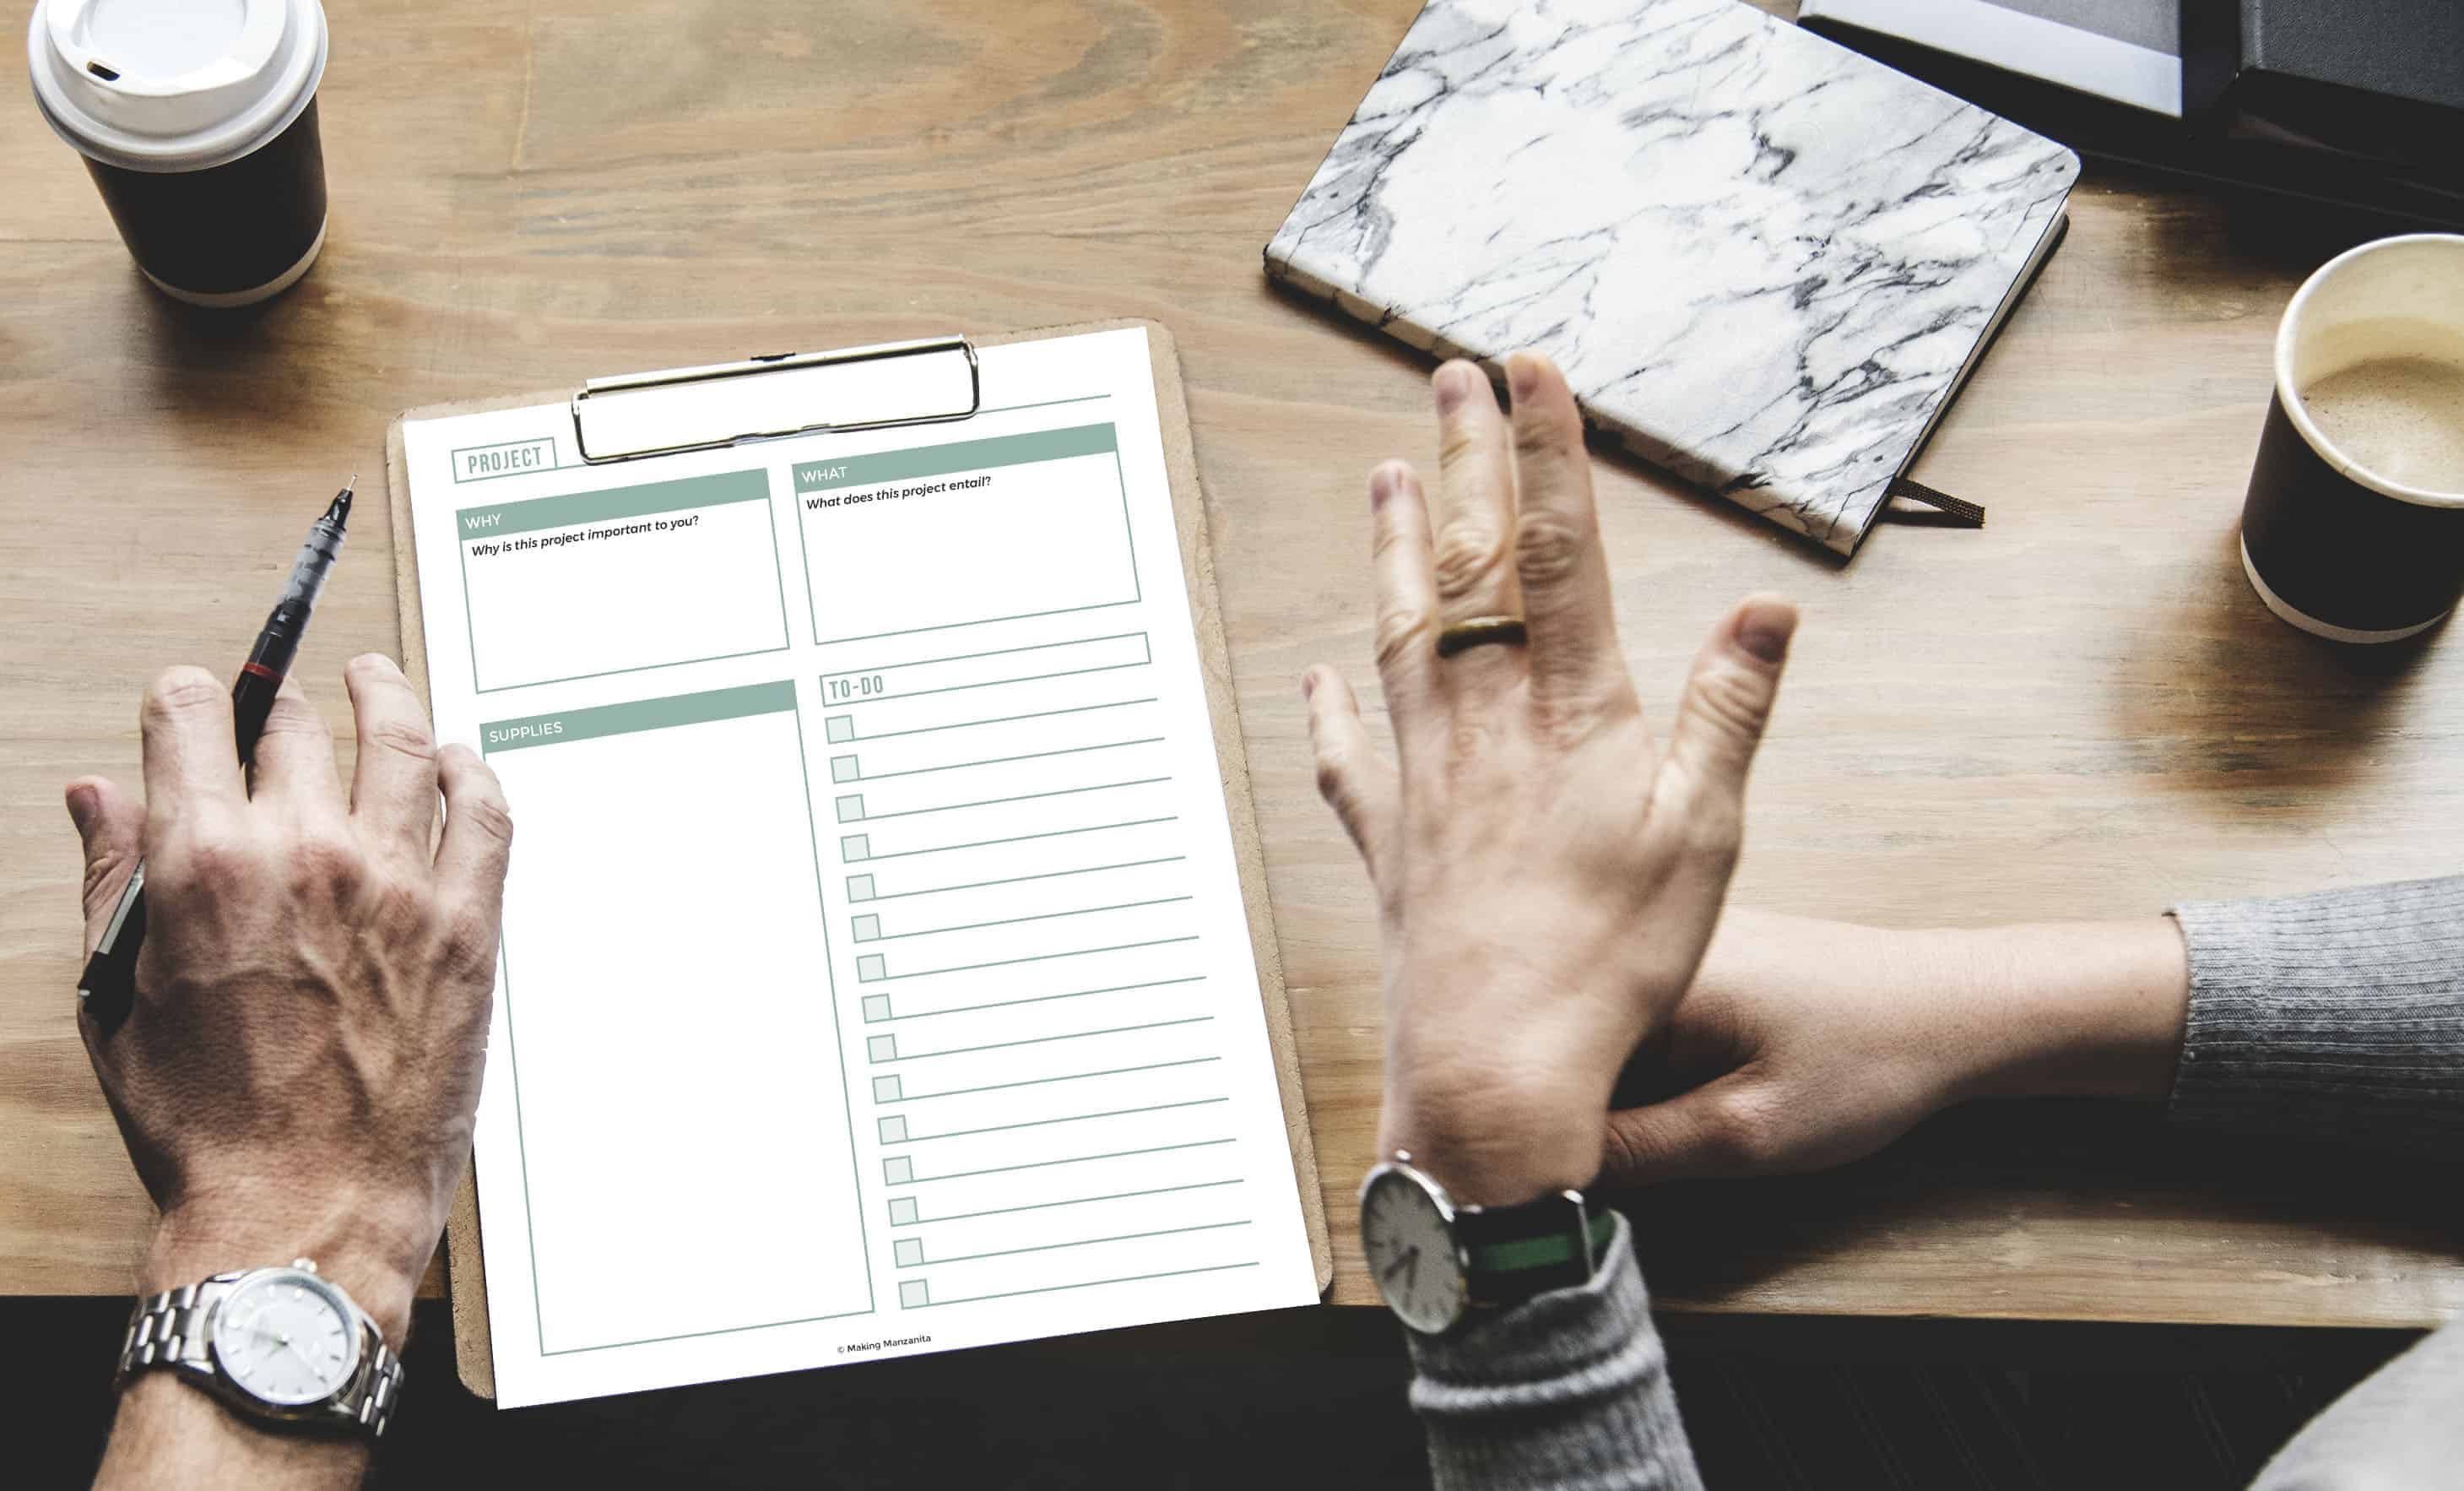
This project planning worksheet sums everything up on one sheet of paper.
The why (ya know, why you are putting yourself through this)…it’s so important to remember WHY you are doing a project. This is front and center in case you forget.
And then there’s a place to list all your supplies. Even if you think you have everything you need, getting it all written out can be helpful before you get started.
It helps prevent those back and forth trips to the home improvement store – I know you’ve been there too….all you want to do is just work on the dang project, but you’re spending all of your time driving around town.
Lastly, there’s a spot for your to-do’s and boxes for you to check off (because we all know there’s nothing better than checking a box!)…
It is so important to think through all of the steps of the project before you get started. You can brainstorm the most logical order of steps and even set yourself a couple of deadlines.
Ready to see our week 3 update on our modern farmhouse bathroom renovation?
First of all, let me remind you that we’re sharing the renovation as part of the One Room Challenge, which is a bi-annual event where hundreds of bloggers join together to renovate one room in their home and share about it over 6 weeks. Be sure to check out all of the rooms getting renovated here.

If you’re just joining us, be sure to go catch up on all of our One Room Challenge posts:
- One Room Challenge Week 1: Bathroom Renovation Pictures (Before)
- One Room Challenge Week 2: Modern Farmhouse Bathroom Mood Board
- One Room Challenge Week 3: (you are here!)
- One Room Challenge Week 4: Farmhouse Tile Ideas (+ How To Tile A Floor)
- One Room Challenge Week 5: Shower Tile Installation Tips & Tricks
- One Room Challenge Week 6: THE BIG REVEAL!!! << see how the bathroom turned out!
Since our week 2 update, we discovered that the floor under our bathtub wasn’t level, so we literally had to jack it up and level it out before installing the bathtub drain.
We finished up the rough-in plumbing throughout.
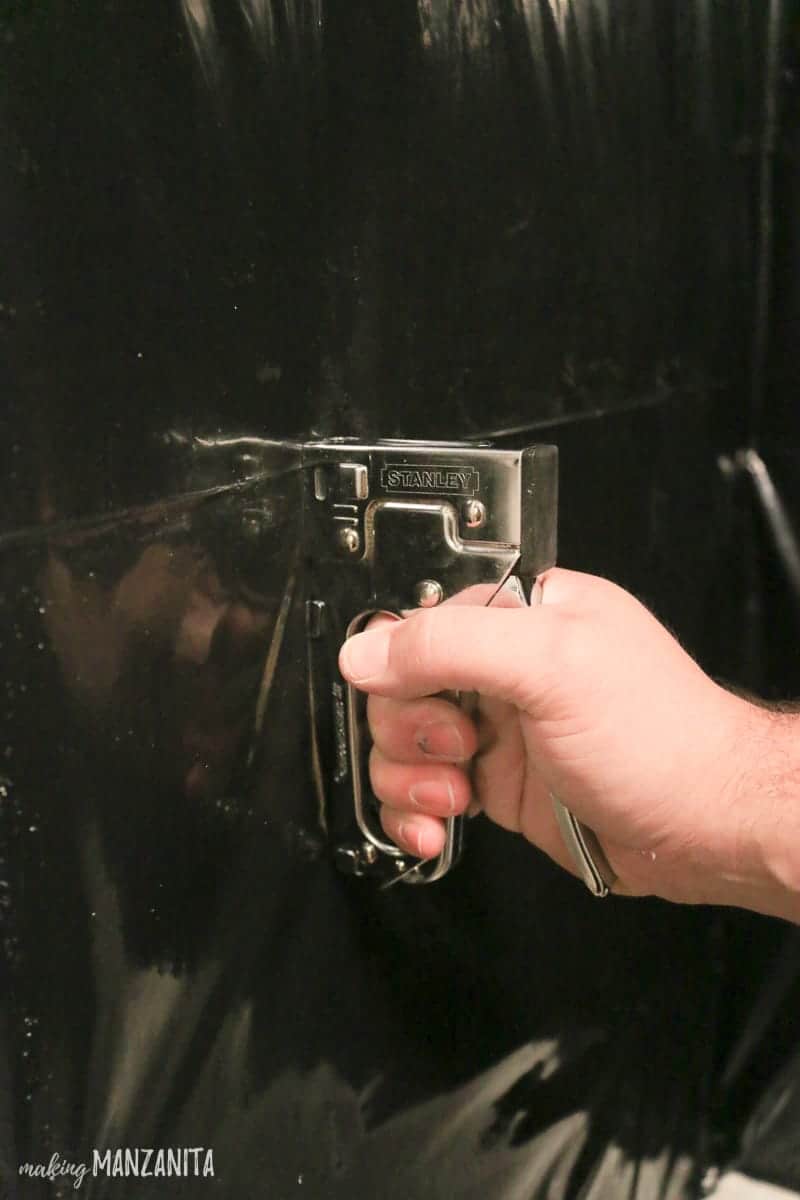
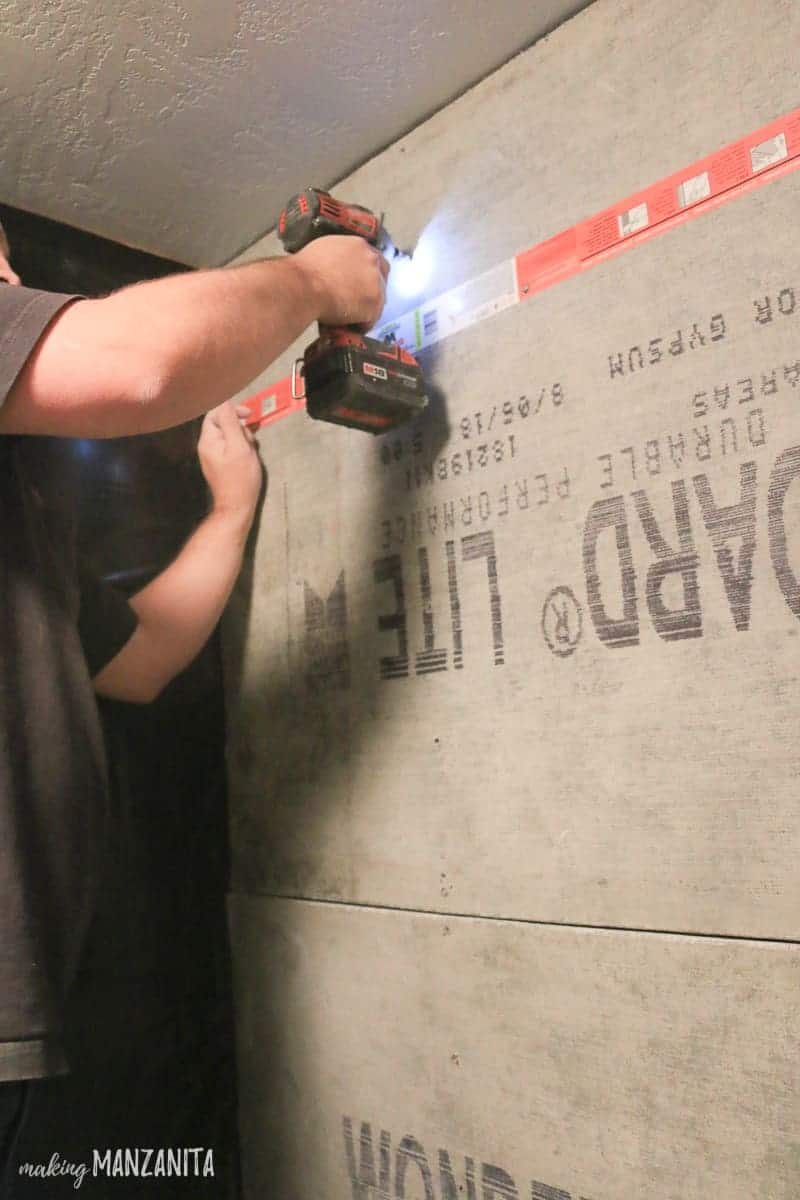
Then we got the plastic sheeting up on the studs and hung all wonder board where the tile will go (including installing on the subfloors).
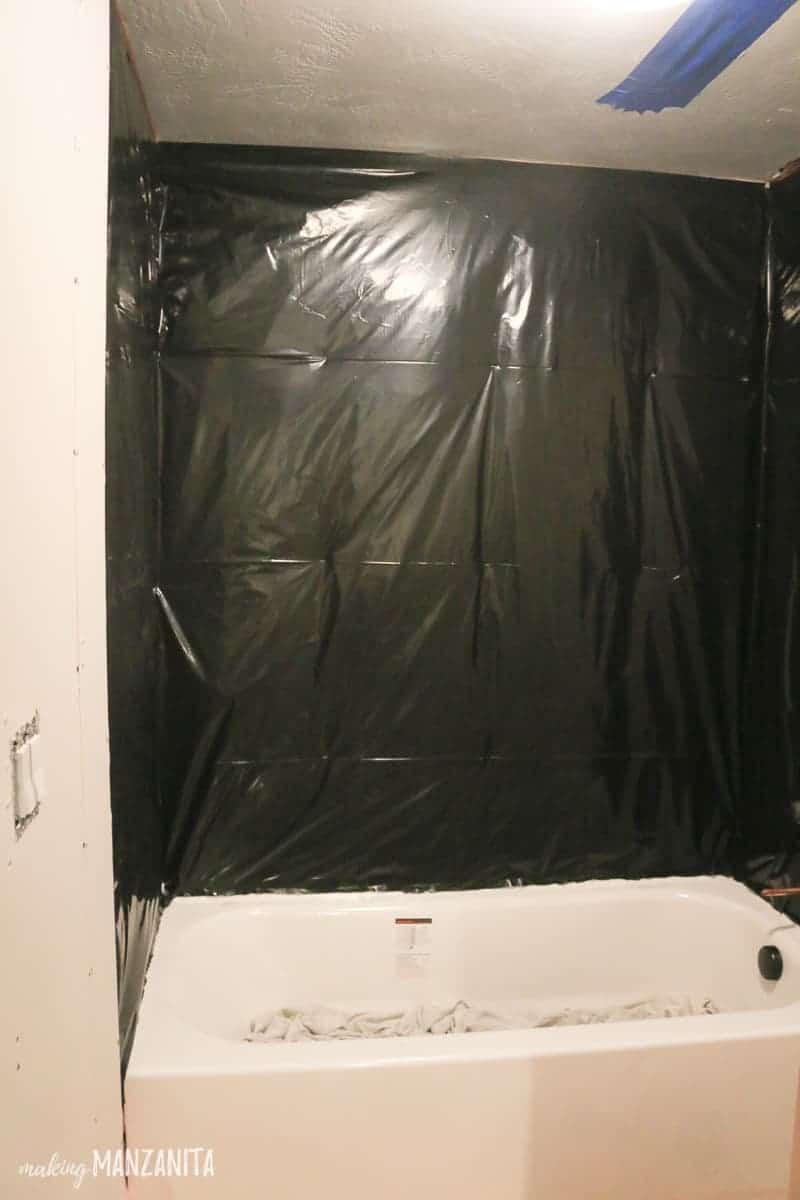
It was looking a bit like a haunted house when it was just the plastic sheeting!
This week has been a doozy and a bit of a holding pattern, while waited for the rest of the shipments to arrive.
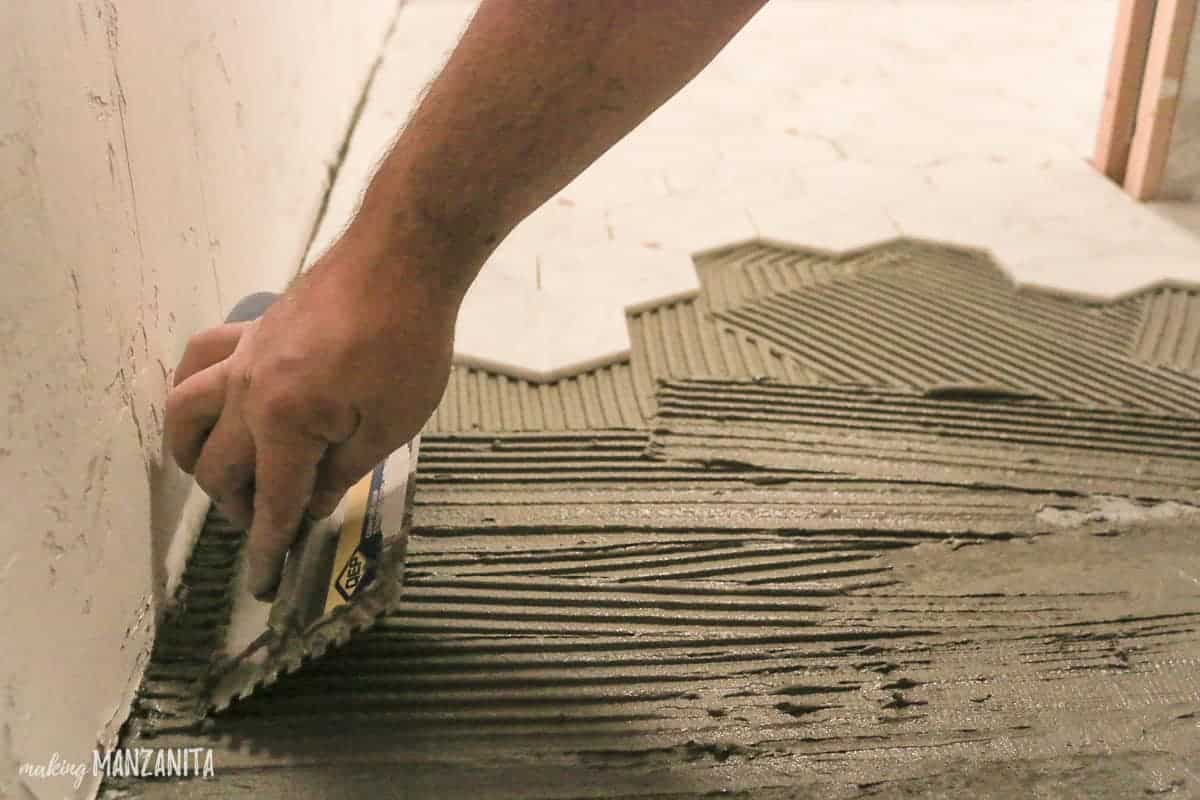
Most notably the tile…As I mentioned last week, we’ve got a crazy couple of days here. The tile arrived yesterday (Tuesday).
Then, the vanity needs to be installed by Thursday for our appointment with the countertop guys. That means that we had to texture drywall yesterday, tile all night last night (we were up til 2:30am!), seal the tile today and move the vanity into the bathroom tomorrow morning for the appointment, then move it back out to grout the tile, seal the grout and then move the vanity back in.
It’s quite comical at this point. Yes, it’s a tight timeline, which is why it is SO important that we use all of these ways when talking about how to stay organized while renovating.
I’m going to be talking a lot more about the tiling process next week!
Fingers crossed!
Here’s the full to-do list for our modern farmhouse bathroom renovation:
Build wallsLearn how to build a wall here!Install electricalRough in plumbingInstall exhaust fan/light in water closetInstalled insulationBuild divider wall for water closetInstall pocket door on divider wallLearn how to frame a door in a wall here!Install bathtub drainHang dry wallHang wonderboard on walls & lay on floorsTexture dry wallLay tile floorsLearn how to tile a bathroom floor here!Seal tile floors- Grout tile floors
- Install vanity
- Paint ceiling (Learn how to paint a ceiling here)
- Paint walls (Learn how to paint a room here)
- Install tub and toilet flange
- Tile surround in shower (Learn all about shower tile installation and more about DIY showers here)
- Tile shower niche (Learn how to install a shower niche here and more about the ideal shower niche height here)
- Tile wall behind vanity
- Install trim & baseboards
- Paint baseboards (Learn how to paint baseboards here)
- Install countertop, sinks and faucets (Learn how to install a bathroom faucet)
- Install toilet
- Add vanity lights (Learn how to install a bathroom vanity light)
- Hang bathroom lights
- Install bathroom accessories
- Hang shelves above toilet
- Decorate!
Huge thanks to our official sponsors of this renovation!
Dap | Avanity | eFaucets | The Builder Depot
Want more behind the scenes looks at our modern farmhouse renovation?
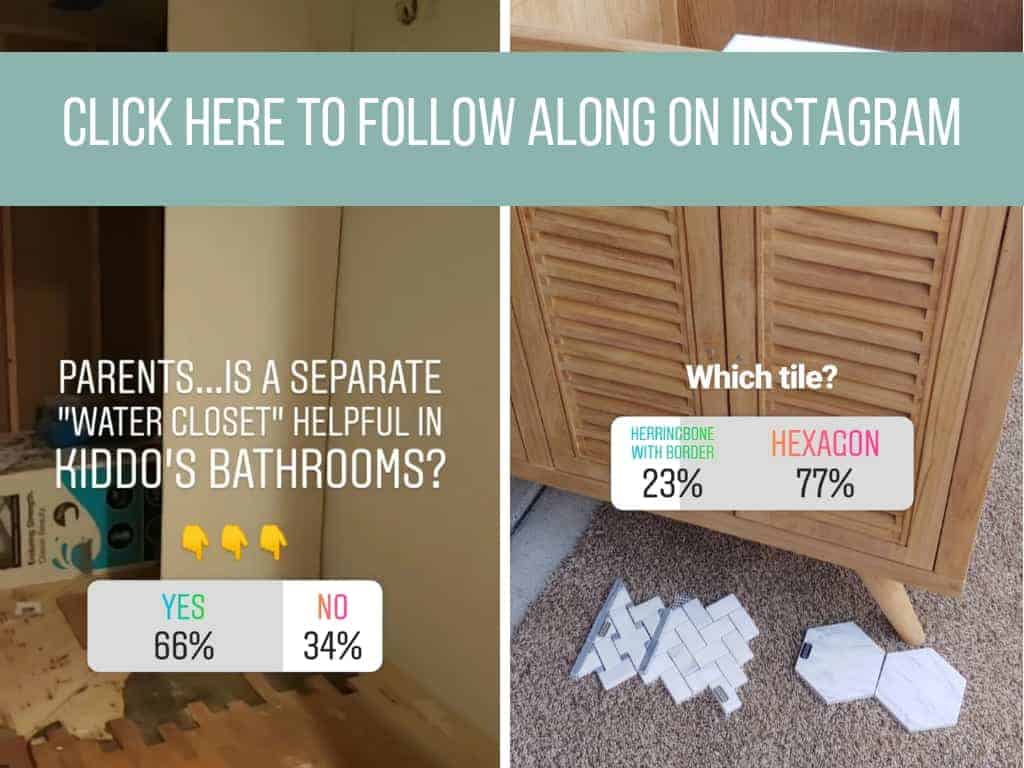
If you want tons of behind the scenes update on our modern farmhouse bathroom One Room Challenge renovation, the best place for you is my Instagram Stories!! If you want to catch up from the beginning, head over to my Instagram profile and click on the “New Bathroom Build” highlights button. Be sure to follow our account to see you can see the day to day updates and help us out with decisions like these below…Our IG followers helped us already by giving us feedback on dividing walls for water closets and the floor tile options!


Wow! Lots of great stuff going on here and I love how you talk about remembering the “WHY”. Very informative post. I like the hexagon too and would for sure go for the water closet if you have time, space and budget available! Good luck!
I’m a list maker and I love this post. Love seeing that I’m not the only one. Can’t wait to see your progress!
Thanks Emy!
Holy Cow. I probably need this bc our lives become a hot mess with each of these projects! Thanks!
Hehe, hope you find it helpful! 🙂
You really packed a punch with this post Chelsea! Thank you so much because I really needed to read this today. The Husband and I love to work on projects together, but it’s always a test when the unexpected happens. My biggest takeaway… remembering our “WHY”. Thanks luv!
I’m so glad this was helpful for you Ola! Yes, it’s so important to remember your why….especially right now when we’re in the thick of it! 🙂 Good luck.
You are sop organized which is so impressive, every project needs that. I probably still have a sticky note attached to my forehead about my ORC room, lol. Great Post I would say that I am taking notes…….but lets be honest I still have a sticky note attached to my forehead LOL!!!!
So many great tips and we are following zero of them haha. Maybe that’s why our renovation is a hot mess!! 😉
I know….things have been a little crazy over here too. We’ve been taking some time to re-group and get cleaned up and more organized though…ends up saving time in the long run! 🙂
It is so hard to stay organized while renovating. These are great tips. I can’t wait to see your finished space!
I love your tips, so helpful. Shopvac, check. Garbage can near by, check. Zones, check.
Wonderful tips! Thanks for sharing.