Bathroom Faucet Replacement For Beginners

If you want to learn how to do a single-handle bathroom faucet replacement, this video is for you. We will walk through the easy step-by-step process of replacing a bathroom sink faucet and drain for beginners.
If you want to learn how to do a single-handle bathroom faucet replacement, this tutorial is for you. We will walk through the easy step-by-step process of replacing a bathroom sink faucet and drain for beginners.
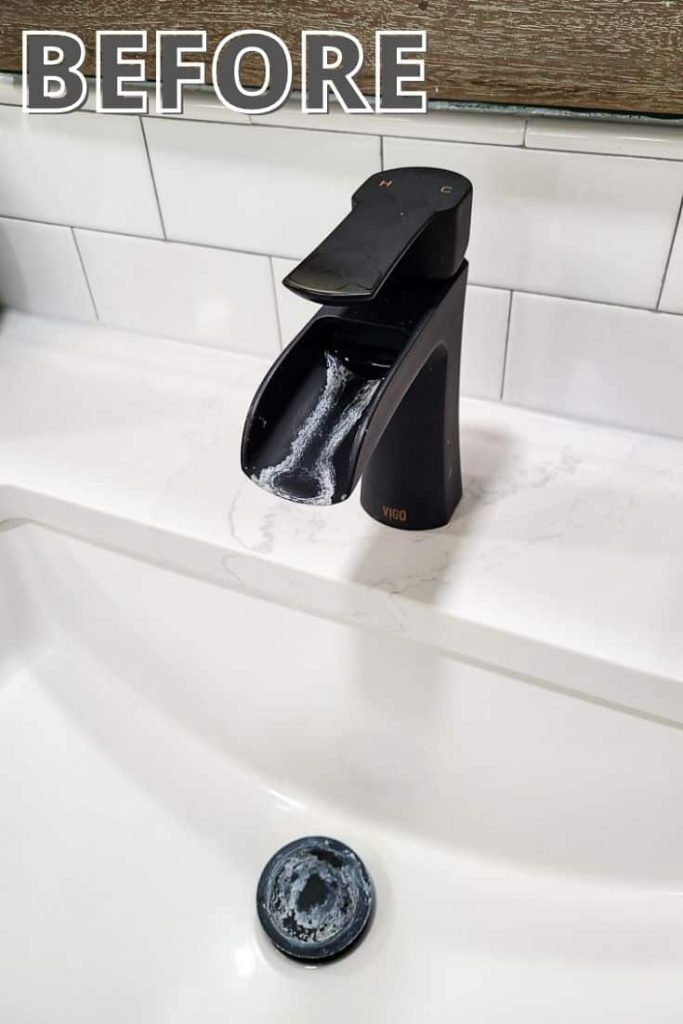
Why we are replacing our bathroom faucet? (Before pictures)
We decided to replace the faucet in our master bathroom due to hard water stains. When we remodeled this bathroom, we chose a waterfall-style faucet which looked great but showed a lot of hard water stains and was difficult to clean. Here are the complete design plans if you are redoing your bathroom, too!
We only had this faucet for a couple of months before we began noticing the stains, so if your local water has any hard water in it, you might want to stay away from the waterfall style of faucet.
This switch was super easy and perfect for beginners – no plumbing experience necessary.
This bathroom faucet replacement tutorial contains affiliate links, but nothing that I wouldn’t wholeheartedly recommend anyway! Read my full disclosure here.
Bathroom Faucet Replacement: Video Tutorial
If you love DIY videos, be sure to subscribe to our YouTube channel!
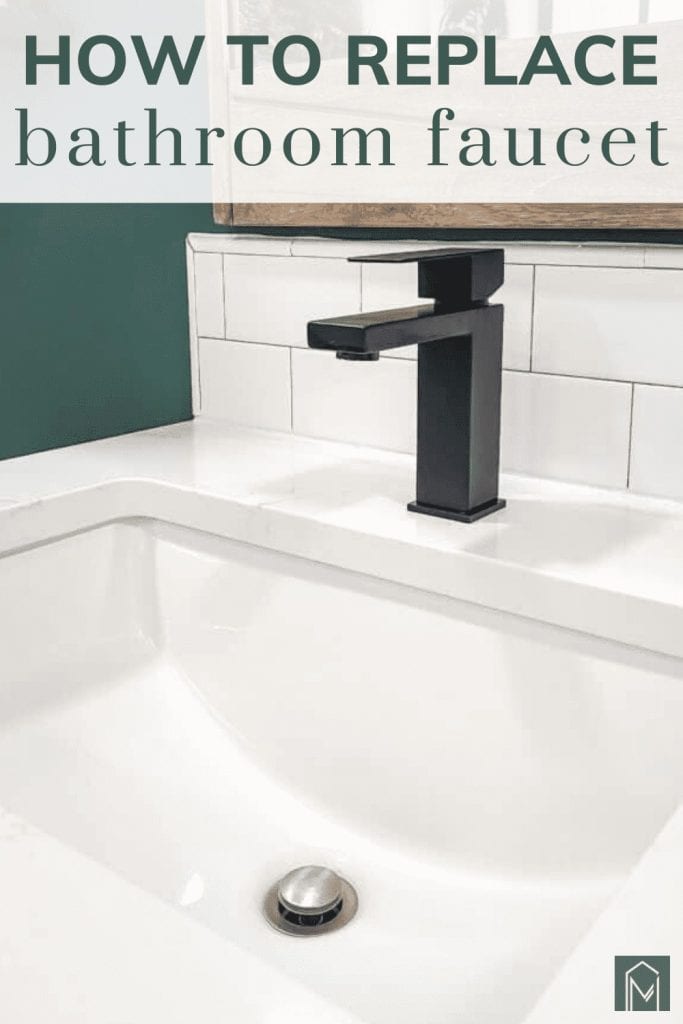
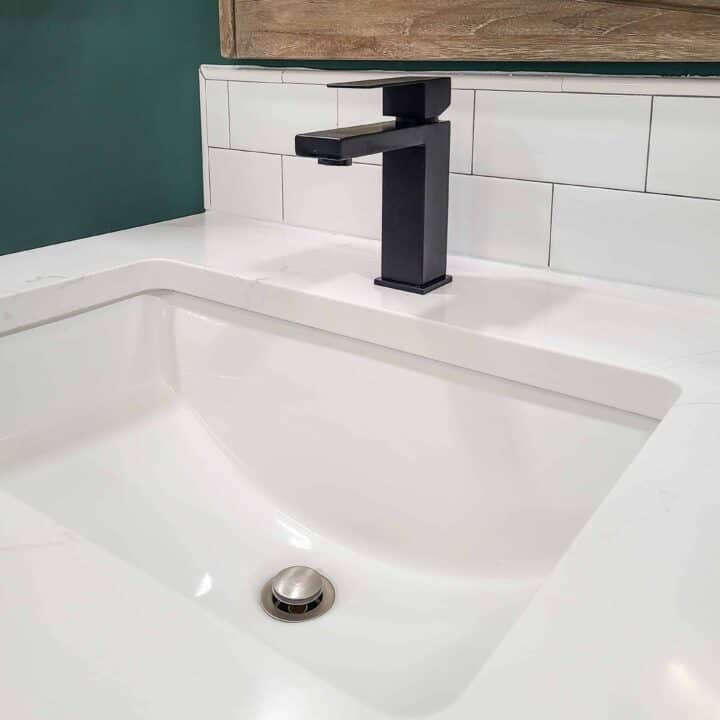
For the faucet bathroom replacement, we used a budget-friendly matte black faucet to match the rest of the hardware. On the faucet neck, the spout points straight down instead of the waterfall style, so we hope this will eliminate the issue of hard water stains.
We also replaced the pop-up drain, which was also taking a beating from the hard water, and we could not get it clean. We switched it out for a brushed nickel style instead of matte black.
How to Change a Bathroom Faucet: Step-By-Step Tutorial
Supplies used to replace a bathroom faucet and drain:
- Faucet
- Pop-Up Drain
- Scour Pad
- Plumber’s Tape
- Monkeywrench
- Crescent wrench
- Pliers
- Towel
Step 1: Remove the old bathroom faucet.
First, remove the old faucet from your sink. To do this, you must disconnect the two water supply lines underneath the sink. The lines will be disconnected from the valves of the water supply.
Before disconnecting, turn the valves off and place a towel underneath to catch any water drips. Using a wrench, disconnect the lines from the valves.
Then, find where the supply lines connect to the fastener of the sink faucet. Use a wrench to disconnect the fastener so the faucet will easily lift out of the countertop. Discard the old faucet along with the water supply lines (only if new supply lines came with the new faucet!).
Step 2: Connect the faucet neck to the countertop
Whether you are using the existing supply lines or the new ones that came with the faucet, attach the two threaded pipes to the bottom of the faucet head. Thread the connected faucet head and the two lines through the hole on the countertop and set the faucet into place.
Your faucet assembly kit should have included two o-rings. Place the o-rings on the base of the faucet with the rubber ring facing upward so it will touch the bottom of the countertop when in place.
From underneath the sink, slide the faucet base over the two water lines and twist into a place where the base meets the bottom of the countertop.
Straighten the faucet neck as needed and ensure it is situated before tightening everything into place with a wrench.
Step 3: Reattach the water supply lines.
Now that the faucet neck is firmly attached to the countertop, it’s time to connect the water supply lines from the faucet to the valves in the bathroom wall.
First, make sure you have the hot and cold valves sorted. Typically, hot is on the left, and cold is on the right.
With your hands, screw in the supply lines to the valves as tightly as possible. Then, do a final quarter turn with a wrench.
Make sure there are no leaks by running the water for a few minutes and testing the temperatures.
Step 4: Install a pop-up drain assembly
Most drain assemblies come pre-assembled, so take apart the new drain assembly and lay out the pieces.
To remove the old drain assembly, loosen the drain from underneath the sink and place a towel down to catch water drips. Using a wrench, it should be pretty easy and self-explanatory to remove the drain assembly from the bottom of the sink.
After disassembling, you should only have the base of the sink and the connection coming from the floor or wall of your bathroom. There should be no pipes coming from the bottom of the sink.
Then, clean where the old drain was in place and dry thoroughly.
Take the top of the new drain assembly and set it into place on top of the sink. Place the o-rings and threaded nuts into place underneath the sink. The rubber o-ring should be touching the bottom of the sink.
Then, tighten it into place with your hands and follow up with a wrench to ensure a good connection.
Next, wrap the plumber’s tape around the pipe that connects to the drain assembly. Then, tighten it into the drain assembly as tight as you can.
Step 5: Reconnect and test
Next, reattach the drainpipe (connected to the wall or floor of the bathroom), making sure you have a good connection between the drain assembly and the drainpipe.
To check for a good connection, run water through the sink to test that everything is attached properly.

If you need to replacement in your bathroom faucet or drain, follow these simple steps to do it yourself. Even if you’ve never done it before, the risk is low, and not many tools are needed. This makes it great DIY for a beginner who wants to learn how to DIY their own home repairs.
What do you think of our new bathroom faucet replacement?
Let us know in the comments below!
Bathroom Faucet Replacement For Beginners
How to do a single-hand bathroom faucet and drain replacement.
Materials
- Faucet
- Pop-Up Drain
- Scour Pad
- Plumber's Tape
- Monkeywrench
- Crescent wrench
- Pliers
- Towel
Instructions
- Remove the old faucet. Be sure to turn off the water supply.
- Connect the new faucet neck to the countertop. Straighten the neck as needed and make sure it is situated before you tighten everything into place with a wrench.
- Reattach the water supply lines. Make sure you have the hot and cold water valves sorted. Hot on the left, cold on the right.
- Install a pop-up drain assembly. Wrap plumbers tape around the pipe that connects to the drain assembly, then tighten into the drain assembly as tight as you can.
- Reattach the drainpipe, making sure you have a good connection then test for leaks by running water through the sink.
Recommended Products
As an Amazon Associate and member of other affiliate programs, I earn from qualifying purchases.


This blog provides a straightforward and well-illustrated guide on how to replace a bathroom faucet. The step-by-step instructions are easy to follow, making it a helpful resource for DIY enthusiasts. Kudos to the author for sharing such useful information!