How To Build A Wall – A Basic Guide To Building An Interior Wall

Since the first time we walked through our fixer upper, we knew we were going to need to build a new interior wall or two. You may want to do this project yourself. In that case, you will need to learn how to build a wall!
One of the main things we needed to fix on this home was the general configuration because it is just weird. And weird doesn’t sell.
Luckily for the sellers, Logan and I can look past weird. In fact, we love fixing weird homes!
But the truth is that most prospective buyers looked at this house and just couldn’t get past the awkward layout with 2 living rooms, a bedroom in the middle of the home with no windows, lack of en suite bathroom in the master, and absolutely no open concept! (…these are all things we’re fixing as part of our renovation plans, which you can read more about here).
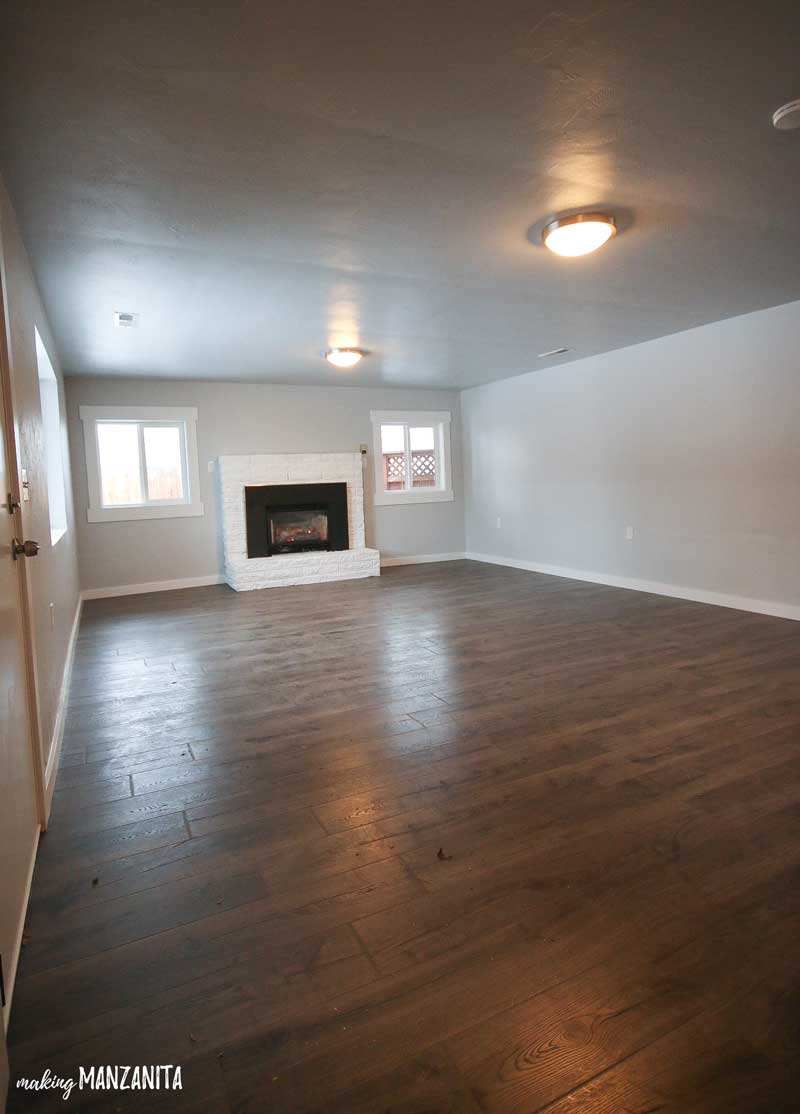
A big part of our renovation plan was converting one of the living rooms into a bedroom (our little one’s nursery to be exact), walk-in master closet, and bathroom. The area is shown above.
Whew, I’m exhausted just talking about it! This phase of the renovation, of course, starts with building an interior wall for those new rooms. So grab those 2×4 studs and let’s chat about how to build a wall!
UPDATE: You definitely want to read this post on framing a door in your wall if you have a door you need to add!
This how to build a wall tutorial post contains affiliate links, but nothing that I wouldn’t wholeheartedly recommend anyway! Read my full disclosure here.
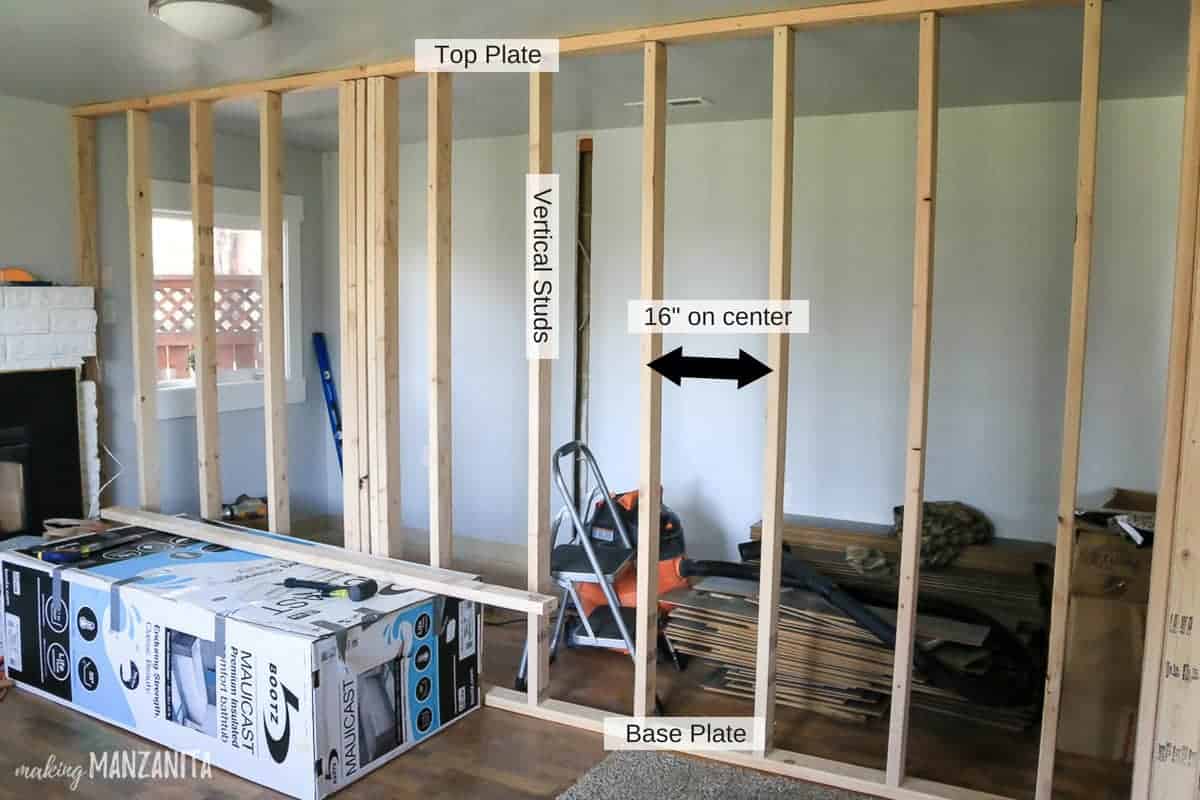
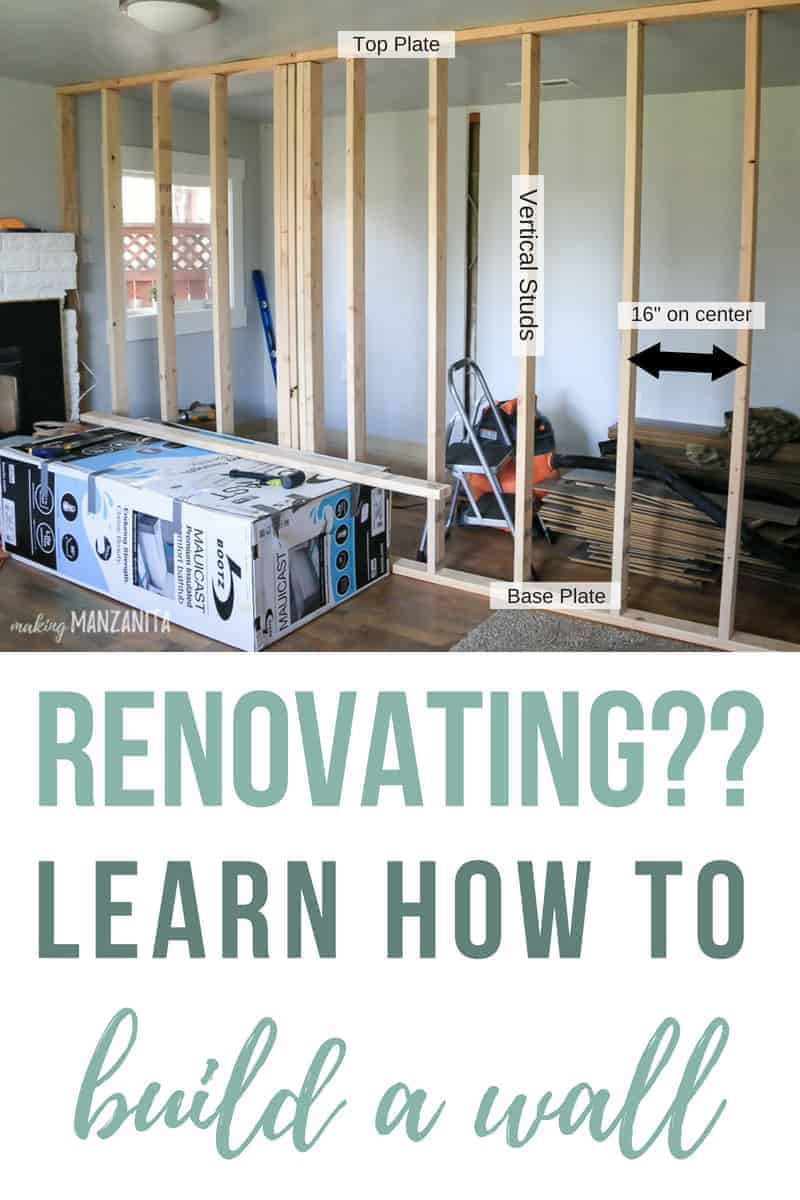
General makeup of interior wall framing
Before we just right in, let’s go back to the basics here and talk about the general makeup of the interior wall framing.
A standard interior wall with no doors and no other walls attached to it is pretty simple. Vertical studs need to be spaced 16″ apart on-center. Don’t worry: we’ll talk about what on-center means in a minute.
The vertical studs attach to a 2×4 stud on the top (called the top plate) and on the bottom (yep, you guessed it…it’s called a base plate).
What does on-center mean?
16 inches on center means the center of your vertical studs is spaced out by 16 inches. If you take out your tape measure, you’ll notice that every 16″ is highlighted in either red or some other way depending on your brand. This is to make it easy to measure your studs.
For more information on stud spacing in construction, check out this guide!
Interior Wall Terms
Here’s a picture labeling the interior wall lingo.
How To Build A Wall: Step-by-Step
1. Plan your interior wall
The first thing you’ll need to do when you are building an interior wall is:
- figure out where the wall is going,
- what it will attach to,
- what is going in or on the wall.
Where the wall will be located sounds simple enough, but in reality, it can get pretty complicated. Logan and I spent a few hours discussing exactly where the interior walls would go to how best meet our space requirements for the new rooms.
Your home will also have its own ideas. We ended up having to move a couple of light switches and an outlet to make room for the new walls, yikes!
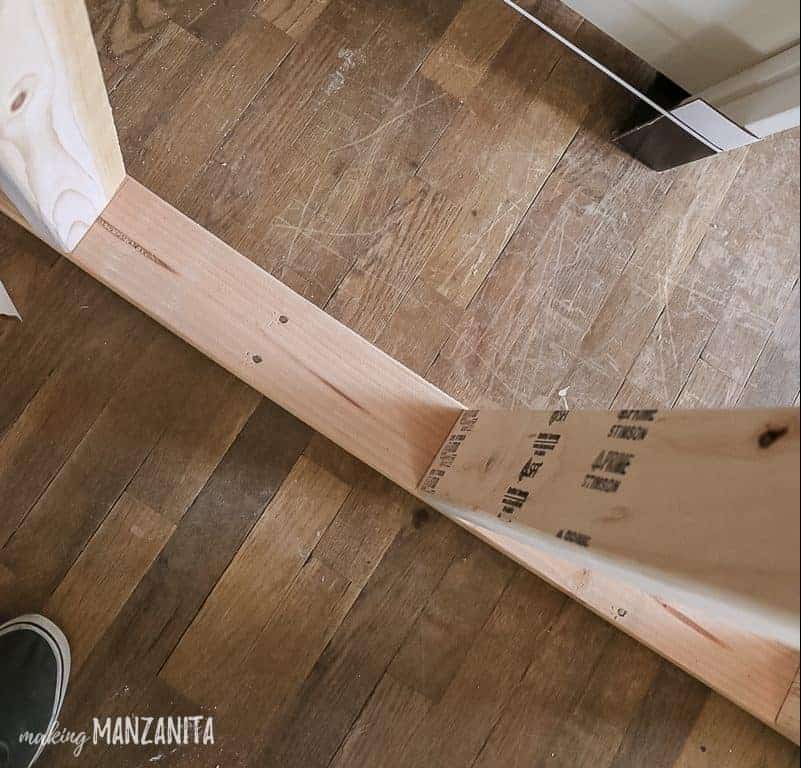
If you are framing two interior walls that will attach, then you’ll need to frame a “U” channel with three 2×4 studs to connect the two walls. To make the “U”, lay one 2×4 flat on its 3.5″ face. Next lay the other two 2×4 studs on either side on their 1.5″ face. This will allow you to attach to the 2nd wall you’re building and provide a space to attach drywall on any inside corners.
See photo below for an example of a channel.
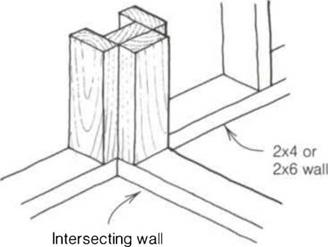
You will apply this same technique when attaching your wall to existing walls. Unless you are lucky and your wall lines up with another stud where they connect.
If you need to frame something into the wall (like a door), there is some additional planning that needs to happen. Don’t worry, we’ve got a whole ‘nother post about how to frame a door and how to install a prehung door!
2. Draw your interior wall plan
Now that we’ve covered some of the basics you are finally ready to tackle getting that interior wall planned out on paper.
The first thing to do is grab a tape measure, pencil, ruler, graph paper, a 4-foot level, a chalk reel, and a friend.
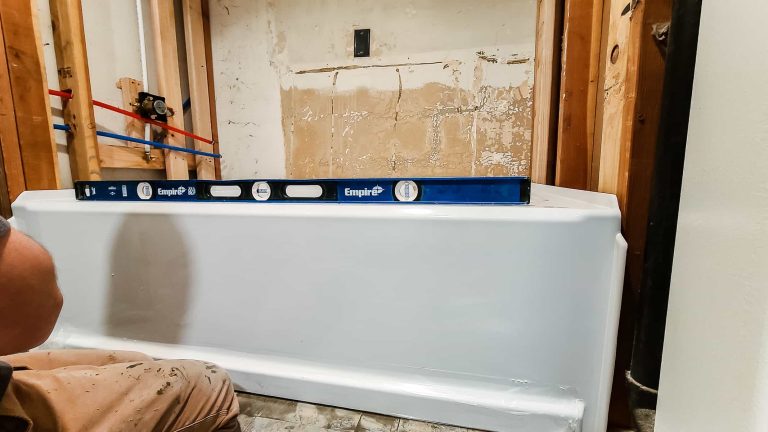
Start by measuring if your room is square where you are adding the wall. Click here to read about how to figure out if a room is square or not. If your room isn’t square, you’ll need to account for that in your design.
Next, measure your room and draw it out onto graph paper. We recommend a scale where each square on the graph paper is equal to 6″. Keep in mind that your finished wall will be 4.5″ wide (3.5″ of studs and two sheets of .5″ drywall on either side).
Take the time to look at the new room you are creating and make sure the space is going to work for you. Adjustments are a lot easier to make on paper rather than a framed-in wall.
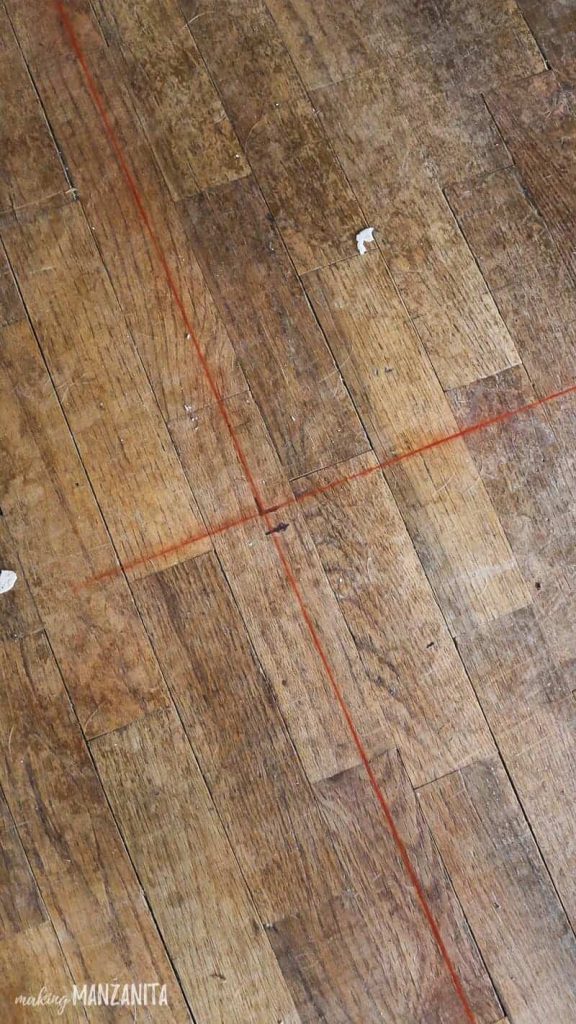
3. Mark floors for your interior wall
Now it’s time to remove any necessary flooring to get down to the subfloor. If you are keeping your current flooring, then just take out the 4.5″ inches of flooring necessary for the wall to sit in.
Note: You’ll notice in our photos that we actually didn’t remove our oak flooring because it was very solid and nailed every 3 inches. Removing this flooring wasn’t necessary for us, but in MOST cases you will want to remove the flooring before installing your new interior wall.
Once the subfloor is exposed, you can put down chalk lines for your base plate. Get your tape measure and make a mark at one end where the wall will go (measuring from the wall opposite). Then make a second mark on the floor adding a 1/2 inch to account for drywall. Now also do this for the other end of the wall you are putting up.
Take your chalk reel and snap a chalk line spanning to each mark. Repeat this process on the ceiling.
4. Cut the top and base plates
Now that you’ve got your plan on paper and your chalk lines marked, it is time to set it in motion and get to actually building that wall!
The first pieces of 2x4s you will cut for your interior wall are the top and base plates. Cut them down to the correct size (for the length of your wall) with a miter saw or circular saw.
5. Mark up your top and base plates for vertical studs
Lay your top and base plates flat on the floor and line them up side by side perfectly. Make a mark every 16″. These marks represent the center of your vertical studs.
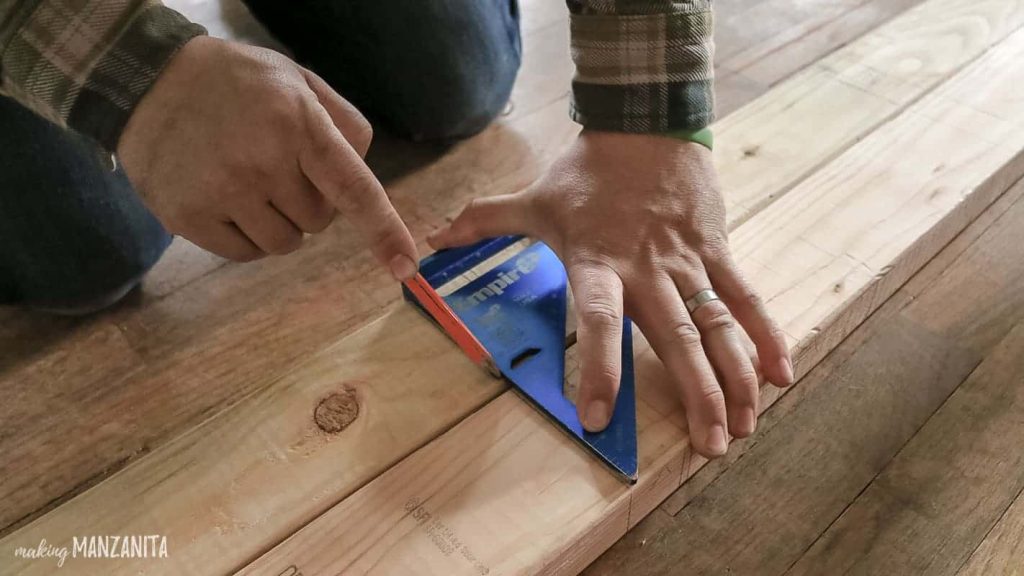
You’ll notice in the photo above that Logan created boxes that have an “X” where the studs will be attached to the top and base plates. Go back to your top and base plates and make a mark 3/4″ on either side of each 16″ mark.
Now you’ll take a square, like the one we use here, place it on the plates at a right angle, and draw lines on those 3/4″ marks you made (not the 16″ marks).
This step makes boxes that are 1.5″ wide and the vertical studs will fit perfectly inside them. Mark with an “X” so you know that is exactly where the stud is supposed to go.
Repeat these steps to make boxes on the 3.5″ side of your top and base plates. You want your marks to be seen on the top and side of the plates so you can easily see them when you put in your 2×4 studs.
6. Cut your vertical studs
Now you are ready to start framing the wall! Start by putting your base and top plates together on the ground on their 1.5” faces. Now count how many X’s you have on one of the plates and start cutting the 2×4 studs to length for every X you have.
The length of the vertical studs you’re cutting will depend on the height from your ceiling to subfloor. Whatever that measurement is be sure to take out 3″ total to account for the top plate and base plate otherwise your studs will be too long.
7. Put wall frame together on the ground
Next, it’s time to put the wall together. Start by separating the top plate and base plate on the ground so you can fit the studs in between them. Line up each stud with their corresponding X and start putting the wall together by nailing the vertical studs into the base plate first. After the base plate is attached to the vertical studs, you can move on to the top plate.
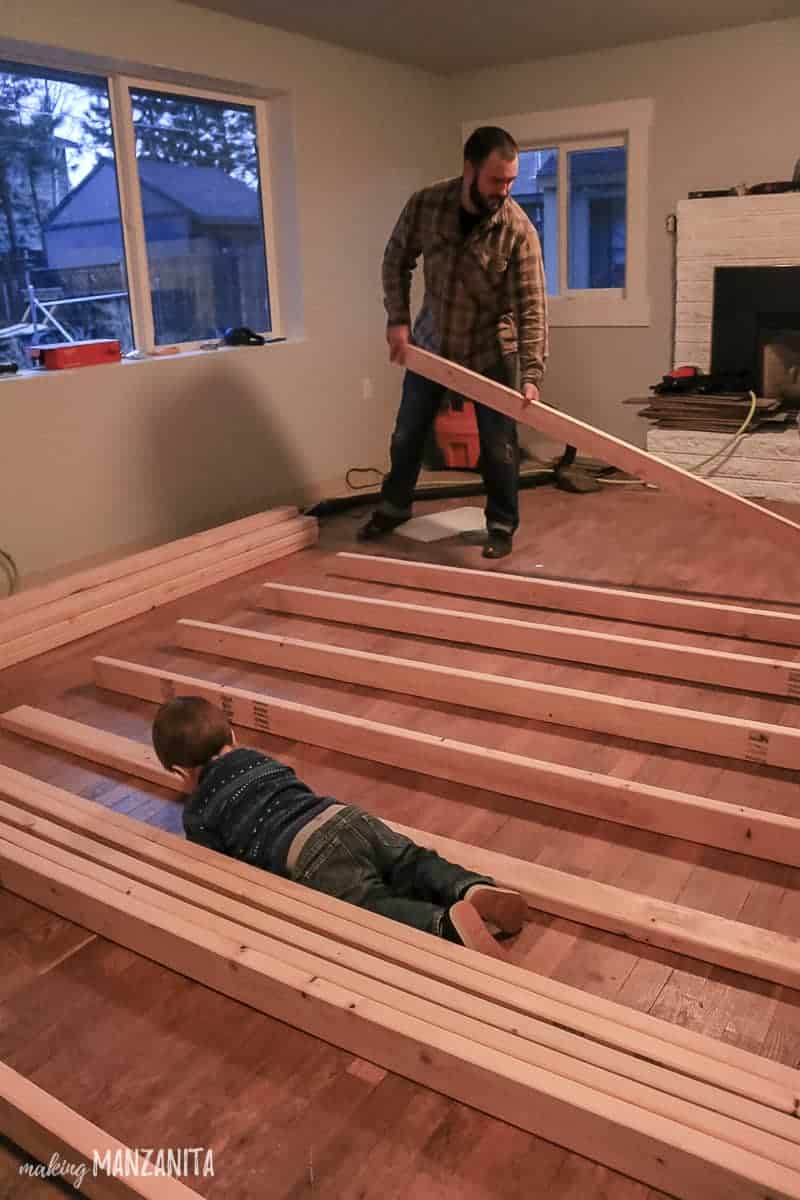
Be sure that you are keeping things level and square as you build. Keep the studs flush with the plates when you are nailing them. You don’t want your studs hanging off either plate when you stand your wall up.
8. Attach your interior wall
Once your wall is put together, you can put it into place.
Line up the base plate with the chalk line you made earlier and lift the wall frame upright.
Most likely your top plate is going to be attached to joists or rafters depending on which floor the wall is going on.
However, if your new wall is going to be parallel to your joists/rafters then you have some extra work on your hands. You will need to frame in new 2x4s to span the gap between the joists/rafters so you can attach your wall to them.
You simply cut down 2×4 studs to fit between your joists/rafters and nail them in your basement/crawlspace and above your ceiling. When adding these supports try to have them spaced out so they line up with the vertical studs in your new wall.
Once your wall frame is upright and the base plate is lined up perfectly on that chalk line, you can begin to nail it in. The base plate will either be going into concrete, subfloor, or both. This really depends on your home’s foundation and what type of floor you’re building the interior wall upon.
- If you’re going into subfloor then just use the framing nails that you were putting the wall together with.
- If you have to go into concrete then you will need to use a .22 caliber powder actuated tool, and you will load .22 powder shot, a 3-inch nail, and fire a nail by pulling a trigger. This will secure your stud into the concrete. As always, be sure you’ve got your ear protection and safety glasses if you need to do this.
Once your base plate is secured, use a level and a hammer to move the top plate into a level position. Start from one side of the new wall you built nailing and leveling as you go to the other side. Secure each side of your wall to the existing walls.
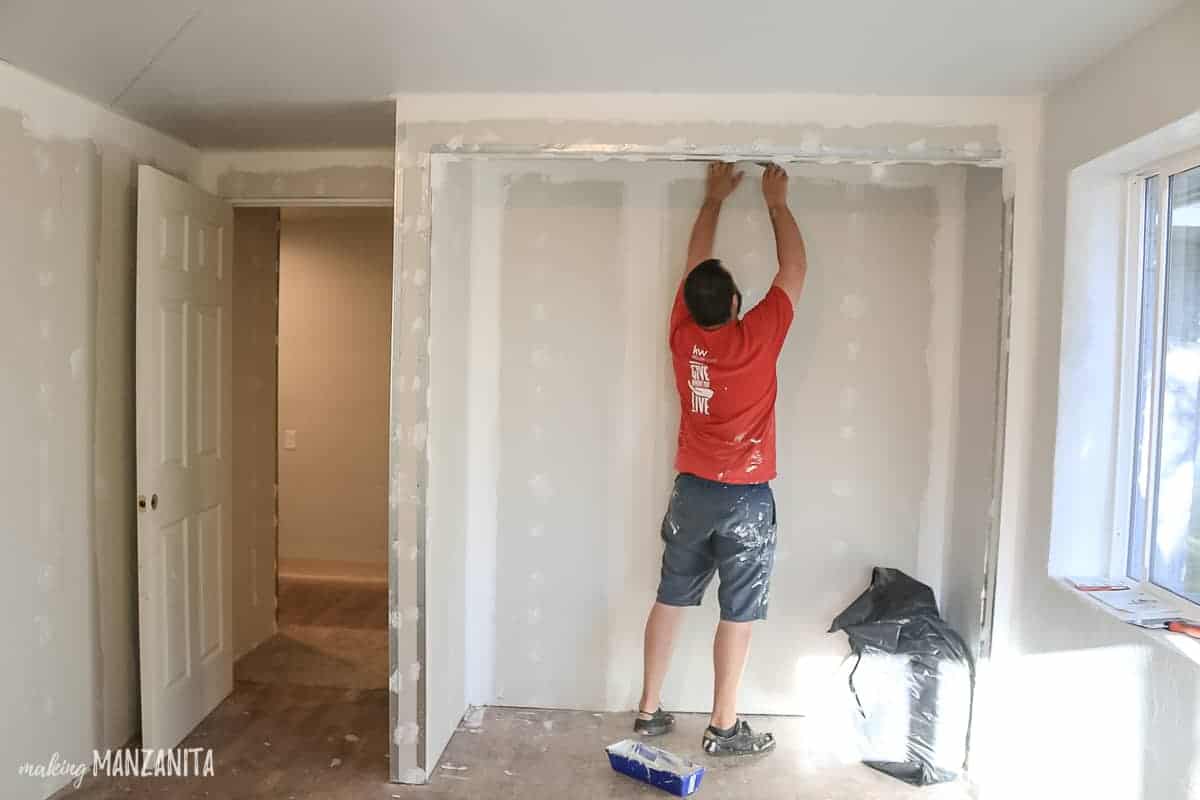
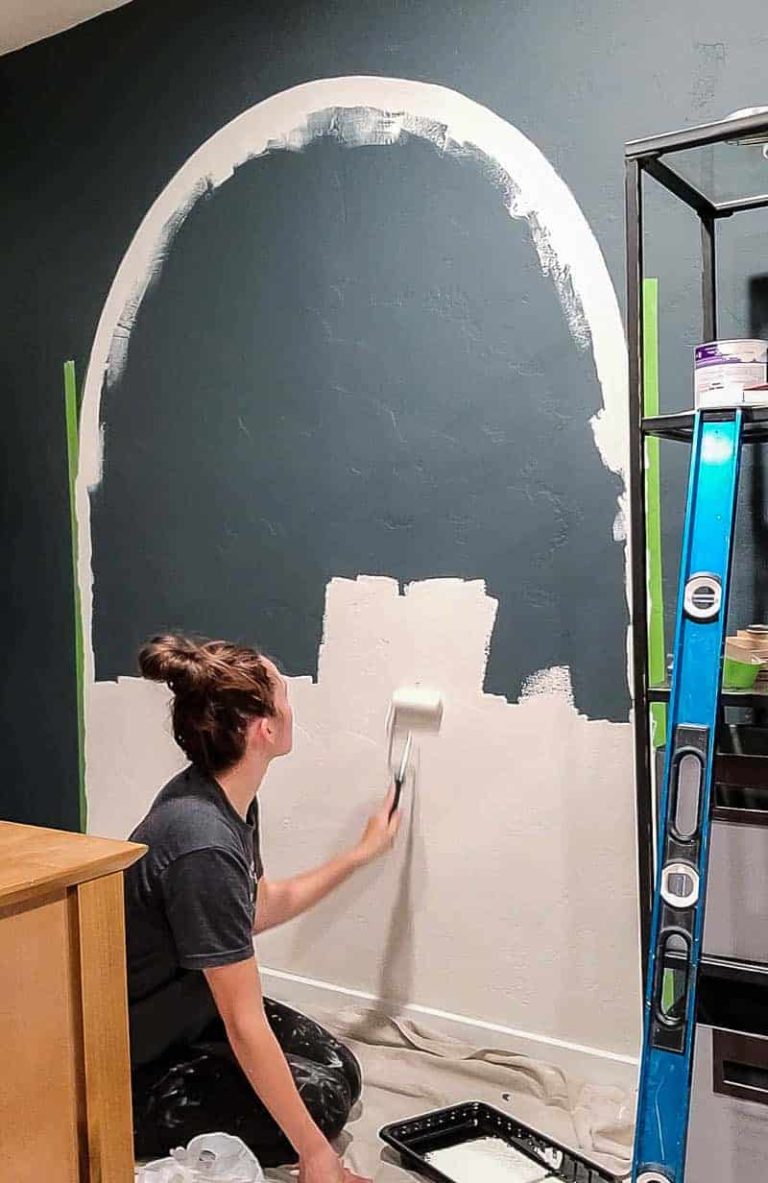
The last steps after you get the framing up is to hang the drywall sheets, mud and tape the joints and texture walls.
Viola! You just put up a wall.
When you are renovating your home and changing any configuration, at some point you may need to learn how to build a wall. The construction of building a wall is fairly simple, right?! Hopefully, you learned a lot as we showed you how to build a wall with 2×4 studs.
Next up if you learning how to build a wall, you need to know how to frame a door. Check out our tutorial for framing a door next!
Did you learn a lot from this how to build a wall tutorial? Where are you going to build a wall in your home?
Let me know in the comments below!!
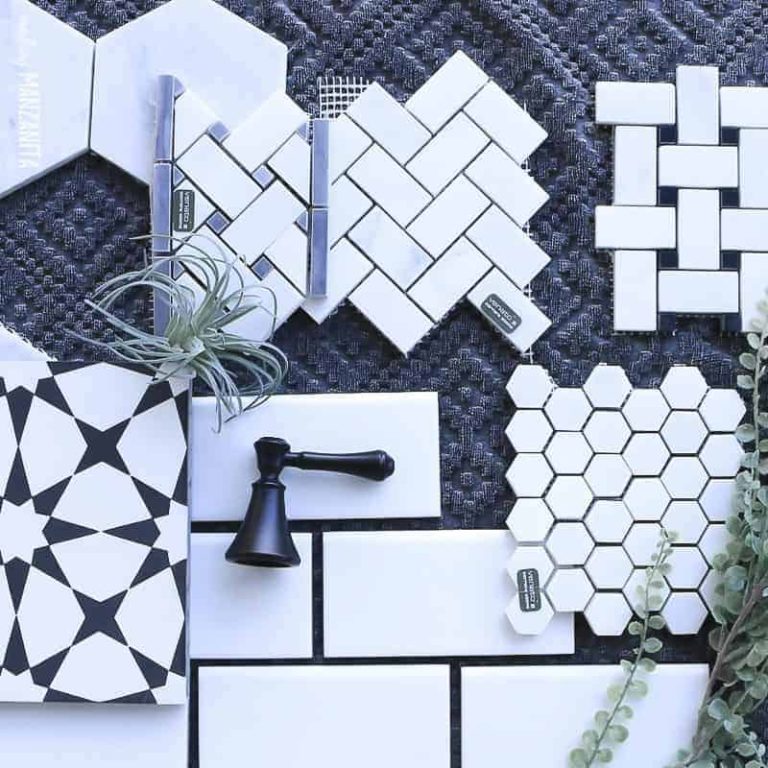
Want to see more of our modern farmhouse nursery??
- Modern Farmhouse Baby Nursery Inspiration
- 10 White Modern Farmhouse Crib Ideas
- Setting Up A Nursery? Here’s What You Really Need (+ Baby Checklist Printable)
- Modern Farmhouse Rugs & Rug Buying Tips
- How To Build A Wall
- How To Frame A Door In Interior Wall
- How To Install A Board and Batten Wall
- How To Plan Your Gallery Wall Layout (and Nursery Wall Art Reveal)
- Hardwood Floor Refinishing
- Interior Painting Tips & Tricks
- How To Install A Prehung Door
- DIY Yarn Wall Hanging
- Changing Table Organization
- Modern Farmhouse Floor Lamps Under $100
- Baby Girl Nursery Reveal

I’m planning to use a contractor but wanted to know more about building. This has been an excellent learning experience because the information was so well presented from words through pictures.
So glad you found it helpful Brenda!