How To Install A Prehung Door
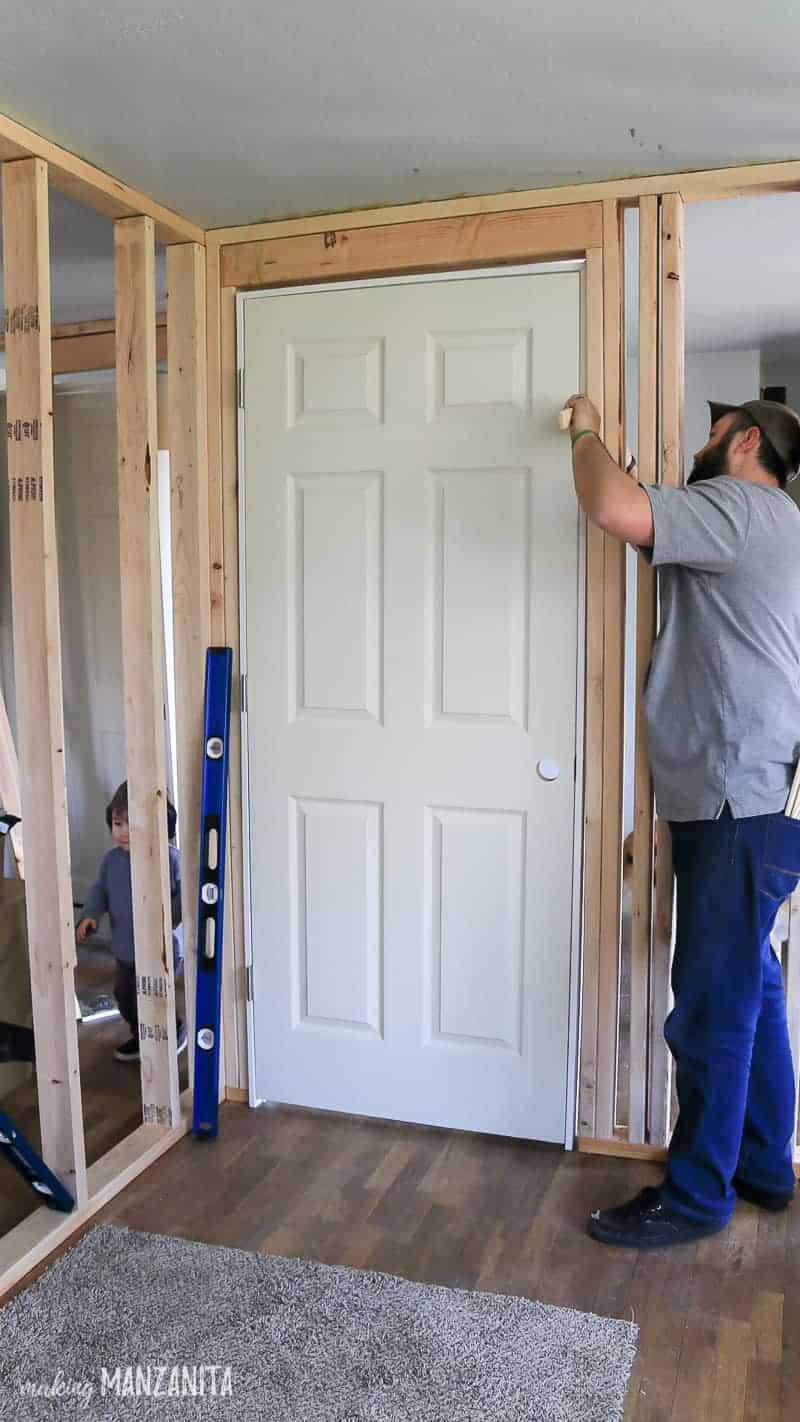
Thank you to DAP for sponsoring this how to hang a prehung door tutorial! All opinions are entirely my own. This post also contains affiliate links, but nothing that I wouldn’t recommend wholeheartedly. Read my full disclosure here.
If you are researching how to hang a prehung door, you’ll probably find a bunch of different ways to go about installing it.
The truth is that as long as your frame is square and the door shuts nice and tight at the end, you’ve done a good job.
You’ll see in this video that Logan dry fits the prehung interior door first, then refits, and continues to make small adjustments for the prehung door and frame to make sure it is a snug and square fit.
So don’t worry if your door doesn’t shut perfectly on the first try.
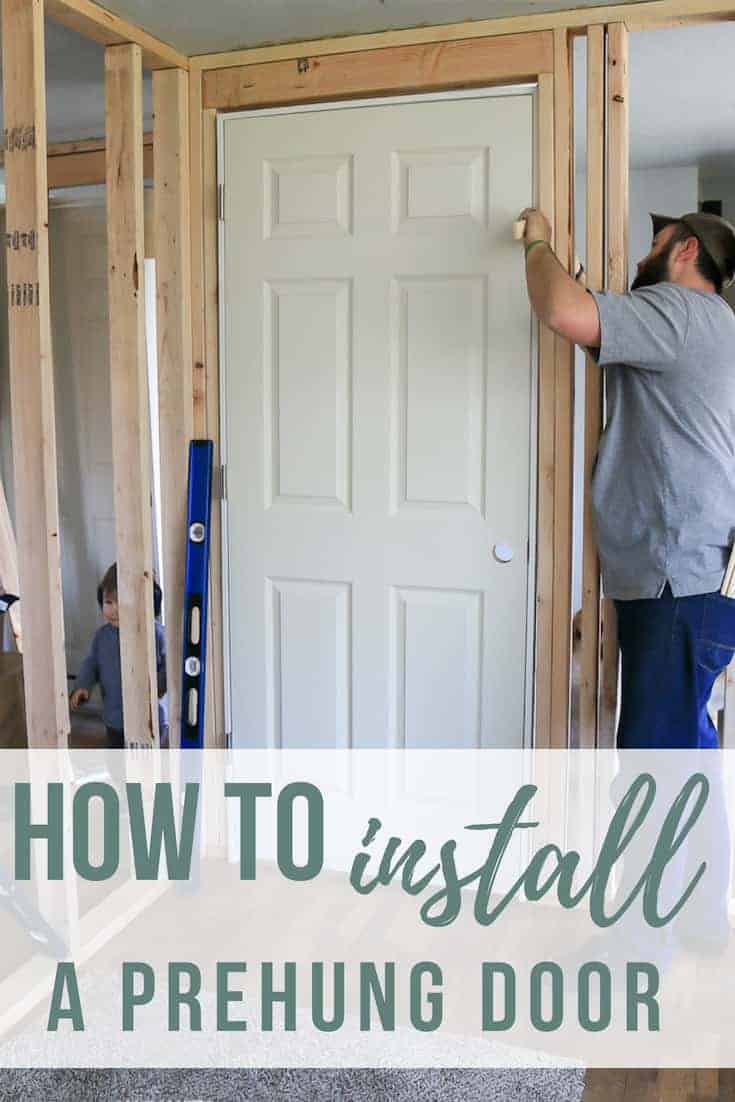
After the door is hung it is essential to trim it out and, of course, caulk.
Caulking all trim in your home provides a smooth finished and professional look because it covers any gaps between the trim and wall making it look completely seamless.
We’re so glad to be a partner with DAP because they are a company that we come back to time and time again while we’re renovating.
If you’re heading to Home Depot for renovating supplies, I know the choices can be seriously overwhelming…but after lots of trial and error, we’ve found that there are a few brand names that we can always trust…
DAP is one of them, that’s why we are so excited to collaborate with them for fun posts like this tutorial for how to hang a prehung door (and our recently finished board and batten wall in the nursery and informative posts like one with the strongest super glue for fixing things around your house and shower tile installation tips and tricks).
How To Hang A Prehung Door Video Tutorial
Below you’ll find the detailed steps for how to hang a prehung door and a full supply list which includes basic tools, but first I’ve summed everything up in a quick video.
If you love videos, be sure to subscribe to our YouTube channel so you don’t miss another DIY video.
Supplies for prehung door installation:
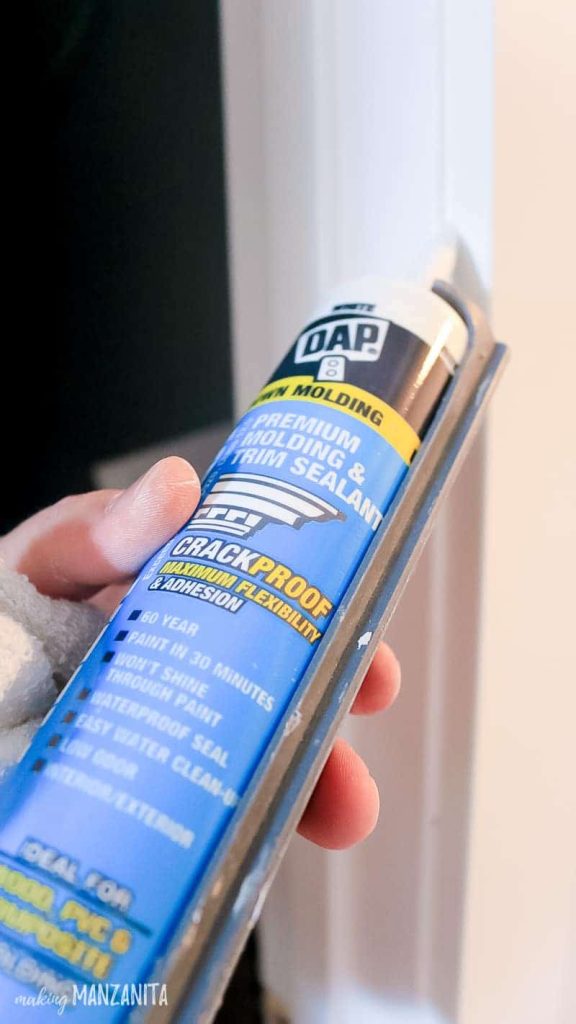
- DAP Alex Flex Premium Molding & Trim Sealant
- Prehung door
- Wood shims
- Level
- Trim
- Brad Nailer – we have this one
Step 1: Prepare to install a prehung door.
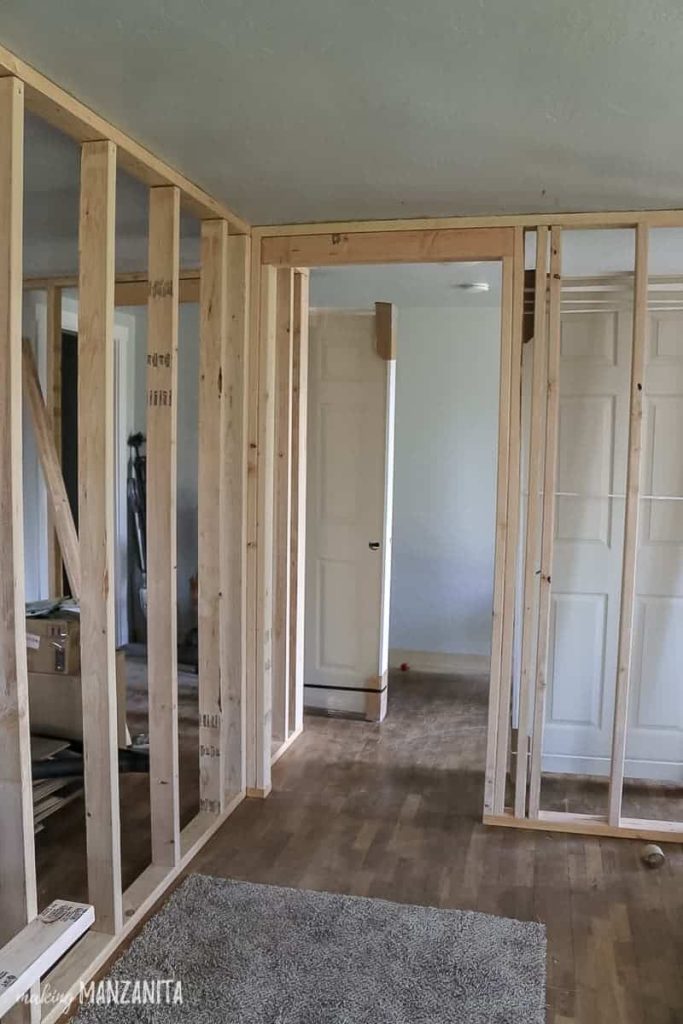
- The first step is to check the rough opening you are going to install the prehung door in. Don’t know how to calculate the rough door openings – read this post!
- Before you even begin installing you need to be ultra sure that the door and frame will fit.
- Distance from the sub-floor should be 82 1/2″ tall and the width of the door you chose plus 1 1/2 inches.
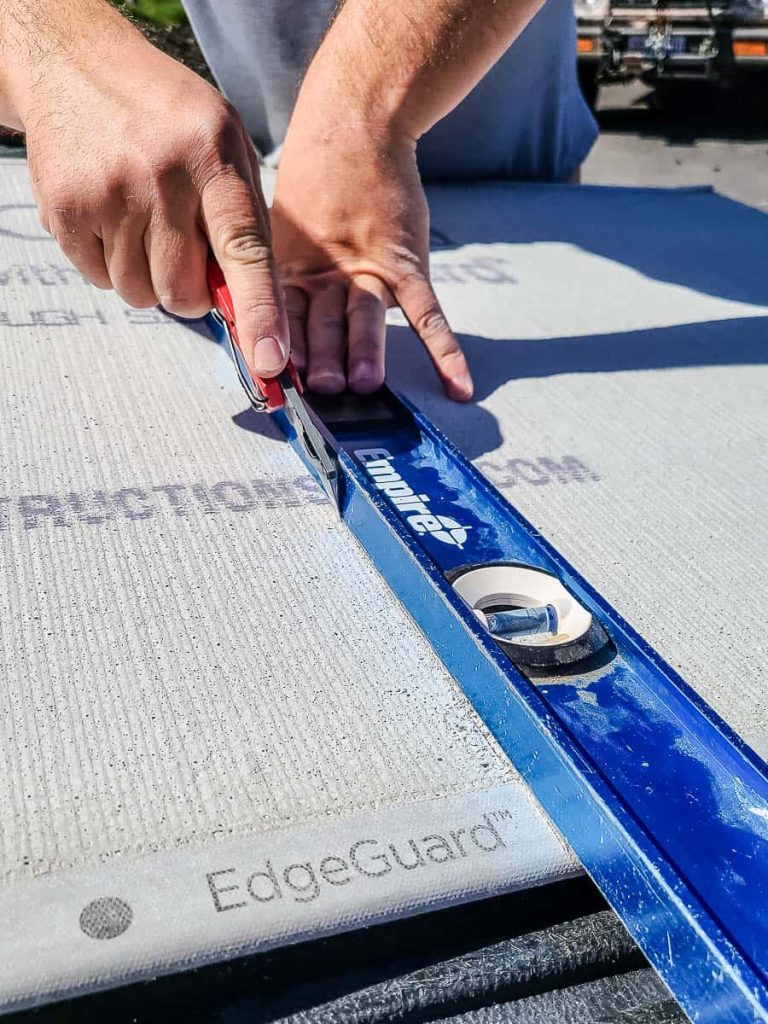
- When hanging a prehung door over your finished floor, as we did, you’ll have to cut the door frame down so the bottom of your door is nice and tight.
- Now is the best time to make a change to your framing if needed.
- Once your rough opening is right, and square, it is time to install a prehung door.
Further Reading – If you are also doing the framing for your door in the wall, you definitely need to read this article on framing a door!
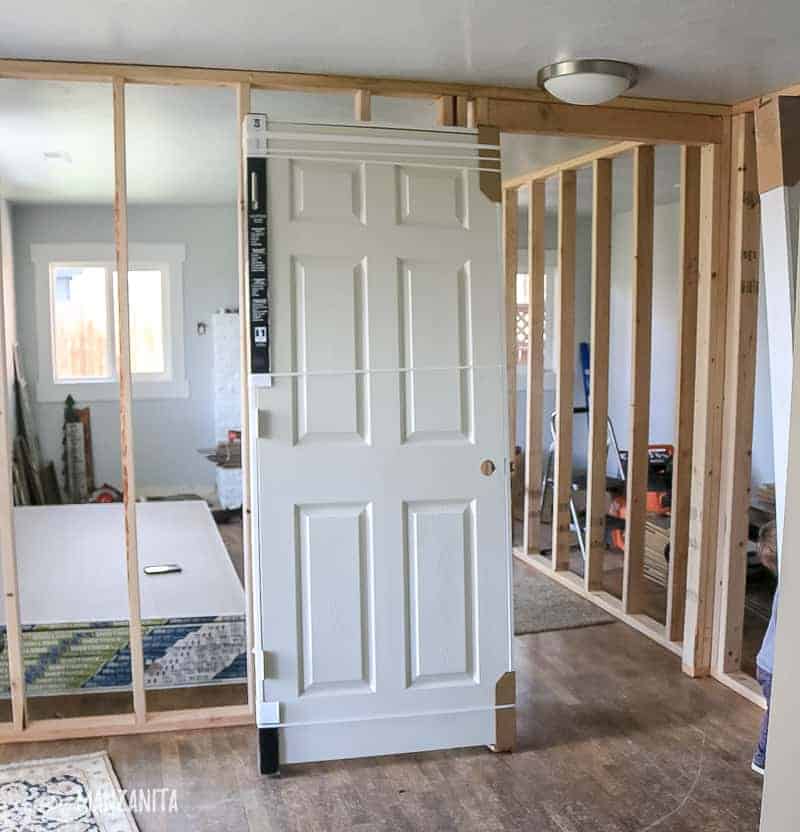
Step 2: Dry fit your prehung door.
- Grab the biggest level you have and some wood shims.
- We recommend at least a 4-foot level for this home improvement project. Anything smaller and you might find that it’s possible to level 2 parts of your frame differently.
- Once you have the big level, dry-fit your door into the frame and see how it fits.
- Dry fitting just means putting your pieces together before you attach anything.
- When you dry fit, you might find that your prehung door is too far off the floor like we did and need to trim the bottom of the door frame. Make any adjustments you’d like before you commit to screwing in your frame.
Step 3: Shim and level the prehung door on the hinge side.
After these adjustments to the door frame, start by shimming and leveling the hinge side of the frame. Push the wood shims into place between the side of the door frame and the wall stud. Don’t put too many shims in, which will cause a bowed jamb or uneven gaps.
Keep an eye on the other side because you want to keep the other side of your frame off the studs by at least a 1/2 inch so you can make adjustments later.
The frame (also called jamb) of your prehung door is going to be 4′ 9/16″, which accommodates your stud and drywall on either side when the wall is finished.
So the center of your jamb needs about a half inch on either side of the stud when you are hanging your prehung door.
That 1/2-inch gap is filled with wood shims, which are perfect because you can adjust them just as you need. You want the gap around the pre-hung door unit to be a consistent gap.
Wood shims (or door shims) are very thin pieces of wood that are designed as a tapered wedge and are commonly used for slight adjustments during construction and woodworking – on things like installing doors and windows or squaring up a banquette bench if your floors are not level or you have an out-of-plumb wall.
Have leftover shims? Try this easy DIY wood wall art!
Step 4. Shim top of the door.
Start from the top jamb down and be sure that the top of your jamb doesn’t flex or bulge when you add shims. Shim the gap at the top of the jamb.
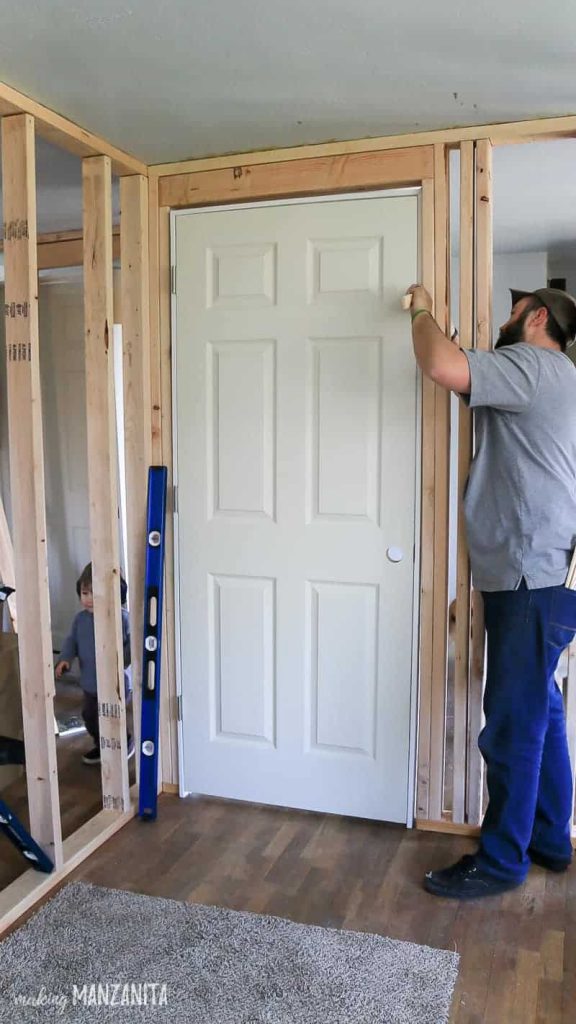
Step 5. Shim and level door on the opposite side.
Now that your hinge side is hung and leveled both inside and out, it is time to move to the other side and repeat the process.
- Before you shim and level the strike side (or lock side) of the pre-hung unit, shut the door first. When you shut it, the top of the door should fit snugly and not hit the top of the frame.
- Next, you can continue adding shims and level the rest of the prehung door down to the floor.
- Don’t be mad if the door doesn’t shut perfectly. Continue making your adjustments on the sides of the frame (also called jamb legs) with your shims and screws until you get that snug fit you are looking for.
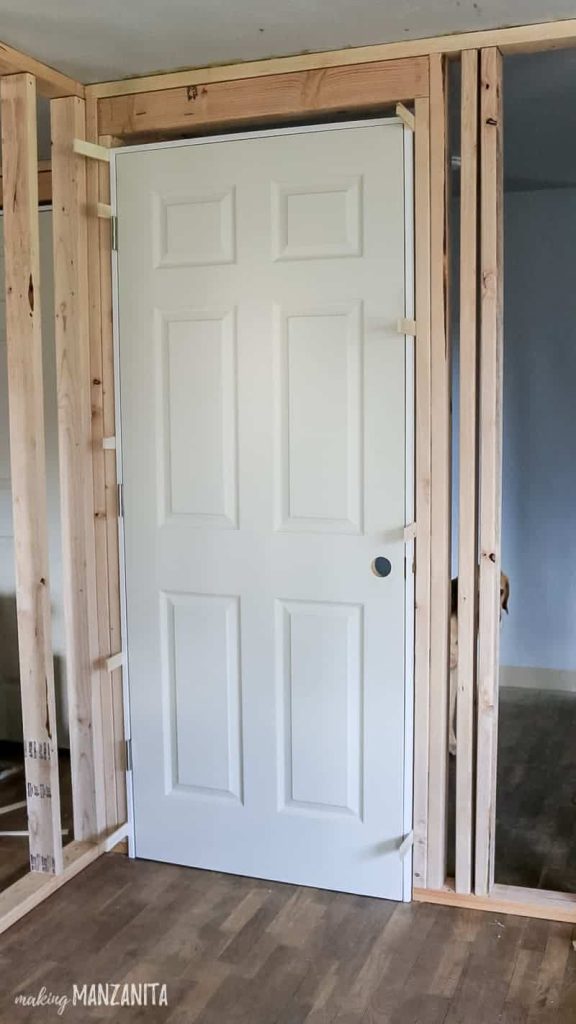
Step 6. Break shims flush.
Since the door and frame are in and square. Break off your shims flush with your wall studs.
Our wall didn’t even have drywall because we were building it from scratch (further reading – read how to build a wall here), so if you’re in the same boat you definitely want to hang your drywall as close as you can to the door frame. Then tape and texture your drywall.
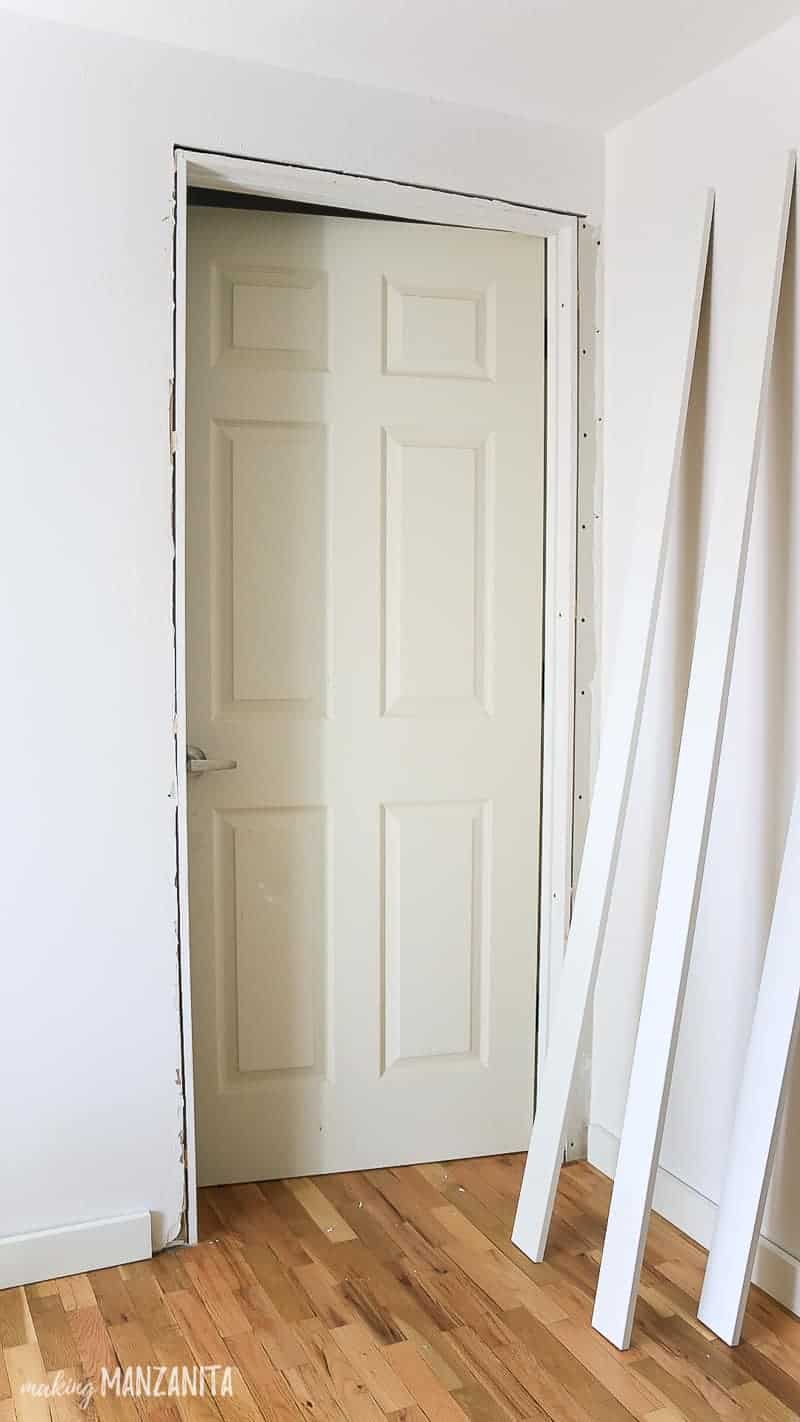
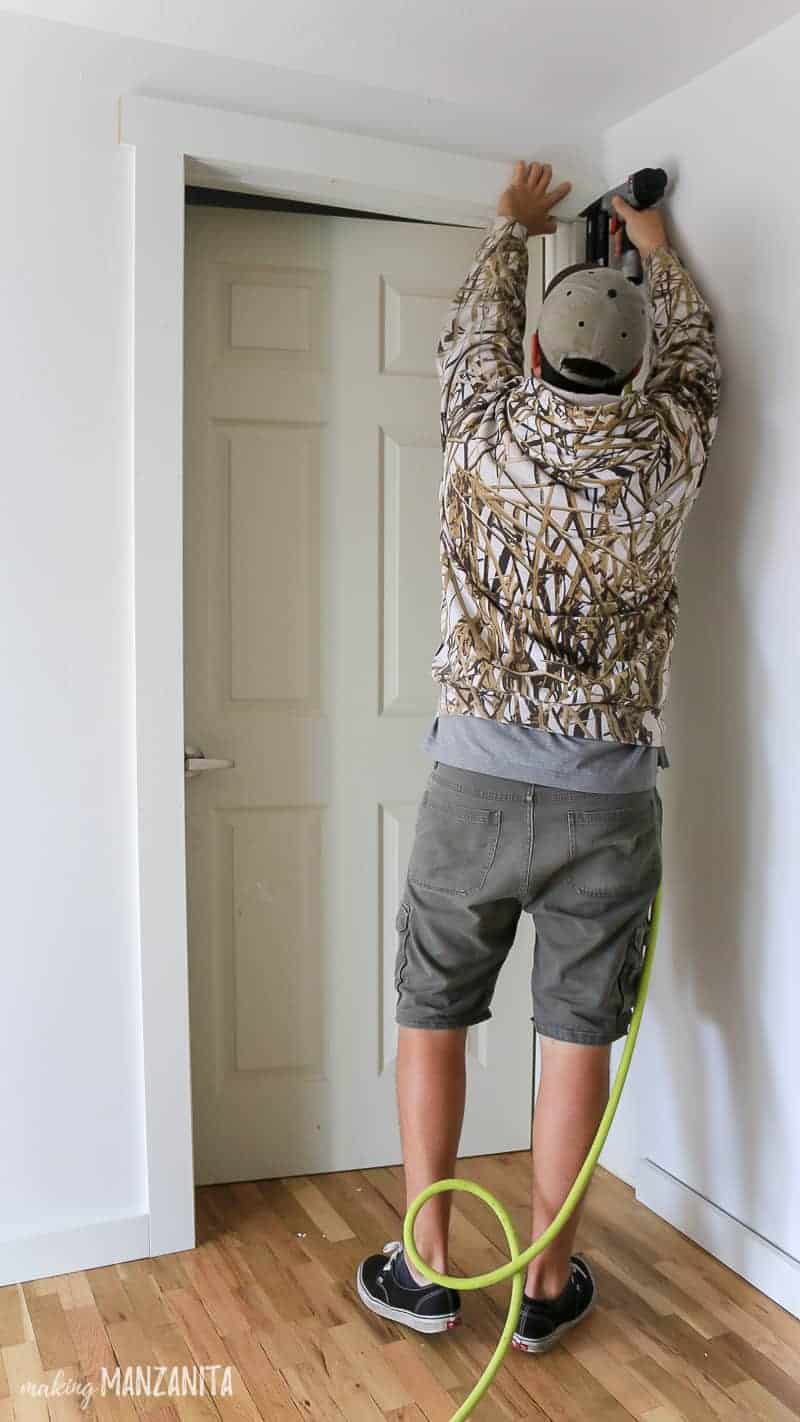
Step 7. Add trim around the door.
In the next step, you are going to cut your desired trim down to size and put it around your door.
- I would recommend choosing trim that matches the rest of your home for consistency.
- When attaching the trim around your door, be sure to leave about a 1/4″ lip showing on the door frame. This way you’ll be able to caulk to hide any gap and you won’t interfere with the door closing easily.
Step 8. Caulk door trim.
Get your caulking gun and DAP Alex Flex Premium Molding & Trim Sealant. Open up the tube with a small opening at first.
Cut the tube spout at a 45-degree angle, then take the spike on your caulking gun and stab down the hole to break the seal holding in the caulk.
You are now ready to caulk your door frame and trim.
- Run a thin bead of caulk along your door frame and along your door trim.
- Be sure to clean them up with your finger and don’t use too much caulking.
- If you’re having trouble with your finger sticking, wet it slightly.
- Be sure to wait for your caulk to be paintable (for DAP Alex Flex, it’s only 30 minutes!) before painting.
If you’re confused about what type of caulk to use and how to apply it – check out our full article of caulking tips and tricks!
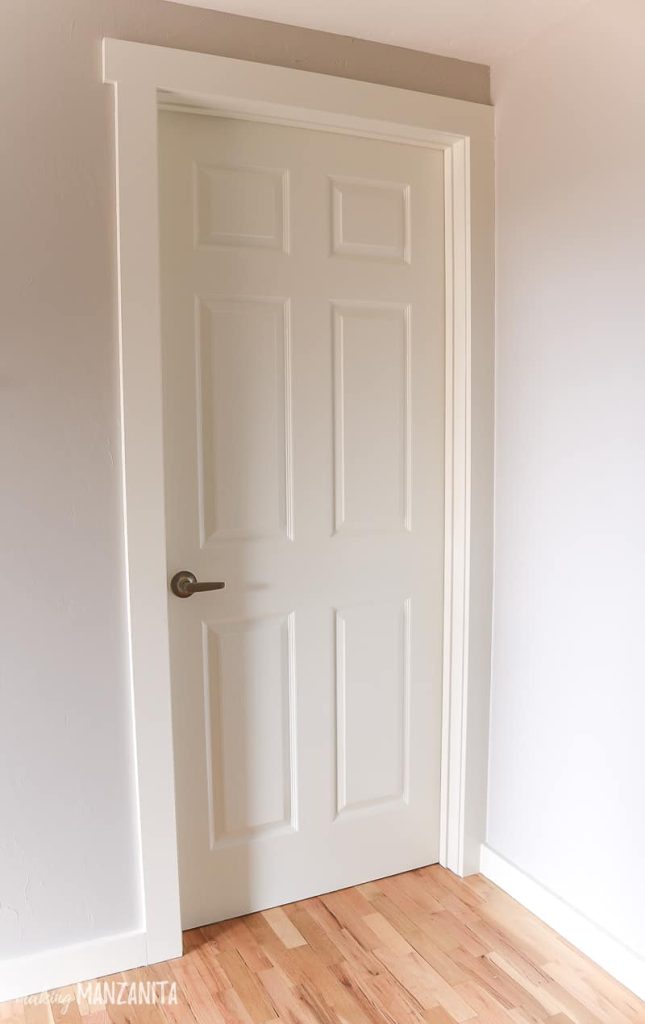
If you’re renovating, chances are there will come a time when you need to install a prehung door.
Whether it’s a door that you’re adding to a wall or just that you are replacing an old door with something new – installing a prehung door is totally a doable DIY project for any homeowner – regardless of your skill level!
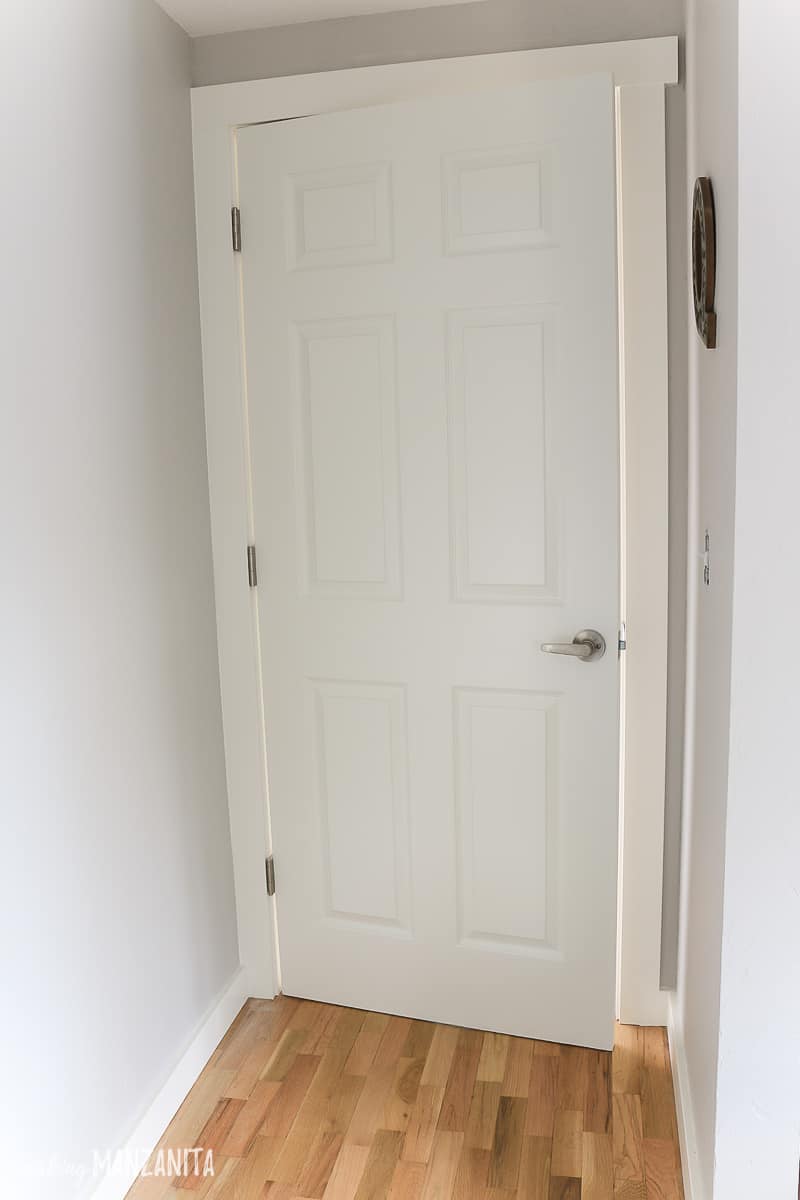
If you were wondering how to install a prehung door, hopefully this tutorial helped you out! Start by dry fitting the prehung door first and refitting.
Continue to make small adjustments to make sure it is a snug and square fit.
Take extra time to work slowly to avoid frustration. Once your door is hung, attach your trim and caulk all joints and corners where the wall meets the interior trim.
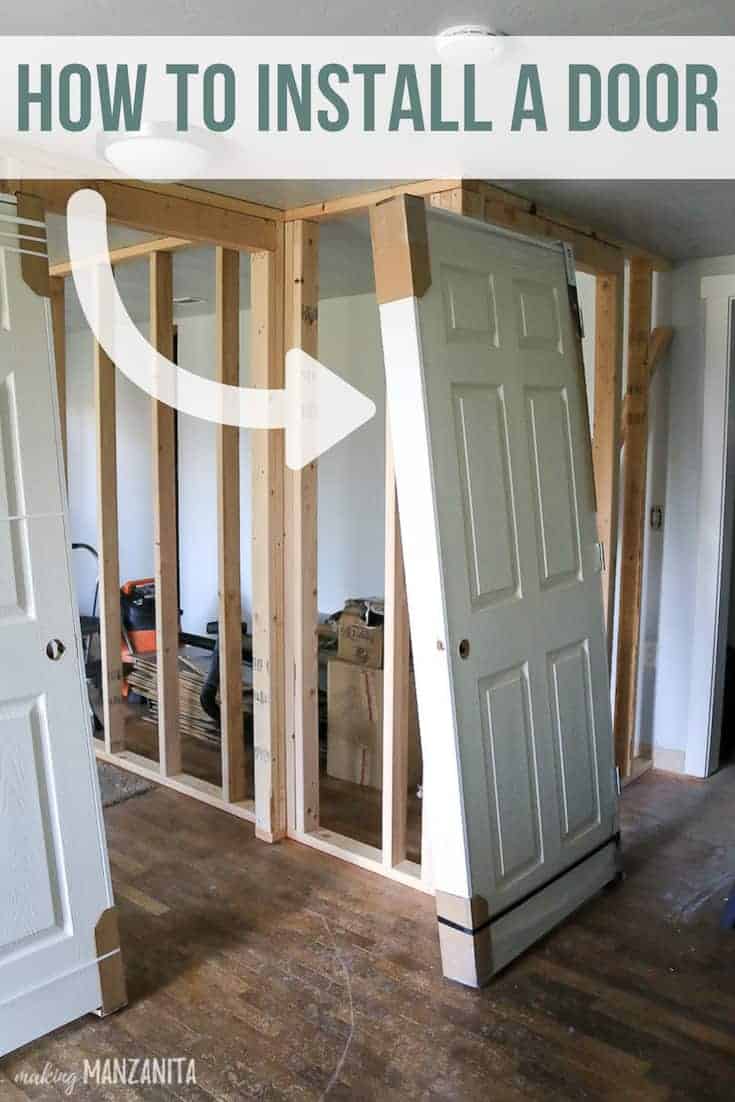
Have you ever installed a prehung door? How did it go?
Let me know in the comments below!!
Want to see more of our modern farmhouse nursery??
- Modern Farmhouse Baby Nursery Inspiration
- 10 White Modern Farmhouse Crib Ideas
- Setting Up A Nursery? Here’s What You Really Need (+ Baby Checklist Printable)
- Modern Farmhouse Rugs & Rug Buying Tips
- How To Build A Wall
- How To Frame A Door In Interior Wall
- How To Install A Board and Batten Wall
- How To Plan Your Gallery Wall Layout (and Nursery Wall Art Reveal)
- Hardwood Floor Refinishing
- Interior Painting Tips & Tricks
- How To Hang A Prehung Door – you are here!
- DIY Yarn Wall Hanging
- Changing Table Organization
- Modern Farmhouse Floor Lamps Under $100
- Baby Girl Nursery Room Reveal

How to Hang a Prehung Door
If you’re renovating, chances are there will come a time when you need to install a prehung door. This how to install a prehung door tutorial is just for you! Whether it’s a door that you’re adding to a wall or just that you are replacing old, tired doors with something new – it is totally a doable DIY project for any home owner!
Materials
Tools
- Level
- Brad Nailer
Instructions
- Prepare to install a prehung door.
- Dry fit your prehung door.
- Shim and level prehung door on the hinge side.
- Shim top of door.
- Shim and level door on the opposite side.
- Break shims flush.
- Add trim around door.
- Caulk door trim.




WOW! That looks fabulous! Nice work!
Thanks friend!
Thank you for this post. I found it very helpful. I will highly recommend this blog to others. I can’t wait for more content. I’ll check back later for more!!!