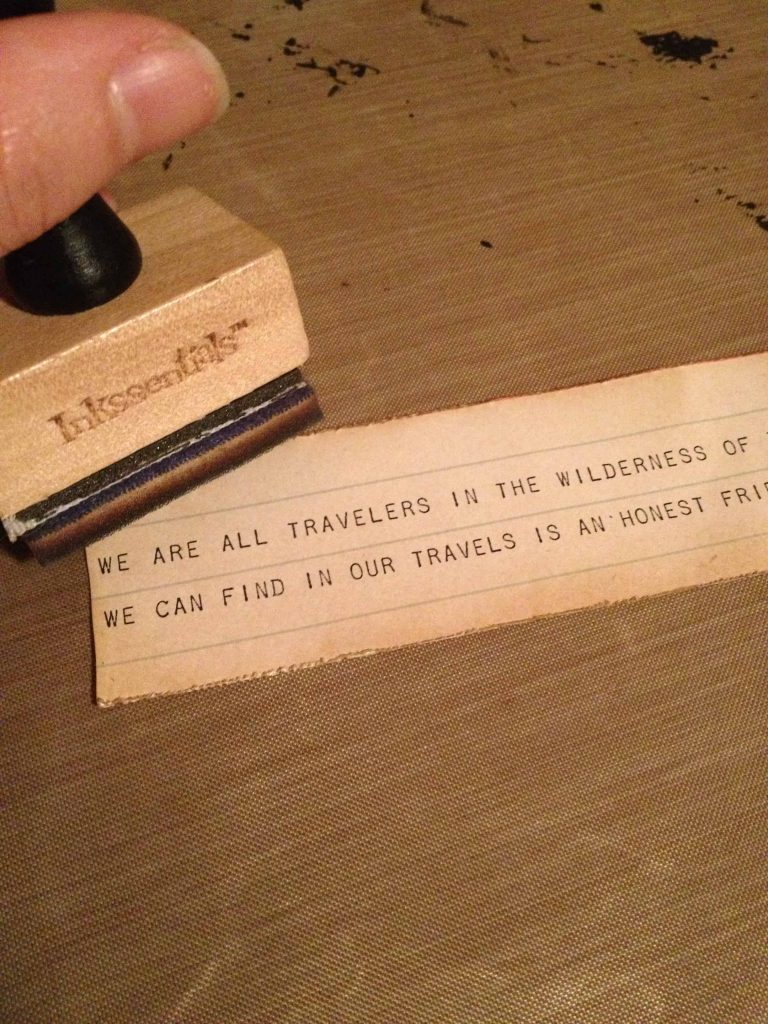
At a recent trip to the thrift store, I found this awesome shadowbox for just $3. I thought it would make an easy craft box with a fun quote and vintage map.
I was inspired by my vintage euro map, which I found at a yard sale a couple of years ago. The map has already been used for many projects! It’s the gift that keeps on giving.

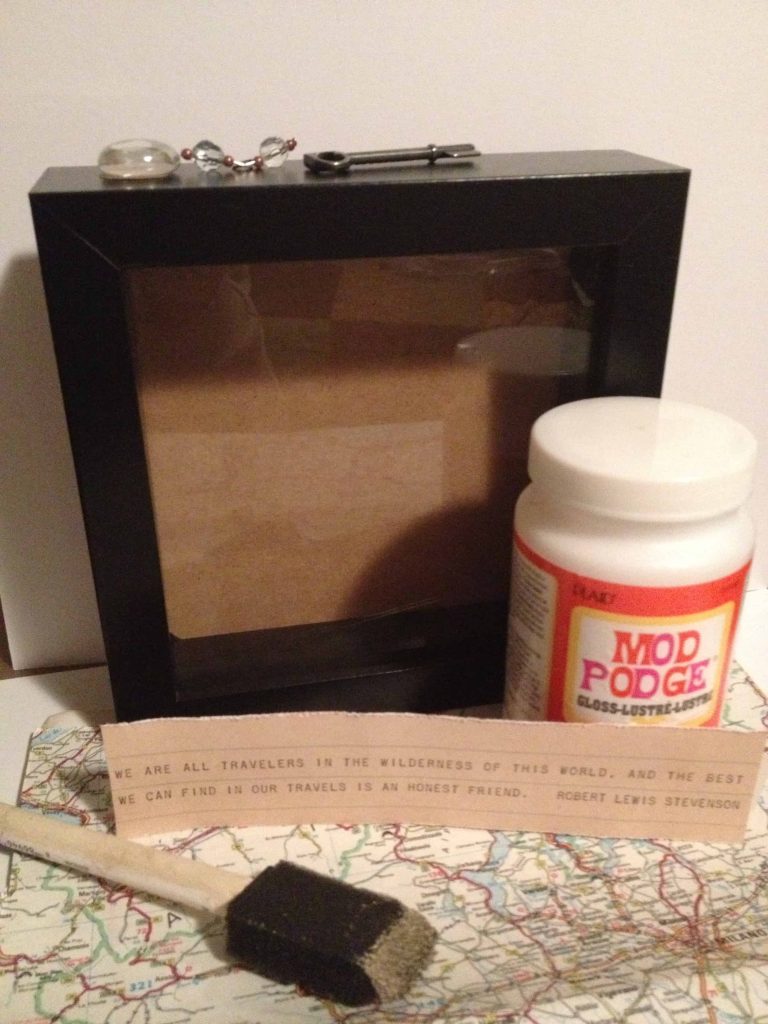
Vintage Map Shadowbox Supplies:
- Shadow box
- Mod podge
- Paint brush
- Vintage map (or you could use scrapbook paper or something else for your background)
- Paper trimmer
- Pencil
- Distress ink
- Inkssentials ink blending tool (optional, just used to ink the edges and make look more vintage)
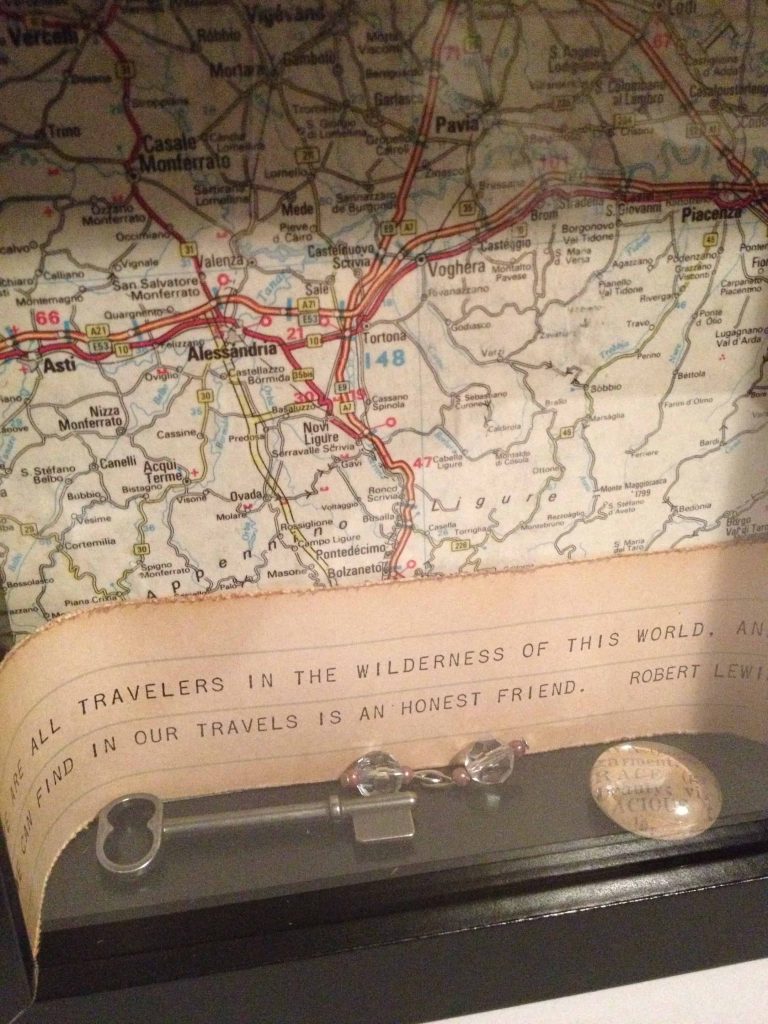
- Embellishments to lay in your shadowbox (I used a key, clear stone with old dictionary word behind and jewels)
How to Make a Vintage Map Shadow Box: Step By Step Instructions
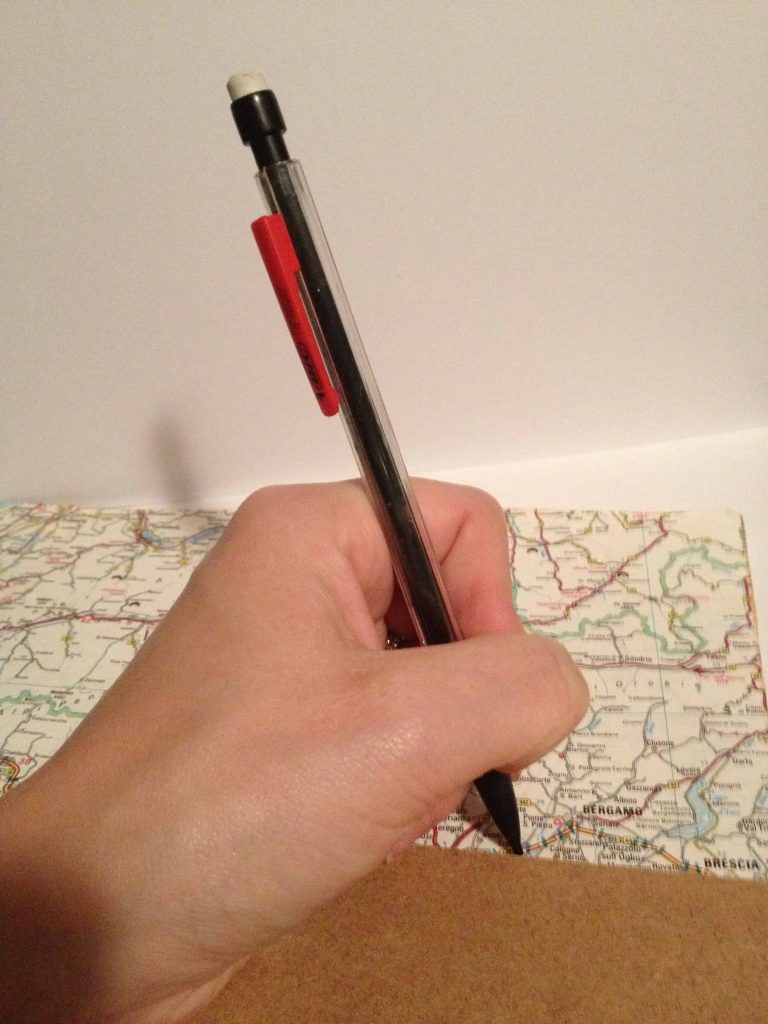
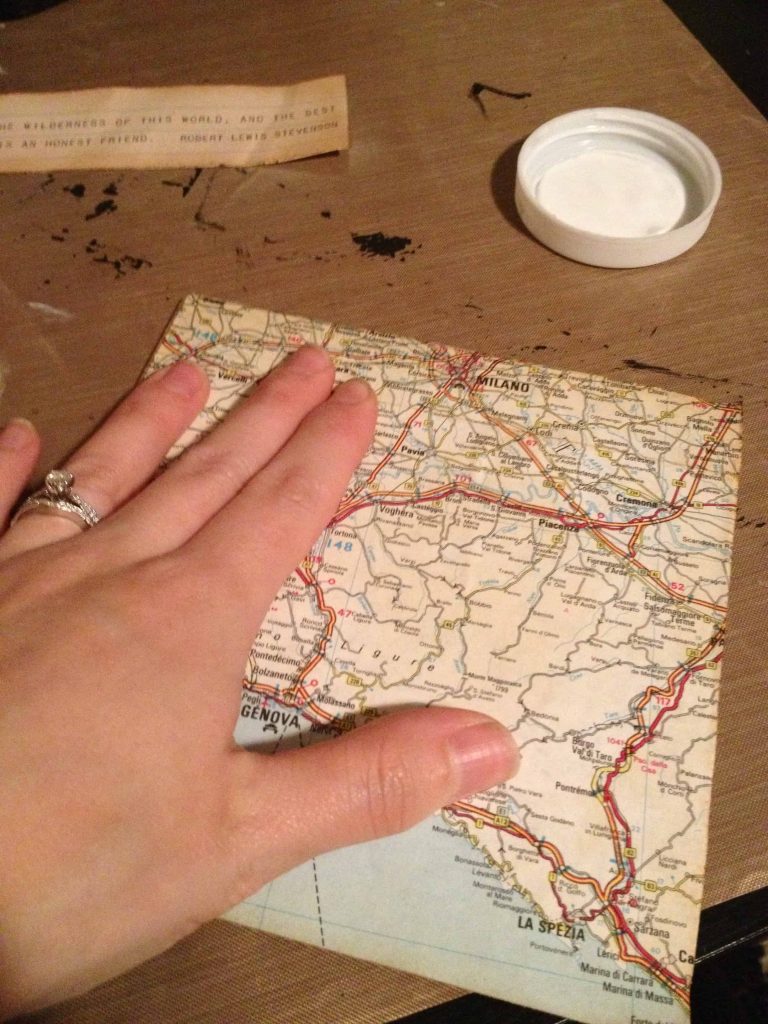
Step 1. Make background paper.
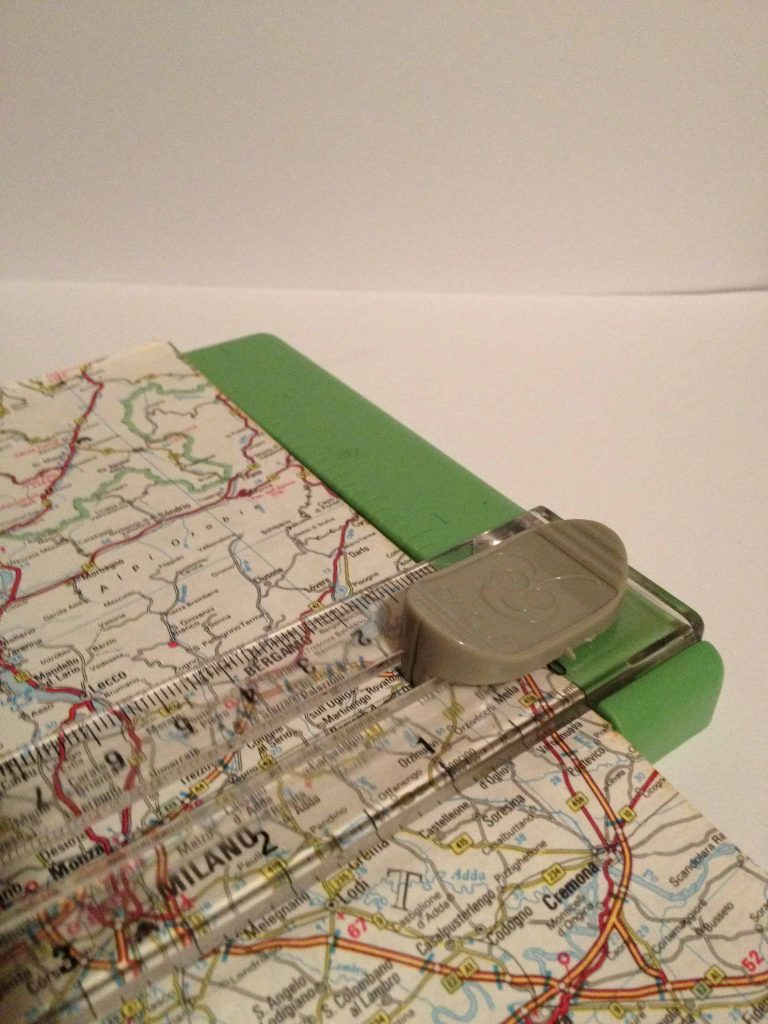
Remove the backing from the shadow box and trace it on your background paper or map. Cut along lines with the paper cutter.
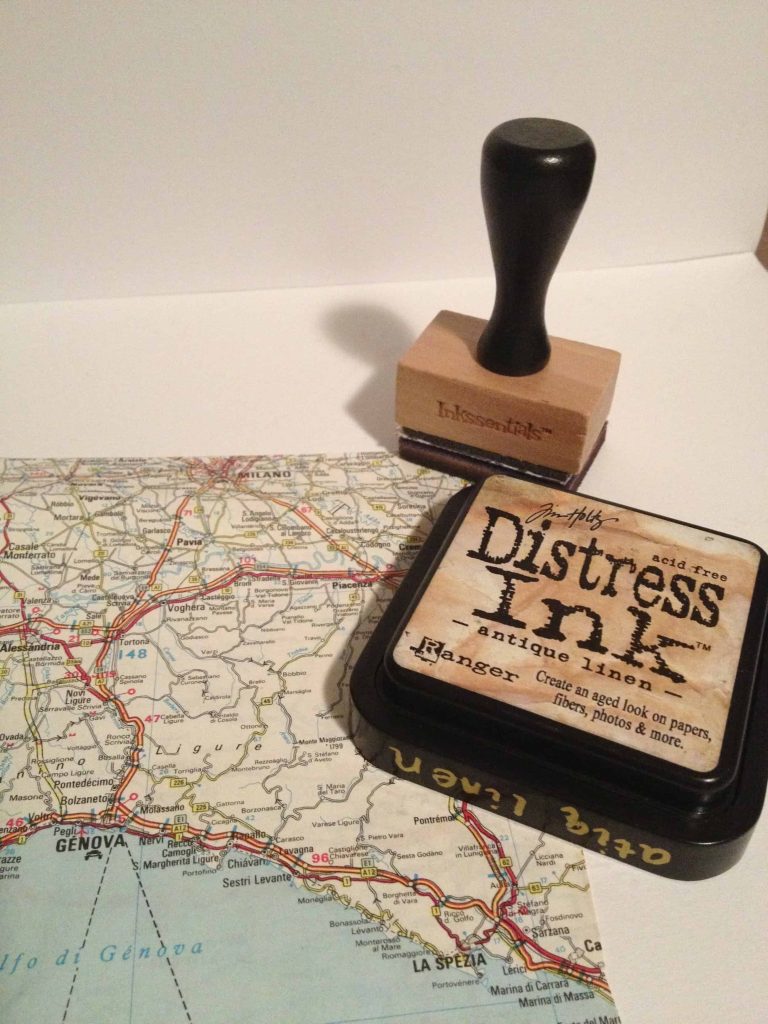
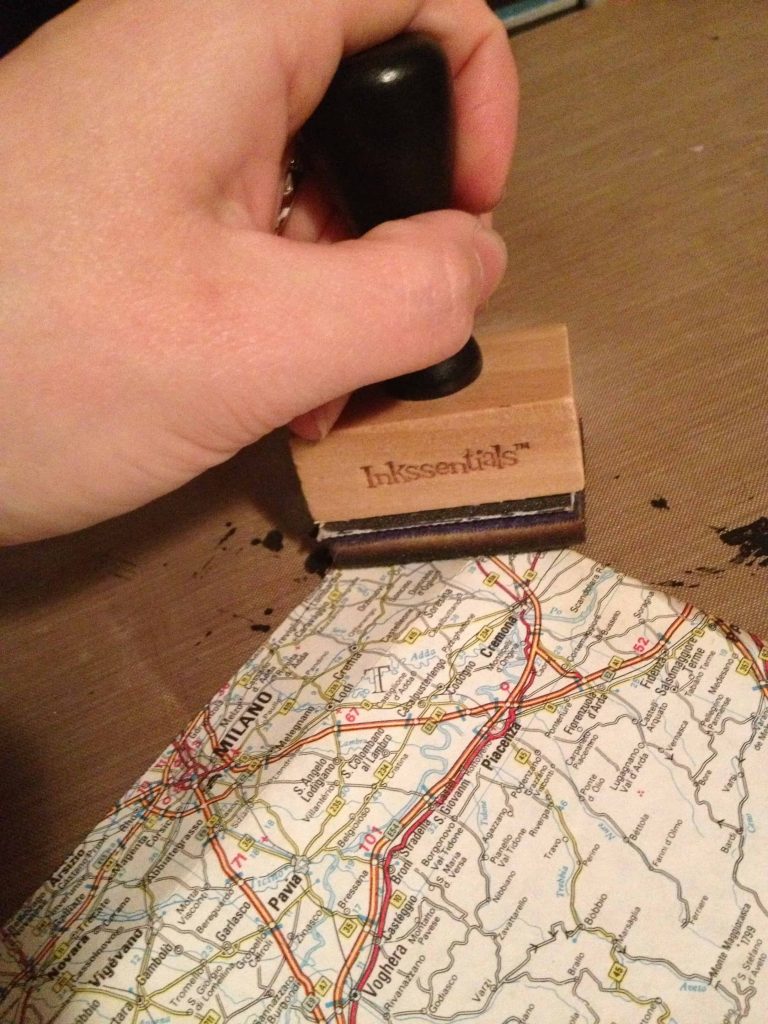
Step 2. Distress background paper.
Blend distress ink on edges. I used the inkssentials blending tool and rubbed in circular motions until it had the look I wanted.
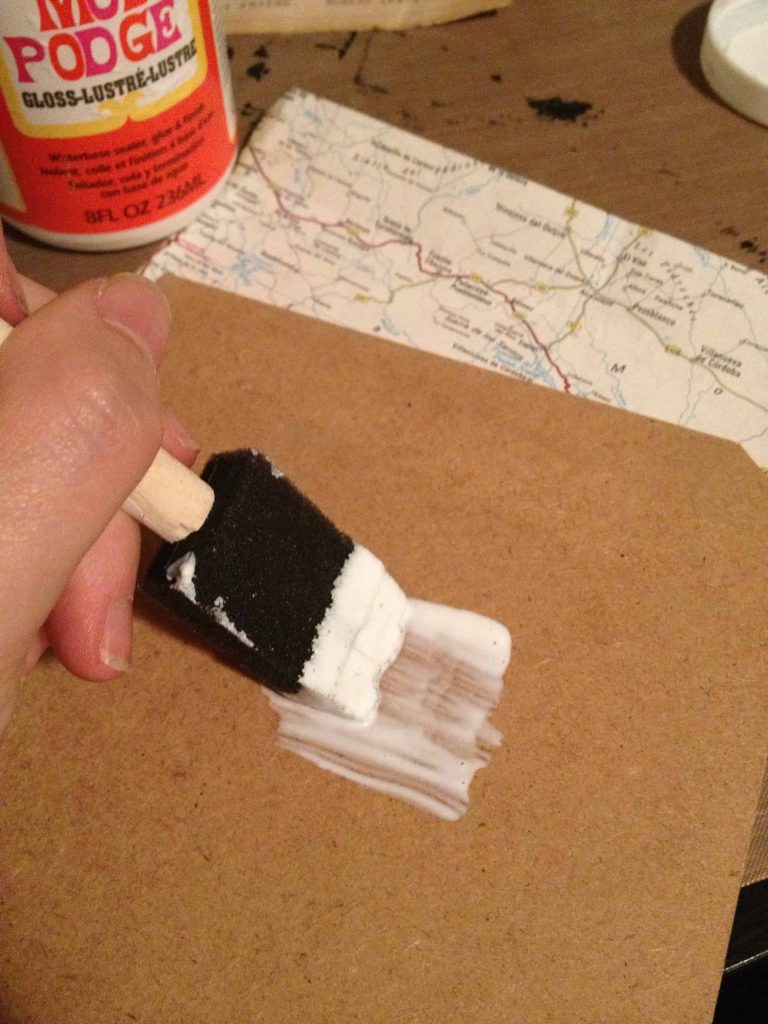
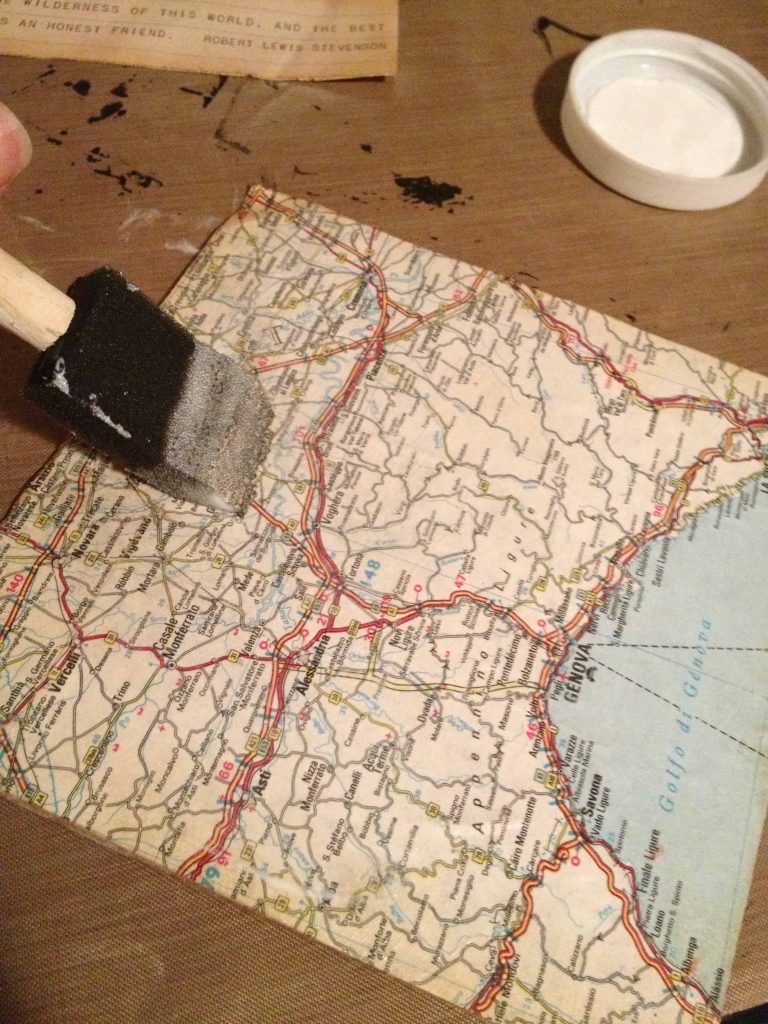
Step 3. Attach paper to back of shadowbox.
Mod podge map to your shadow box backing.
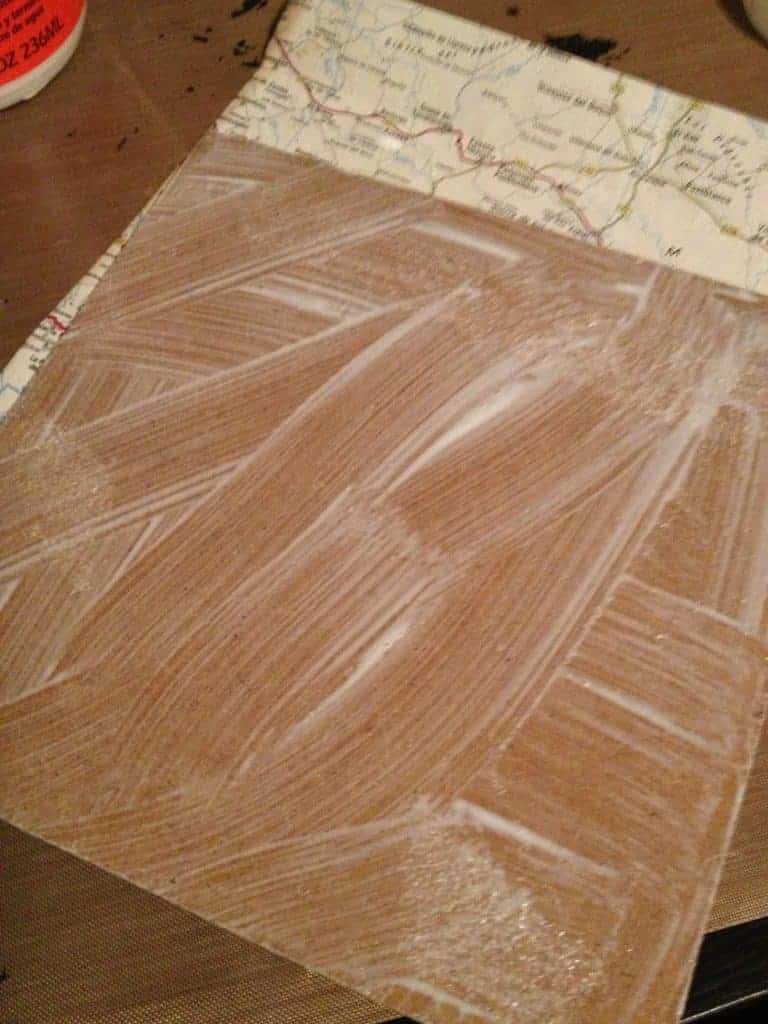
I spread a think coat of mod podge on the backing, then pushed the paper onto that, starting from the middle smoothing out all bubbles.
Then did another 2 coats on top of the paper to seal it.
Step 4. Add your decorations.
Once dry (I waited one day), arrange your decorations, put the backing on shadow box and enjoy!
How easy was that?
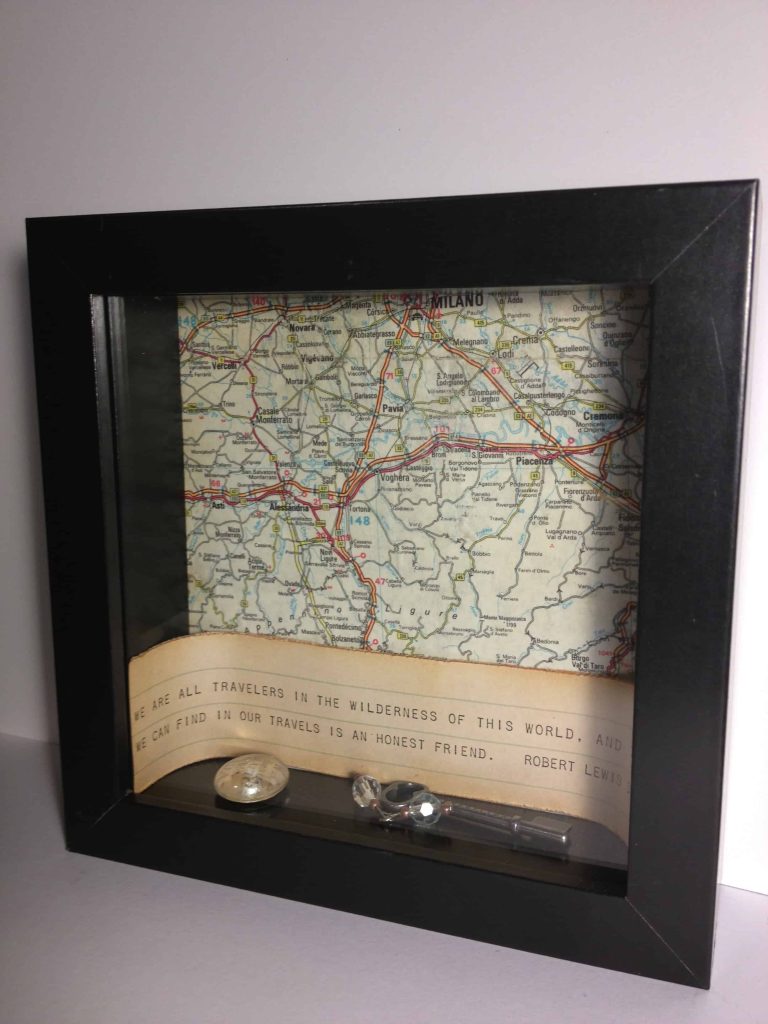

Vintage Map Shadowbox
Materials
- Shadow box
- Mod podge
- Paint brush
- Vintage map
- Paper trimmer
- Pencil
- Distress ink
- Inkssentials ink blending tool
Instructions
- Make background paper. Remove the backing from the shadow box and trace on your background paper or map. Cut along lines with a paper cutter.
- Distress background paper. Blend distress ink on edges. I used the inkssentials blending tool and rubbed in circular motions until it had the look I wanted.
- Attach the paper to the back of the shadowbox. Mod podge map to your shadow box backing. I spread a think coat of mod podge on the backing, then pushed the paper onto that, starting from the middle smoothing out all bubbles. Then did another 2 coats on top of the paper to seal it.
- Add your decorations. Once dry (I waited one day), arrange your decorations, put the backing on the shadowbox and enjoy!


I love this so much! Maps are so fun. That quote is just perfect. Thanks for sharing!
Thanks Bethany! I just love maps too 🙂