Boho Floral Line Art: Cheap and Easy Thrift Store Idea

Floral line art is one of the easiest and cheapest ways to achieve a modern boho style without fancy artistic skills or a lot of cash. This simple tutorial will teach you how to create floral line art for less than $5 with a thrift store frame and a little paint.
Floral line art is a well-kept secret in the DIY world. Most of the time, you see dainty paintings just like these gracing the pages of a high-end design magazine.
But, truth be told, you can achieve the same look for less. All you need is a $5 bill and a few supplies!
This DIY project came to mind as I was arranging my hallway picture ledge shelves. I realized I needed something tall and narrow to fill in one of the spaces. I found the perfect frame at a local thrift shop and this project was born!
I’m a big fan of thrift stores. You can find so many great gems that are beautiful as is or ripe for picking as a new-to-you piece.
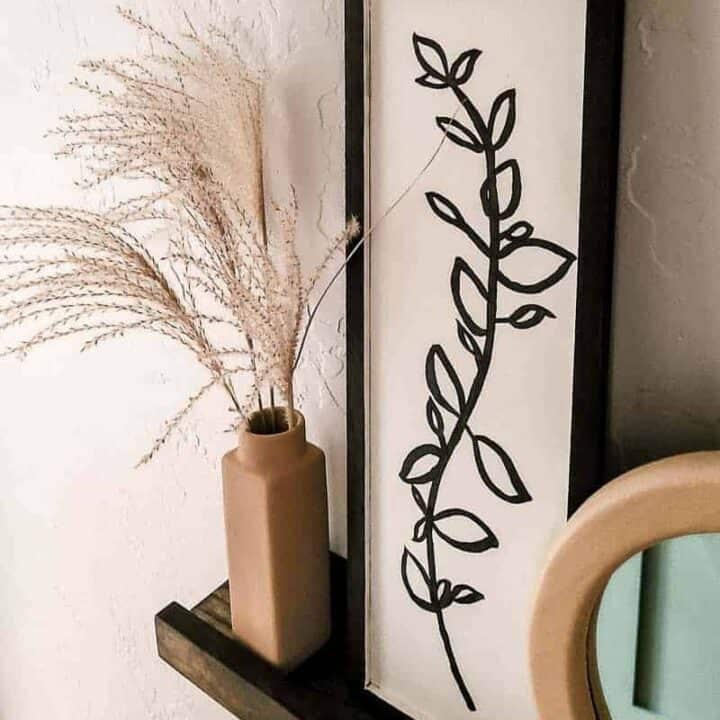
The great thing about this project is that you can use any size or shape of a frame and any colors you choose. I wanted to stay within the color palette of our home, so I stuck with neutrals.
This small, simple addition made all the difference on these shelves and was so easy to do!
How to Make Floral Line Art
Supplies for floral line drawing:
- Old wooden sign or picture frame
- Black acrylic paint
- Off white paint
- Pencil
- Small artist paintbrush
- Foam paint brush
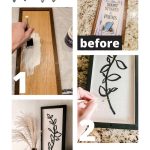
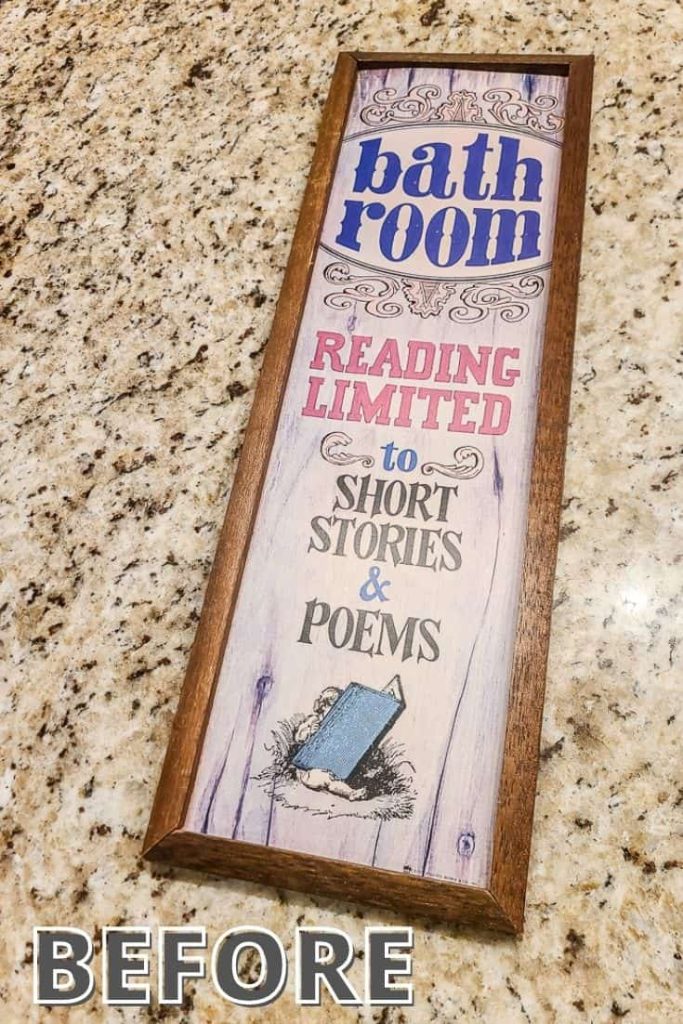
Step 1. Find an outdated frame from the thrift store
The great thing about this DIY project is that you can use any size or shape picture frame that you like. I needed something long and narrow to fill the space on these shelves, and I was in luck at the thrift shop!
My frame was a painted sign, so I just flipped it around and used the back of the sign as my background.
Don’t forget how easy it is to use the back of thrift store art when you are upcycling. I did the same thing with this wooden sign and created a fun DIY key holder on the back of the sign.
Step 2. Paint background color
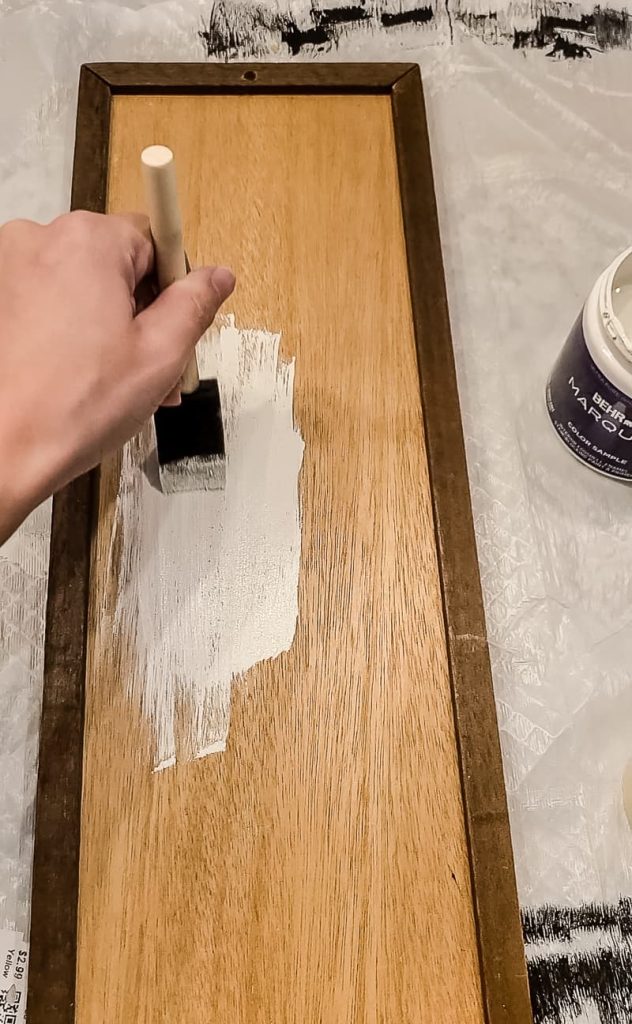
After I flipped my frame over, I painted the back with a leftover paint sample in off-white (something like this color) using a foam paint brush.
You can use whatever color you like as your background, but I chose to stick with a neutral color palette because it goes great with our modern boho decor style.
If your frame requires more than one coat of paint, be sure to allow it to dry completely between coats.
Also, feel free to paint the actual frame if needed. I used black acrylic paint on the frame so it matched the flower. You can do this with acrylic paint, leftover latex wall paint, chalk paint, or spray paint.
Step 3. Trace/draw design with a pencil
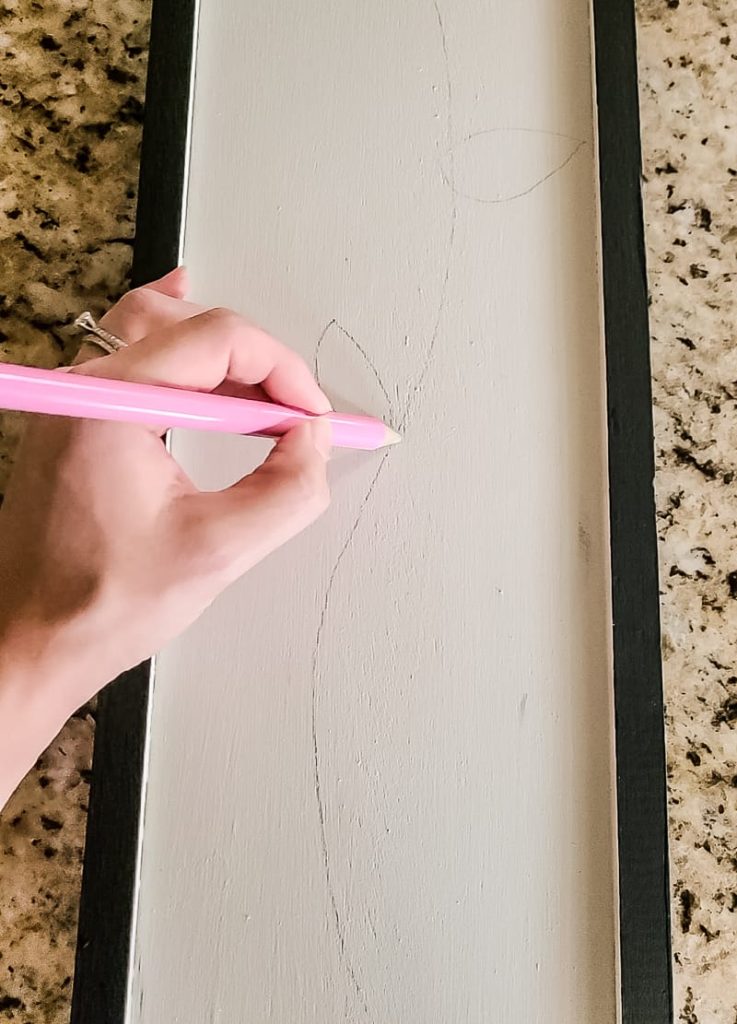
After your background has dried completely, draw outlines of a floral design of your choice lightly with a pencil. If your background is dark, you can make your outline with chalk instead of a pencil to see it easier. I did the same thing when I was tracing the painted arch shape in our boho office.
You can look at Google or Pinterest for some quick inspiration – just search for floral line art for tons of ideas!
There’s no need for any major artistic abilities. It can be as simple as you like, just like my design.
Notice I did not add a lot of detail to the drawing as I wanted it to look as simple and clean as possible.
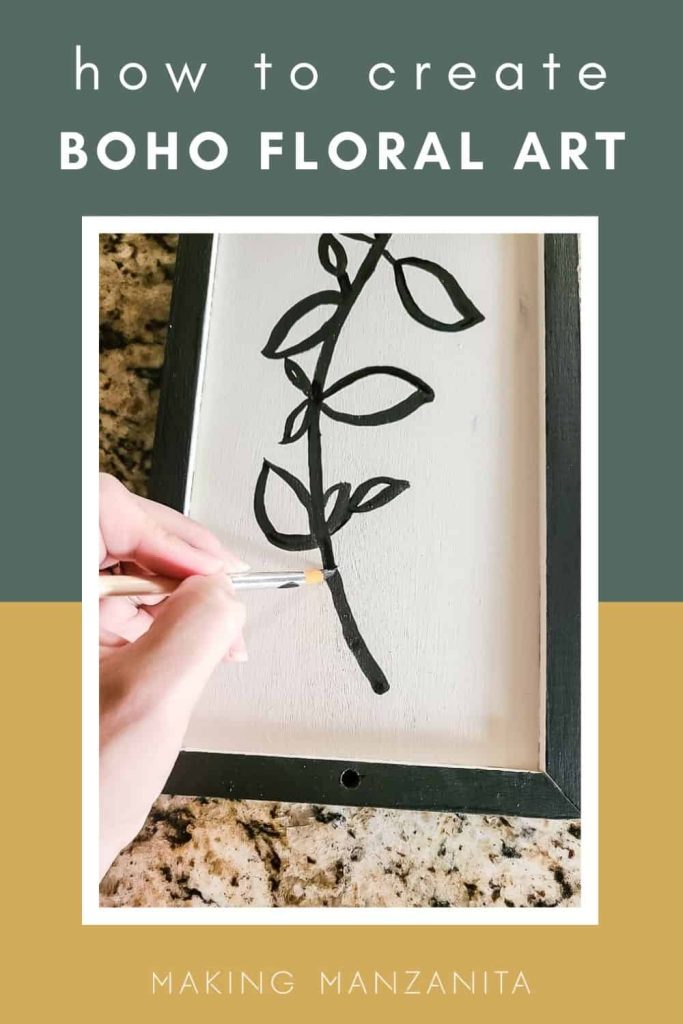
Step 4. Paint outline with black acrylic paint
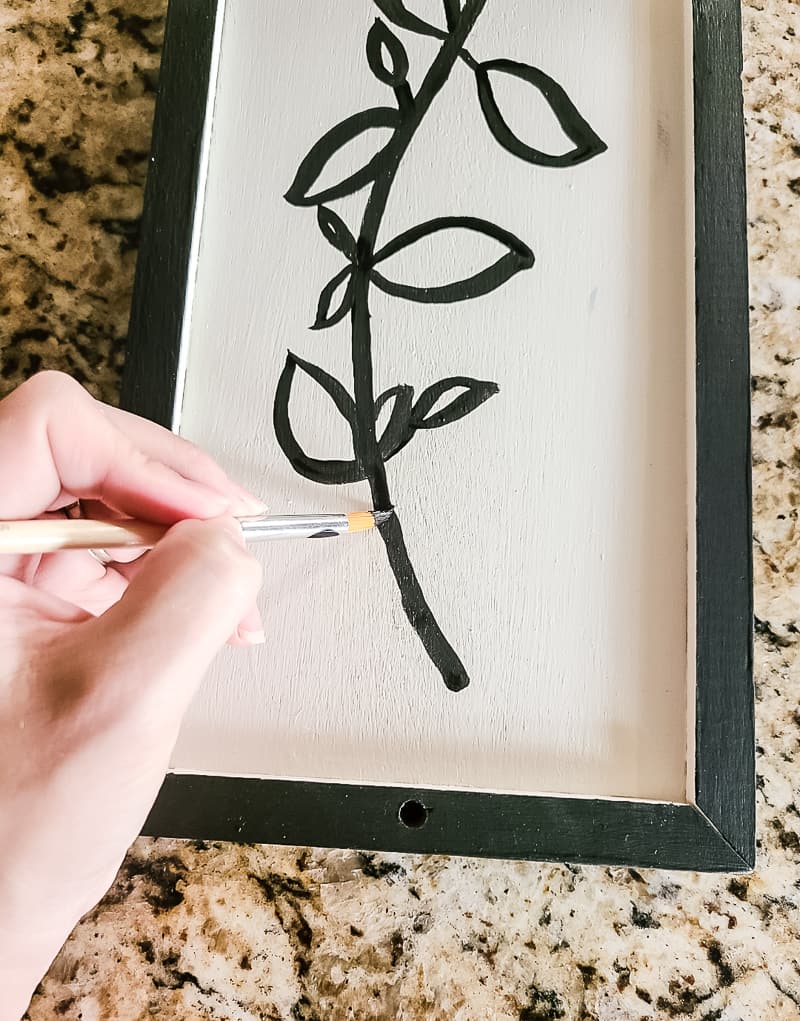
When you are happy with your drawing, trace over the outline with a small paintbrush dabbed in the black acrylic paint.
As mentioned above, you can use whatever colors you choose for this project. I stuck with black and white to maintain a neutral color palette.
Once dry, you can hang it on the wall or arrange it as a part of a collage on a shelf. I arranged ours along with our ledge shelf decor, but if you wanted to hang it on the wall, you could put it with other items in a gallery wall layout and attach it either with a Command picture strip or a simple nail and hammer (but definitely check out our advice on how to hang a picture so you can avoid a million holes in the wall).
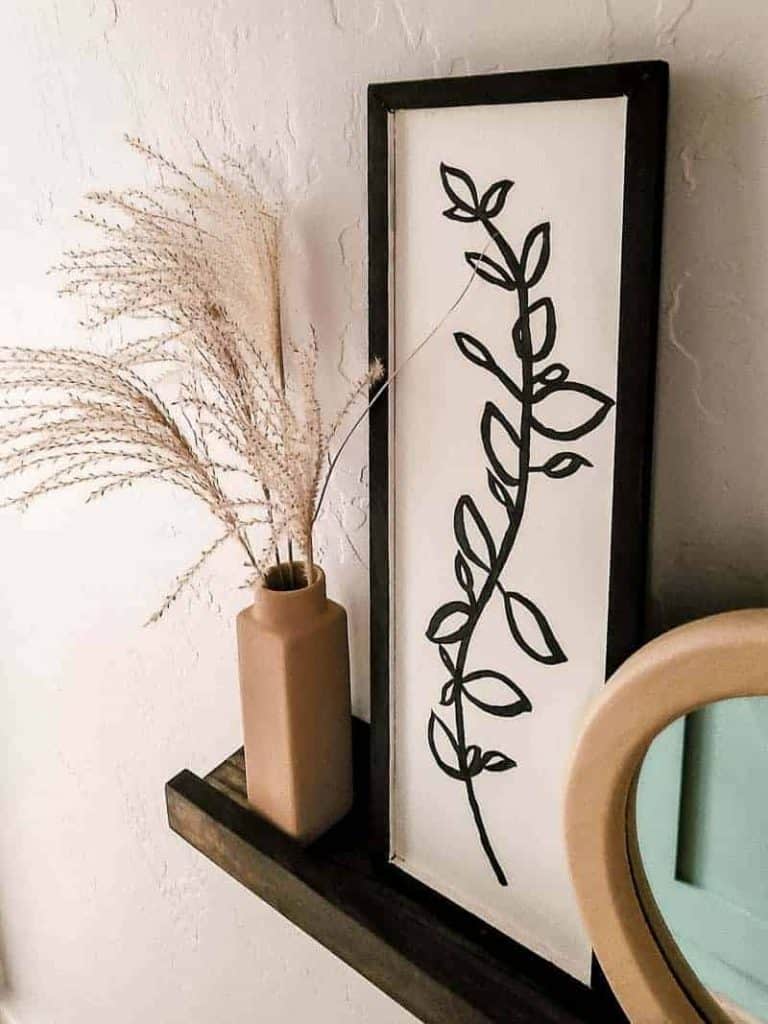
You can get really creative with this project by using different shaped frames and colors.
What will you make next?
Let us know in the comments below!
How To Make Boho Floral Line Art
Want to create your own Boho-style floral line art? This upcycled thrift store DIY is affordable and easy, and perfect for anyone who loves Boho home decor.
Materials
- Old wooden sign or picture frame
- Black acrylic paint
- Off white paint
Tools
Instructions
- Find a frame from the thrift store. It can be any size or shape that you like.
- Flip the frame over and paint the background in the color of your choice.
- After the background has dried, trace/draw the floral design of your choice lightly with a pencil.
- Paint the outline with black acrylic paint or paint in the color of your choice.
- Let it dry and hang it on your wall!
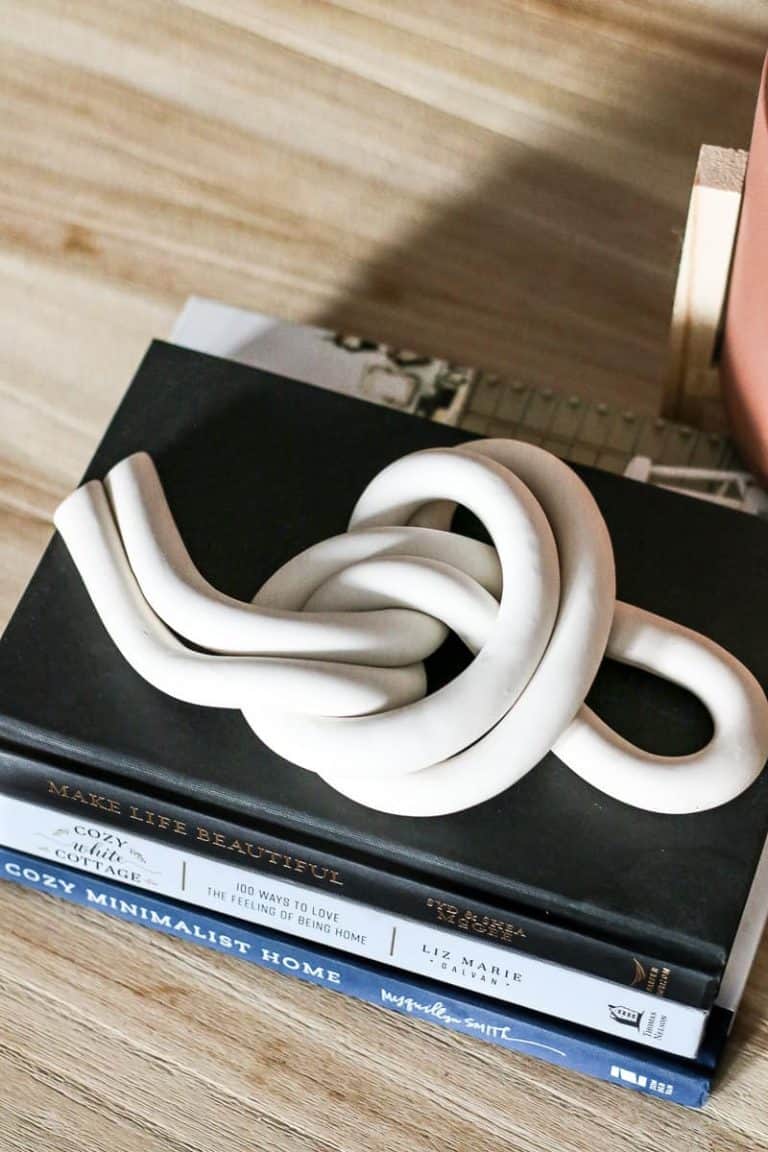
More Boho Style Home Decor Inspiration:
- 25+ DIY Boho Decor Ideas for Your Home
- Easy Boho Fall Decor with Sharpie Pumpkin Designs: Mud Cloth Patterns
- Modern Boho Living Room Reveal
- Easy DIY Boho Wall Decor with Thrift Store Frame and Watercolor
- Baby Girl Nursery Reveal with Boho Farmhouse Style
- DIY Yarn Wall Hanging For Boho Nursery
- Budget Friendly Macrame Finds for Boho Decor
- Boho Farmhouse Wall Decor Ideas for Gallery Walls + 5 Gallery Wall Styling Tips