How To Change An Outlet or Light Switch

Want to learn how to change an outlet? If you are renovating or even staging your house to sell soon, changing your outlets and light switches is something you should definitely budget for. It doesn't cost much - especially if you don't have to hire an electrician! Watch this step-by-step video to learn how.
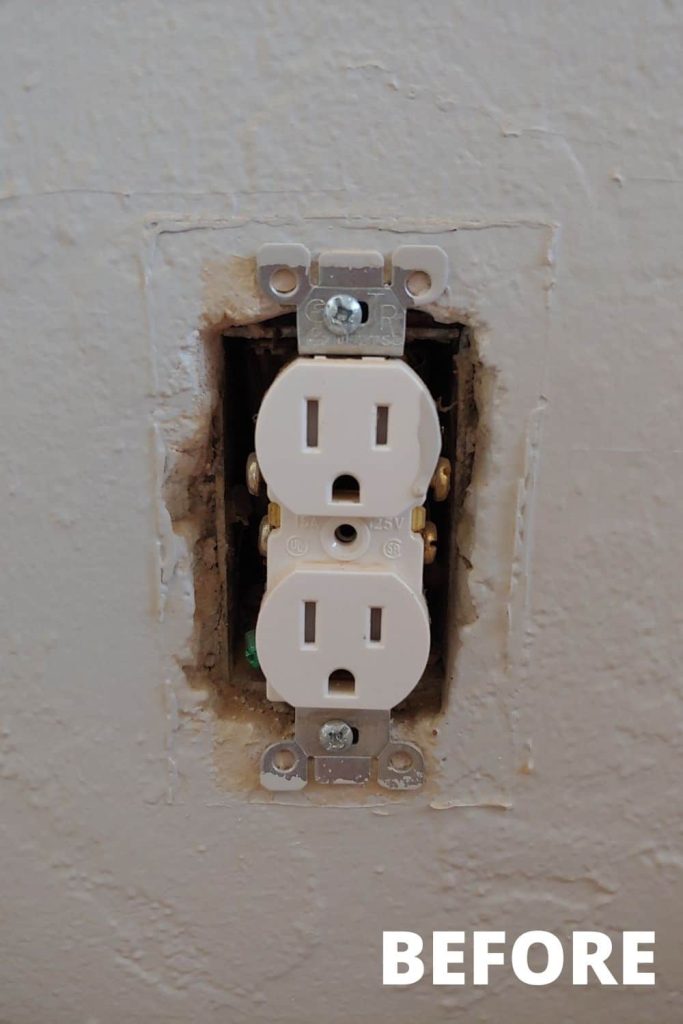
One simple thing we did in our first fixer-upper renovation was change out every single outlet and light switch – even though they weren’t broken.
You might be wondering why you would ever change an outlet that’s not broken? I remember when Logan suggested we replace all the outlets and light switches as part of our renovation, I thought he was crazy. I mean, they all worked fine. I’m usually of the mindset that if it’s not broken, you don’t need to fix it…right?
We had just finished a huge renovation project of skim coating all the walls (which is just a fancy way to say smoothing out the texture) and painting everything. After we finished, the old outlets and light switches stuck out like a sore thumb.
After we changed out the first outlet, I was convinced.

Why we always change out outlets and light switches (even when they aren’t broken)…
I now know that new outlets and light switches make a big difference in the overall feel of the house. Your home will instantly feel cleaner and just “more updated”.
So now this is something that is a NON-negotiable in all renovations going forward.
If you are renovating or even staging your house to sell soon, changing your outlets and light switches is something you should definitely budget for. It doesn’t cost much – especially if you don’t have to hire an electrician!
Even if you’ve never done any electrical work before, changing an outlet (or replacing a vanity light) is a simple project that every homeowner should know how to do! (Please also read the safety disclosure at the bottom of this post).
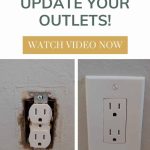
How to Change an Outlet – Video Tutorial
We make a quick video to walk you through the process of how to change an outlet. Whether you are looking for a very inexpensive way to update your home or have a broken outlet, watch the video below and follow these simple steps for how to change an outlet.
If you love DIY videos, don’t forget to subscribe to our YouTube channel!
How to Change an Outlet or Light Switch: Step-by-Step Tutorial
This how to change an outlet tutorial contains affiliate links, but nothing that I wouldn’t recommend wholeheartedly. Read my full disclosure here.
Supplies Needed for Changing an Electrical Outlet
- Voltage detector
- Screwdriver
- Wire cutter / strippers (you may need this, see step 3 for more details).
- New outlet
- New face plate
Step 1. Turn off the power to the outlet or switch.
Before you touch ANYTHING on electrical, you always need to turn off the power. Grab a friend and find out which breaker your outlet or light switch is on. Logan always hands me this tester when he cycles through the breakers.
It is SO easy to use. All you have to do is simply hold it up to the outlet or switch and it will tell you when the power is off.
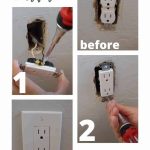
Step 2. Remove the outlet from the wall.
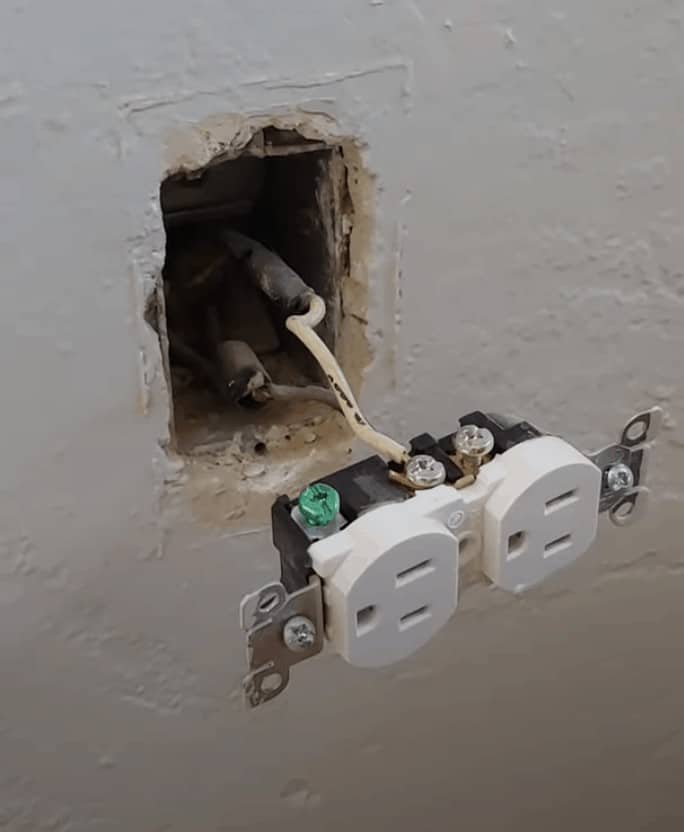
Once your power is off, start by getting a screwdriver and removing the face plate, and then the outlet or light switch from the wall and pull it out, but keep the wires attached.
Note: just like when you install a new light – even though the power is off, it is important to act as if the power is on for extra safety, which means that you should avoid letting the wires touch each other if at all possible.
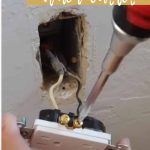
Step 3. Replace wires on the outlet.
Now that your outlet is out of the wall, you can start by removing the wires from the old outlet and immediately put them on your new outlet one by one.
To remove a wire from the old outlet, simply unscrew the screw that the wire is wrapped around. You only need to unscrew it enough to slip the wire off.
If you are wondering what order to replace the wires, Logan always does the ground (bare wire) if there is one, neutral (white wire), and then the hot (black wire).
No ground wire? If you live in an older home, you may notice that there is no ground wire (bare) in your outlet or light switch.
If you do see a ground (bare) wire, switch that one over first and attach it to your new outlet on the green screw (which is called the grounding screw).
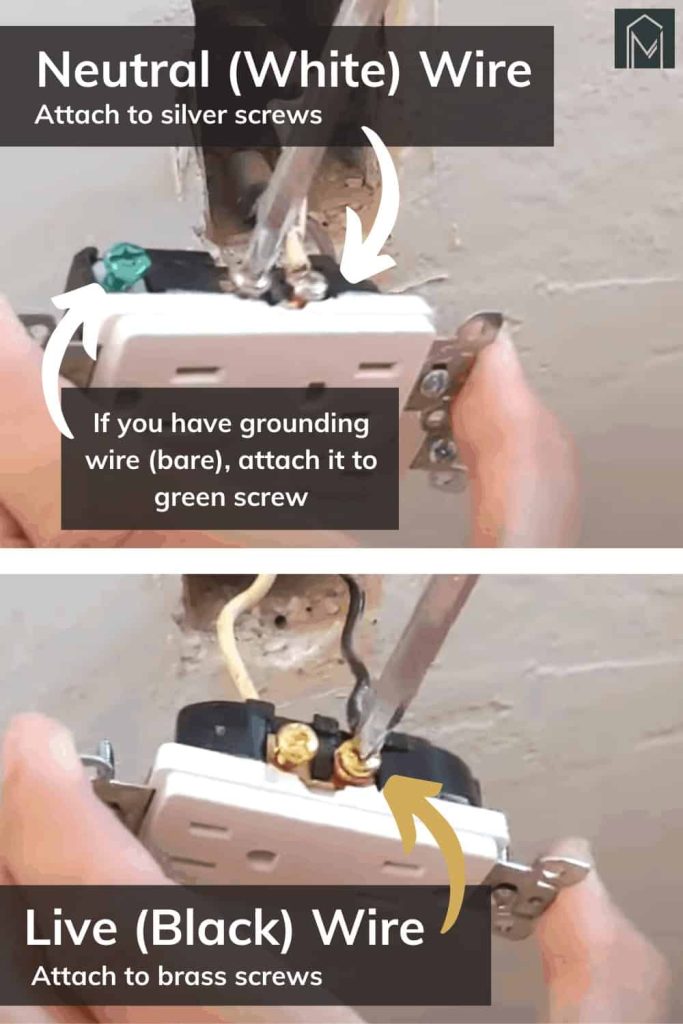
How to Connect Wires on a New Electrical Outlet
- Attach the ground wire to the grounding screw (which is usually green)
- Attach the neutral wire (white) to the one of the silver screws. You’ll probably notice two on the side of your outlet – either one is fine.
- Attach the hot wire (black) to one of the brass or gold screws.
- To attach the wires, make a C-shaped loop at the end of the wire, hook around the screw and tighten.
Tighten any unused screws on the new outlet.
At this point, if you notice a wire end that is damaged (or if it looks like it has been twisted several times, you can snip off the end and restrip it (which just means using this tool to remove the plastic coating around the end of the wire).
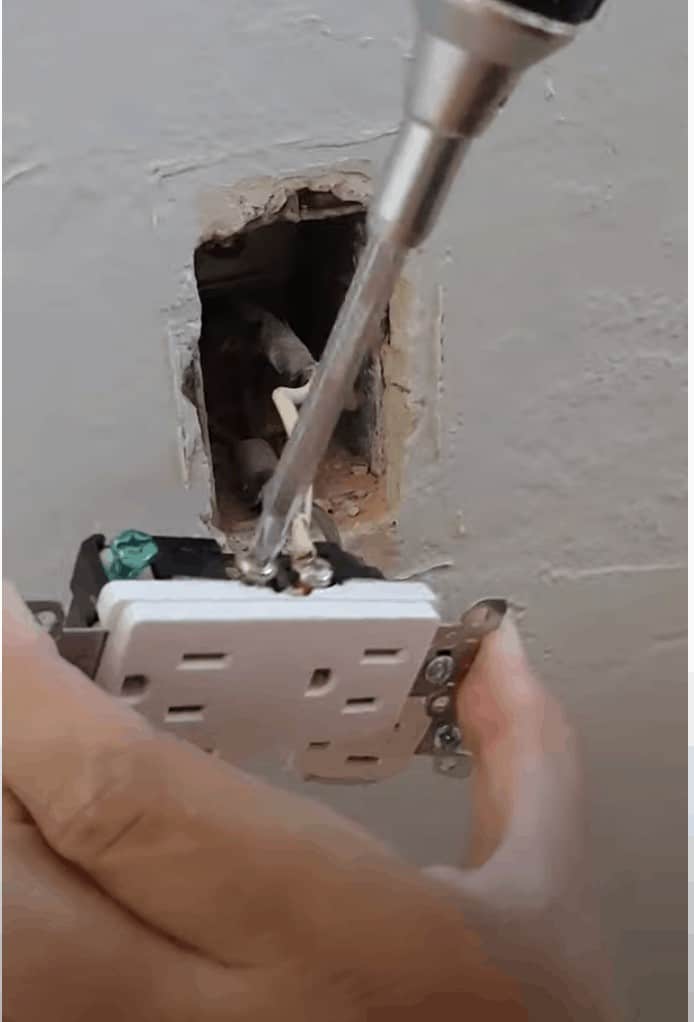
Step 4. Put a new outlet in the box.
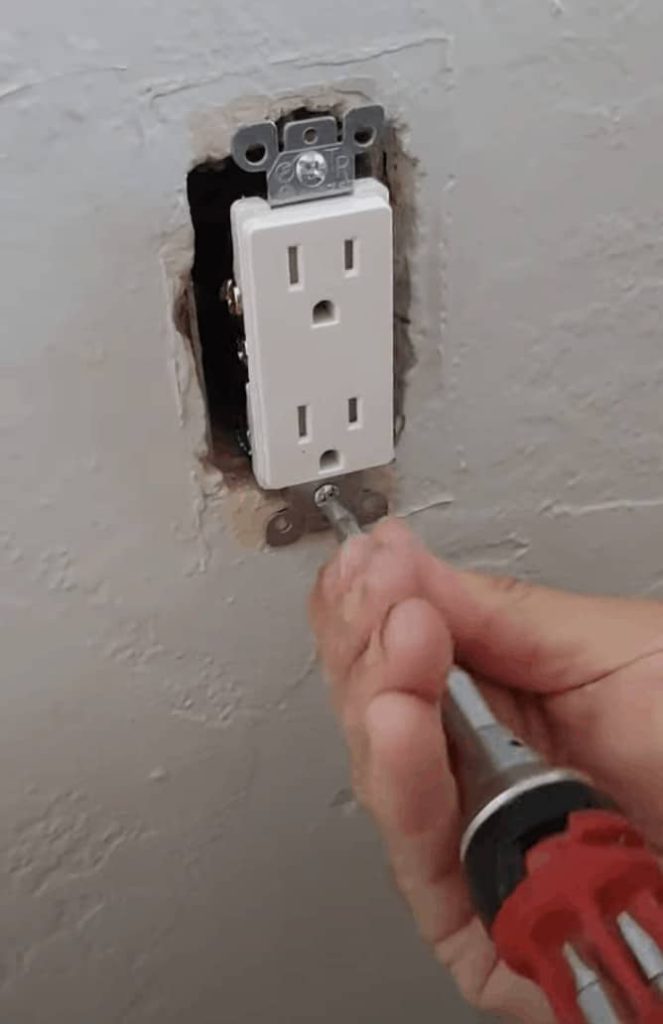
With the new outlet connected, just go ahead and gently push it back in the box.
Try to be sure that the wires stay behind the outlet you don’t want them on the sides and sneaking back out. Next, screw the outlet to the box. Make sure it is straight at this point.
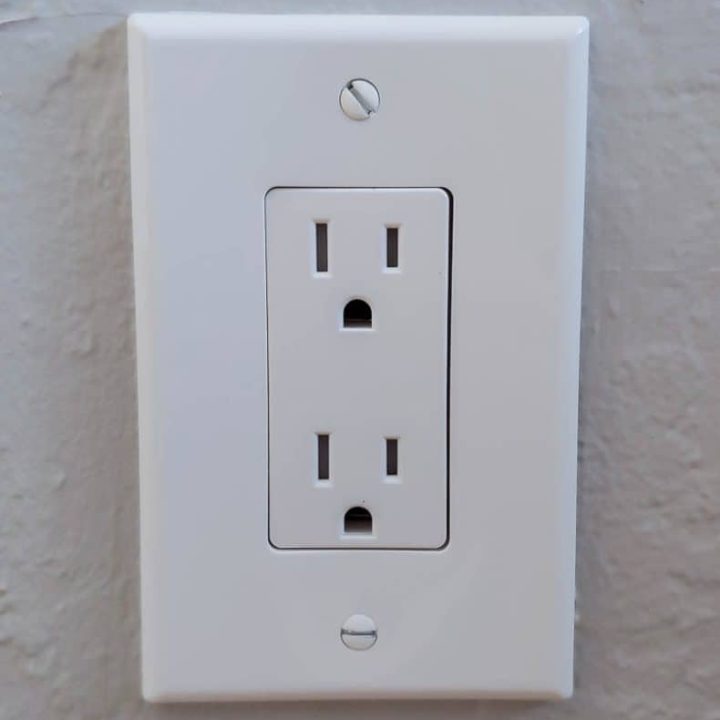
Step 5. Add a new faceplate.
The last step is to attach your new faceplate, and you are done.
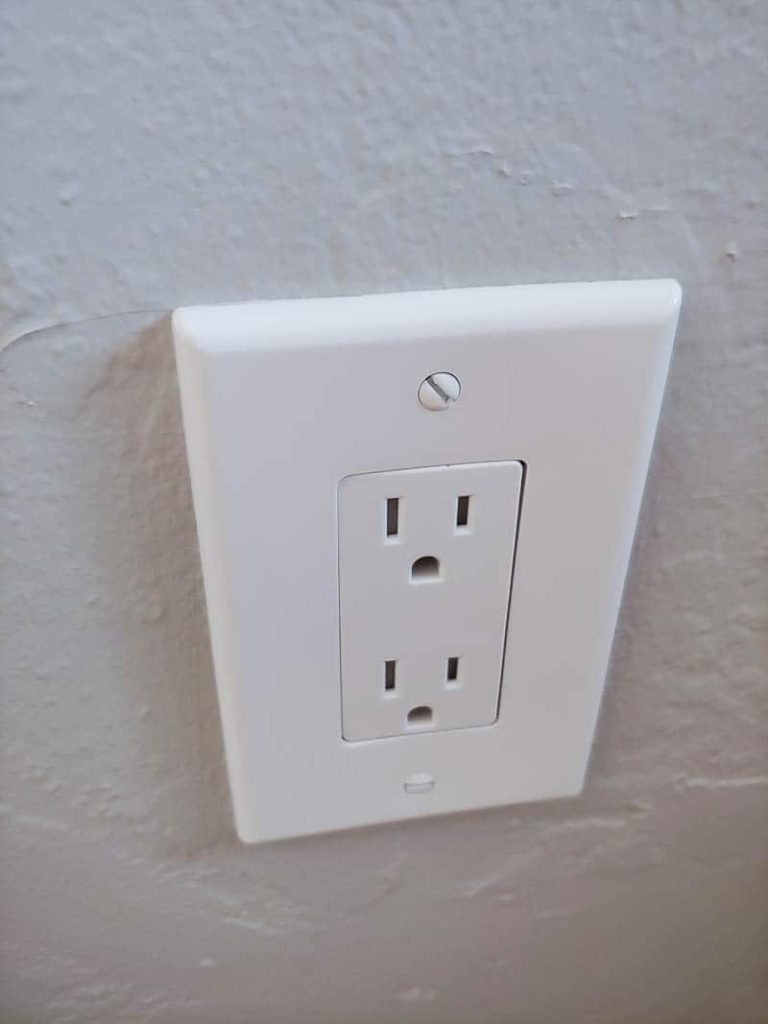
Doesn’t it look so much better?

Hope you enjoyed this video & step by step tutorial and learned something new! Now, who wants to go replace all the old outlets in their home?!?
Important Safety Disclosure:
Be sure to read your outlet manufacturer’s instructions thoroughly before beginning to change an outlet because they may be different from our tutorial if they have different wires or connections.
This video and blog post is for informational, educational & entertainment purposes only. Electrical work can be a tricky DIY, so please be smart and be safe. We will not be responsible for any injury or damage incurred. Please consult a professional when needed, read all safety and instruction manuals, and take all safety precautions. All projects performed following instructions found on this site are done at your own risk. Read our full disclaimer here.
Have you ever changed an outlet before??
Let us know in the comments below!
How To Change An Outlet or Light Switch
Changing an electrical outlet or light switch is a basic DIY home repair that you can do in just a few simple steps! Here's a step-by-step tutorial explaining how to change an outlet yourself.
Materials
Instructions
- Turn off the power.
- Remove outlet from wall.
- Replace wires on outlet.
- Put new outlet in box.
- Add new face plate.
Looking for more DIY home reno projects? Here are some recent home updates we’ve done for inspiration!
- How To Replace Interior Door Handles | Guide For Beginners
- How To Cover Holes in Wall Quickly with DAP Eclipse Rapid Wall Repair Patch
- Bathroom Faucet Replacement For Beginners
- Removing Baseboards: Tips and Tricks
- How To Install A Badger Garbage Disposal
- How To Change A Ceiling Light: Step-by-Step Tutorial
- How To Install A Bathtub (For Beginners)